Dressers are the type of furniture that can seemingly last forever. I know there are a few in my house that are much older than I am.
However, after a few decades of wear and tear, it can seem like a dresser is doing little more than taking up space and attracting clutter.
At a certain point, you have to say goodbye to grandma's antique dresser. Truth be told, your dresser doesn't have to have any sentimental value to be difficult to get rid of — they are big and clunky, after all.
Fortunately, it turns out that there are lots of great projects for transforming an old dresser into something new, like an adorable TV console.
At the moment, though, we're obsessed with a more outdoorsy craft.
With a little bit of skill and imagination, you can transform an old dresser into a beautiful rabbit hutch.
Not only will your bunny live in style, you can also enjoy the warm fuzzy feeling (and bragging rights) that come with turning trash into treasure.
[H/T: Instructables]
Step 1: Prep And Measure
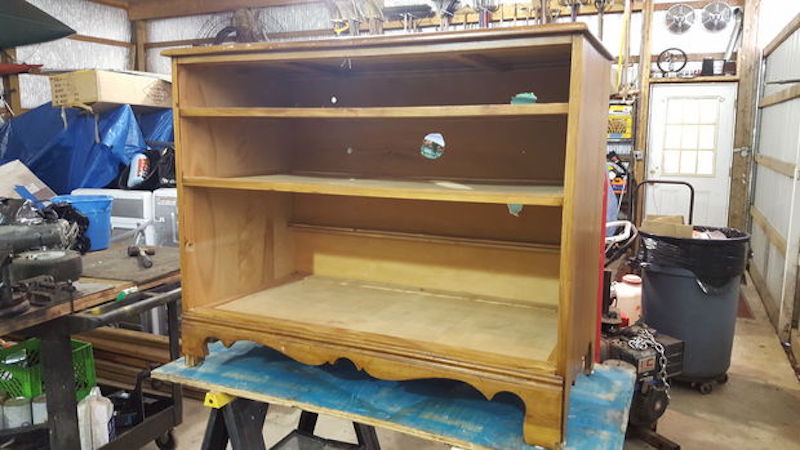
The first step is to pick the lucky dresser for repurposing. It will ideally be big enough to accommodate your pet comfortably.
From there, you can take measurements to help plan what supplies you will need. What you want will depend on you (and your bunny's) personal preferences. In this case, they needed:
- plywood to make the ramp, construct the doors, and replace the back
- hinges, handles, and hardware for the doors
- wood stain
- sanding equipment
- contact paper
- fabric for liners
Step 2: Sanding
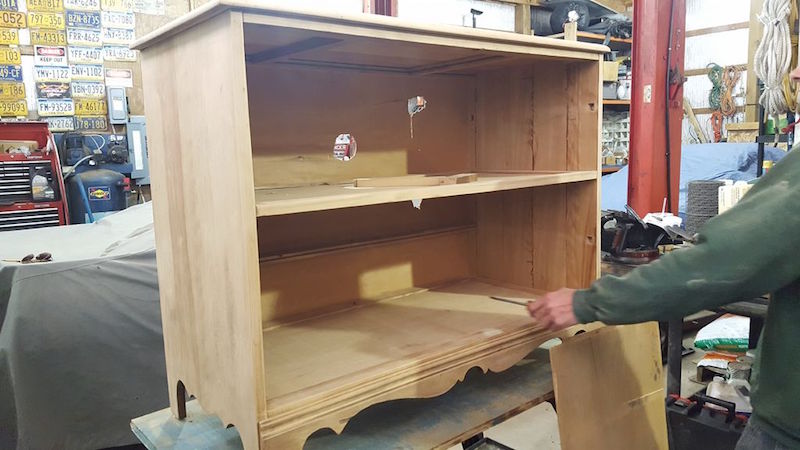
The owners of this dresser decided to remove the top shelf to create space for their bunny to fit.
Their next step was to sand down the entire dresser in order to prep for staining in later steps.
This is optional — you may want to paint your dresser instead, or leave the existing wood finish.
Step 3: Renovation
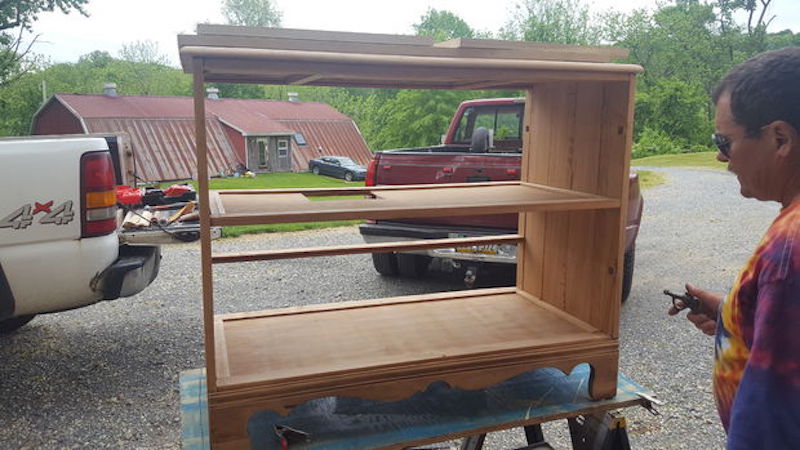
In this case, the back of the dresser needed to be replaced due to it having holes and being old and unstable.
Removal of the back of the dresser allowed them to easily saw a hole in the top shelf where the ramp for the rabbit will have its opening.
The hole in this photo is 7×7 inches, but the size of yours will depend on the size of your dresser and bunny.
Step 4: Construct Ramp And Doors
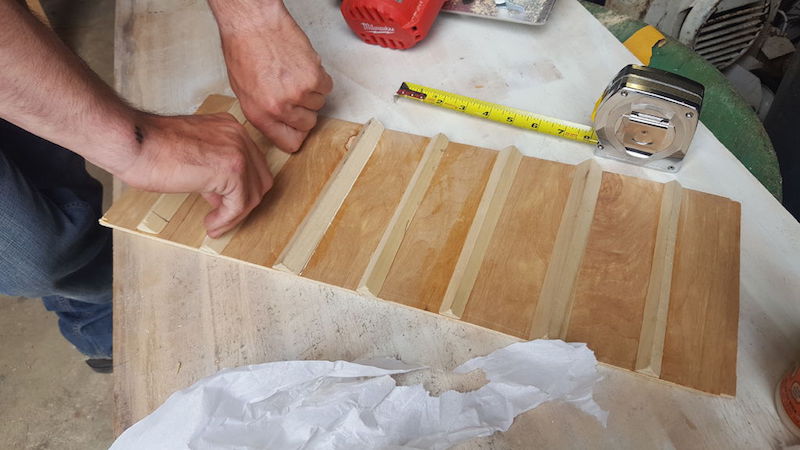
Now it's time to build the ramp for your little friend so he can enjoy his new split-level home.
To give your rabbit the grip he needs on the ramp, line trim board into triangular strips and line them along the ramp.
Make sure the ramp placed at an angle is shallow enough for your bunny to be able to tackle.
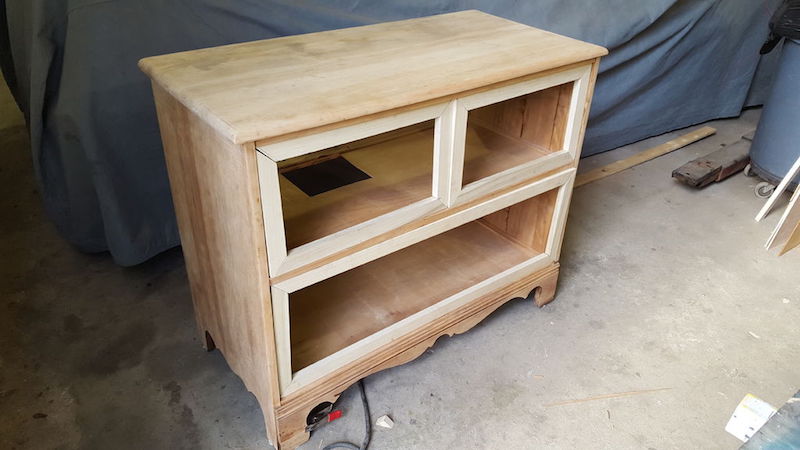
Next, it's time to construct the doors! Here, they attached four pieces of trim board to create the outline.
The doors were attached to the dresser using L-shaped brackets.
Step 5: Lay Down Contact Paper
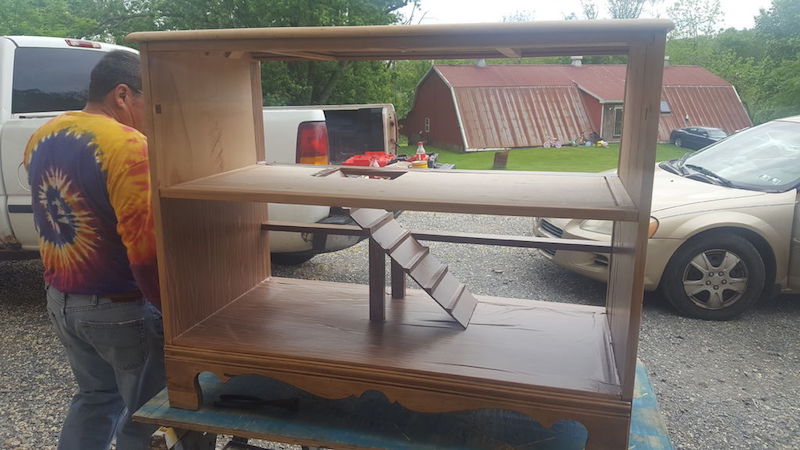
Cover the interior of the hutch with contact paper. This will help protect against wear and tear, as well as the inevitable accident.
You could also use tile, linoleum, and wood sealant as a means of adding secondary protection that will extend the life of your hutch.
Step 6: Stain And Rebuild If Necessary
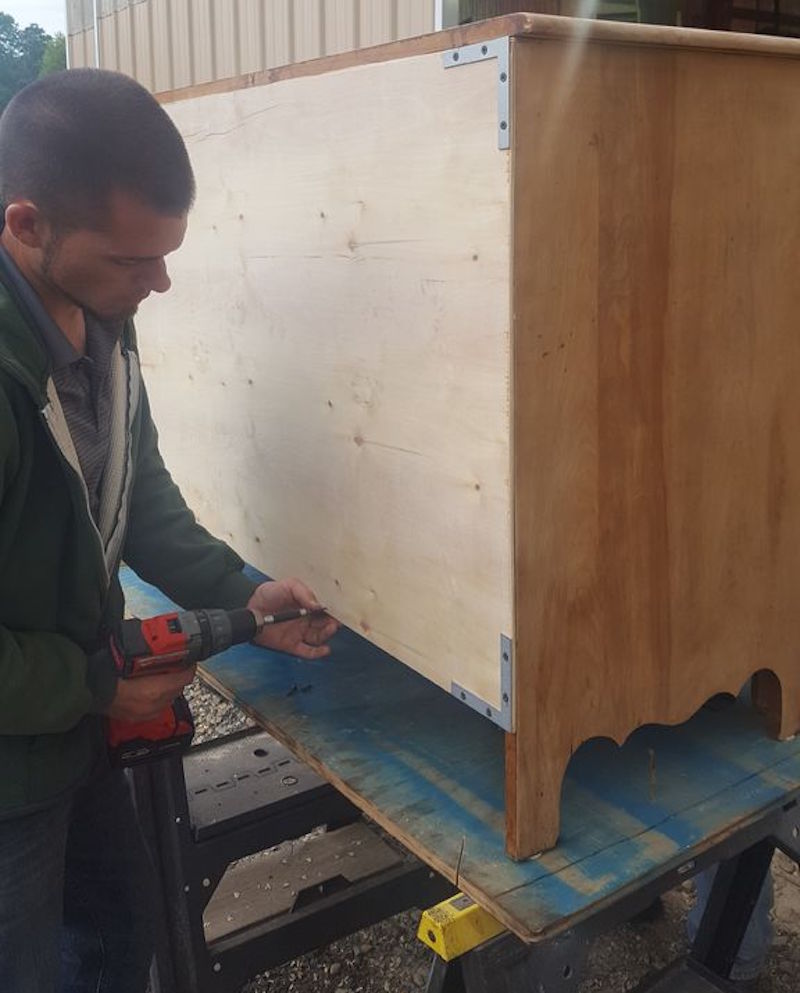
As mentioned above, staining is by no means necessary. However, if you do want to stain, now is the time.
In this case, the builders had to attach the new back to the dresser.
Step 7: Add Hardware
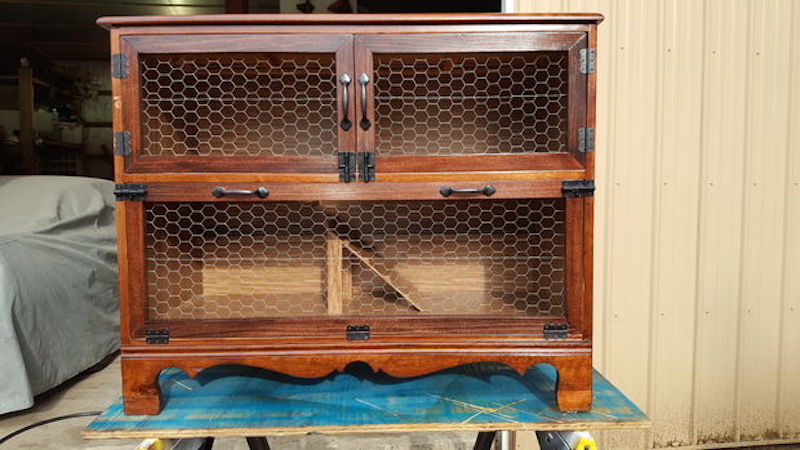
Attach chicken wire with wood staples to the inside of your doors. Make sure to secure any loose sharp ends that might hurt your bunny.
Attach the handles and hardware of your choice to the doors.
Step 8: Add Liners
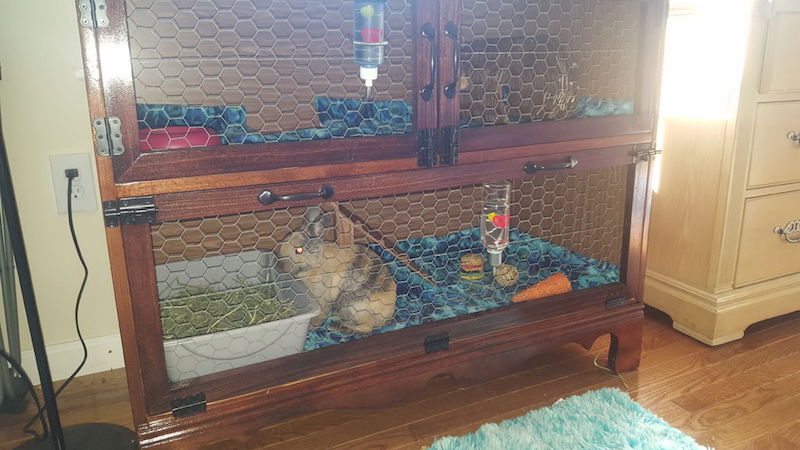
This is another optional step. The builders here wanted to remove the need for bedding in order to create less waste.
The ones featured here were sewn to fit the dimensions of the hutch and are machine washable.
Next, move your bunnies in, and watch them explore their happy new home!
Be sure to SHARE this upcycle project with your DIY-savvy friends on Facebook!


