The ball pit holds a special place in the heart of many children, and for that matter, adults who have had the pleasure of sinking into its rainbow oblivion.
Whether it's the bright colors, or the ability to make you feel like you are (sort of) levitating, a ball pit has a way of begging you to jump in.
Of course, the average ball pit is also infamously a black hole for lost objects belonging to children, not to mention lots of germs.
If you're looking for a rainy-day activity that doesn't involve exposing your child to the chaos and less-than-sanitary conditions of a public ball pit, you're in luck.
You can make your very own DIY ball pit at home. Your kids will absolutely flip, and you'll enjoy the peace of mind of knowing that they're (relatively) germ-free.
Even better, turns out that dreams do come true: making your own personal ball pit is easy enough that even newbie crafters can create one.
Thumbnail Credit: YouTube
[H/T: Imgur]
Step 1: Gather Materials

First and foremost, you are going to want to order around 2,500 ball-pit balls online. That is, unless you have a ball-pit ball connection yourself.
Fortunately, these plastic doodads are pretty cheap, they run around $30 for 200 on Amazon.
A few thousand of these might add up, but consider it an investment in your future; this activity will keep kiddos occupied all summer long.
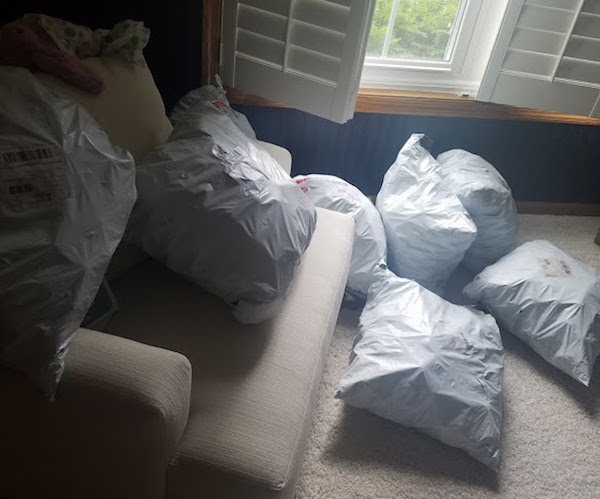
Pictured are 1,800 of the packaged balls this imgur user ordered from overseas. Be warned that a shipment this size might take a while to arrive, depending on where you order it from.
Make sure to plan accordingly, because these balls are the only thing differentiating your ball pit from an ordinary play-pen.
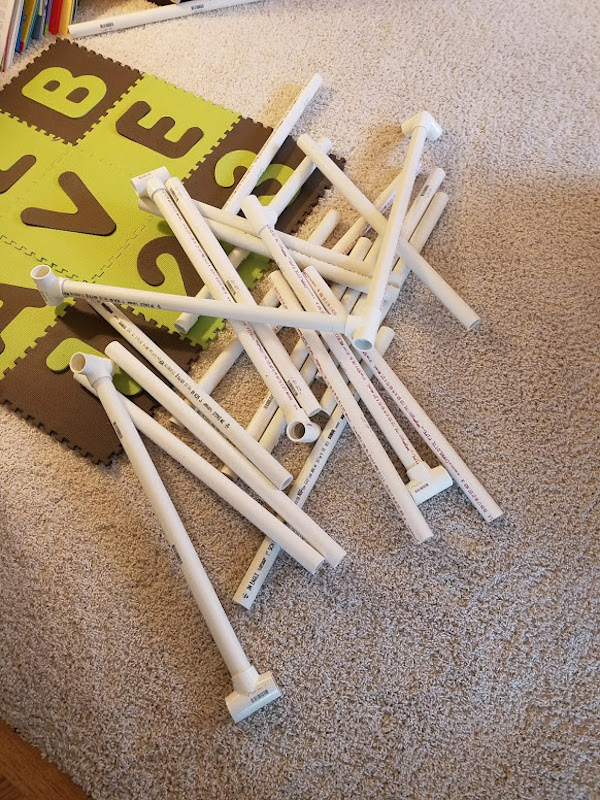
You will also need to purchase the PVC poles that will be the foundation for your pit. According to these instructions, you will need the following:
- 8 pieces of 3-way PVC connectors
- 8 pieces of 3-way corner PVC connectors
- 24 pieces of 2-foot-long PVC poles
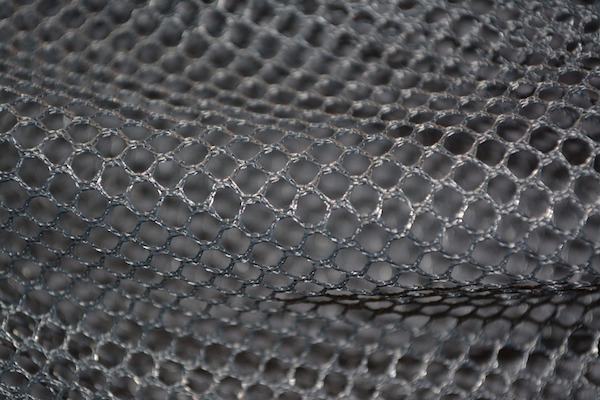
You will also need to purchase mesh fabric from your local fabric store, to contain the balls. For this model, you will require the following cuts:
-
5 sheets (2×4 feet) for the sides; one for scrap/buffer material
-
1 sheet (4×4 feet)
- 1 pack of 100 zip ties to secure the fabric to the poles
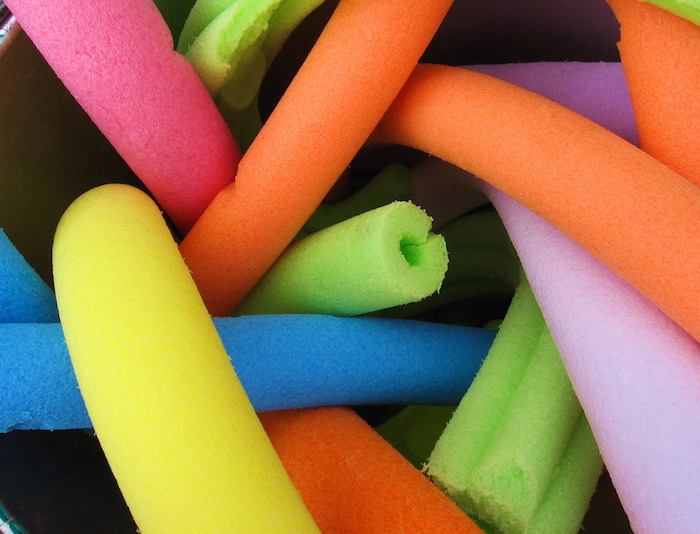
Next, you will need 4 standard-size pool noodles to help line the edges of your structure.
Adding pool noodles will create a "buffer" around the edges to protect your kids from crashing into the sides.
Plus, they're cute! Pick a few favorite colors to dress up your ball pit!
Step 2: Assemble PVC Poles
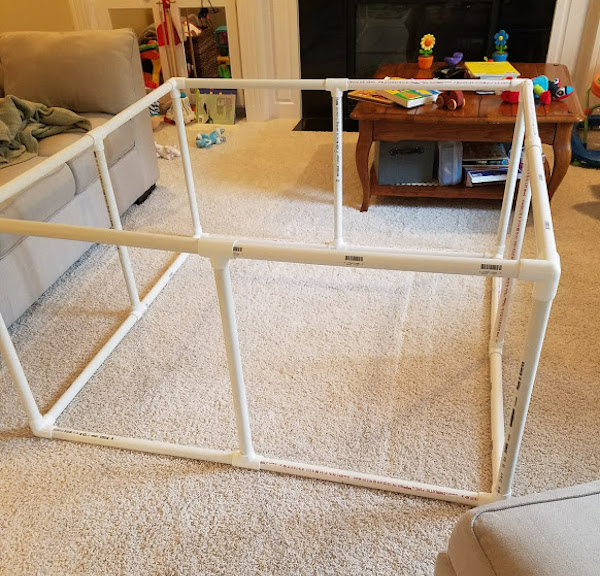
Create the foundation for your ball pit with the PVC pipes and connectors.
The 3-way connectors go along the sides, and the corner ones will help create the necessary right angle to complete the square.
When all is said and done, you should have a big, square framework.
Step 3: Line The Structure With Mesh
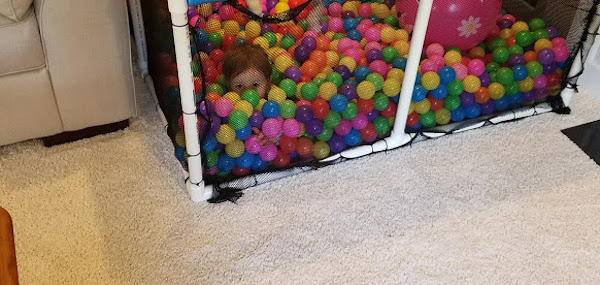
Use the mesh fabric pieces to line the pit.
Secure the mesh with zip ties, and soon you'll be able to dump the balls in!
It's OK if there's a little wiggle room. You want to make sure there's enough give for little ones to climb around inside.
Step 4: Dump In Balls And Line Rim With Pool Noodles
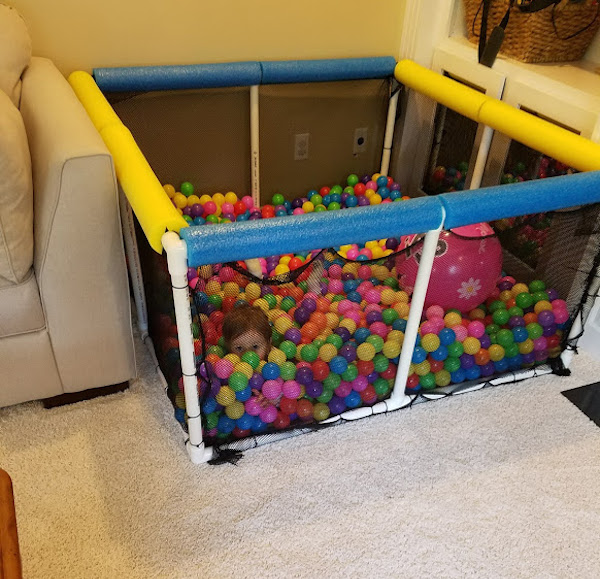
Cut pool noodles in half and then slice open longways, so they can be unrolled slightly.
Now you can line the outside of the pit, pulling the pool noodles over the PVC piping so they hug the edge.
If the balls aren't already in, now is the time to add 'em!
Step 5: Enjoy!
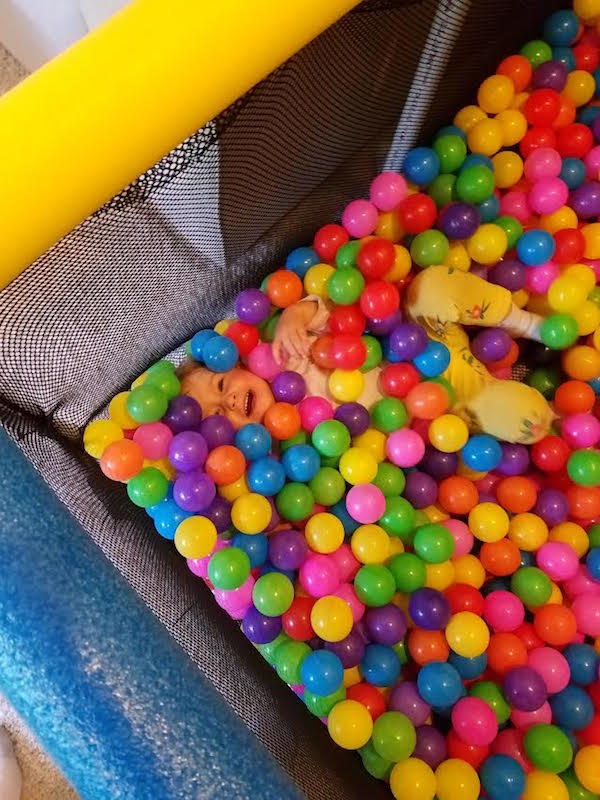
Your ball pit is done and ready to be enjoyed!
Let the kiddos loose, and enjoy the knowledge that this ball pit is parent approved!
If you love ball pits and the idea of having your very own, SHARE this idea with your friends on Facebook!


