When the weather is warm, there are certain foods that just help make us feel cool.
Some of them aren't even physically cold themselves, like corn on the cob, but it still makes you feel like you're doing summer the right way.
Next on the list are watermelon and ice cream. Both are good all year, but they taste especially sweet from June to September. If only there were a way to enjoy them both at once….
Luckily, there is a delicious, and adorable way to eat watermelon and ice cream, and the answer is these watermelon popsicles that are in all honestly, almost too cute to eat.
Of course, the stomach always wins, even if the camera has to eat first. So, while you're friends are snapping pictures of your master popsicle work, you can just sit back, relax and enjoy the show.
Learn how to make your own watermelon popsicles with these easy steps:
Supplies:
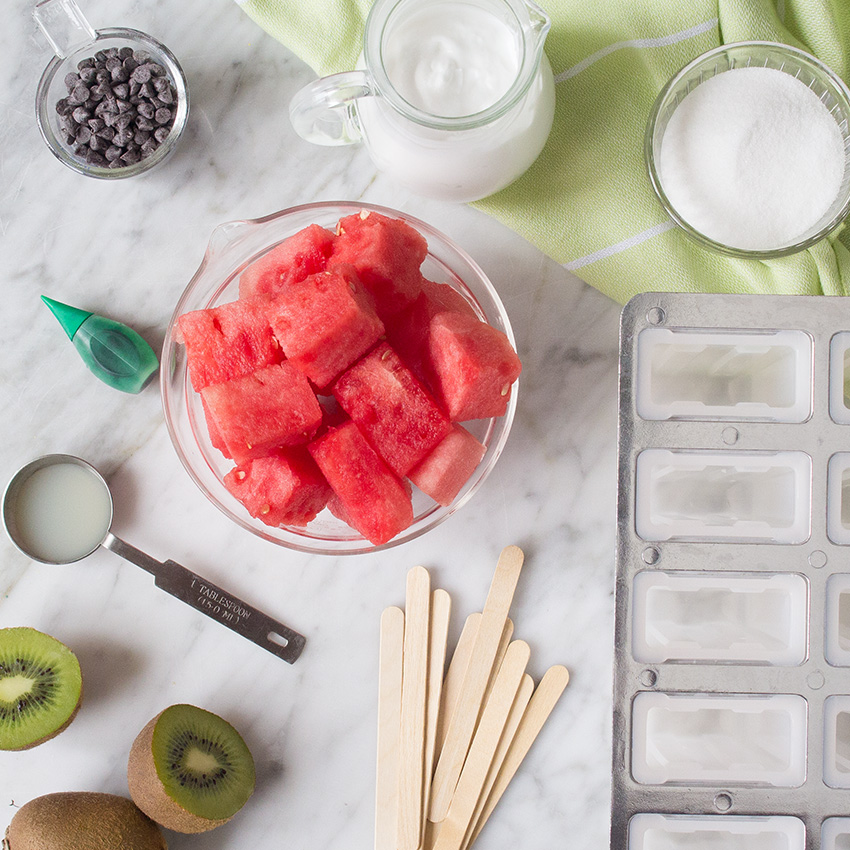
You will need:
- popsicle molds
- 3.5 cups of seedless watermelon, cubed
- 5.5 tbsp of granulated sugar
- 1 tbsp of lemon juice
- 1/2 a cup canned coconut milk
- 6 kiwis
- 1 tbsp mini chocolate chips
- green food coloring
1. Create Watermelon Mixture
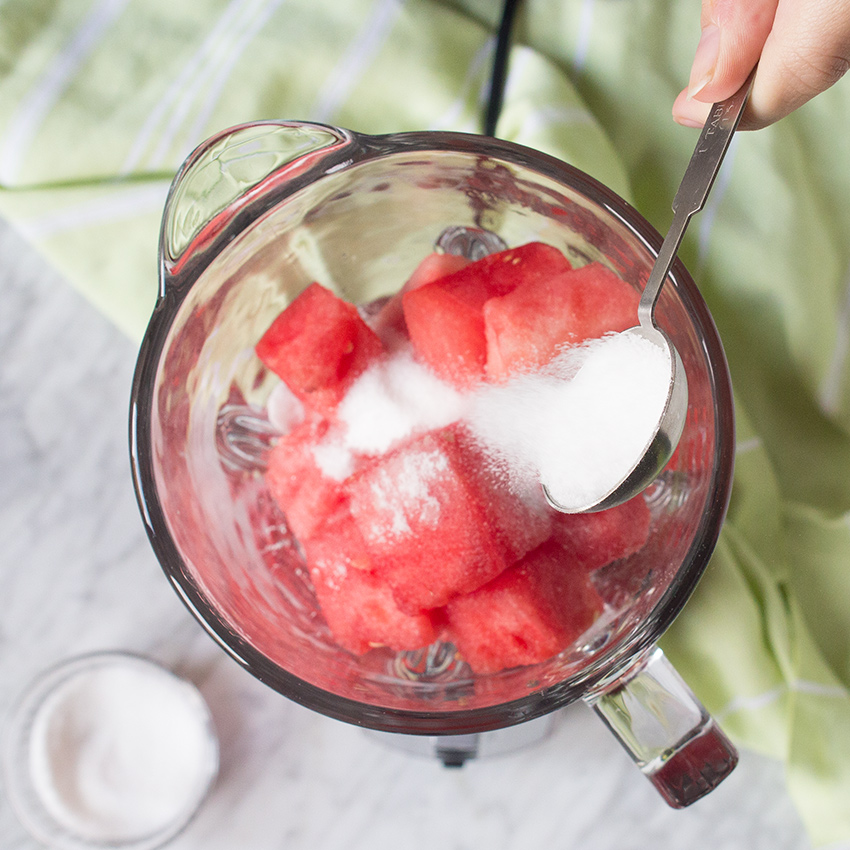
First, add the cubed watermelon, 2tbsp of sugar, and lemon juice into a blender.
Pulse the blender until the mixture is pureed. If there is foam, skim it off before the next step.
2. Pour into the mold
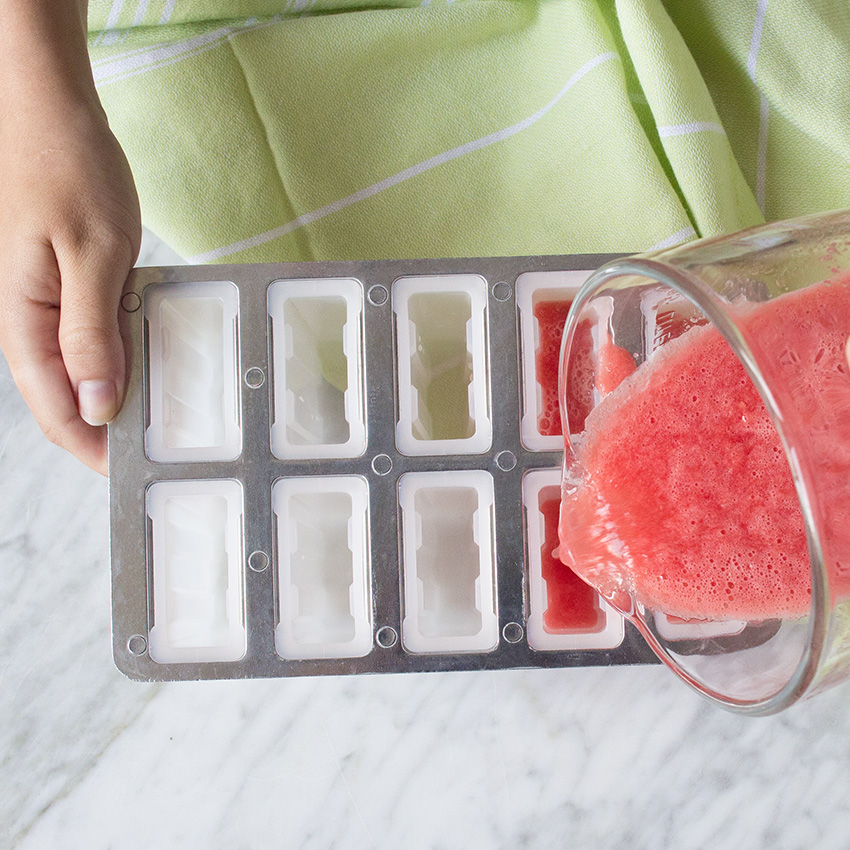
Carefully pour the mixture from your blender into the popsicle molds.
You're only going to want to fill them about 2/3 of the way to make room for the rest of the ingredients.
3. Sprinkle In Chocolate Chips
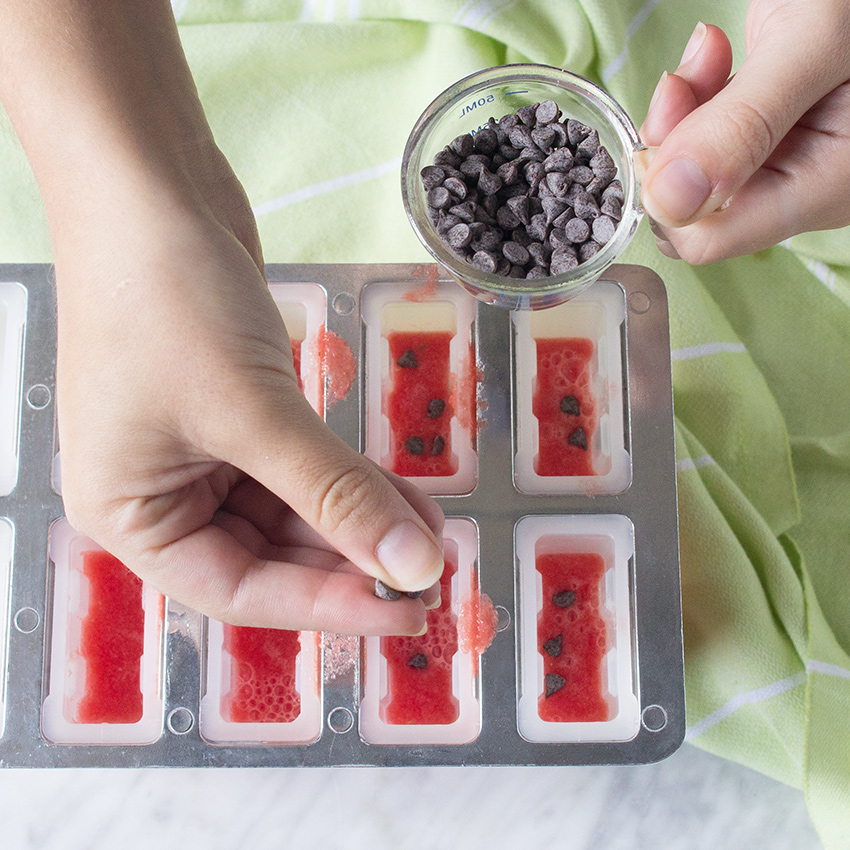
Next, sprinkle in a pinch or two of mini chocolate chips into each mold to create the illusion of seeds.
The best part is that they will taste good. If the chips all fall to the bottom, use a popsicle stick to submerge them evenly.
Tip: If you push them towards the edge of the molds, they'll be more visible.
4. Cover And Freeze
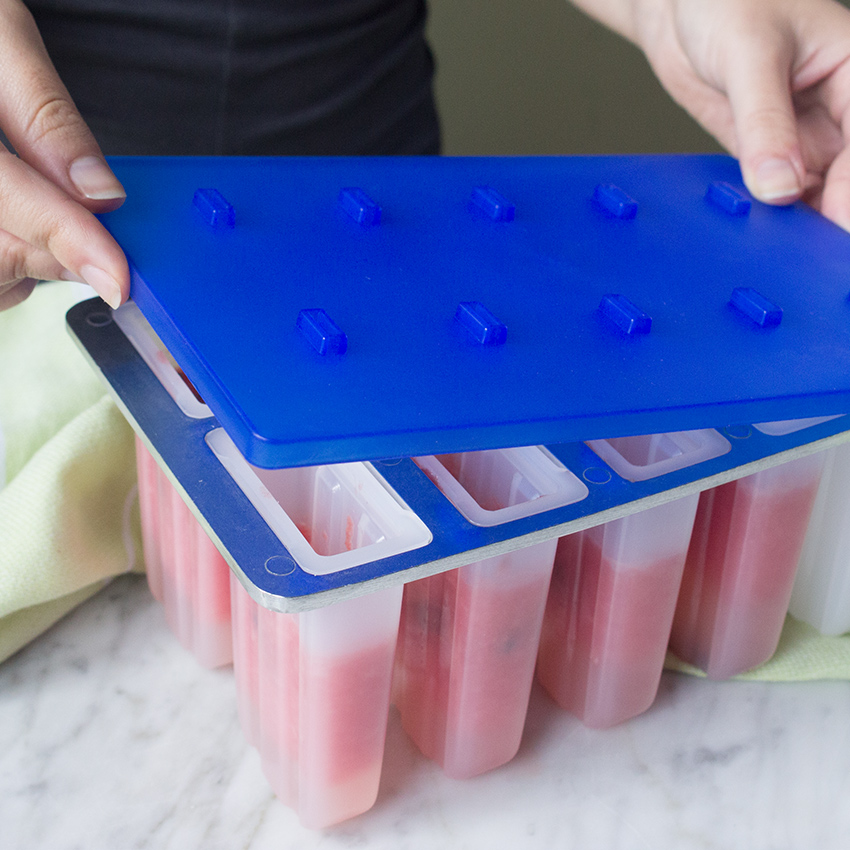
Cover the mold with the lid and slide the container into the freezer. Leave it be to freeze for about 3 hours.
5. Create Rind Mixture
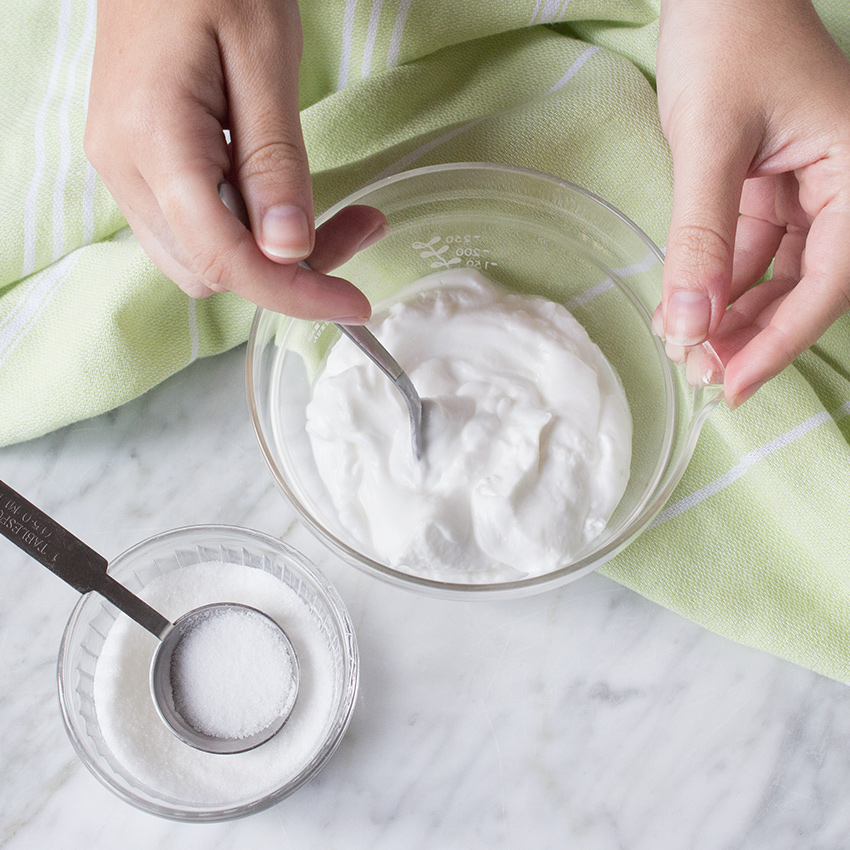
While you're waiting for the watermelon to freeze, it's time to creature the rest.
Whisk together coconut milk and 1.5 tbsp of sugar until the mixture is smooth and dissolved.
Chill the mixture for about thirty minutes before spooning into the mold. If it's too warm, it will melt the watermelon and interfere with the color.
6. Pour In Rind Layer
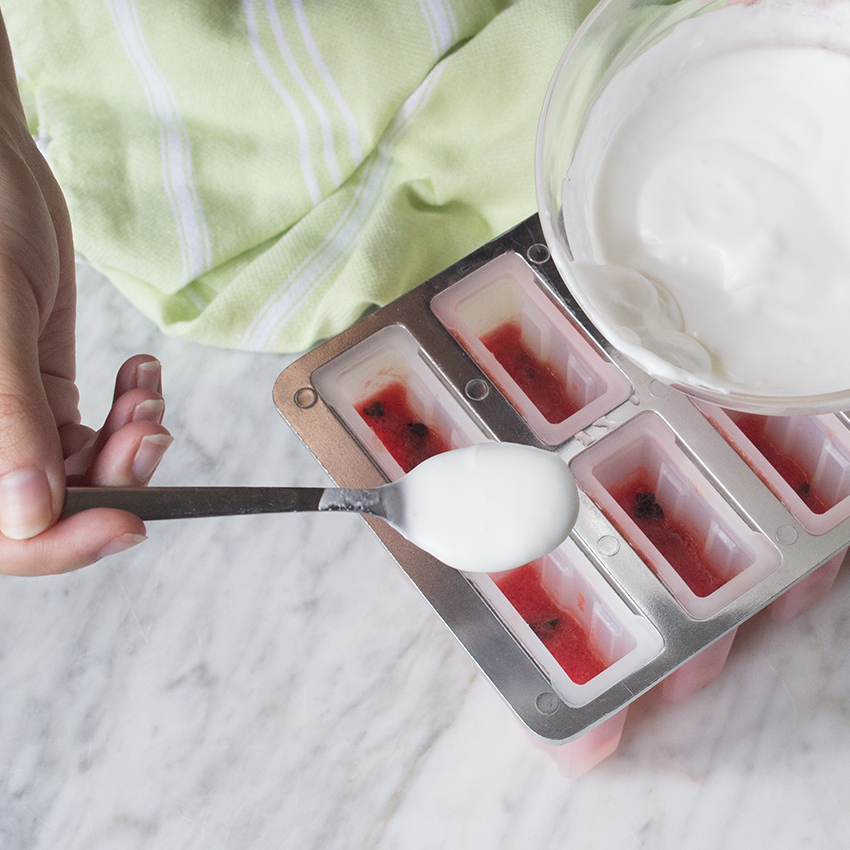
Now that the rind mixture is cooled, it's time to pour it into the mold. Pour about a tbsp each into the molds and
7. Refreeze
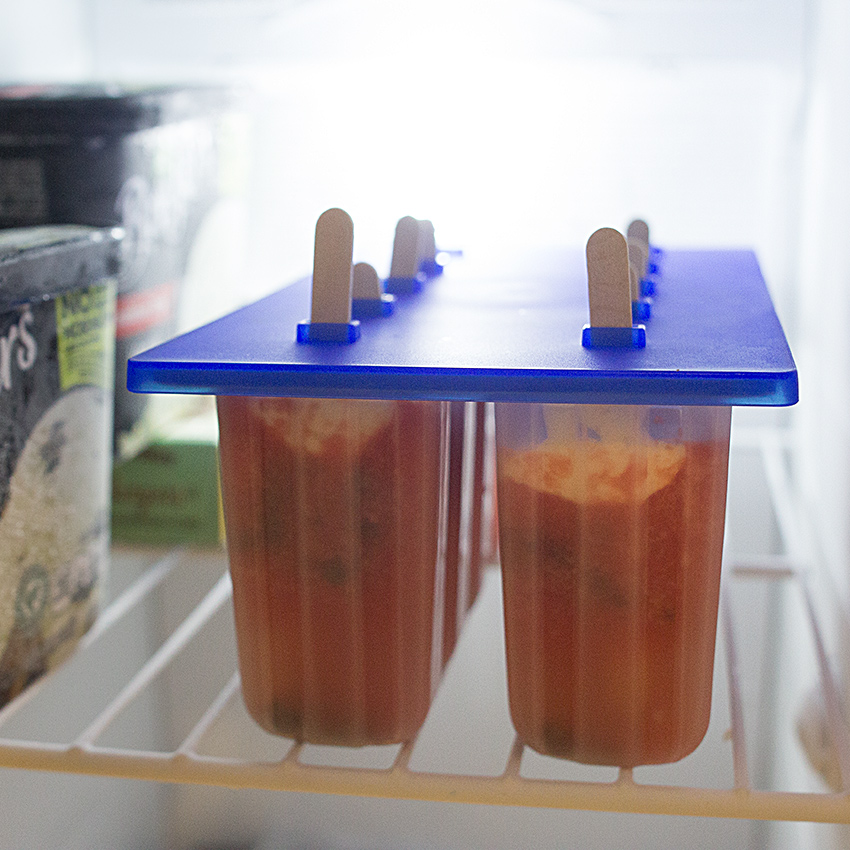
Put the popsicles back into the freezer for about 45 minutes.
8. Make Kiwi Mixture
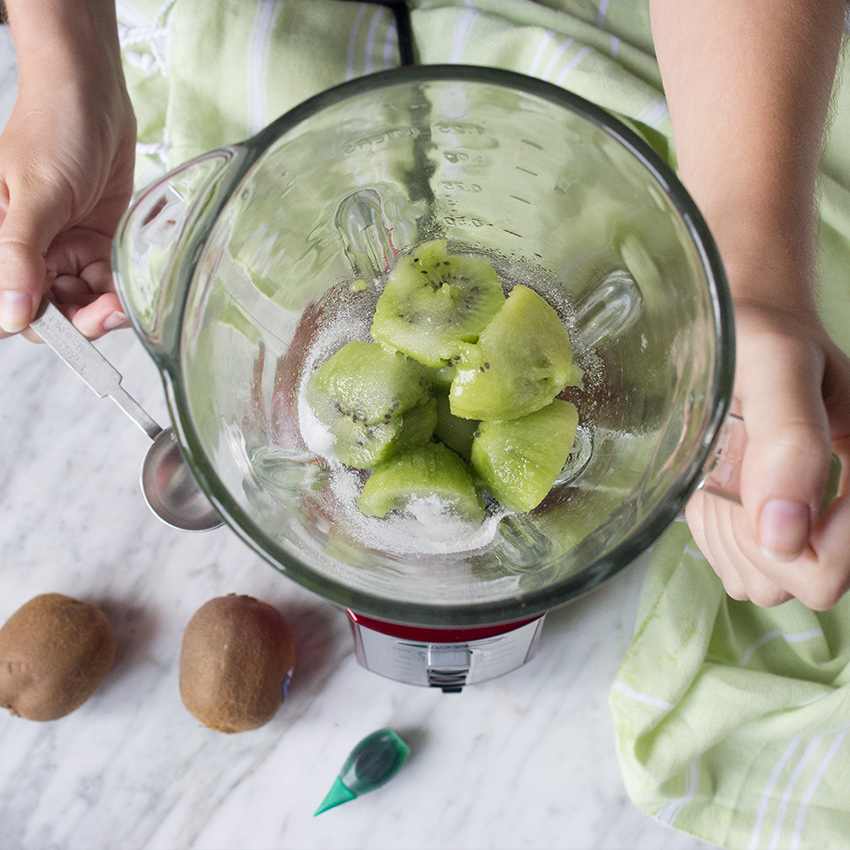
Cut kiwis in half and scoop out the contents into the blender once again. Add in two tbsp of sugar to sweeten and pulse again until the mixture is pureed.
9. Pour The Mixture Into Mold
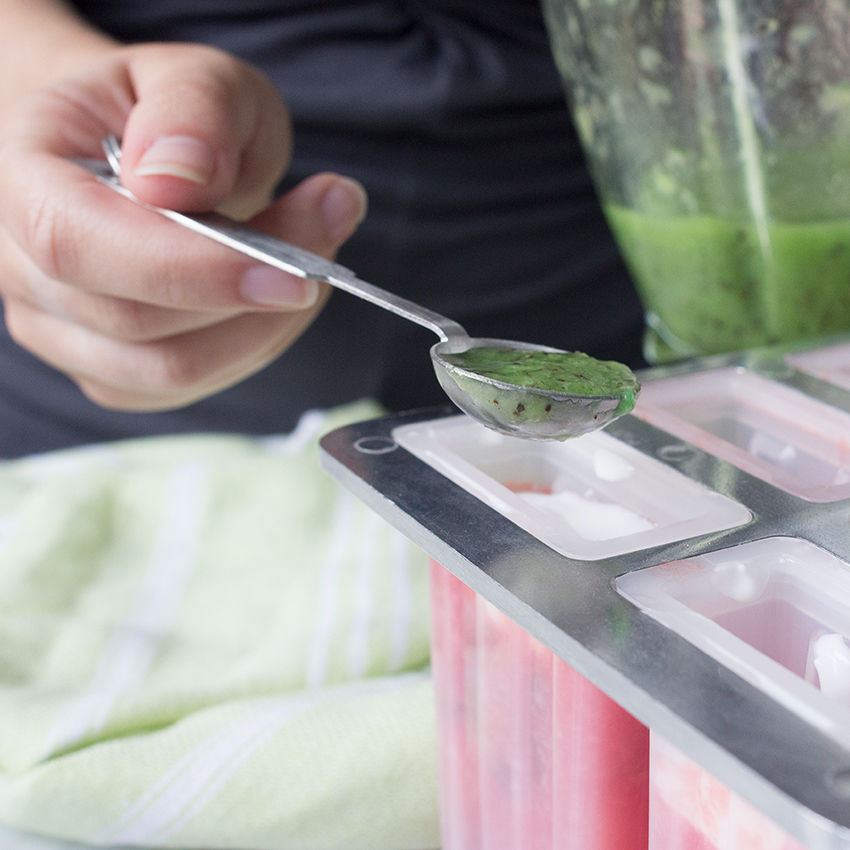
Fill the rest of the mold with the kiwi mixture to create the peel section of the popsicle.
Put the mold back into the freezer for the very last time.
10. Pull The Popsicles Out
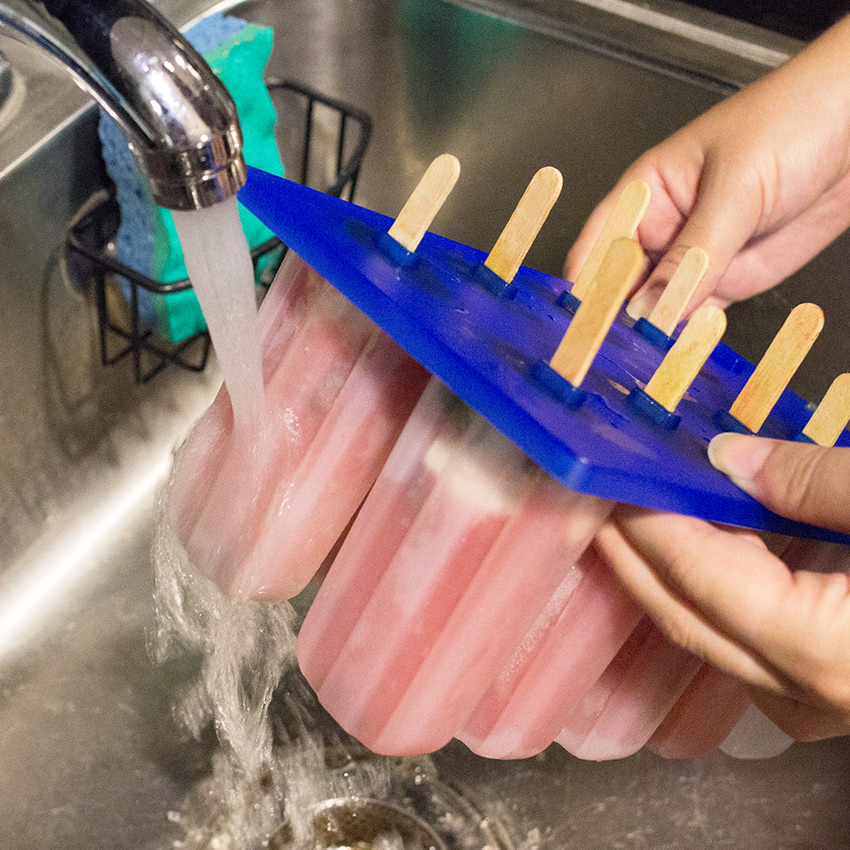
Run some warm water over the mold to help loosen the popsicles up before you get to eat them.
11. Enjoy!
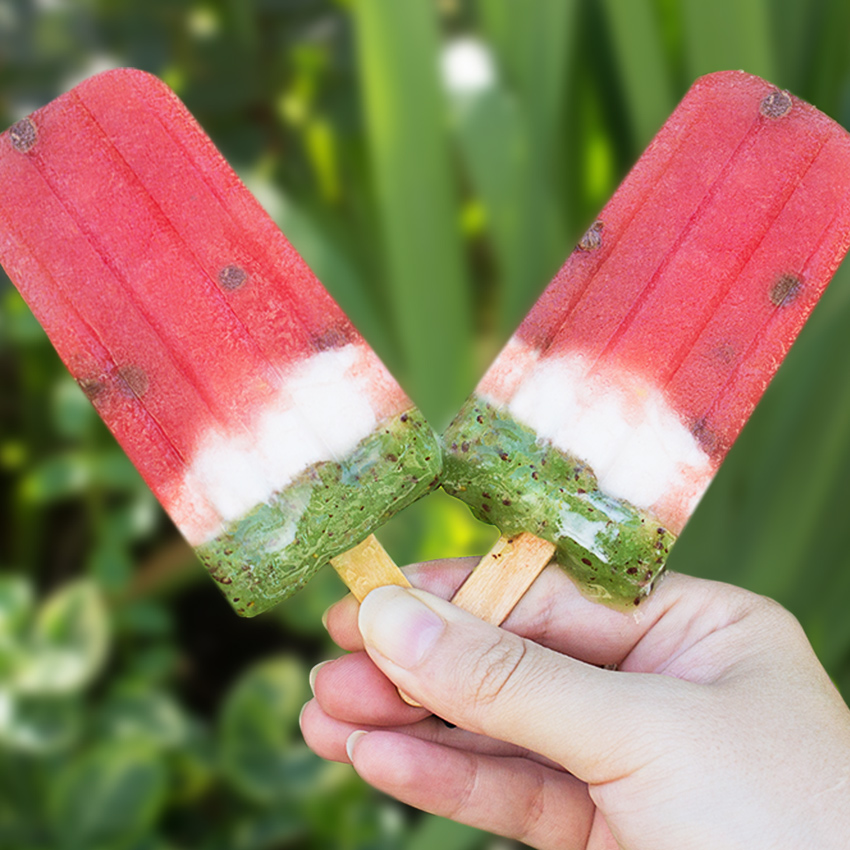
Make sure to SHARE this recipe with your watermelon loving friends on Facebook!

