I love anything and everything that has to do with redesigning and redecorating. From furniture flips to house makeovers, I think they're all fascinating.
Whether it's a makeover or a "makeunder," it's so interesting to see how much people can change their surroundings with just a little elbow grease.
One couple purchased some custom dining room chairs 20 years ago, but they wanted to upgrade them when they moved to a new home.
Instead of tossing the old chairs and buying new ones, they decided to transform the wooden seats.
Using just a few simple materials, they worked together to reupholster and completely upgrade the dated dining room chairs.
They explained:
We’ve had so many experiences in these chairs. It’s been in this dining room where we’ve shared food with special people in special days: birthday parties, weddings, baby showers, Christmas, welcome home parties and so much more.
In the last few years a lot has happened, we moved from a 70-year-old house to a brand new modern style house. And although we've been replacing our furniture to match the style of our new house, these chairs are in great shape and hold so many memories that I decided to keep them and change their style.
Keep scrolling to see the complete chair makeover!
[H/T: Instructables]
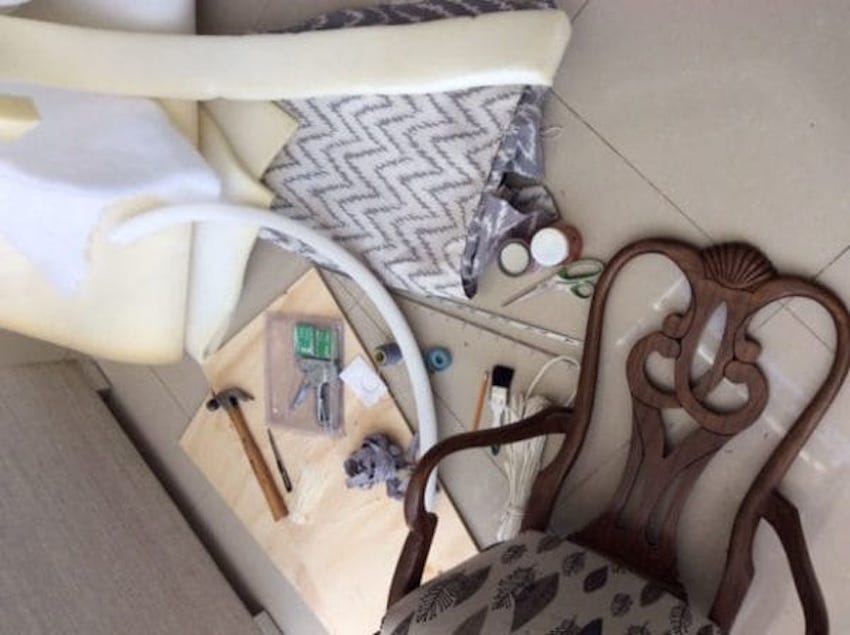
The couple shared their work on Instructables, where they explained every step of the process. They wrote:
If you already have some chairs that need an upgrade, or you can find some at a thrift store or garage sale, you’ll find this instructable useful.
Although I've been making a lot of stuff around the house for years, this is my first upholstery project and also my first time documenting a project and sharing it. I hope you find it useful.
Using a variety of supplies —from fabric and foam to buttons and zip ties — they transformed the chairs one step at a time.
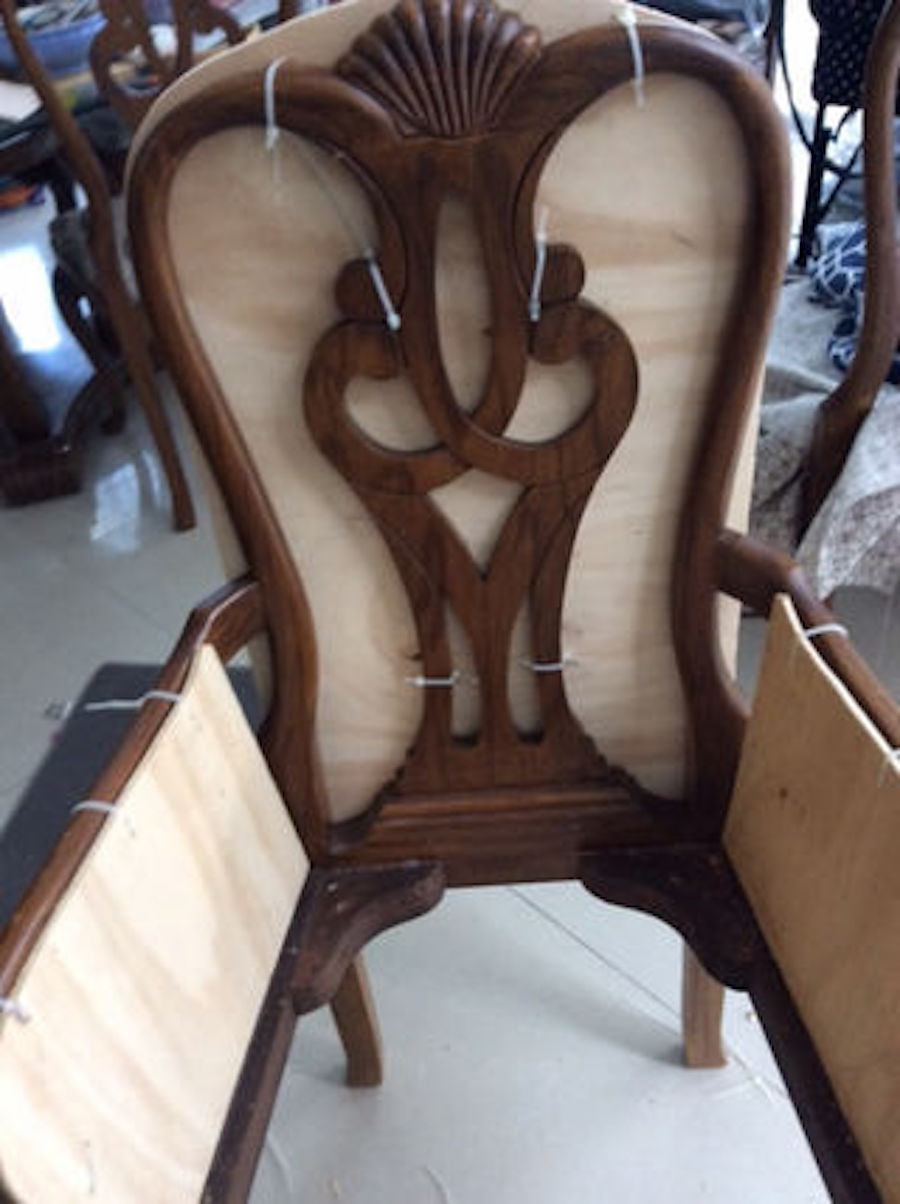
I cut a piece of wood the size and shape of the backrest. Then I made some marks with the pencil to drill and attach zip ties.
I also marked where I want the buttons and drilled those too.
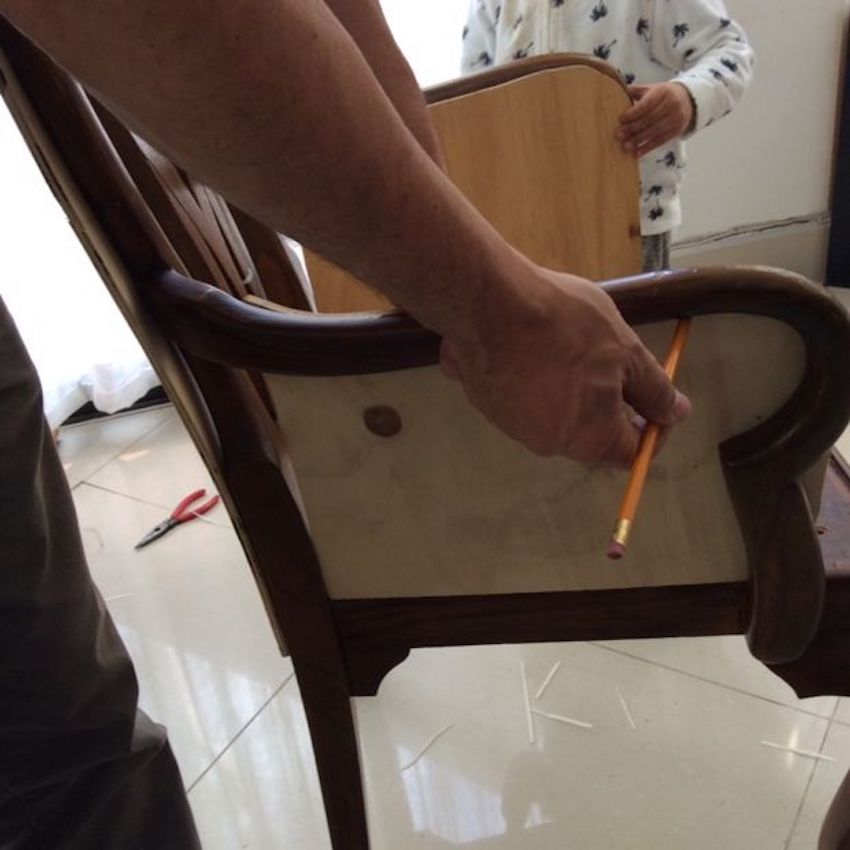
I also cut two pieces of wood to cover the armrests and also secured them in place with zip ties.
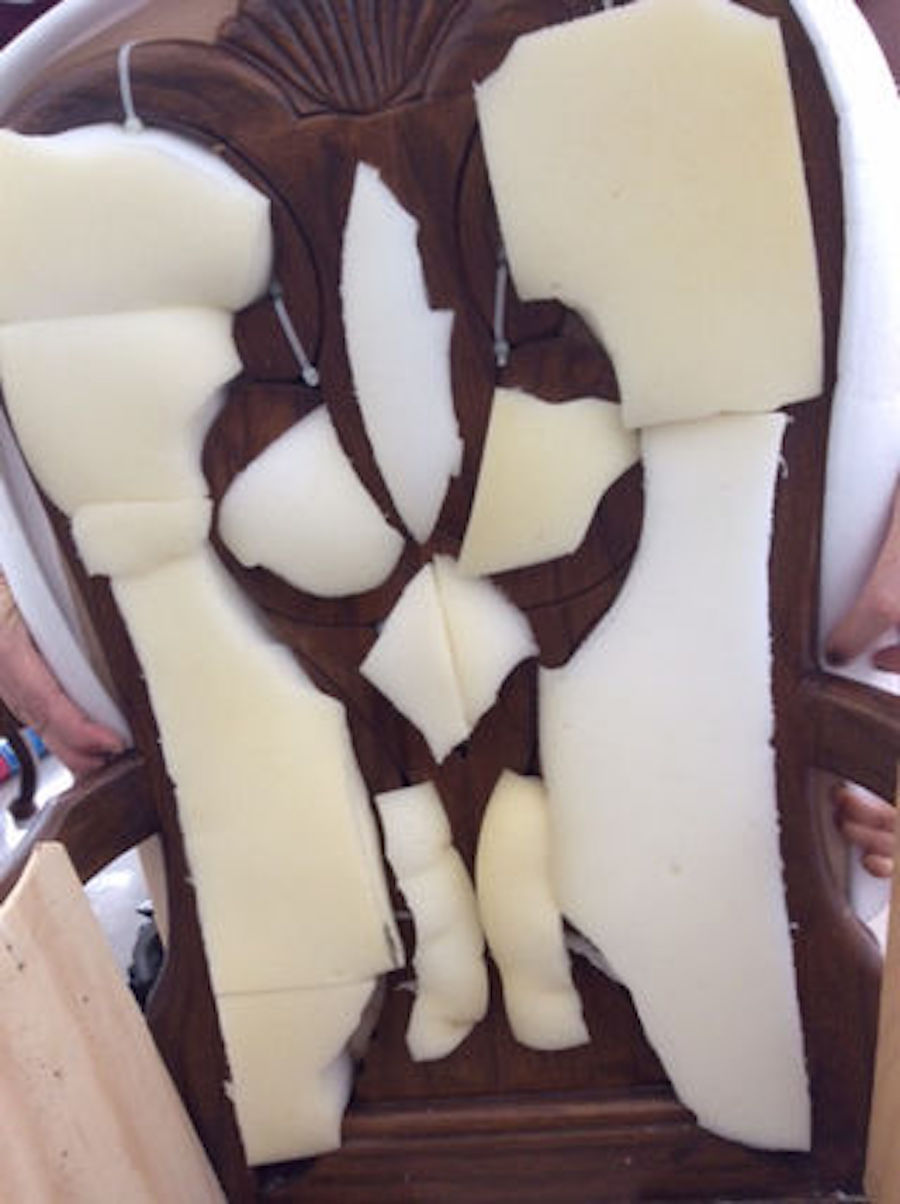
To cover the backrest with foam, I had to cut several pieces of 1 inch foam to fill the spaces between the original wood. I used upholstery glue to glue the foam to the backrest.
To give it a more professional finish, I stapled the edge foam at the top of the backrest.
Then I used a thinner foam to cover the backrest at the side that will have contact with the body, and stapled it at the back. Then I cut all the extra foam.
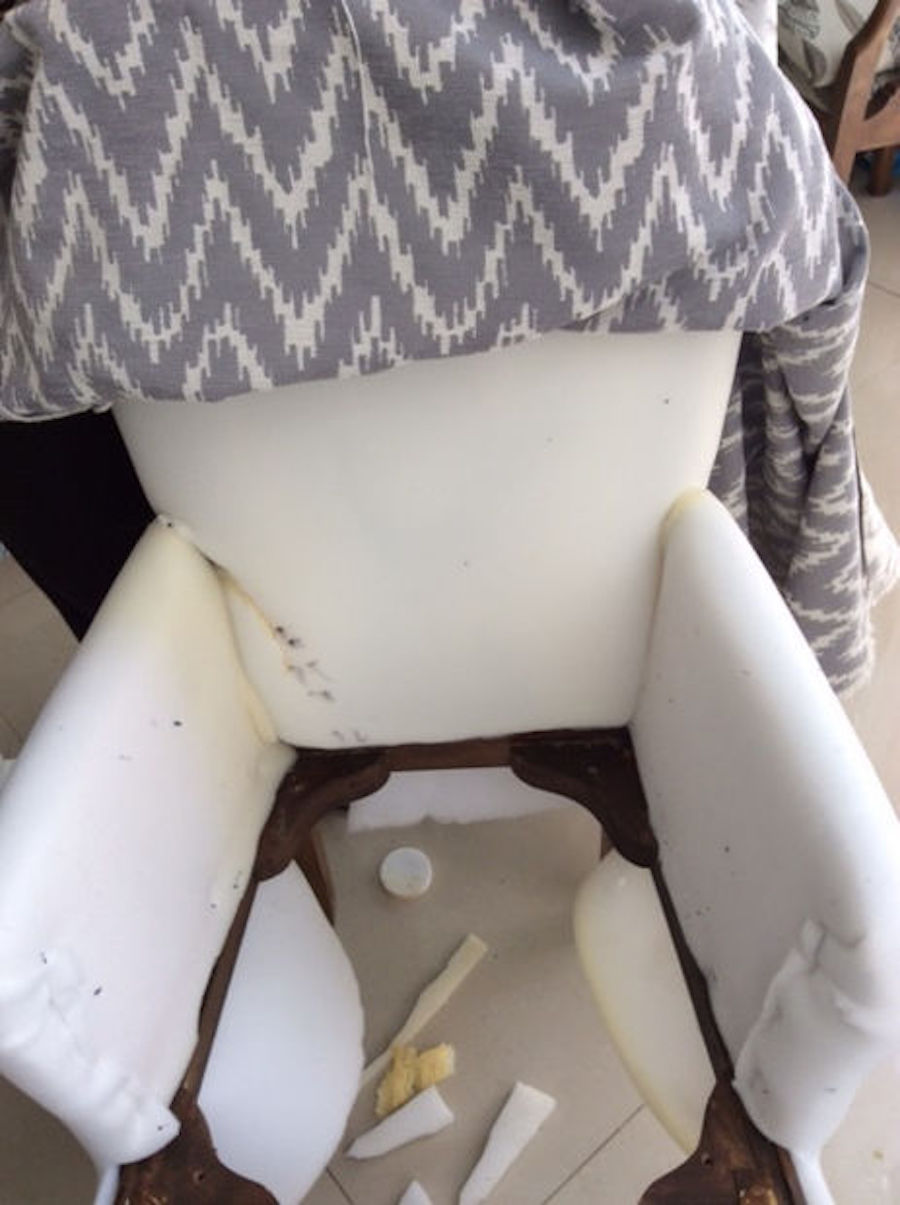
Then I started covering the backrest with the fabric. First I placed it making sure the pattern of the fabric was centered. I stapled it tightly at the back, first one side, then the other side, finally the top.
Because it has round corners I made three folds in the fabric and stapled each fold.
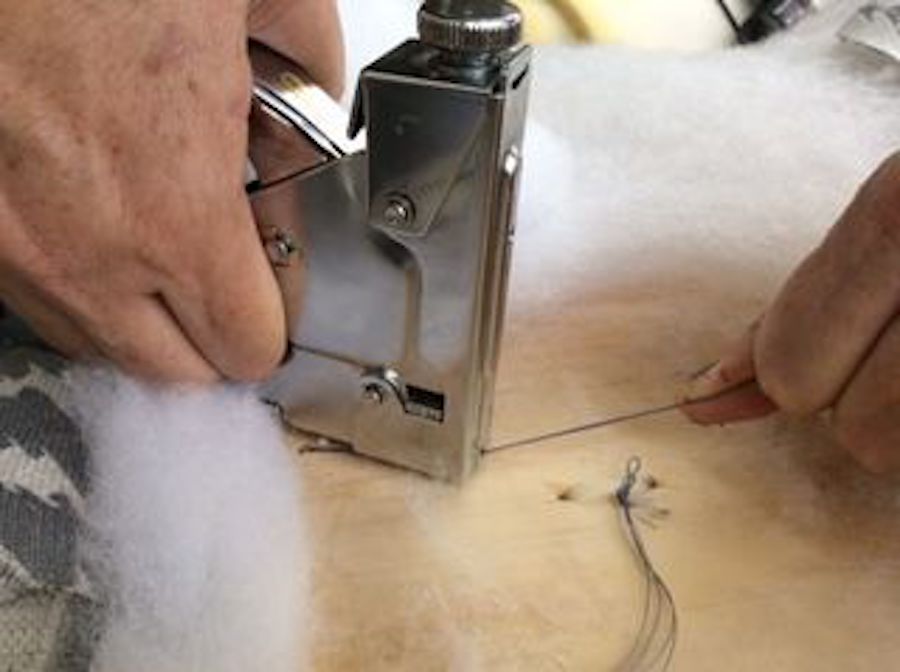
Then I added the buttons. First I used a thin drill bit to manually make a hole in the fabric and foam.
To make them tight you'll have to use a strong thread and staple it at least three times in different angles.
At this point, use the upholstery glue to stick some wadding to the back rest.
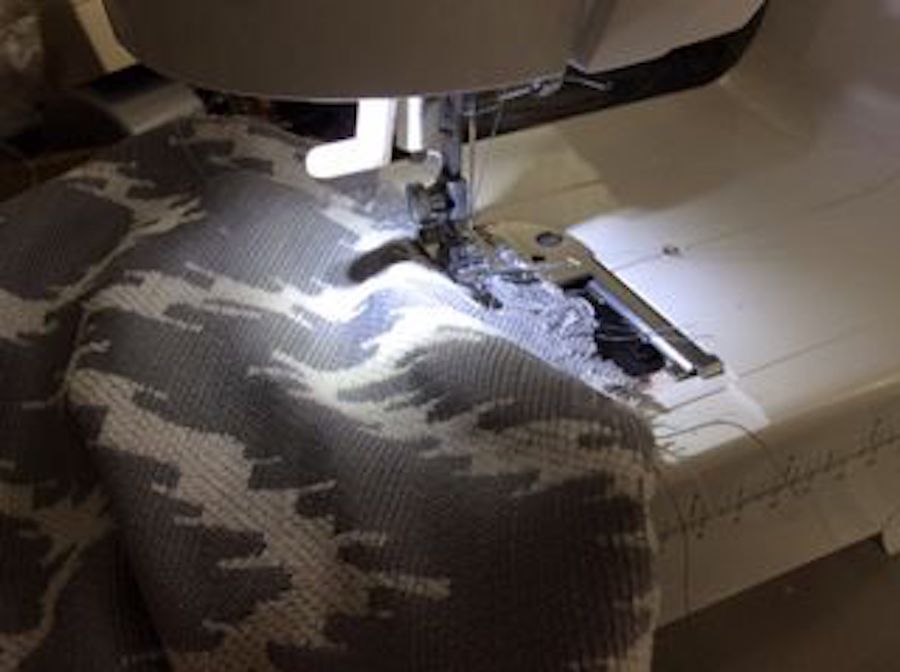
I put the fabric wrong side up, on top of the armrests and made a seam by hand at the curve and the front. Then I used my sewing machine to sew it.
I chose a fabric that is not too thick so that I could use my regular sewing machine.
Make sure you have enough extra fabric at the back because it will have to be stapled at the backrest.
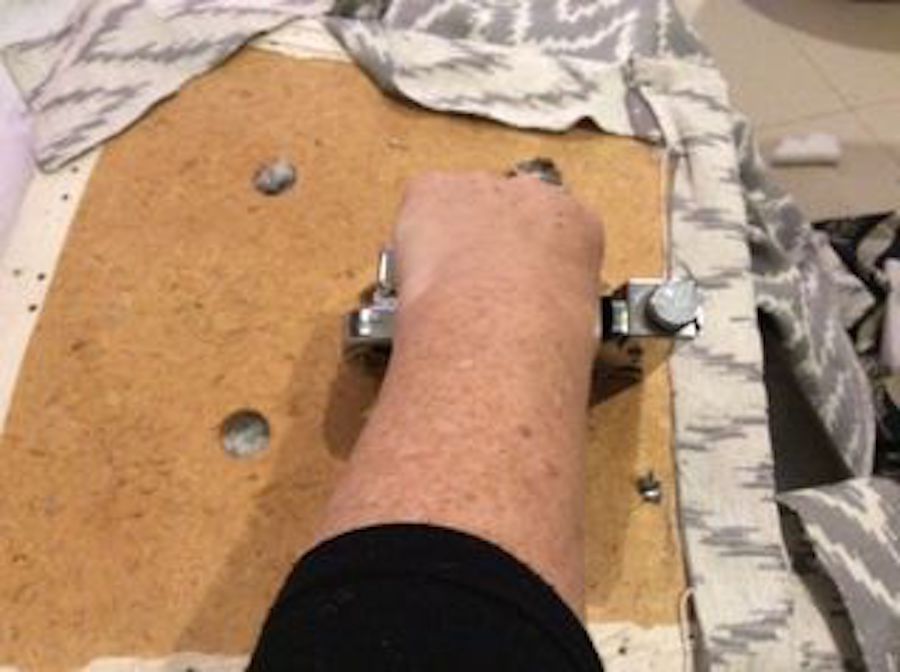
Before covering the seat with fabric, I cut the old fabric.
Then I covered the seat with a layer of wadding.
I had to make a seam at the front corners so that it will have a nice finish.
And stapled the new upholstery. I made sure I had extra fabric and wadding at the front side for next step.
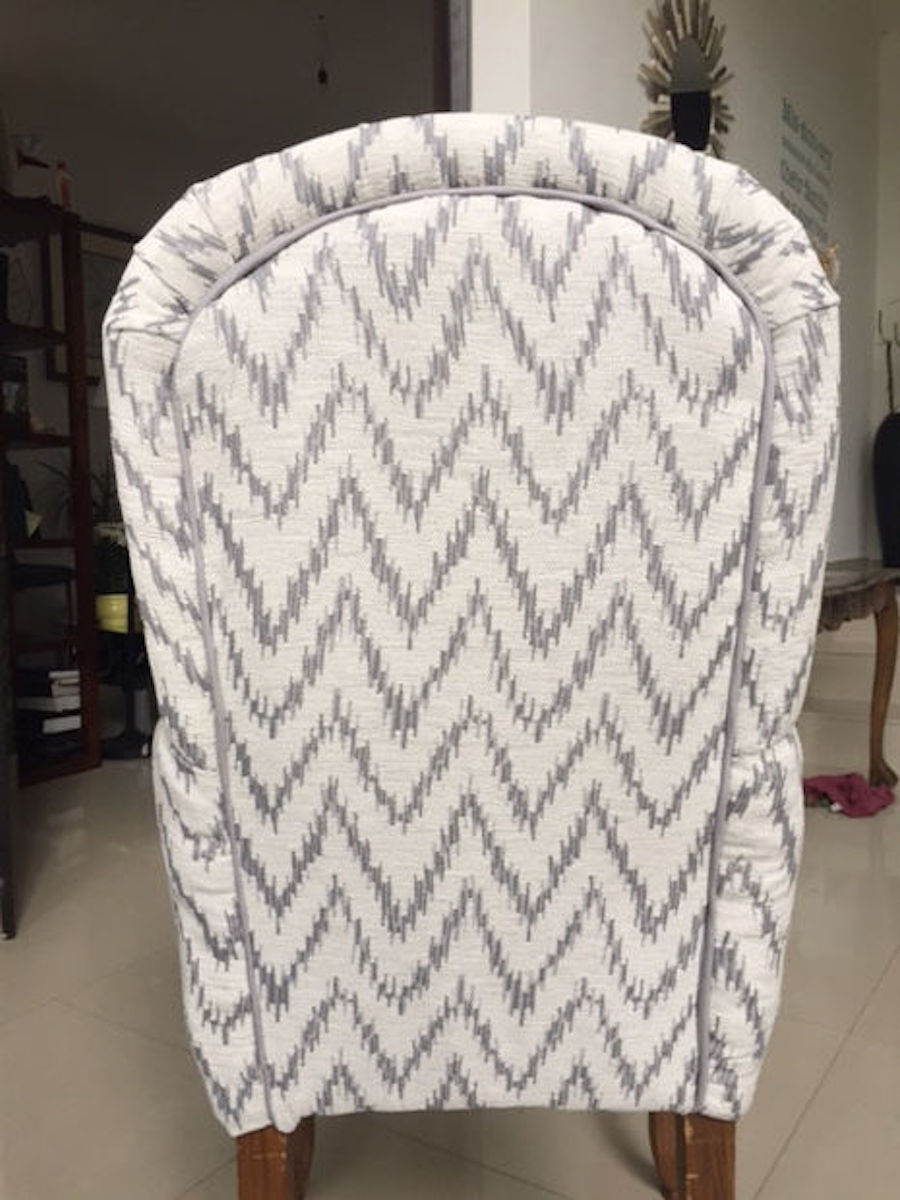
Then I assembled the chair.
I stapled the wadding and fabric from the front side at the bottom of the chair.
I had to make some cuts to fold the fabric at the top of the legs. Then continue stapling the fabric from the armrests at the bottom of the chair.
I used my sewing machine to make some piping. Although this step is not necessary, it will make the chair look more professional.
To cover the last part of the back, I stapled the top part. Then at each side I used a tack strip. I've never used this tool before, but it is easy and it looks great.
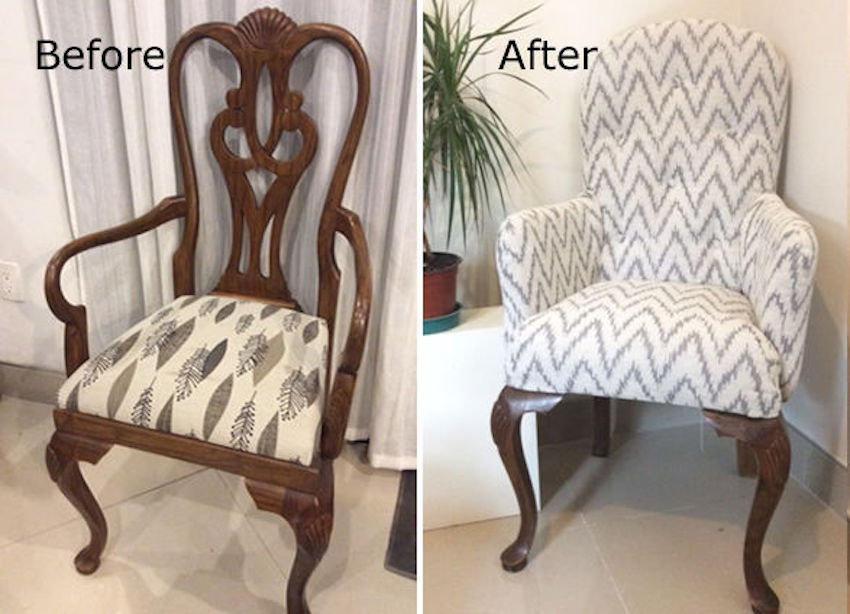
What do you think of this incredible chair transformation?
If you love furniture flips, please SHARE this article with your friends!


