Graduation day is approaching! If you're planning a big bash for the grad in your life, there are some fun ways to spice up the party.
From gifts, food, decorations, and more, there are plenty of store-bought options. While I'll spurge when necessary, I personally love creating homemade decor, especially when I have most of the items already lying around my house. Ever since I saw a gorgeous DIY cupcake stand at a friend's party, I knew I had to make one of my own — and what a better time to start crafting then for an upcoming graduation party.
As you'll see in my tutorial below, I put my own unique twist on it by putting a "graduation cap" at the top of the stand. But you can adapt your cupcake tower to fit your party's theme or pattern.
When you have all the materials ready, it is very easy and quick to make.
To make this stand, you need the following supplies:
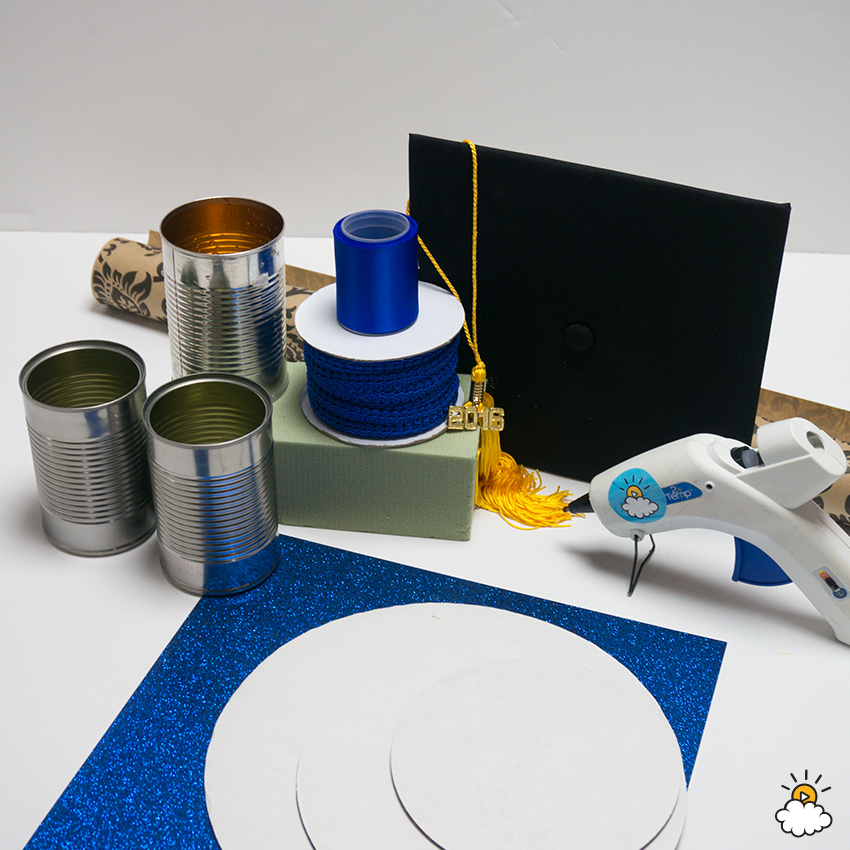
- 3 tin soup cans
- 3" ribbon
- 3 cake boards (8-inch, 10-inch and 12-inch)
- Decorative wrapping paper or Cardstock
- Braided gimp trim ribbon
- 1 FloraCraft dry foam block
- Hot-glue gun
- Graduation cap and tassel
1. Using the 8" cake board as a guide, cut out a circle on the wrapping paper.

Repeat this step with the 10" and 12" cake boards.
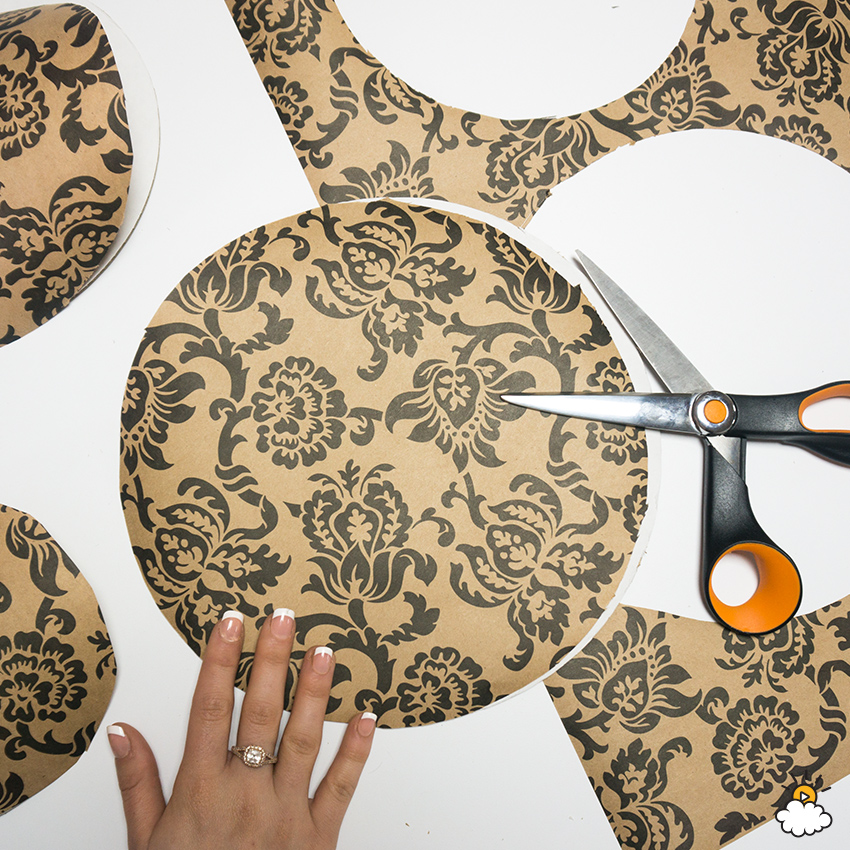
2. Glue the wrapping paper to the cake boards.

3. Measure the cardstock, so it is the correct size to wrap around the tin cans. Trim away any excess.
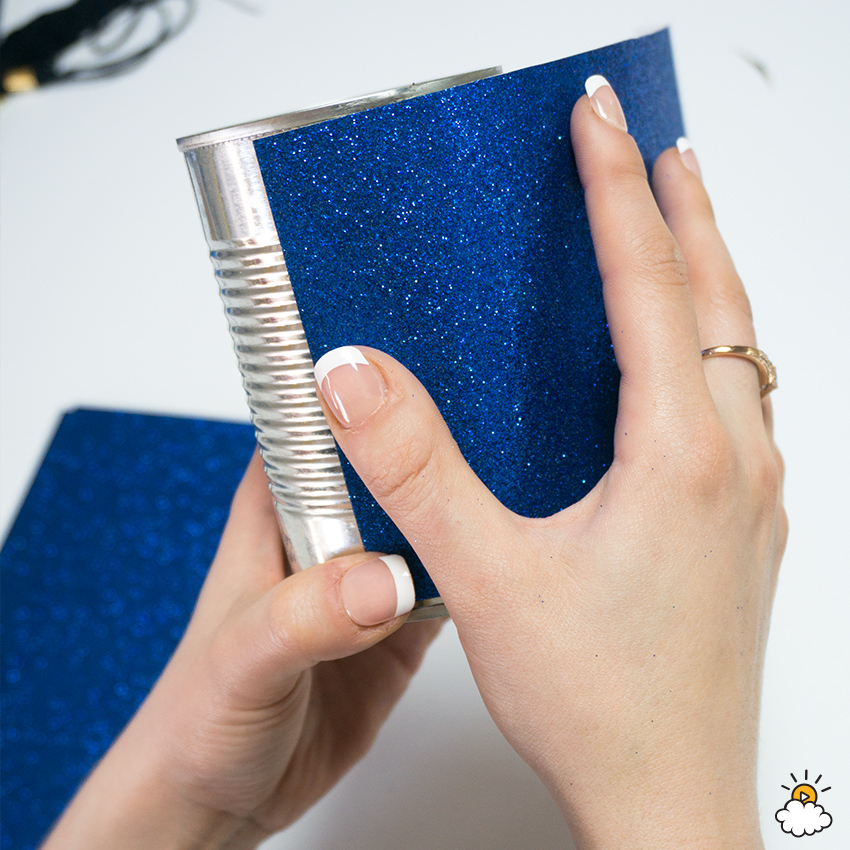
These were old soup cans from the previous night's dinner. They're perfect to upcycle for this project.
4. Glue the cardstock to the three cans.
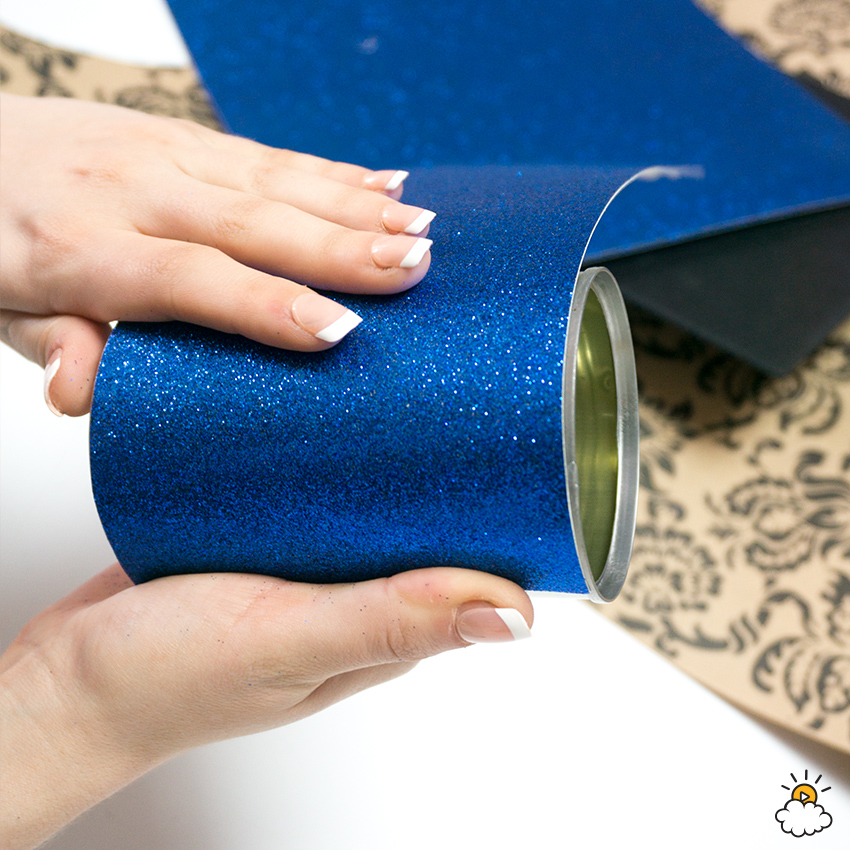
5. Next, paste the large decorative ribbon completely around the largest cake board (12").
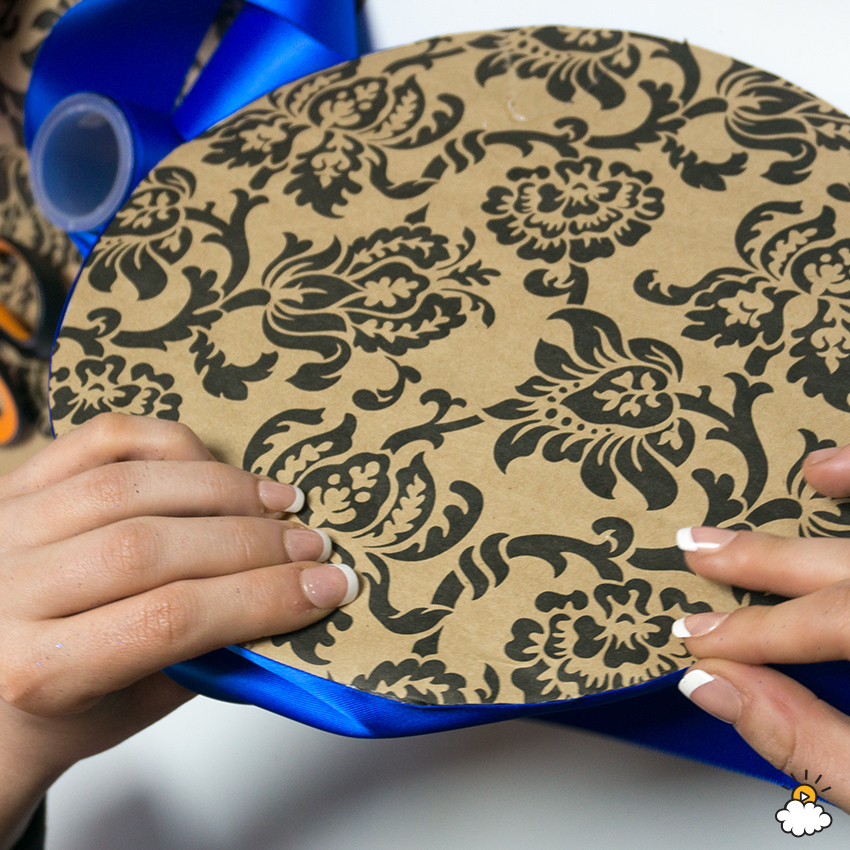
(Do not apply this ribbon to the other two tiers.)
6. Next, glue the braided gimp trim ribbon to the sides of all the cake boards.

On the largest bottom tier, you'll want the gimp trim sitting on top of the thick ribbon. (See above.)
7. When dry, glue the dry foam block to the 12" cake board. This will serve as your base to keep the stand sturdy.

8. Starting with the bottom 12" tier, securely glue one can in the center.

9. Grab the 10" cake board. Squirt the hot glue on the tin can and place the cake board on top. Continue with the 8" cake board until you have three tiers.

10. Secure the final tin can to the top, making sure the can't opening is facing upward.

To complete the look, place a graduation cap on the top-tiered can to complete the cupcake stand, stuffing an excess material into the tin can.
The final product beautifully displays all my sweet cupcakes.

Will you be giving this a try at your next party? Let us know in the comments.
And if you love fun craft ideas like this one, please SHARE!


