Some DIY projects take longer than others.
New England-based Imgur DIY-er MaxeyMoxie had long yearned for a kayak of his very own. He dreamed of paddling out along the shores of Cape Cod in a handmade vessel of his own making. Back in 2013, this DIY-er decided it was about time he began turning this dream into reality and started construction on a gorgeous, wooden kayak. He had previously built a wooden canoe.
However, building a kayak was a whole different ball game. Additionally, this DIY-er had helpful guidance when building his canoe — assistance he wouldn't have this time around.
After 30 months of diligent construction, this DIY-er fashioned himself a sea-worthy kayak, perfect for paddling along the New England coastline. He set a goal, formulated a plan, and worked daily to transform his dream into reality.
Keep scrolling through our gallery to learn more about how this DIY-er built his beautiful wooden kayak.
A few years ago, Imgur DIY-er MaxeyMoxie dreamed up a plan. He would build his own wooden kayak, perfect for paddling along his native New England's shoreline.
He'd previously built a wooden canoe with guidance, but had never before attempted a solo kayak-building mission.
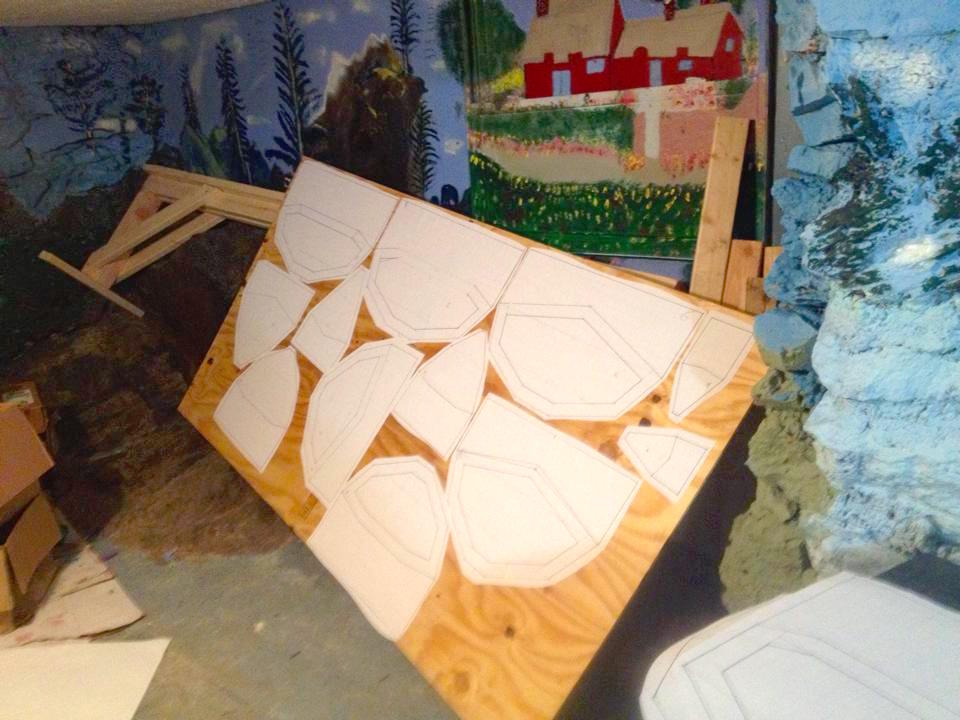
This DIY-er immediately began searching the internet for a viable kayak design. Once he found plans that suited his fancy and properly transferred them onto graph paper, he got to work cutting out his station moulds from plywood.
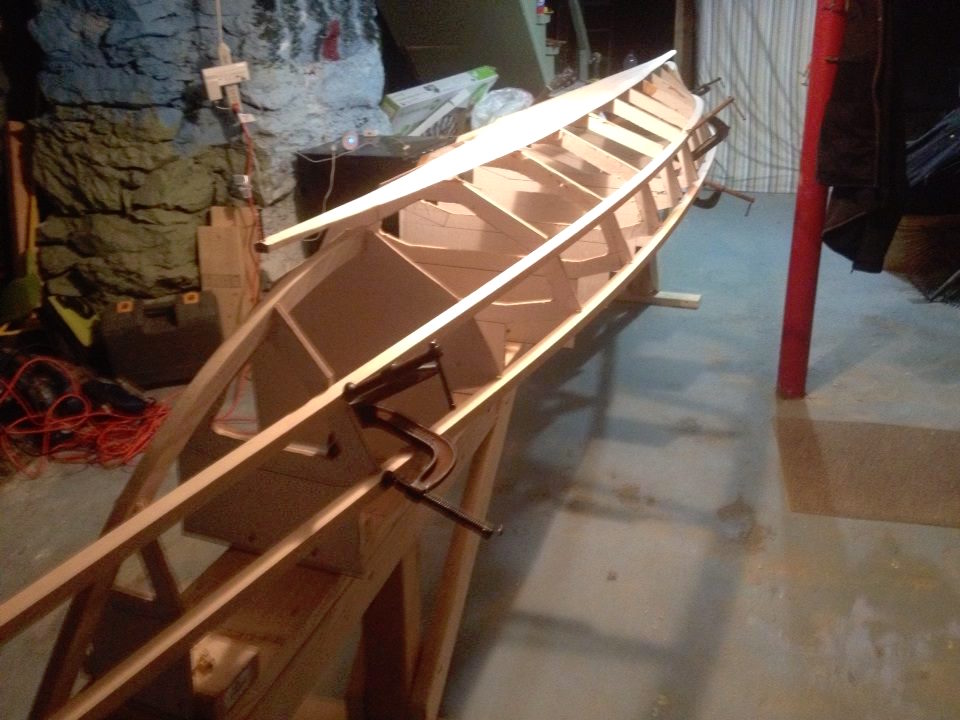
He attached the station moulds to a strong back for added support.
This DIY-er then began construction on the kayak itself with the boat's spine. He chose to make the spine out of spruce for added strength.
Next, he cut holes in each station mold so that he'd be able to clamp pieces of the boat together as he built the vessel's remaining components.
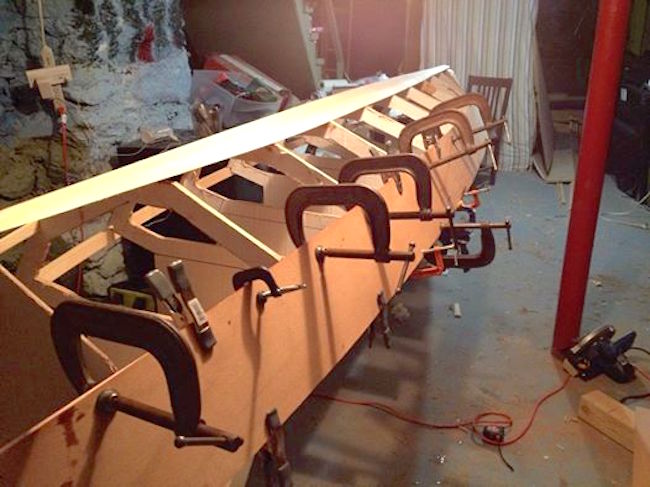
Once he had all of the kayak's plywood in place, this DIY-er used a stitch and glue technique to solidify the boat's structure. He "stitched" each piece of plywood to the next with copper wire and then spread epoxy over the entire vessel.
After the epoxy hardened, he removed the copper wire.
He then sanded, stained, and fiberglassed the boat's bottom, ensuring this vessel would weather years of wear and tear.
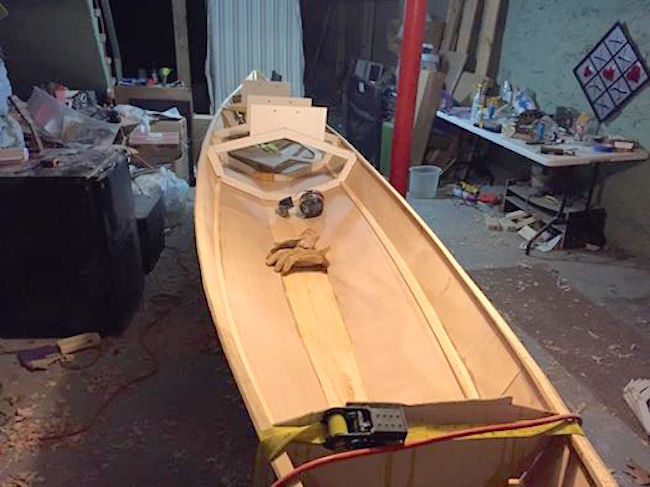
Next, this DIY-er detached the station molds from the strong back and flipped over his kayak.
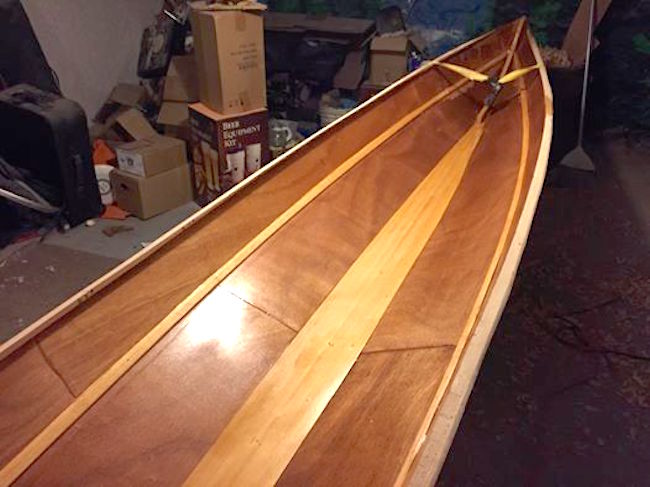
He carefully removed each station mold from the kayak and then sanded, stained, and epoxied the boat's interior.
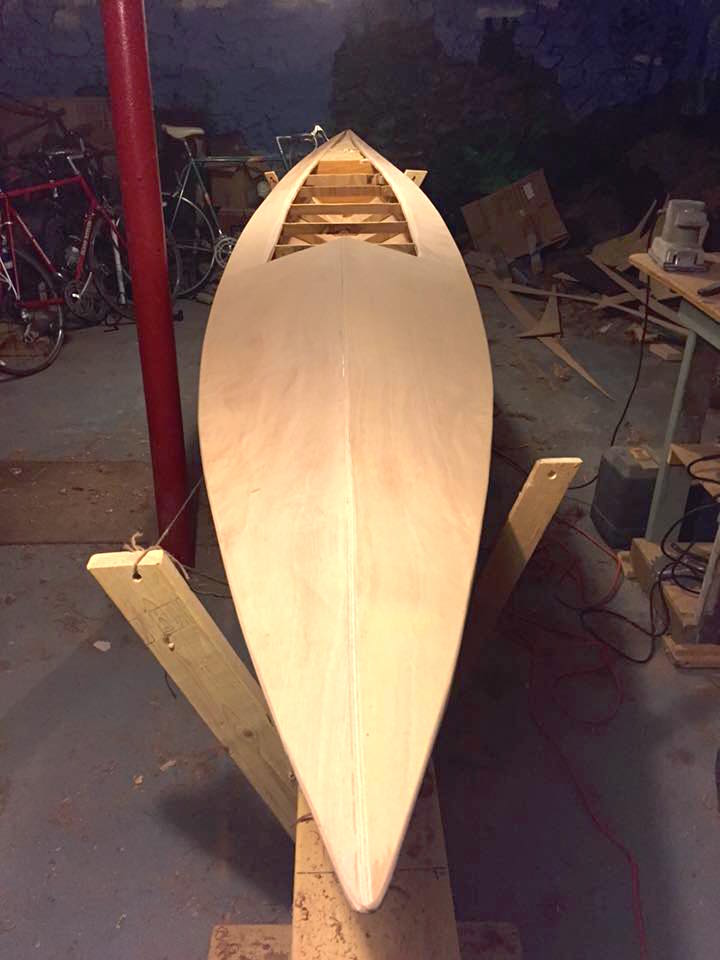
Once the boat's undercarriage's structure was set, this DIY-er turned his attention to its decking.
He added marine-grade styrofoam underneath the boat's decking, ensuring any rider would be safe during even the roughest of storms.
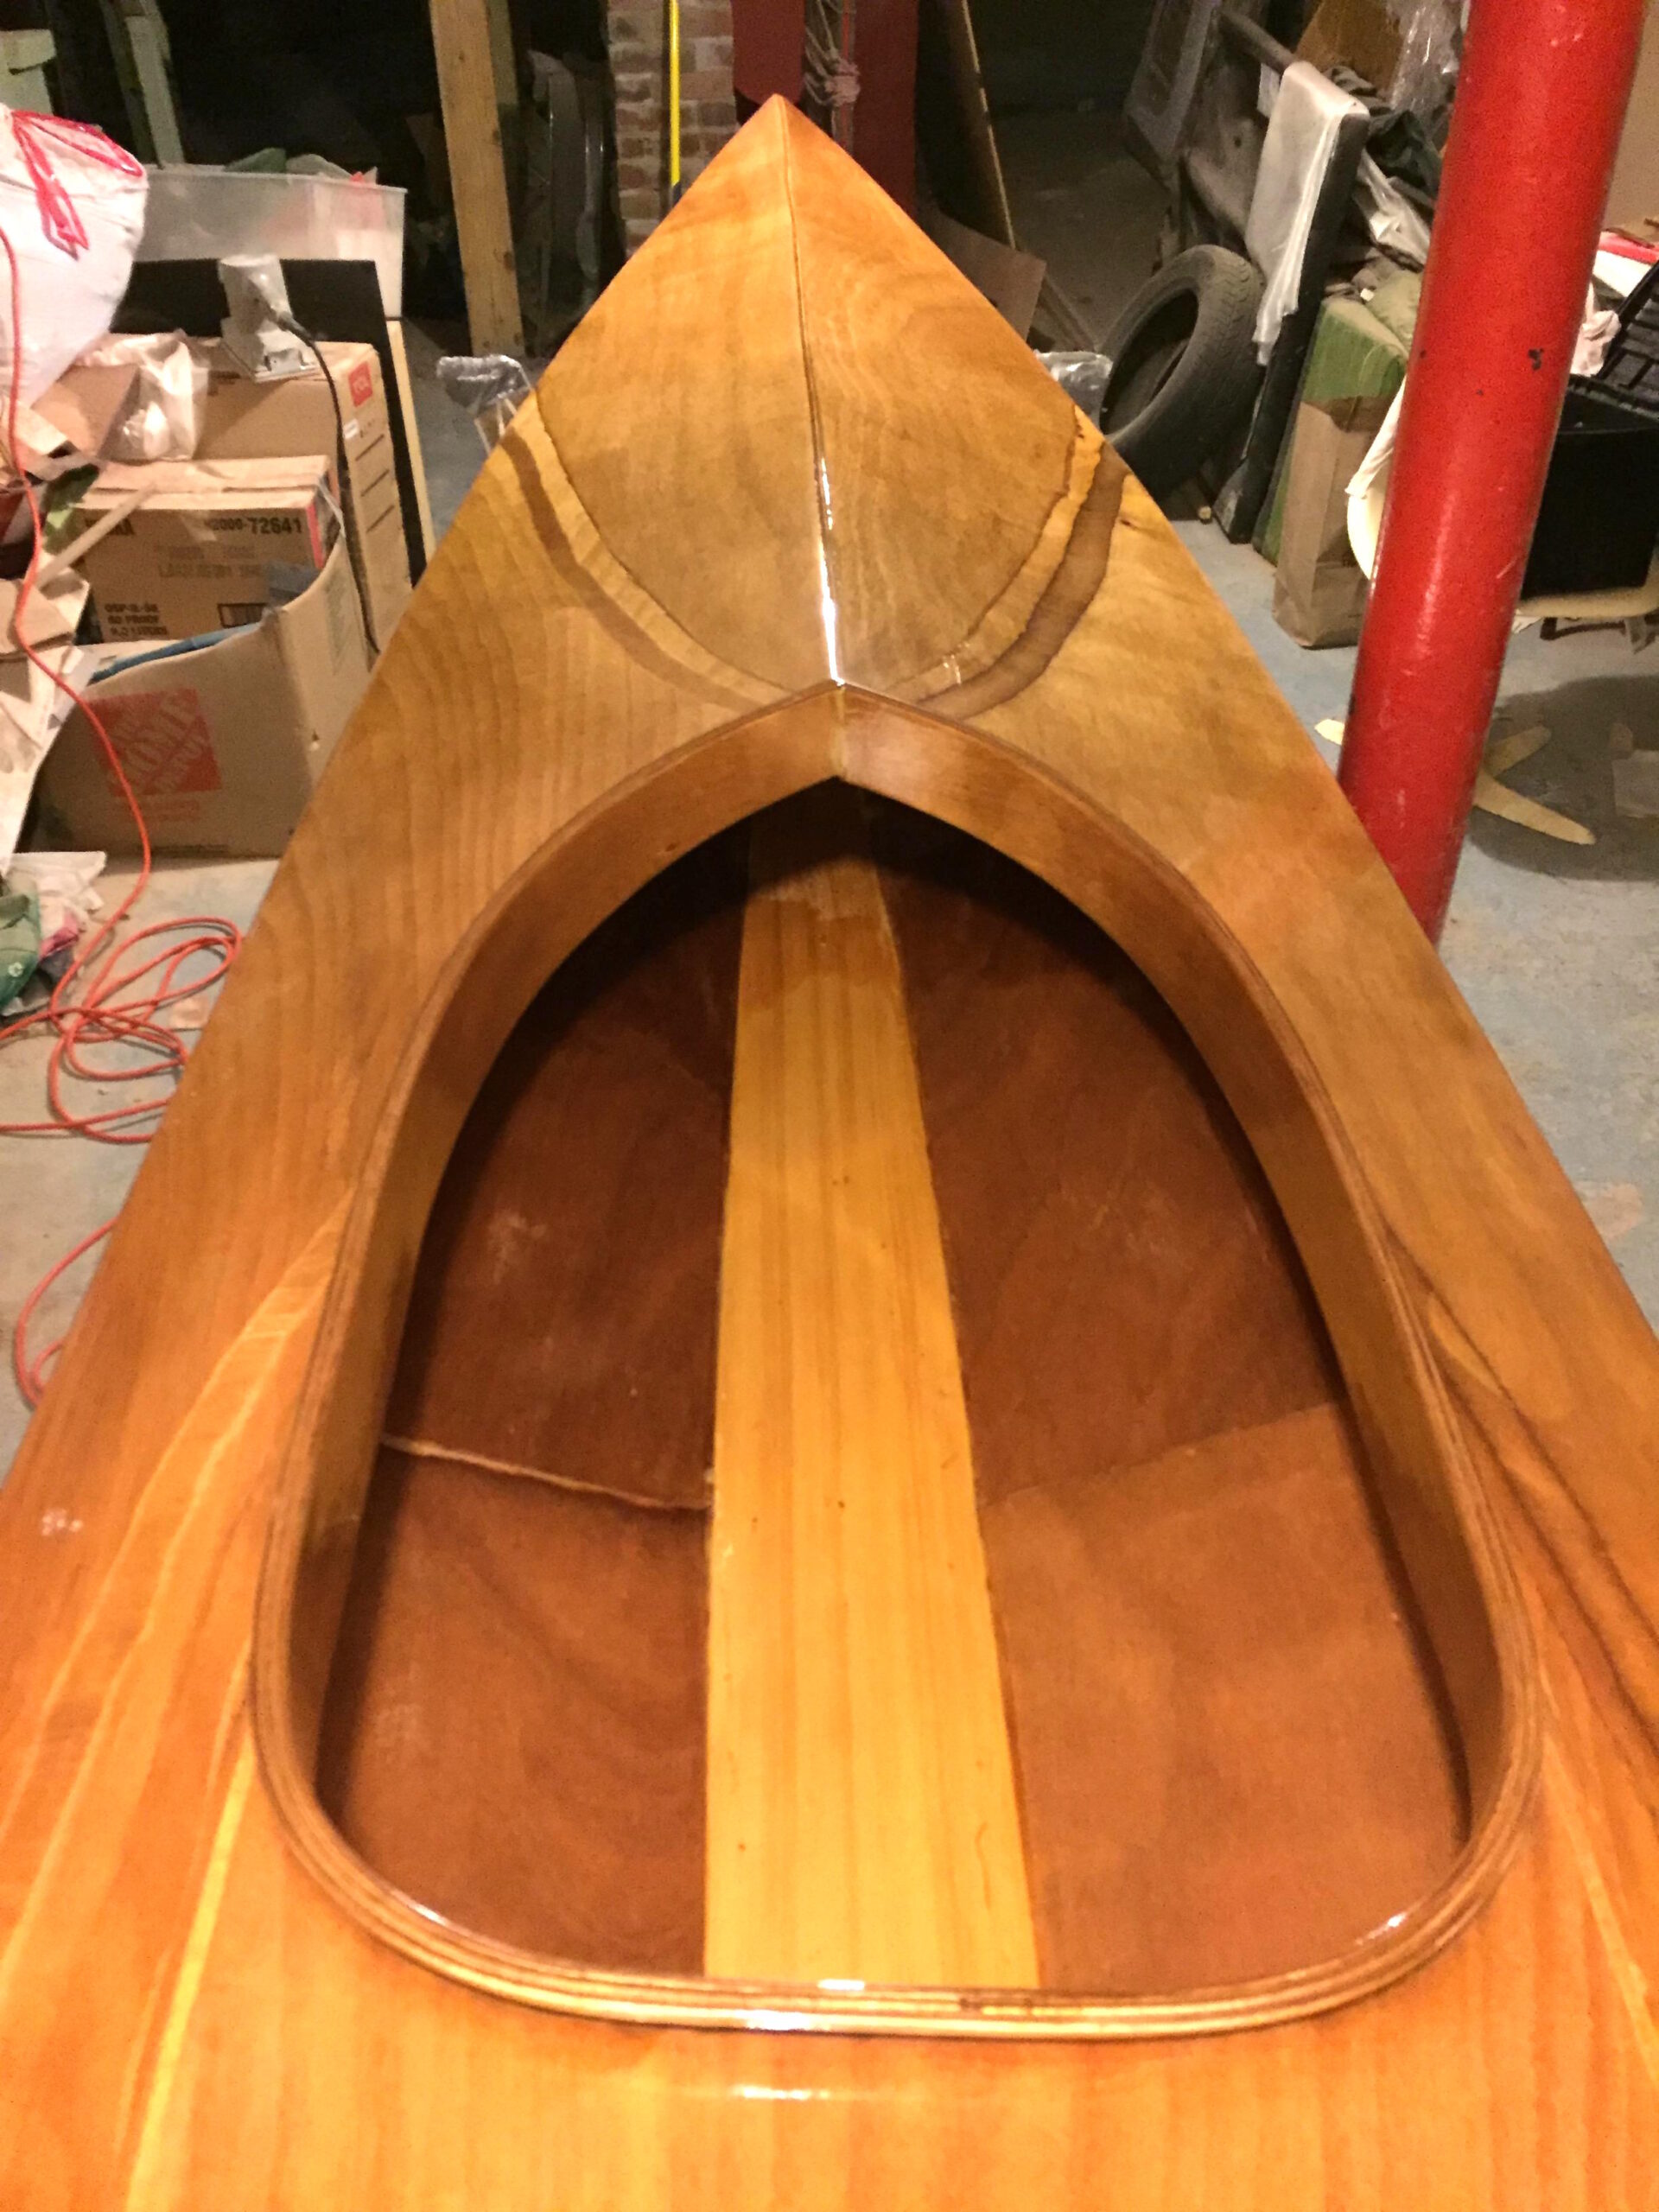
With the decking in place and the cockpit designated, this DIY-er sanded, stained, varnished, and epoxied the rest of his kayak.
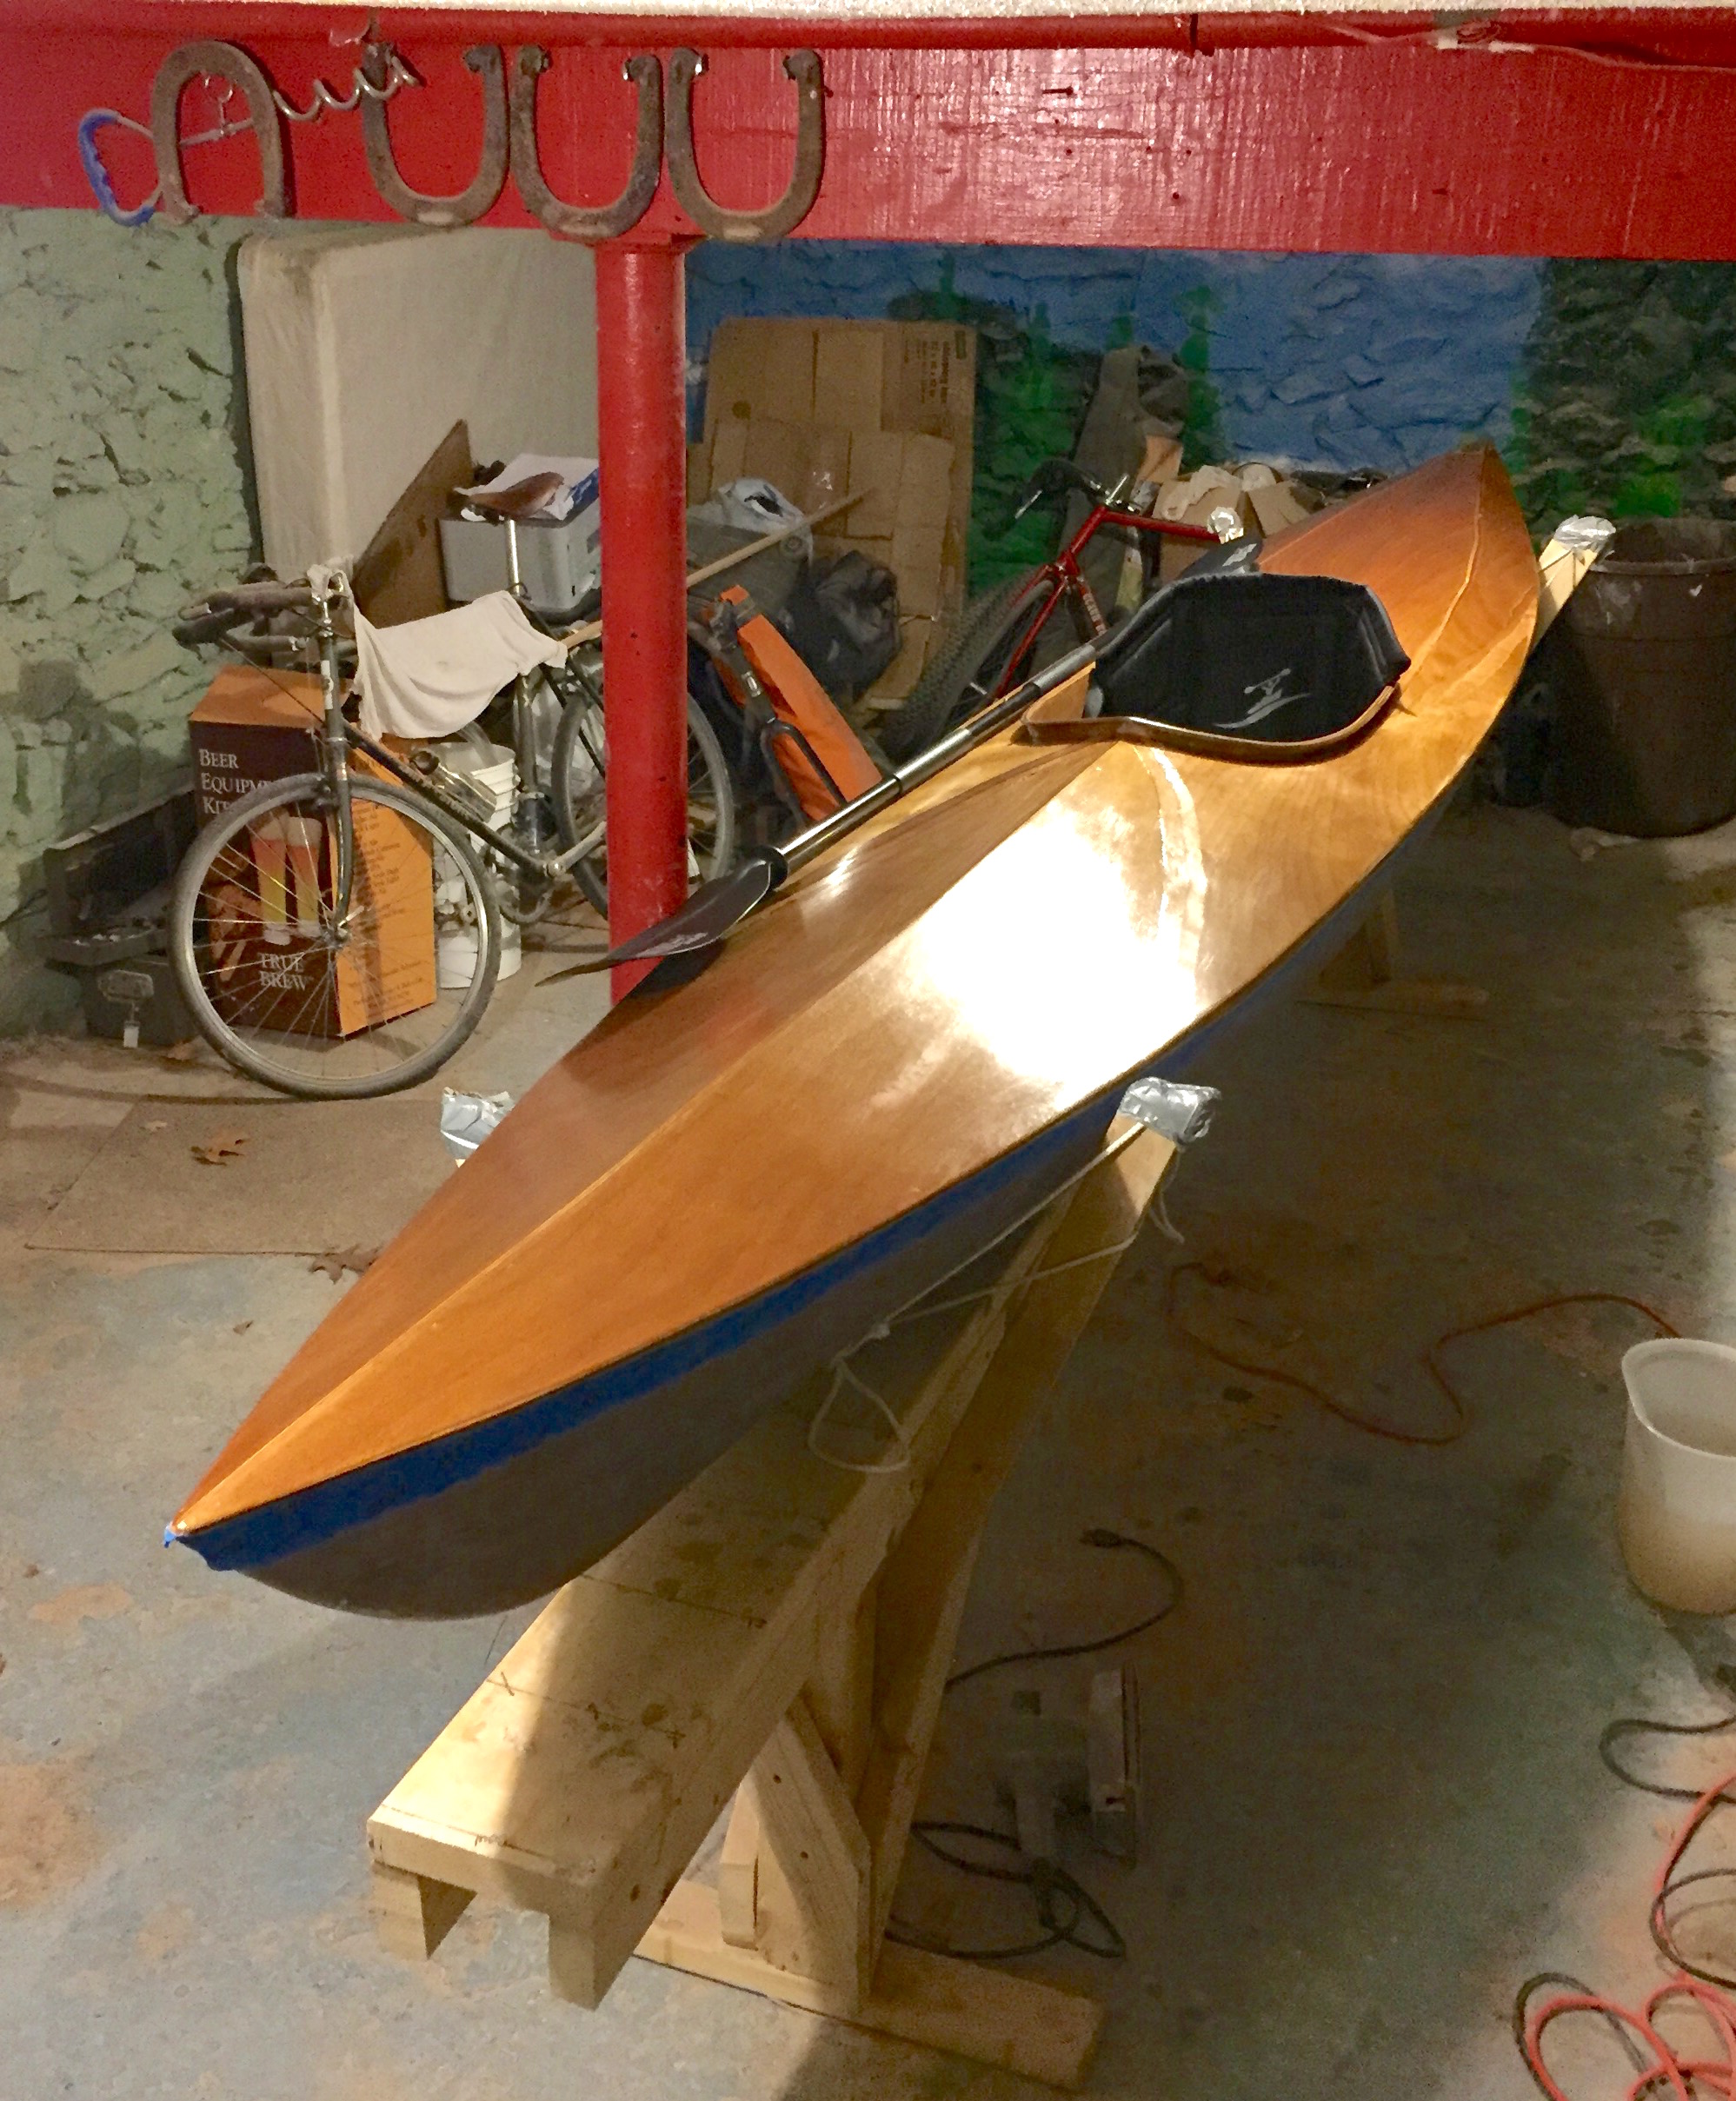
After 30 months of devoted labor, this DIY-er's kayak finally began taking shape.
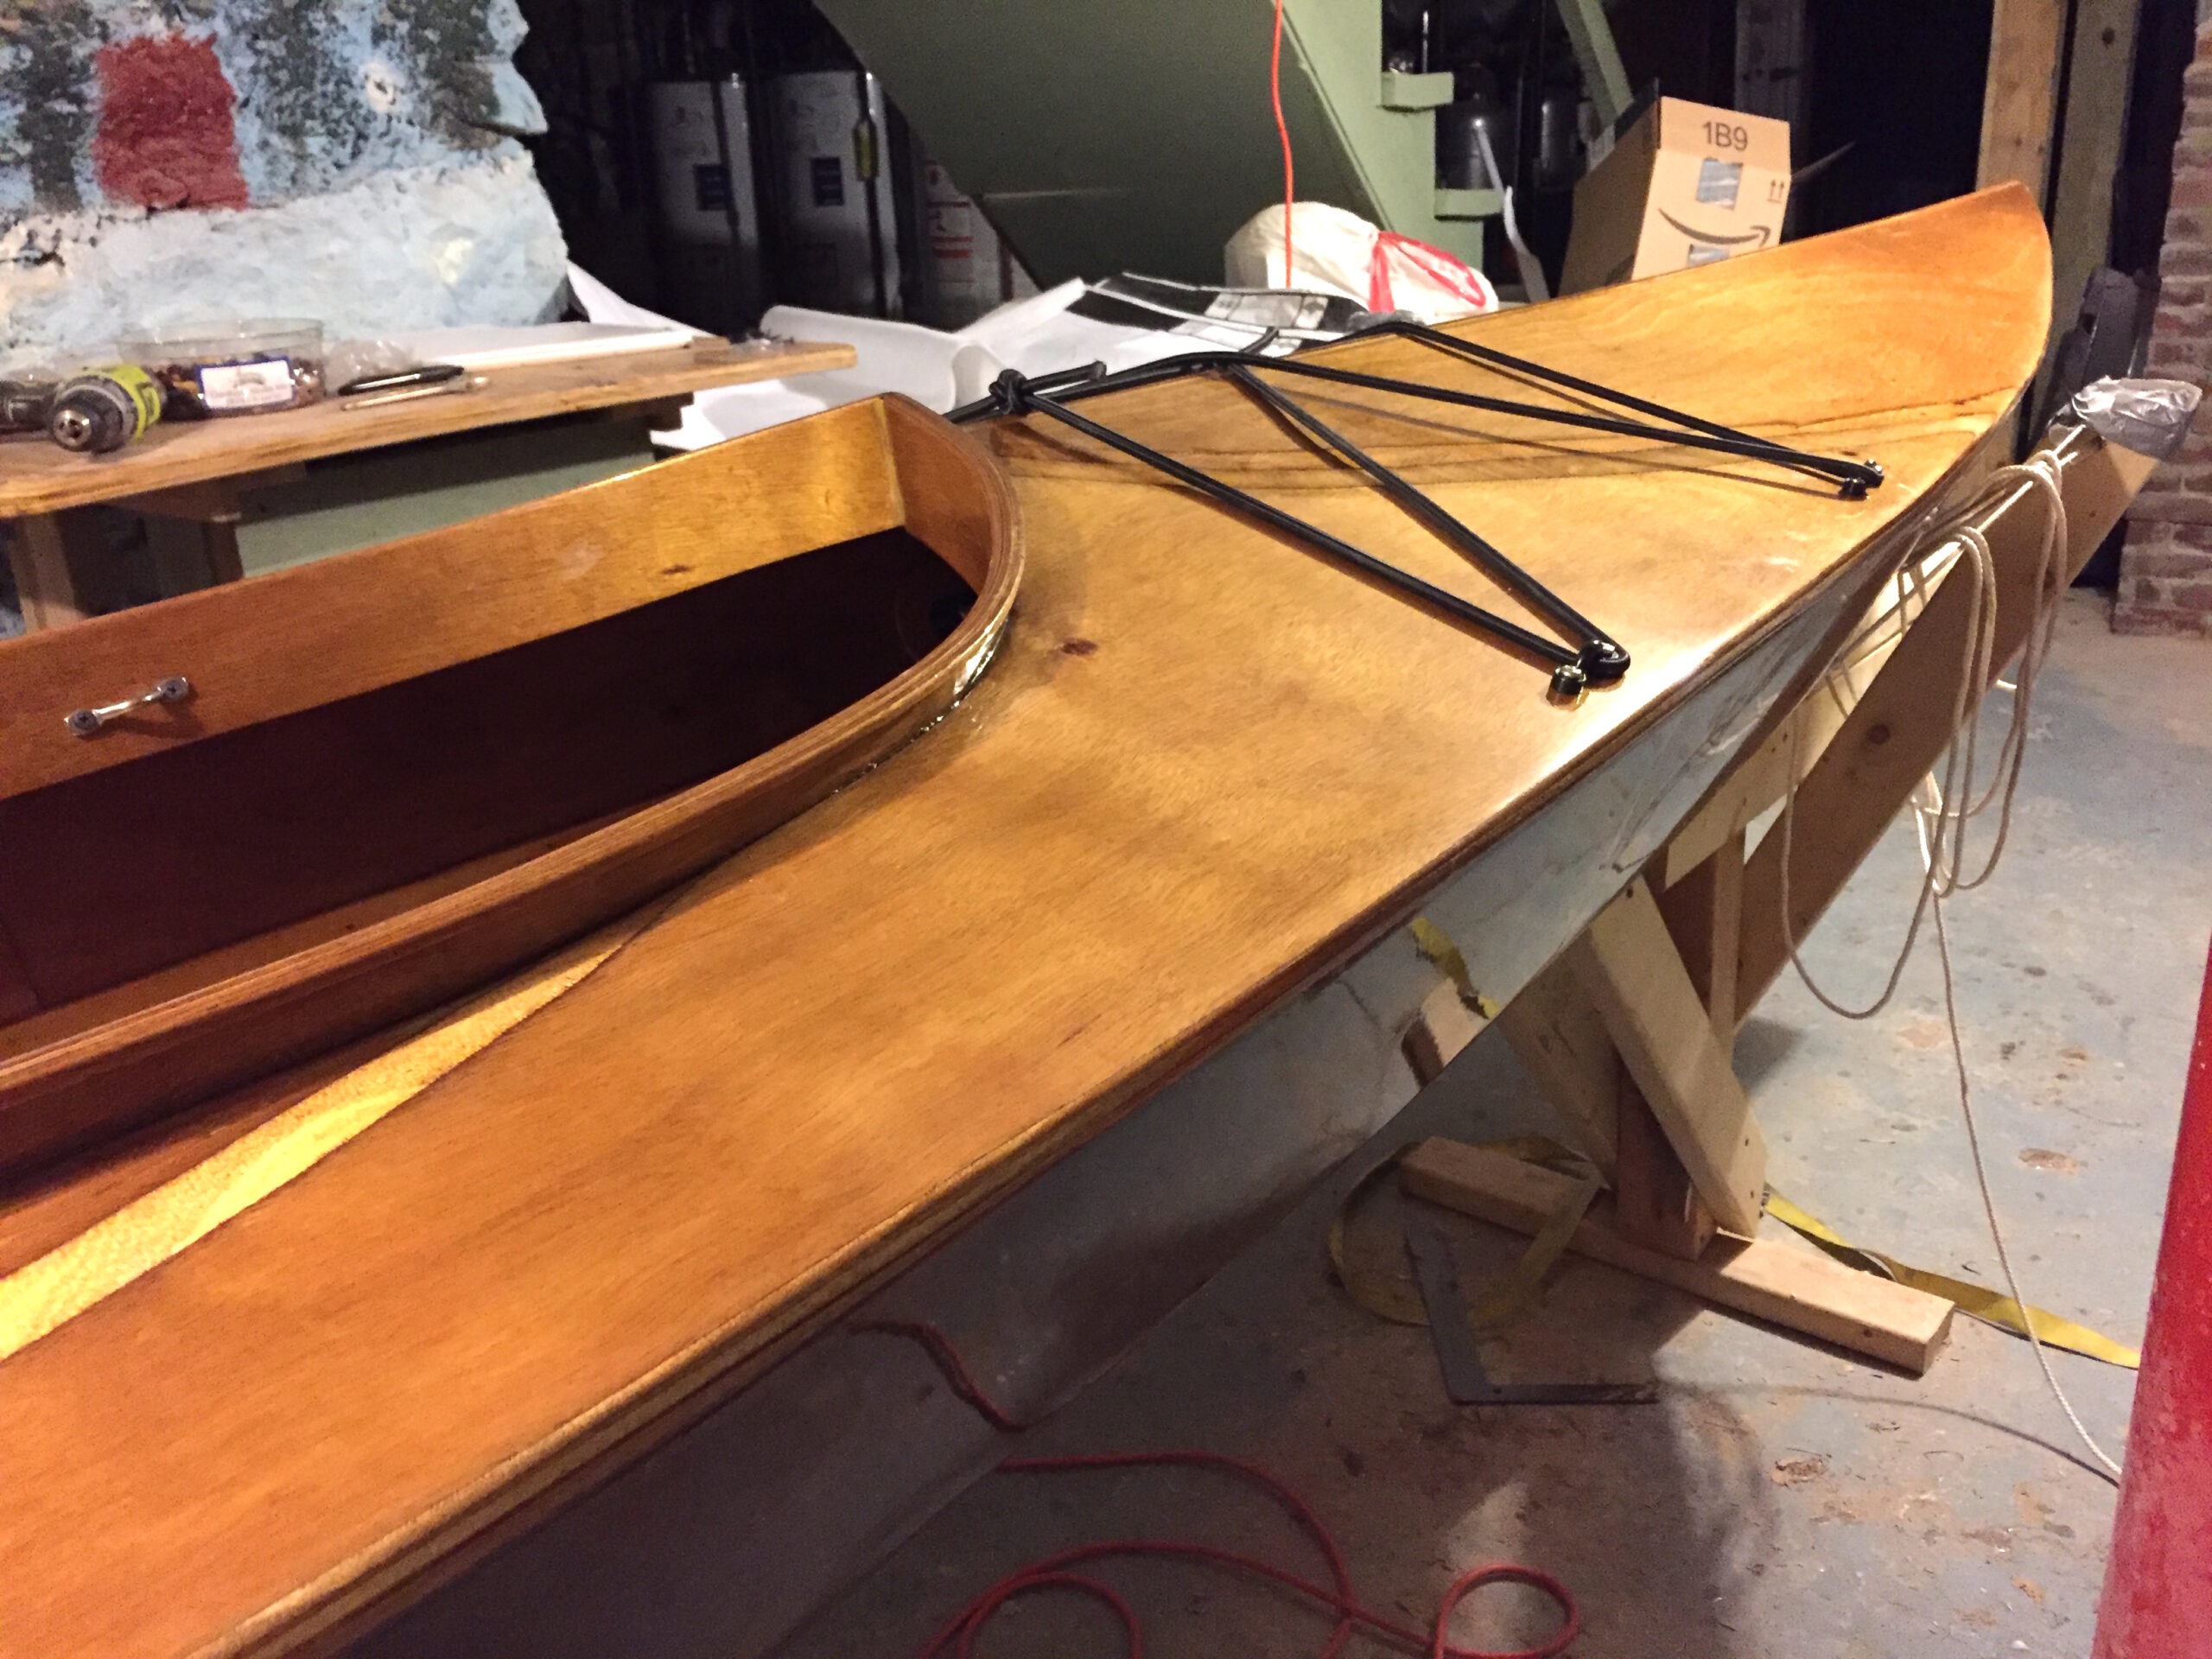
He added deck rigging right before flipping the boat over for its final varnish.

And just like that, this DIY-er's boat was finished and ready to hit the high seas.

Thanks to this DIY-er's hard work, he now has a gorgeous, handmade wooden kayak to enjoy all summer long.

He'll surely trek out on all sorts of wonderful New England-based maritime adventures now that he has this beauty at his disposal.

There's nothing quite like paddling through waves in a boat you built yourself.

This DIY-er followed through on a 30 month-long construction process, building an awesome wooden kayak perfect for summertime fun.
What do you think of this DIY wooden kayak? Let us know in the comments.
Please SHARE this gorgeous kayak project with other DIY-ers and water sport enthusiasts in your community.


