What will you do with your yard once your kids grow out of their precious swing set?
When Instructables DIY-er hodgepodgerama found himself facing this very conundrum, he thought long and hard about all the possible next steps he could take to reclaim his yard space. After much deliberation and planning, this builder came up with a genius plan.
He decided to strike the swing set, and in its place, build a fantastic hanging porch swing fire pit.
This dad was able to sell his family's old swing set online, and use the money he made to finance his new and improved project.
He found the perfect porch swings online. While awaiting their arrival, he built the hexagonal wooden structure from which they would hang, as well as the concrete fire pit that would sit at their base.
After days of diligent construction, this maker created an awesome outdoor seating area his family loves using, with a fire blazing, or not.
Keep scrolling through our gallery to learn how this builder created his awesome porch swing fire pit.
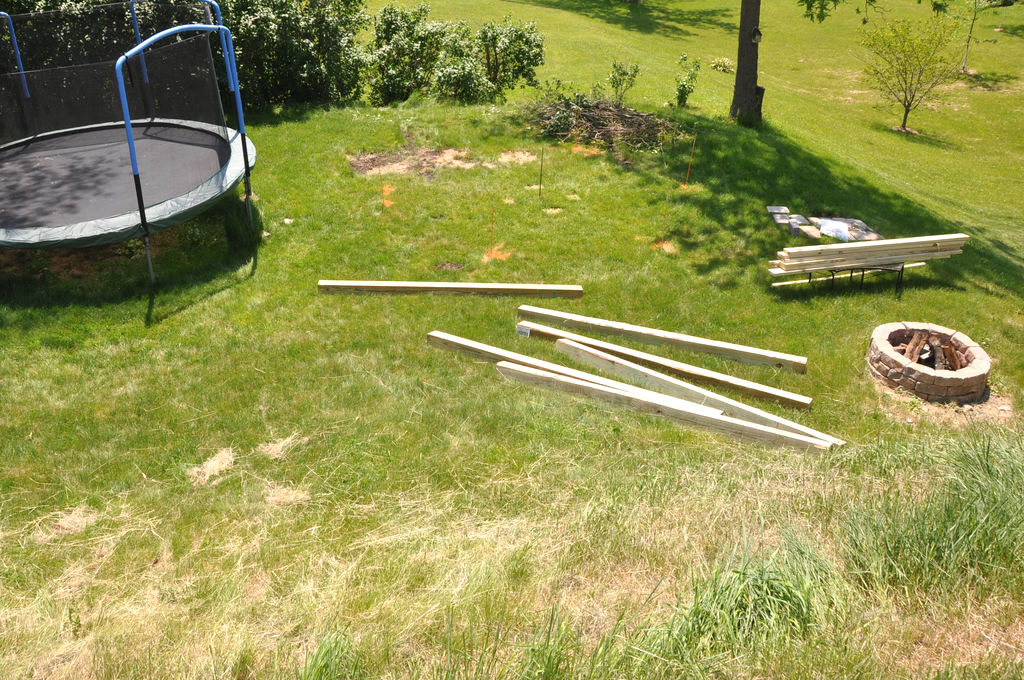
When Instructables DIY-er hodgepodgerama's kids outgrew the play set he'd built them so many years ago, he seized the opportunity to build something new.
He wanted to breathe life into the backyard area his swing set had once occupied, hoping new purpose would keep his family interested in spending time together outdoors.
He decided to build a fire pit area, surrounded by hanging porch swing seats.
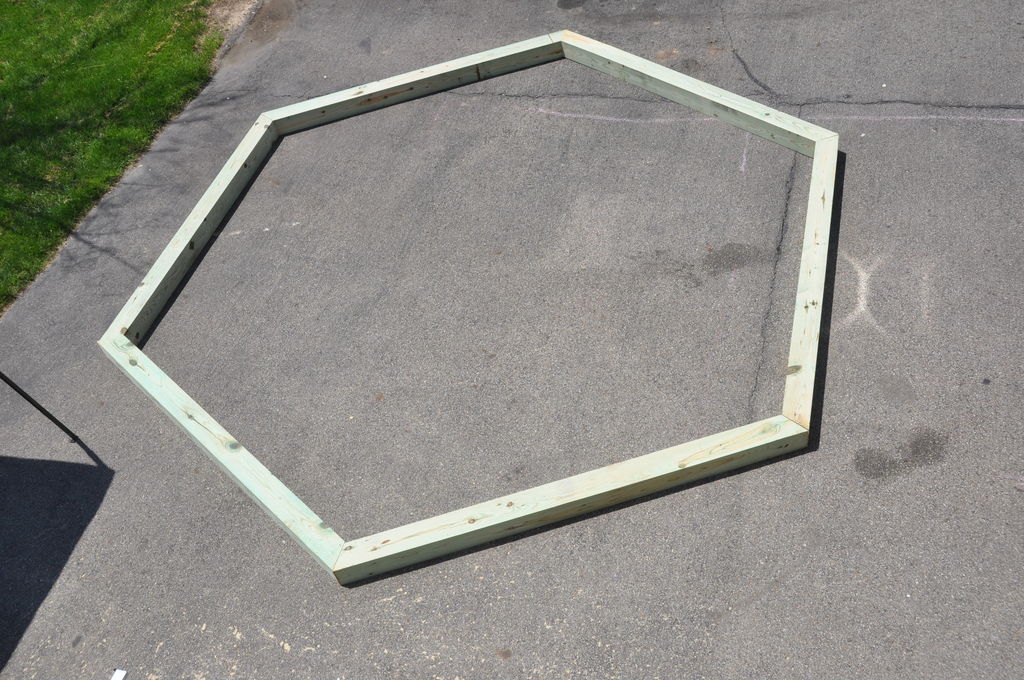
This dad started construction by building a wooden hexagon that would serve as the fire pit covering's topper.
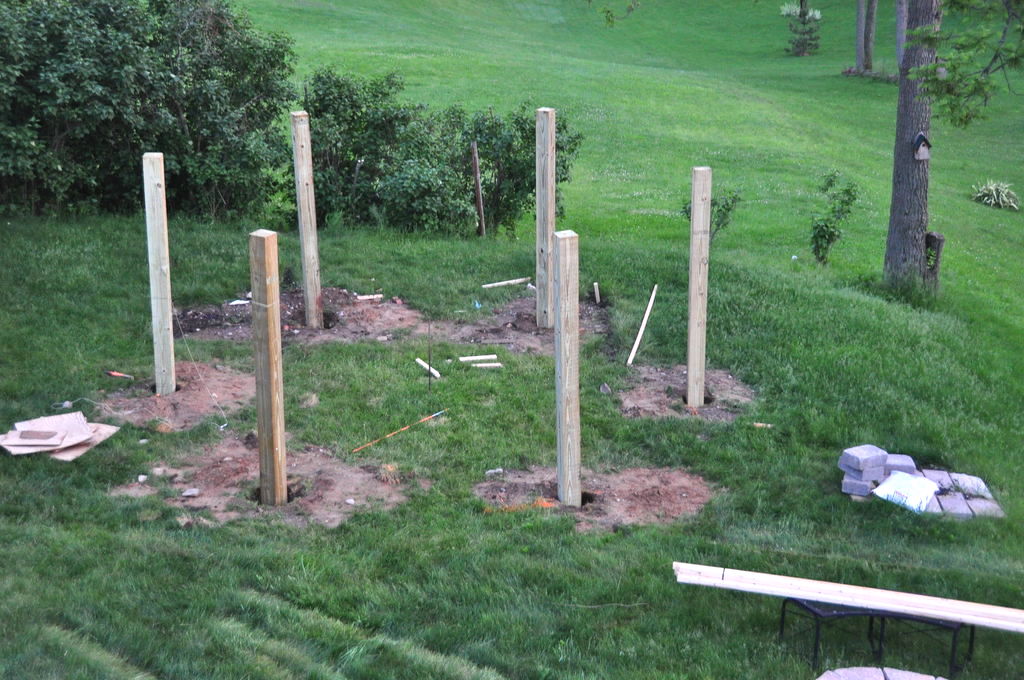
Next, he positioned the six posts that would support his porch swings.
He used a central rod to measure the placements for each post.
Using a power auger, he dug six straight holes into the ground for his posts.
This builder found that lining the surrounding area around each hole with a tarp was a great way to protect the nearby grass from unnecessary destruction.
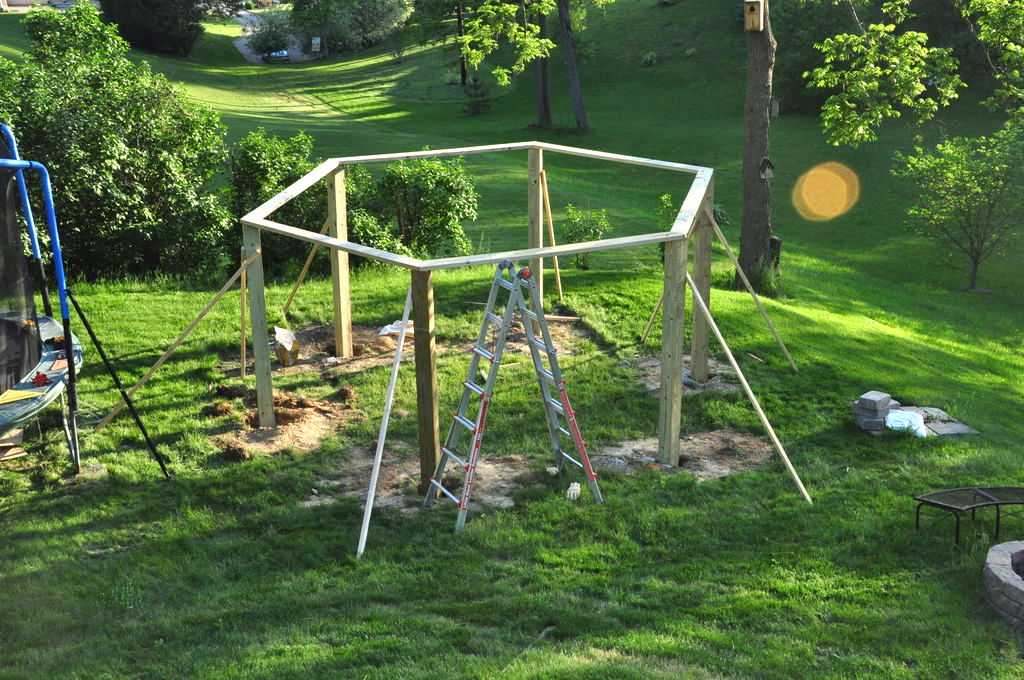
With the six posts dropped into place, this DIY-er began truing and leveling the larger structure.
He positioned the wood hexagon atop the posts, and maneuvered different structural components until the hexagon felt level. If that meant the posts were a bit crooked, so be it.
Once everything was screwed and anchored into place, this crafter poured a bit of gravel into each post hole.
This gravel would help prevent future water drainage issues.
He then poured concrete on top of the gravel and let the whole structure dry overnight.
This DIY-er braced the structure with wood, so it would stay still during the drying process.
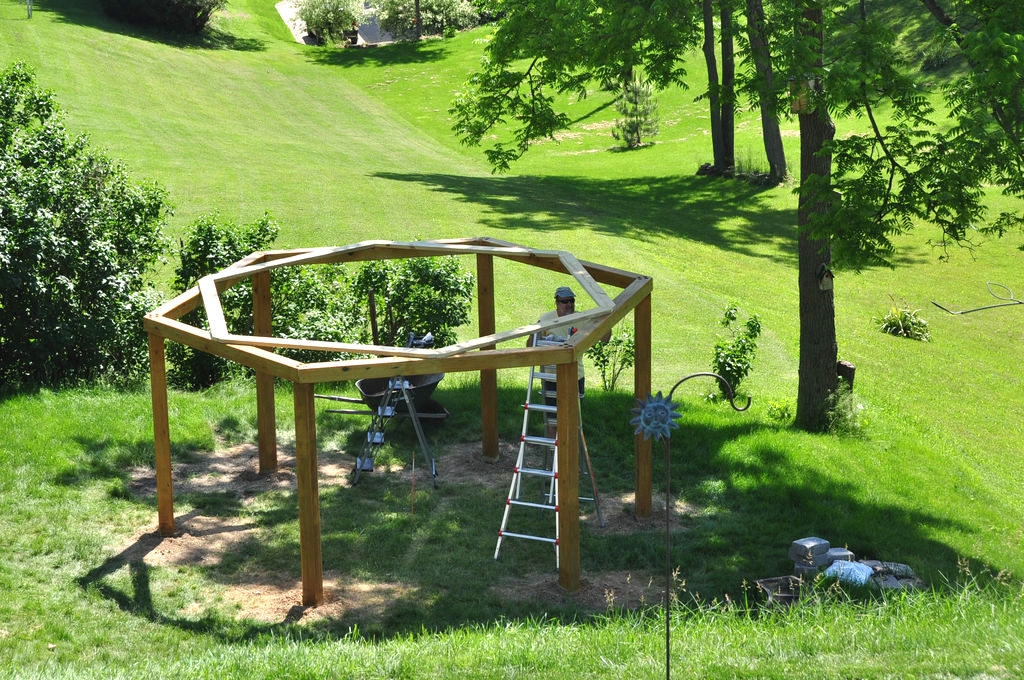
After the structure dried, this DIY-er removed the braces, and sanded each post.
Once everything was smooth, he added cross beams to the structure's top, improving stability.
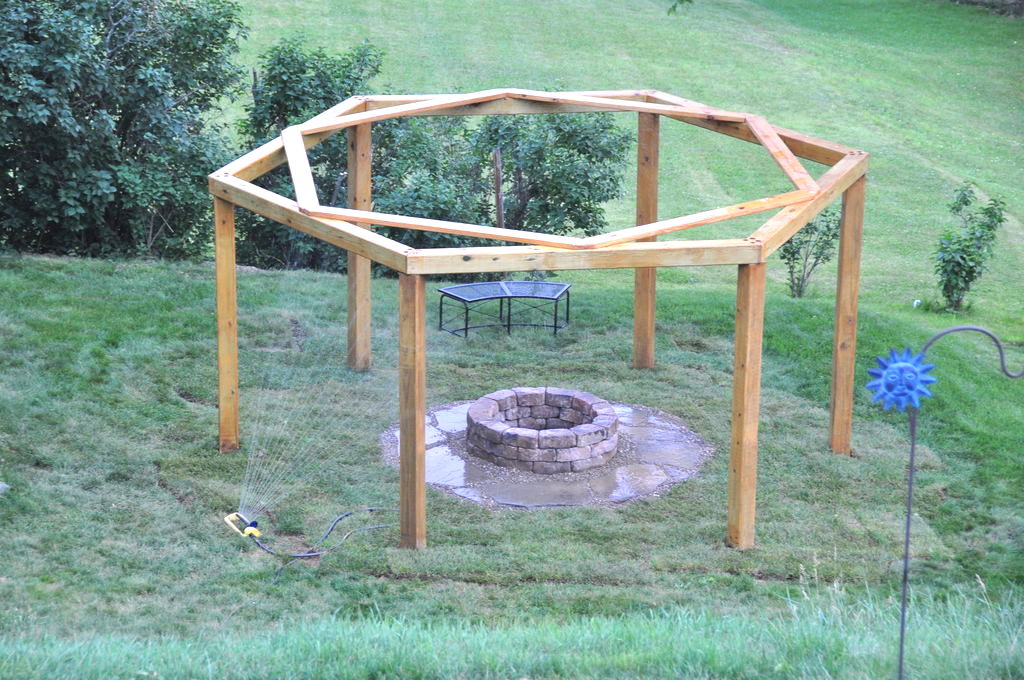
Next, he stained the wooden structure to his liking, and leveled the underlying yard.
Atop level ground, he built his stone fire pit out of concrete landscape blocks.
He secured the blocks with adhesive, to ensure prolonged durability.
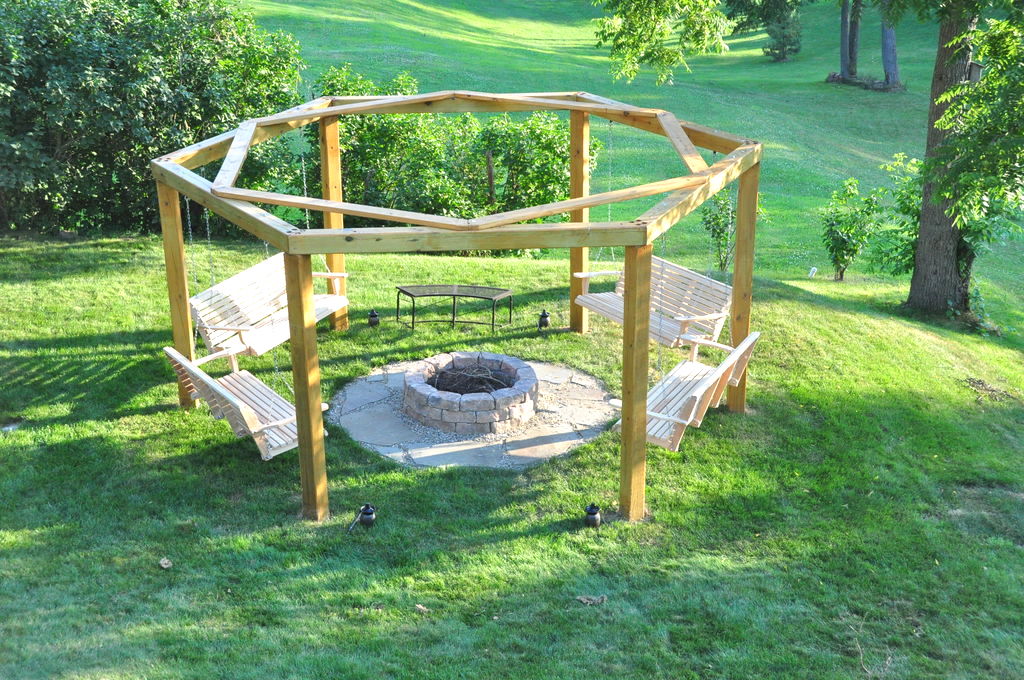
Finally, he installed the hanging porch swings, and presto! This DIY-er's backyard suddenly boasted a fabulous new and inventive fire pit area.
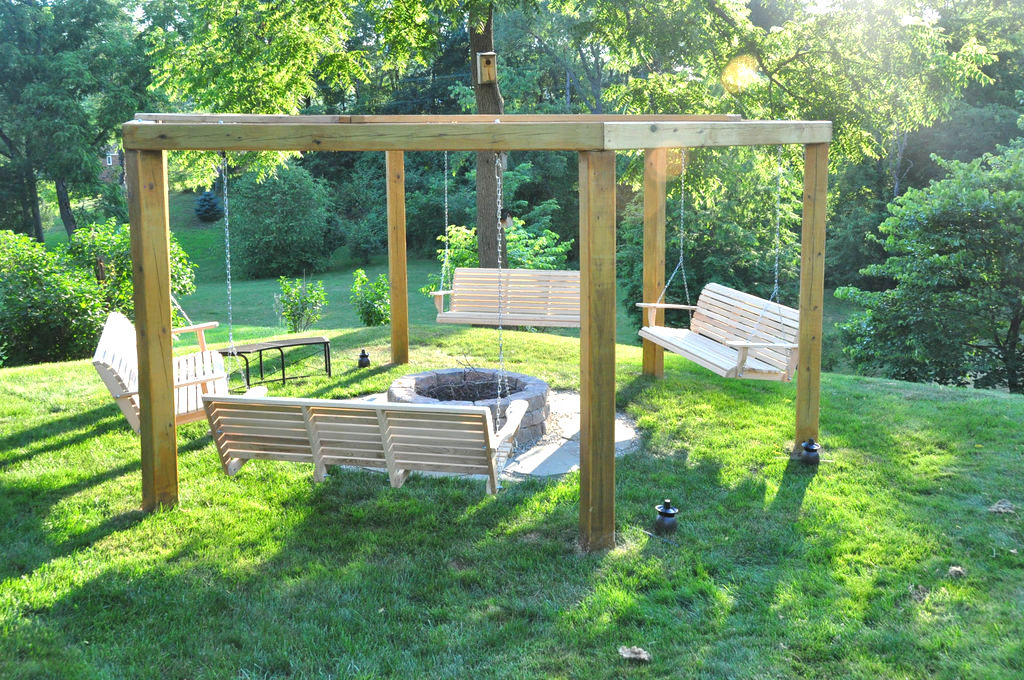
This fire pit has become an area his family enjoys with or without a raging fire.
Sometimes, his kids come down to swing with their friends, do their homework, or just relax.
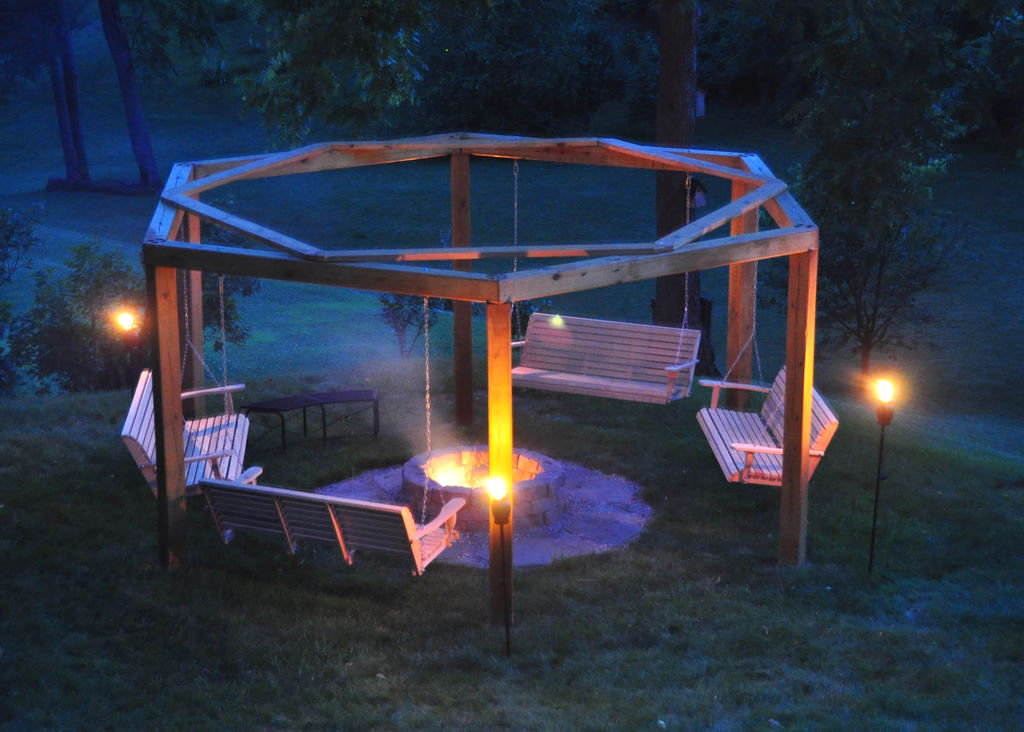
When this Instructables user's kids outgrew their swing set, he found an amazing way to keep the family outdoors and enjoying their backyard.
What do you think of this hanging porch swing fire pit? Let us know in the comments.
Please SHARE this beautiful creation with other DIY-ers in your community!


