There's nothing like getting lost in a good book, a movie, or a play. For centuries, people have sought out entertainment to escape from the realities of life.
For many DIY-ers, getting lost in their craft is a great way to take a break from everyday life for a little while. We found a DIY-er who enjoys turning whimsical items from magical worlds into realistic creations.
Step-by-step, this clever DIY-er explains how she created her very own portal into the magical world by building a beautiful little fairy door.
This whimsical project from Instructables only stands at three feet tall, but it's the perfect magical touch for any home.
These little doors can be weather-proofed to sit in a garden, or kept inside to help feed a child's imagination. The options are endless.
Scroll down to see how she created this incredible portal to magical worlds, and let us know what you think of the beautiful project in the comments below!
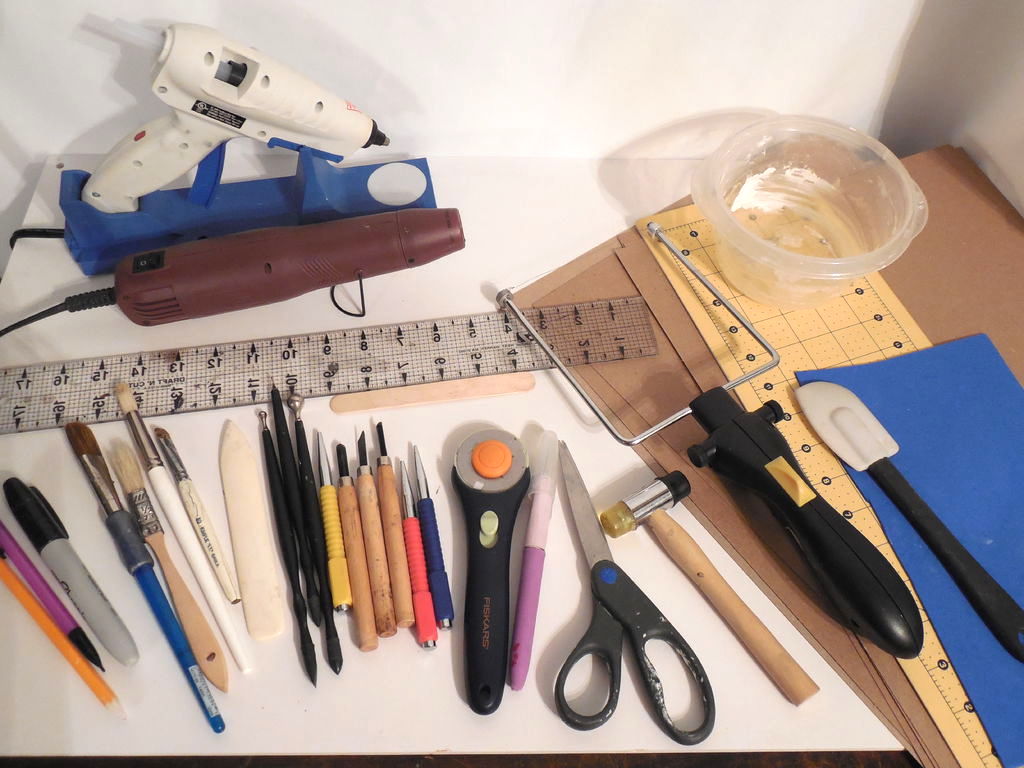
There are a lot of materials needed to create this whimsical project, but the end result is absolutely worth the time it takes to put it together.
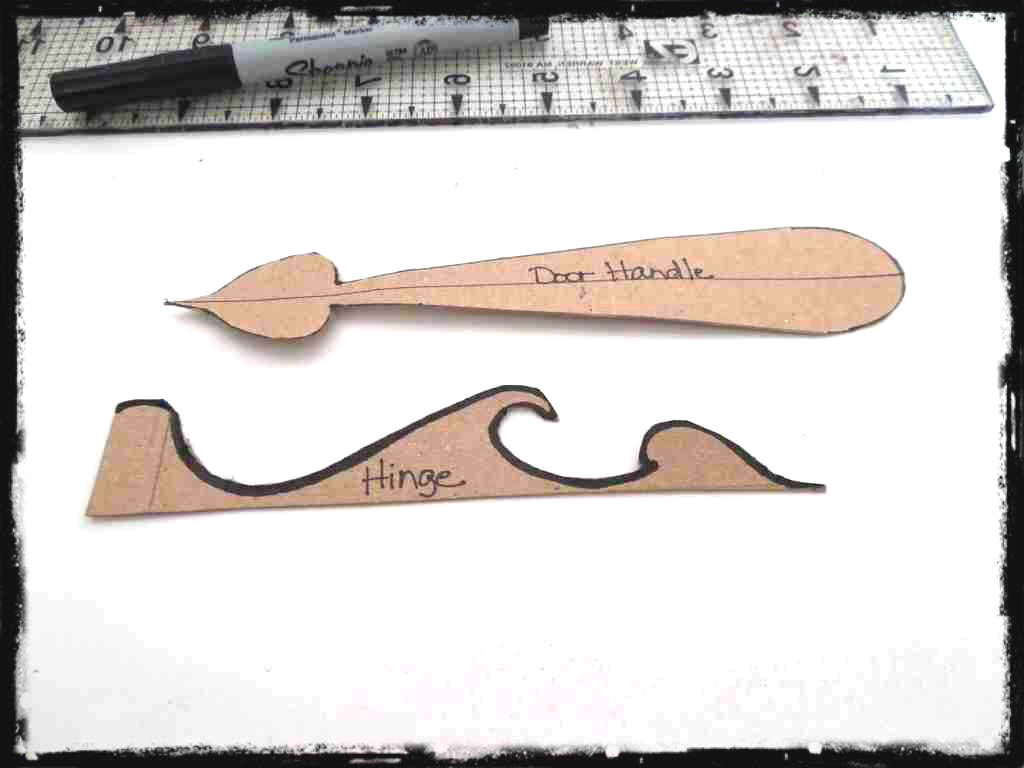
In order to get her creative juices flowing, this clever DIY-er watched a few movies and searched online for fairy doors.
After getting a little bit of inspiration, she began to sketch out the style of the door and its hinges.
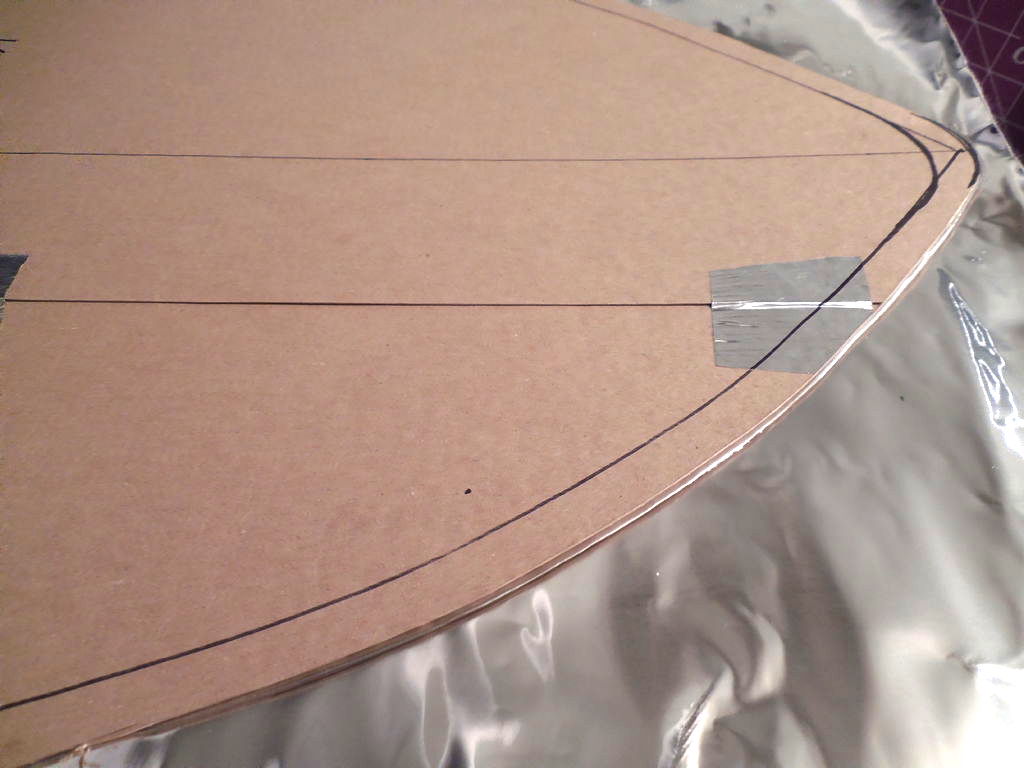
The medium she decided to work with to create her fairy door is called Shaper Sheet.
It's a foil that's easy to cut and emboss for projects like these.
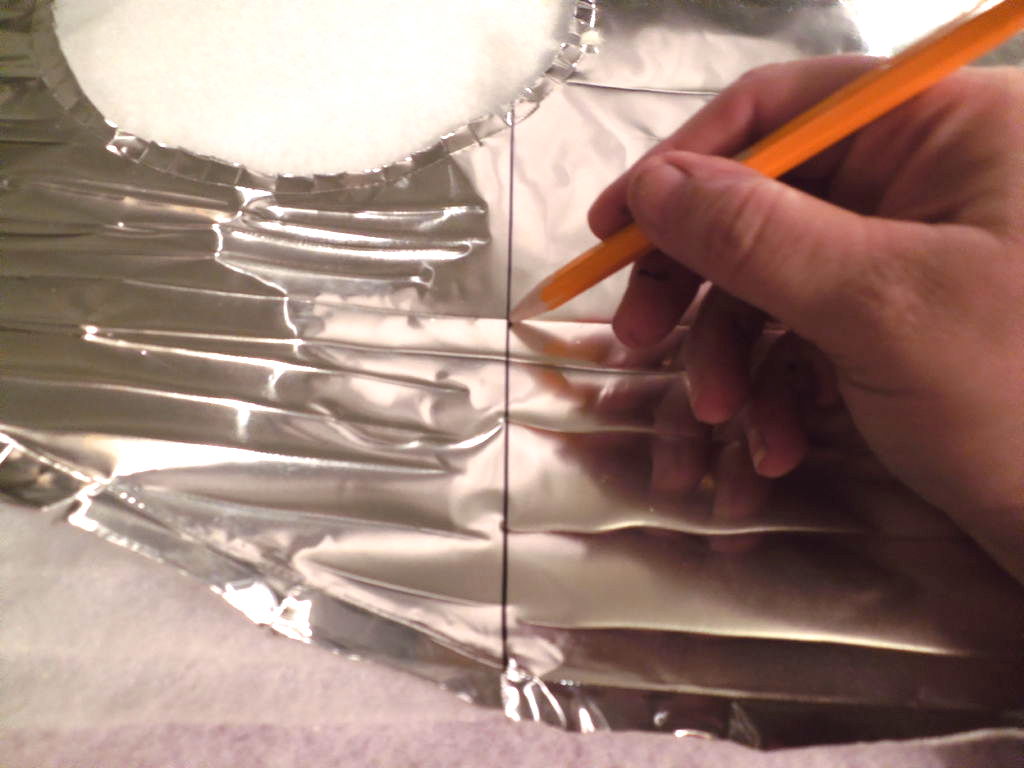
After cutting out the shape of the door, she began to create texture on the Shaper Sheet.
She made the door out to look like wood, and she hammered the hinges and handles a little bit to give them a metal effect.
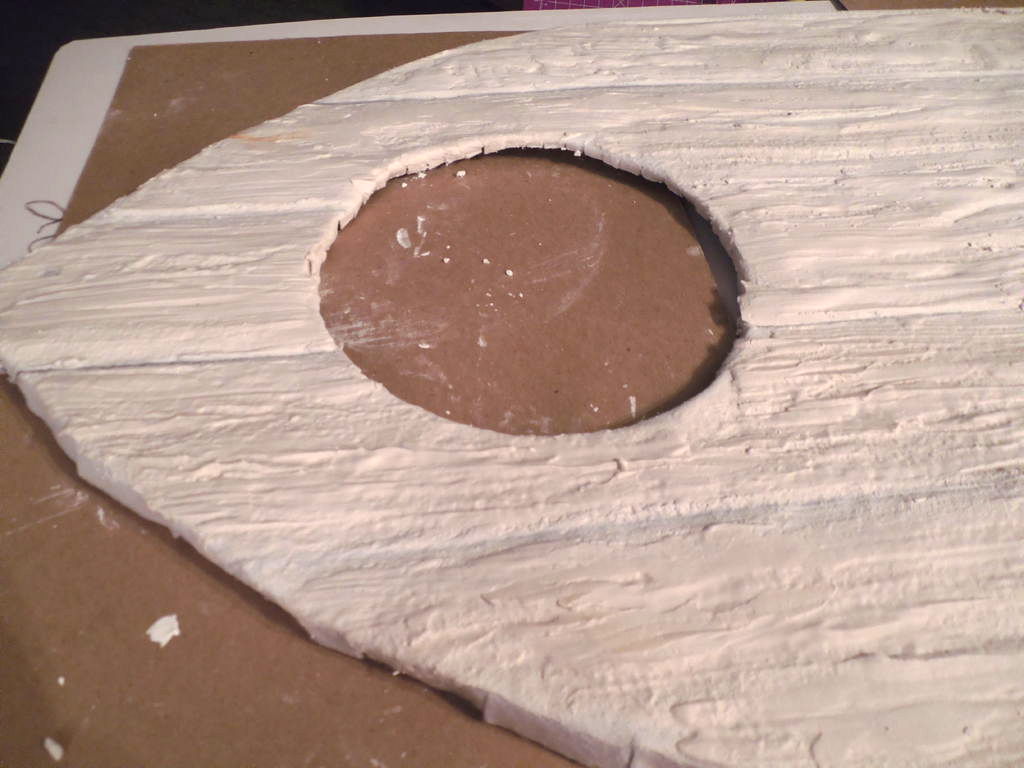
After the texturing was complete, she got the plaster ready.
This part can get messy, so you have to work carefully. By layering plaster, she added dimension to the faux wood.
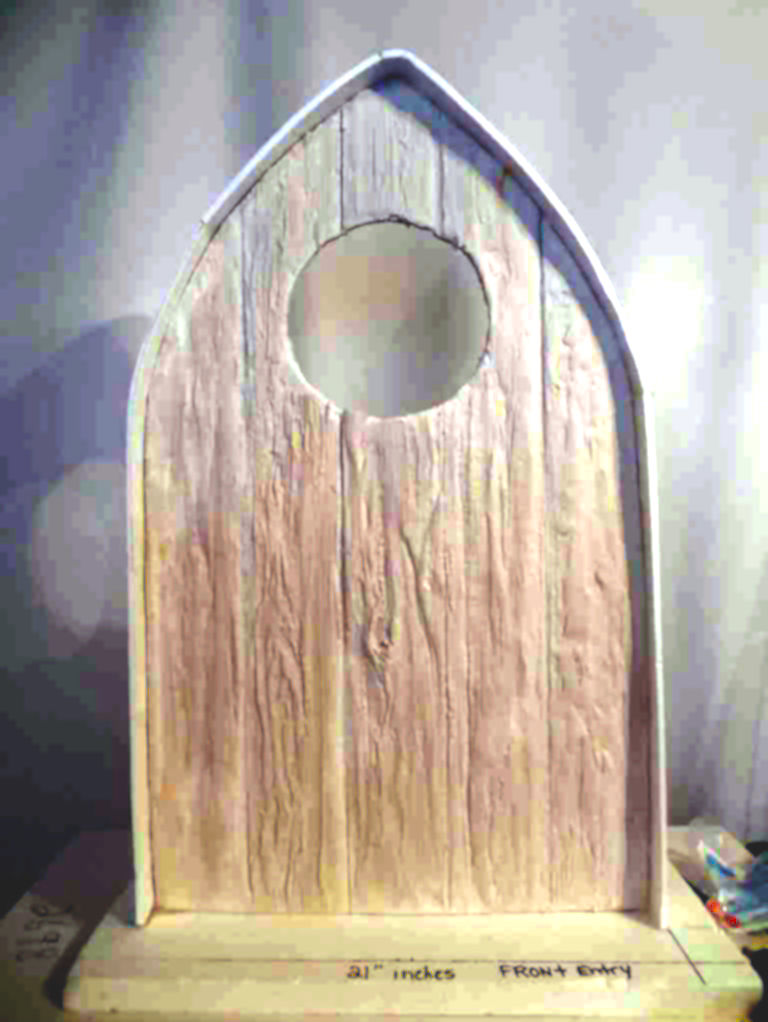
After the door completely dried, she framed the door with a foam strip and set it into a foam base for support.
She also attached a foam strip on the back of the piece for additional support.
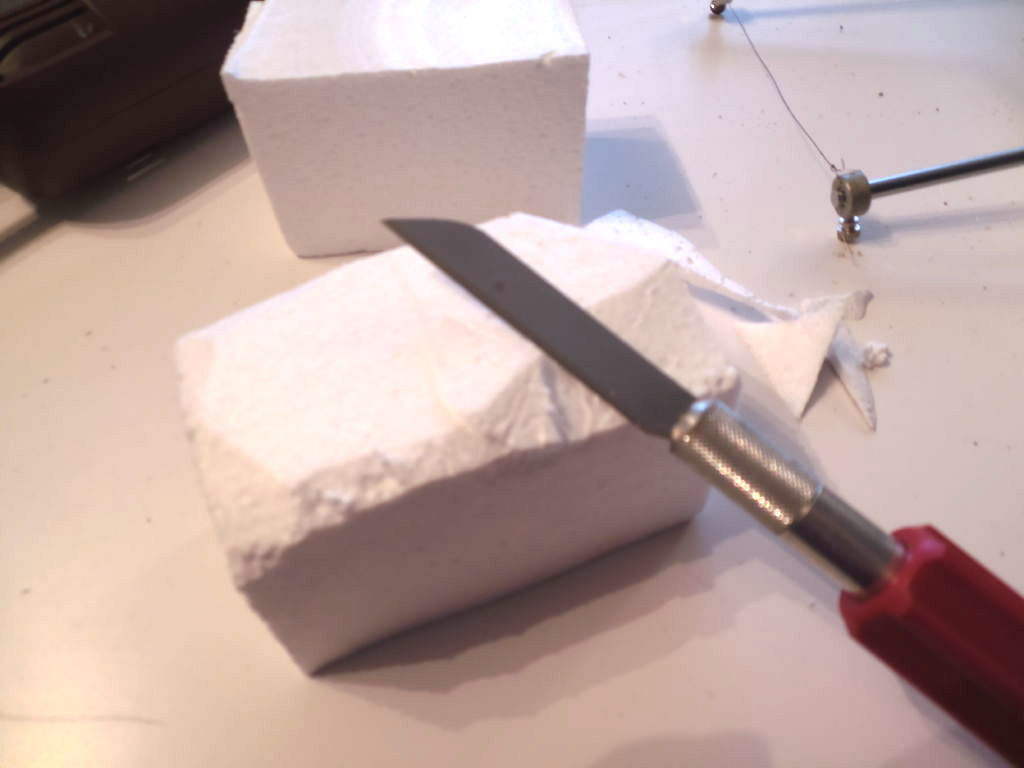
Next, she got to work cutting, melting, and stacking the faux rock frame.
The DIY-er says using a heat gun or a torch makes this part of the project very quick and fun!
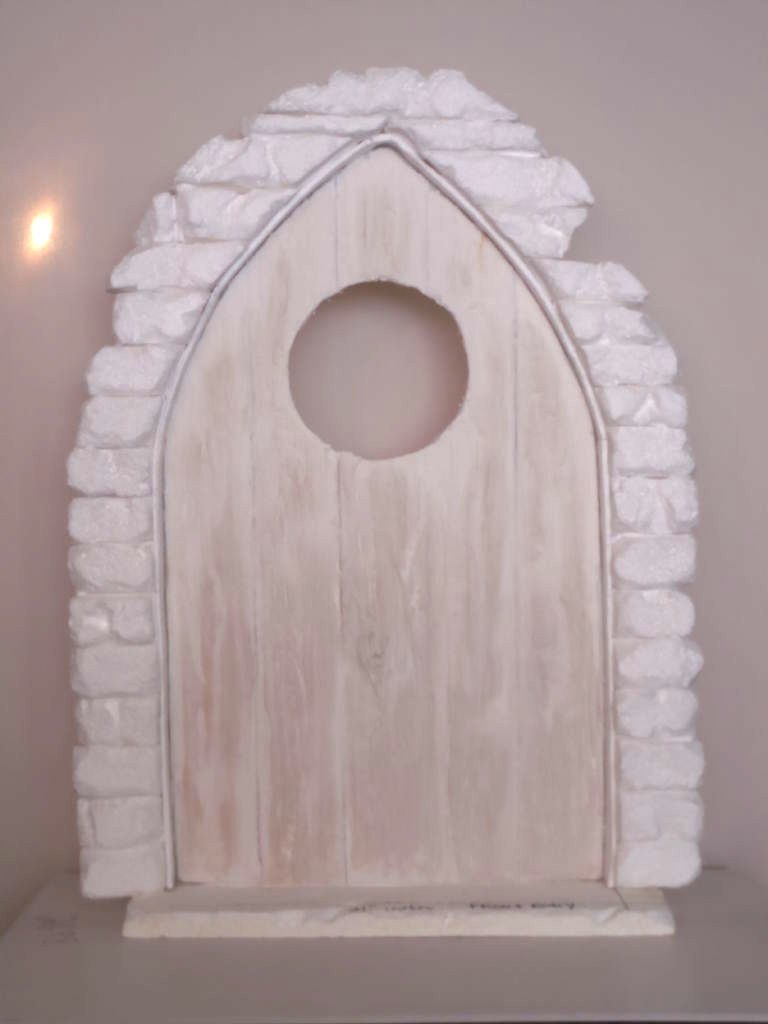
She used 28 pieces in total and made sure to cut some of the blocks a little bit smaller toward the sloping top of the door.
The faux rocks were attached using a hot-glue gun.
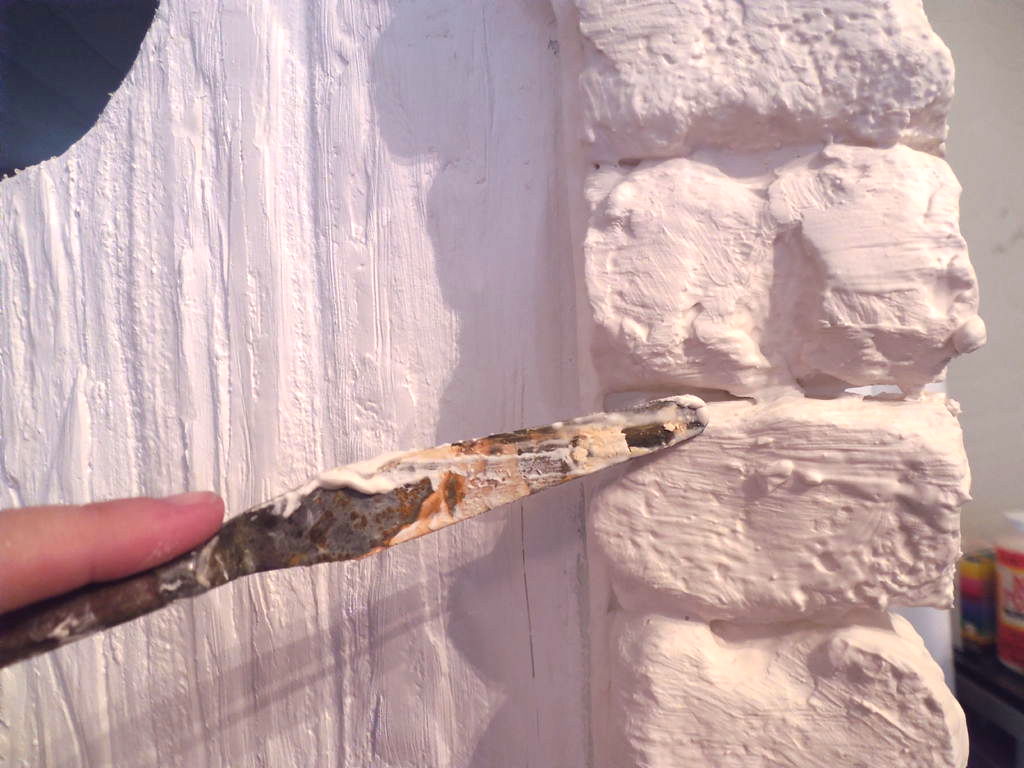
After the rocks were secured into place, she began to plaster them along with the window trim.
After the rocks were coated, she took a little plaster knife to them to create more texture.
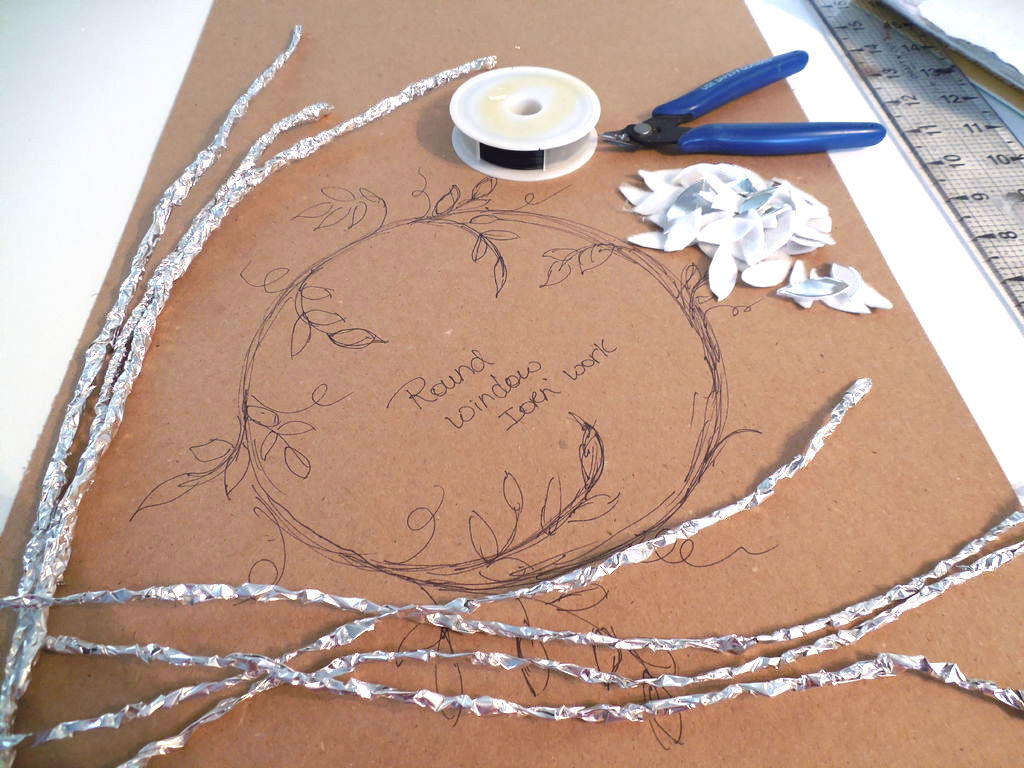
As the rocks dried, she got to work on some of the details, like the wrought-iron leaf window frame, the hinges, and the handle.
She used Shaper Sheet and foil to complete this part of the project.
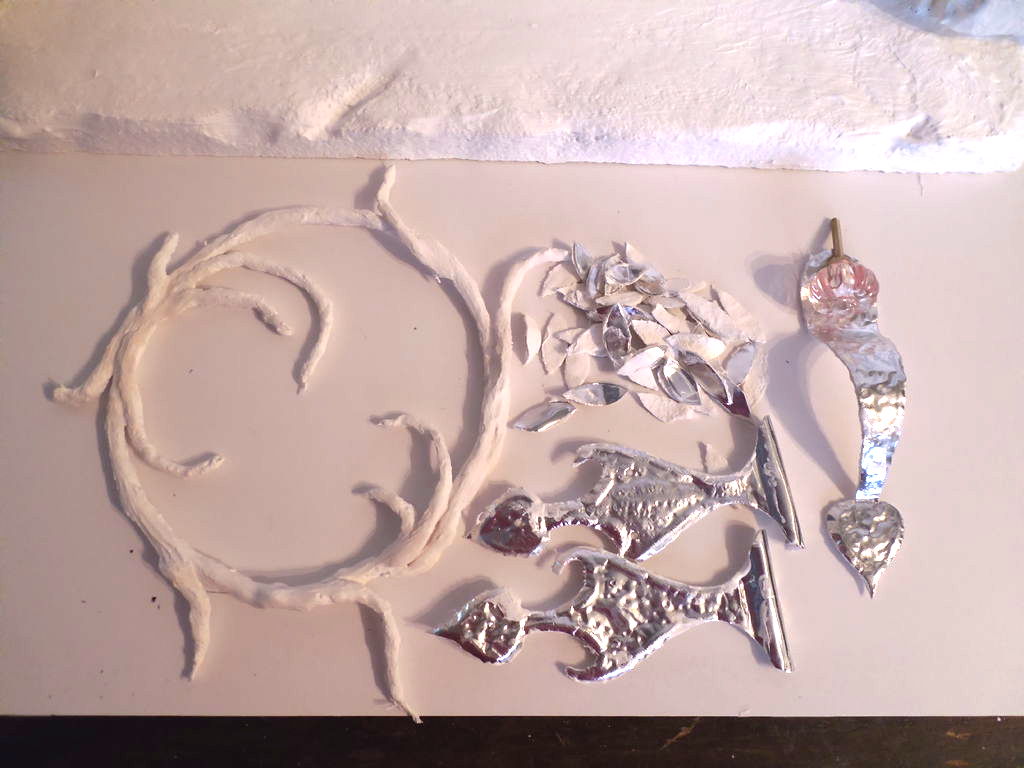
By coating these detailing pieces with a little bit of plaster, she locked in the shape of each piece.
After they dried, she painted the hinges, handle, and window iron black.
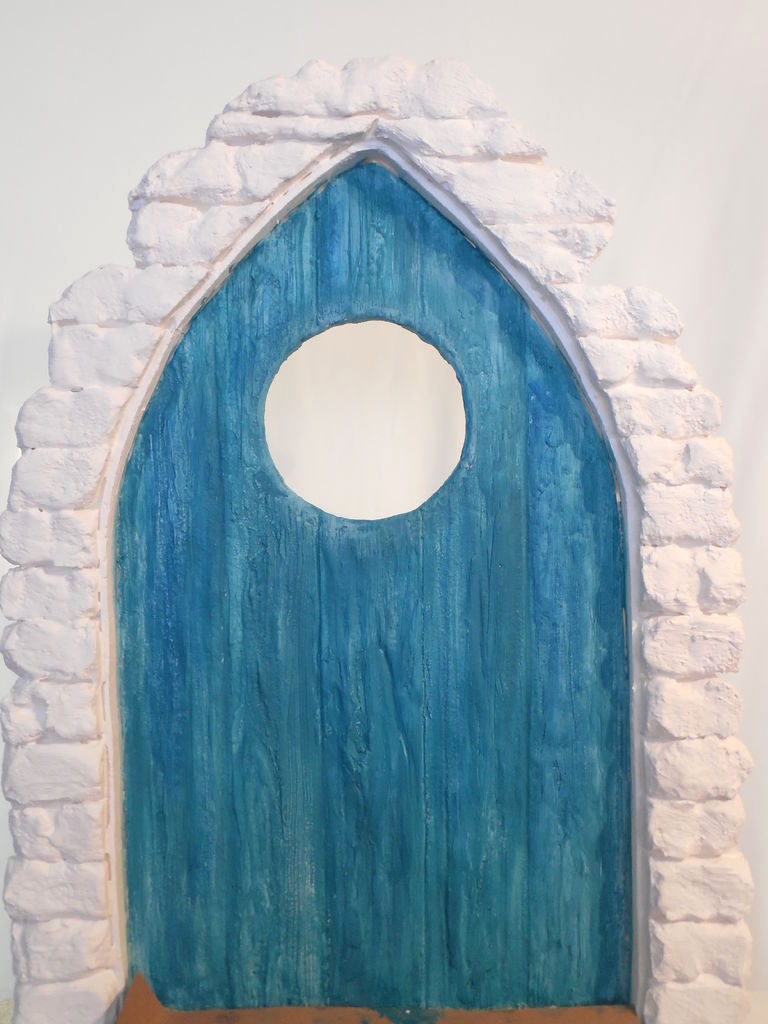
At this point, the door and the rocks were ready for a few coats of paint!
The door, she painted a pretty Tuscan teal.
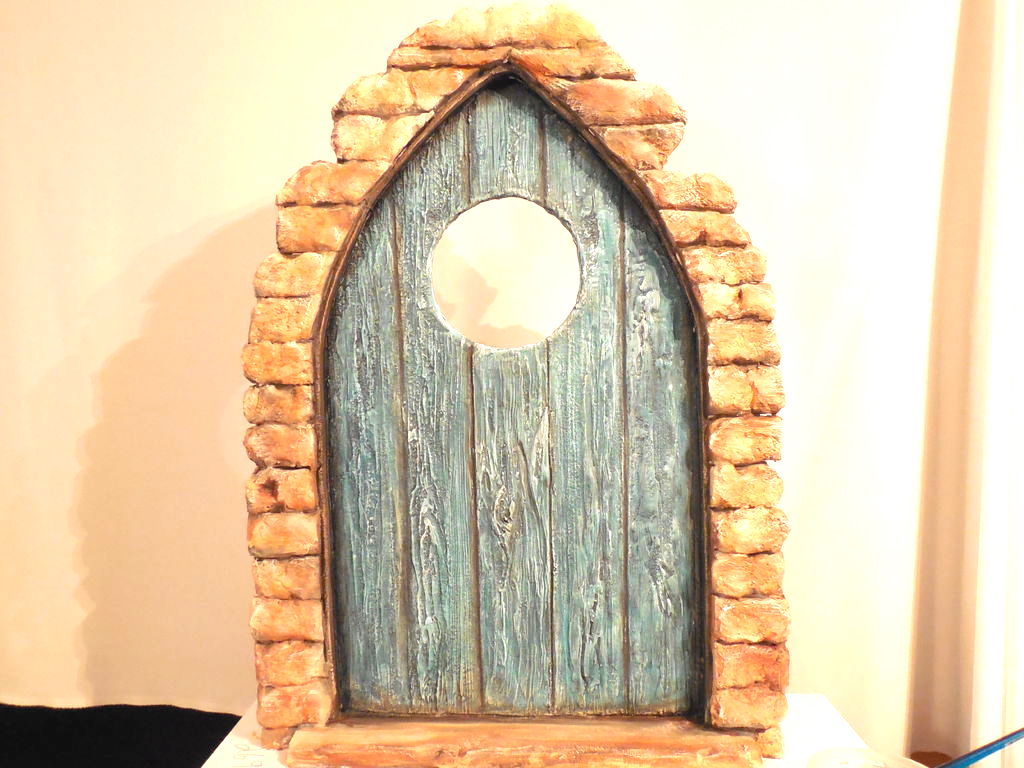
She created the cool stone effect by adding brown and white paint to a brush and lightly pouncing the brush all over the rocks.
To give the rocks some depth, she created a shadow effect in the creases with some black paint to simulate shadows.
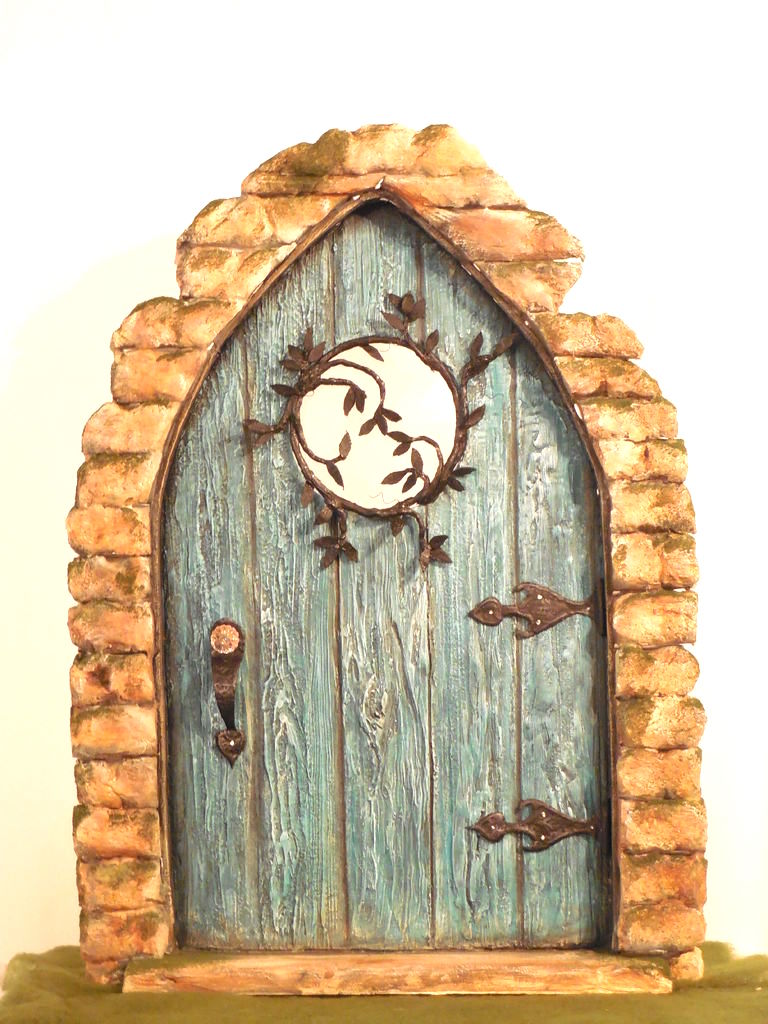
Finally, she was almost done!
She added the beautiful details she created to the door and began to add some fake moss and leaves for a woodsy touch.
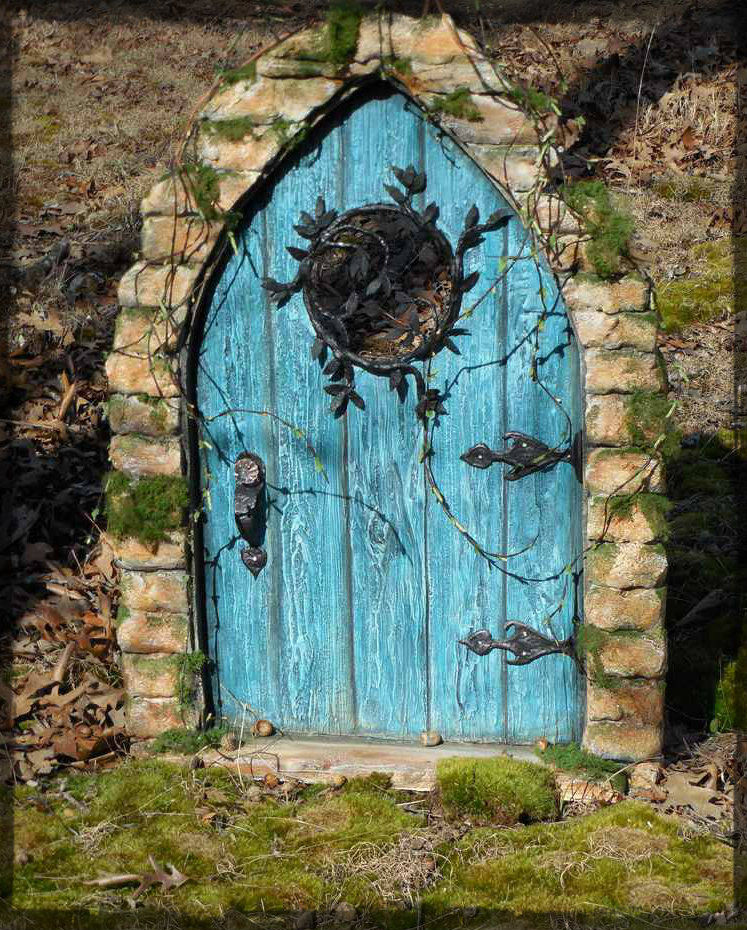
The fairy door was complete!
If you're interested in the full tutorial, check out the DIY-er's Instructables page.
Let us know what you think of this pretty project in the comments, and don't forget to SHARE with anyone who's been thinking of adding a little bit of magic to their garden!


