Confession time: I am a total weather nerd.
Regardless of the time of year, I always keep close tabs on what's going to happen outside. I'm trying to learn the science behind it all so that I can properly nerd out. Winter is the best time of year for this. As an East Coast dweller, snow is almost guaranteed each year. I can think of only one winter in semi-recent history where we got no snow at all, and frankly, it sucked.
This year, we got a sneak peek of what winter had to offer unseasonably early. When 6 inches of snow crept up on New York City in November, everyone began to prepare for a long, snowy winter. Since then, we've gotten nothing. There have barely been any flurries. I've been patiently waiting, watching. Alas, we're in mid-January and I'm still waiting.
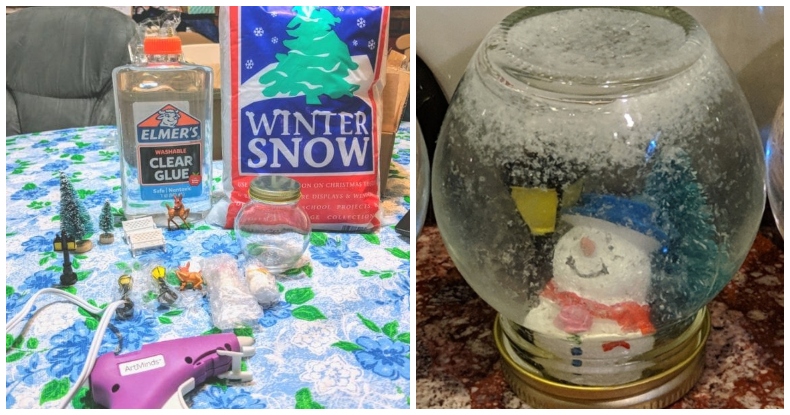
In my desperate search for snow, I started thinking about snow globes. You see them a lot in the tourist areas of the city. One good shake and you can watch the snow fall over your favorite New York City landmark. If only it were that easy. While I can't make real snow materialize, I can make my own snow globe! I've seen crafty Pinterest users turn the most basic Mason jar into a sweet snow globe with ease. I decided to give it a shot myself.
As I did my research, I quickly learned that there are several different ways to go about it. The variety lies in what you fill the snow globe with. Crafters use many combinations of liquids to achieve the ideal free-floating snow scene. There are also many different materials you can use to create the snow itself. I decided to play with the formulas and try to make myself a little blizzard in a jar. The snow globes were easy to make and fun, too! They've definitely quenched my snow-lust for the time being.
Snow Globe Supplies
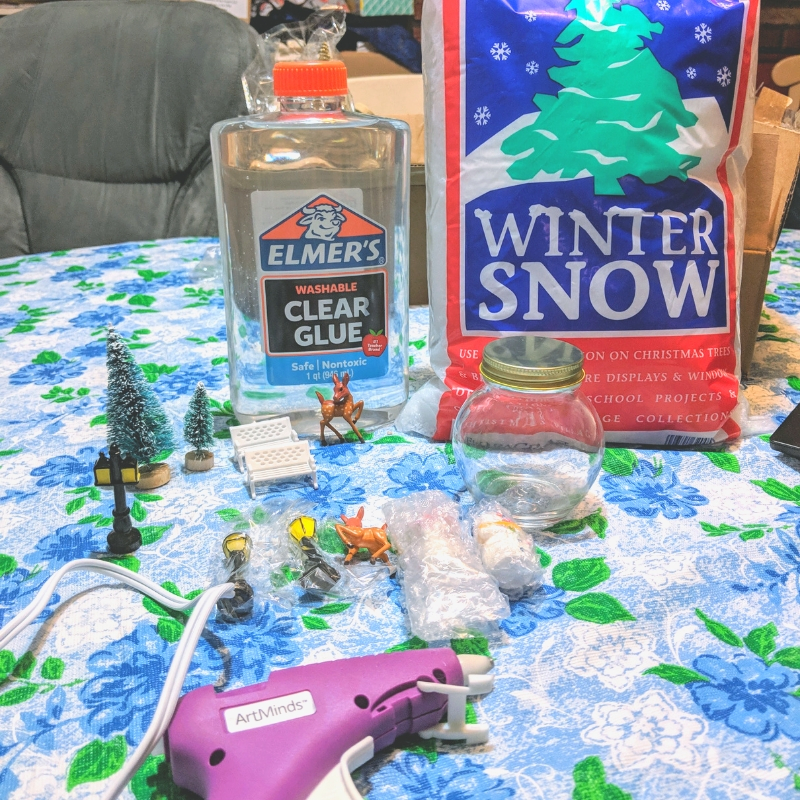
After researching the various ways snow globes can be made, I decided that the liquid should be part water and part glue. The glue makes the water a little thicker, so the "snow" will fall more slowly when you shake up the globe. Different websites recommend different ratios of water to glue. I needed to scale all the ideas down to work with the jars I purchased, so I ended up winging it a bit. Here's what I used:
- 6 oz. globe jar
- Winter-themed miniatures (the largest I could use for this size jar was 2.2 inches)
- 1.5 oz. clear glue
- 3/4 tbsp. foam snow
- Hot-glue gun
Step 1: Create Your Scene
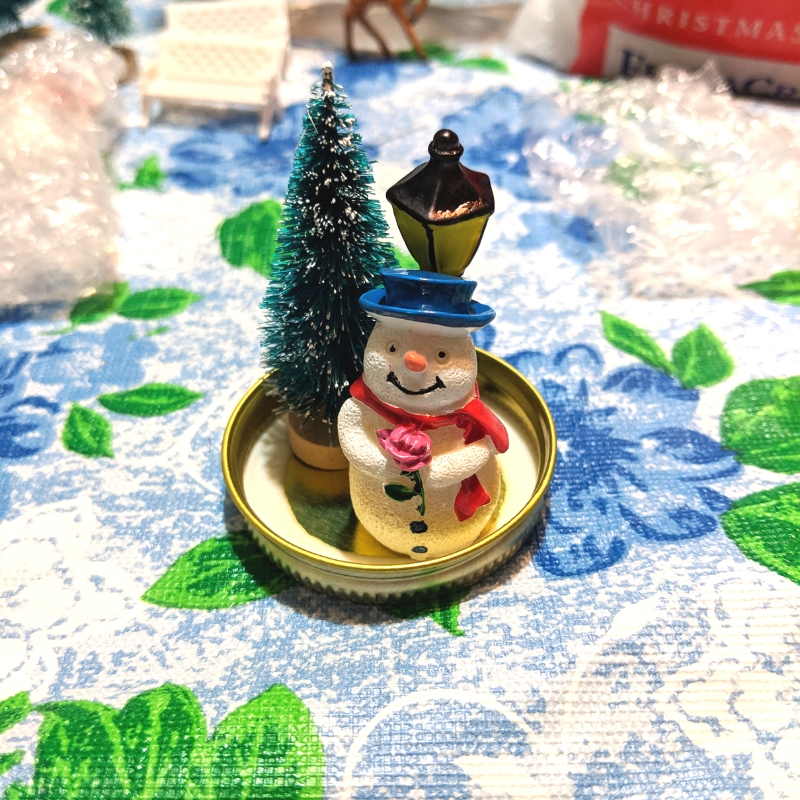
First, take the lid off your jar. The lid is where you situate your miniatures, so play around with how they'll fit in your scene. Make sure to leave enough room around the perimeter of the lid so you can screw it back on the jar when you're done.
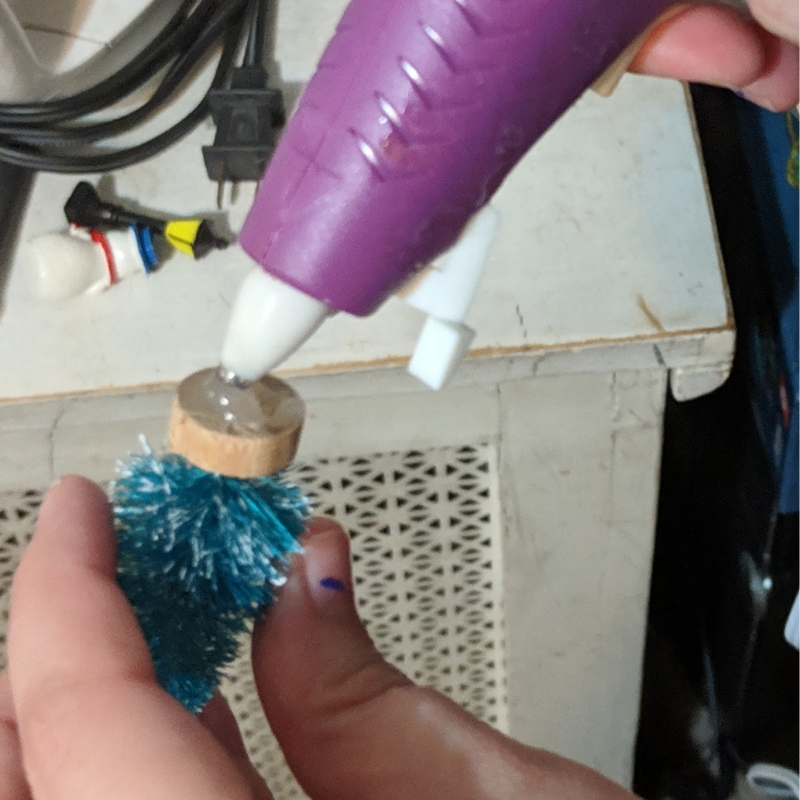
Once you know how you want to situate your snow globe scene, use a hot-glue gun to glue the miniatures to the lid. Make sure to apply a bit of pressure when attaching. Put the lid to the side to dry.
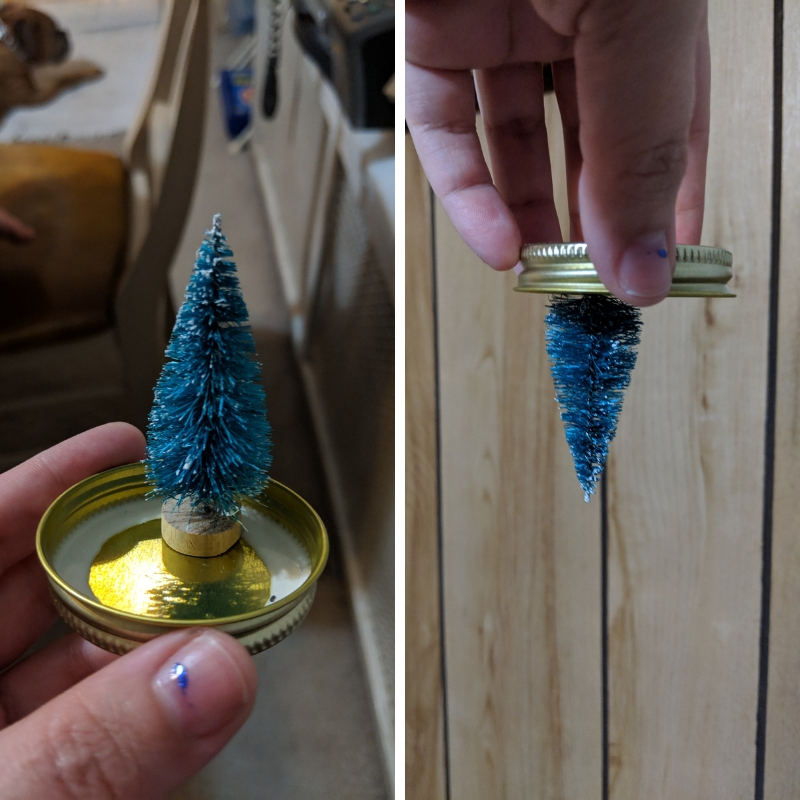
Once you think your lid is dry, test it to see if it holds. Turn the lid upside down and make sure your miniatures don't fall off.
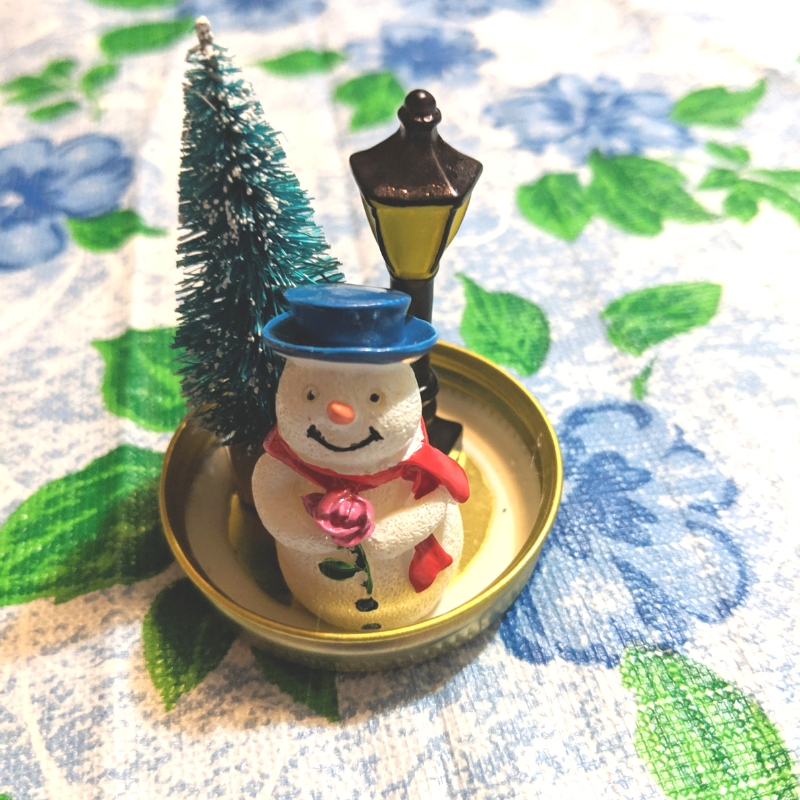
I decided to add the pieces one by one to make sure the spacing was right. If your miniatures have bases that are too wide, you can carefully remove them. It is harder to work with gluing down the figures when you're using smaller pieces, so proceed with caution.
Step 2: Mix Your Liquid
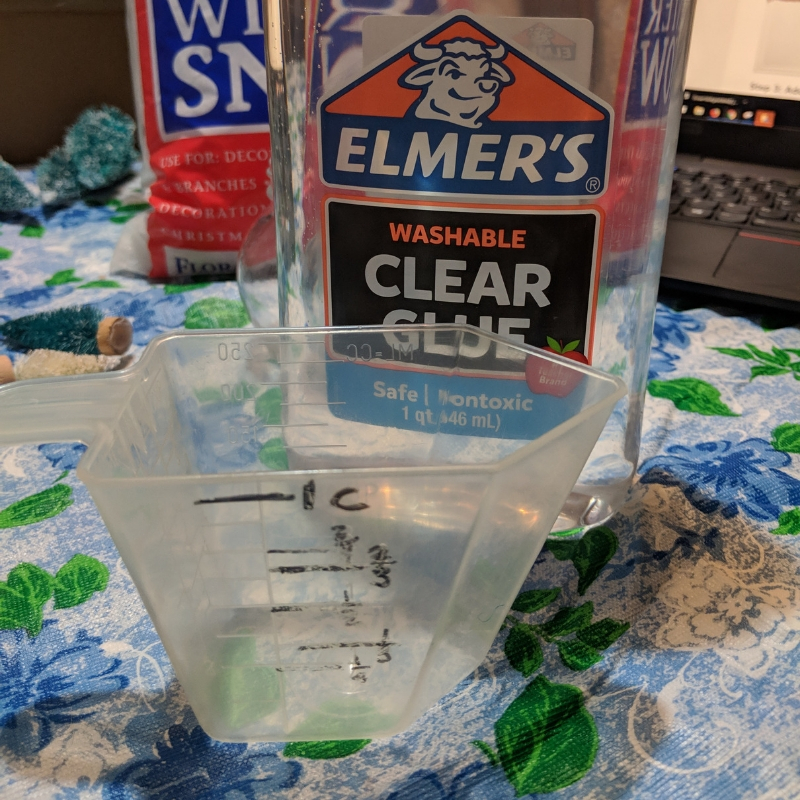
The idea of mixing clear glue with warm or hot water was the most popular in online tutorials, so I decided to give it a shot. I used about 1.5 oz. of clear glue.
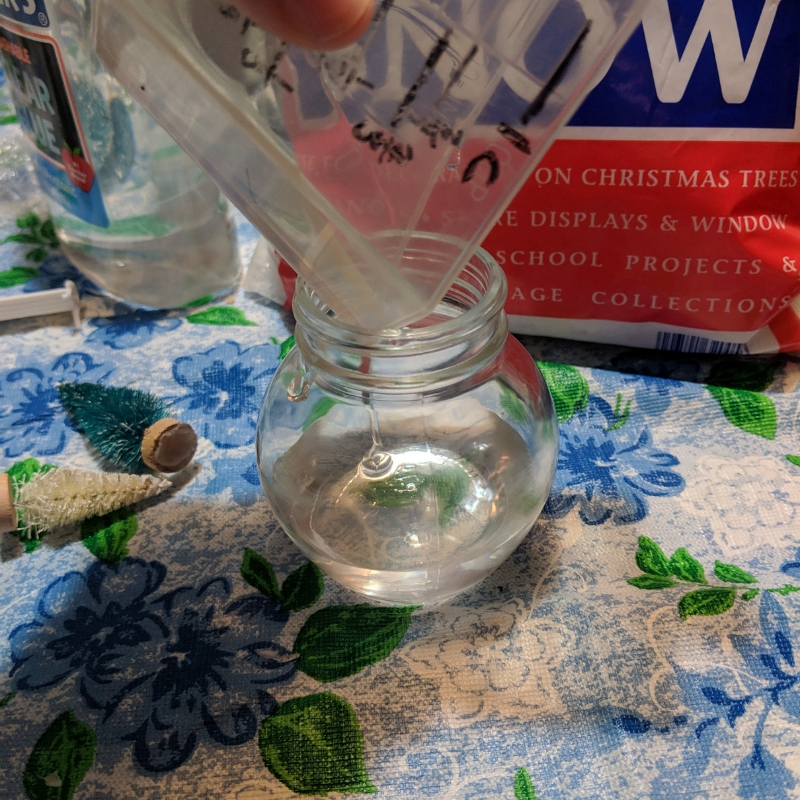
Add the glue to the jar first. Make sure you're ready to add the water quickly so the glue doesn't settle too much at the bottom of the jar.
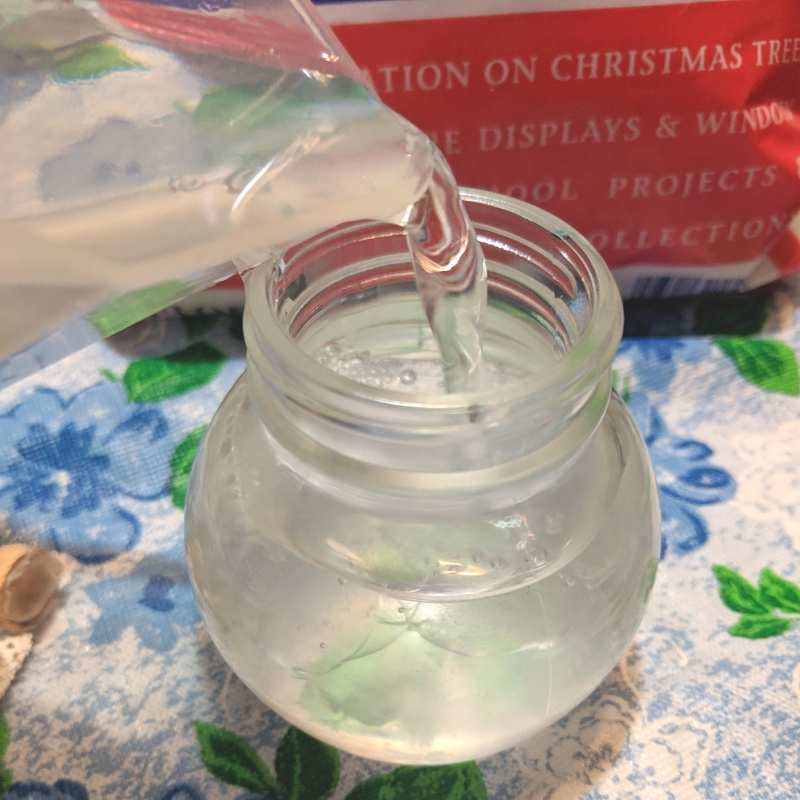
I started adding the water at the table when I remembered a tip I'd read about a few times — to avoid air bubbles in your snow globe, you want to overfill it a bit. That means that some liquid will spill out when you attach the jar lid.
Step 3: Add Snow
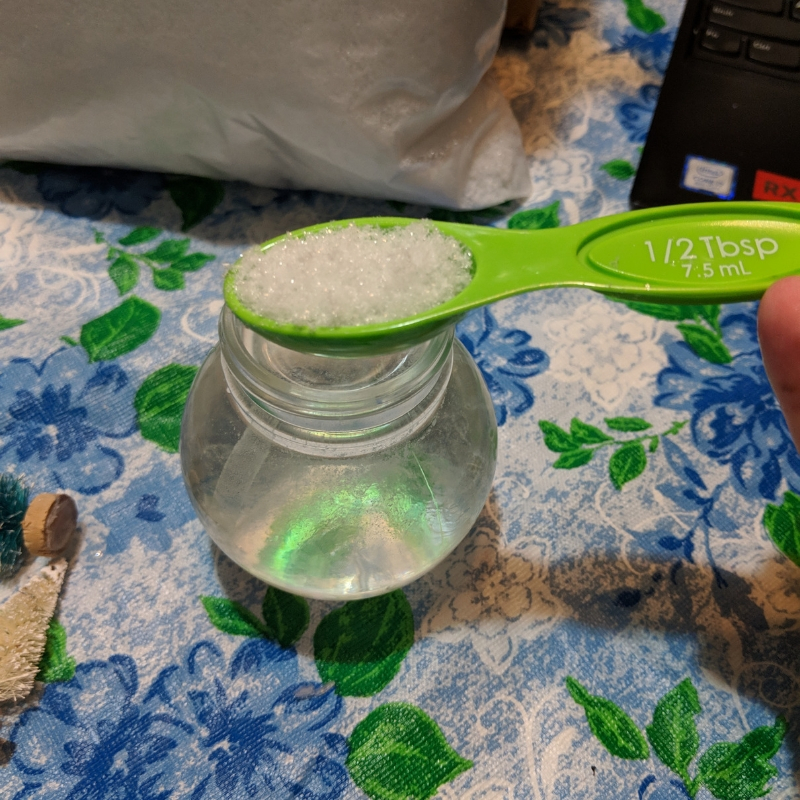
When I realized how full the jar was and that I still needed to add snow, I knew I needed to relocate. To finish the second half of this process, I moved to the closest sink.
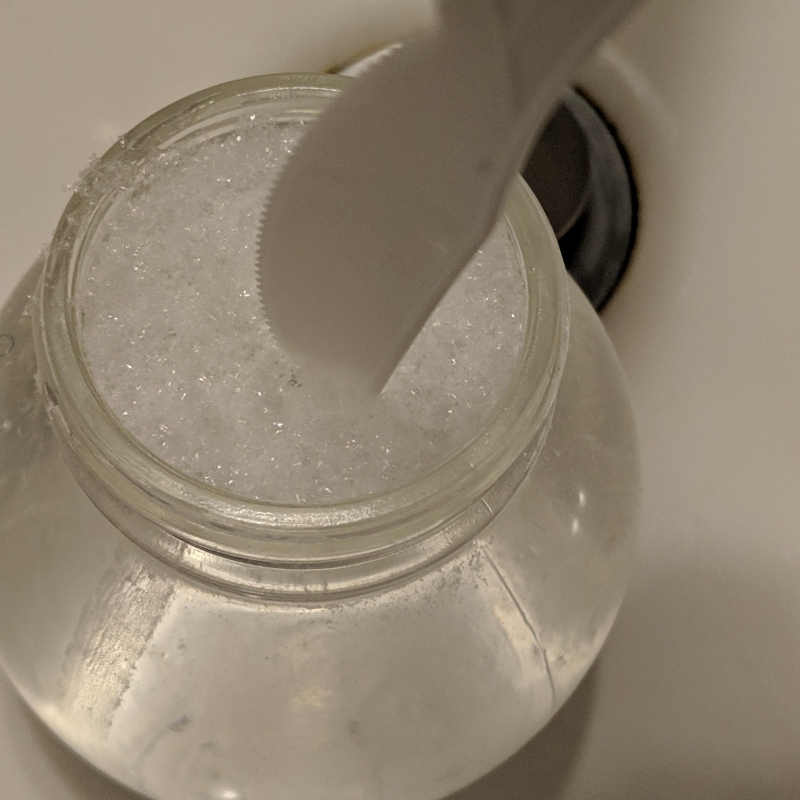
I started with half a tablespoon of snow. I used a plastic knife to mix the liquids and the snow. Some liquid spilled out while I was mixing, so I knew I'd have to add a bit more before closing the globe.
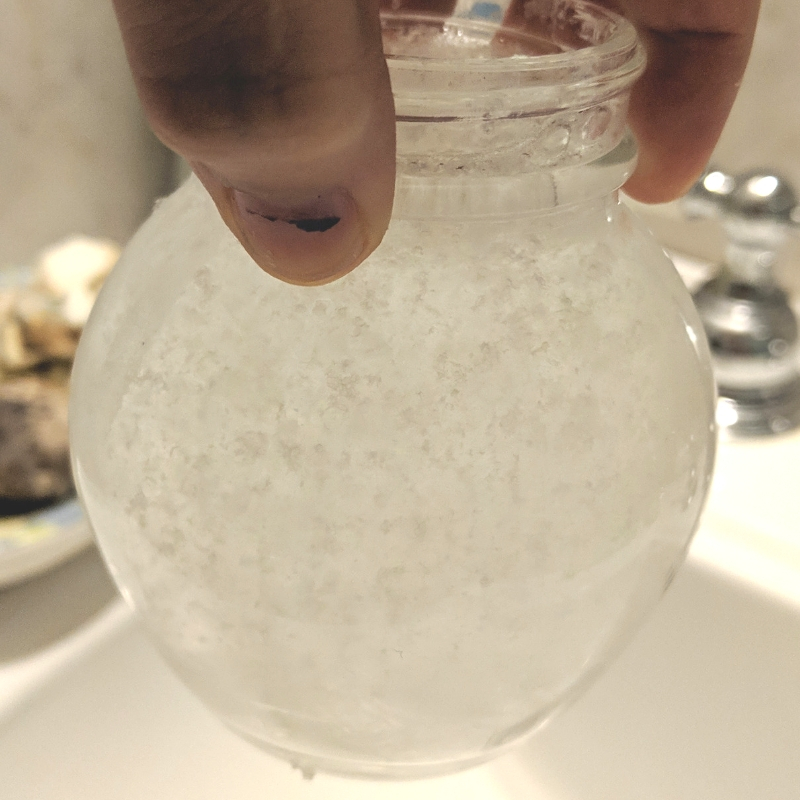
Upon mixing, I could see the snow was moving around nicely. I still needed to mix a bit more to get some of the glue that settled in the jar to move.
Step 4: Attach Lid
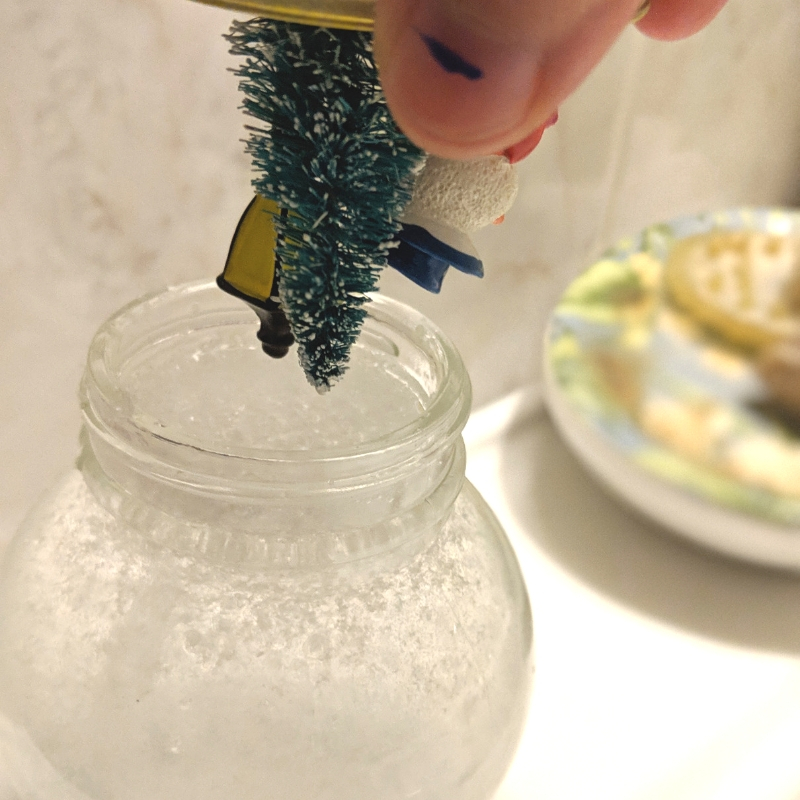
Once you are satisfied with how your snow is moving, add a little more liquid if needed. Then get your lid. Double-check that all the miniatures are stuck to the lid.
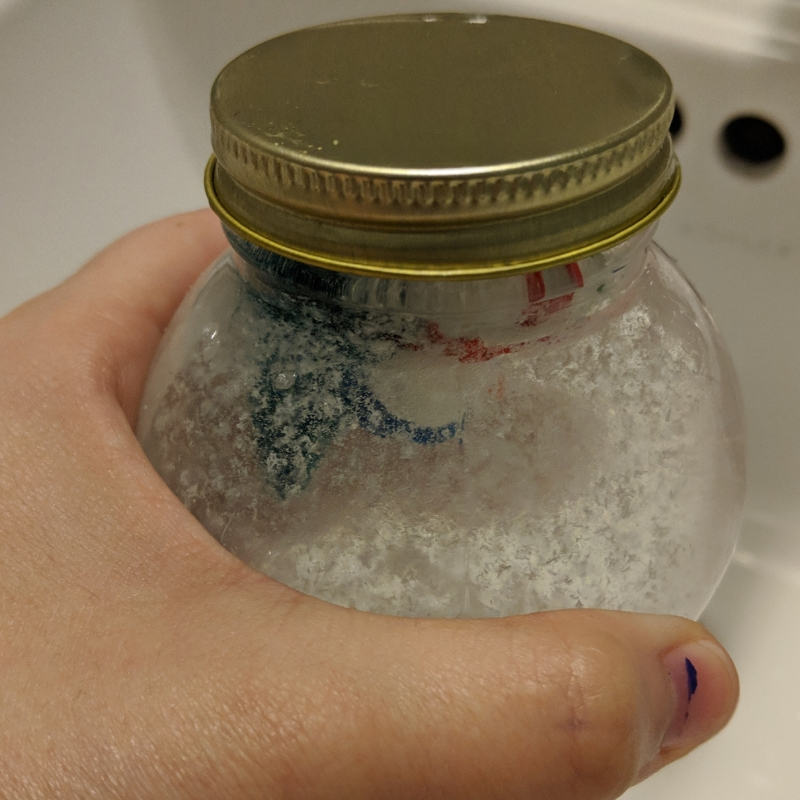
Gently lower your scene into the liquid. Let the excess liquid spill out as you screw the lid onto the jar. If you've left enough room along the perimeter of the lid, your figurines should stay attached to it.
The Final Result
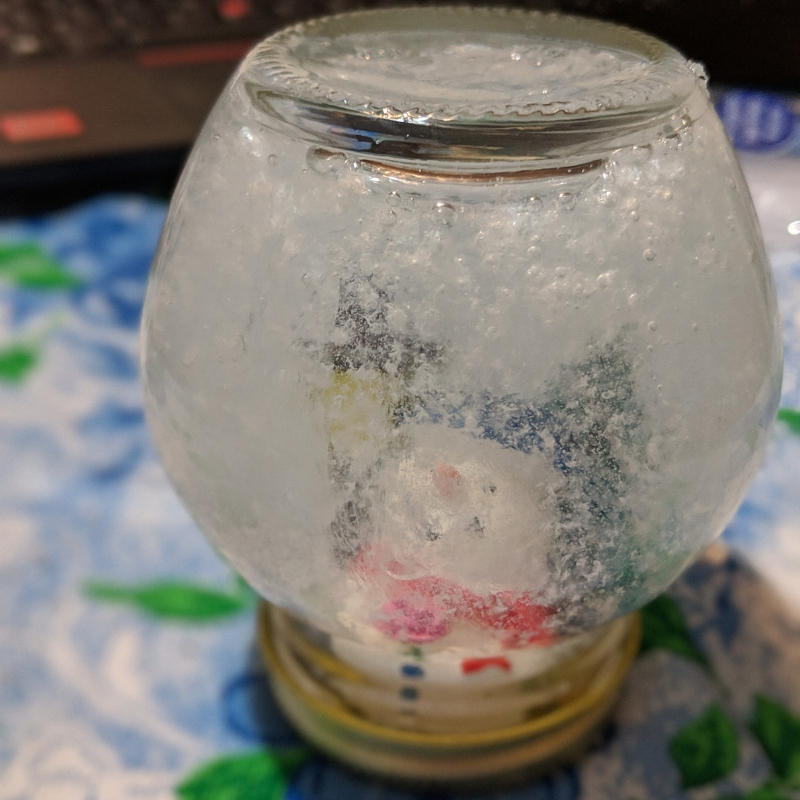
Shake up your jar and watch the snow fall over your winter scene. It's that easy! Once you've got the process down, you can make snow globes of all sizes and themes.


