Whether at work, home, or traveling, I constantly find myself with one hand in the box or bag of some delicious snack.
So whenever possible, I try to mix things up a bit by making my own snacks right at home, like some sweet and crispy apple chips. When I want a little something rich, I'll try a new recipe like mini Rolo sandwiches.
But when I'm in the mood for something salty, you can bet I'm tempted to break out my all-time favorite snack from the pantry: Cheez-Its! I simply can't get enough of these delicious crackers.
That's why I was so excited when I found this quick and easy recipe for homemade Cheez-Its! I was so eager to try it out, I decided to give them a whirl right here in the LittleThings office!
To my surprise, this recipe was so easy. All I needed was cheese, butter, flour, a food processor, and an oven to create my very own version of one of my favorite snacks.
And when they came out of the oven? I couldn't believe how good they tasted. Everyone in the office crowded around to try, and it seemed as if they just couldn't get enough!
Scroll through to see how well this tasty treat turned out, and check out the full recipe below.
To make these delicious homemade Cheez-Its, start with cheese, flour, butter, salt, a rolling pin, a pizza cutter, a food processor, and either parchment paper or aluminum foil.

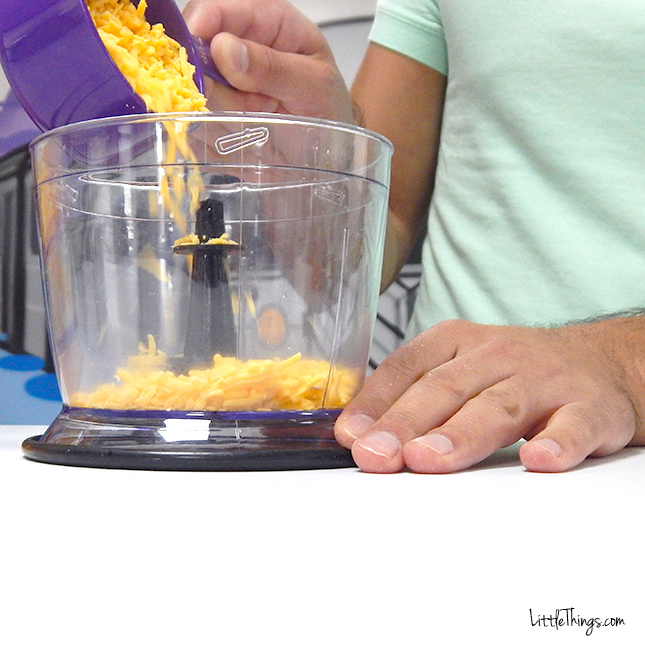
Place the cheese into the food processor.
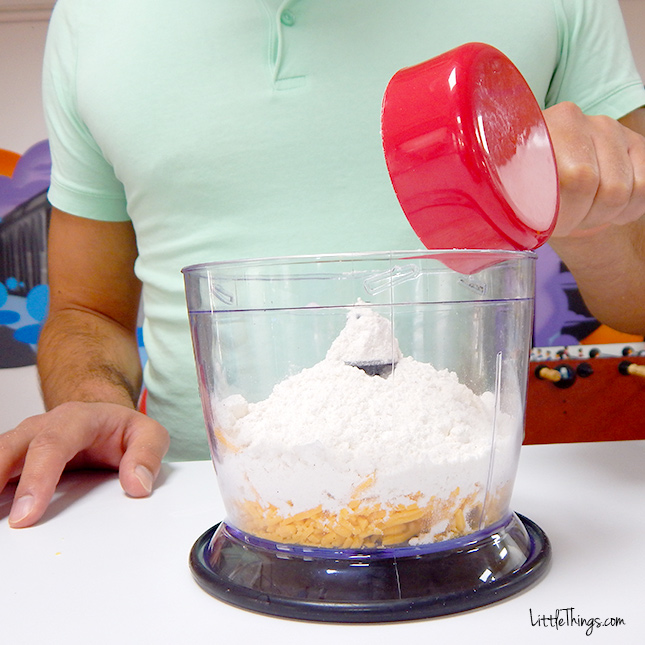
Add in the flour on top of the cheese.
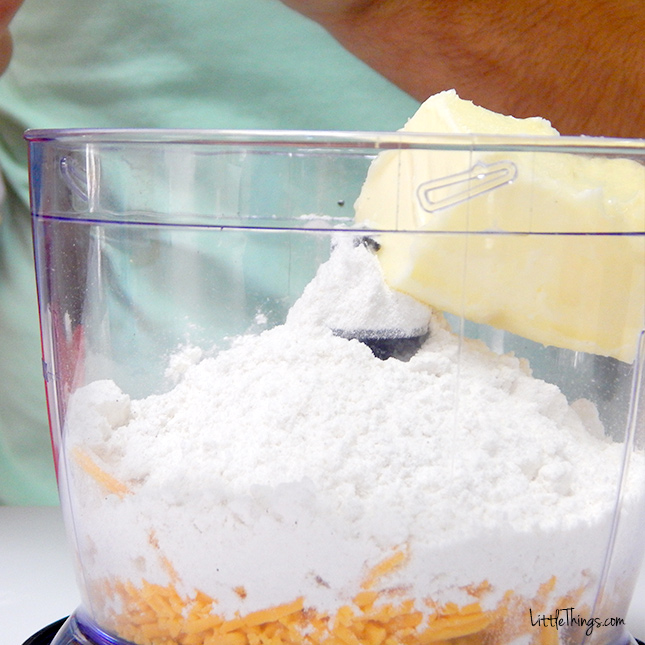
And, finally, add butter to the food processor.
Secure the lid and turn the food processor on.

Process the cheese, flour, and butter until it becomes a dough.
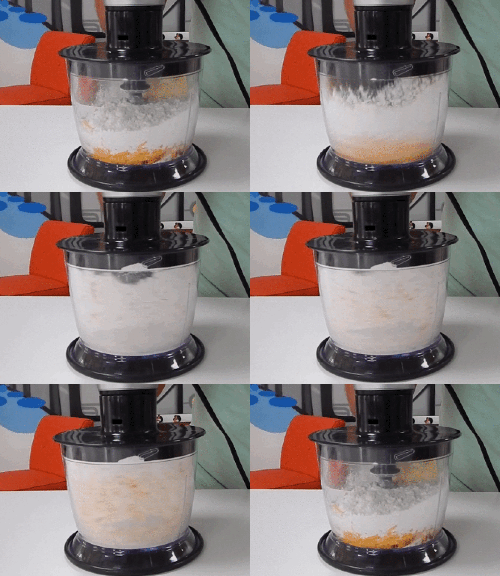
Once it has reached a dough-like consistency, remove the dough from the food processor.
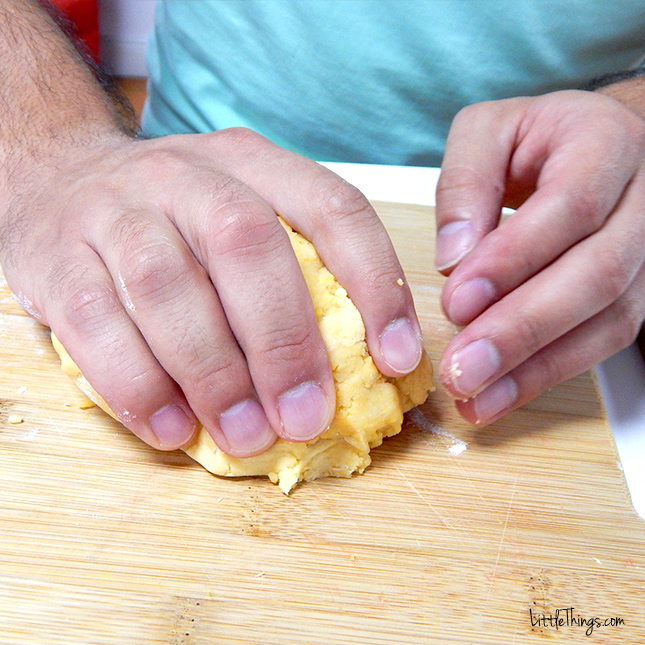
Use your hands to flatten the dough into a disc shape.
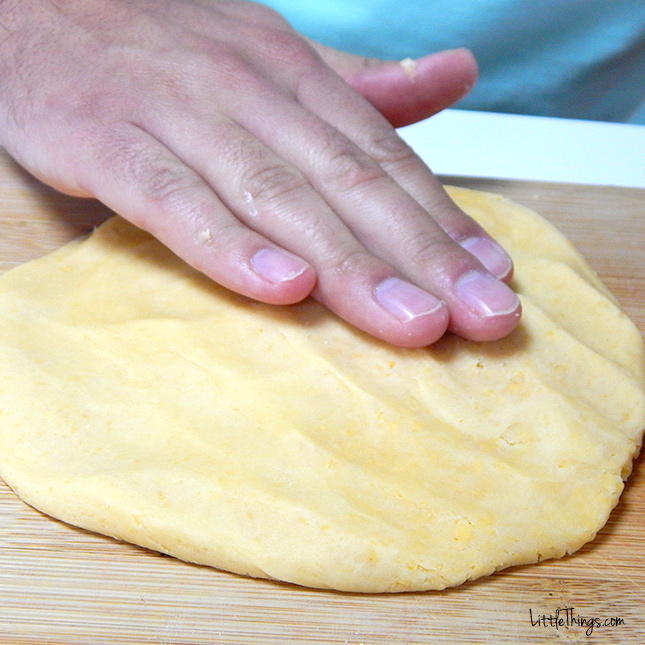
Cover the disc in plastic wrap completely. Place the dough in the refrigerator for 30 minutes.
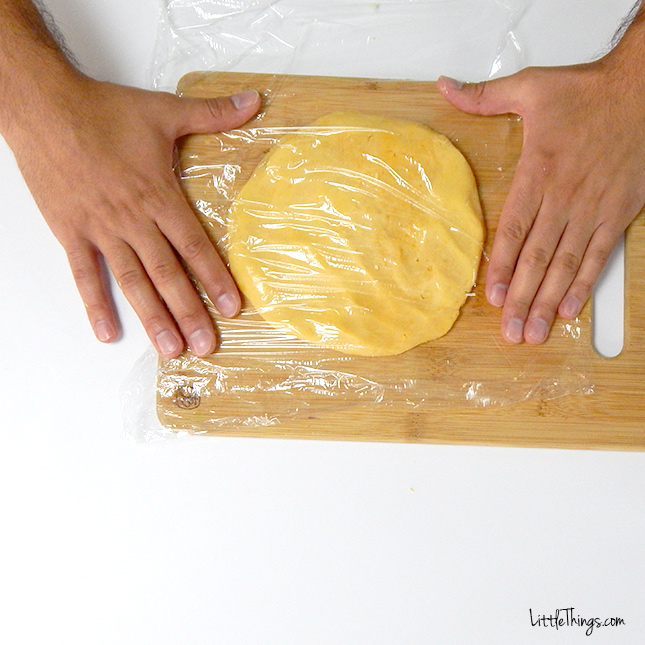
While the dough chills, preheat the oven to 350 degrees Fahrenheit. After 30 minutes, remove the dough.
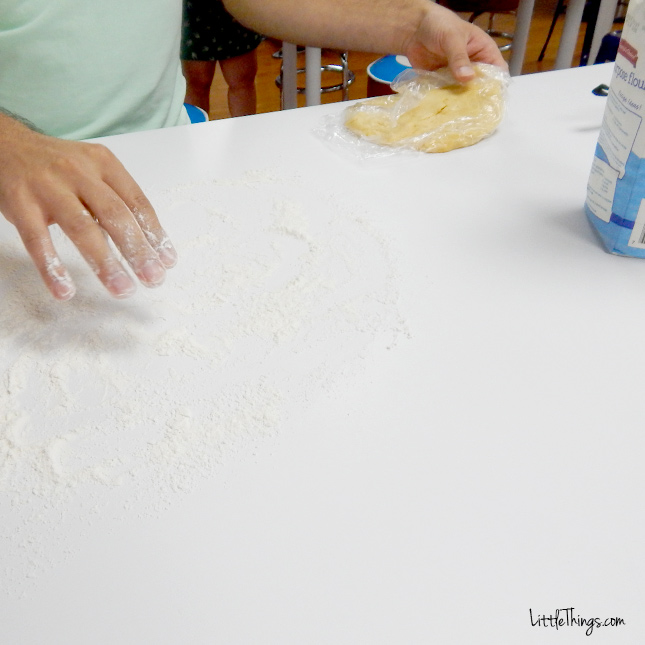
Roll the dough out on a flour-covered surface using a rolling pin.
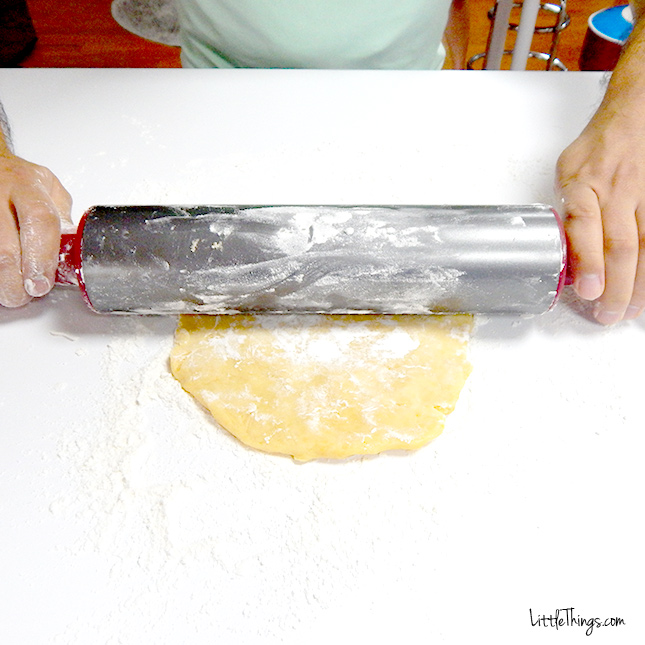
The dough should be rolled out until it is even and thin.
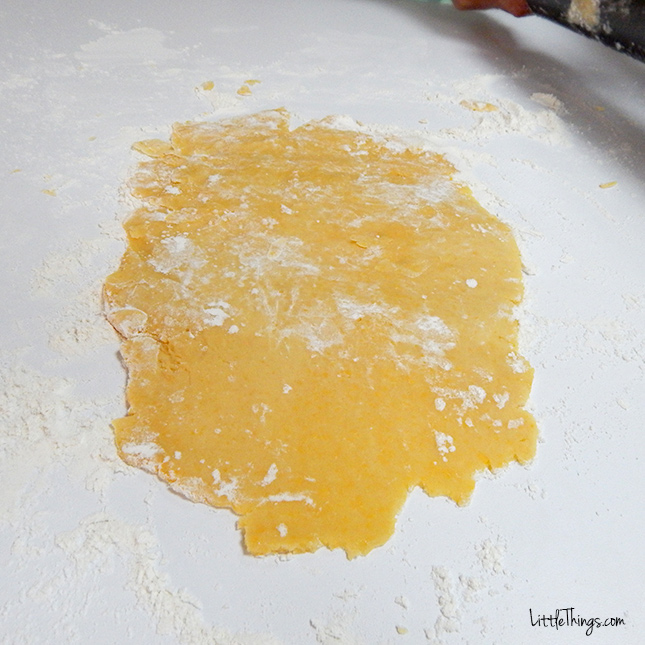
Use a pizza cutter to cut the dough into squares.
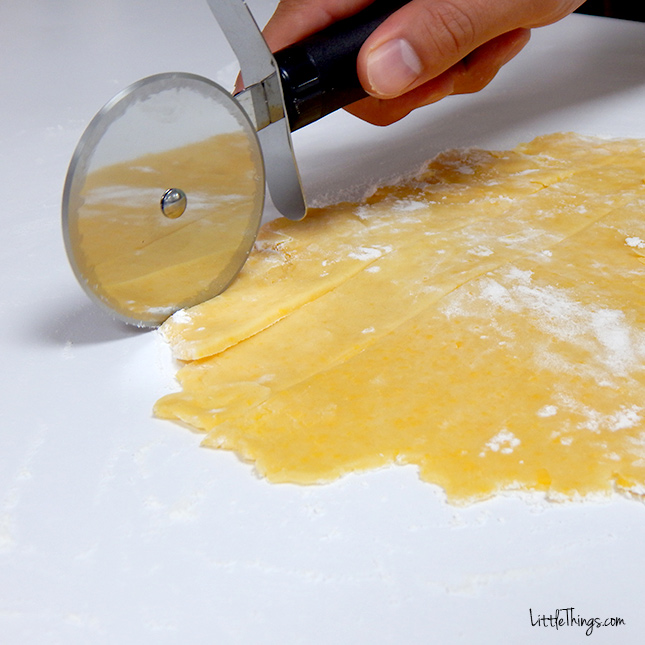
Roughly one inch is the perfect size, though it is totally fine if they are a little bigger or smaller.
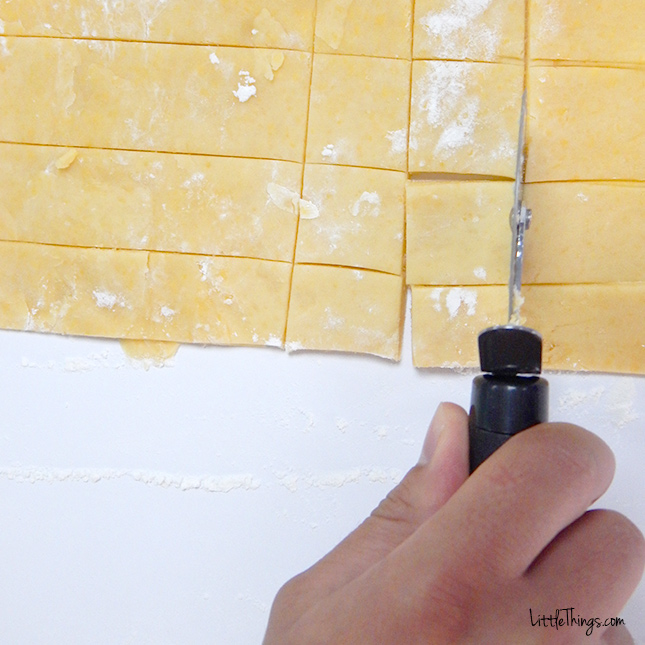
Use a coffee stirrer or something equally as small to make the signature center hole in each of the squares.
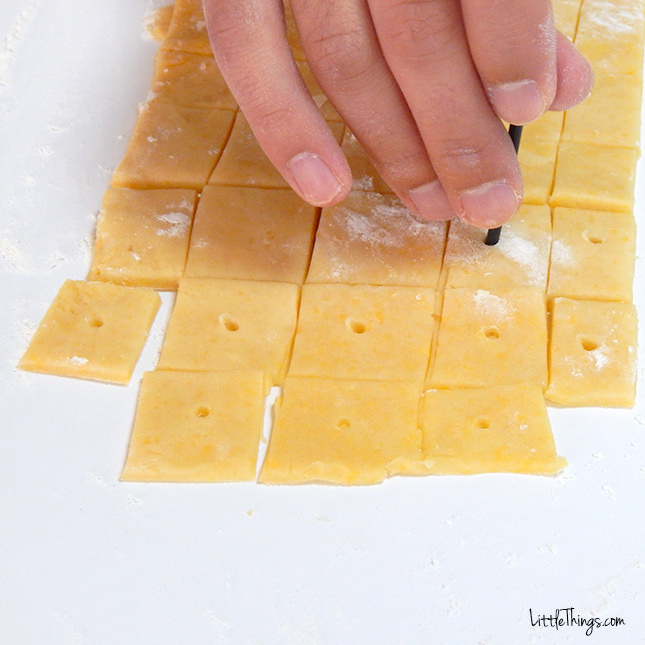
Once all of the squares have their holes, grab an oven-safe pan and cover it with parchment paper or aluminum foil.
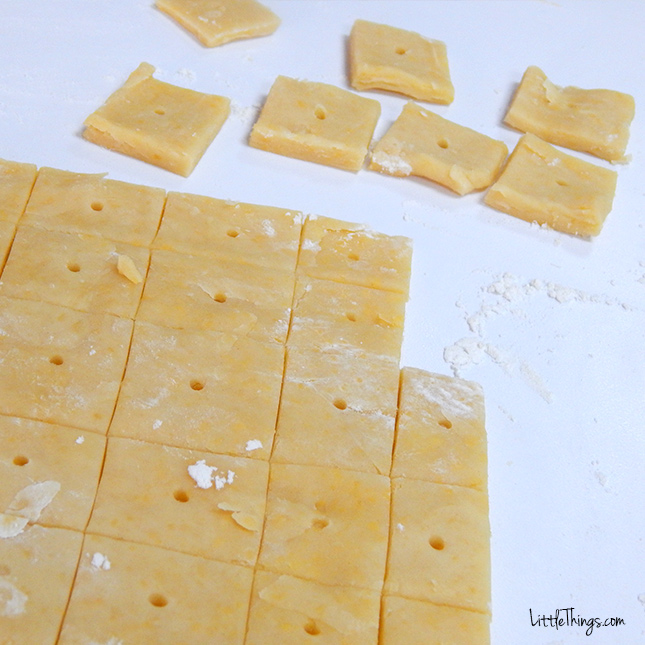
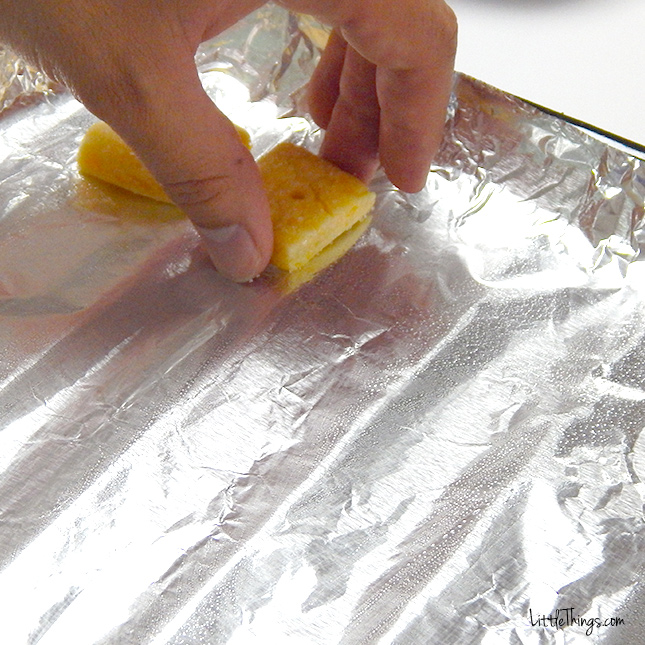
Apply a light amount of butter or grease to the aluminum foil. Place each square on the pan.
Apply as much salt as you would like to the cheese squares.
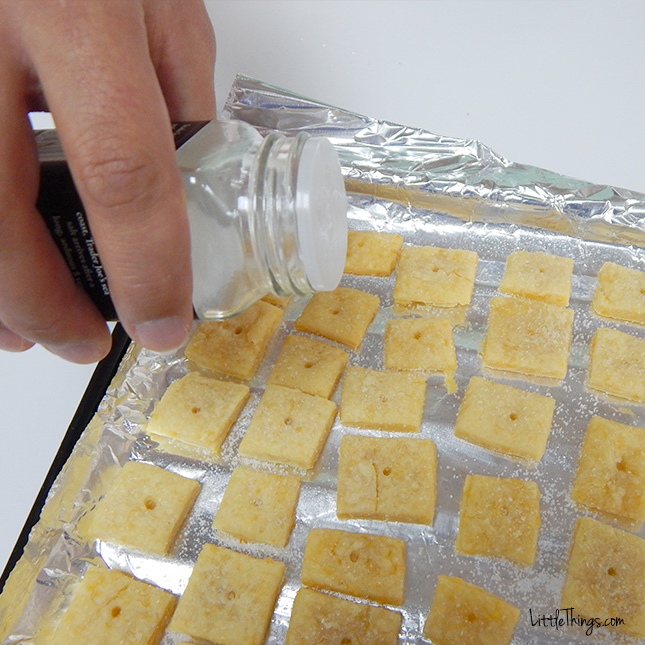
Place the pan in the oven for 12 minutes.
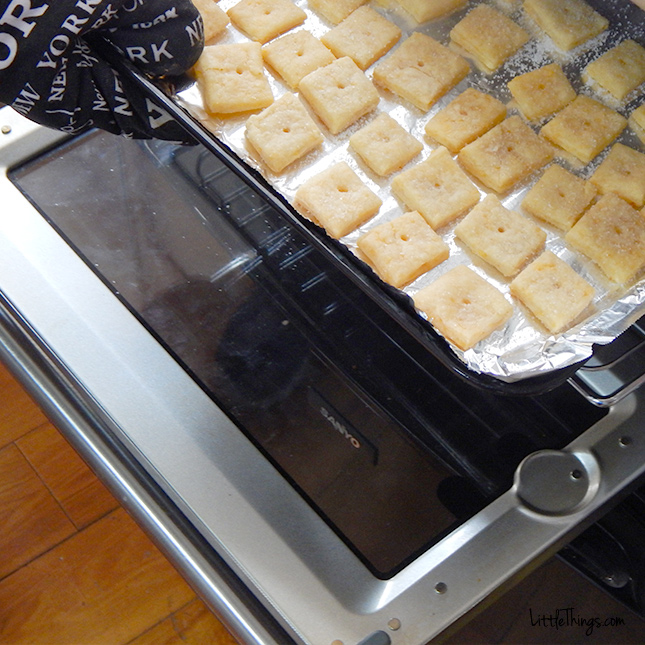
Once fully baked, remove the pan and allow the crackers to cool completely.
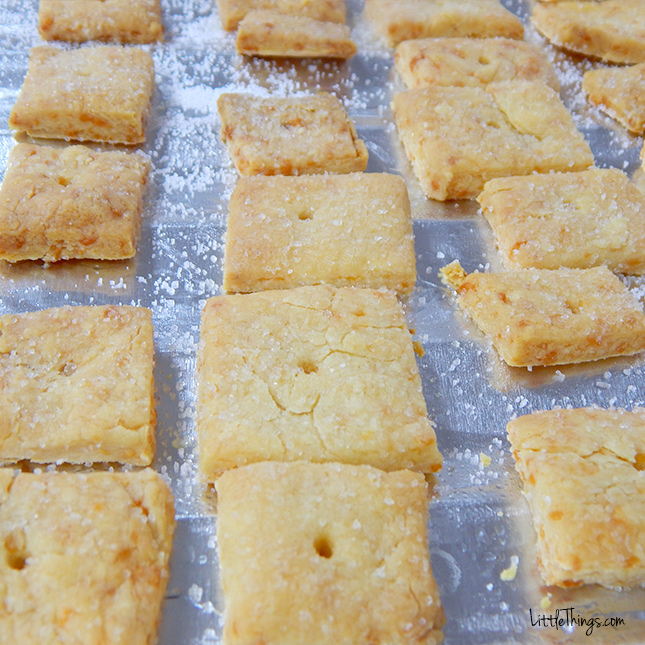
Remove the crackers, and they are all ready to enjoy.
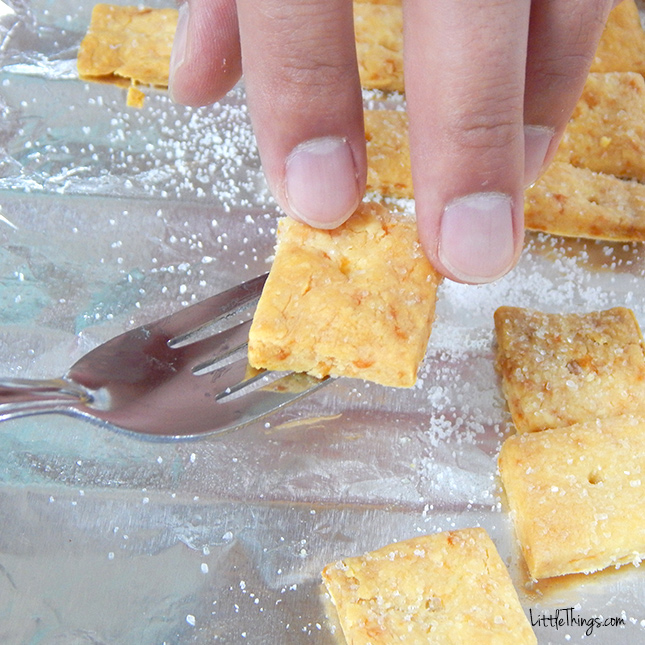
They were so delicious! Though nothing can replace the real thing, they were perfectly cheesy, crispy, and just the right amount of salty.

I put out a plate of my homemade Cheez-Its in the office and, needless to say, they did not last long at all.

With only a few ingredients, and a handful of simple steps to follow, this was one of the easiest snack recipes I have ever tried.

These homemade Cheez-Its are perfect for my next get-together, or for a night on the couch watching TV. I will definitely be trying these again soon.
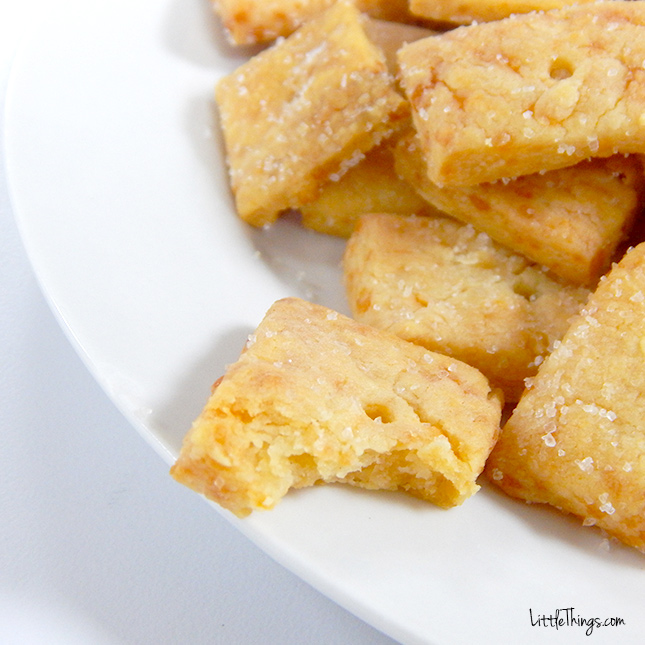
This delicious recipe is extremely easy to follow.
Ingredients:
- 1 cup cheddar cheese, shredded
- 3/4 cup flour
- 4 Tbsp. butter
- Salt, optional
Directions:
- Place cheese, flour, and butter in food processor.
- Process until dough forms.
- Cover dough in plastic wrap and refrigerate for 30 minutes.
- Preheat oven to 350 degrees.
- Roll out dough completely.
- Cut dough into 1-inch squares using pizza cutter.
- Use coffee stirrer to make hole in center of each square.
- Place dough squares on pan lined with aluminum foil.
- Sprinkle with salt as desired.
- Bake for 12 minutes.
- Remove pan and allow to cool.
I’ll still be buying Cheez-Its from the store — but every once in a while, I’ll definitely be making my own version at home! Will you be trying this recipe out too? Let us know in the comments below!
Please SHARE if you love simple and delicious snack recipes like this one!


