My absolute favorite kinds of at-home projects are ones that require a lot of patience and commitment — and, in the end, leave me completely stunned.
Such DIY projects not only look gorgeous when completed, but they often also carry a special meaning for the crafter. A perfect example would be the canvas of the American flag by nailing 20,000 Budweiser bottle caps together created by artist John T. Unger.
But of all the incredible art projects I've seen out there, this creative couple's floor has to be one of the best I've ever seen!
When Instructables user KanPo Studios and his wife recently bought a house, they decided to install a brand new floor in one of the rooms. The home belonged to a married couple in their 80s who had lived in the house for more than 30 years — so naturally, things looked a bit old and outdated.
They planned for the room to be a small library with a wine and liquor bar closet in the back. For the flooring, they wanted to create something spectacular: an entire mosaic floor. Now that may sound simple, but in reality it was a long and hard effort.
Scroll further to see the steps they took to complete the tiles on the floor, and let us know what you think about the finished product in the comments below!
Instructables user KanPo Studios decided that one of the rooms in his new home would become a lovely library room. So he and his wife set out to construct a custom-made mosaic floor.
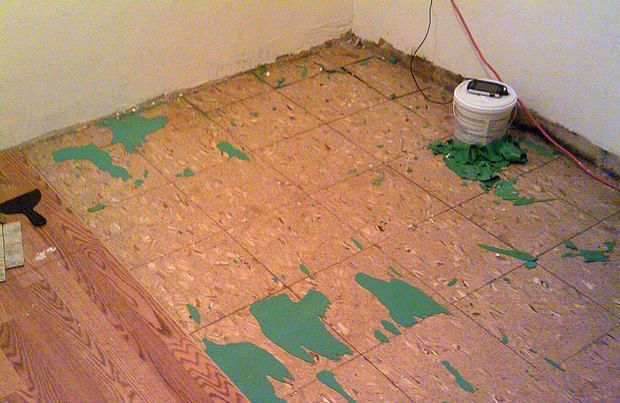
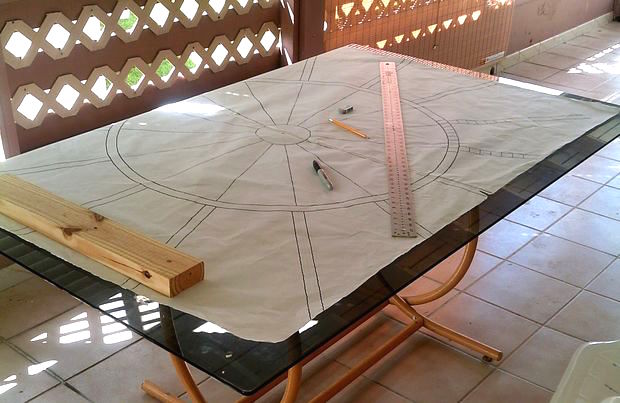
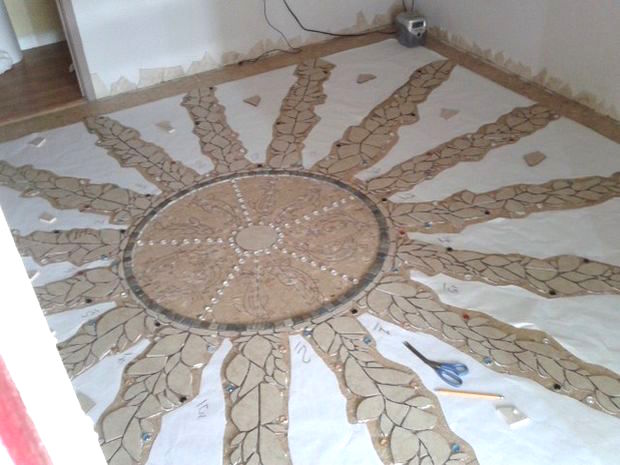
The user and his wife were both inspired by astronomy and rivers. So, for the design, they drew a sun with 15 rays. The figure of planet Earth sits in the center.
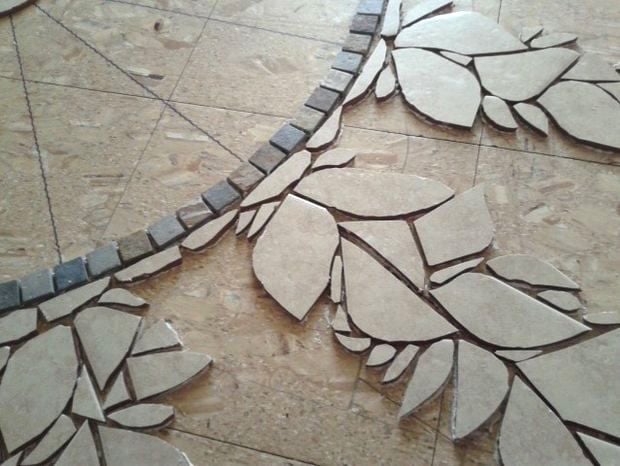
First, they cut and glued the surrounding "fractured" tiles to the ground.
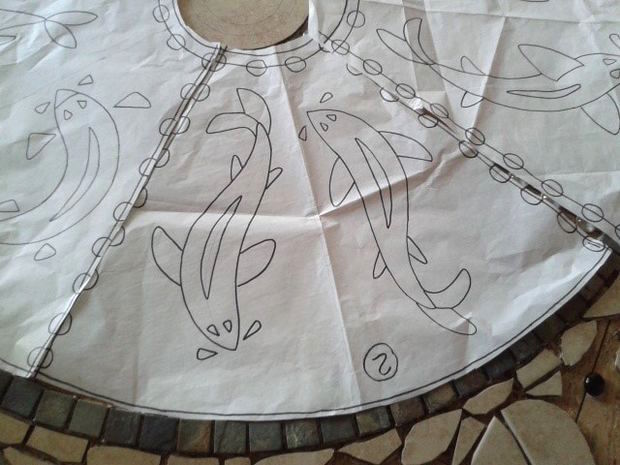
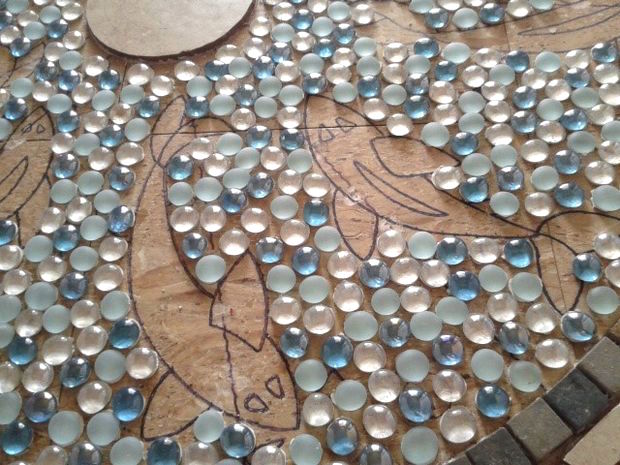
Koi fish were drawn on craft paper, and blue, opaque, and clear glass pebbles were inserted along the lines between them.
Additional figures and elements were drawn on craft paper: local flora and fauna, like dragonflies and butterflies. Watch closely, as those will be needed later...
Then came the more tedious work: all the pebbles were set at least a quarter of an inch away from each other in order to avoid a blotchy pattern.
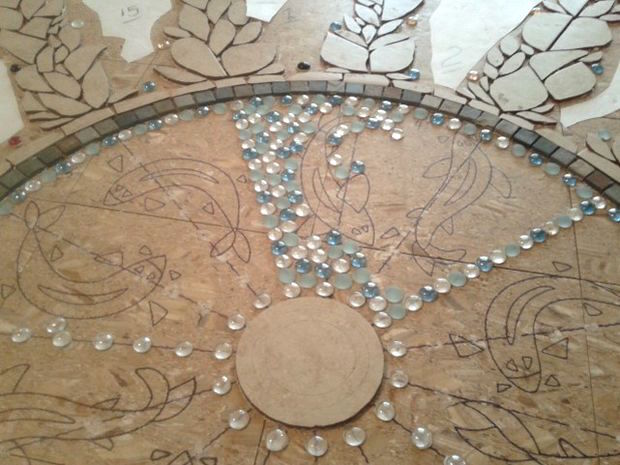
They were careful to blend the colors well in order to create a transparency among the pebbles.
Next, sanded grout with polymer was used to fill in the spaces between the tiles.
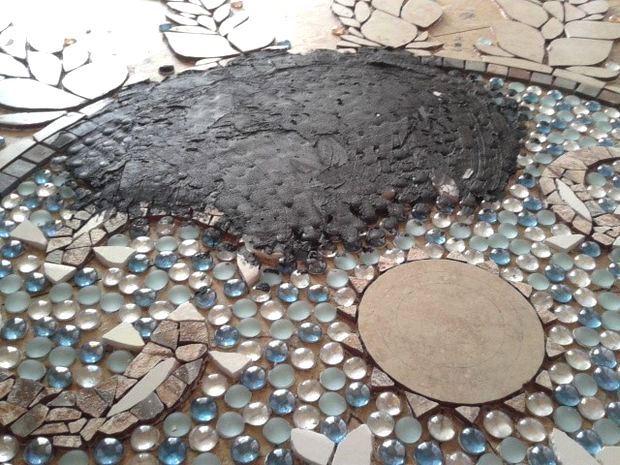
Sure enough, the grout muddied the pebbles.
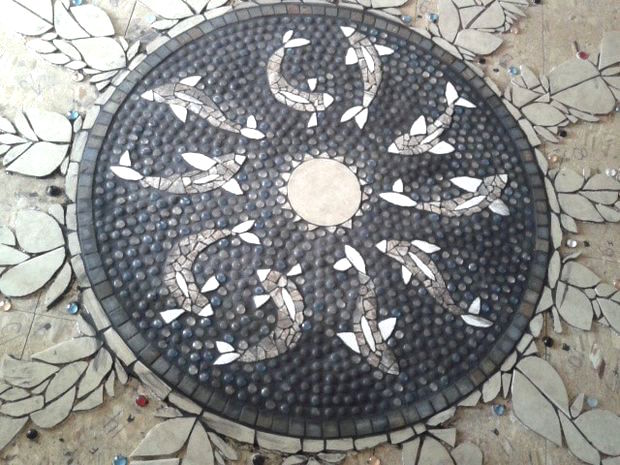
But no worries here! All that's needed is some cleanup (preferably with a wire brush).
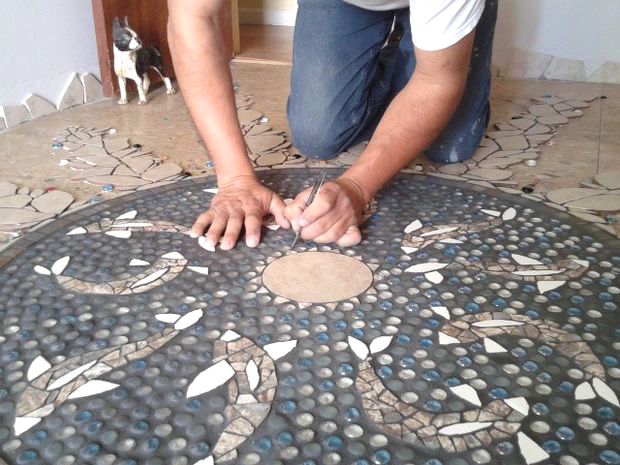
Next, tiles were cut to fit the flora and fauna designs surrounding the mosaic ring.
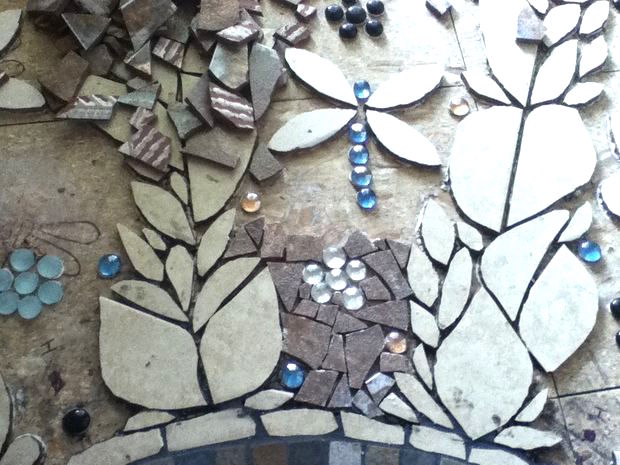
The remaining tiles were then put in place. The whole thing looked like a big ceramic jigsaw puzzle. For the final step, grout was applied again to the outer tiles.
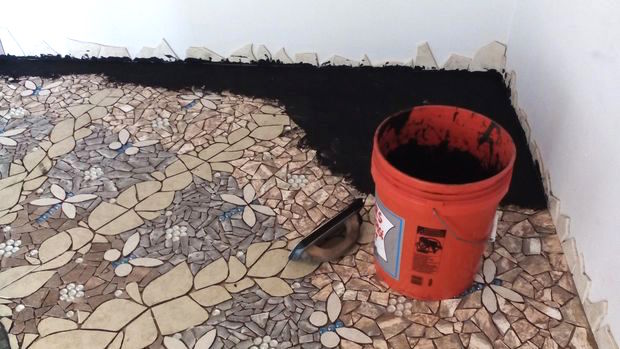
After a great amount of cleanup, the mosaic floor was finally completed. Now all it needs are a few bookcases, and the library will be complete!

We absolutely love seeing unique and intricate DIY projects like this one. Not only have the owners proudly showcased their finished products, but the designs have all been crafted with love and great care.
Please SHARE if you thought this design was simply amazing and if you'd love to see more mosaic projects in the future!


