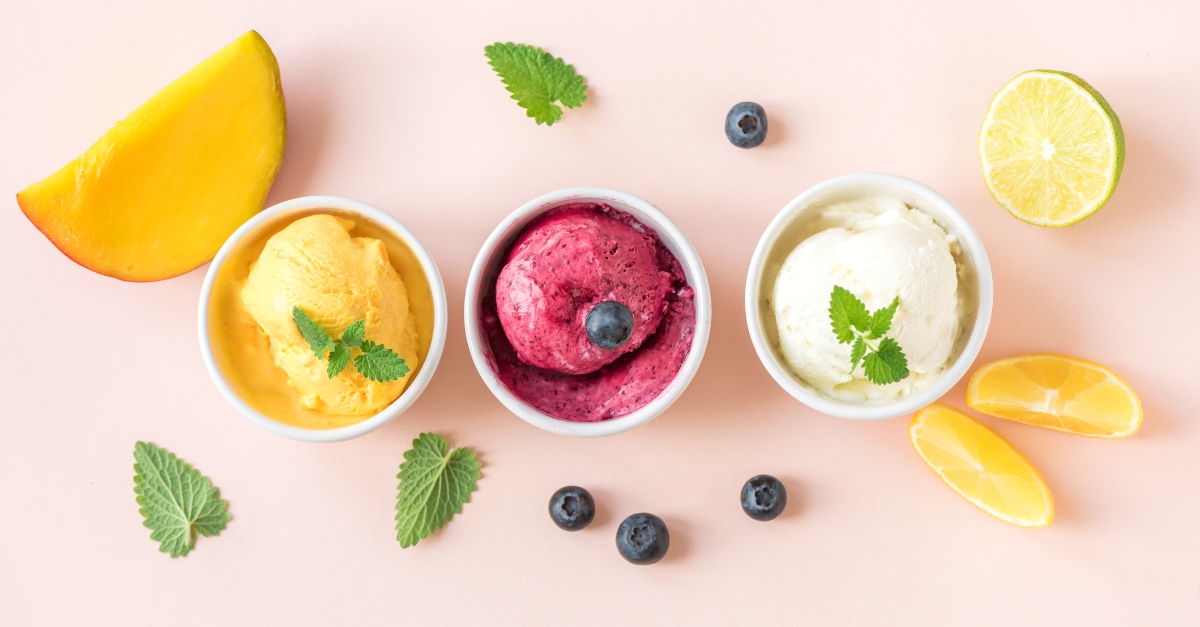
If you like to enjoy a cool sweet treat in the summer but want to avoid the extra sugar and additives that come along with food from the grocery store, then consider making your own DIY sorbet. A fabulous option for anyone who is vegan or lactose intolerant, this homemade sorbet is a simple way to whip up (or rather, blend up) a delicious dessert without having to bake a single thing.
I’m one of those unfortunate people who can’t eat anything with dairy in it (well, I shouldn’t eat anything with dairy in it, although I do occasionally indulge in something cheesy and pay for it with stomach pains later on), and I definitely enjoy a cool sweet treat on a hot day. I’ve been eating store-bought sorbet since I was a child. However, since I’m keen to eat a little healthier these days and want my own kids to eat well, I was eager to try out a few different flavors of homemade sorbet.
After looking online and finding various ways to make sorbet that included a range of methods and ingredients, I decided the best option for my first try was to keep it simple and see what kind of results I would get with fruit alone. I always have bananas in the house to make my morning shakes, so figured I could try a banana sorbet, and when I popped over to the store, I was able to get deals on both raspberries and strawberries, too.
Back at home, it took just a few steps and a little bit of time to create three different desserts. Read on to check out how my homemade DIY sorbet turned out and find out how you can make it for yourself.
What You’ll Need
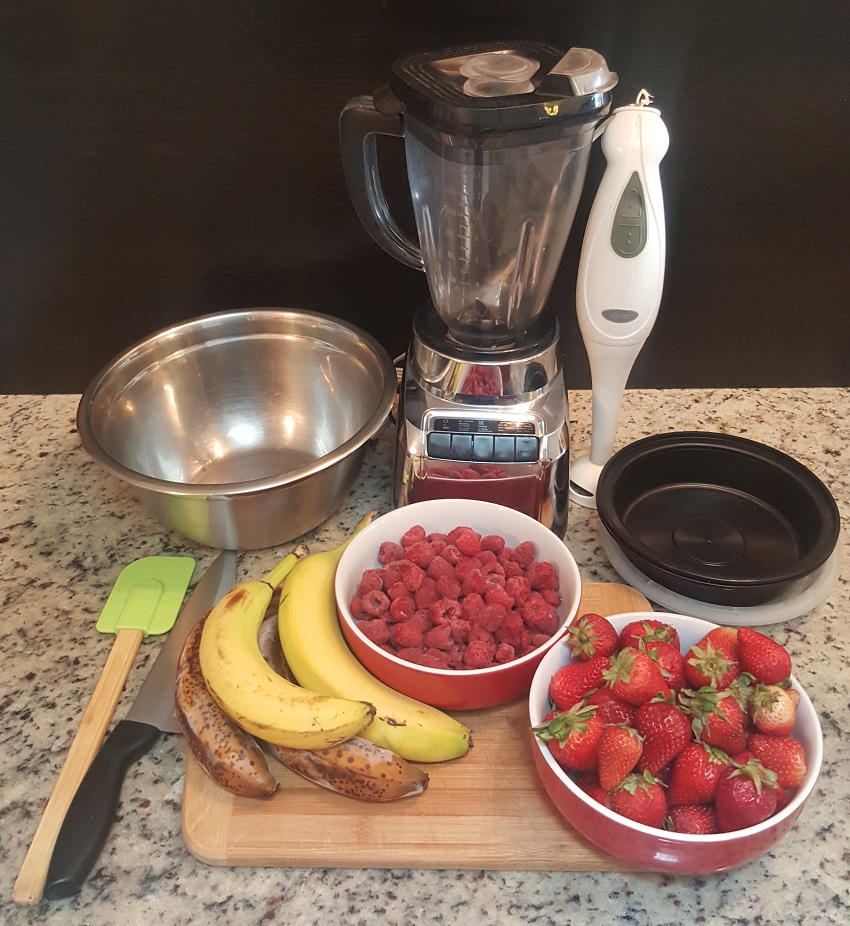
- Bananas
- Strawberries
- Raspberries
- Cutting board and knife
- Spatula
- Mixing bowl
- Containers (for freezing)
- Blender/hand blender
Strawberry Sorbet Step 1: Wash and Trim
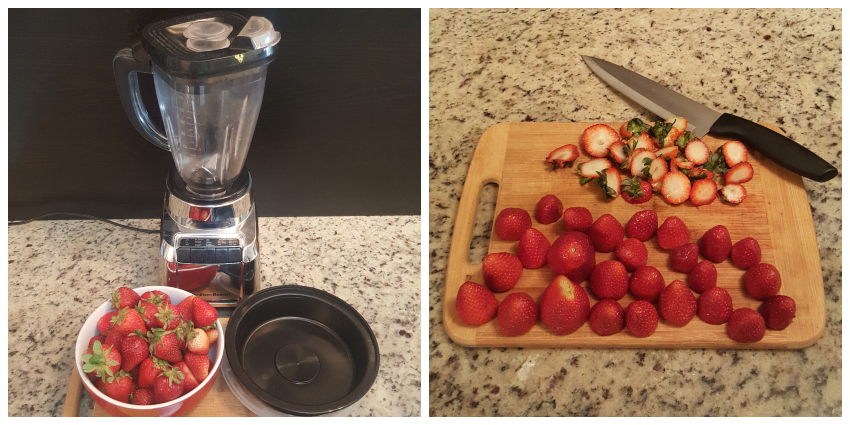
I started off with my bowl of strawberries, knife, spatula, and cutting board. I washed the strawberries in warm water, then cut off the green leafy bit (or calyx, which I had to look up — new word alert!).
Strawberry Sorbet Step 2: Blend
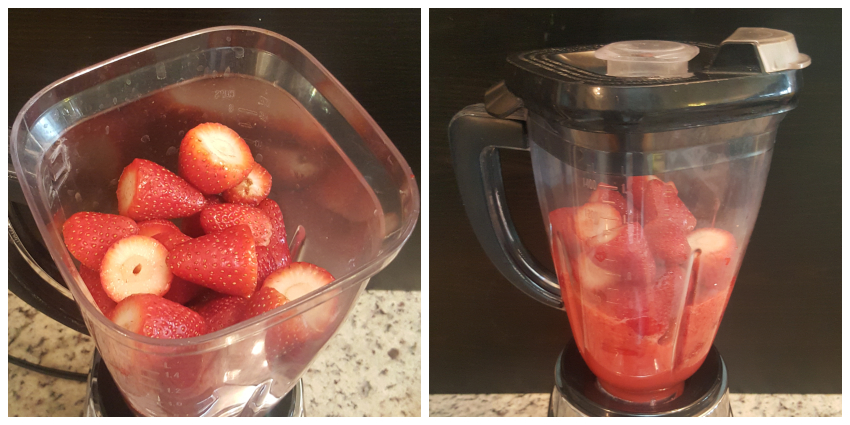
Next, I popped the washed and de-calyxed strawberries into my blender. I decided to go with the big blender rather than the hand blender because I was hoping it would get the job done quickly. I went with the puree setting and kept it going until the strawberries were broken down to an almost jam-like consistency.
Strawberry Sorbet Step 3: Freeze Overnight
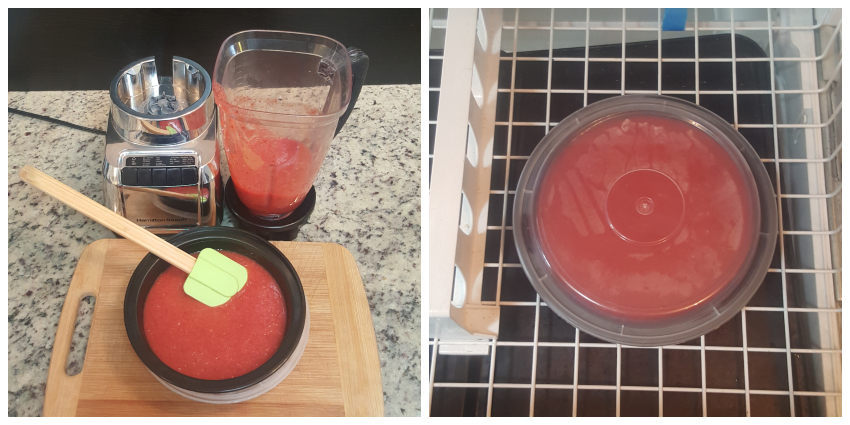
I then used the spatula to transfer my pureed strawberries from the blender to a container. The fruit was so fragrant as I was sealing the container that my mouth began to water. Before giving in to deliciousness and eating up the jammy goodness, I quickly popped it into the freezer to solidify overnight.
Strawberry Sorbet: Result
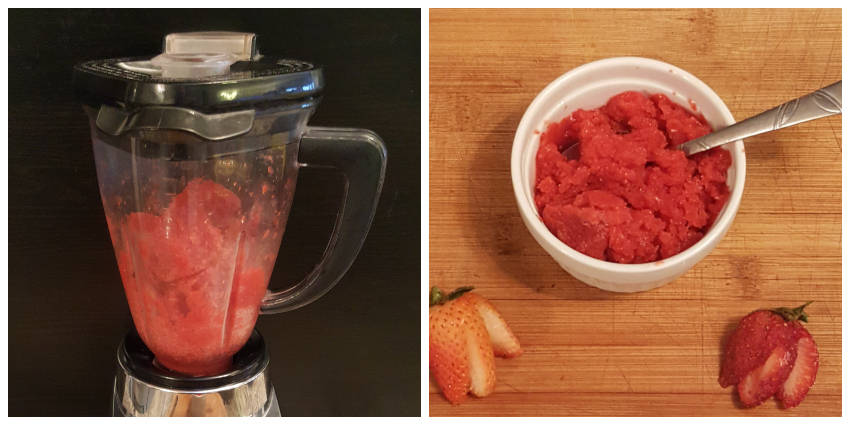
The next morning, I was eager to check out the results of my strawberry sorbet. After I cracked open the lid, I was immediately hit with a slightly dulled — yet still amazing — smell of strawberries. The sorbet was frozen pretty solid, so dipping a spoon in right away was out of the question — unless you’re in the mood to be diligently chipping away while drooling profusely. Instead, I broke up the sorbet with my knife and put it in my blender to loosen up the dessert. The result had the consistency of shaved ice, which reminded me of a snow cone at the park, but one that was healthier and more adult-like.
Raspberry Sorbet Step 1: Wash Thoroughly
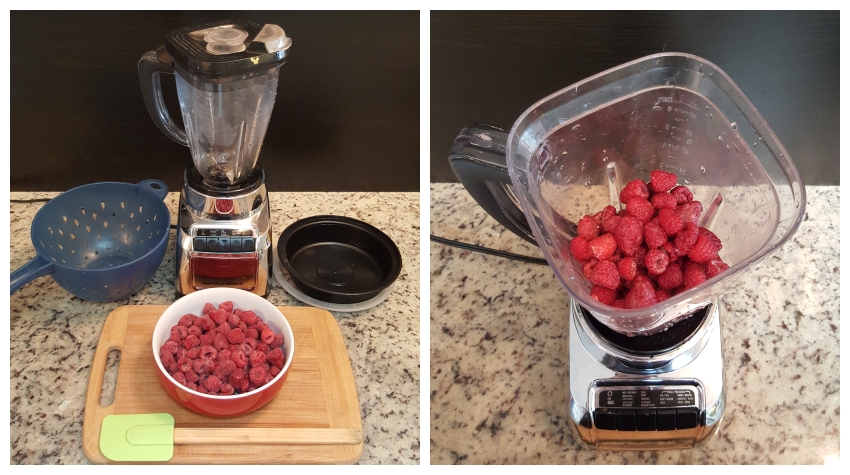
To make my raspberry sorbet, I needed a blender (I ended up using both my big blender and my hand blender), strainer, spatula, container, and A LOT of raspberries.
First things first, I washed the raspberries well in the strainer and placed them in my blender.
Raspberry Sorbet Step 2: Blend and Freeze
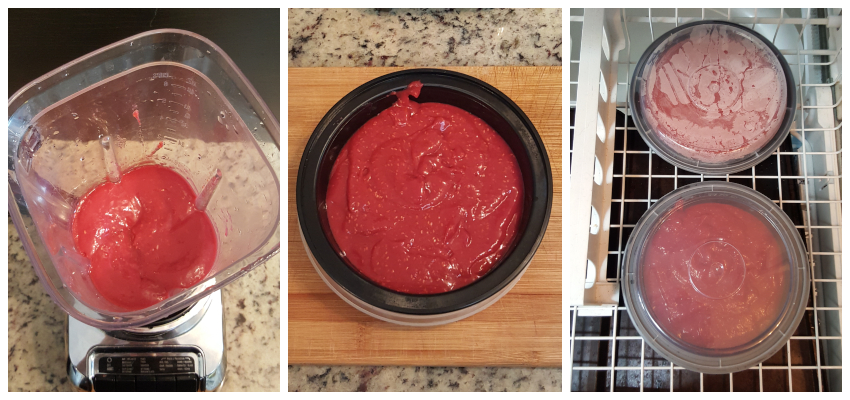
I pureed the raspberries until they were a nice, smooth consistency. The raspberries were perfectly ripe, so the smell was incredibly fragrant. I used my spatula to scrape every last drop of the mixture into my container, then popped it into the freezer to harden overnight.
Raspberry Sorbet Step 3: Hand-Blend the Frozen Puree
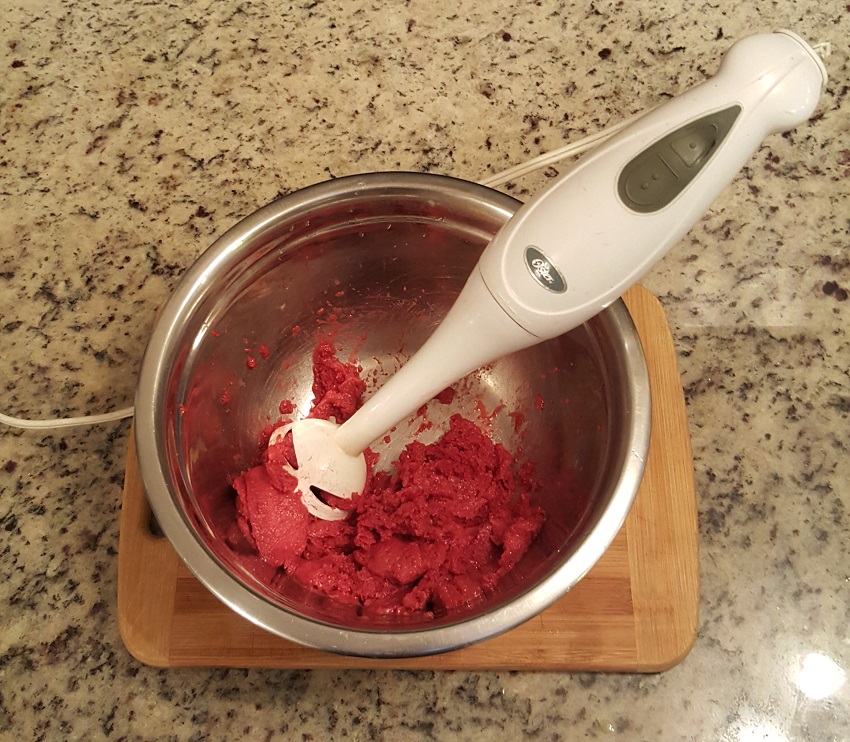
In the morning, I took out the sorbet to see how it had turned out. I gave it a spoon test (not a taste test) and found that it hadn't frozen as solid as the strawberry sorbet, so I used the hand blender instead of the big blender to see if I could make the texture a little smoother.
Raspberry Sorbet: Result
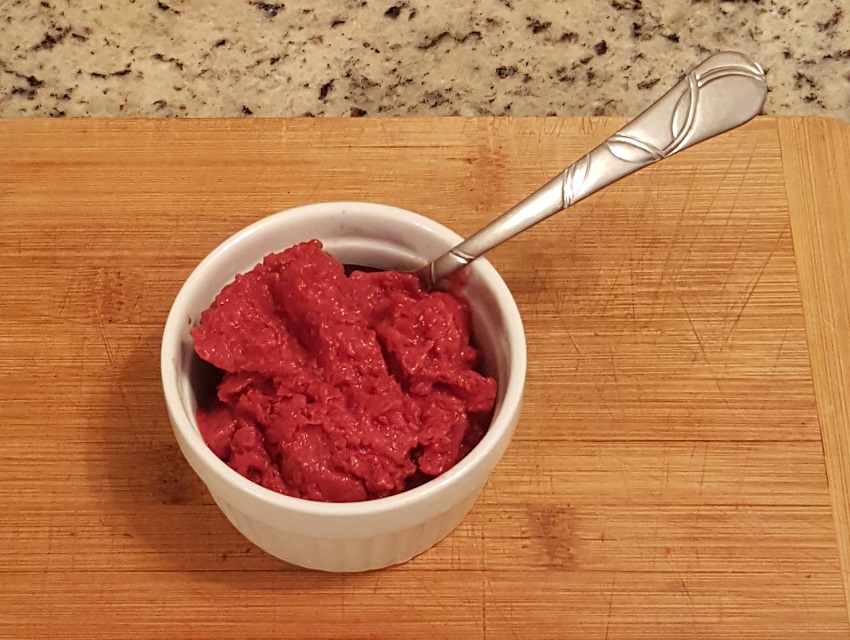
The result of using the hand blender on my sorbet was amazing! The texture was almost silky and was a lot like store-bought sorbet. And because the raspberries had been so ripe, the smell was fantastically sweet.
Banana Sorbet Step 1: Freeze Whole Bananas
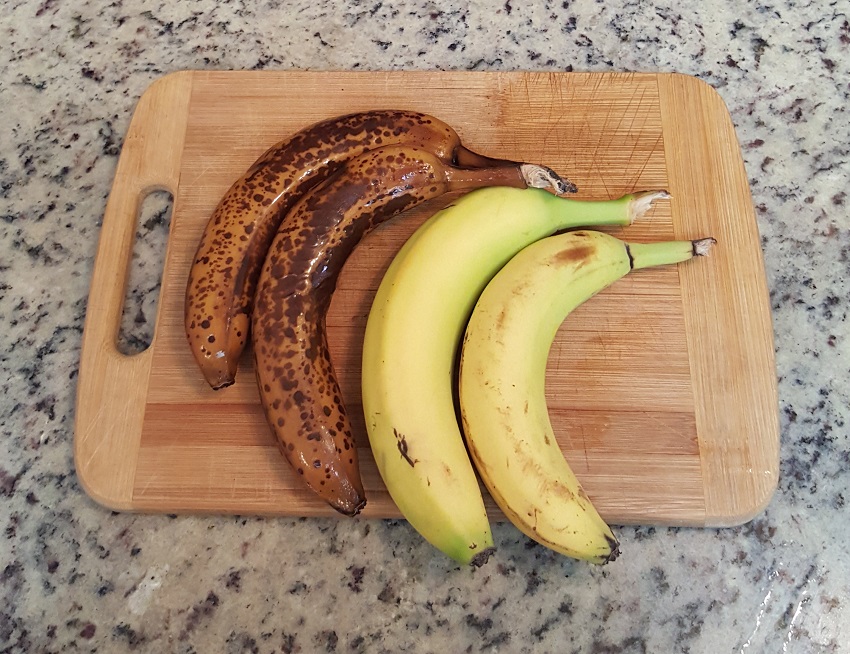
To get things rolling for my banana sorbet, I simply needed the bananas themselves. You don’t need to blend this fruit before freezing — that step comes a little later.
I already had a couple of bananas that I had frozen when they were a few days past their prime (which will soon become delicious banana bread), but I figured that I’d still freeze a few ripe bananas to make sure that I was following the exact same steps as the other two kinds of fruit that I was trying out.
Banana Sorbet Step 2: Soften the Frozen Peel
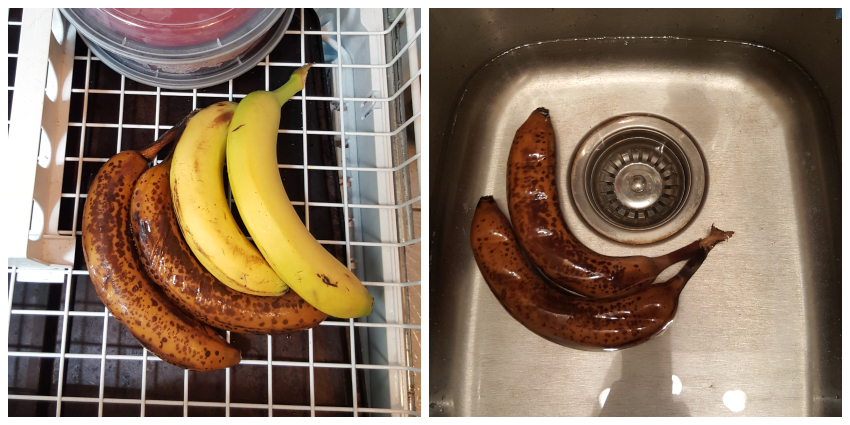
Since the bananas come with their own handy-dandy protective cover, I simply put them in the freezer as they were. The next morning, I took the bananas out and put them in some warm water. The water helps to slightly soften the banana peel, making it easier to take off.
Banana Sorbet Step 3: Blend
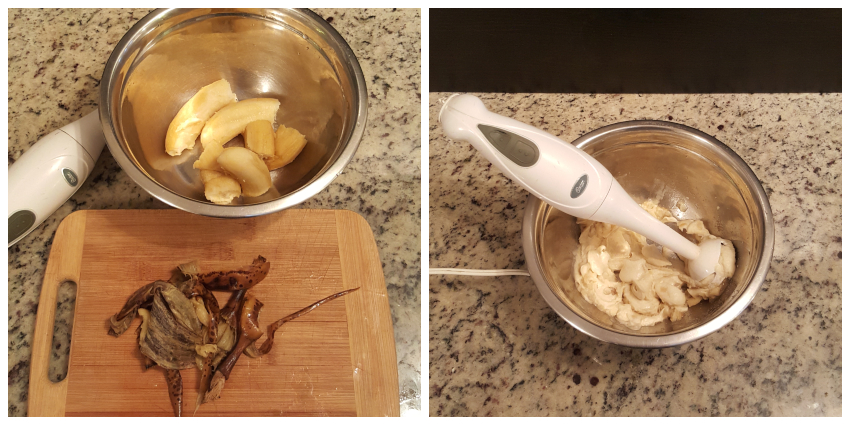
When the (now-nasty-looking) peel had warmed up, I was easily able to remove it. I then broke up the (still-yummy-looking) banana and placed it into a mixing bowl. I used the hand blender again to get a really smooth texture.
Banana Sorbet: Result
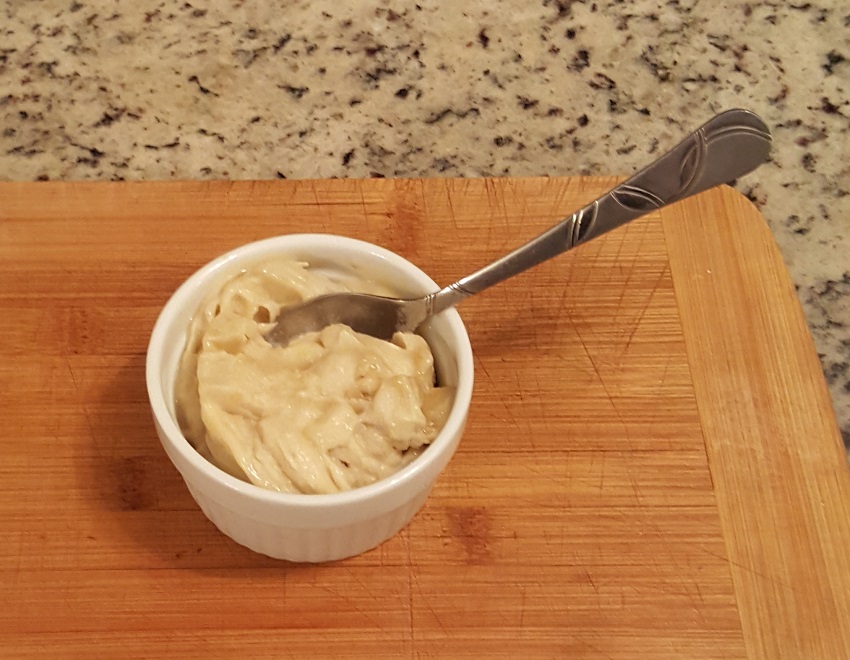
I was thrilled with how the banana sorbet turned out! The creaminess that was created by using the hand blender gave it a gelato-like texture, and the bananas I had used were “muffin ripe,” which gave it a strong scent that was absolutely lovely.
Taste Test
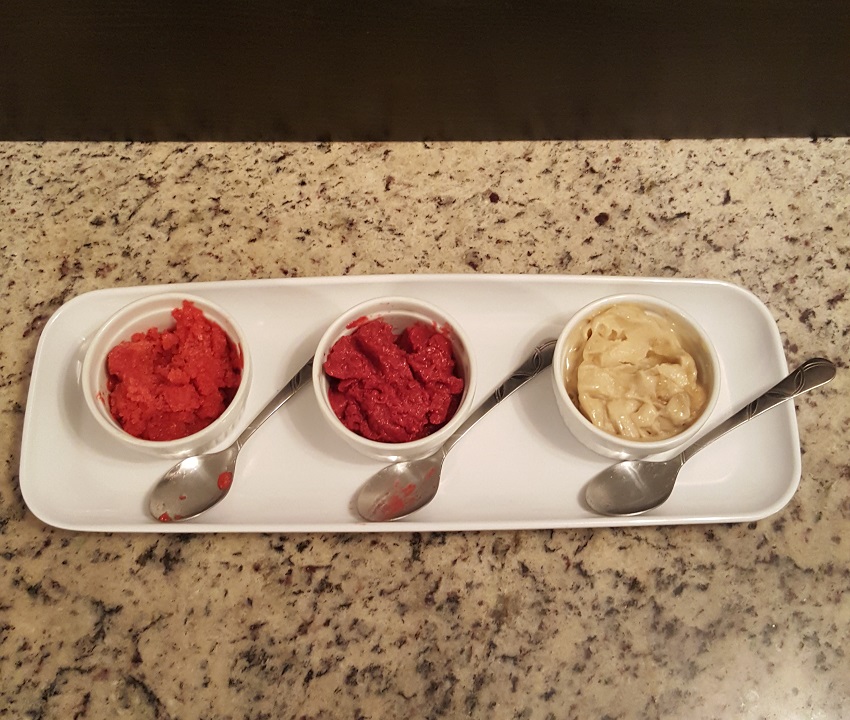
The strawberry sorbet came out with a fun and nostalgic snow cone texture and was refreshingly light. The taste was pleasant but a little tart. I think that if I could get my hands on strawberries that were a little more in season, then the sorbet would have been sweeter thanks to the natural sugars of the fruit. I definitely enjoyed it, but next time I might add a little bit of sugar (perhaps honey?) to cut the tartness, or I could reblend the sorbet with some sweeter berries so that I don’t waste the deliciousness.
The raspberry sorbet was not only beautifully smooth but also incredibly fragrant. Because I used perfectly ripened raspberries, the end result was amazingly sweet and honestly tasted like summer.
The banana version was ridiculously easy to make, and I was blown away by how creamy and silky the sorbet was. The end result was sweet and smooth, and the overripened banana helped to enhance the taste.
I had so much fun making DIY sorbet and can’t wait to try a few other fruits. Watch out, watermelon; I’m coming for you!


