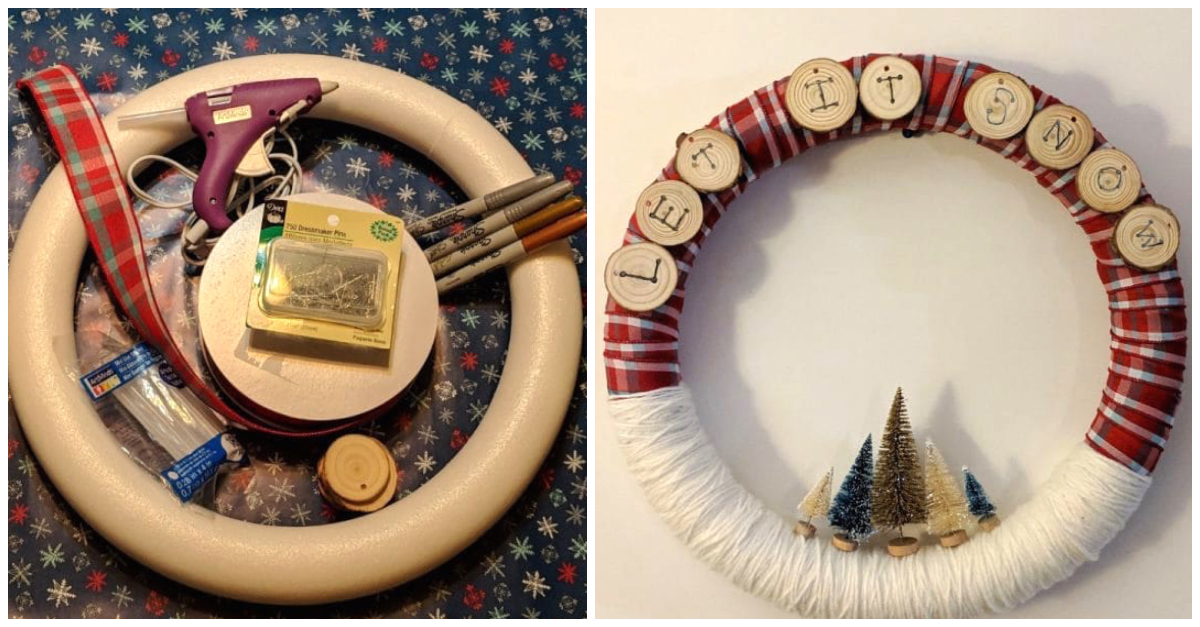
Everyone has a completely different style when it comes to holiday decorations. Some people go traditional, channeling that homey, family feeling with the same setup every year. Others prefer to go modern and take on the year's trends with their own personal touches. Regardless of your holiday decorating style, there seems to be one piece of holiday decor that's made a big comeback on the DIY circuit: holiday wreaths.
When you think of wreaths, you probably think of a Christmas tree trimmed down into a circle, hung on your front door. Those are the wreaths of yesteryear, ladies and gentleman. Thanks to the crafting comeback the internet has given us, wreaths aren't just for Christmas anymore. In fact, there's a wreath tutorial for just about every holiday on the calendar. These DIY projects look cute and too easy to pass up, but I have yet to find an occasion for making my own wreath.
Somewhere in the days after Thanksgiving, I woke up to find my house decorated. Among the decorations were two shiny, store-bought wreaths made out of tinsel. They're very cute and festive, but they seemed to be missing something… a friend! I decided now was as good a time as any to make my wreath-making debut.
Deciding on what style to go with was, I kid you not, a stress fest. I was battling my type A instincts that said all the holiday decorations in my house had to match perfectly. I decided instead to browse around the internet until I saw something that jumped out at me. I did just that, and eventually I found the Happy Housie's "Let It Snow" wreath. While Christmas isn't my favorite holiday, my favorite thing about winter is the snow. When I realized this wreath could outlive all the holiday decor, I knew it was the right one for me.
Supplies
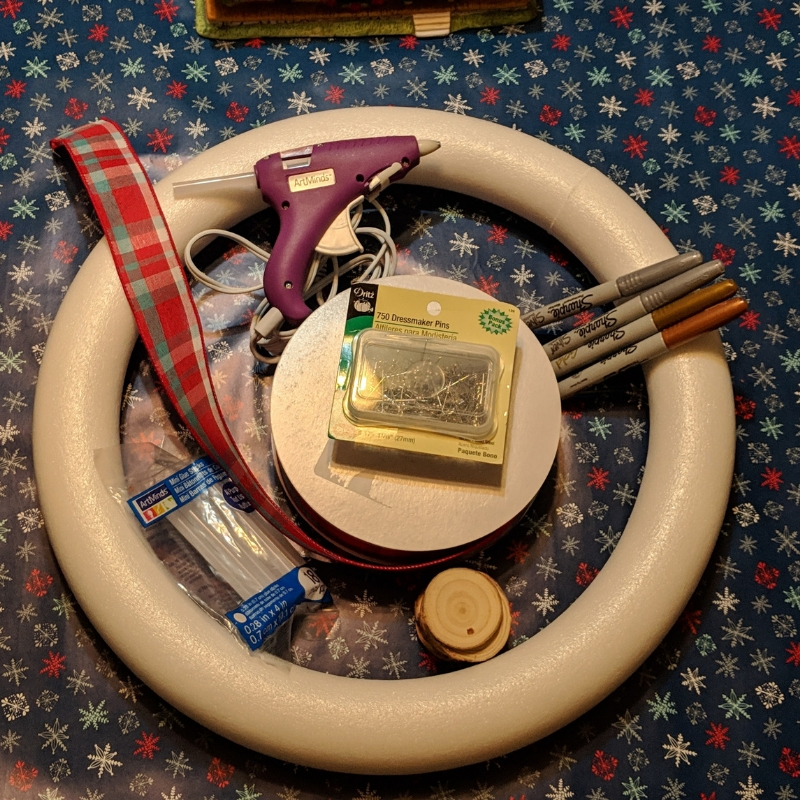
First up, I gathered my supplies. I used:
- 16-inch foam wreath form
- Plaid ribbon
- White yarn
- Bottle-brush trees
- Wood slice rounds
- Permanent markers
- Fabric scissors
- Straight pins
- Hot-glue gun
Not pictured here is the yarn. I had a hard time finding the yarn used on Happy Housie, so I decided to go with plain white yarn.
Step 1: Pin the Ribbon to the Wreath Form
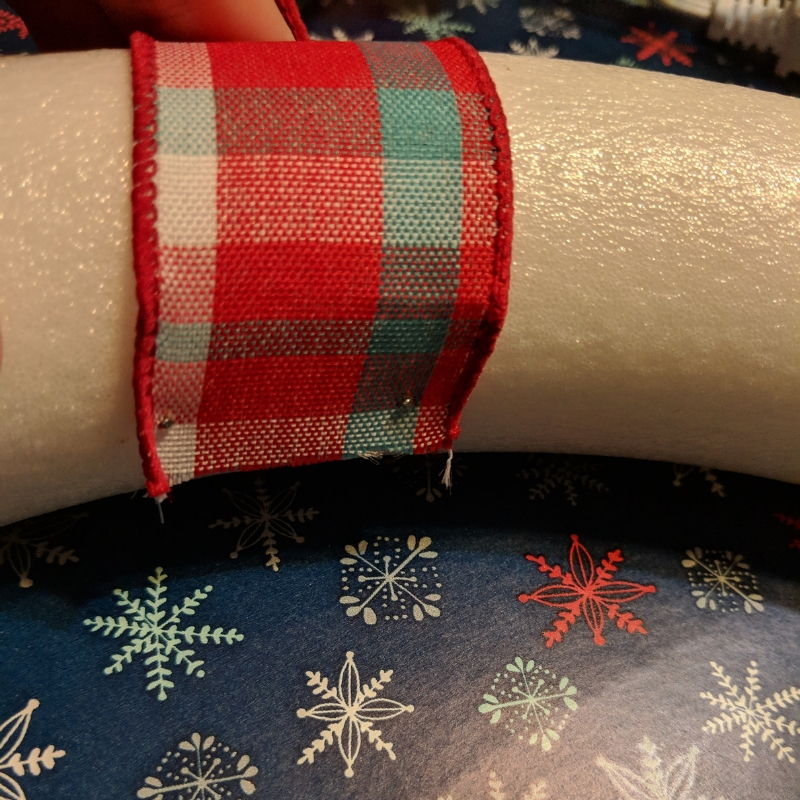
Pin the ribbon to your starting point on the wreath form. The ribbon will cover about two-thirds of the wreath, while the yarn will cover the rest.
Step 2: Wrap the Ribbon
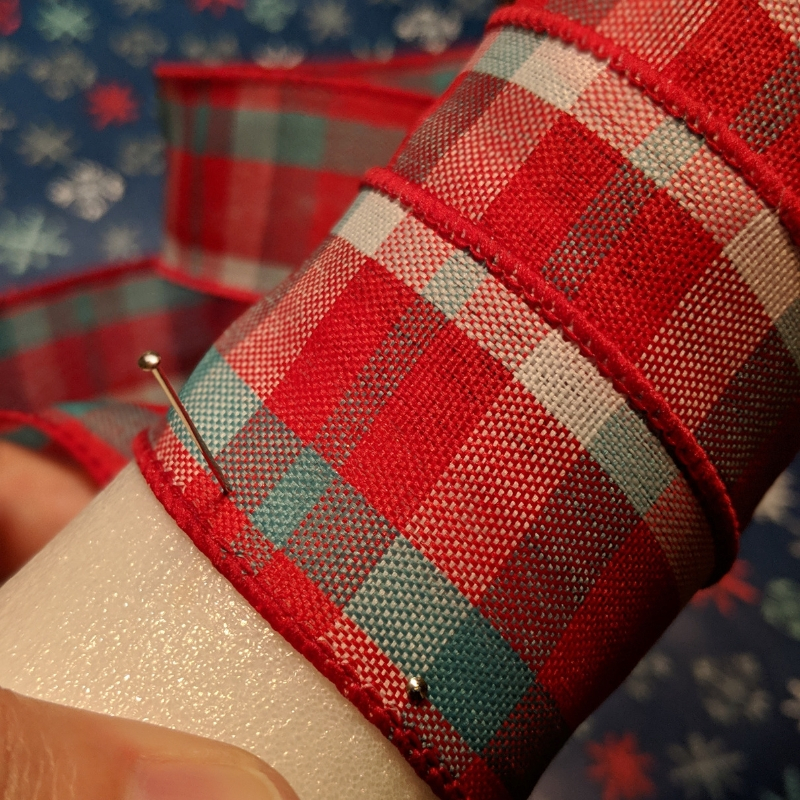
Start to wrap the ribbon around, overlapping your previous piece. Periodically, stop to pin the ribbon in place so you don't have to worry about it shifting around.
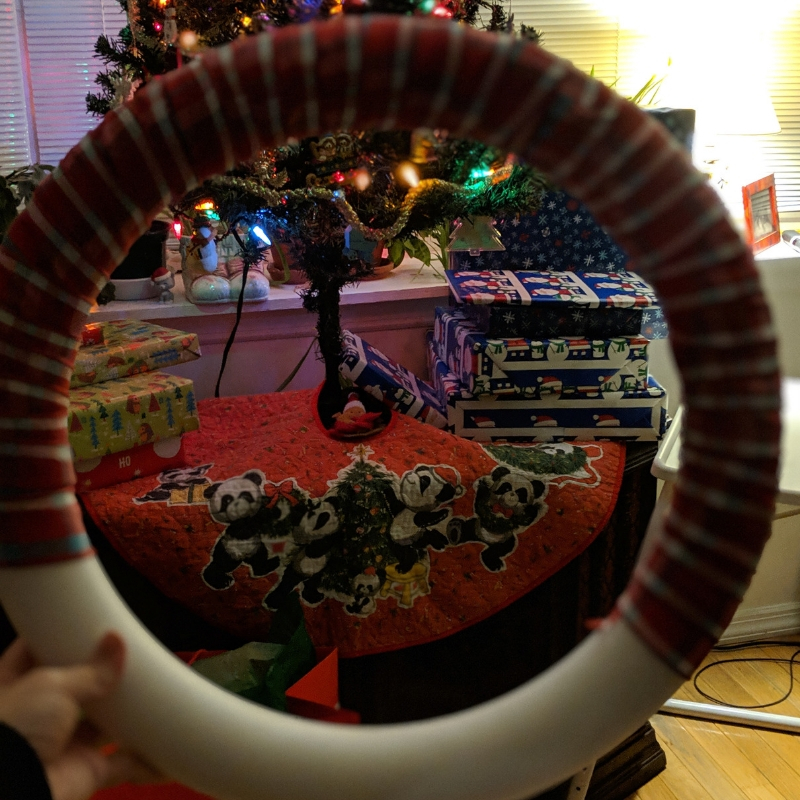
When you're finished wrapping, your wreath should look somewhat like this.
Step 3: Pin the Yarn to the Wreath Form
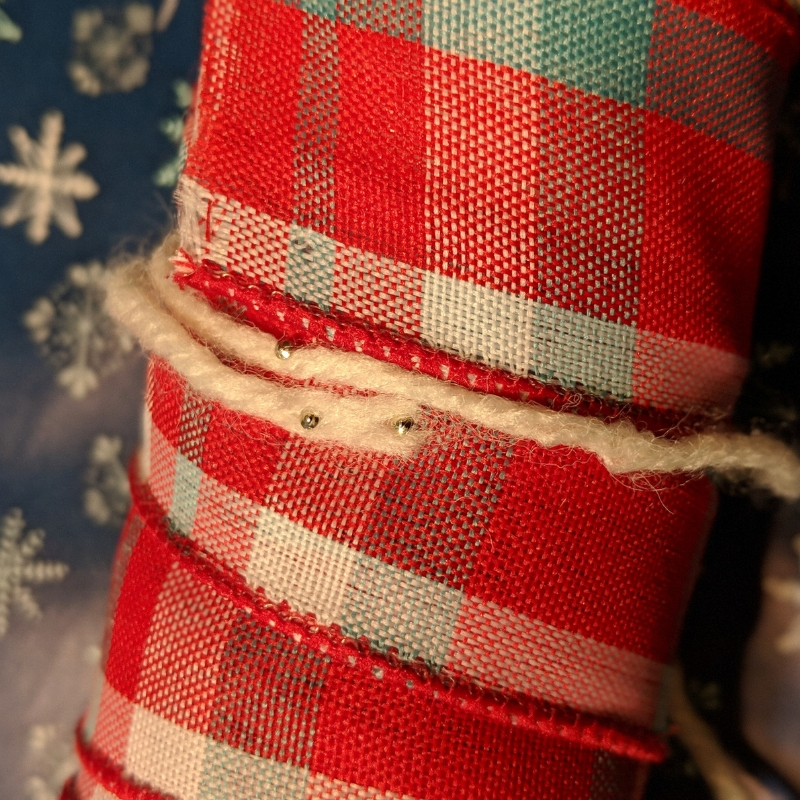
Once you've got most of the wreath form covered with ribbon, start with the yarn. You'll want the yarn to overlap the plaid ribbon just a bit, so start there, and pin or glue it in place.
Step 4: Wrap the Yarn
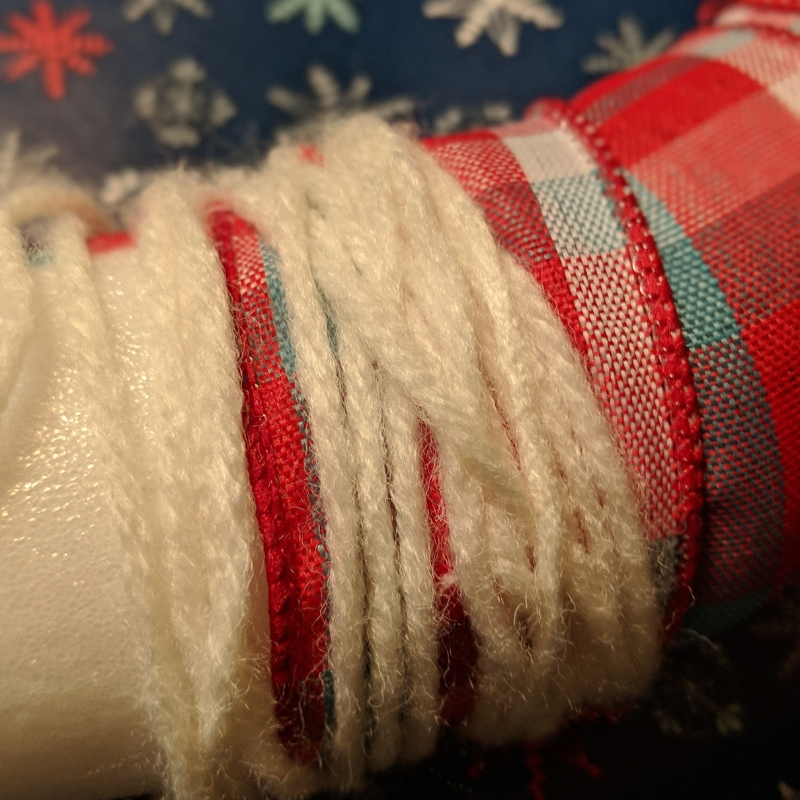
Depending on how thick or thin your yarn is, you may want to overlap pieces. You can do that as much or as little as you want based on if you want a cleaner-looking wreath or you want your snowy landscape to look a little more tough to trek through.
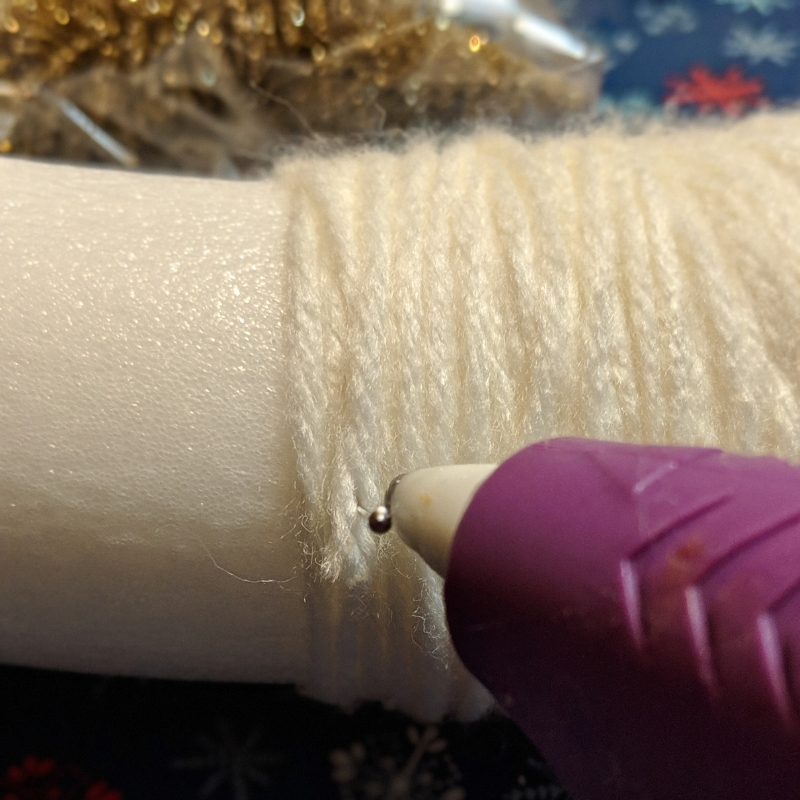
I found that cutting sections of yarn, wrapping them, then gluing them down worked best for me. I used straight pins to hold the yarn in place while I glued — finally, a hack that avoids finger burns! Angela: 1; Hot-Glue Gun: 0.
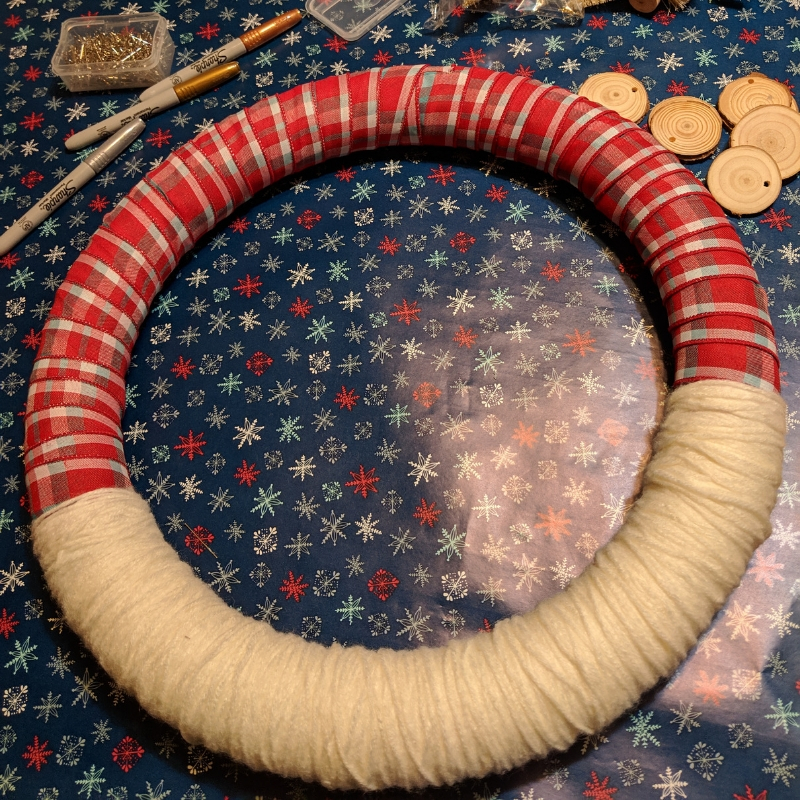
When you're finished, you'll have a little snowy horizon line to play with!
Step 5: Decorate the Wood Rounds
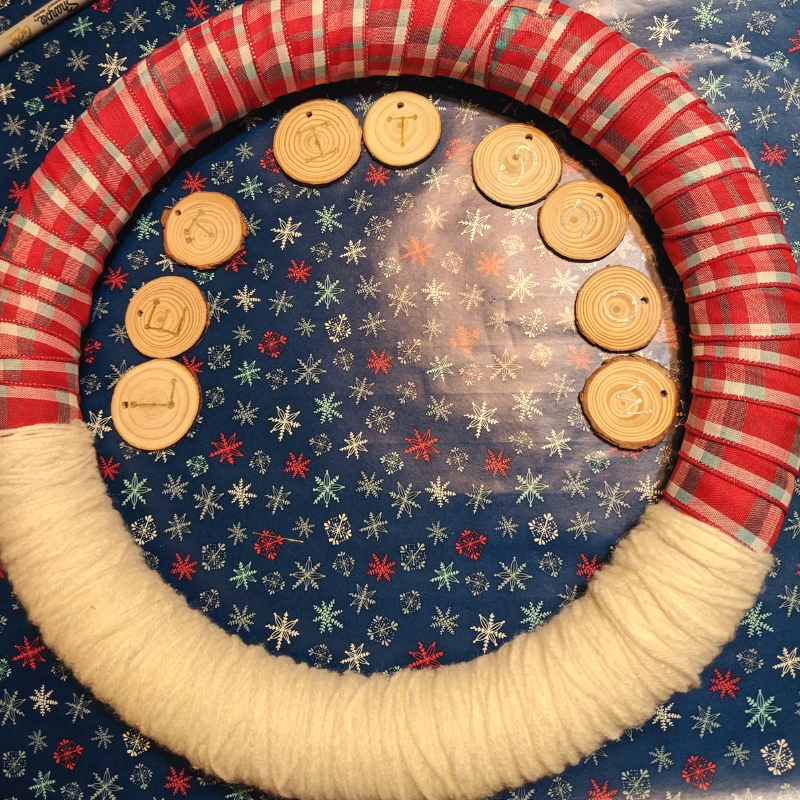
For the wood rounds, instead of the fancy cursive used on Happy Housie, I chose some simpler dotted lettering that felt wintery. My first attempt was with Sharpie Oil-Based Paint Markers. The letters came out OK, but they looked a little faint in the lighting.
Step 6: Glue Wood Rounds Onto Wreath
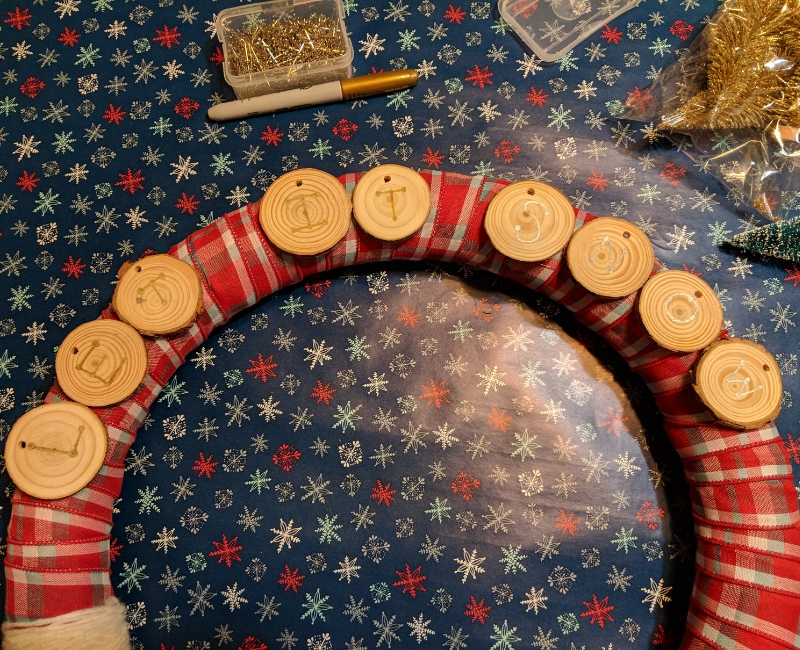
I decided to glue them down and take them to the room where I'd be hanging the wreath to see if the writing was distinguishable.
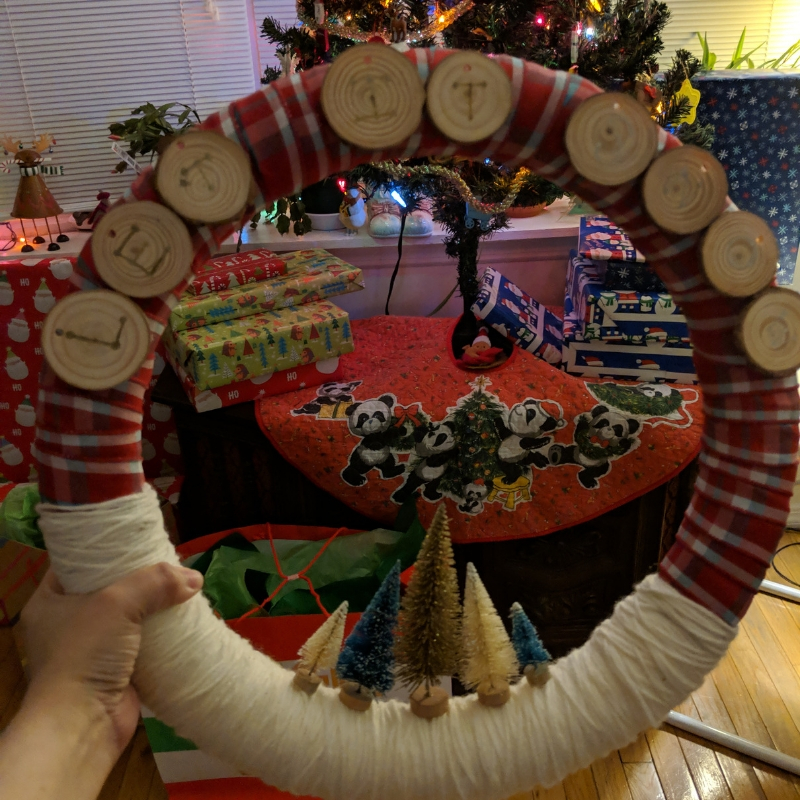
The gold letters were visible, but the silver ones weren't. I hung up the wreath and took a few steps back. From farther away, I couldn't tell what it said at all.
Step 7: Glue on Trees
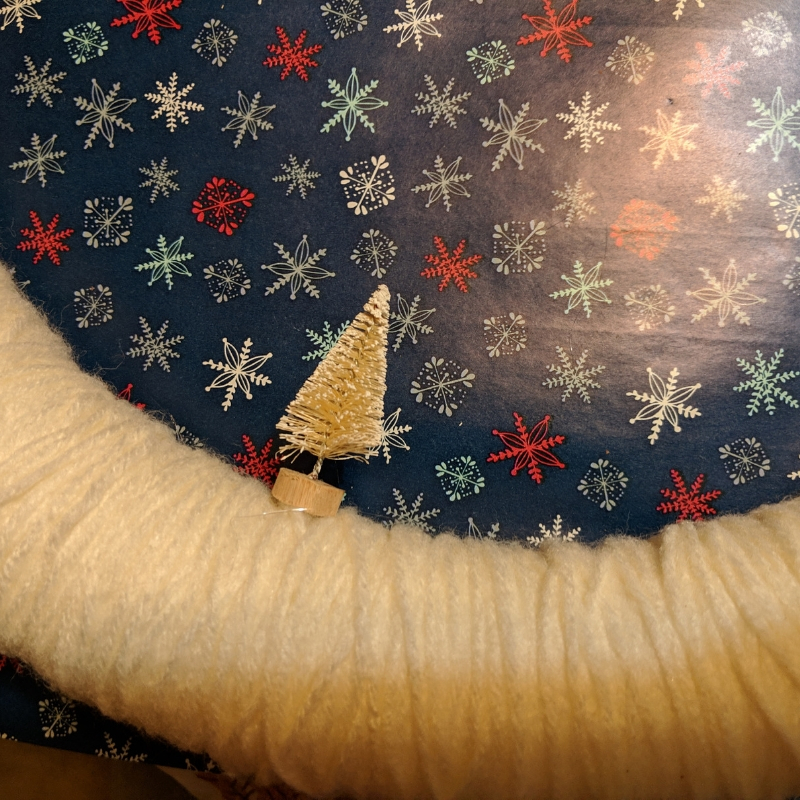
I knew I was going to have to go over the letters with something darker, but first I decided to glue down my adorable bottle-brush trees. I had originally wanted to find a little wood cabin-esque home to add as well, but I couldn't find anything that would stay put on the curved frame.
Step 8: Make Final Tweaks
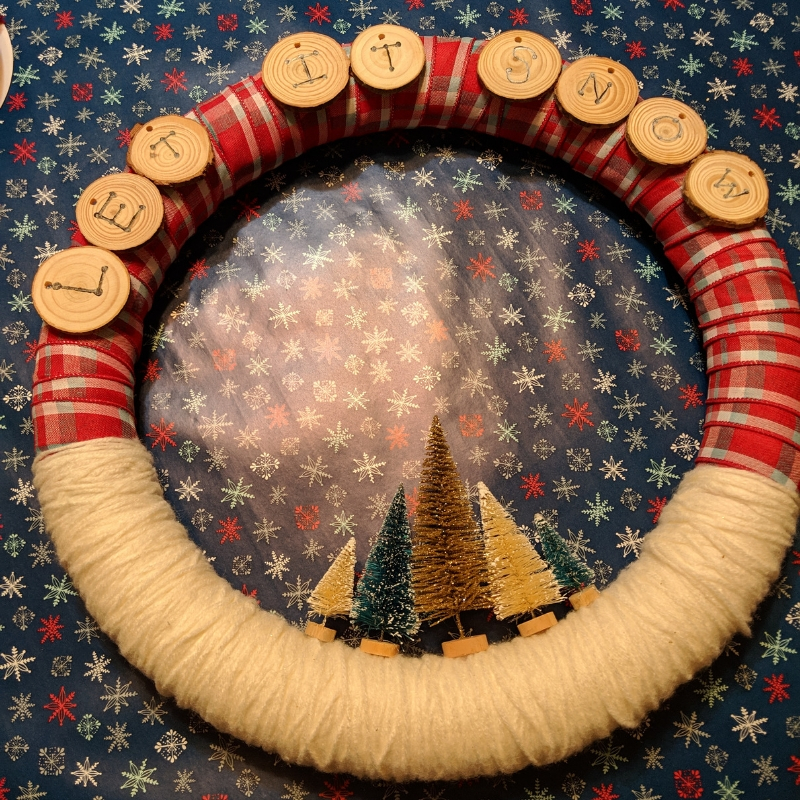
I glued down the rest of the bottle-brush trees, then went over the lettering with a regular black Sharpie. The letters were much darker but also had a little shine to them from the oil paint pens. It wasn't perfect, but I was satisfied with how they looked nonetheless.
Step 9: Hang the Wreath
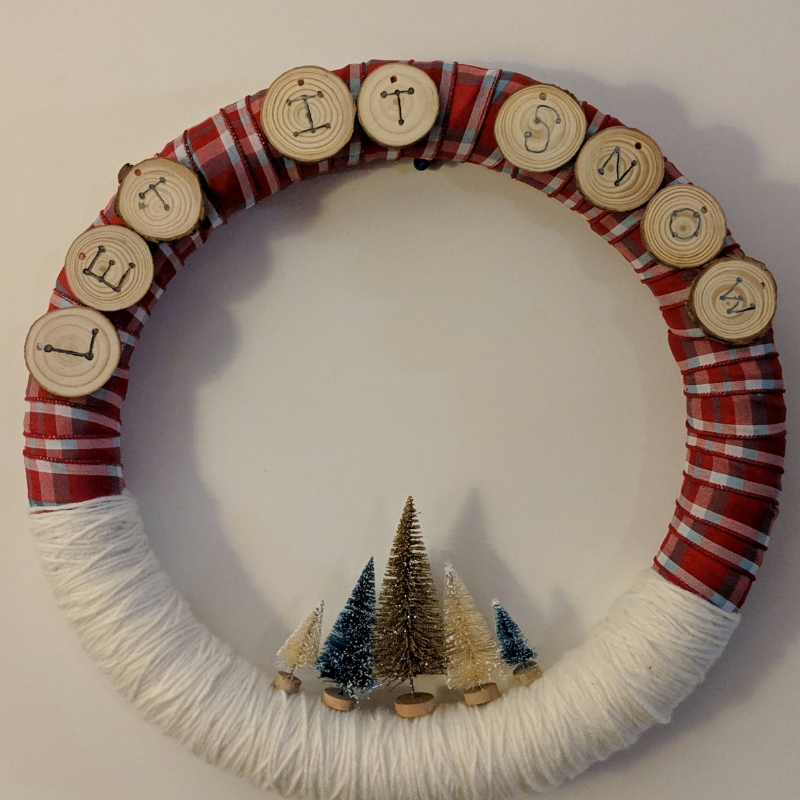
All that was left was to hang the wreath! The wood rounds didn't come out perfectly spaced, but the rounds themselves aren't perfect, and neither is this craft. It gives it personality, I tell ya!
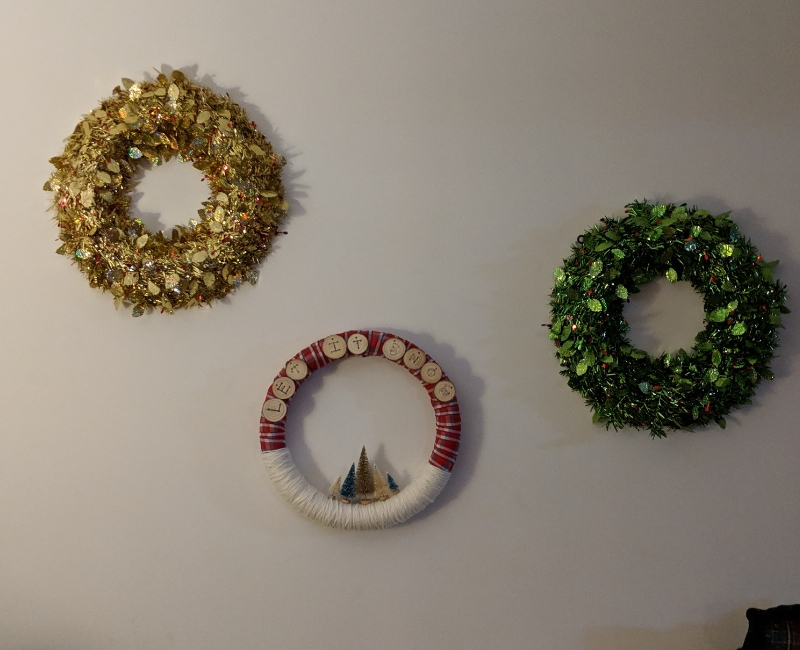
The wreath also broke up the look of the tinsel wreaths nicely. I briefly debated letting the tinsel ones have the wall and putting my DIY masterpiece on the front door, but I couldn't bear the thought of it getting messed up outside. It's safer indoors with me!
My first attempt at wreath-making was super simple and, in my book, a success! I'm looking forward to having it as a winter decoration to keep me company until the sun comes back out. Now all I have to do is wait for that snow!


