Wrapping presents is supposed to be a fun task. But if your storage closet looks anything like mine, it can become quite a frustrating chore.
Whether I use traditional wrapping paper or homemade gift wrap, all of my supplies seem to end up in a jumbled pile.
Fortunately, with a little glue, some paint, and a dash of elbow grease, I can create a stylish DIY gift wrap organizer that hangs on the wall just like… a picture frame!
This project comes to us from Monica Benavidez, whose love of wrapping paper inspired her to create a one-of-a-kind organizer, utilizing old picture frames.
Monica describes her love of wrapping paper on her blog: "It's so versatile for creating DIY artwork and photo backdrops for small arts/crafts stuff for the blog. Given how many rolls I have and how often I use it, I thought it'd be good to build something to hold it all."
Scroll through below for a look at Monica's stunning DIY transformation.
Will you be making one of these for your home? Let us know in the comments!
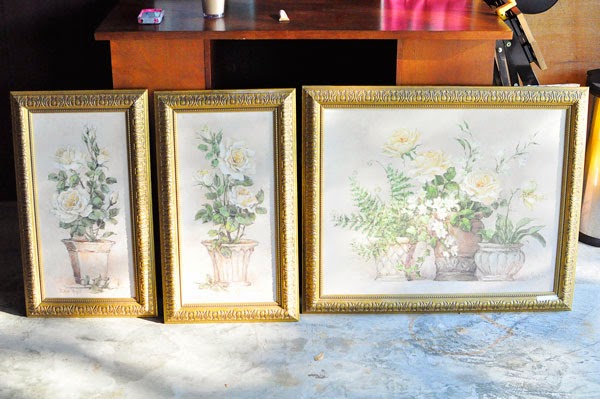
Monica writes on her blog: "It didn't take me long to find this trio of frames for $30. I thought that was a bargain given that moldings would have probably cost me as much, BUT think of all those miter cuts… oy! No thanks!"
The smaller frames were used for a different project, but the big frame formed the base of the DIY gift wrap organizer she envisioned.
Supplies:
- A large frame
- Brass cup hooks
- Rub ‘n Buff or spray paint
- A cordless drill
- Dowels
- A level
- A measuring tape
- A pencil
Step 1: Prepare The Frames
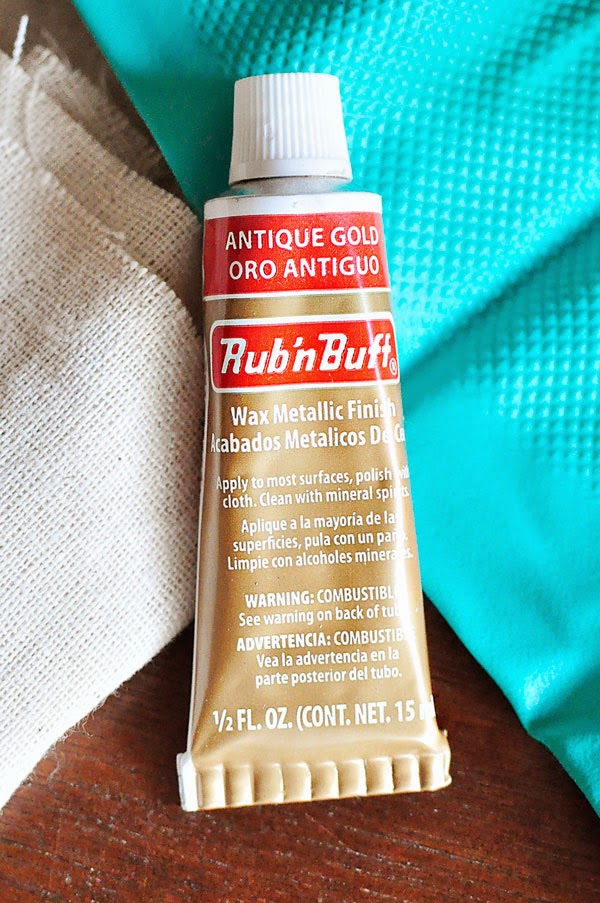
After gathering supplies, the first step is to brighten up the old frames, assuming you don't already like the way they look!
Monica chose to do this with Rub 'n Buff, but spray paint also works if you don't want to put that much time into it.
"Spray paint would work faster, but there is a gorgeous, pearly, high-end quality to Rub 'n Buff that I don't feel comes across in most spray paint finishes," she explains.
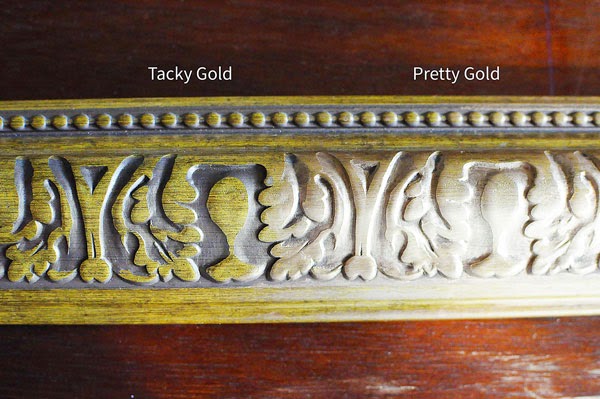
The before-and-after photo shows just how large a difference the Rub 'n Buff actually makes.
Step 2: Mark And Drill
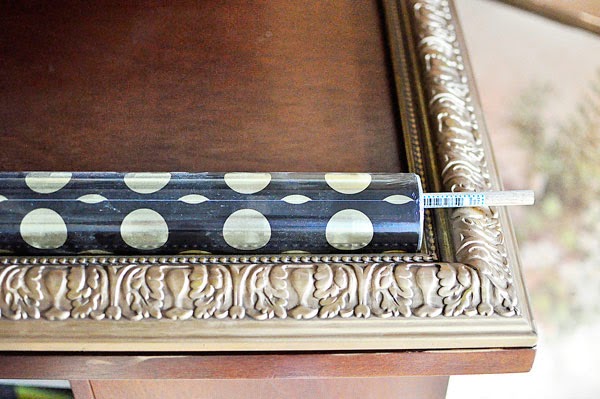
Next, simply mark where you'd like the dowels to be, and drill holes for the hooks that they will rest upon.
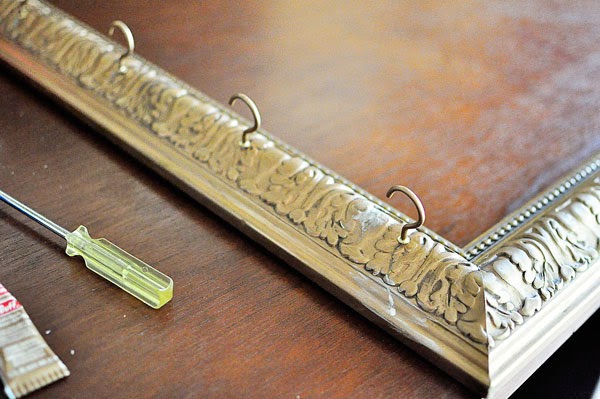
Once the holes are drilled, screw the hooks onto the frame. Remember, you can also paint or use Rub 'n Buff on the hooks so that they match the frame.
Step 3: Put It All Together
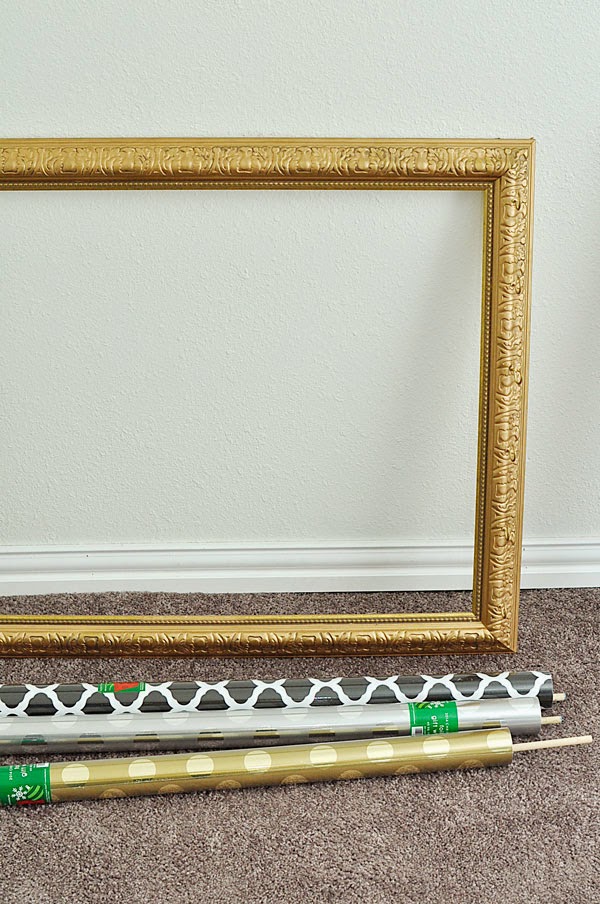
When the hooks are attached and the paint is dry, it's time to put it all together!
Thread the dowels through wrapping paper and ribbon tubes. Then, place both ends on the hooks of your choice. Even tissue paper can be folded over the dowel and hung for display.
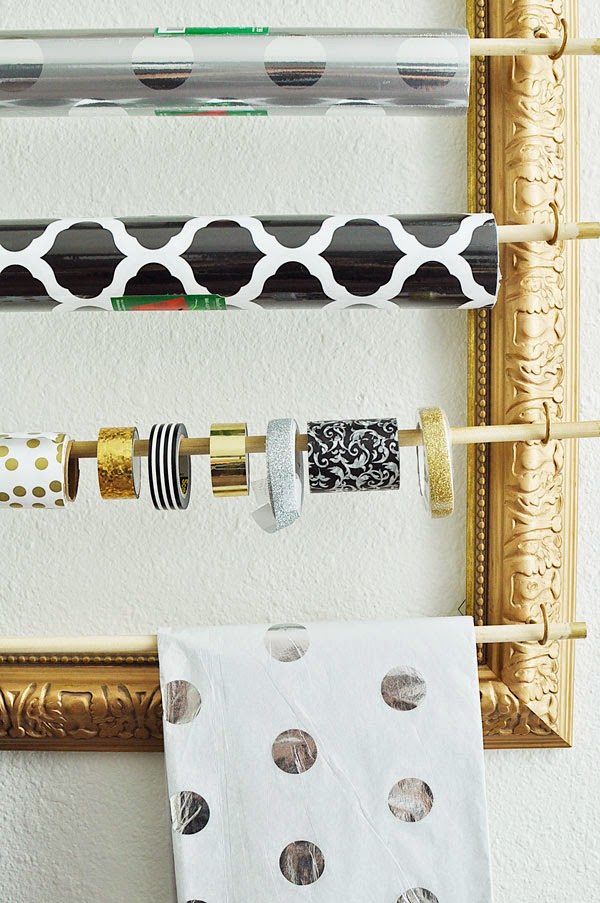
Monica points out, "In addition to being functional, it's also a wee-bit of a decor piece on an otherwise blank wall. I want to wrap all the things!"
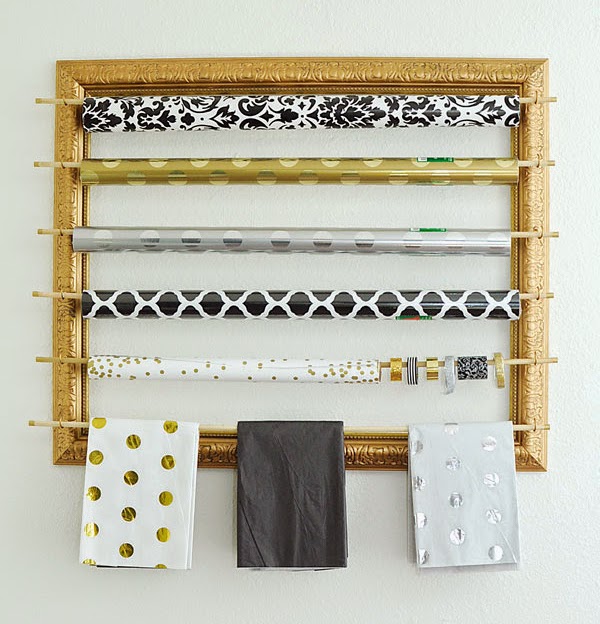
This brilliant photo frame transformation is a unique and beautiful way to easily organize your wrapping paper.
For more of Monica's projects, please visit her blog.
Would you want to try this in your home? Let us know in the comments.
Please SHARE this brilliant hack with friends and family!


