For anyone struggling to find a job, staying busy can sometimes be a challenge.
Sure, you can fill out job applications, catch up on some sleep, and even throw an epic dance party — like this creative babysitter. But after a week or two, you may need something more substantive to help fill the time.
Instructables user Haley Pratt was a recent college graduate with no immediate job prospects and no idea what to do with her free time. Fortunately, Haley's dad just happened to own a cabinet workshop, so she decided to put her resources to good use.
With a bit of work and a lot of DIY ingenuity, Haley was able to turn something that might otherwise seem boring and useless into a custom-made slice of heaven that she can treasure forever.
Scroll through below for a look at her incredible DIY teardrop camper.
Would you want to own a camper like this? Let us know in the comments.
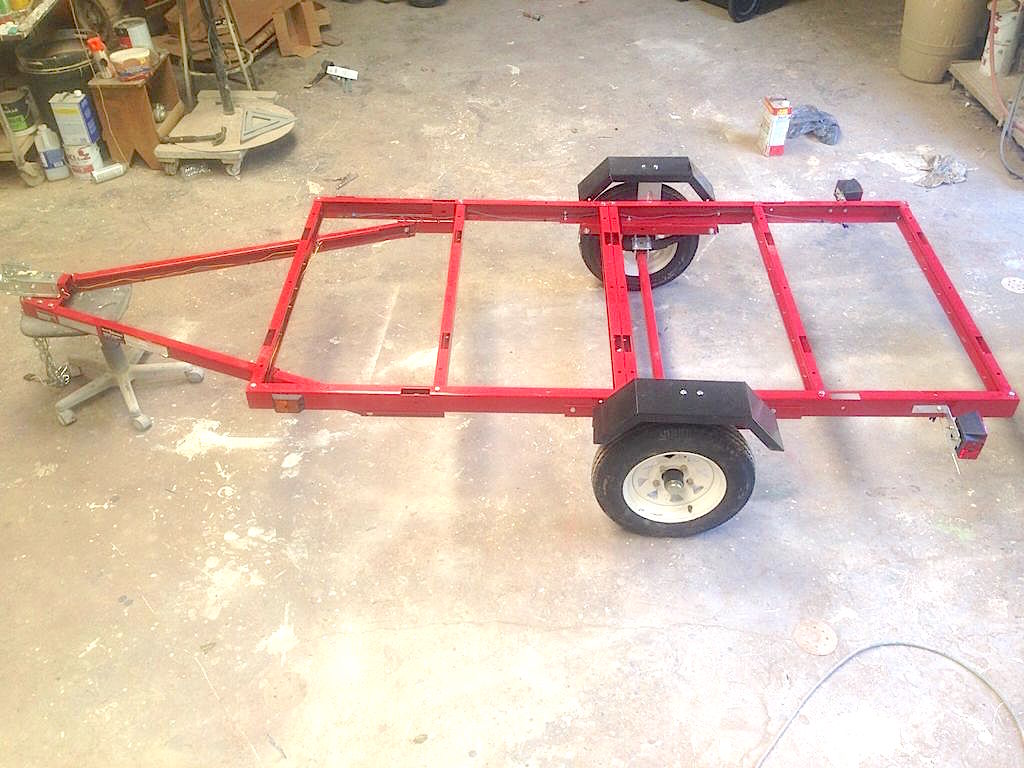
Haley spotted this 48" x 96" trailer on sale for just $300. An ordinary person might have thought, "I have no job, so what do I need a trailer for?" but not Haley. Haley saw it and knew she could turn it into a cozy camper for one (or maybe two).
"A large, up-front purchase is a great way to commit to a project," she points out. The trailer came unassembled, so Haley's first task was putting it all together, which she did quite well.
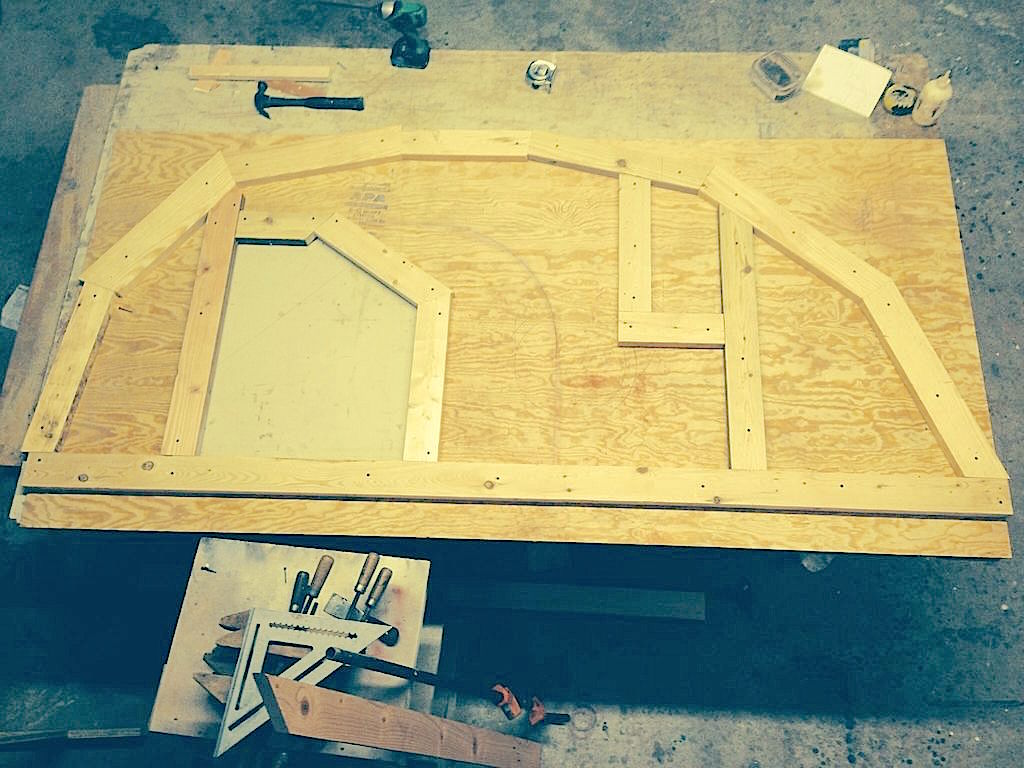
Haley thought a teardrop shape would be perfect, but was unsure of how she would she get the slope just right.
Haley writes, "I used string with a pencil tied at one end as a makeshift compass to plan the curves. I just experimented around to find a shape that was pleasing to the eye."
She continues, "Next I framed the camper using 2x4s salvaged from construction site dumpsters. I planed the 2x4s down so they were all the same width. The 2×4 pieces were secured to the plywood using deck screws and wood glue."
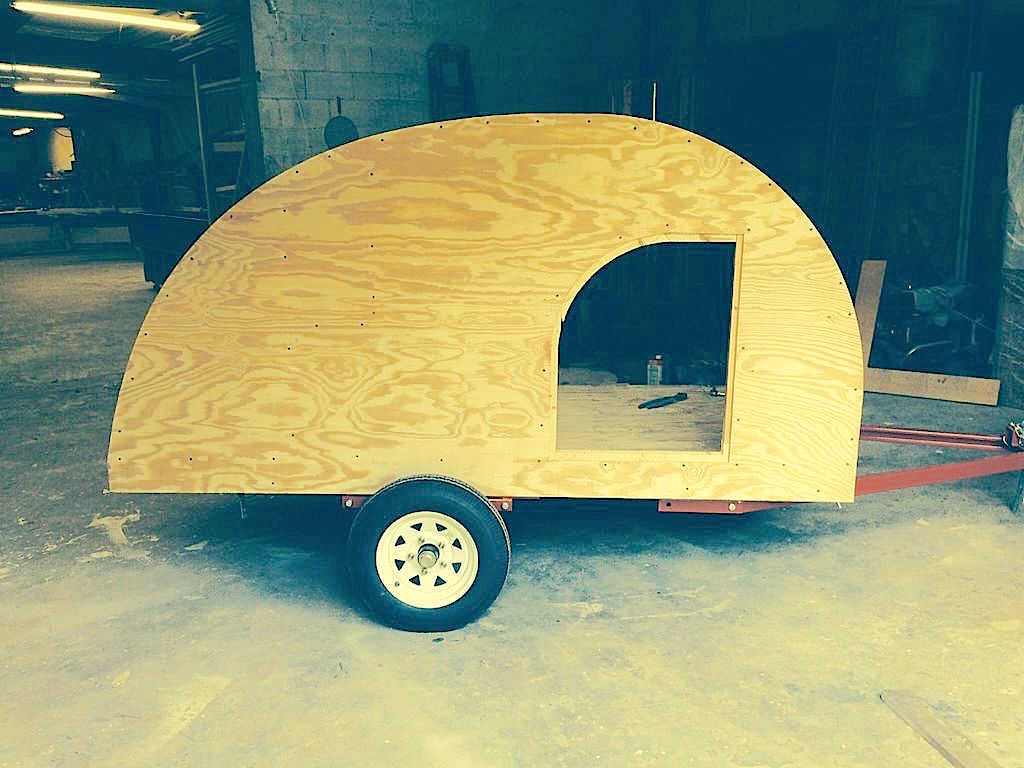
Once the walls were cut, Haley installed them on the trailer, which had already been fitted with plywood flooring. Suddenly, it really started to look like a camper!
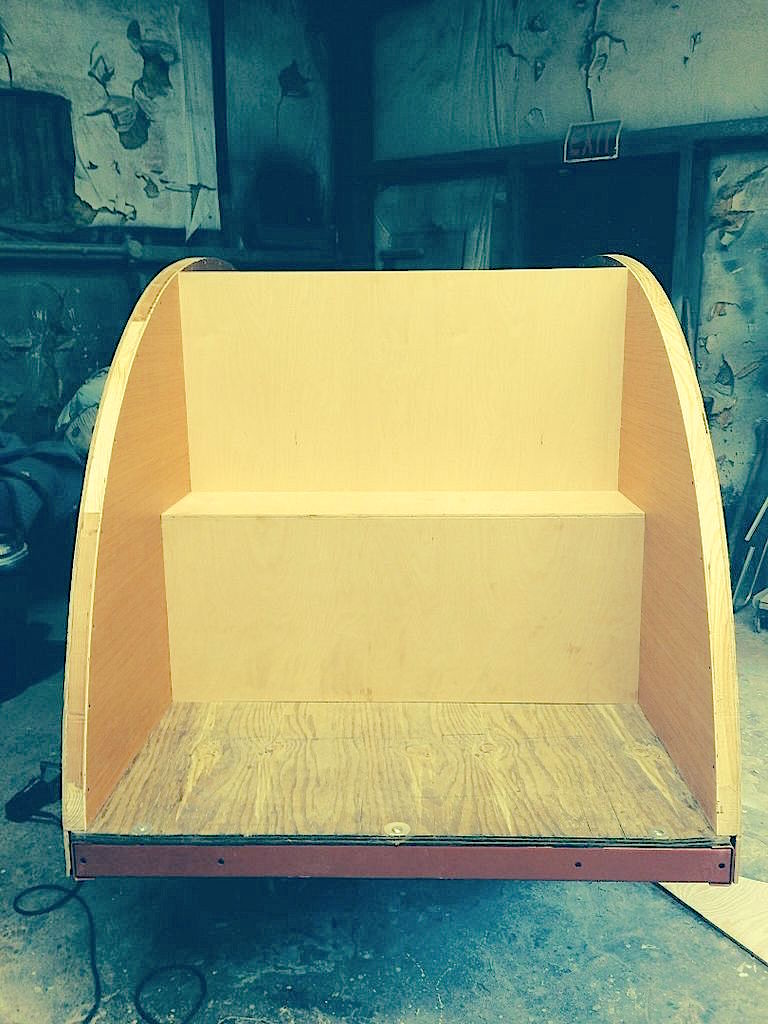
Haley built the bulkhead using 1/2-inch-thick maple plywood. She installed countertop cabinets, leaving plenty of foot space as well.
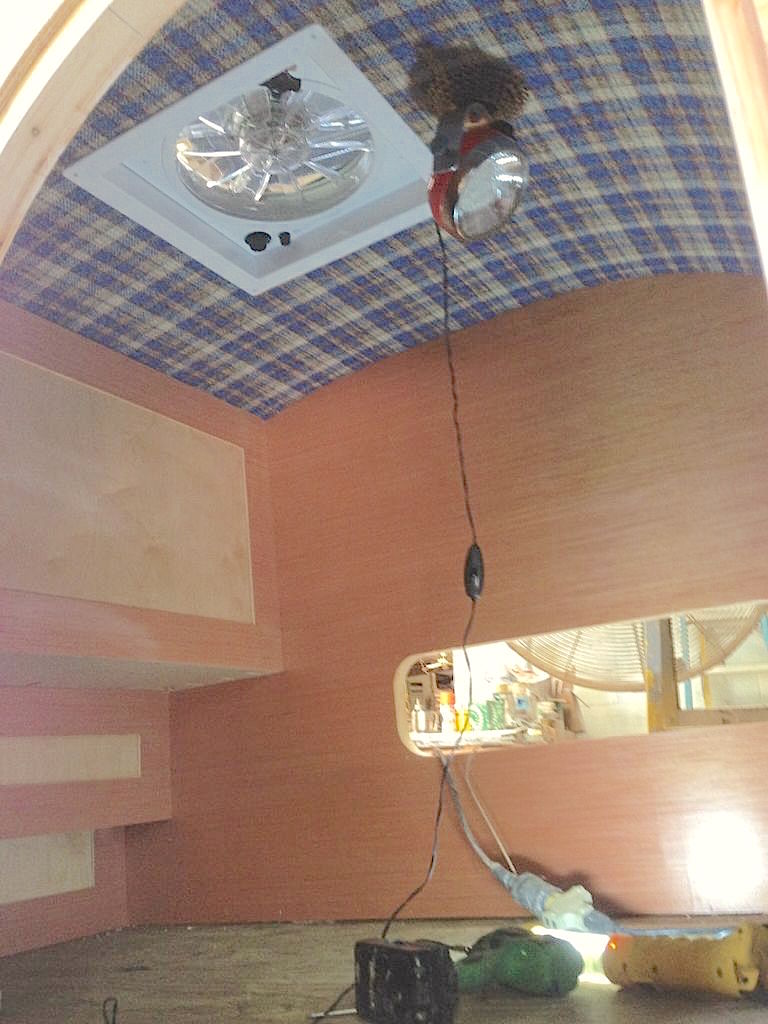
Once the ceiling frame and roof were installed, it was time for the fun part: designing the interior!
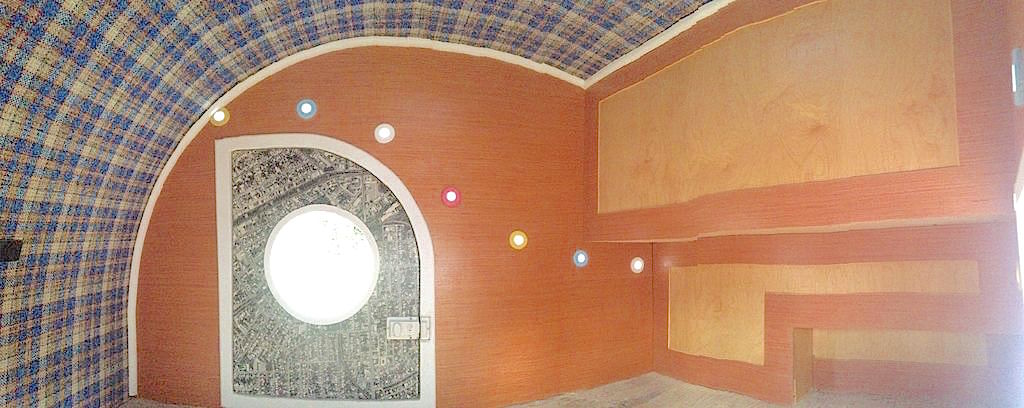
The ceiling and curved wall were covered in a cozy, flannel-looking type of carpet.
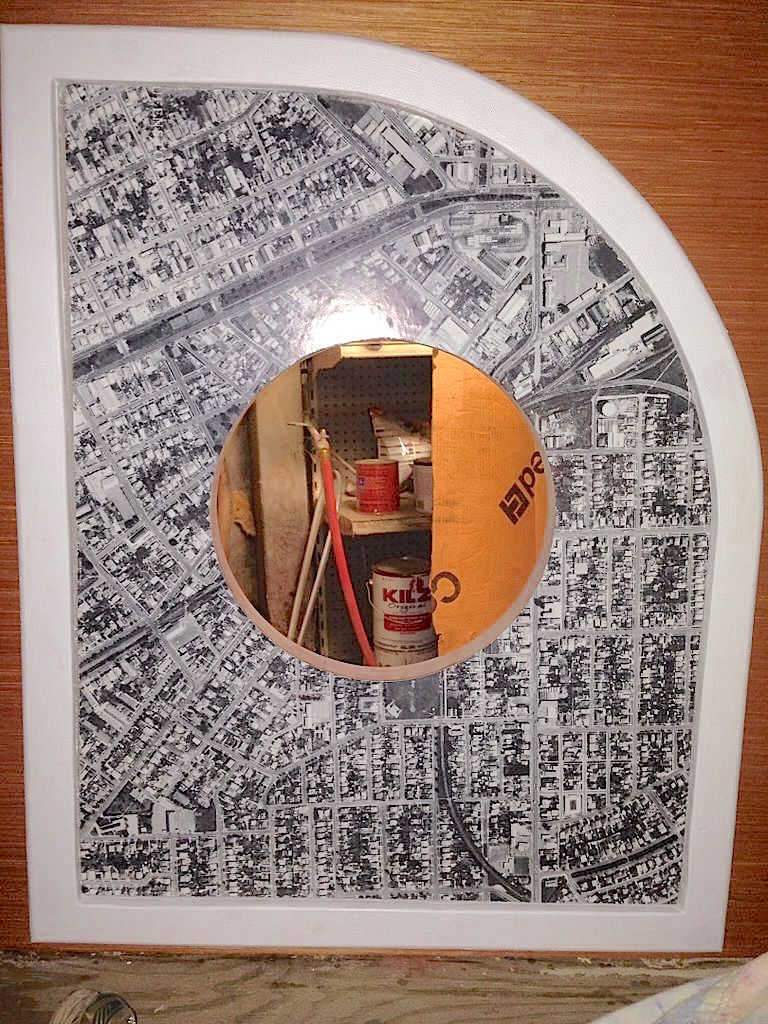
Haley writes, "I insulated the door and then skinned it with a thin piece of scrap plywood. I had an old survey map I had salvaged from my school's geology department. I used contact cement to wallpaper the map to the door."
The interior view of the door truly was one-of-a-kind!
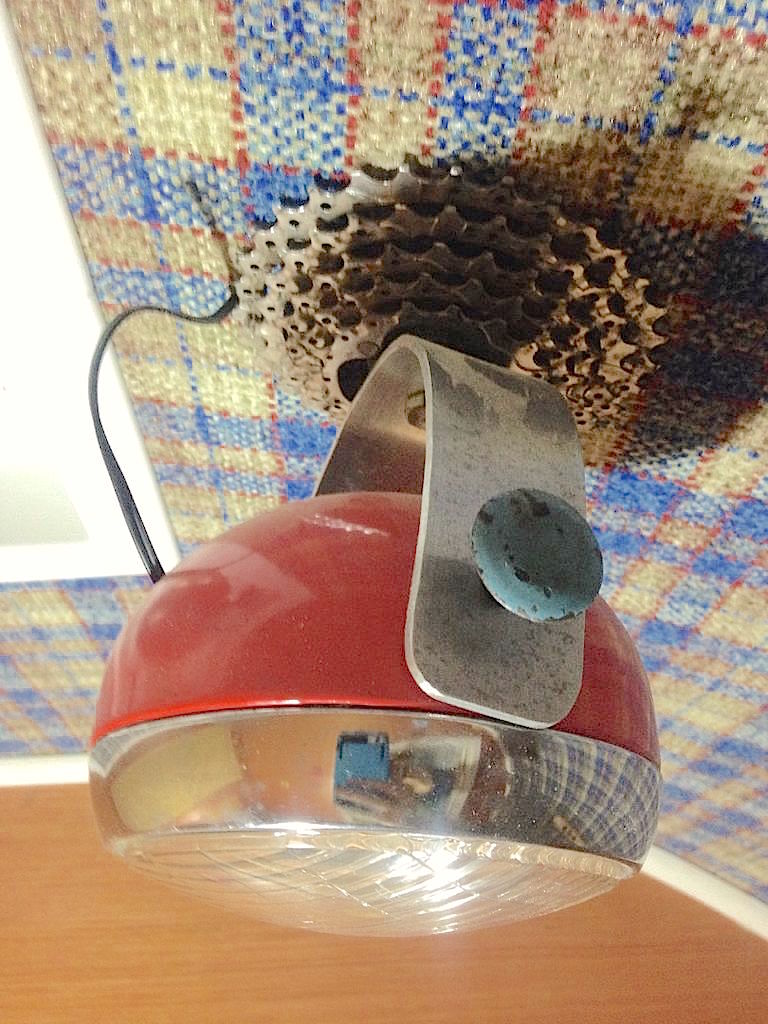
Haley also installed a repurposed motorcycle headlight as a lamp, so there would be plenty of light for reading books.
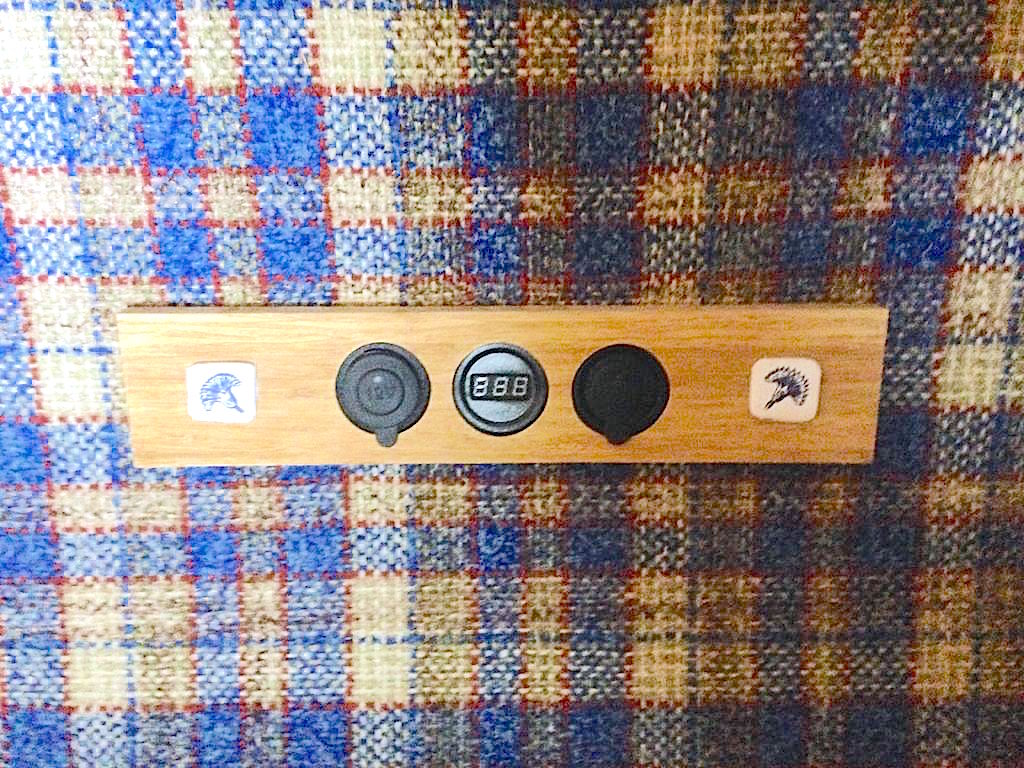
She added a charging station for her phone and other gadgets as well.
Haley writes, "The charging station I found on Amazon. It includes two USB ports, a cigarette lighter socket, and displays the voltage. It works well and was pretty cheap. I later made a bamboo face plate to cover the unattractive plastic housing of the charger."
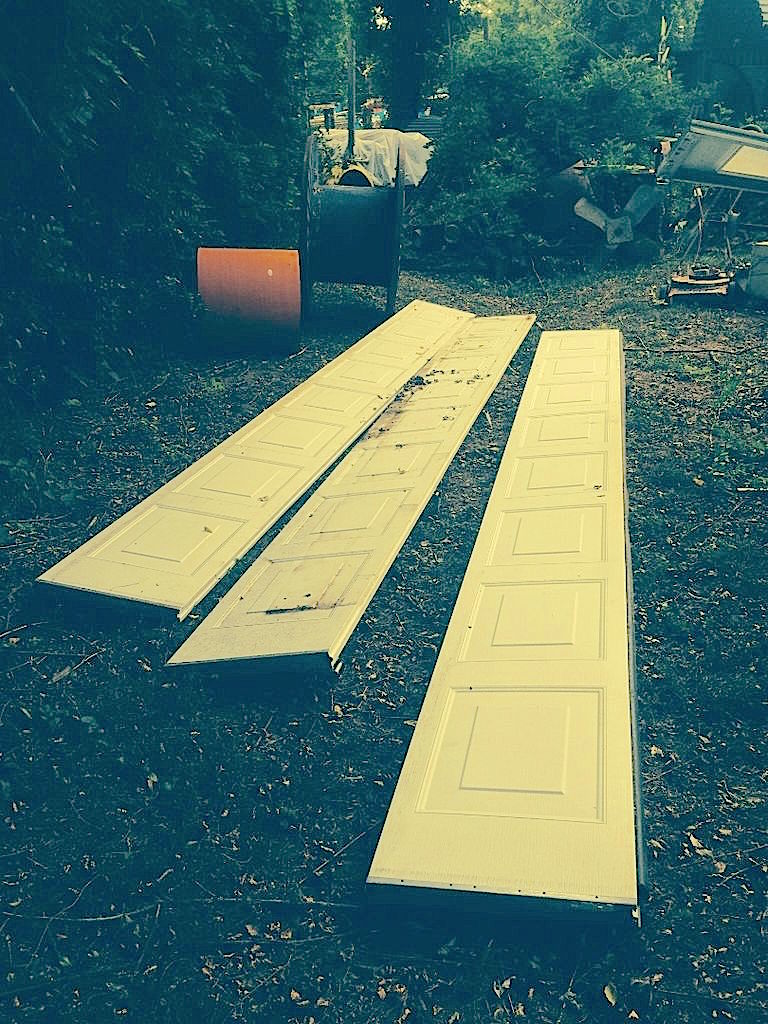
Now the last major part missing from the trailer was a weather-resistant roof. Instead of buying new roofing material, Haley decided to upcycle some panels from her family's old garage door.
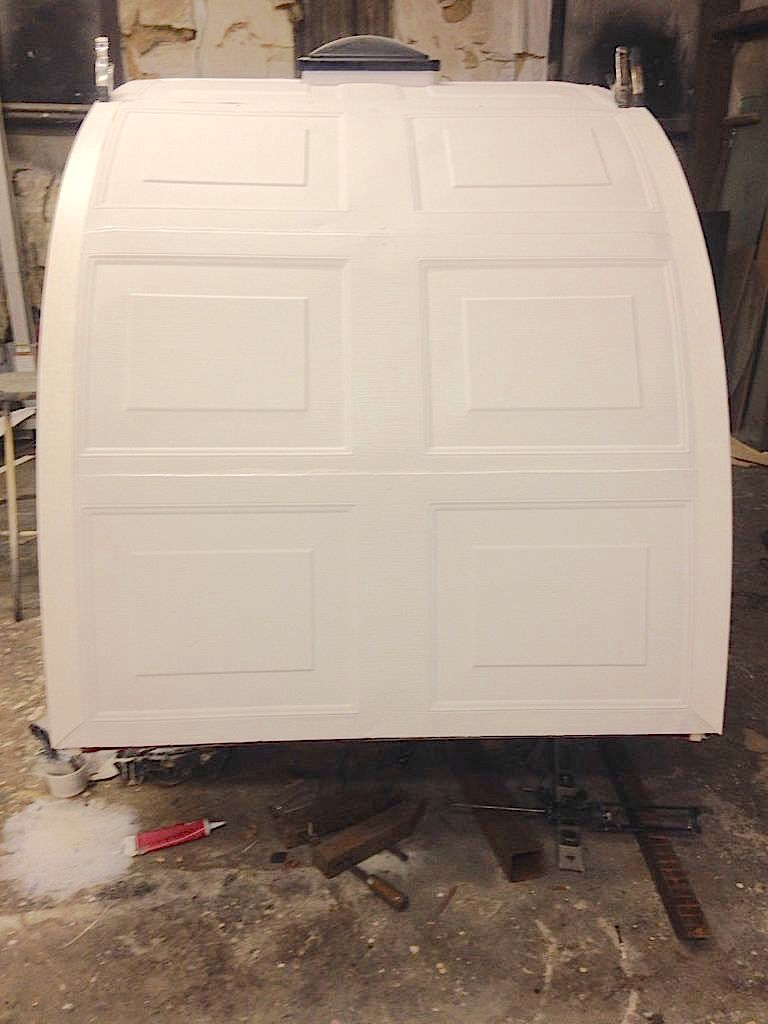
The garage door roof gave the camper a truly unique look and feel!
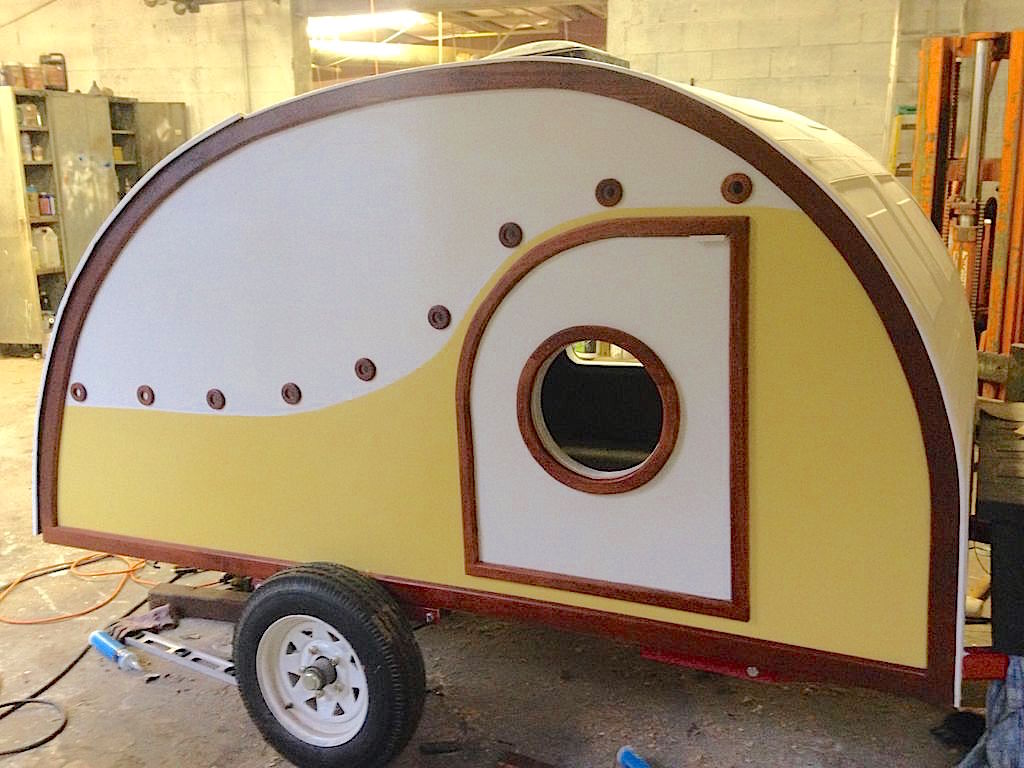
Using circular wood frames and slices of a plexiglass tube, she was able to create a flowing series of miniature windows, or portals, running down the length of the trailer. The effect from the inside is stunning.
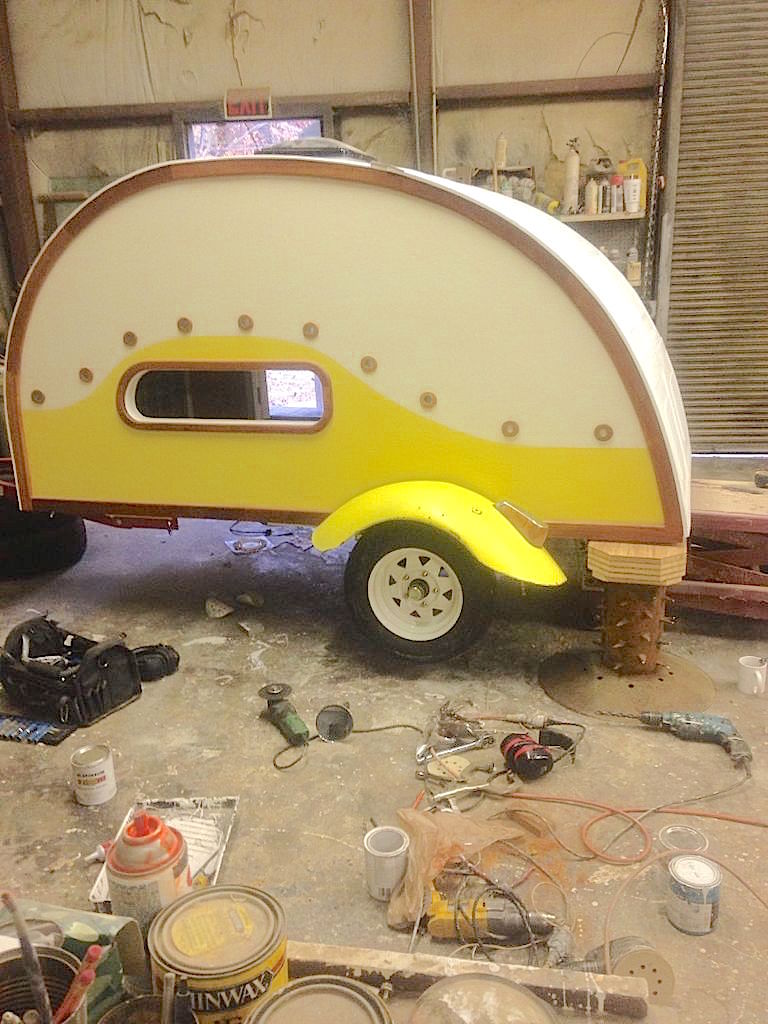
Now that the entire trailer was enclosed and powered up (thanks to a car battery Haley installed), it was finally time for the finishing touches.
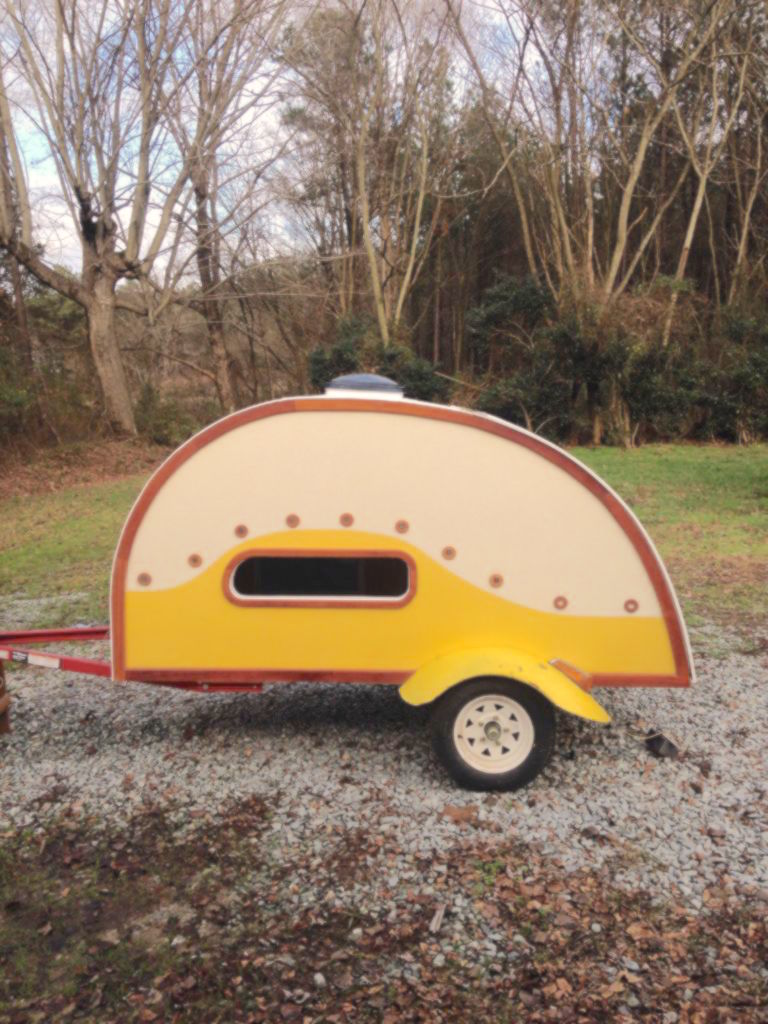
After adding fenders, a lockable trailer hitch, and a frame and latch for the trailer's pint-size door, Haley's project was complete!
She was so proud, she even wrote a haiku about it:
"My baby looks good!
It only took 30 steps
Now I need a job."
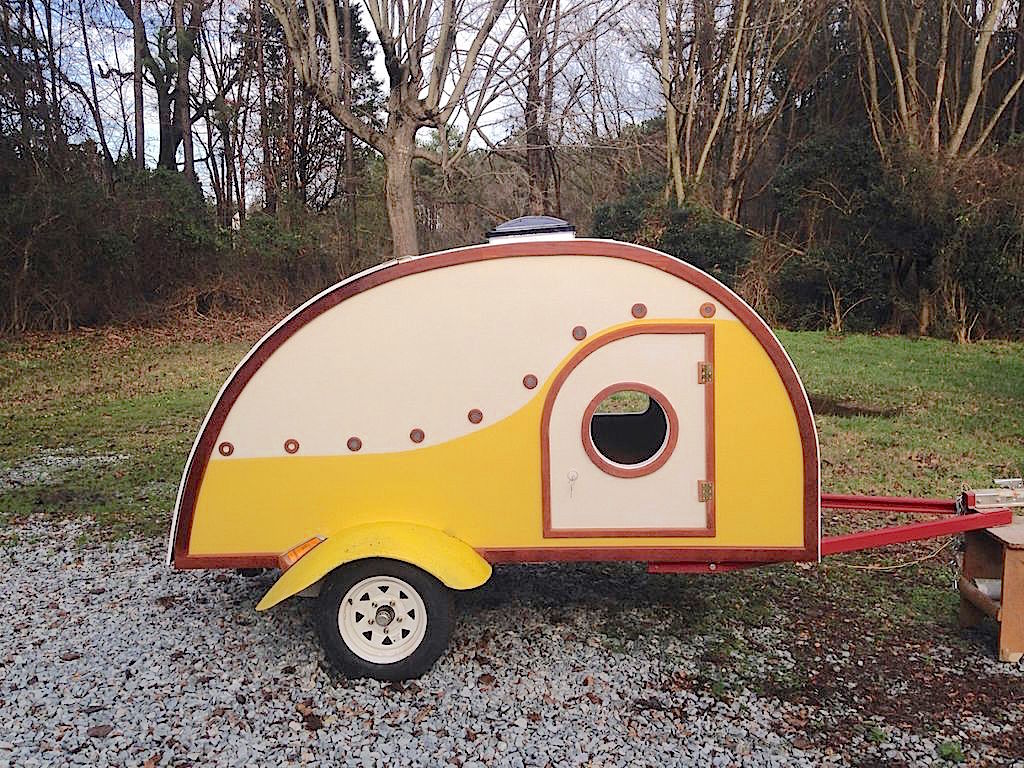
Haley's incredible creation shows just how much a person can accomplish with some free time and true determination.
What do you think of Haley's DIY teardrop camper? Let us know in the comments.
Please SHARE this stunning project with friends and family!


