If you were a child of the '80s or raised a child during the '80s, you probably remember the original Nintendo Entertainment System.
That red and grey box with its bulky cartridges — and this hilarious electronic theme song — was the stuff that many Christmas and birthday dreams were made of. To me, playing games like Super Mario Brothers was the most magical way to spend a Saturday morning (and probably the afternoon too).
For those who are quite familiar with the original Nintendo, that now-ancient gaming system may always hold a special place in their hearts. And in the case of one very talented gamer who goes by the name Tylerfulltilt on Imgur, Nintendo holds a special place in his house as well.
When it came time to remodel the game room, he decided that a normal entertainment center just wouldn't cut it. Instead, he decided to create a custom DIY setup that pays homage to the original 8-bit Nintendo Entertainment System.
Scroll through the pics below to see how he turned a tiny Nintendo into a larger-than-life display that'll make you long for a simpler time.
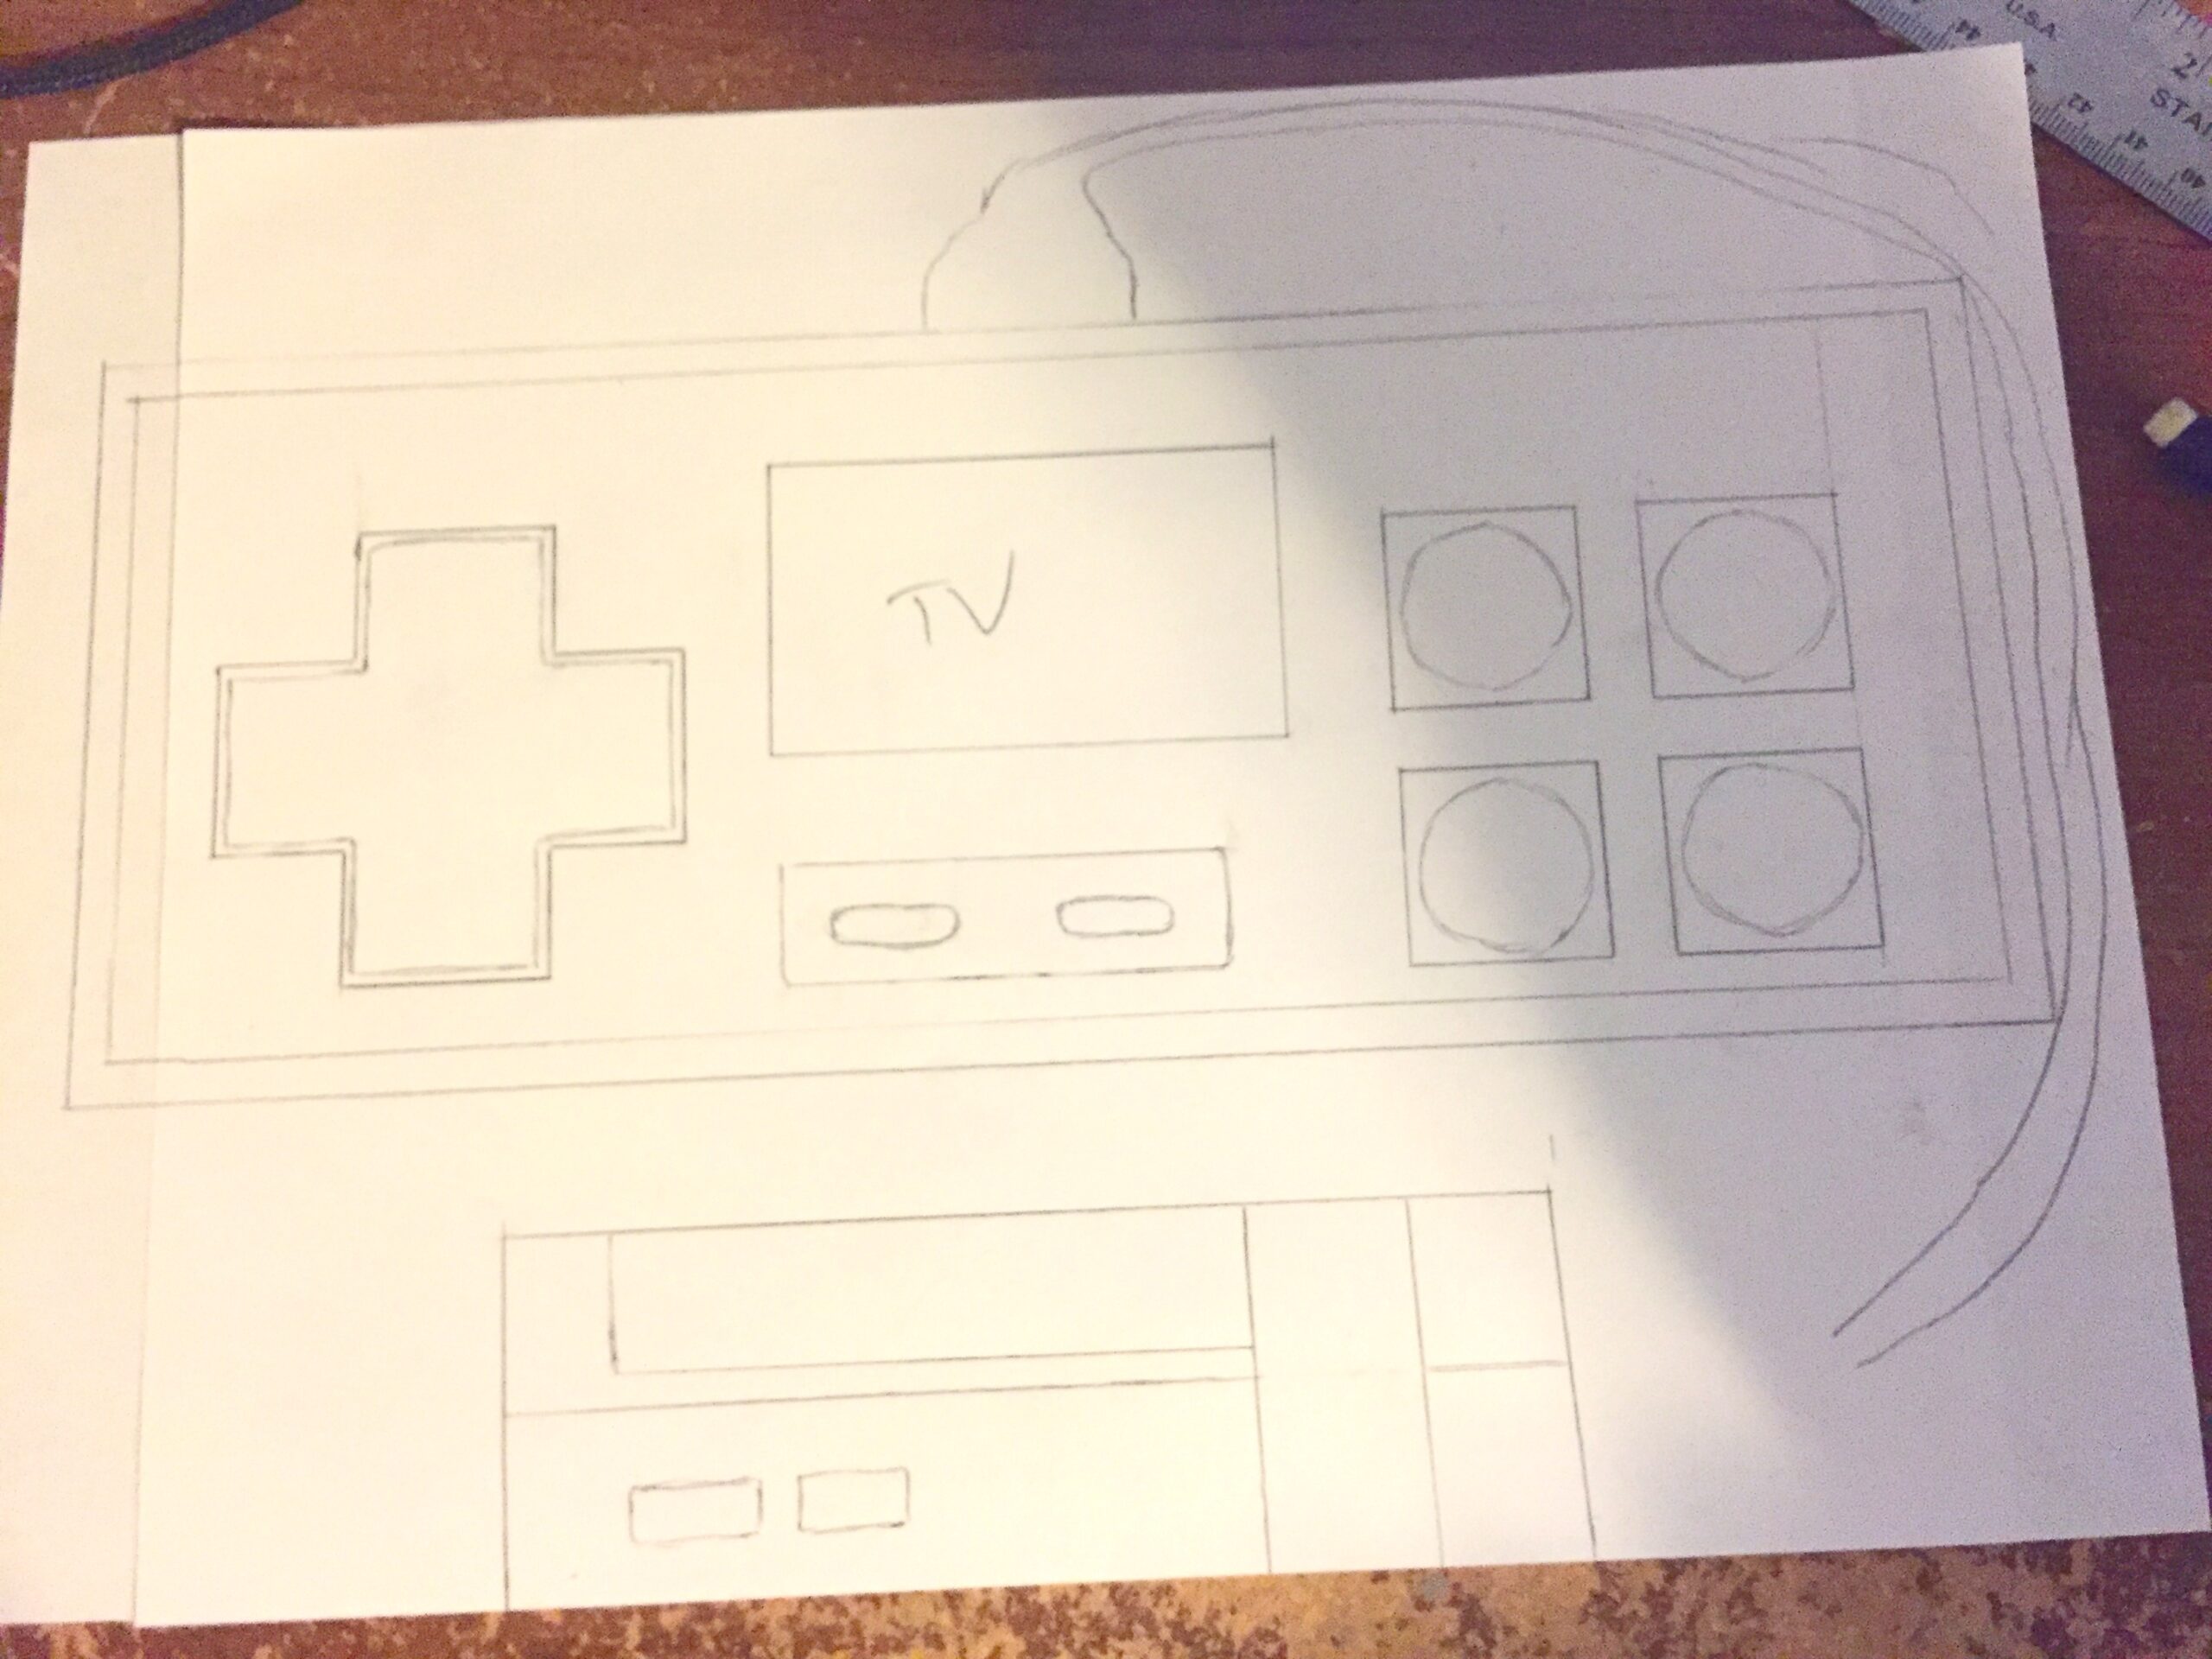
Like all good DIY projects, this one started with a plan.
Tyler wrote: "This is a rough sketch of my plans before starting. My inspiration for the project came partly from the colors I had recently painted my bedroom and then this image."
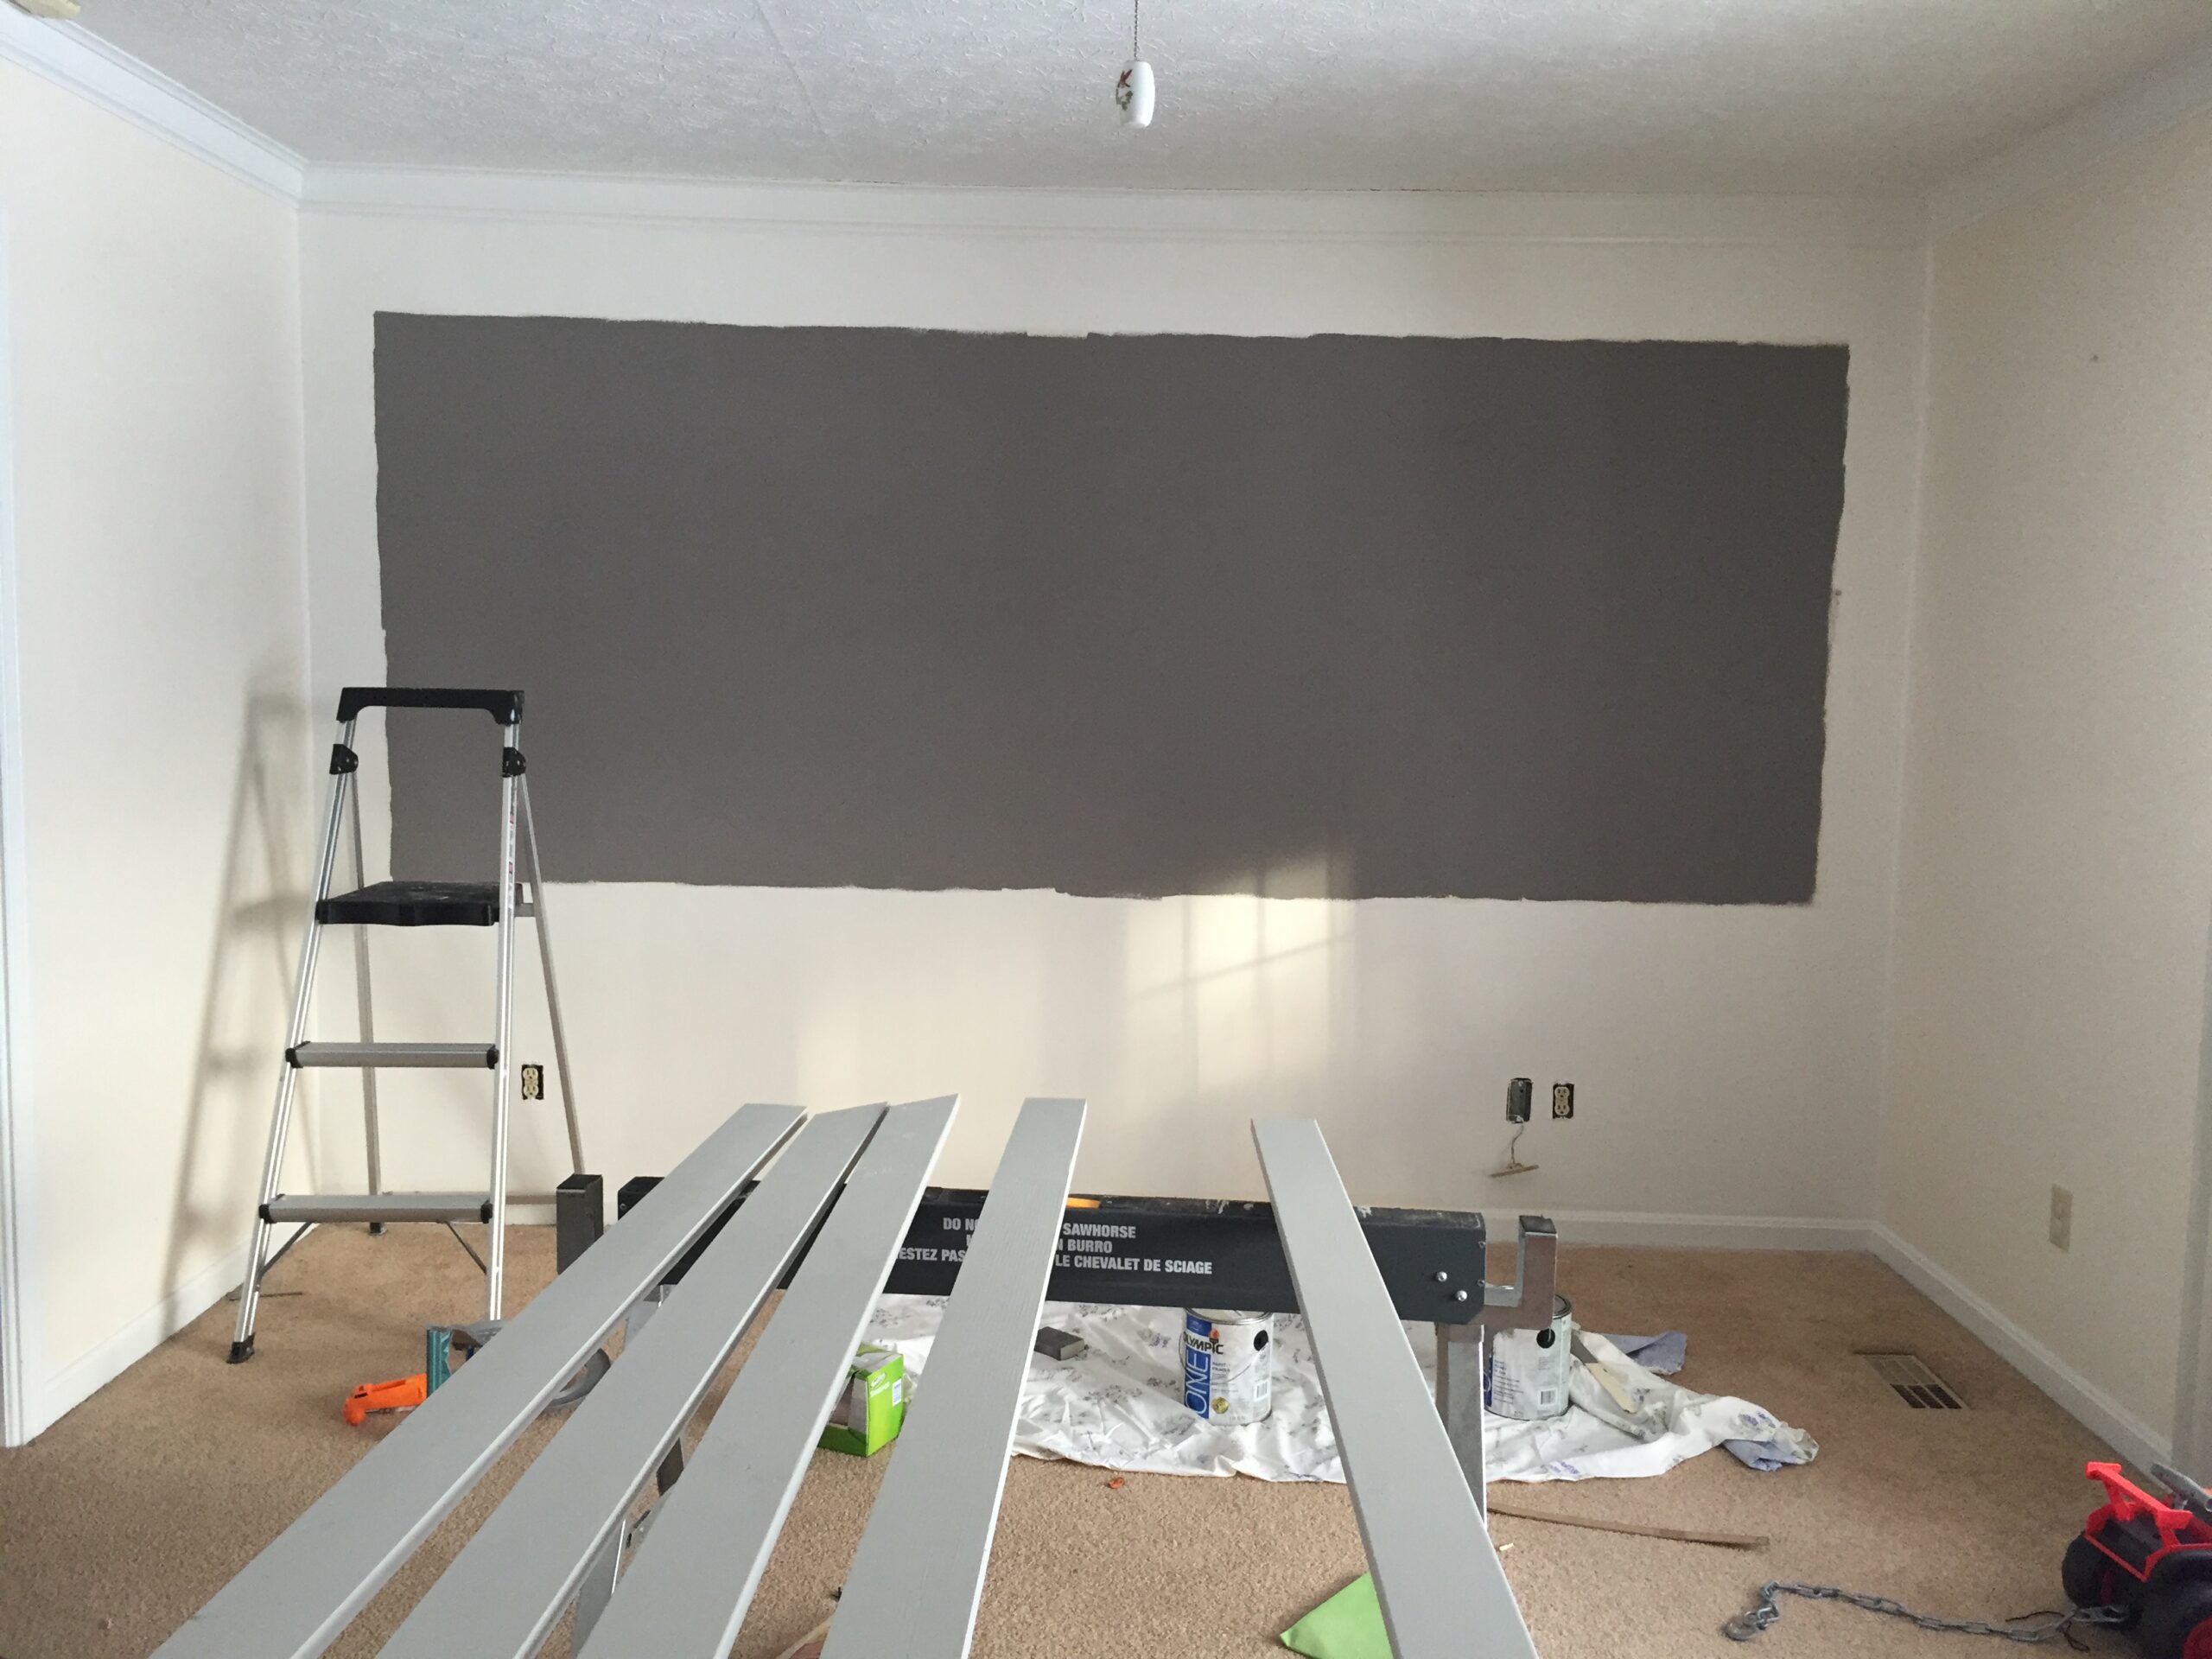
After drawing up the plans, the first step was to paint the background onto the wall.
He measured carefully to get the correct shape and dimensions, then used a dark gray color to mimic the inner section of an original Nintendo controller.
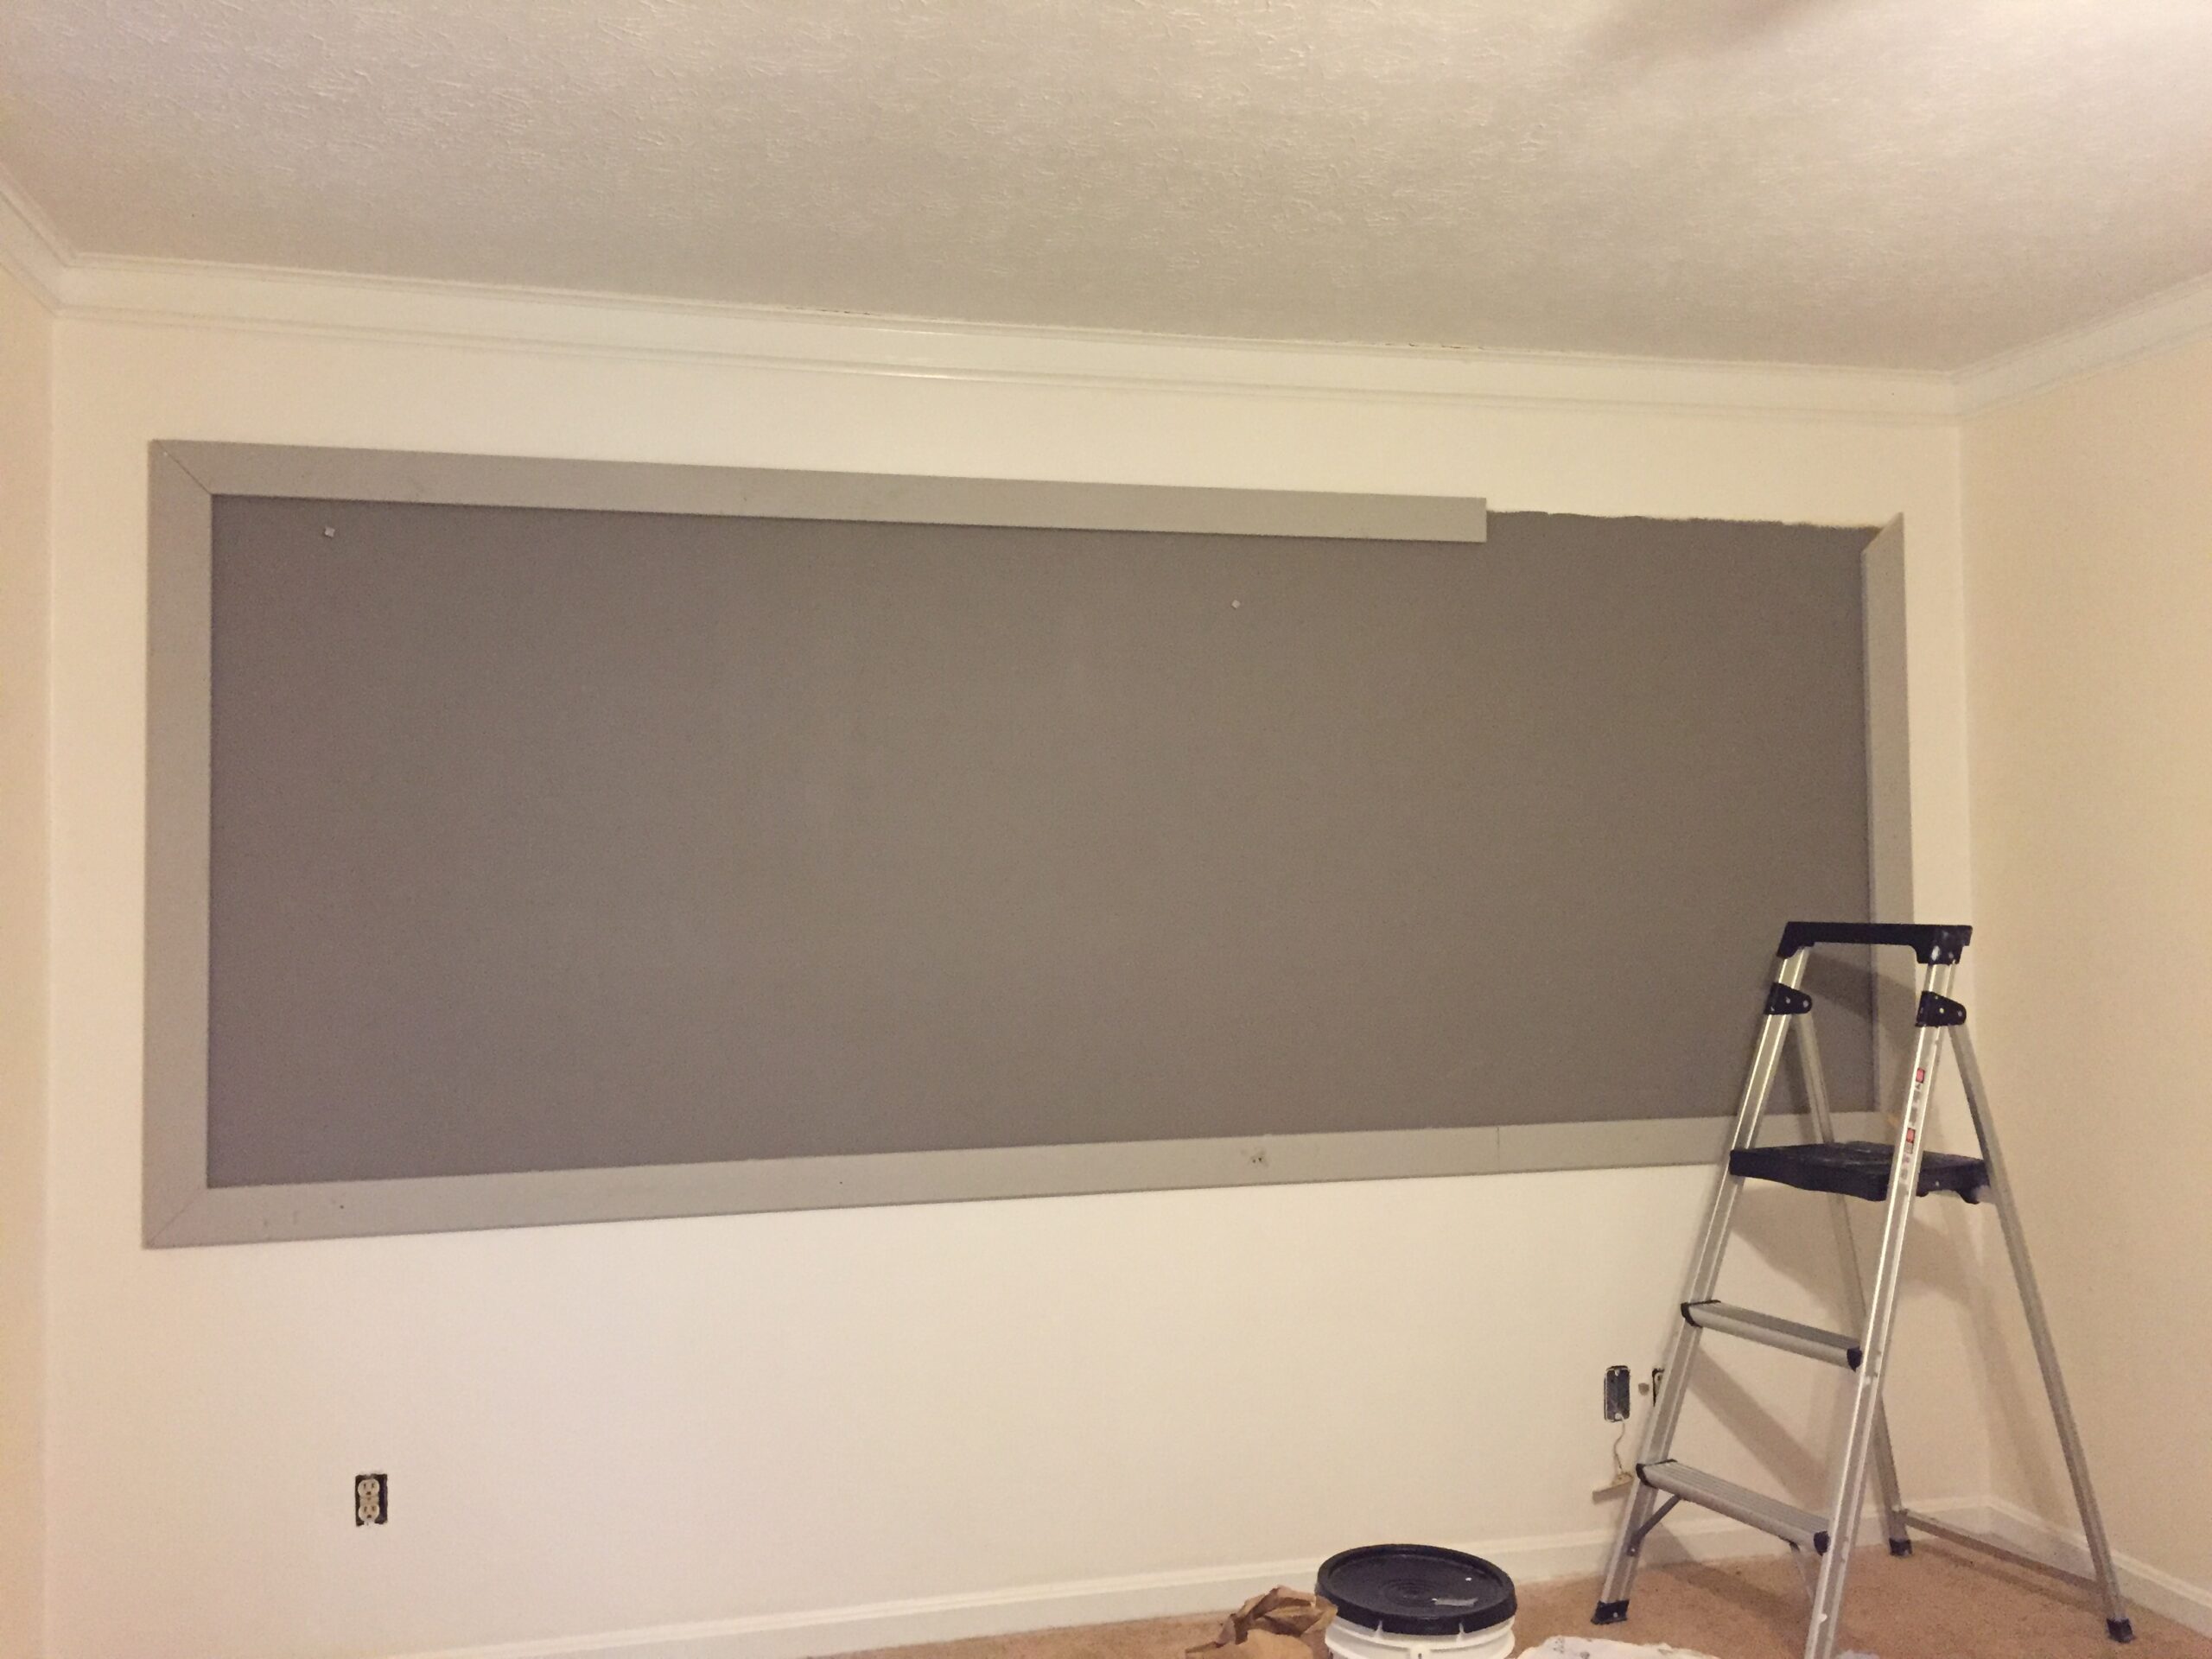
He then painted some 1×4 boards a lighter grey color, and used them to frame the dark gray rectangle, forming the outer edge of the controller.
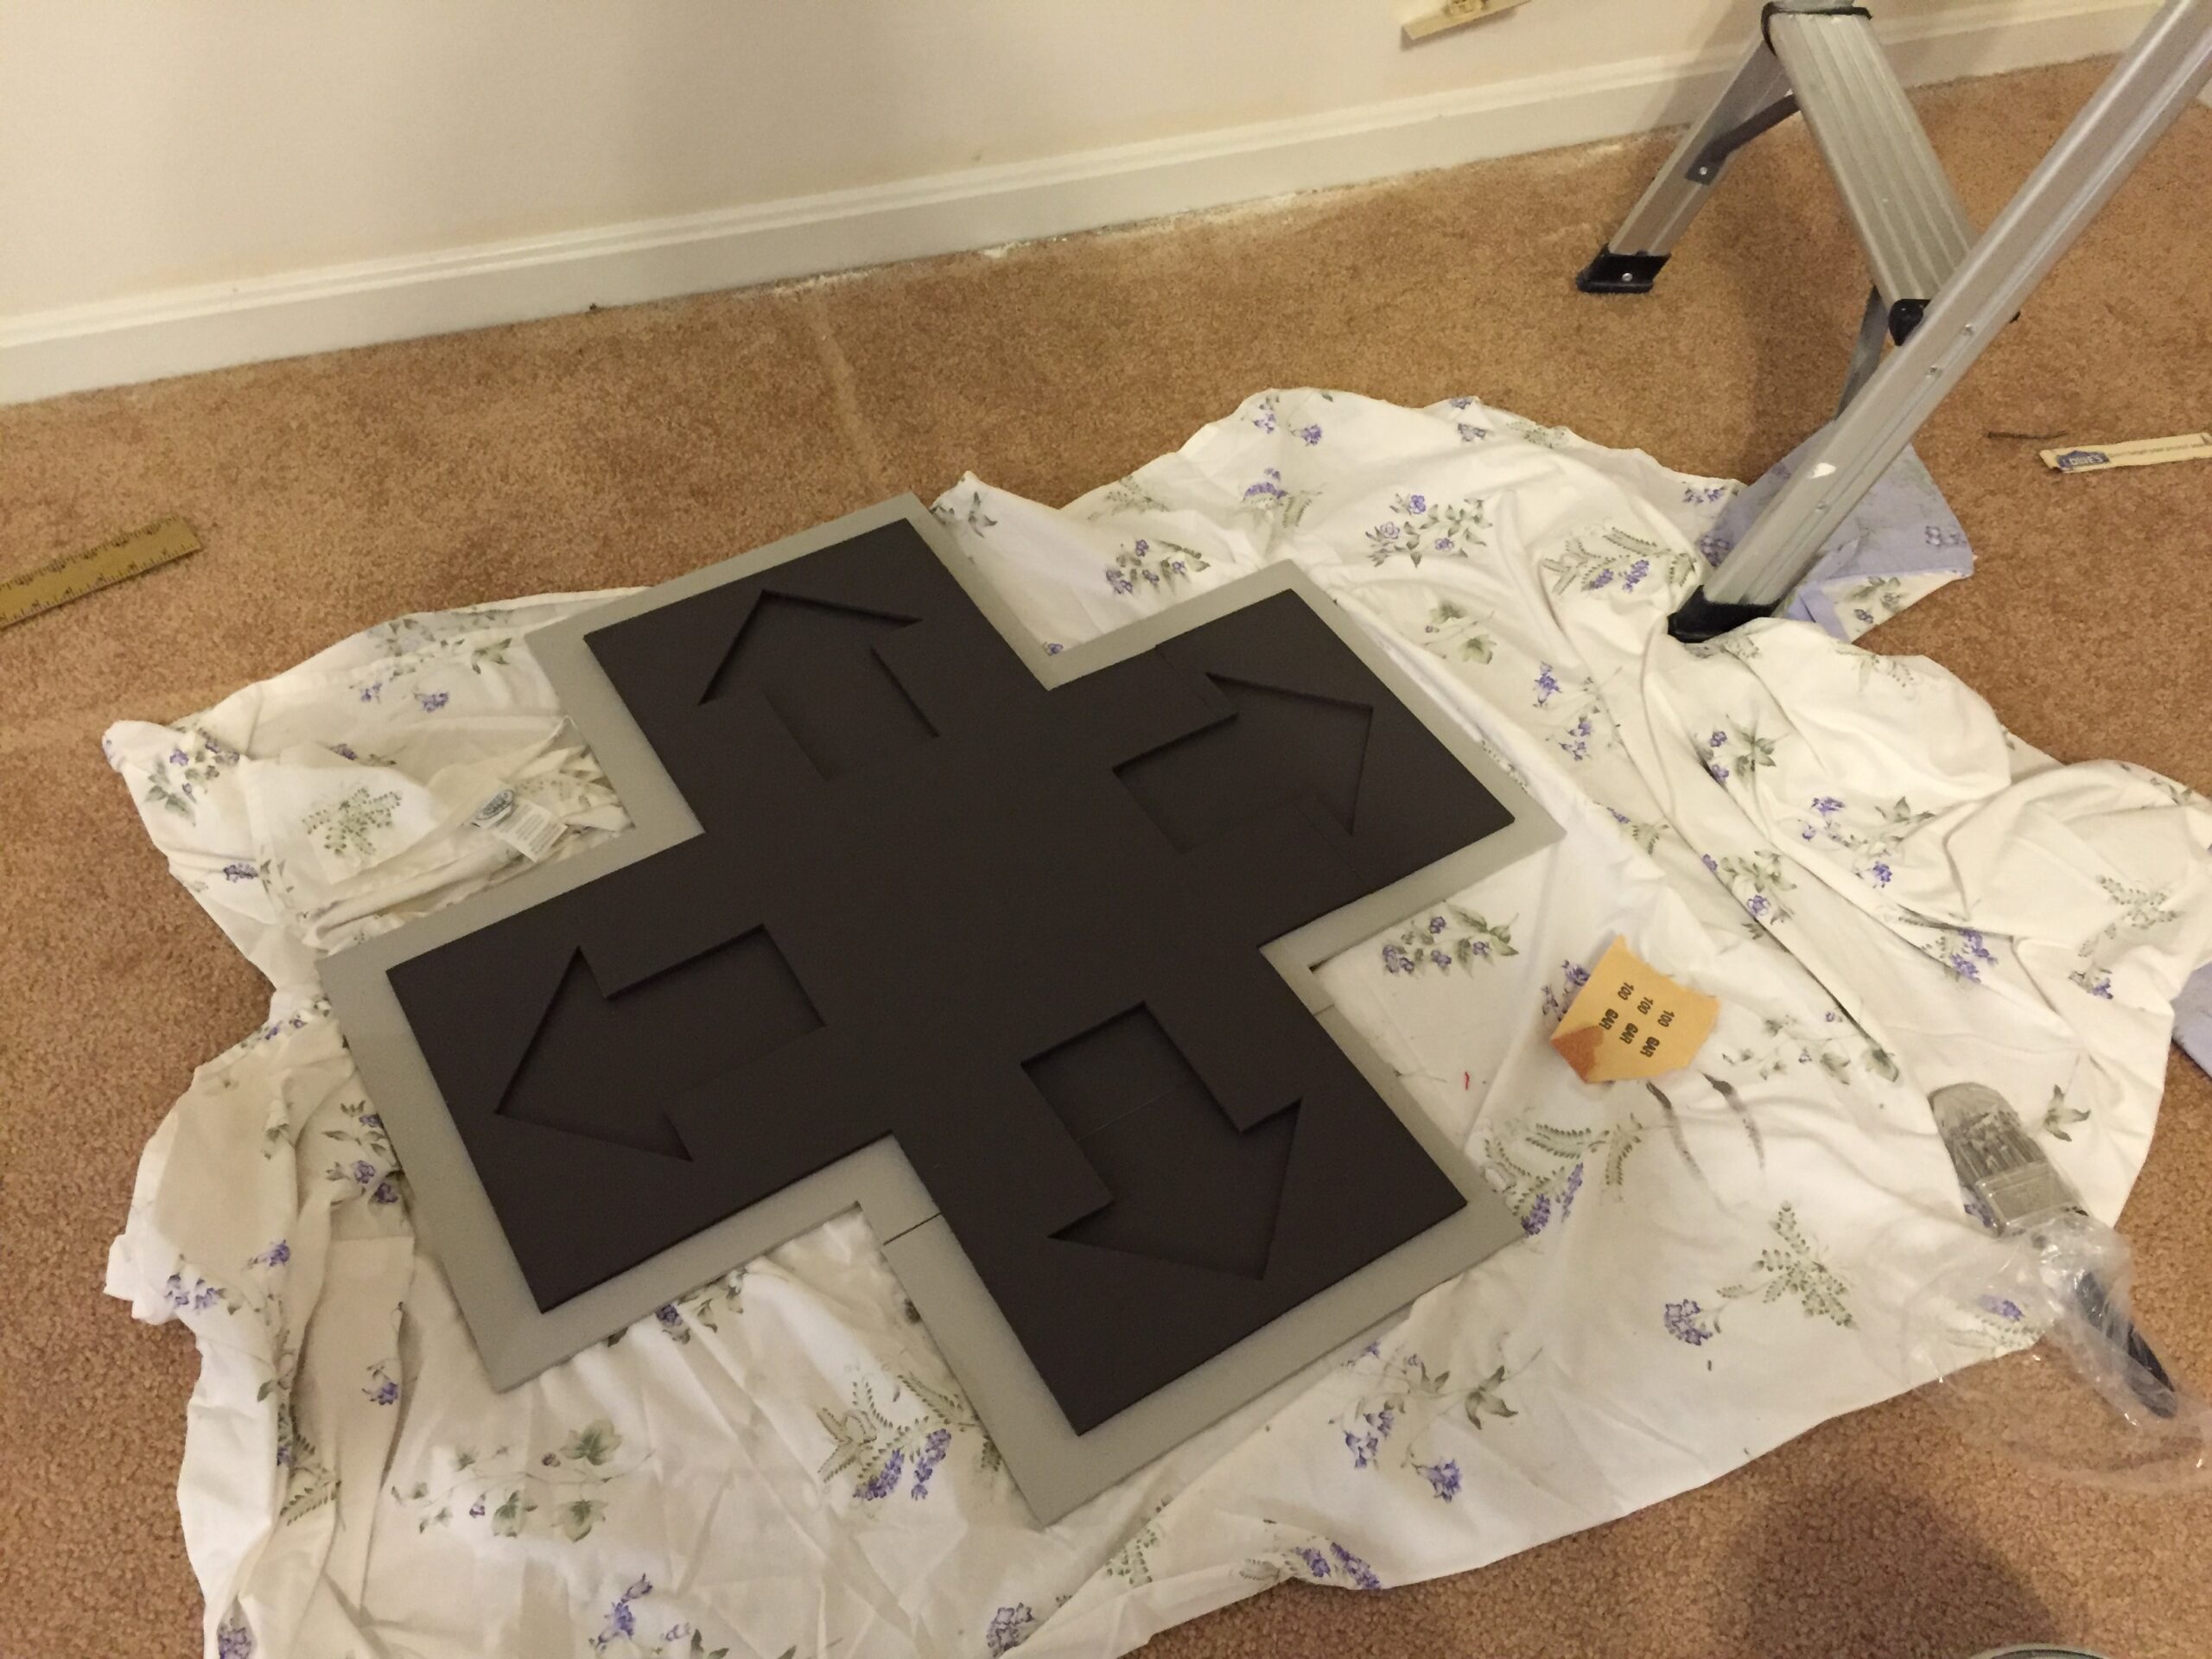
The next step was to cut out raised panels that would form the directional pad, start and select buttons, as well as the red A and B buttons.
These were made from 1/8-inch plywood and colored using spray paint.
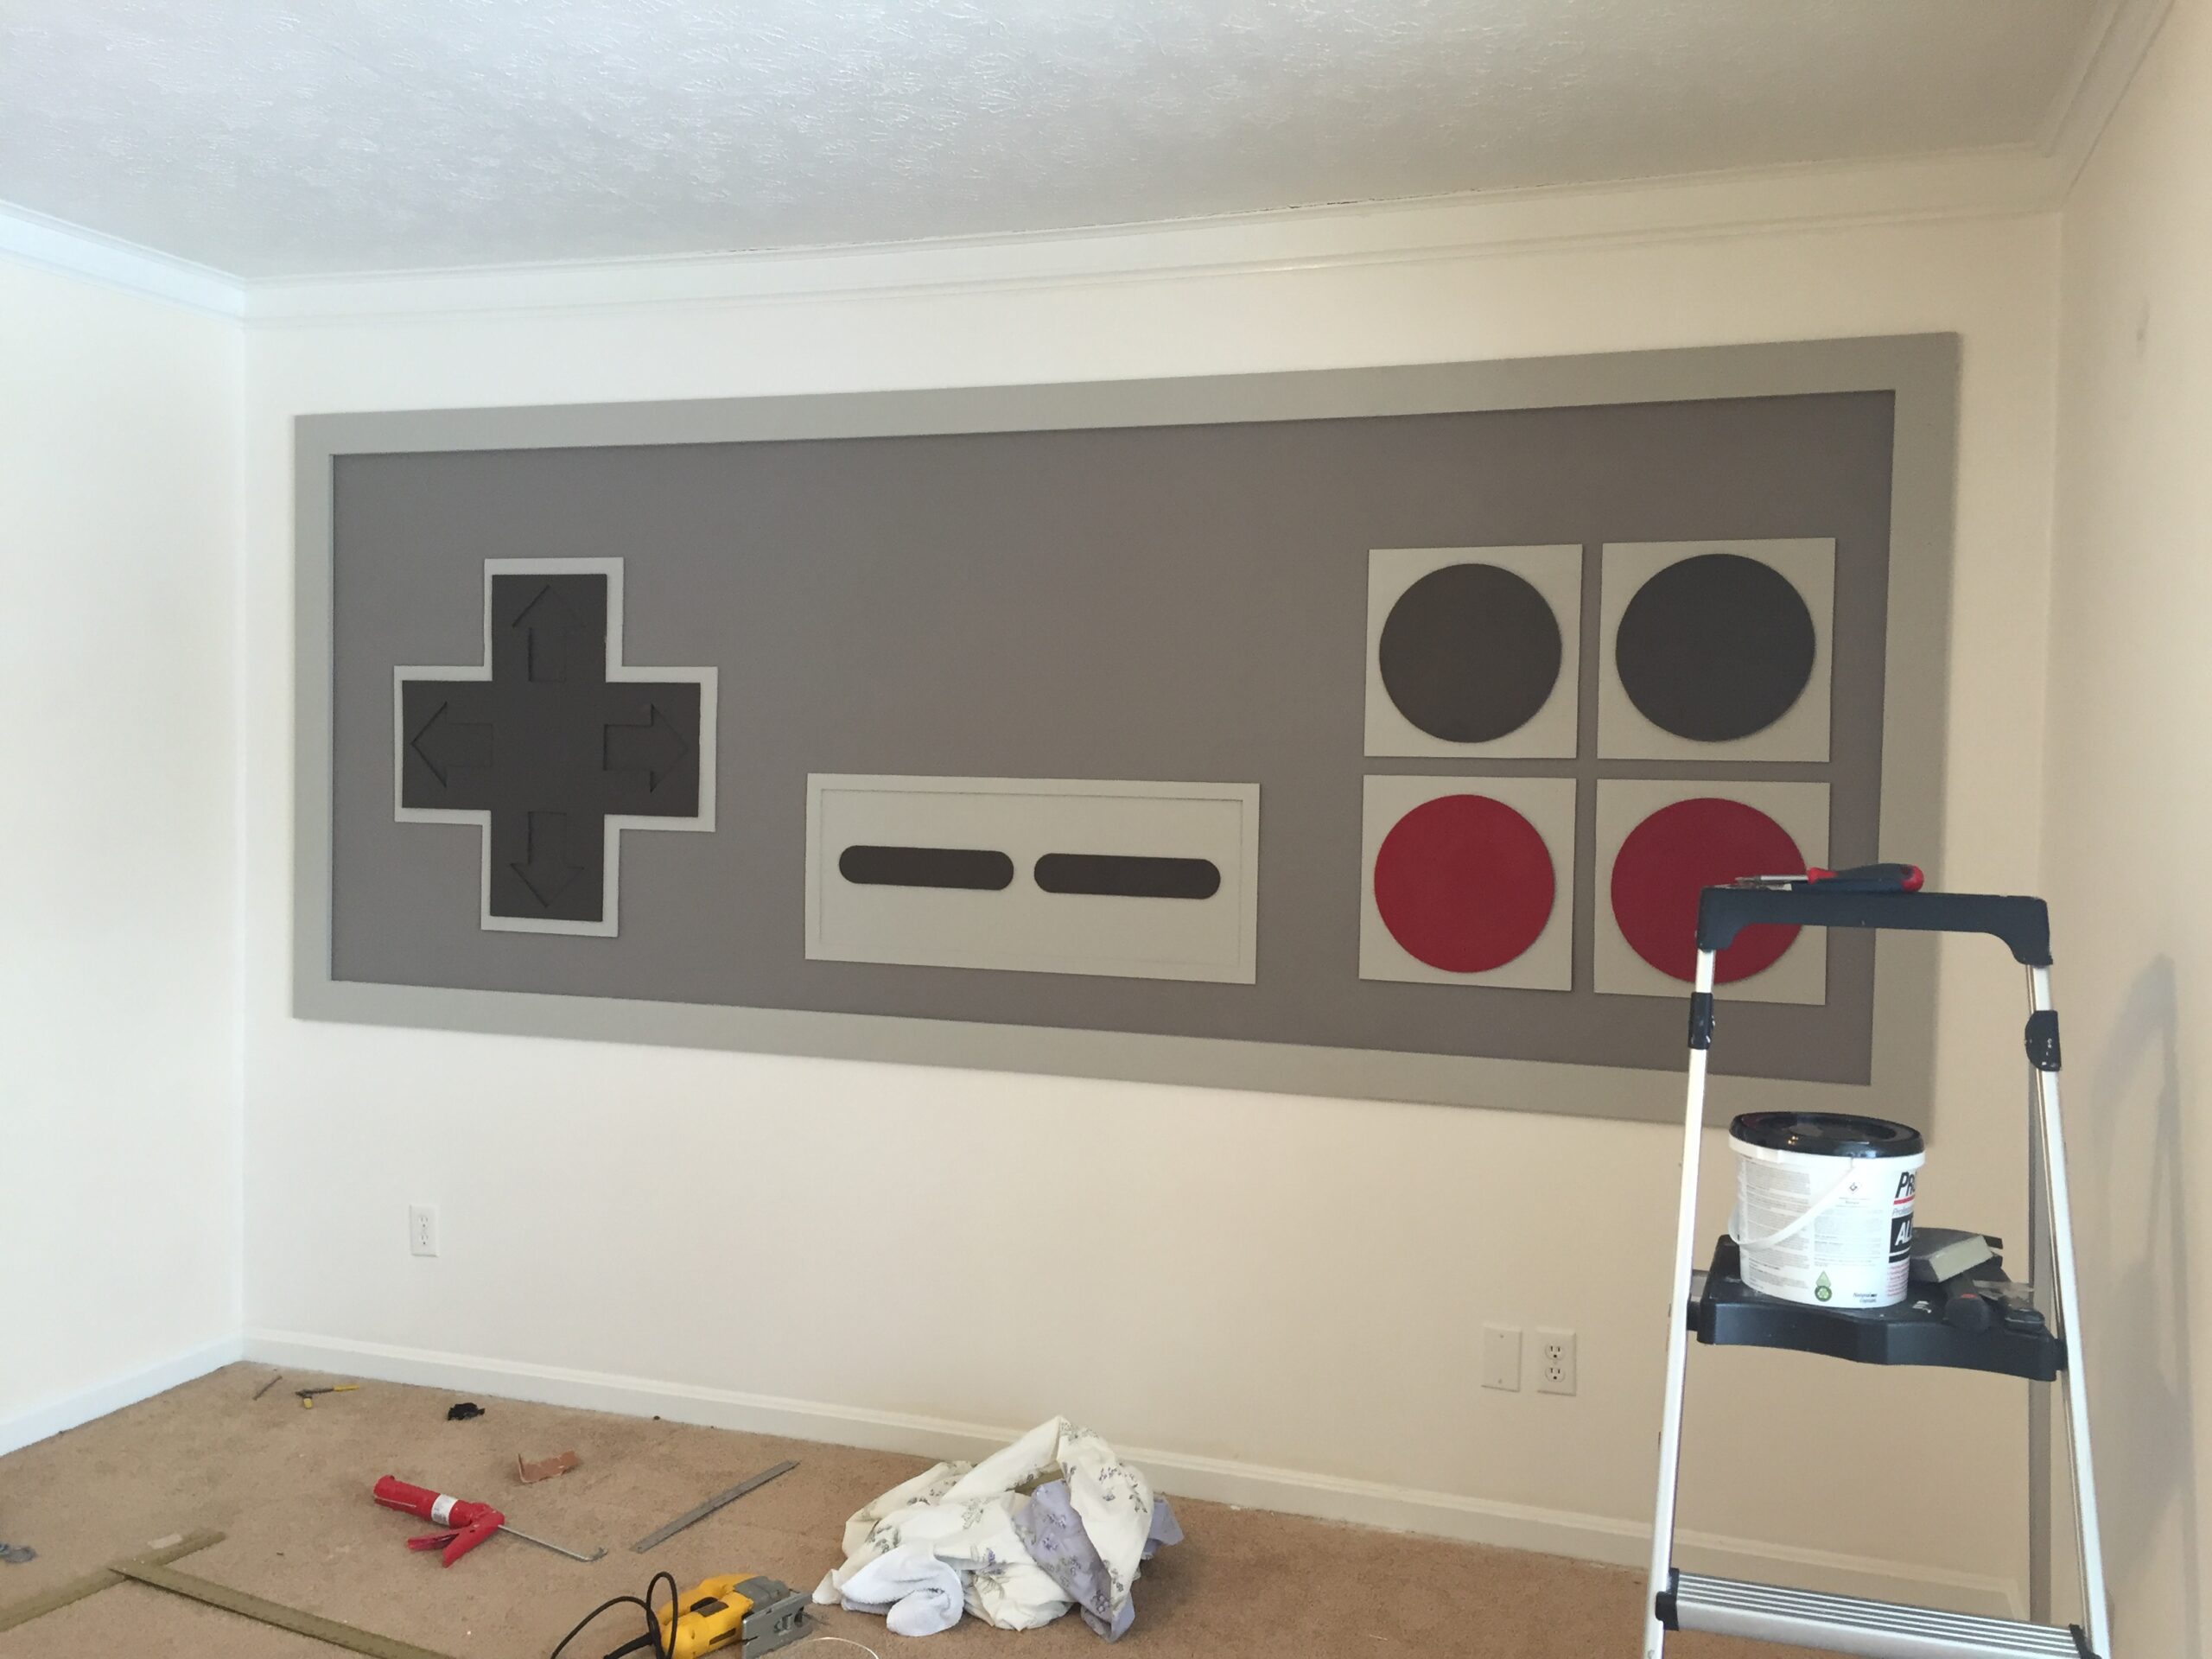
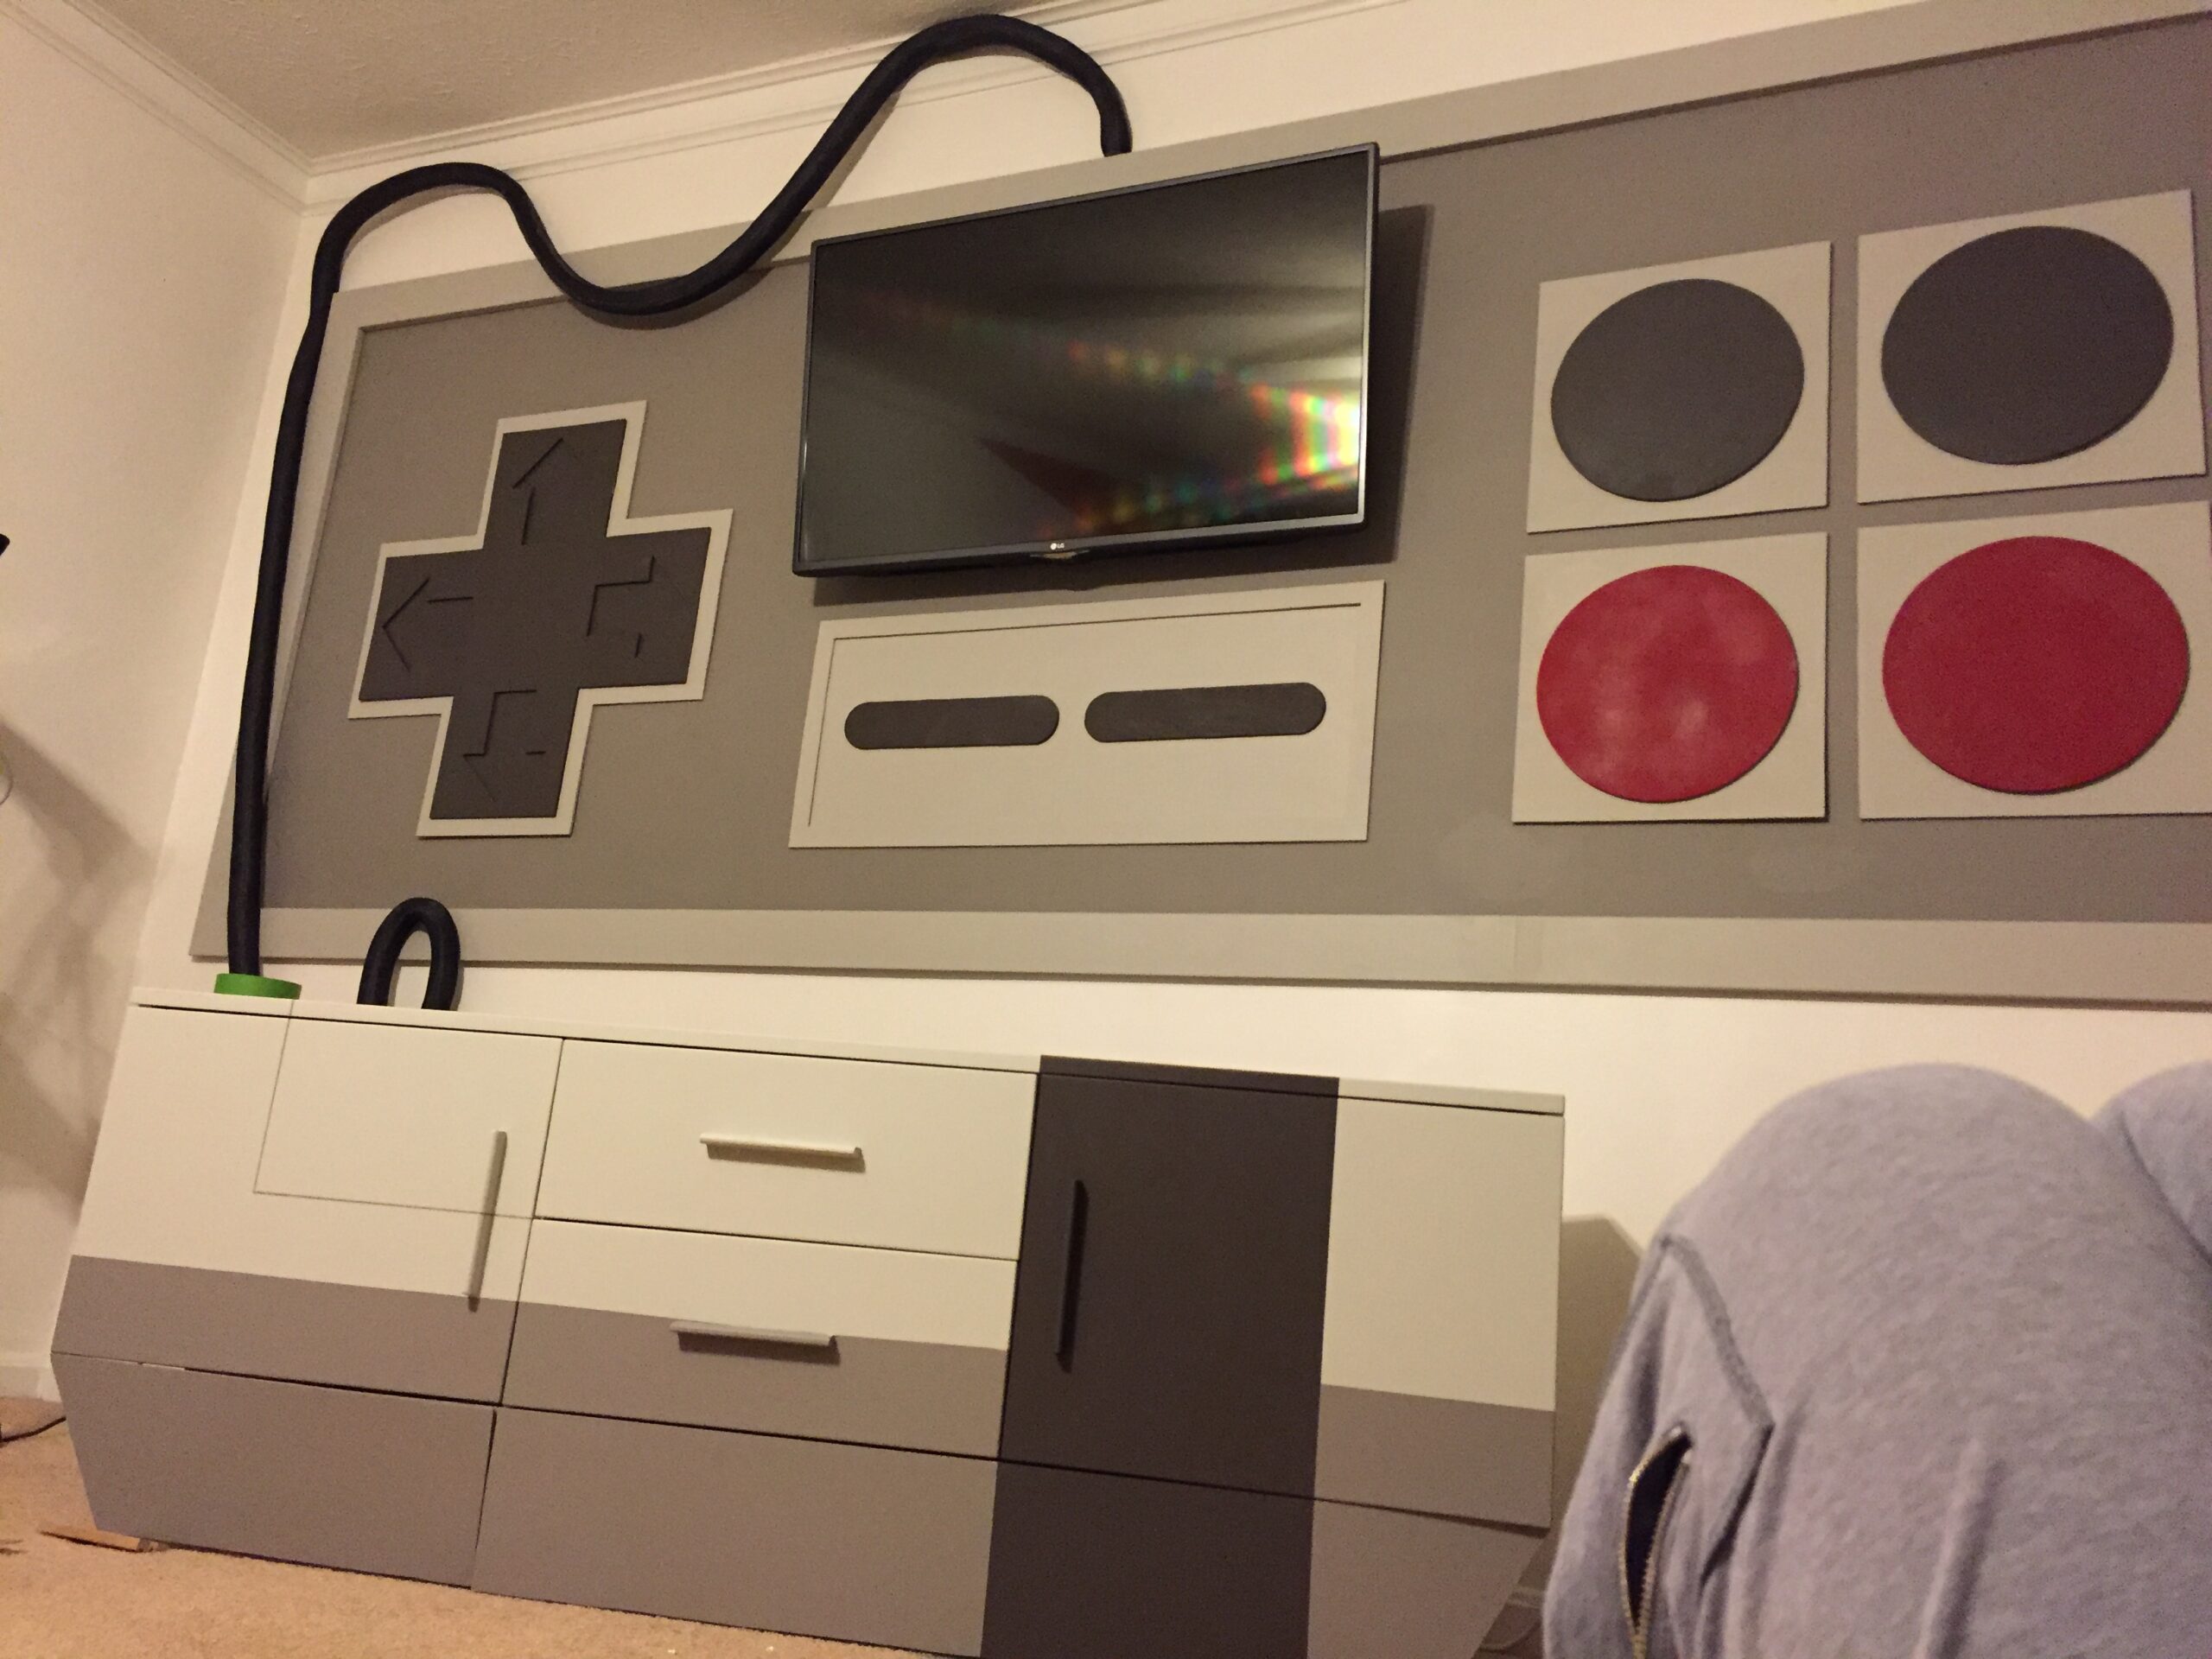
With the buttons installed, the mural began to look like its inspiration: an original Nintendo controller!
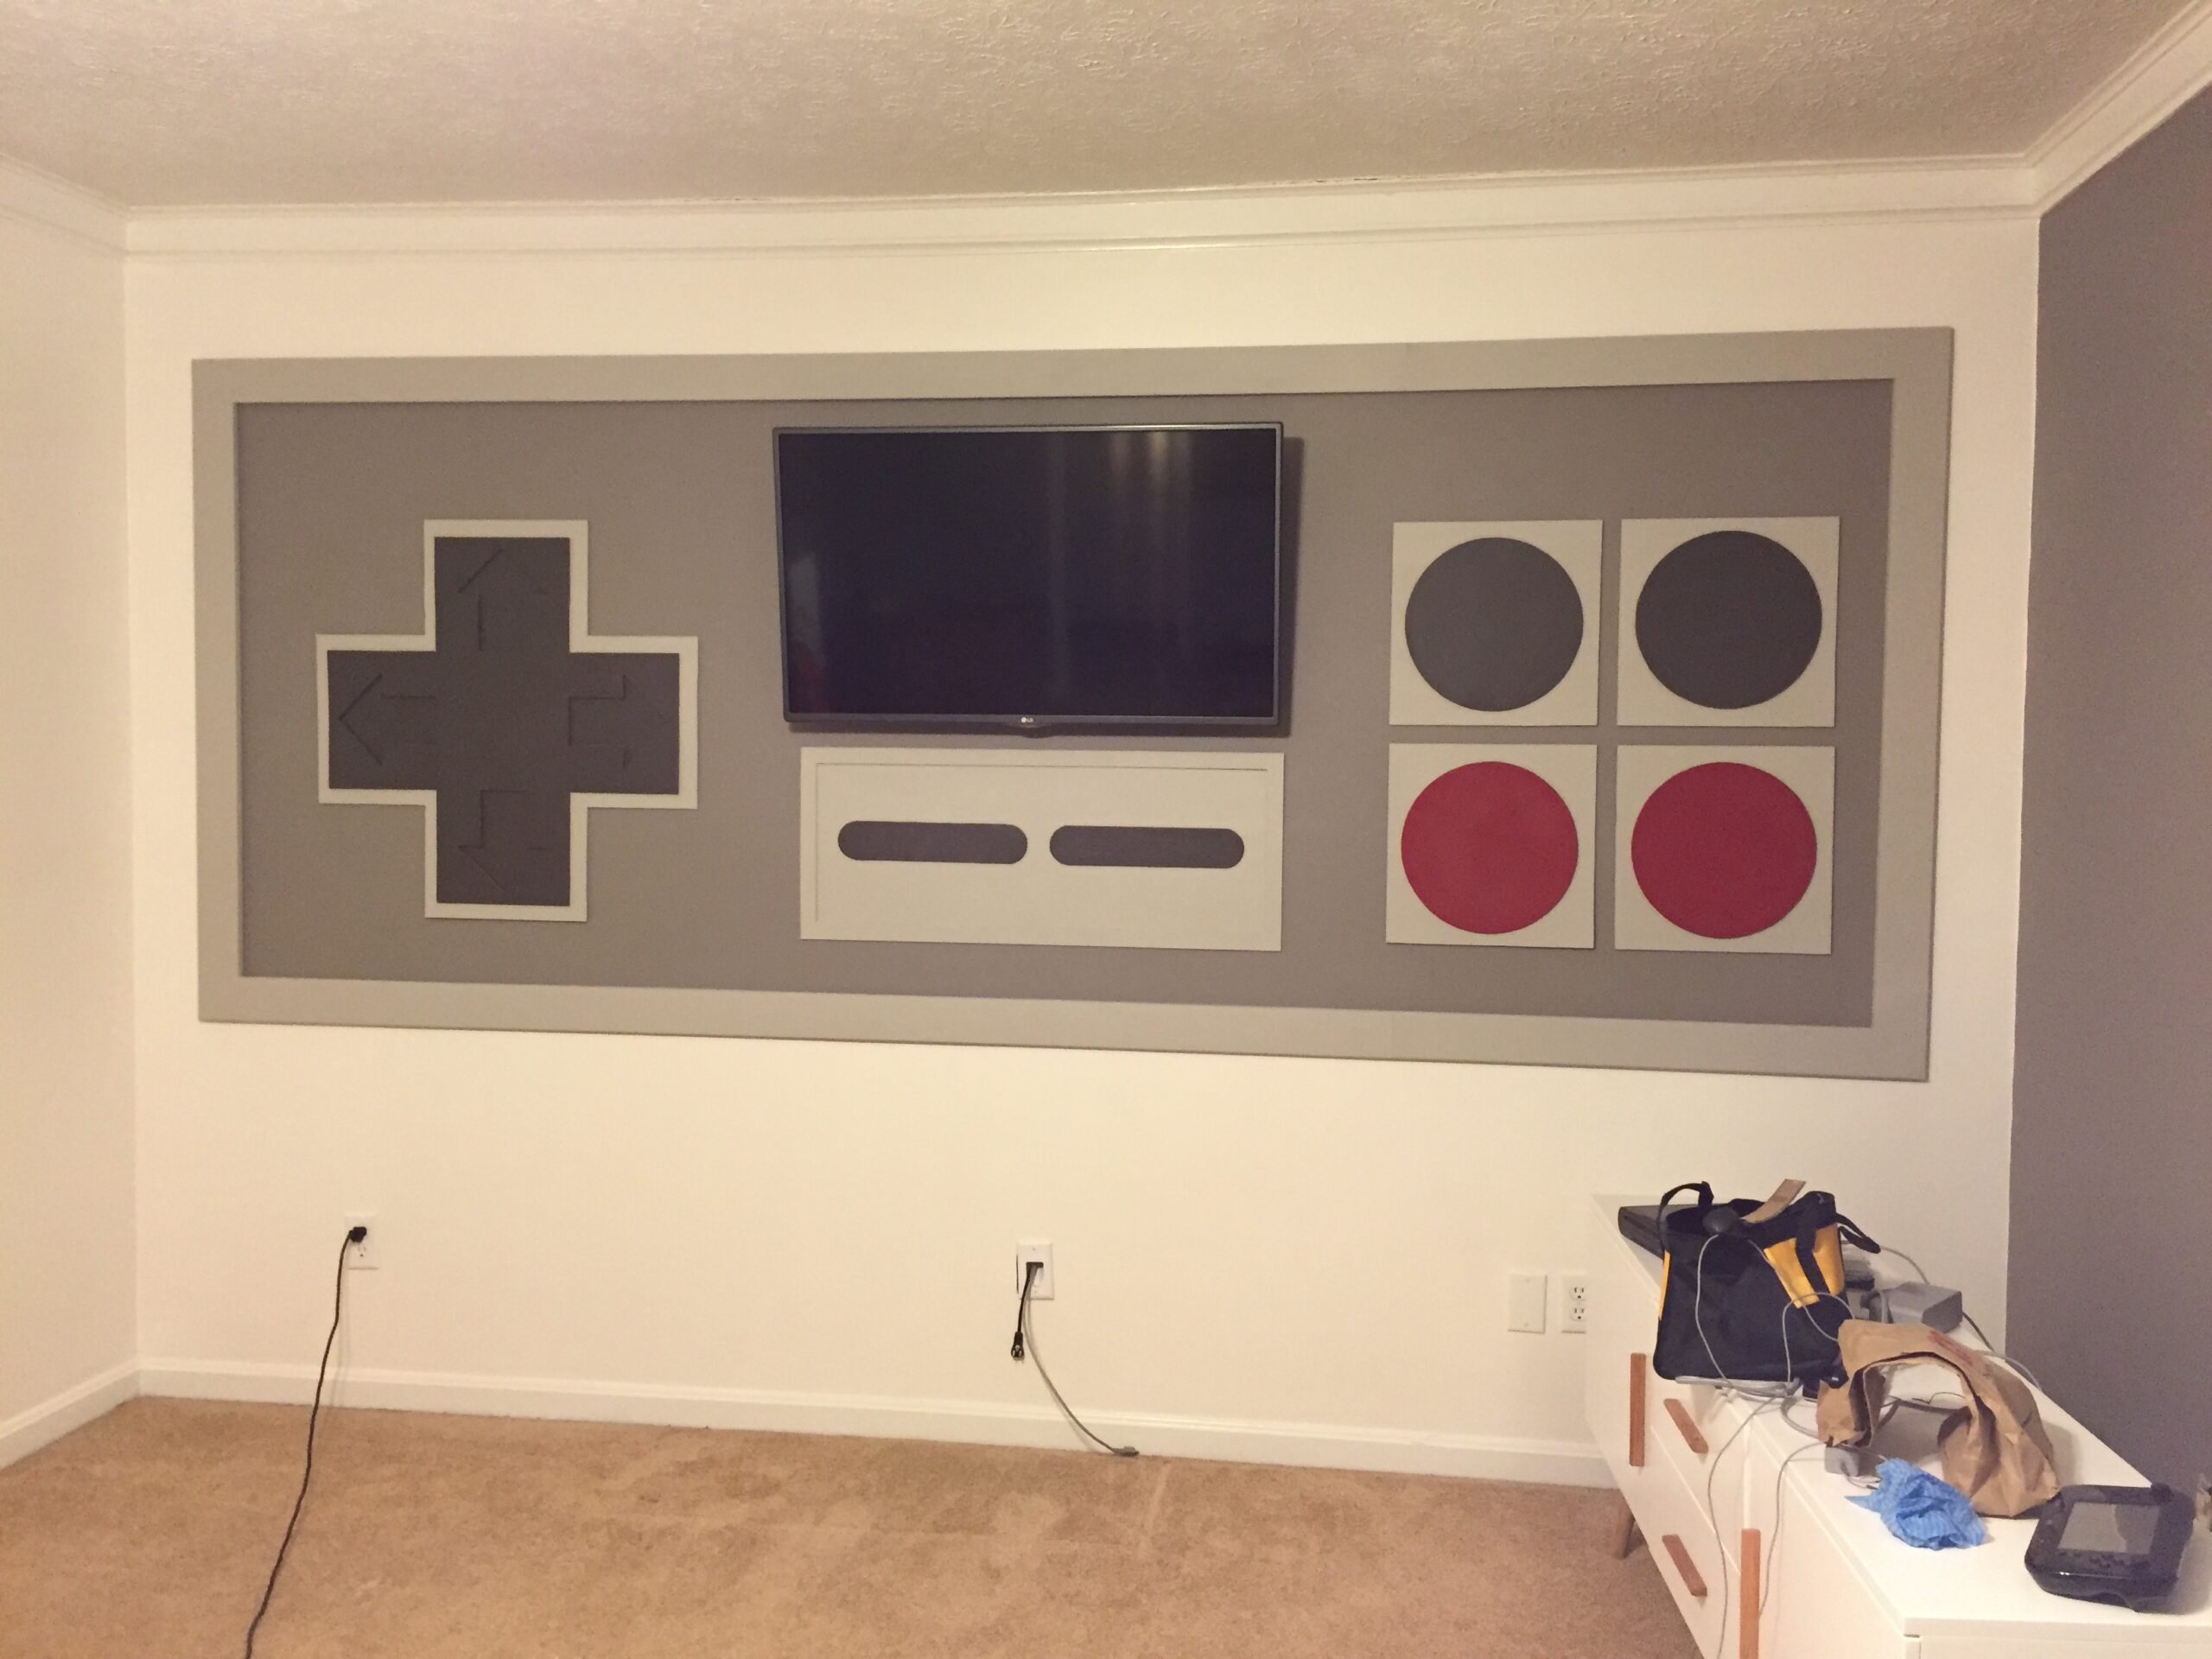
Once everything was dry, Tyler hung a 42-inch flat screen TV above the start and select buttons.
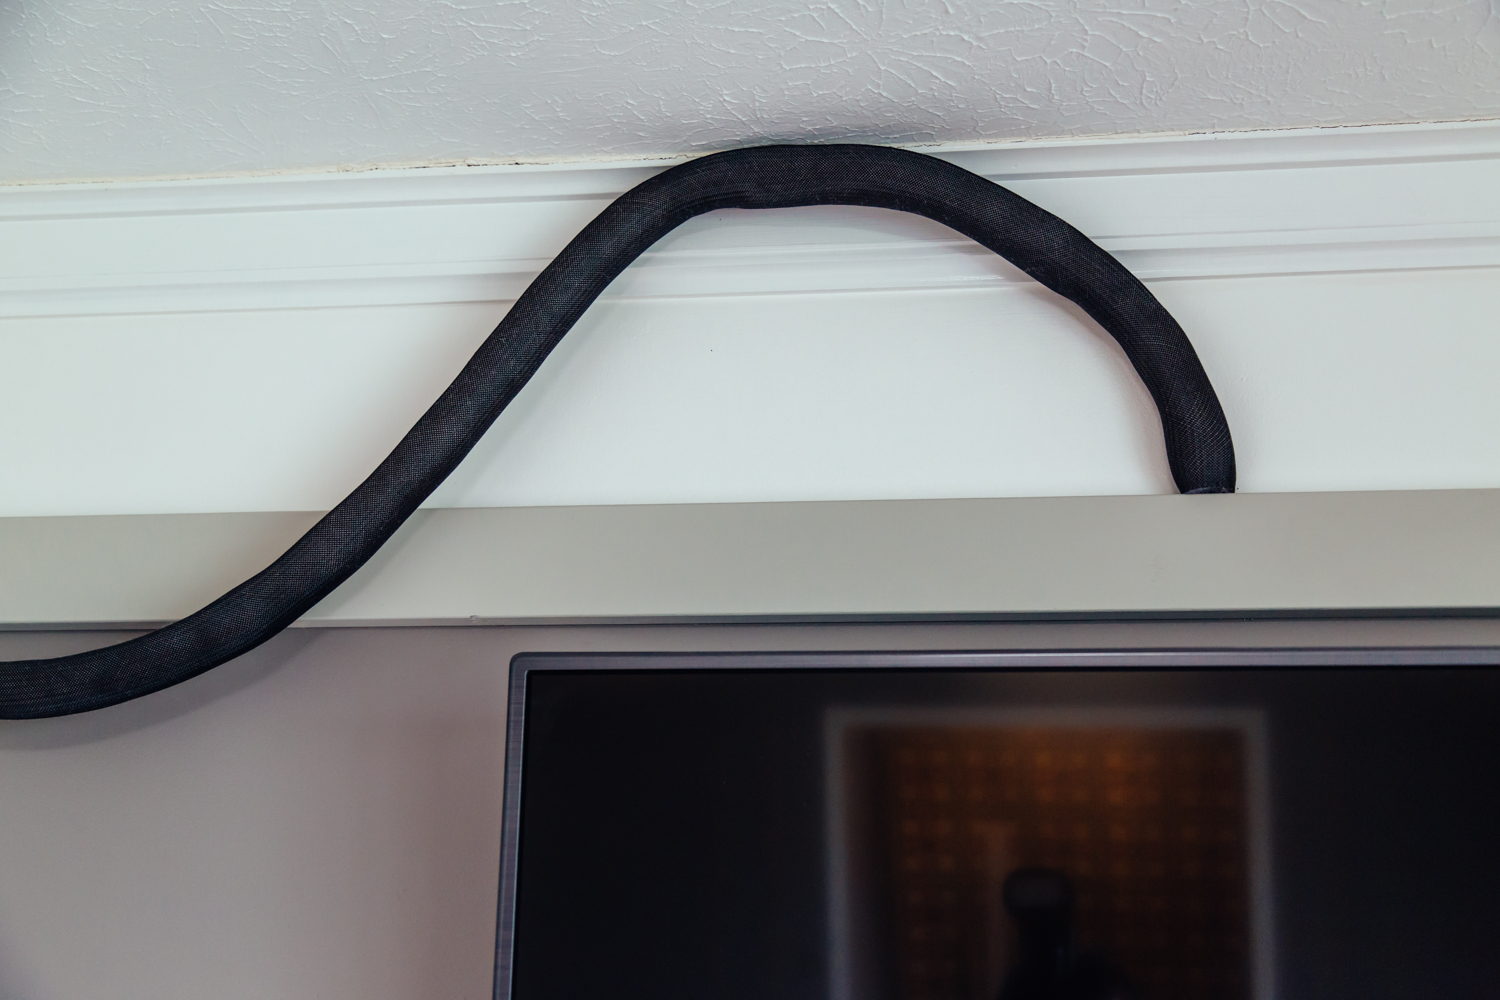
Instead of worrying about the cords from the TV, Tyler simply worked them into the design.
He said: "I stuffed a 1.5-inch diameter cord sheathing to create a light weight, flexible faux cable."
It came out just like that pesky cord that use to connect the controllers to the console!
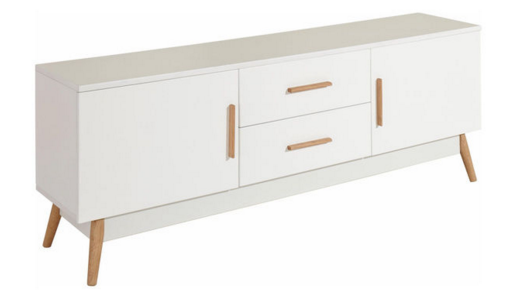
At this point the mural was pretty much done, so it was time to work on the cabinet that would form the rest of the entertainment center.
For that, Tyler bought and assembled this lowboard cabinet from Overstock.com.
Then, he added a faux bottom to the cabinet, blocked it off and painted the main areas to look like an original Nintendo game console.
He could have stopped at this point and it would have been a pretty impressive entertainment center, but Tyler knew that the devil is in the details.
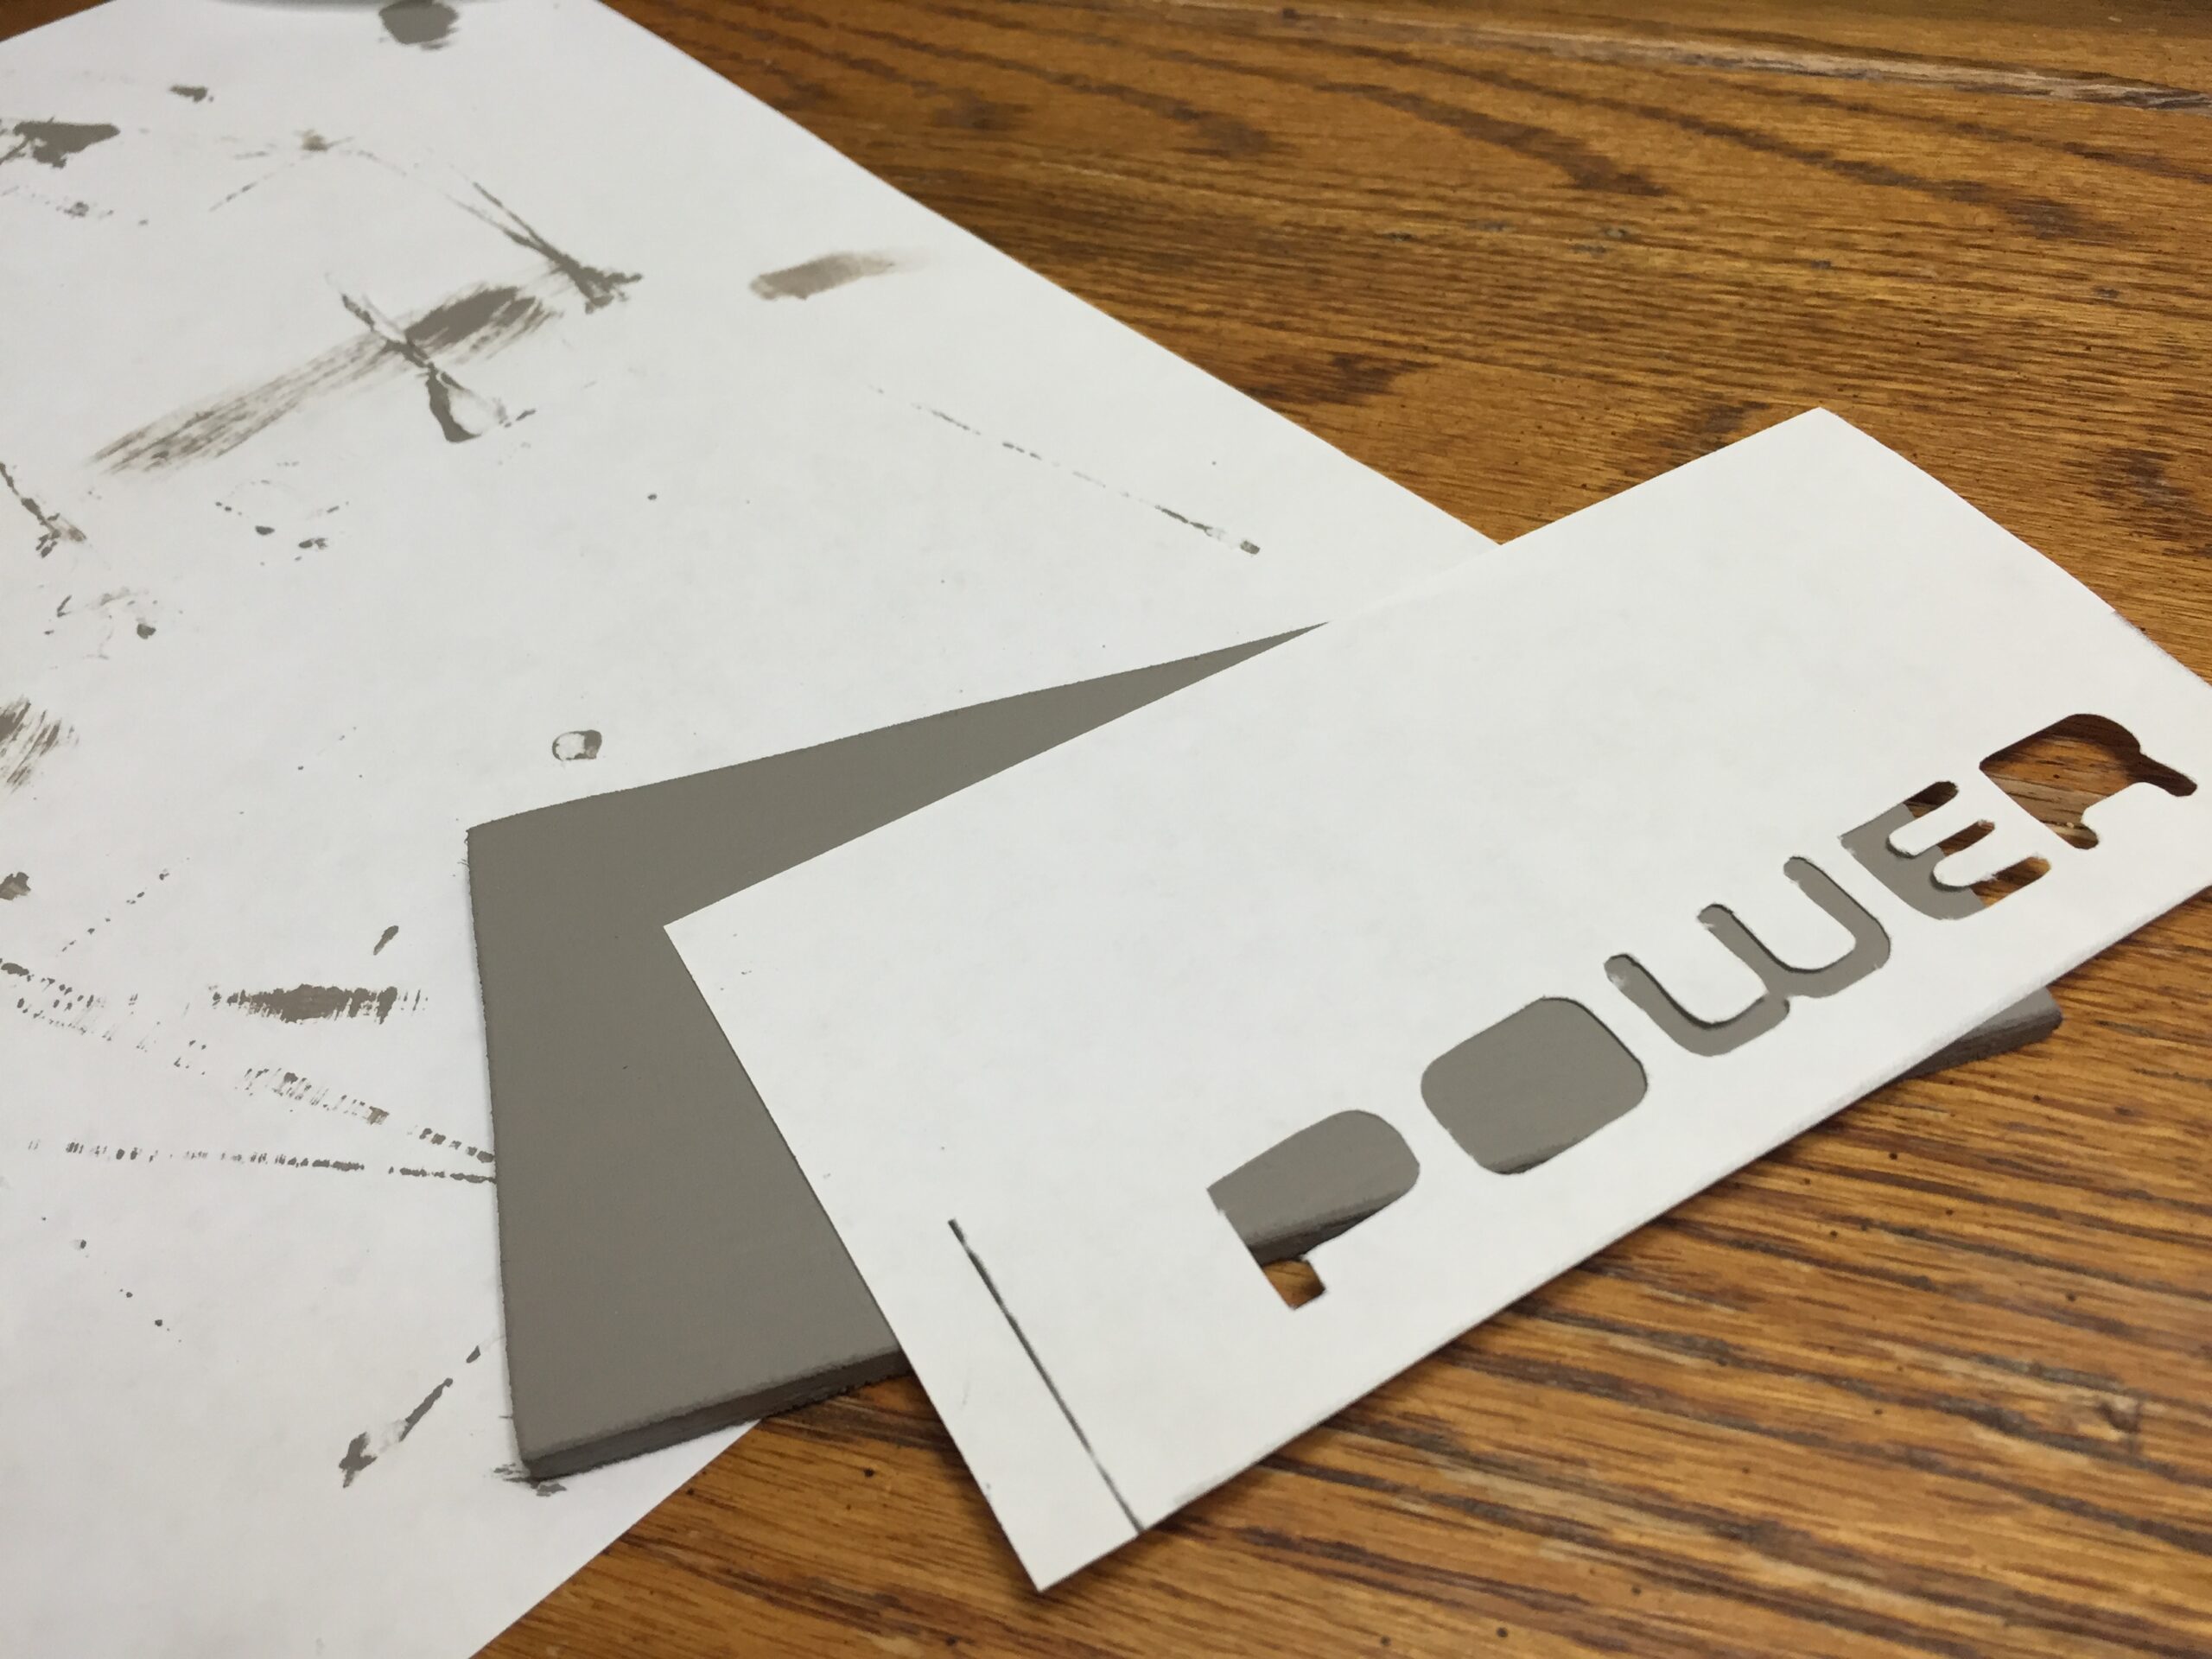
He printed off images of the Nintendo text so that the fonts on the buttons would be as accurate as possible, then he colored the text with a red sharpie instead of paint.
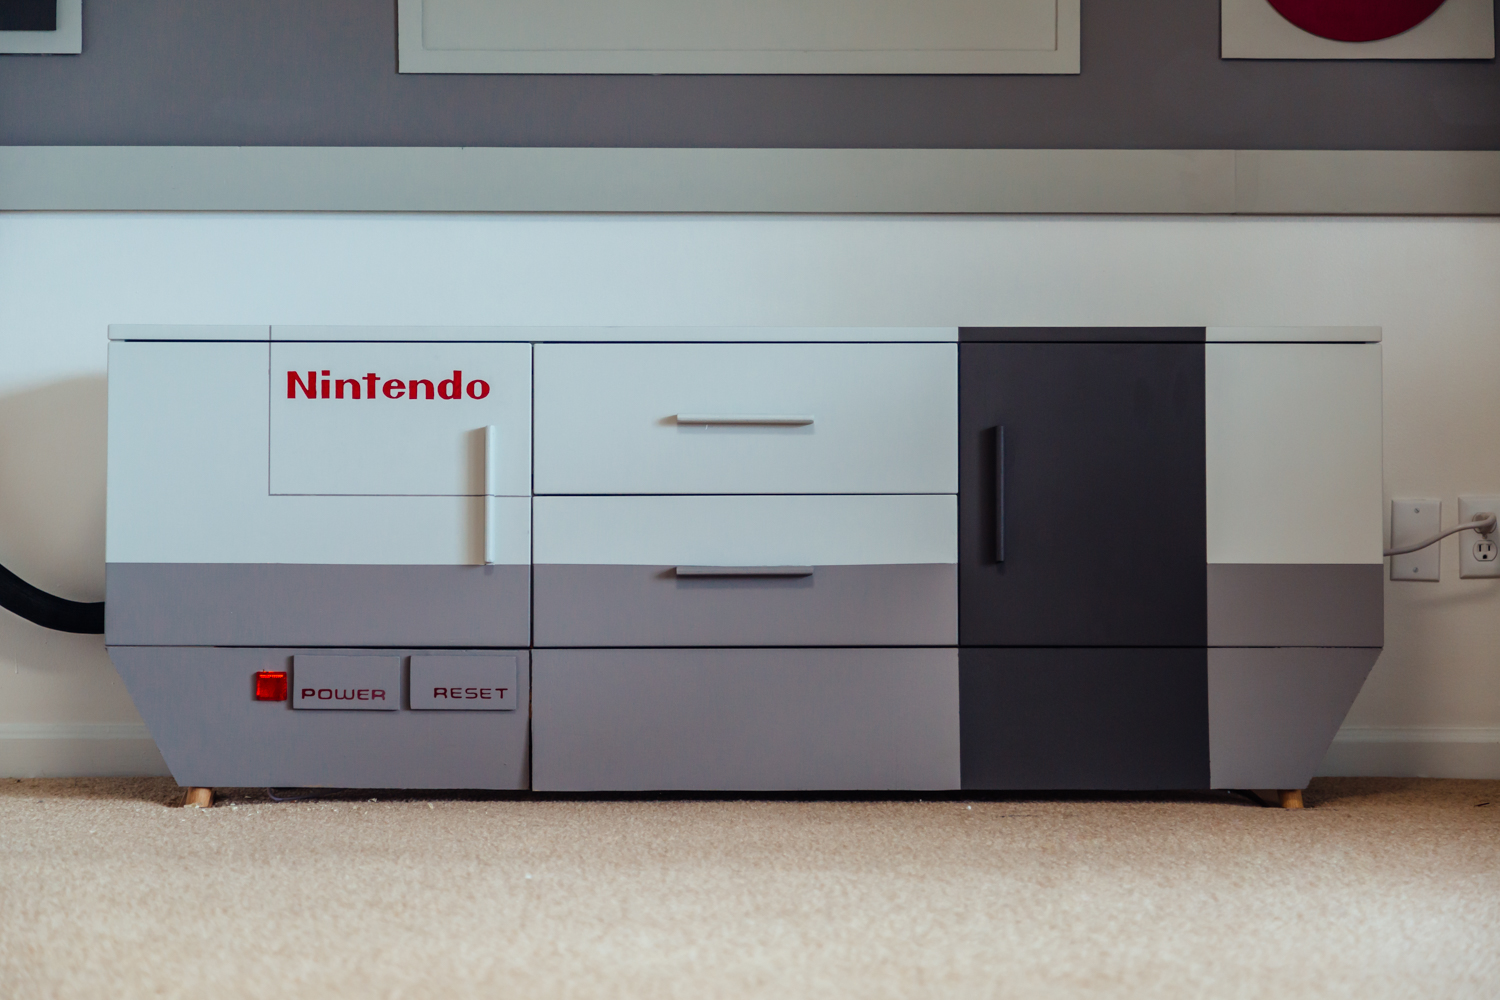
Then, he cut out a small square, mounted an LED nightlight behind the faux front, and epoxied an automotive reflector piece on the front.
The light and reflector came out just like the power light on an old Nintendo!
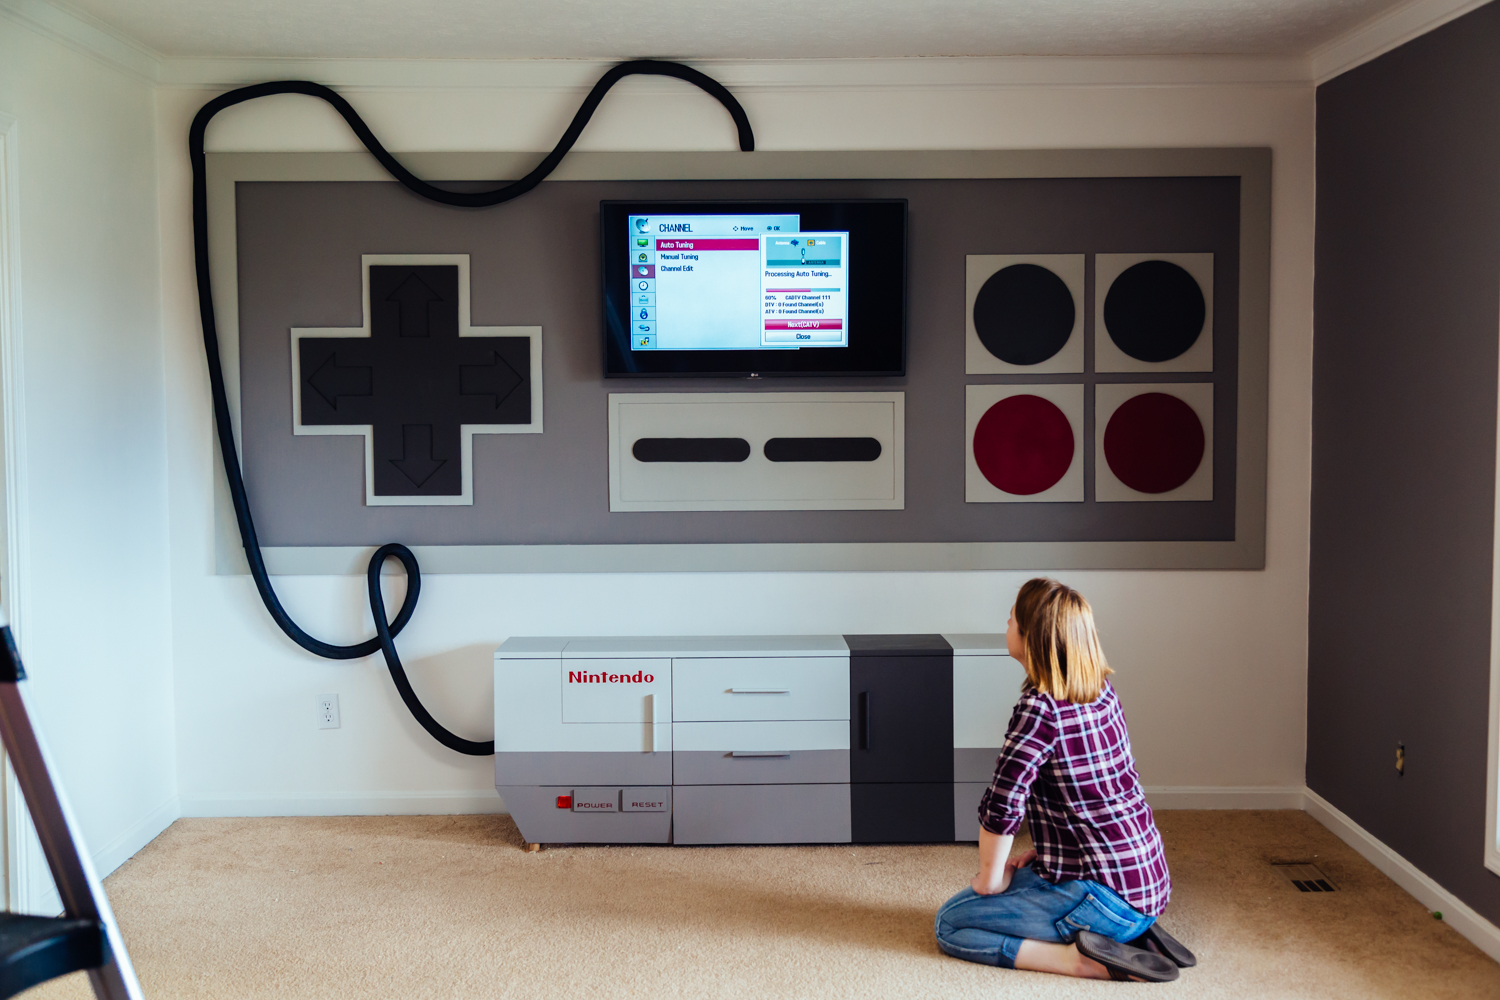
The finished product is an awesome way for any '80s child to unwind after a long day!
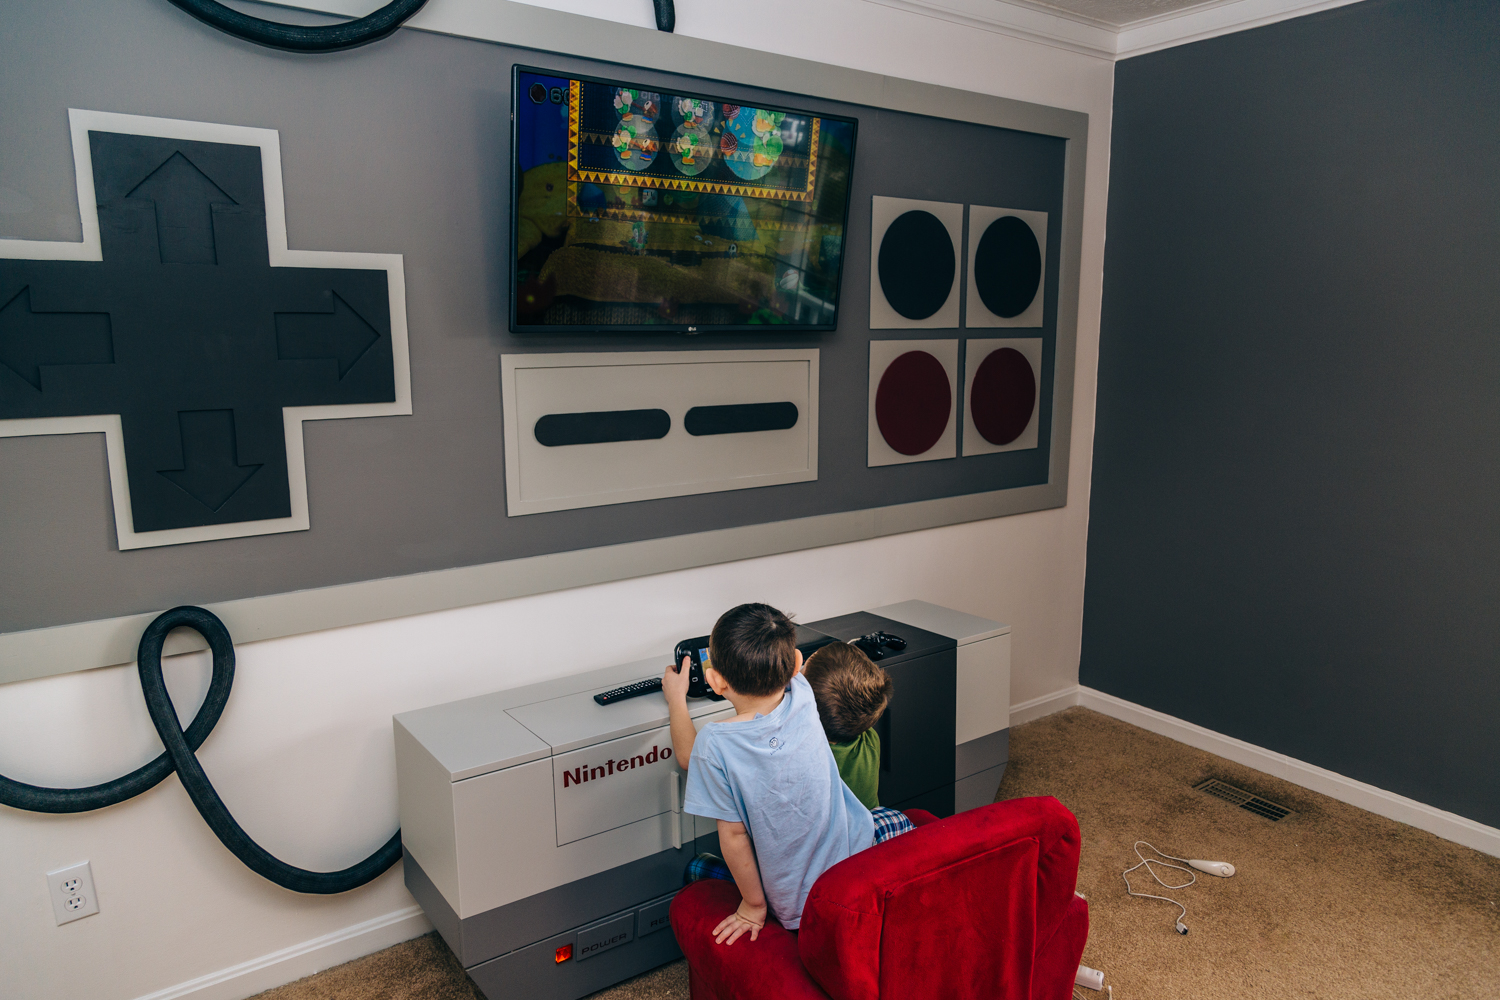
Tyler says his two boys absolutely love playing video games on it as well.
His brilliant game room transformation truly harkens back to a period when life — and video games — were quite a bit simpler.
What do you think of Tyler's DIY undertaking? Tell us in the comments.
Please SHARE this amazing project with those who remember the '80s fondly!


