Forget about unicorns, mermaids, and calorie-free barbecue bacon sushi sprinkled in fried onions (which we taught you how to make, though ours is doused in calories — sorry!). True magic is being able to see an item we typically toss off as garbage and turning it into something gorgeous.
In my humble opinion, someone who can look at something as everyday as Mason jars and scrap pieces of wood and think, "Hey, combining these two things together could make a really cool Mason jar chandelier" is just as much of a magician as Houdini.
But how do these people do it? How does say, someone like Instructables user ixxerjoe04, look at a wooden pallet and get a brilliant idea to crank out something creative? I’m not sure, but it’s pretty inspiring, and the end result is so charming (and handy!), I would love to have one in my own home.
And to think, it all started with a cheap piece of skiff used to support goods on a forklift…
Don't forget to watch the how-to video at the bottom, and please SHARE if you'd love to inspire someone to make one of these!
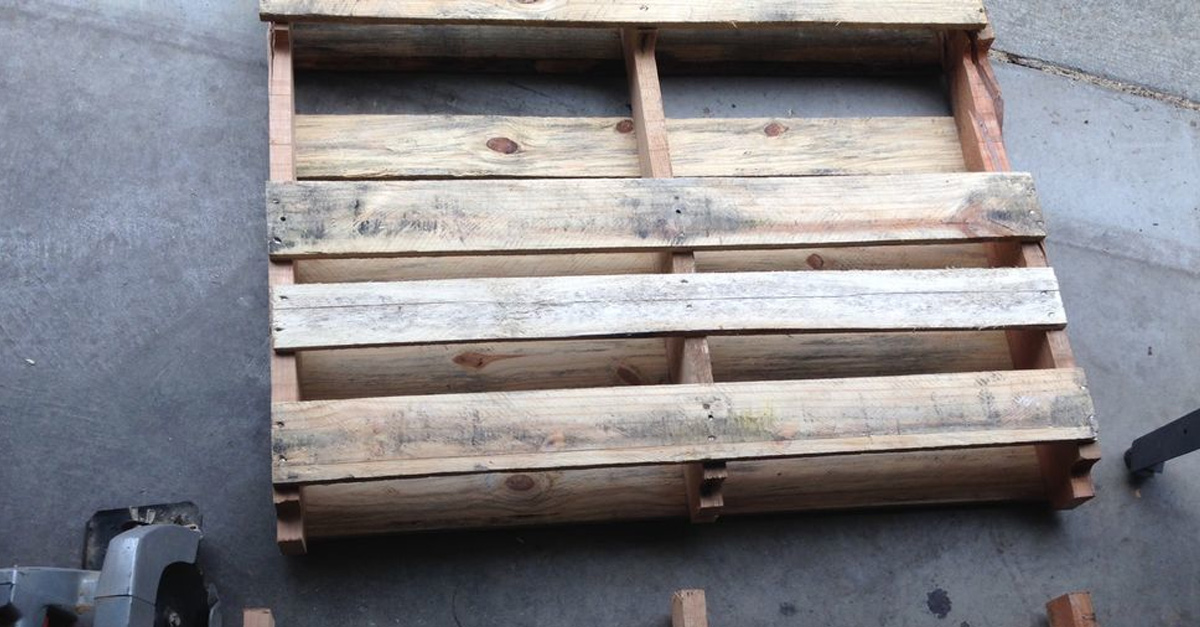
First and foremost, you need to cut the pallet with a circular or hand saw right where a forklift fork would go into the pallet. Basically, you want to have about 16–17 inches in height in your cut piece.
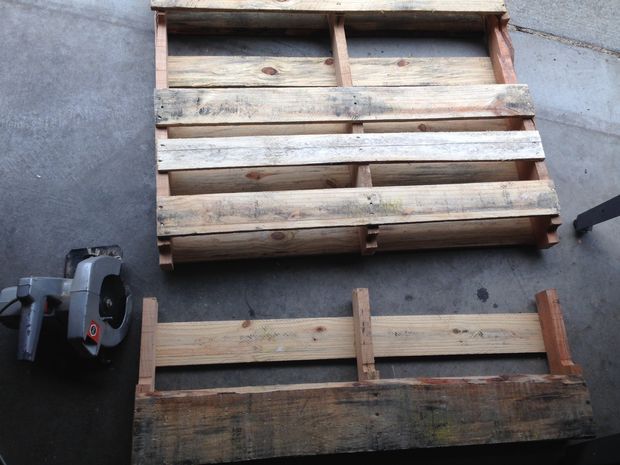
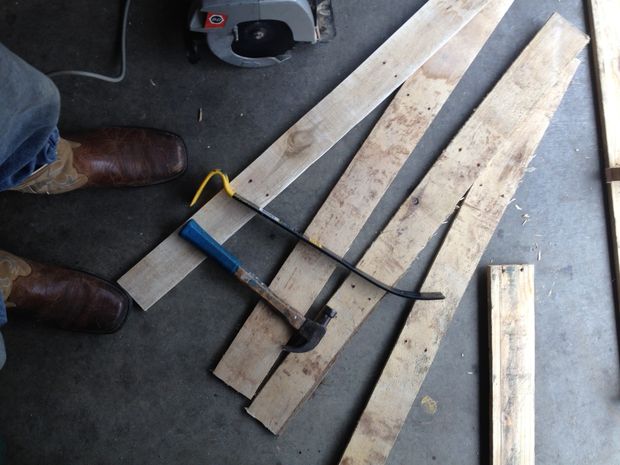
Next you need to pull a few deck boards from the bottom of the pallet. This can be a little tricky, because the ends have a tendency to crack and break, but if you use a hammer to pound the wood in and then pry the boards off, you’ll eventually get the hang of it with a little practice.
Three separate small pieces need to be cut from the leftover wood. They need to be the length of the board and one inch in width.
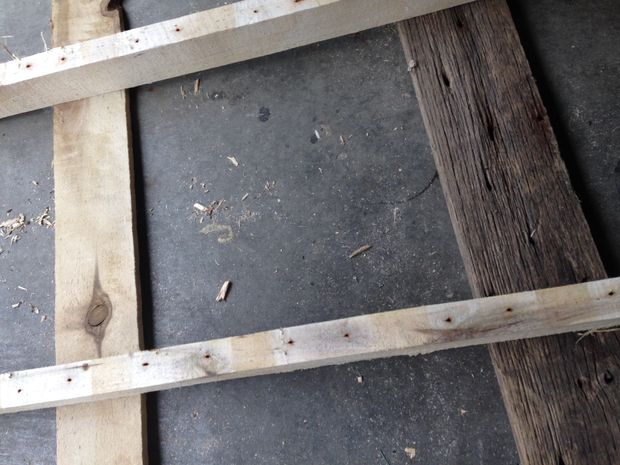
Pallets are rough, so you need to sand it down. It will prevent splinters and make the end result look spiffy! Try 120-grit and 220-grit to finish.
Time mark where some holes need to be drilled into on of the deck boards. Ideally, it should be 4.5 inches in from the edge and about 4 inches apart. You should have about eight holes total, four on each side of the middle runner.
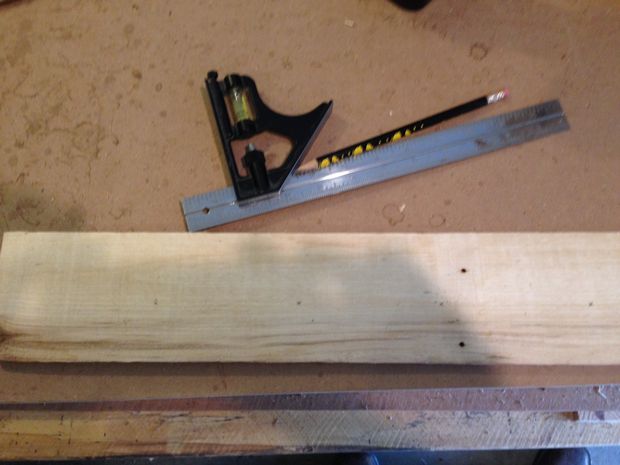
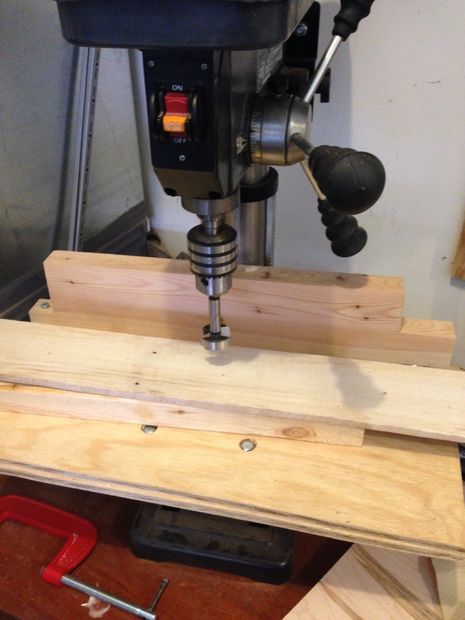
Drill out the marked holes with a press or hand drill. Make them about 1-3/8 inches wide.
Center an inch-wide piece of wood on the holes and then outline the wood with a pencil.
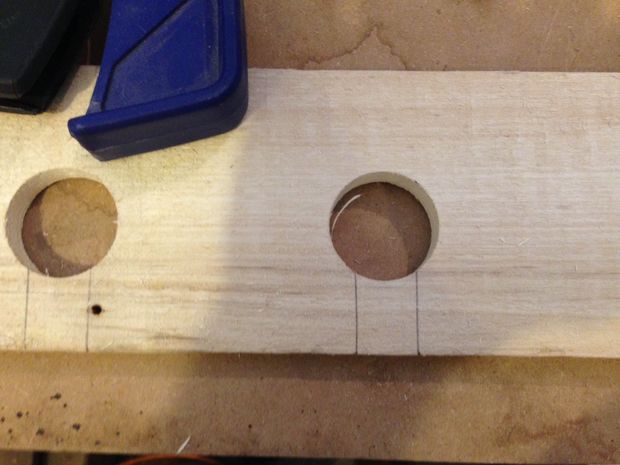
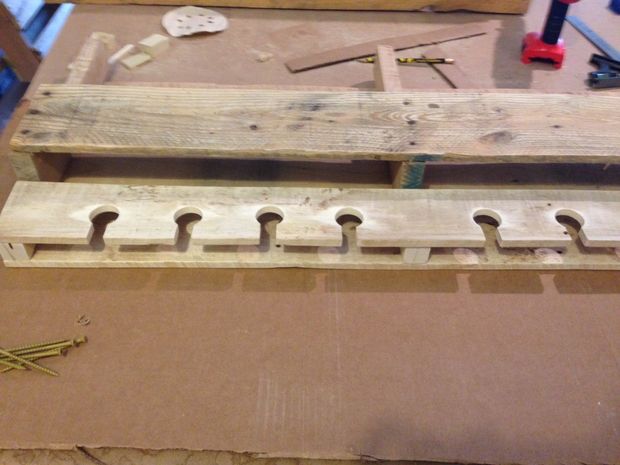
Cut the marked gaps, line up an uncut board under the cut board, and clamp them. “Pre-drill the holes and counter sink them,” says ixxerjoe04. “I use 3-inch screws to put it all together but you can use smaller screws and put it together in sections if you'd like.”
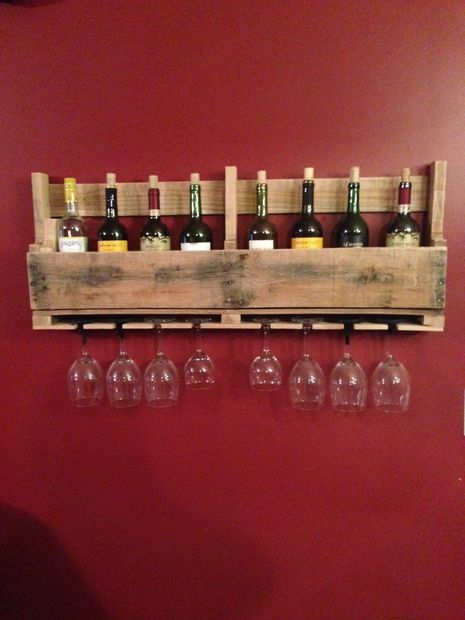
Nail the two boards you were just working on to the bottom of the 16–17 inch section of the crate you originally cut off. Now it’s time to hang this sucker. But what is it?
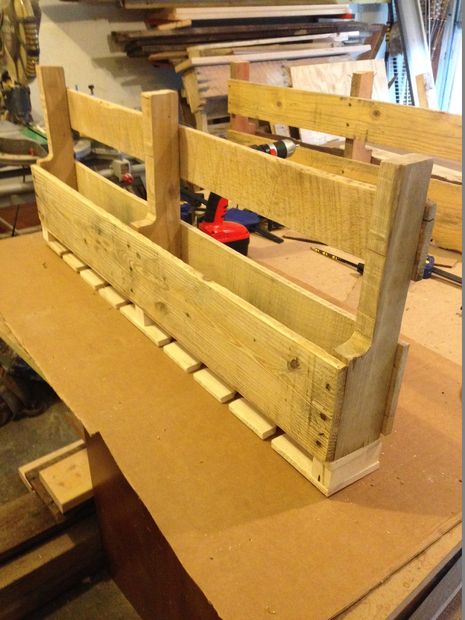
A wine rack that defines the term shabby chic!
Please SHARE this with everyone you know and inspire others and inspire others to think outside the box!


