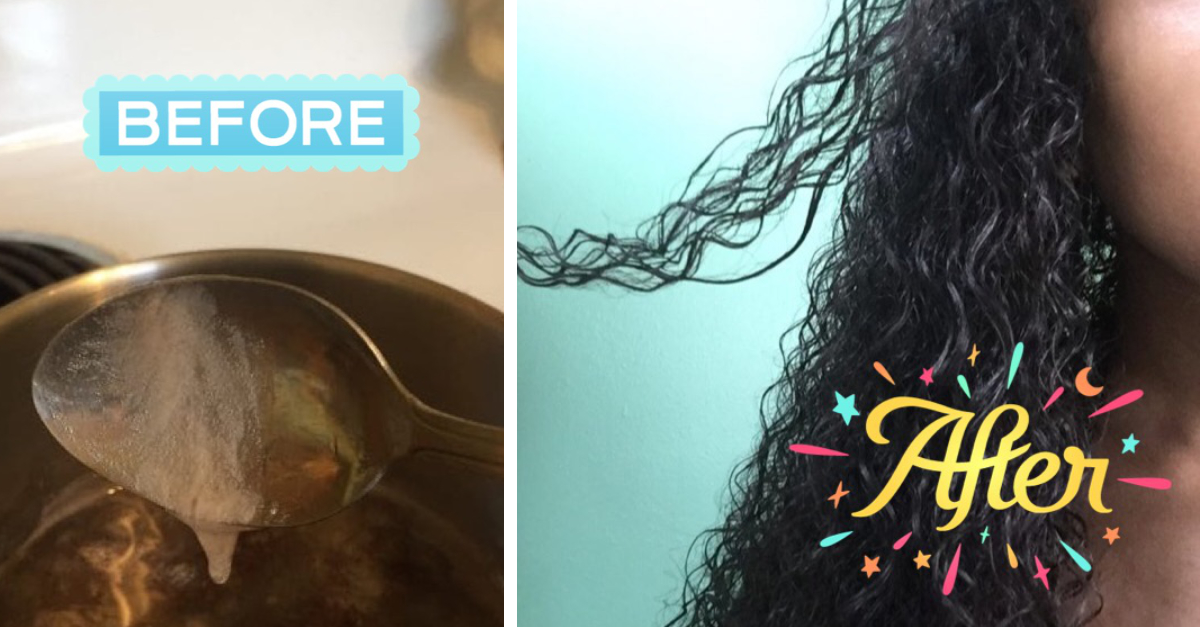
Hair gel is a must-have in my beauty routine, as it’s one of the few things that will tame my thick, dense, curly hair. The problem is, though, it’s difficult to find a product that’s not just effective but also wallet- and Earth-friendly.
This hair gel, though. Oh man.
I discovered the tutorial for this DIY hair gel on YouTube, the source for many natural hair tips and tricks, about two months ago. Whitney White, the woman behind the recipe, is a veritable natural-hair guru, and she’s been making this specific hair gel for eight years. Eight years.
There are a ton of things to love about this hair gel, the main being that — unlike store-bought hair gels — it’s made of whole, natural ingredients. That means it’s good for your hair and easy to make. The only downside to it is that it’s perishable, so it has to be kept in a fridge. The end results are totally worth it, though: When Whitney uses this hair gel, her hair looks amazing — super defined and healthy.
I recently decided to try making the hair gel for myself under the assumption that if it's good enough for Whitney to use exclusively, then it has to be worth the effort. I was a little nervous going into it, as I don't know whether I — a lazy cook and not a crafty person — could re-create Whitney's technique.
I’ll be honest with you: In the middle of my first attempt at DIY-ing this hair gel, it exploded and flung goo all over my kitchen counter and floor. It was a mess. The second time around, I managed to keep it from exploding, but it took forever. The third time, I (finally) got it just right.
Allow me to save you such troubles and show you how to make this easy, cheap hair gel right the first time.
Before making this hair gel, I needed to shop for ingredients. List in hand, I went to the grocery store to buy whole flaxseed, and… wait, that’s it?
That’s it. All you need to make this hair gel is flaxseed.
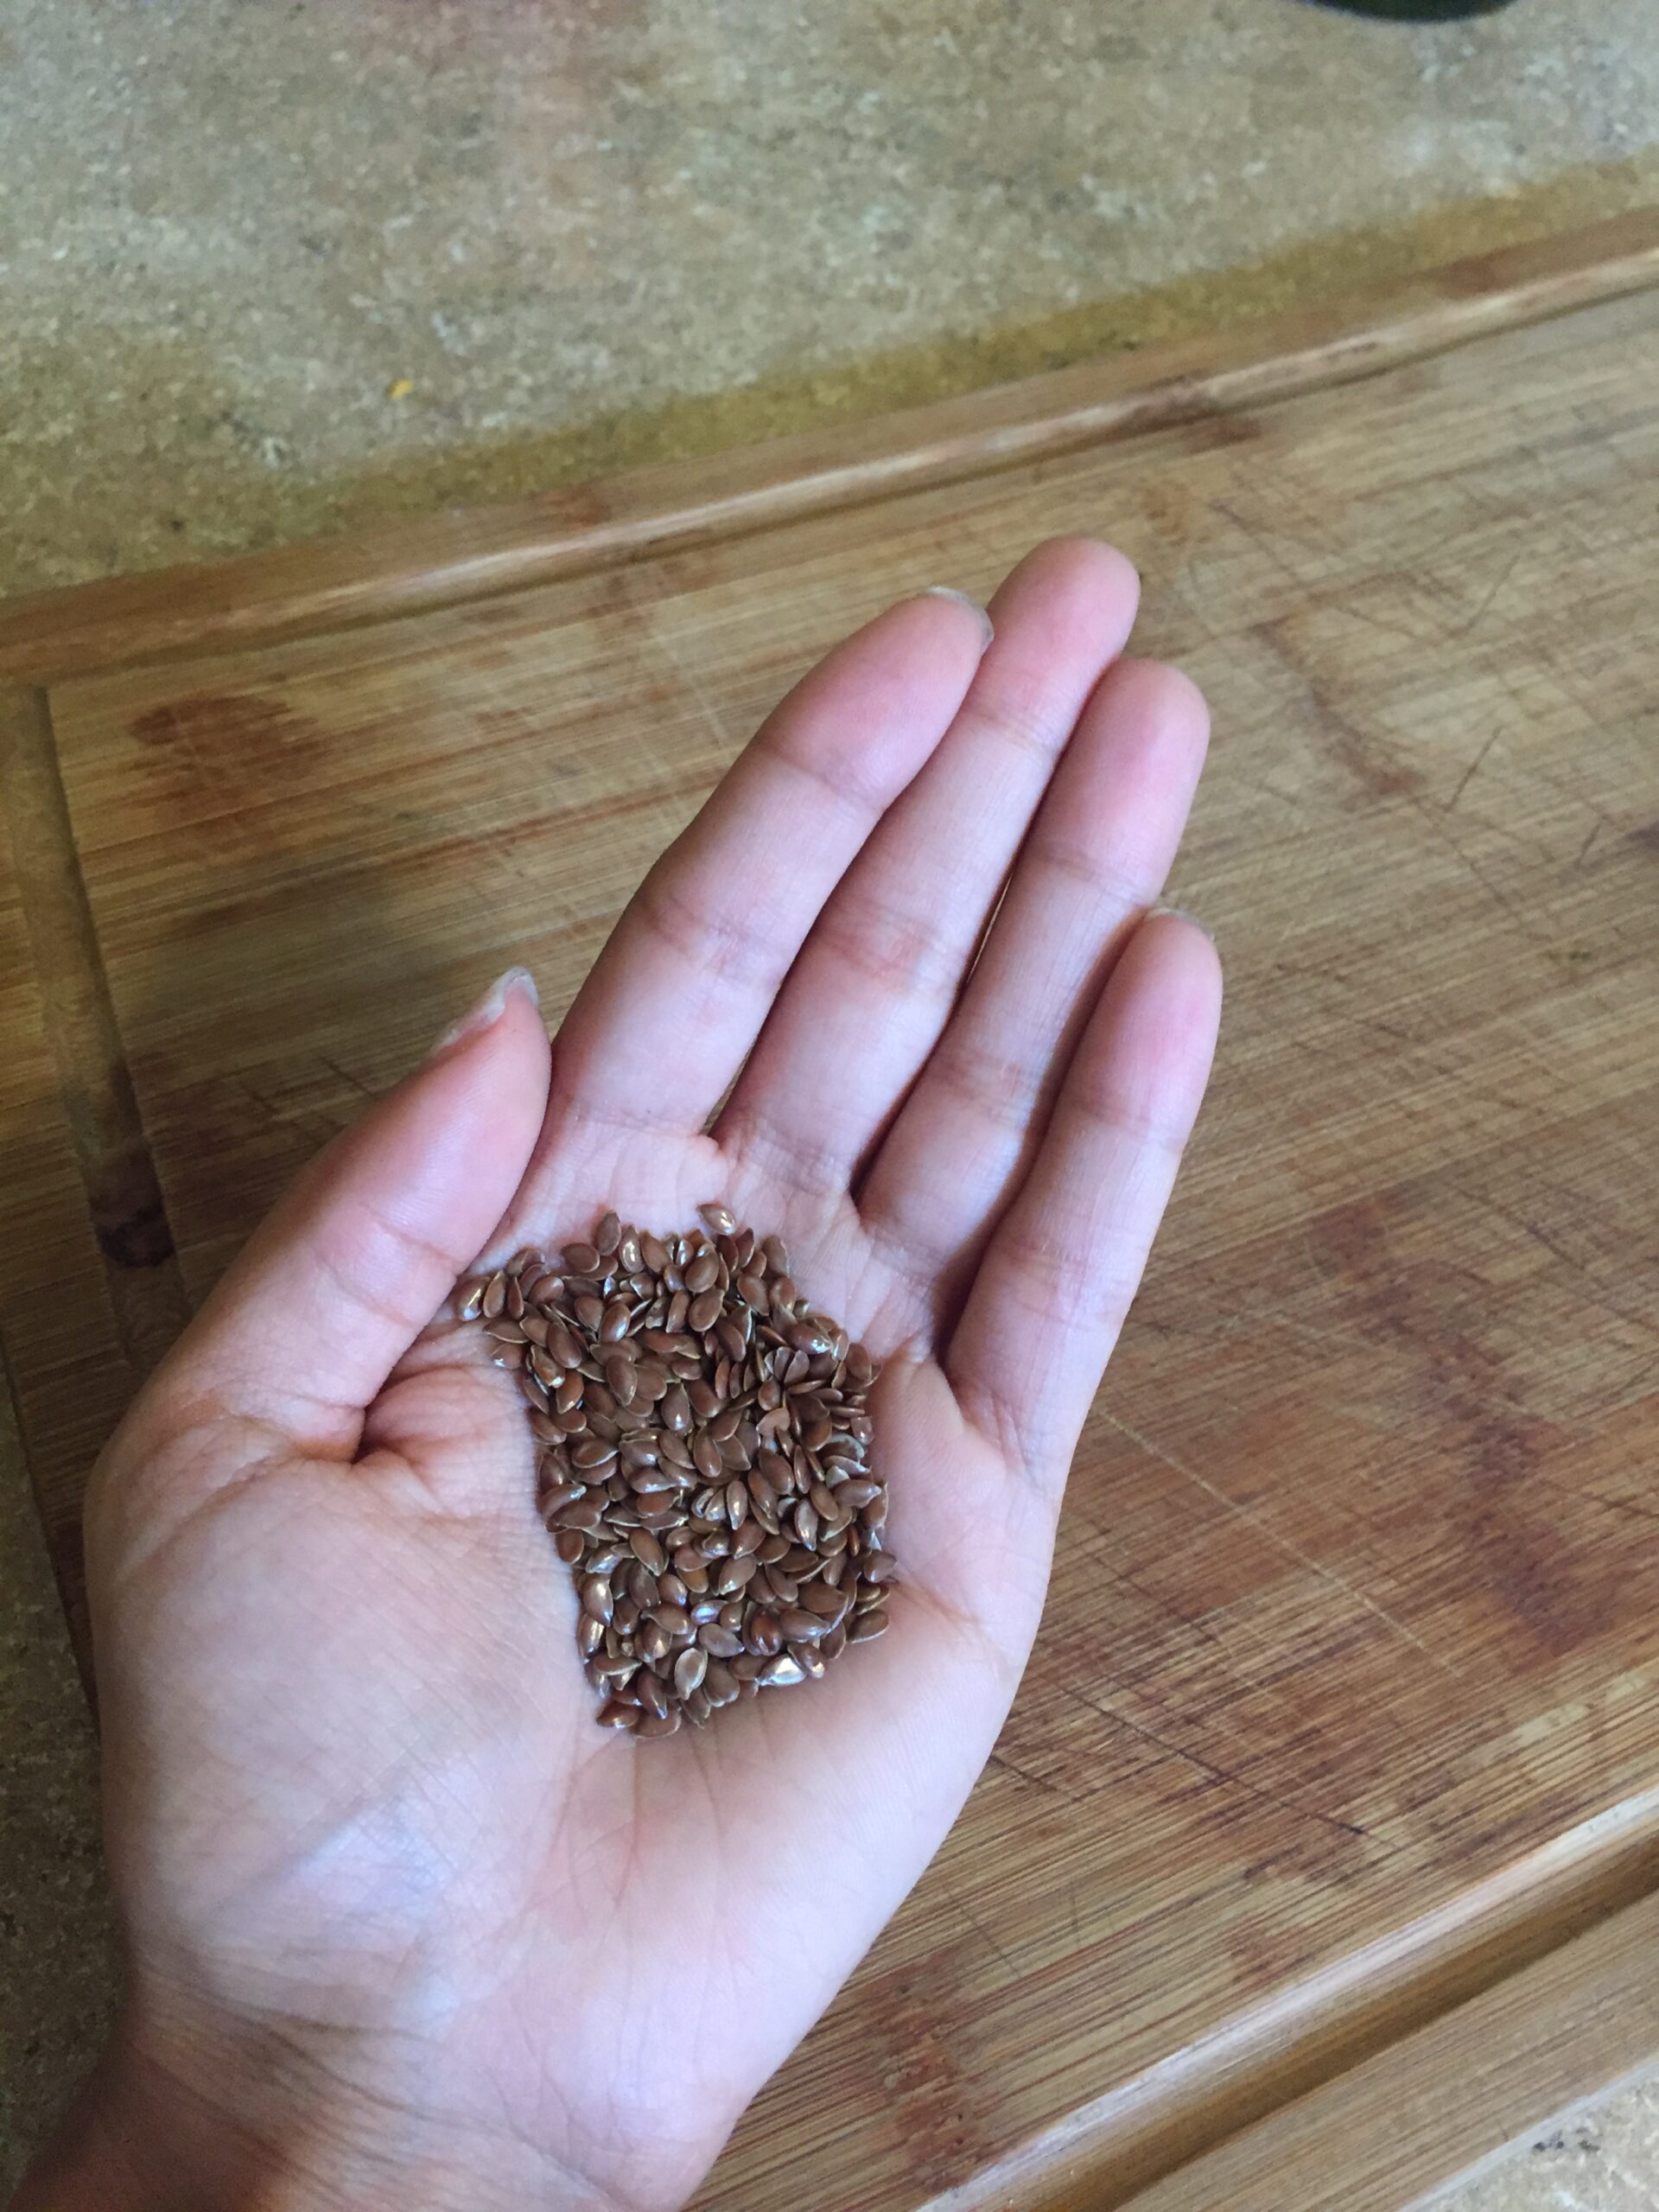
Flaxseed makes a great hair gel for a couple of reasons. When boiled, it produces a thick, moisturizing gel that defines and hydrates hair. Flaxseed is also anti-inflammatory and full of nutrients, including omega-3 fatty acids. It’s as great for your hair and skin as it is for your body, and it’s suitable for all hair types.
Here’s the thing, though: You have to get the right type of flaxseed for this hair gel hack to work. You need whole flaxseed, not the ground version. Ground flaxseed, or flaxseed meal, is useless for our purposes.
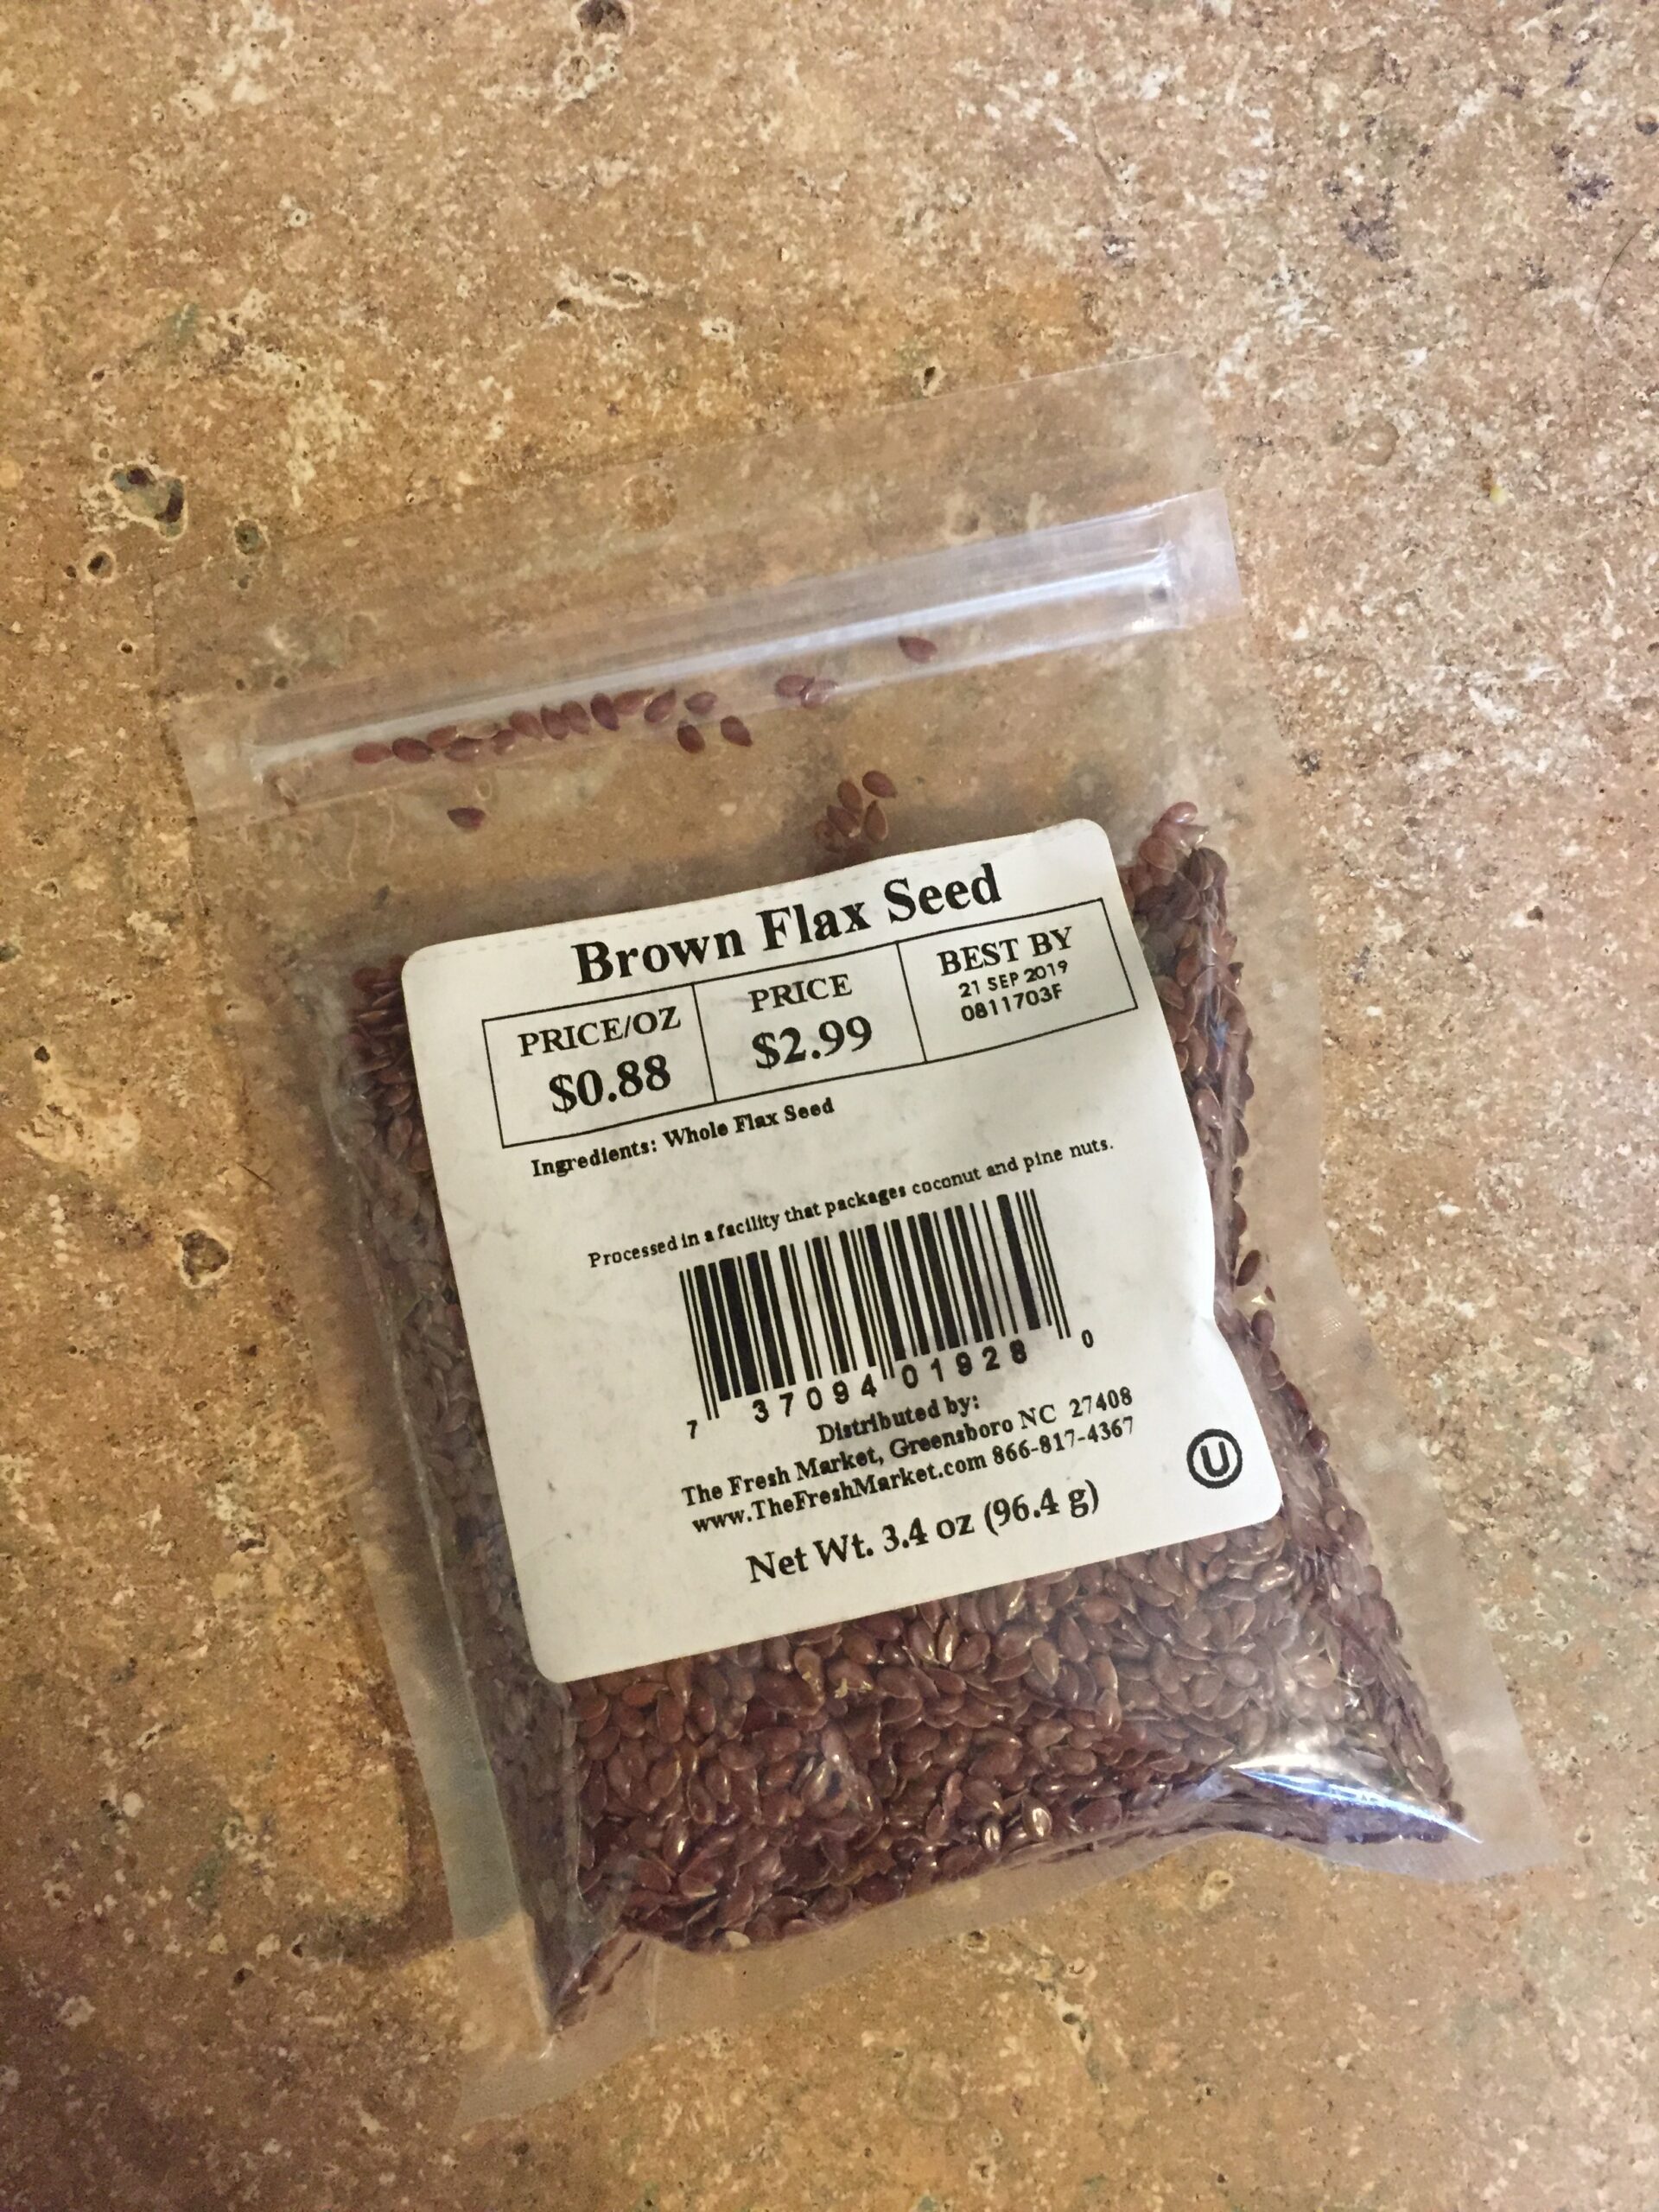
You can find whole flaxseeds at the grocery store in the bulk section, health/supplement aisle, or spice section. (FYI: When I asked a clerk at my local grocery store to point me in the right direction, he had no idea what I was talking about and led me to the ground flaxseed meal. Nevertheless, I stubbornly persisted until I found these little packets of whole flaxseed.)
Each packet cost me $2.99. I used about one-third of the packet to make a batch of the hair gel, bringing my total so far to $1.
(If you’d like, you can even rinse and re-use your flaxseed over and over, making this hair gel even cheaper.)
You can also add aloe vera gel, jojoba oil, or other ingredients to your flaxseed hair gel, but as a lazy cook, I’m really committed to the whole one-ingredient thing.
The Supplies
Now that I had my flaxseeds, I needed to somehow get a gooey gel out of those babies. To do so, I gathered some supplies: a small pot, a “strainer” (more on that in a sec), measuring cups, and some sort of plastic container.
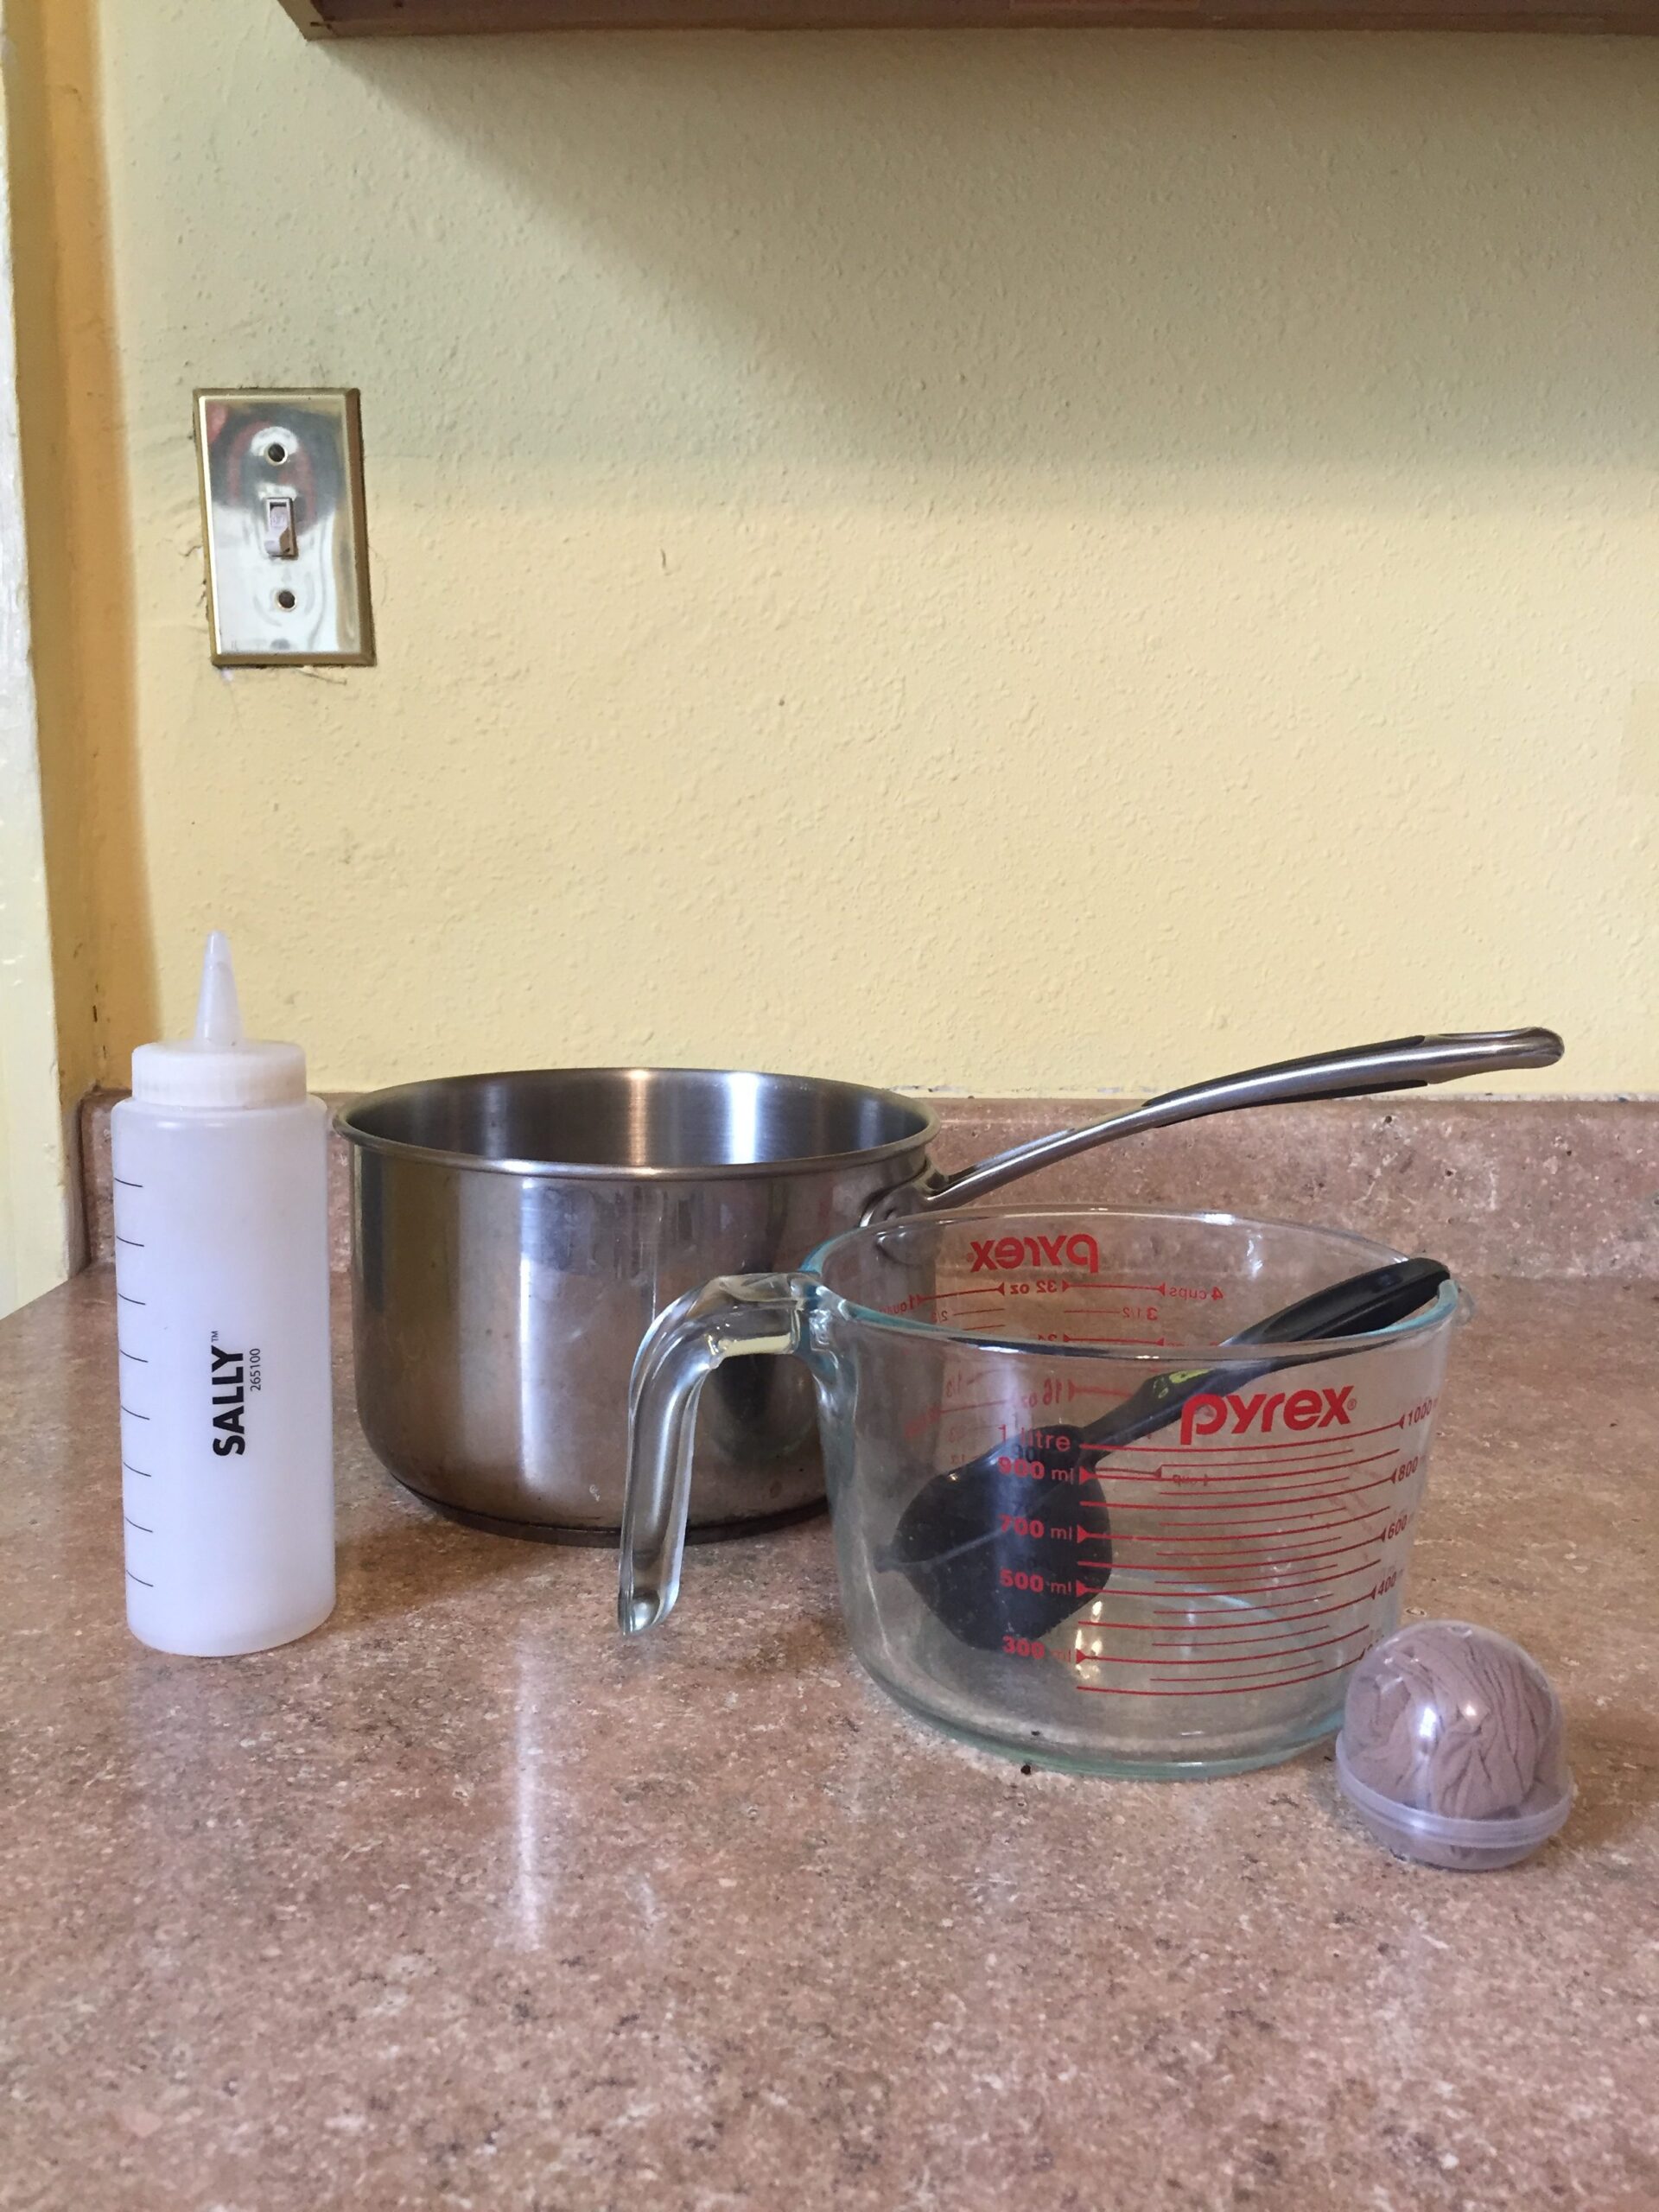
You can use either pantyhose or cheesecloth as a strainer for this DIY. This is where I went wrong on my first attempt, by the way: I had a “What are things?” moment at the grocery store (don’t laugh) and bought coffee filters instead of cheesecloth. Those didn’t work, so I ended up improvising with various materials around the house, trying to strain the flaxseed out of the gel I’d made. Long story short, gel exploded through the material and all over my counter and floor.
By my second attempt, I knew better. I went to Walgreens and bought a little ball of pantyhose for 50 cents. Since there are two pairs of pantyhose in each ball, and I needed only one pair to make a batch of the gel, I added a mere $0.25 to my total.
You’ll also need a container to store the gel. I used a plastic bottle from Sally Beauty Supply because I think it’s convenient to be able to squirt the gel out, but you could definitely just put the gel in a jar or plastic tub if that’s what you have on hand. If you do use a bottle, though, you’ll want to grab another (larger) container for when you strain the gel. I used a large Pyrex measuring cup for this.
OK, time to get started!
Step 1: Boil Flaxseed
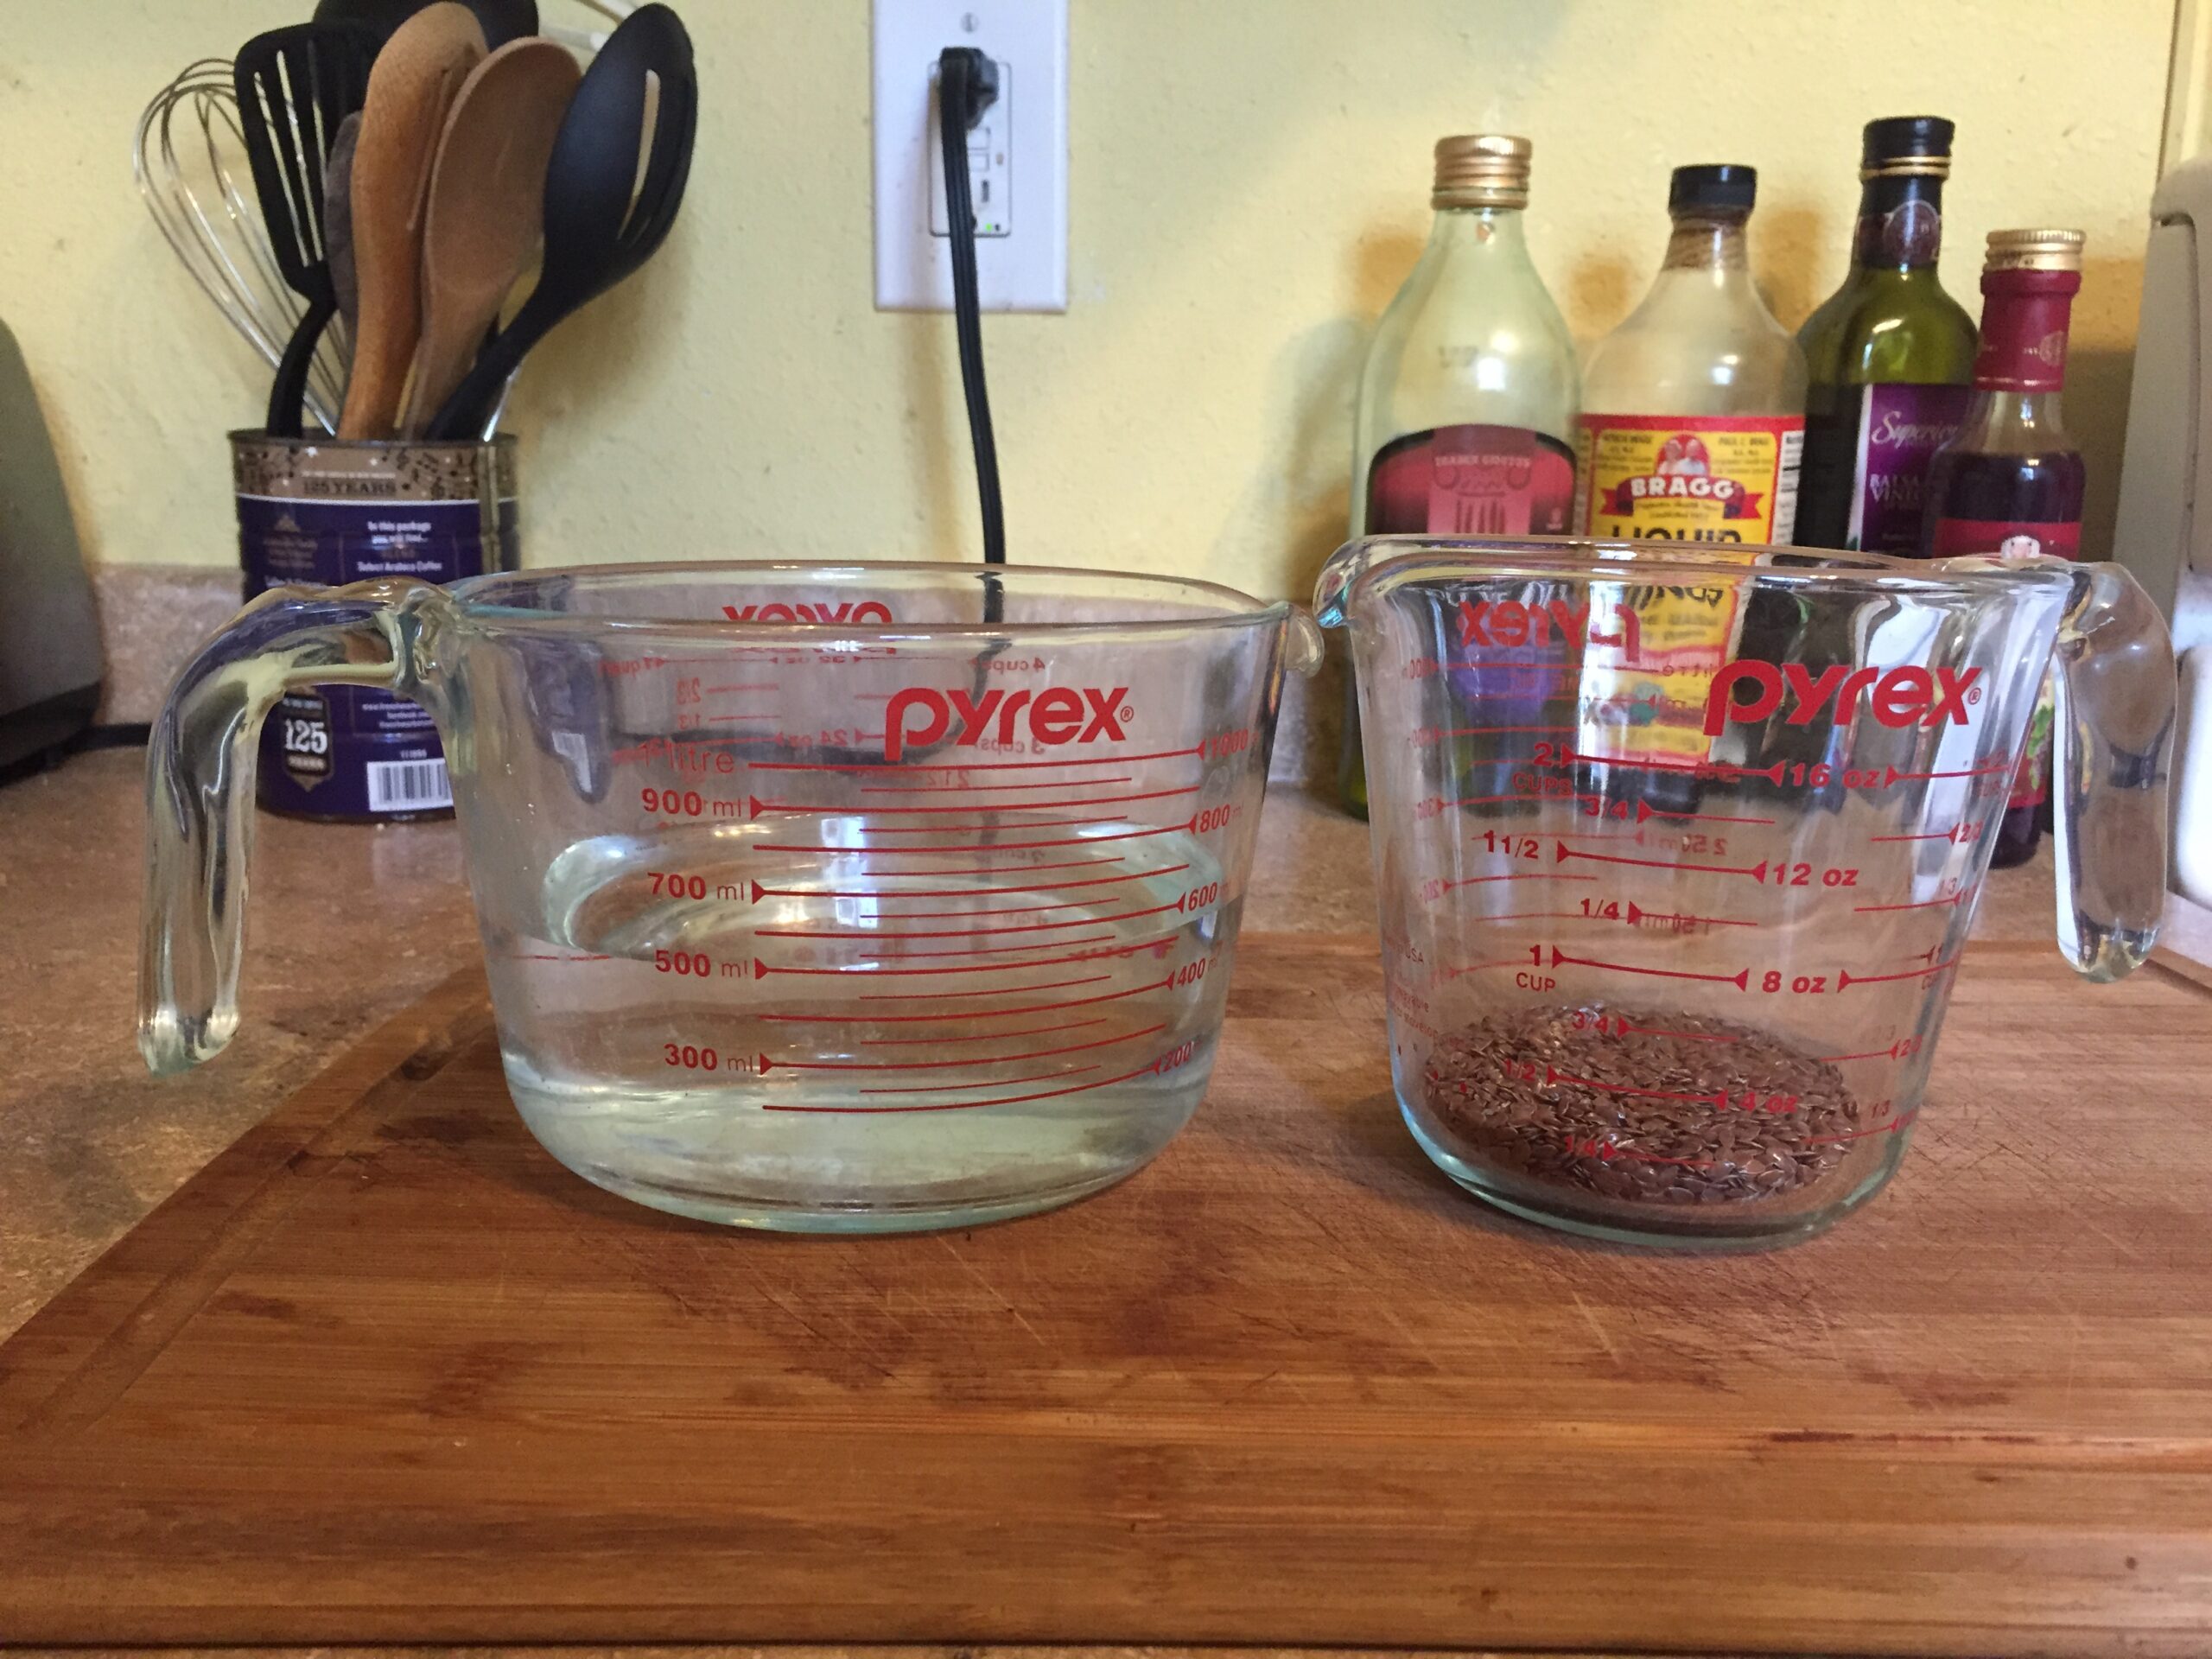
First, I measured about 1/4 cup flaxseed and 600 ml water and poured them into my pot. I then set said pot on the stove and turned the heat up to medium-high.
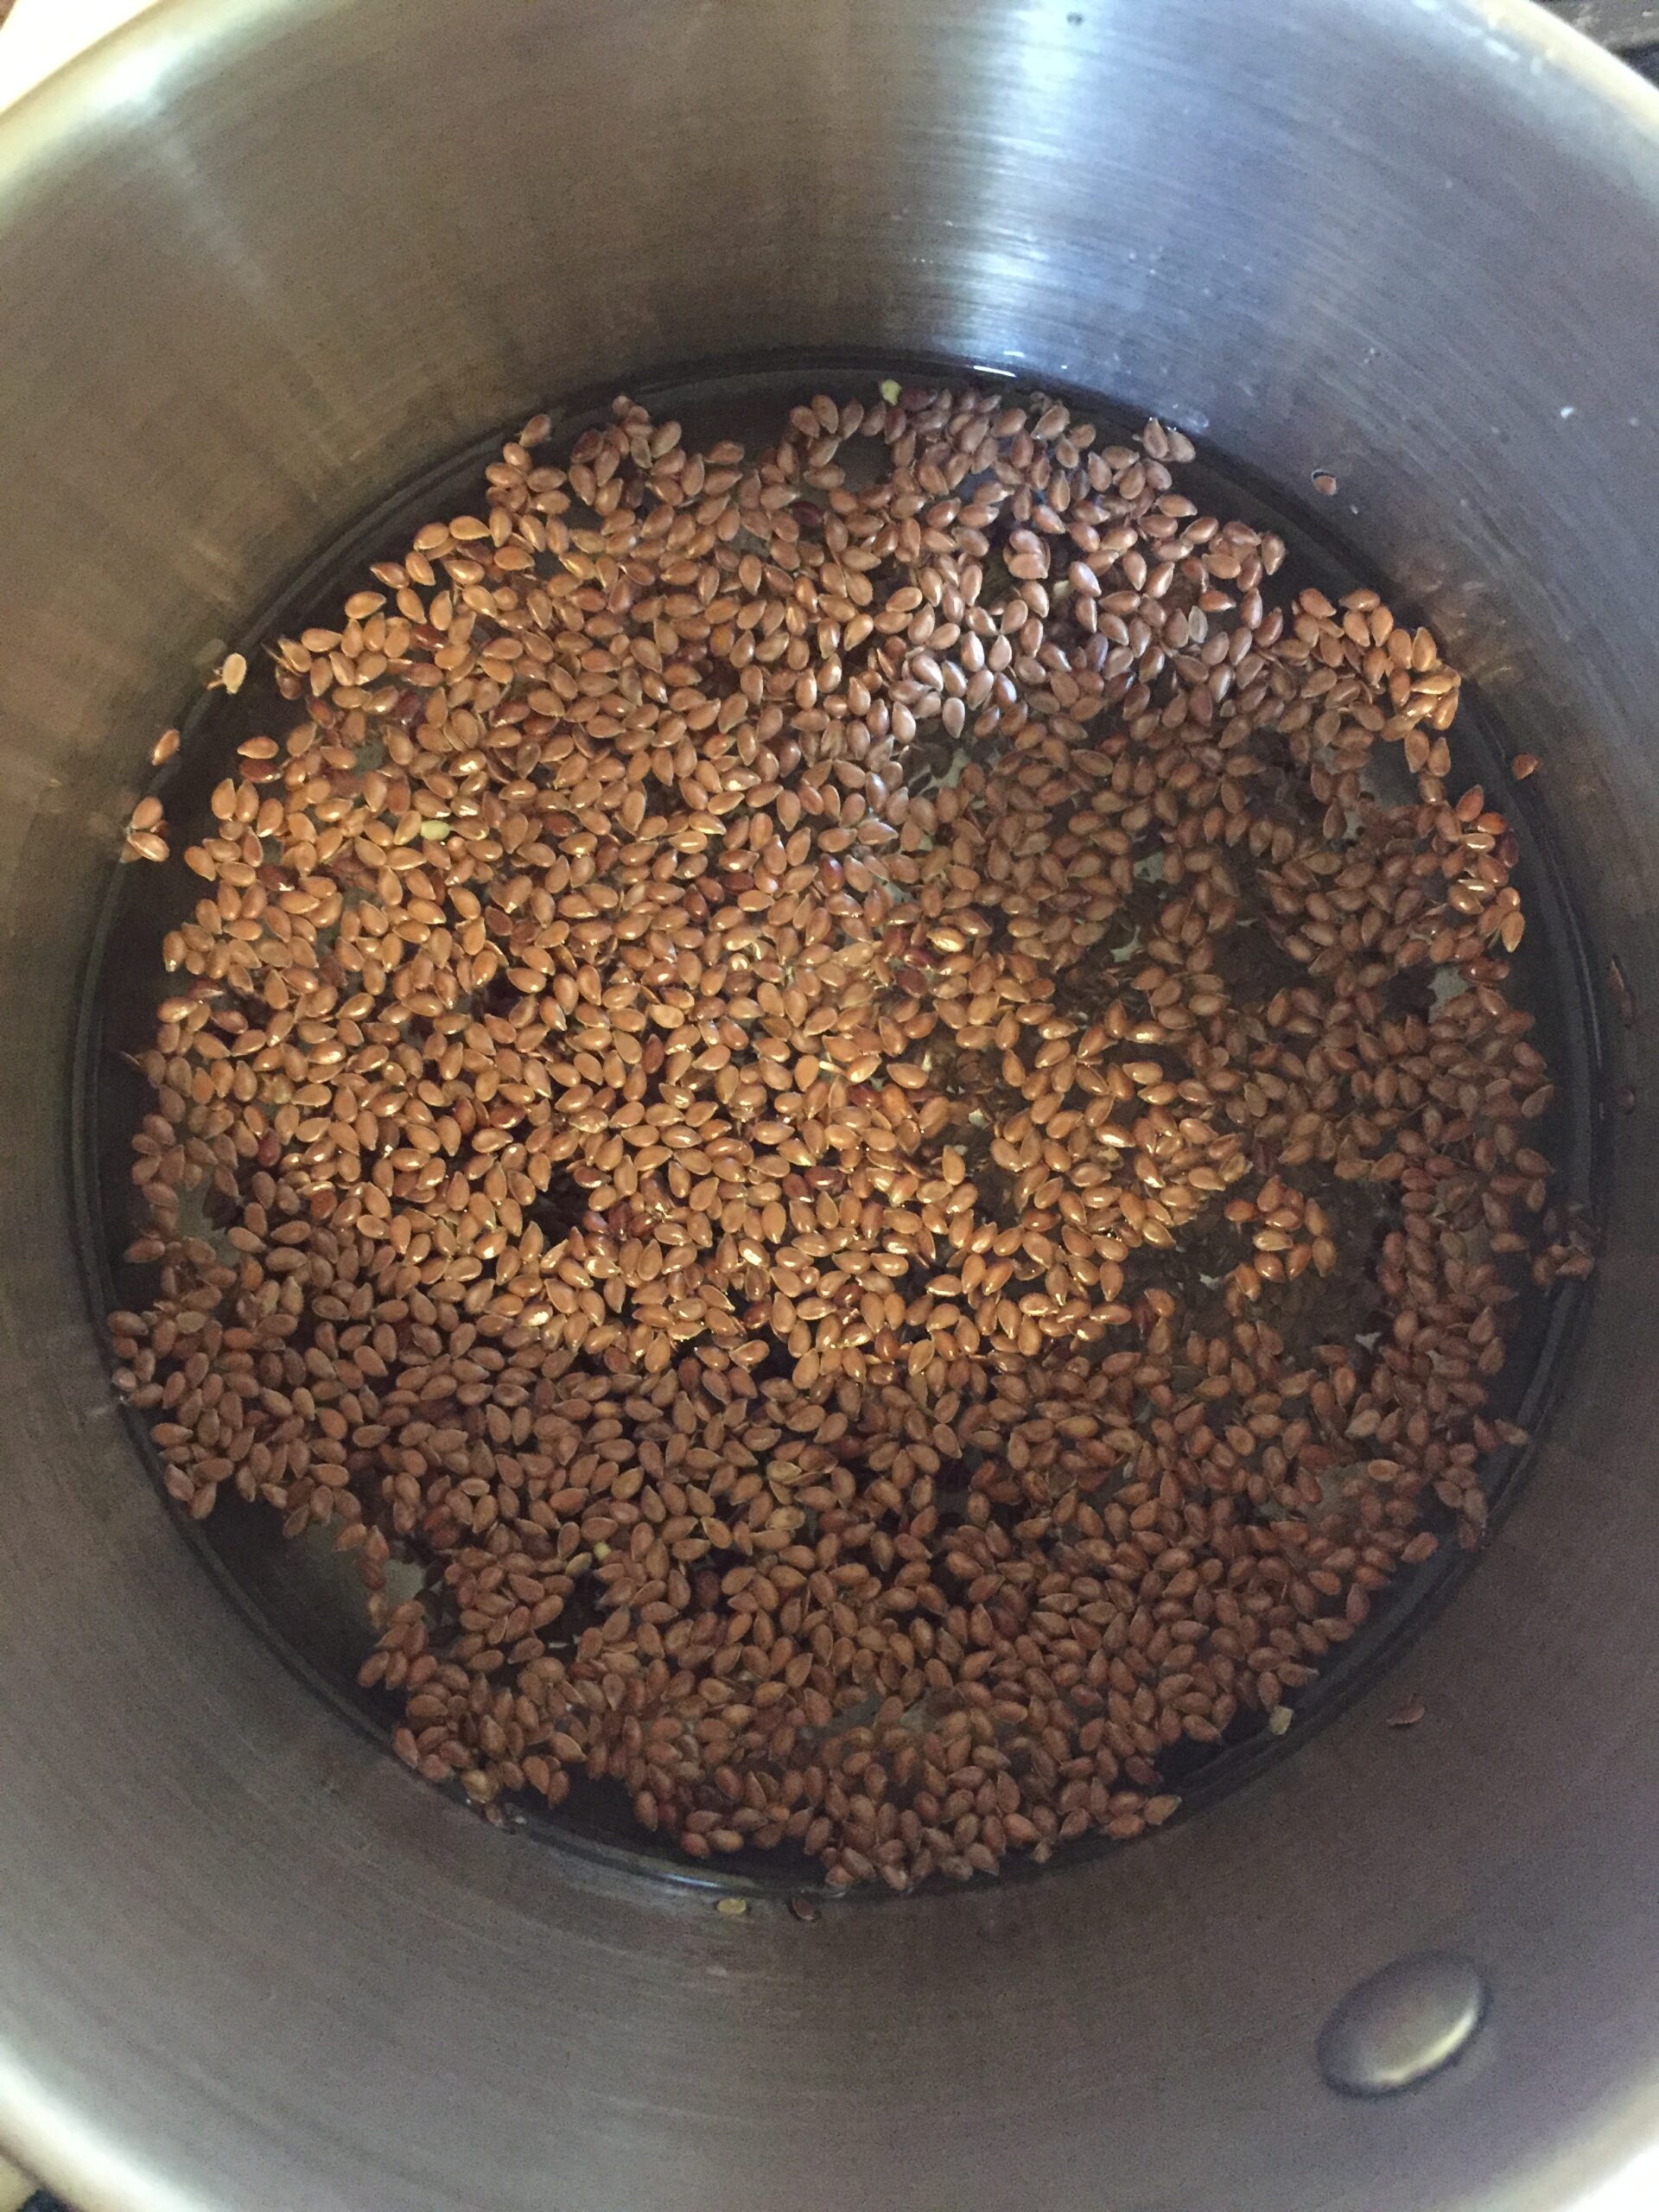
Then I hung out by the pot and stirred my flaxseed-water mixture occasionally to keep the seeds from sticking to the bottom.
After a million years — what's that saying about a watched pot? — the mixture began to boil.
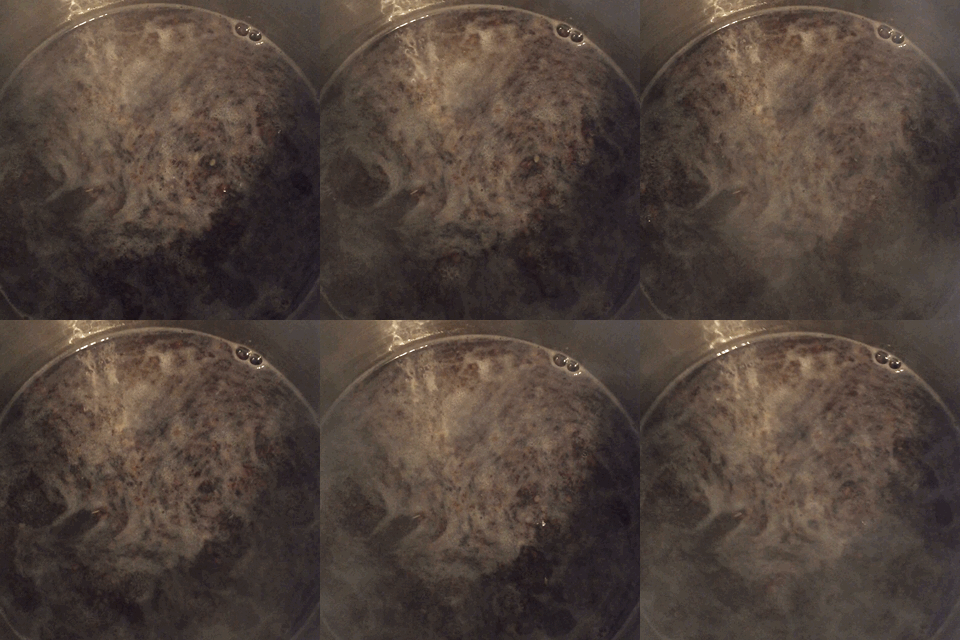
So far, so good! Now we move on to the next stage: waiting some more.
Step 2: Wait for the Trail of Mucus
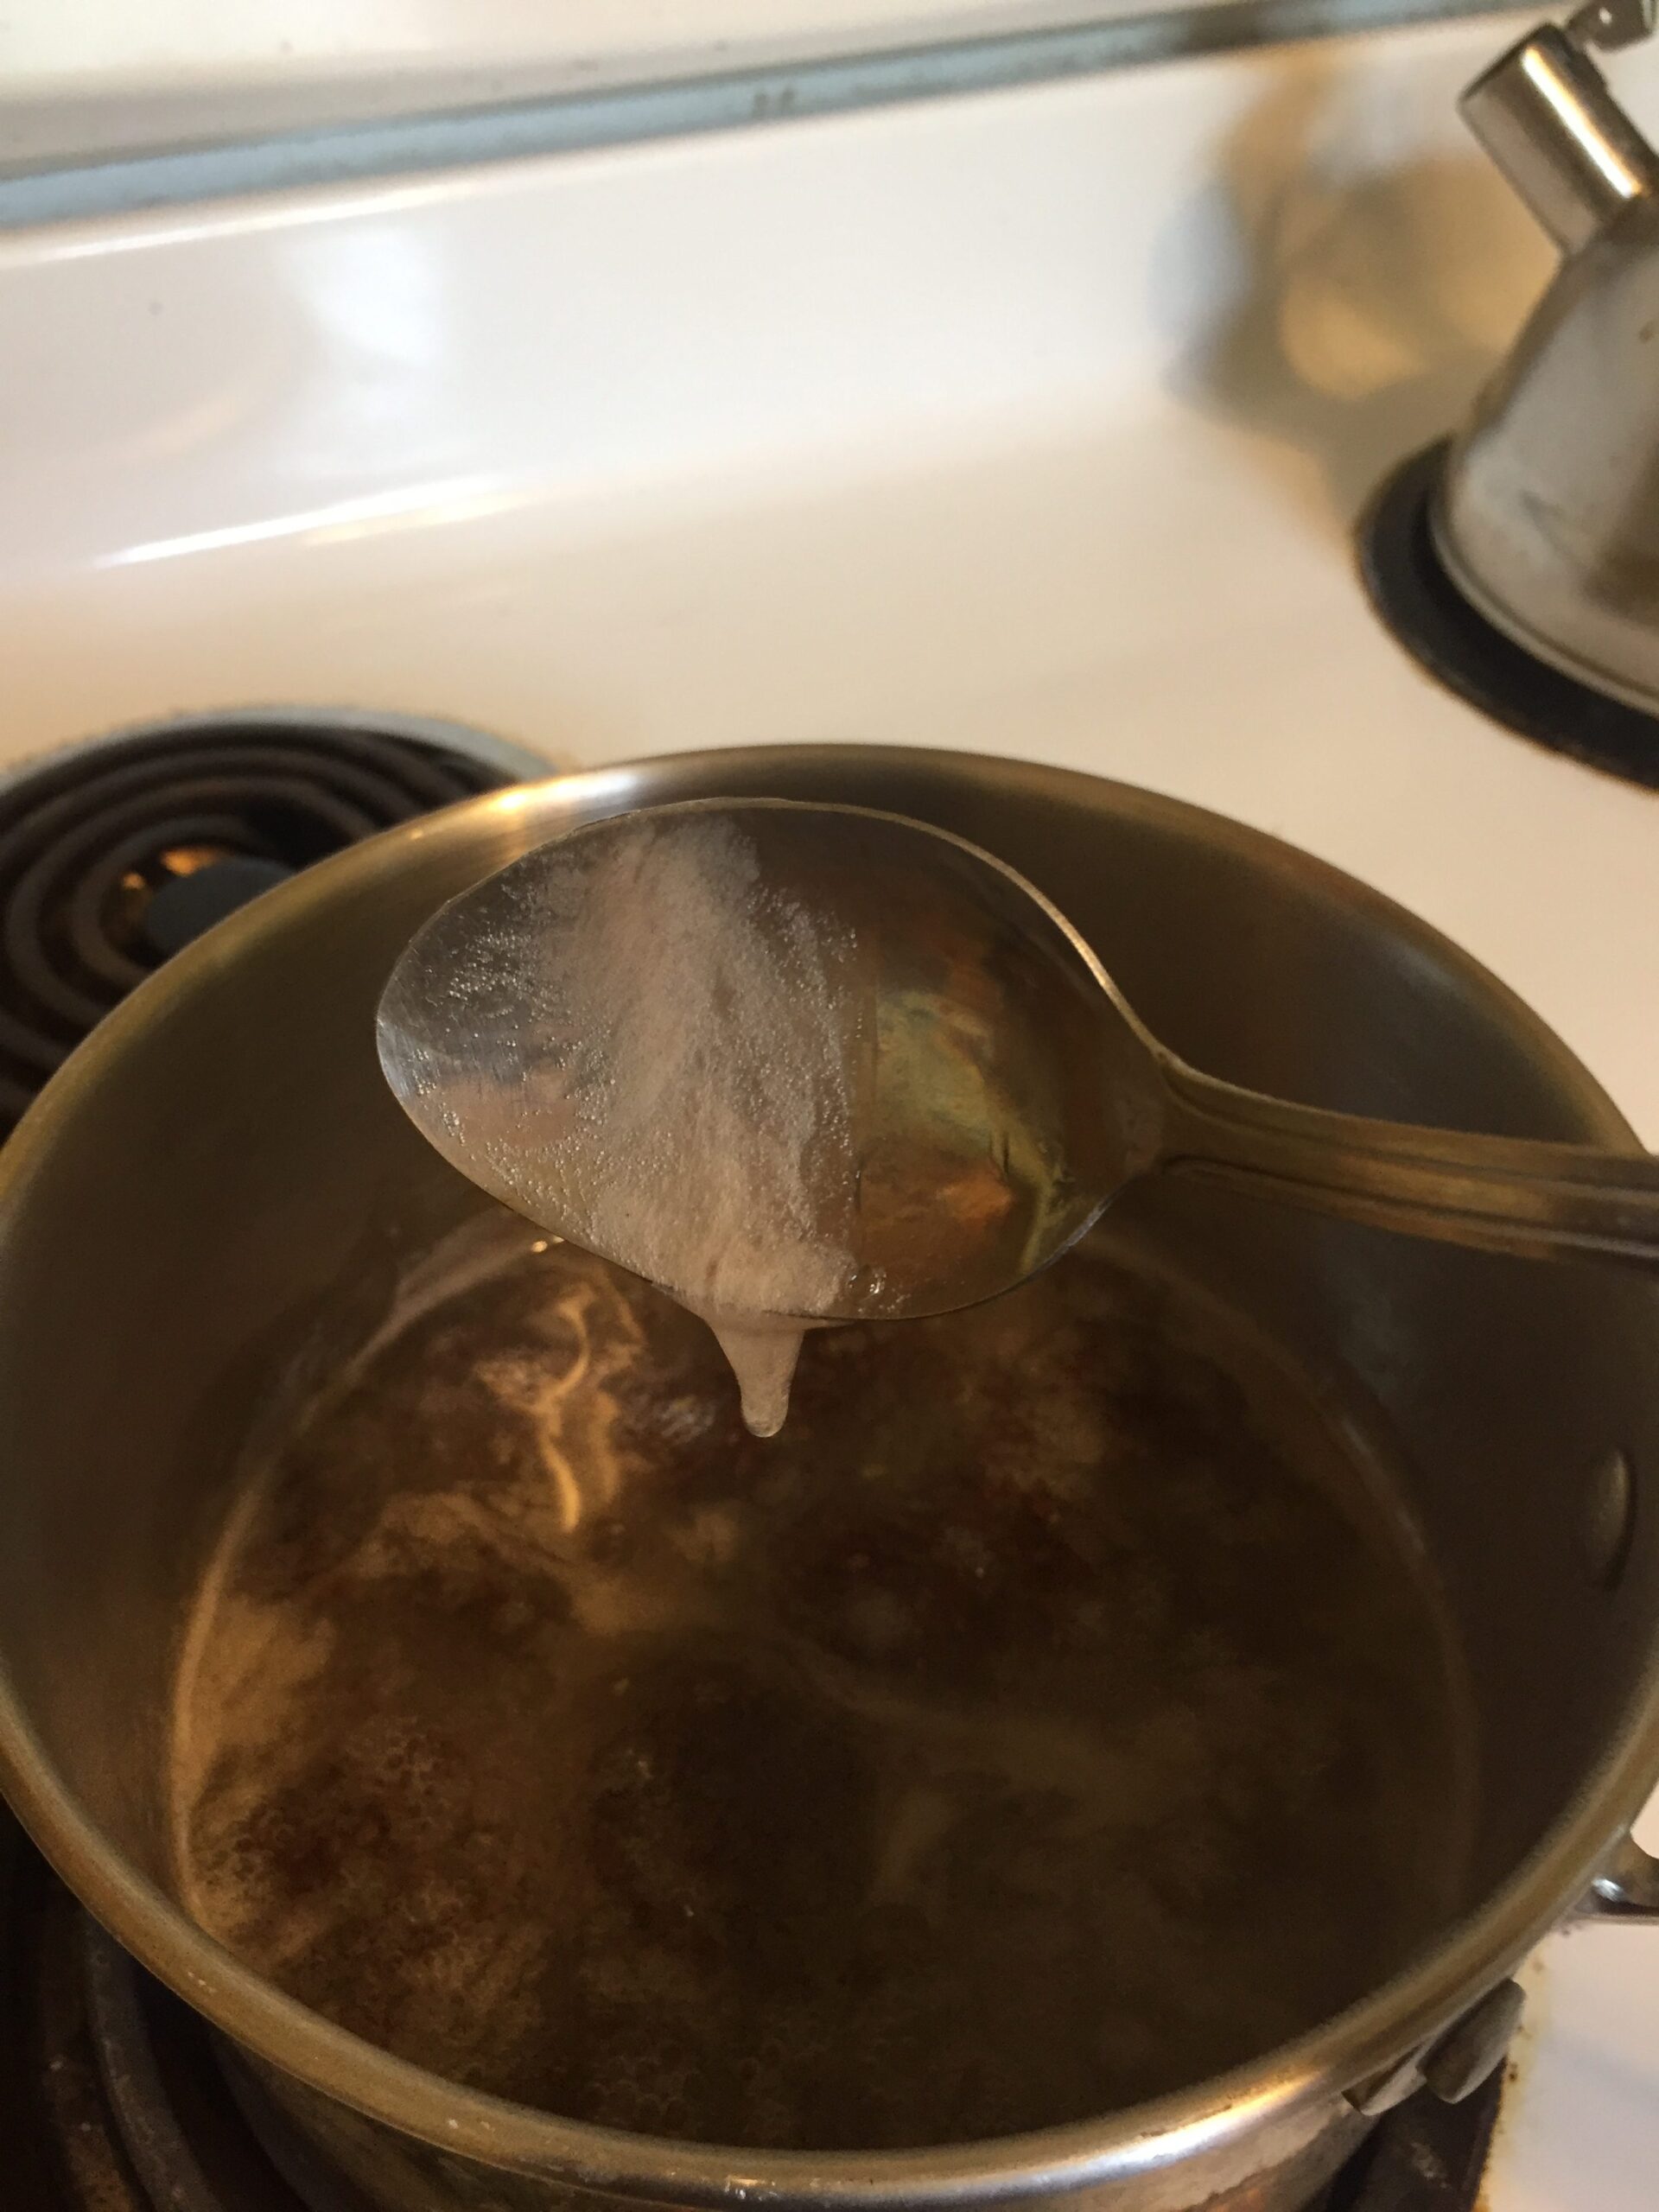
I kept an eye on the pot and let it boil for a bit, waiting for a mucousy substance to form.
You might be thinking, "Ew, mucus!" — and to that, I totally agree. That's what I thought, too. It looks like snot. Just go with it.
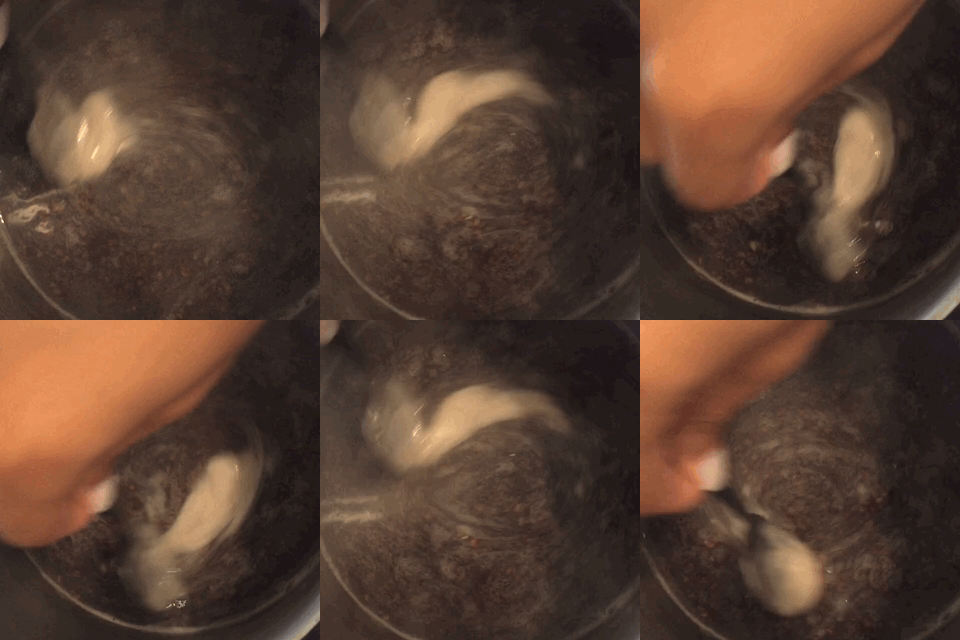
Found it! I found the trail of mucus! That was my cue to turn off the heat.
Step 3: Cool for 30 Minutes
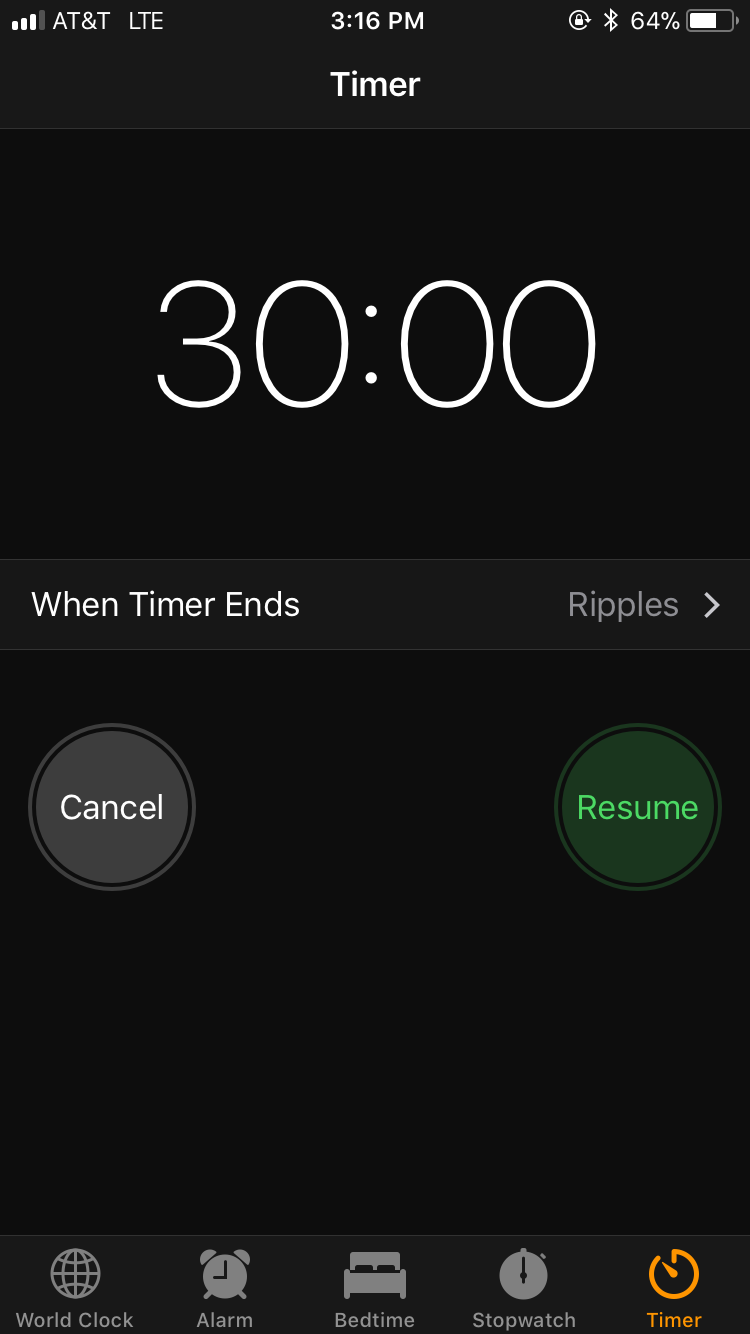
Next, it was time to give the mixture some time to cool down. (This is all so easy so far, right? No mess yet.)
Here's where I goofed during my second attempt at making this hair gel: While you're waiting, the flaxseed goo — your hair gel, that is — is thickening up in the pot. If you let it sit for too long, like I did initially, the gel will become too thick to strain. I set a timer during my third attempt, and it turns out that 30 minutes is just right — no more time, no less.
When the goo is finished cooling, it looks like this when you stir it:
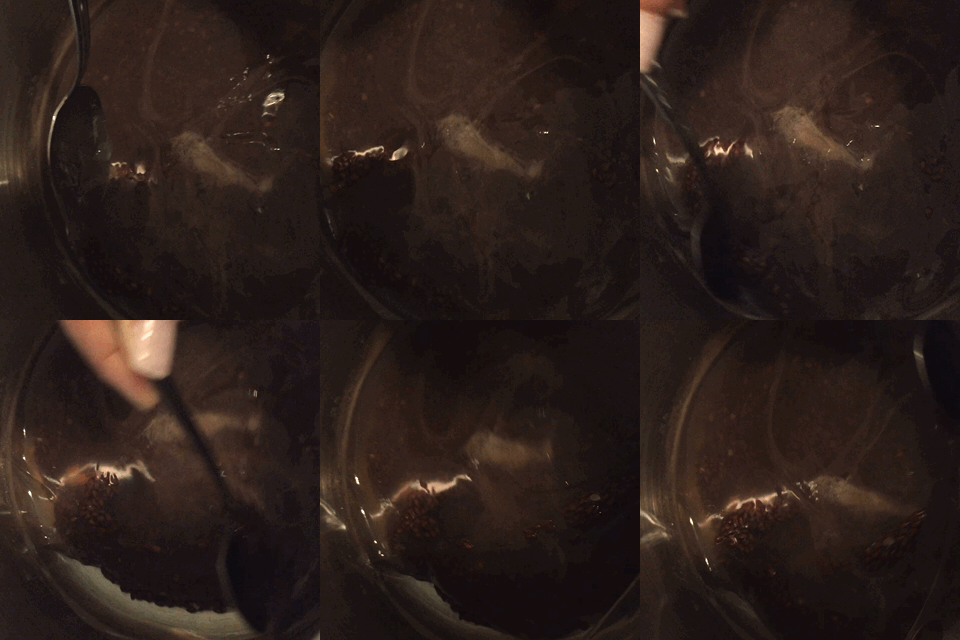
Perfection.
Step 4: Strain the Flaxseeds
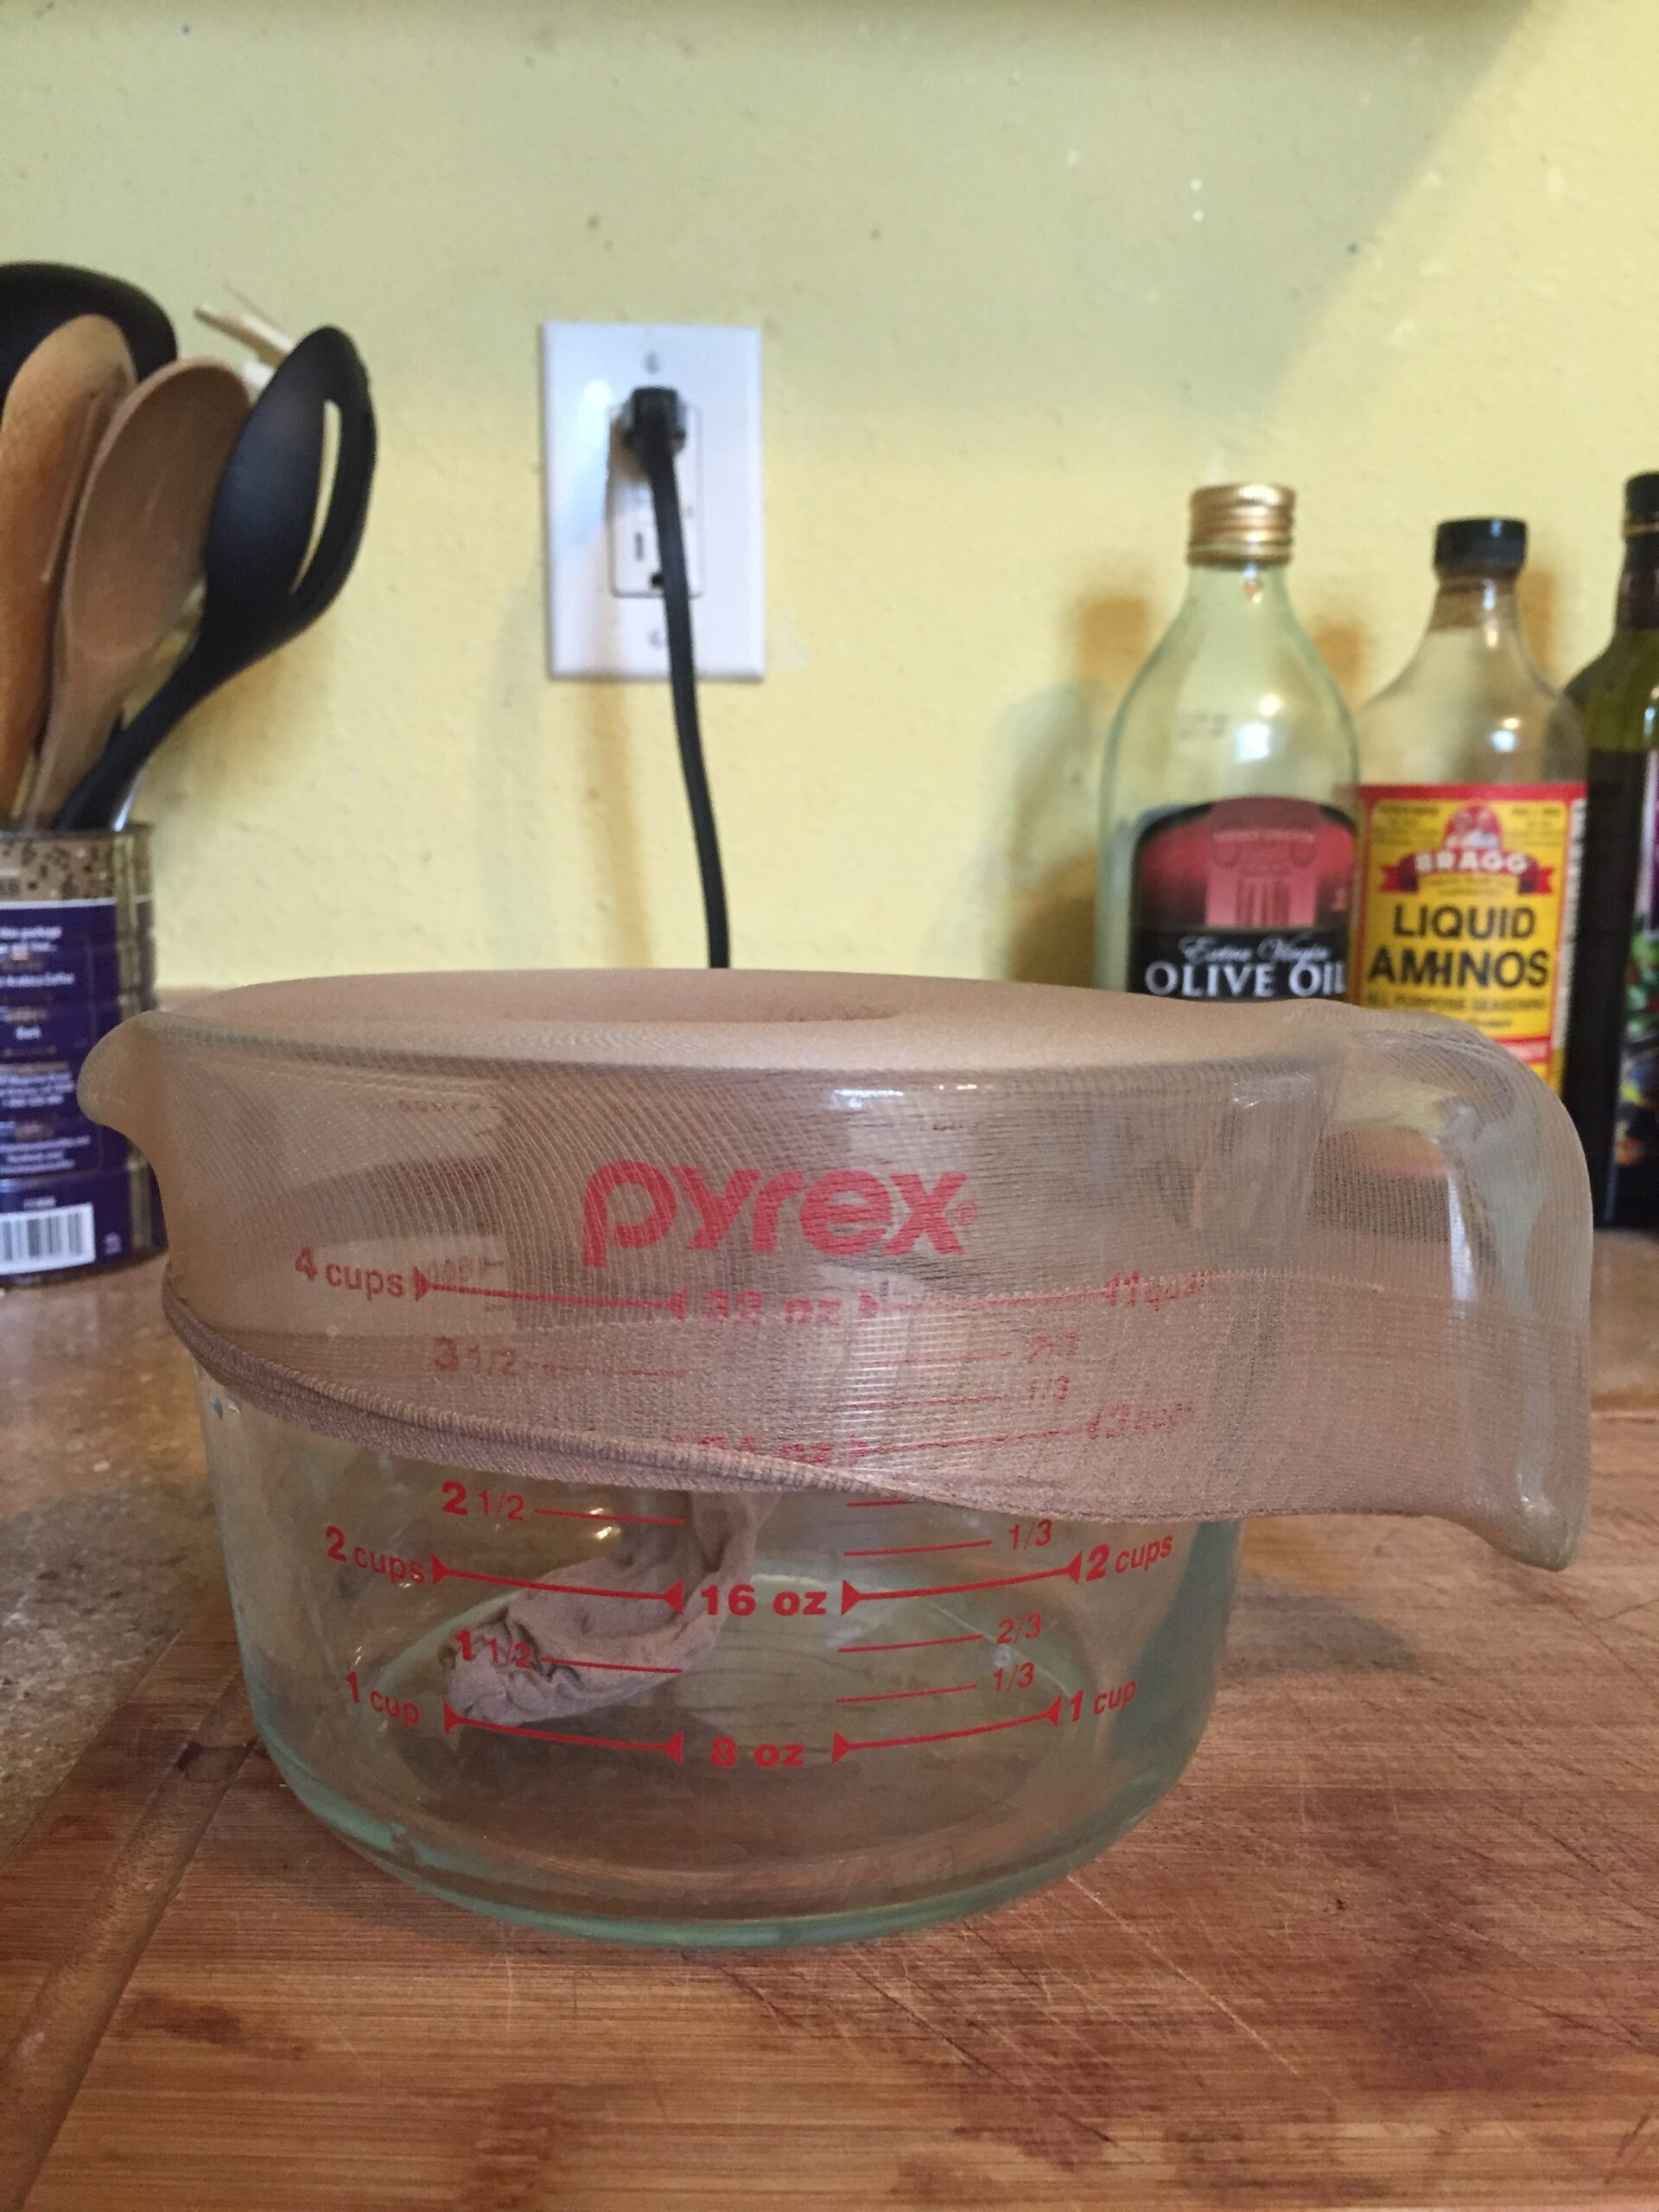
Next, it's time to strain the gel out of the flaxseed. To do so, I found the biggest measuring jar I owned, stretched the pantyhose across the rim, and then poured the entire contents of the pot inside the pantyhose.
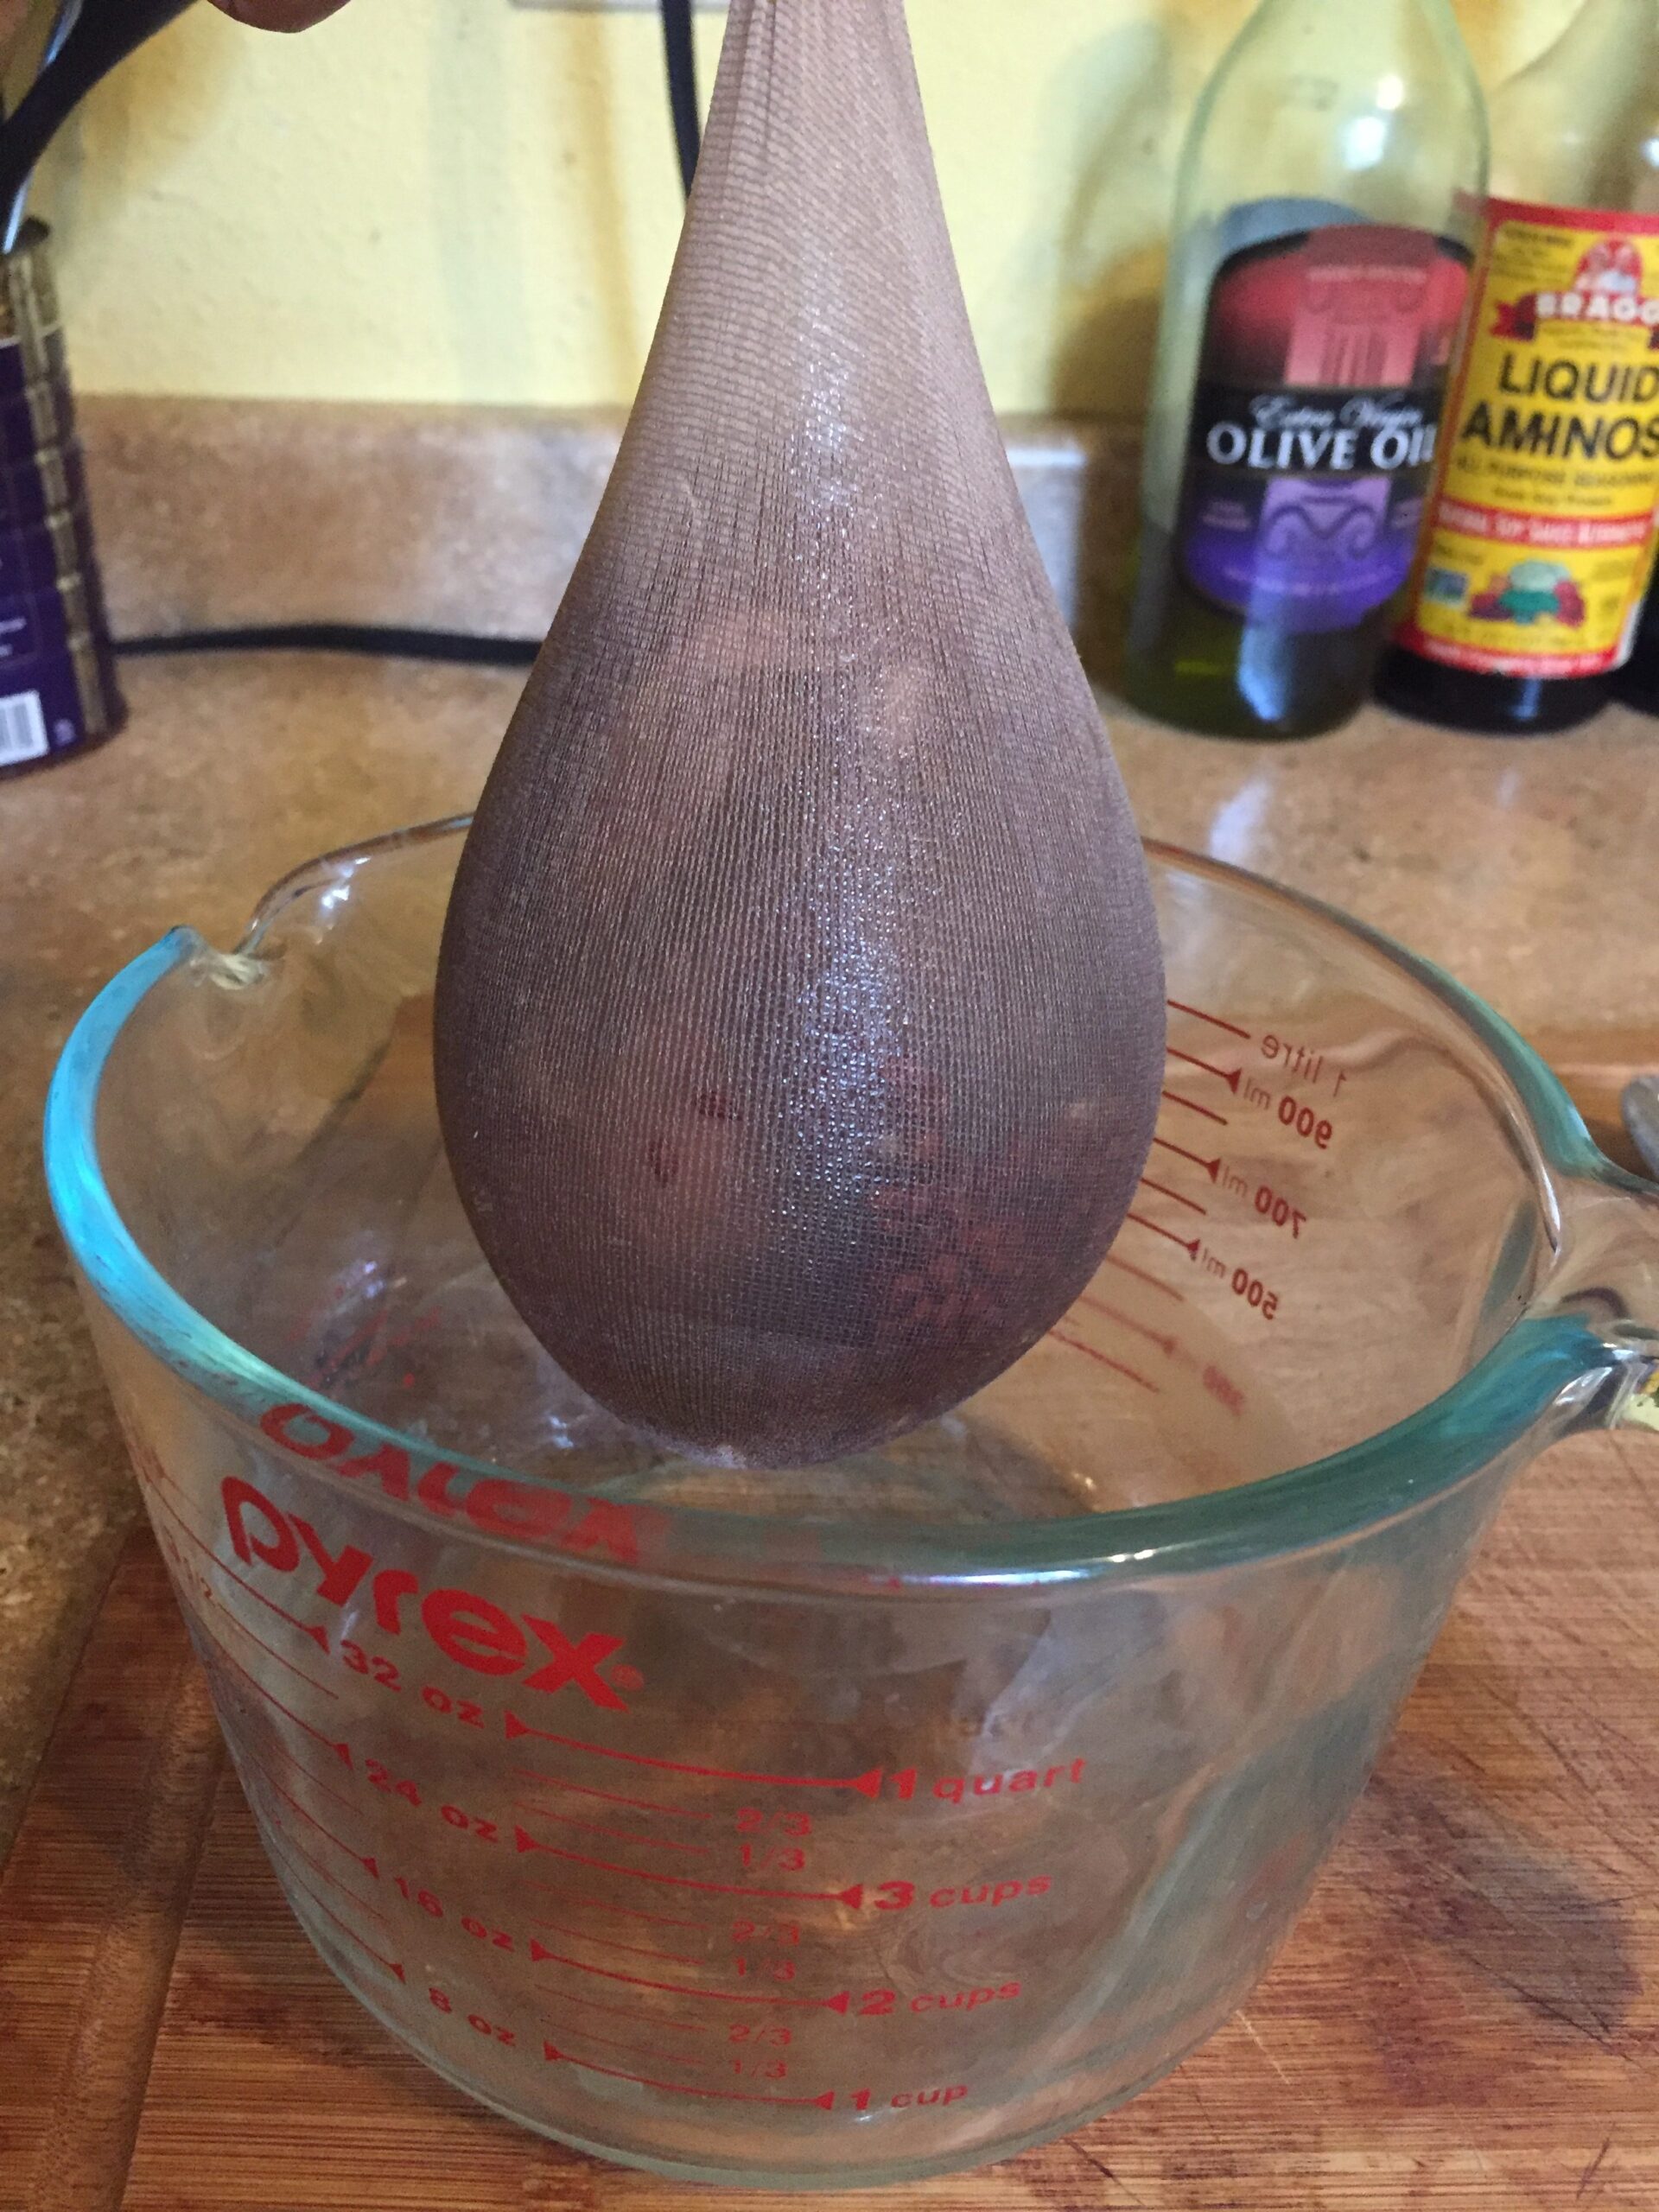
To extract the gel from the flaxseeds, you simply lift the flaxseed-filled pantyhose off the rim of your jug or cup and squeeze the flaxseed mixture with your hands. Squeeze and squeeze and squeeze and squeeze. (These seeds seem to produce a limitless amount of gel, so you'll probably stop when you get tired rather than when you run out of gel to squeeze – at least, that's what happened to me!)
I wound up with plenty of gel — about 8 ounces.
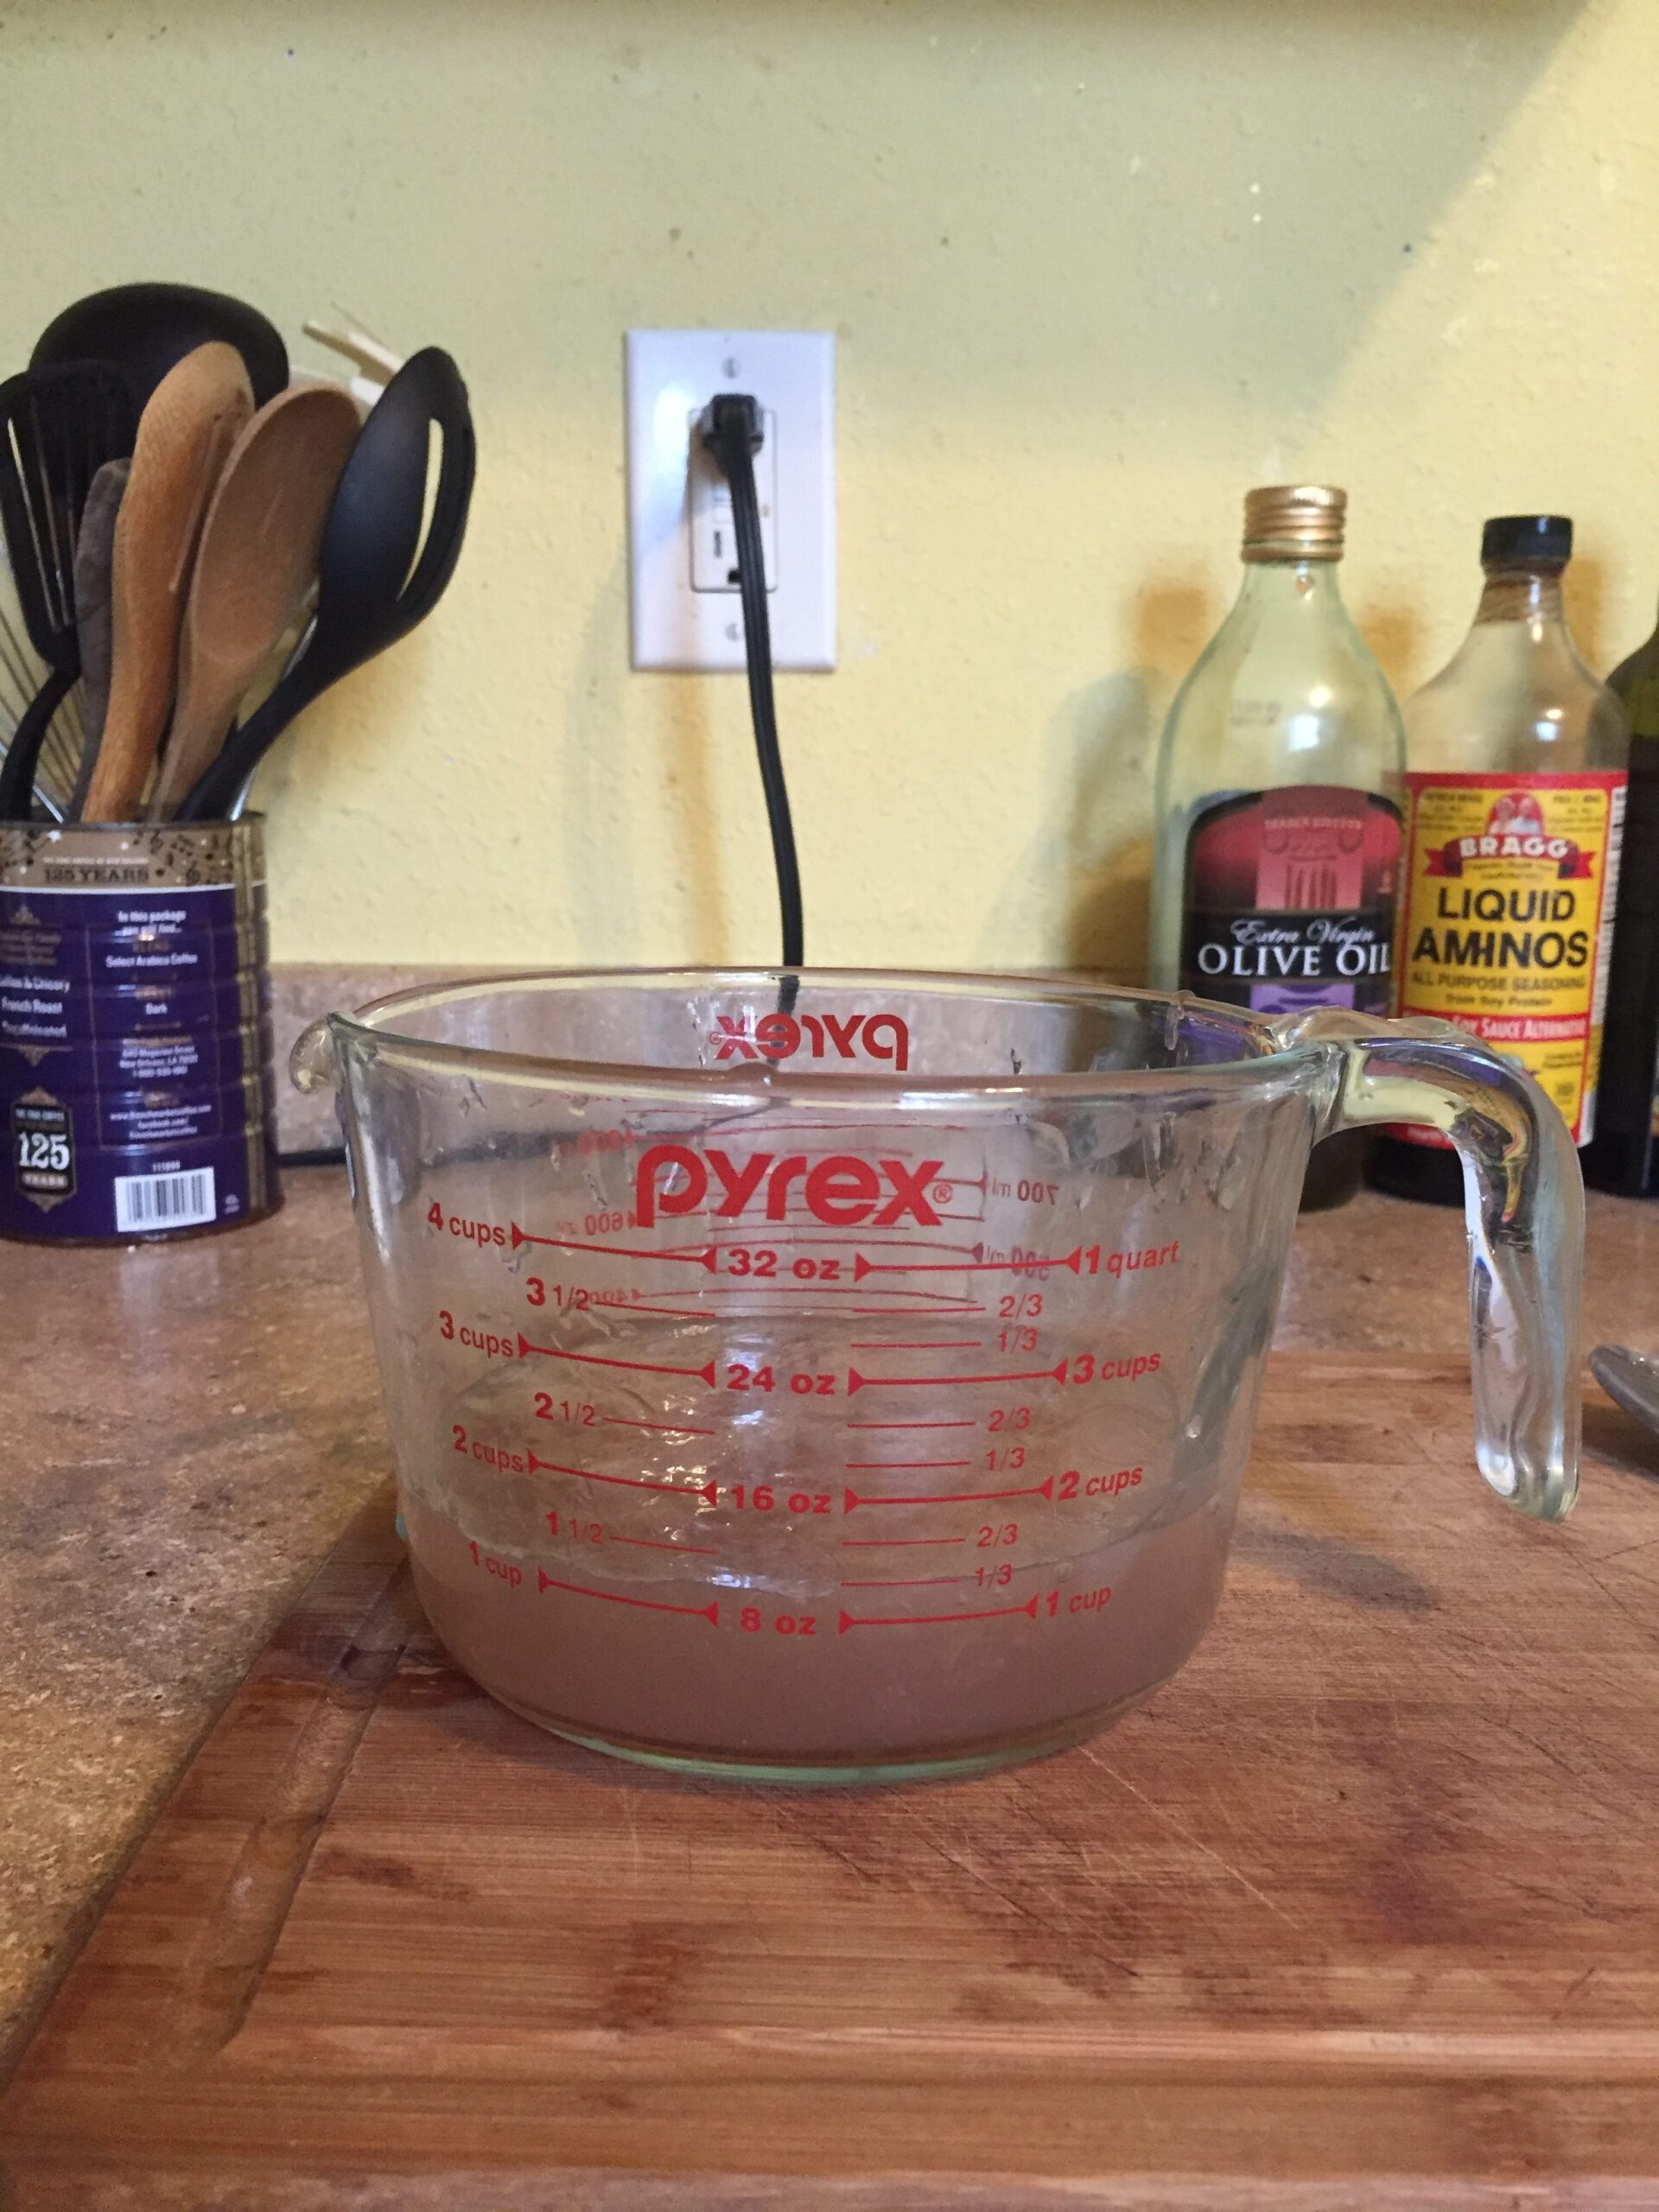
Mmm, goo!
I then poured the gel from the measuring cup into my plastic bottle and cleaned up.
Step 5: Apply
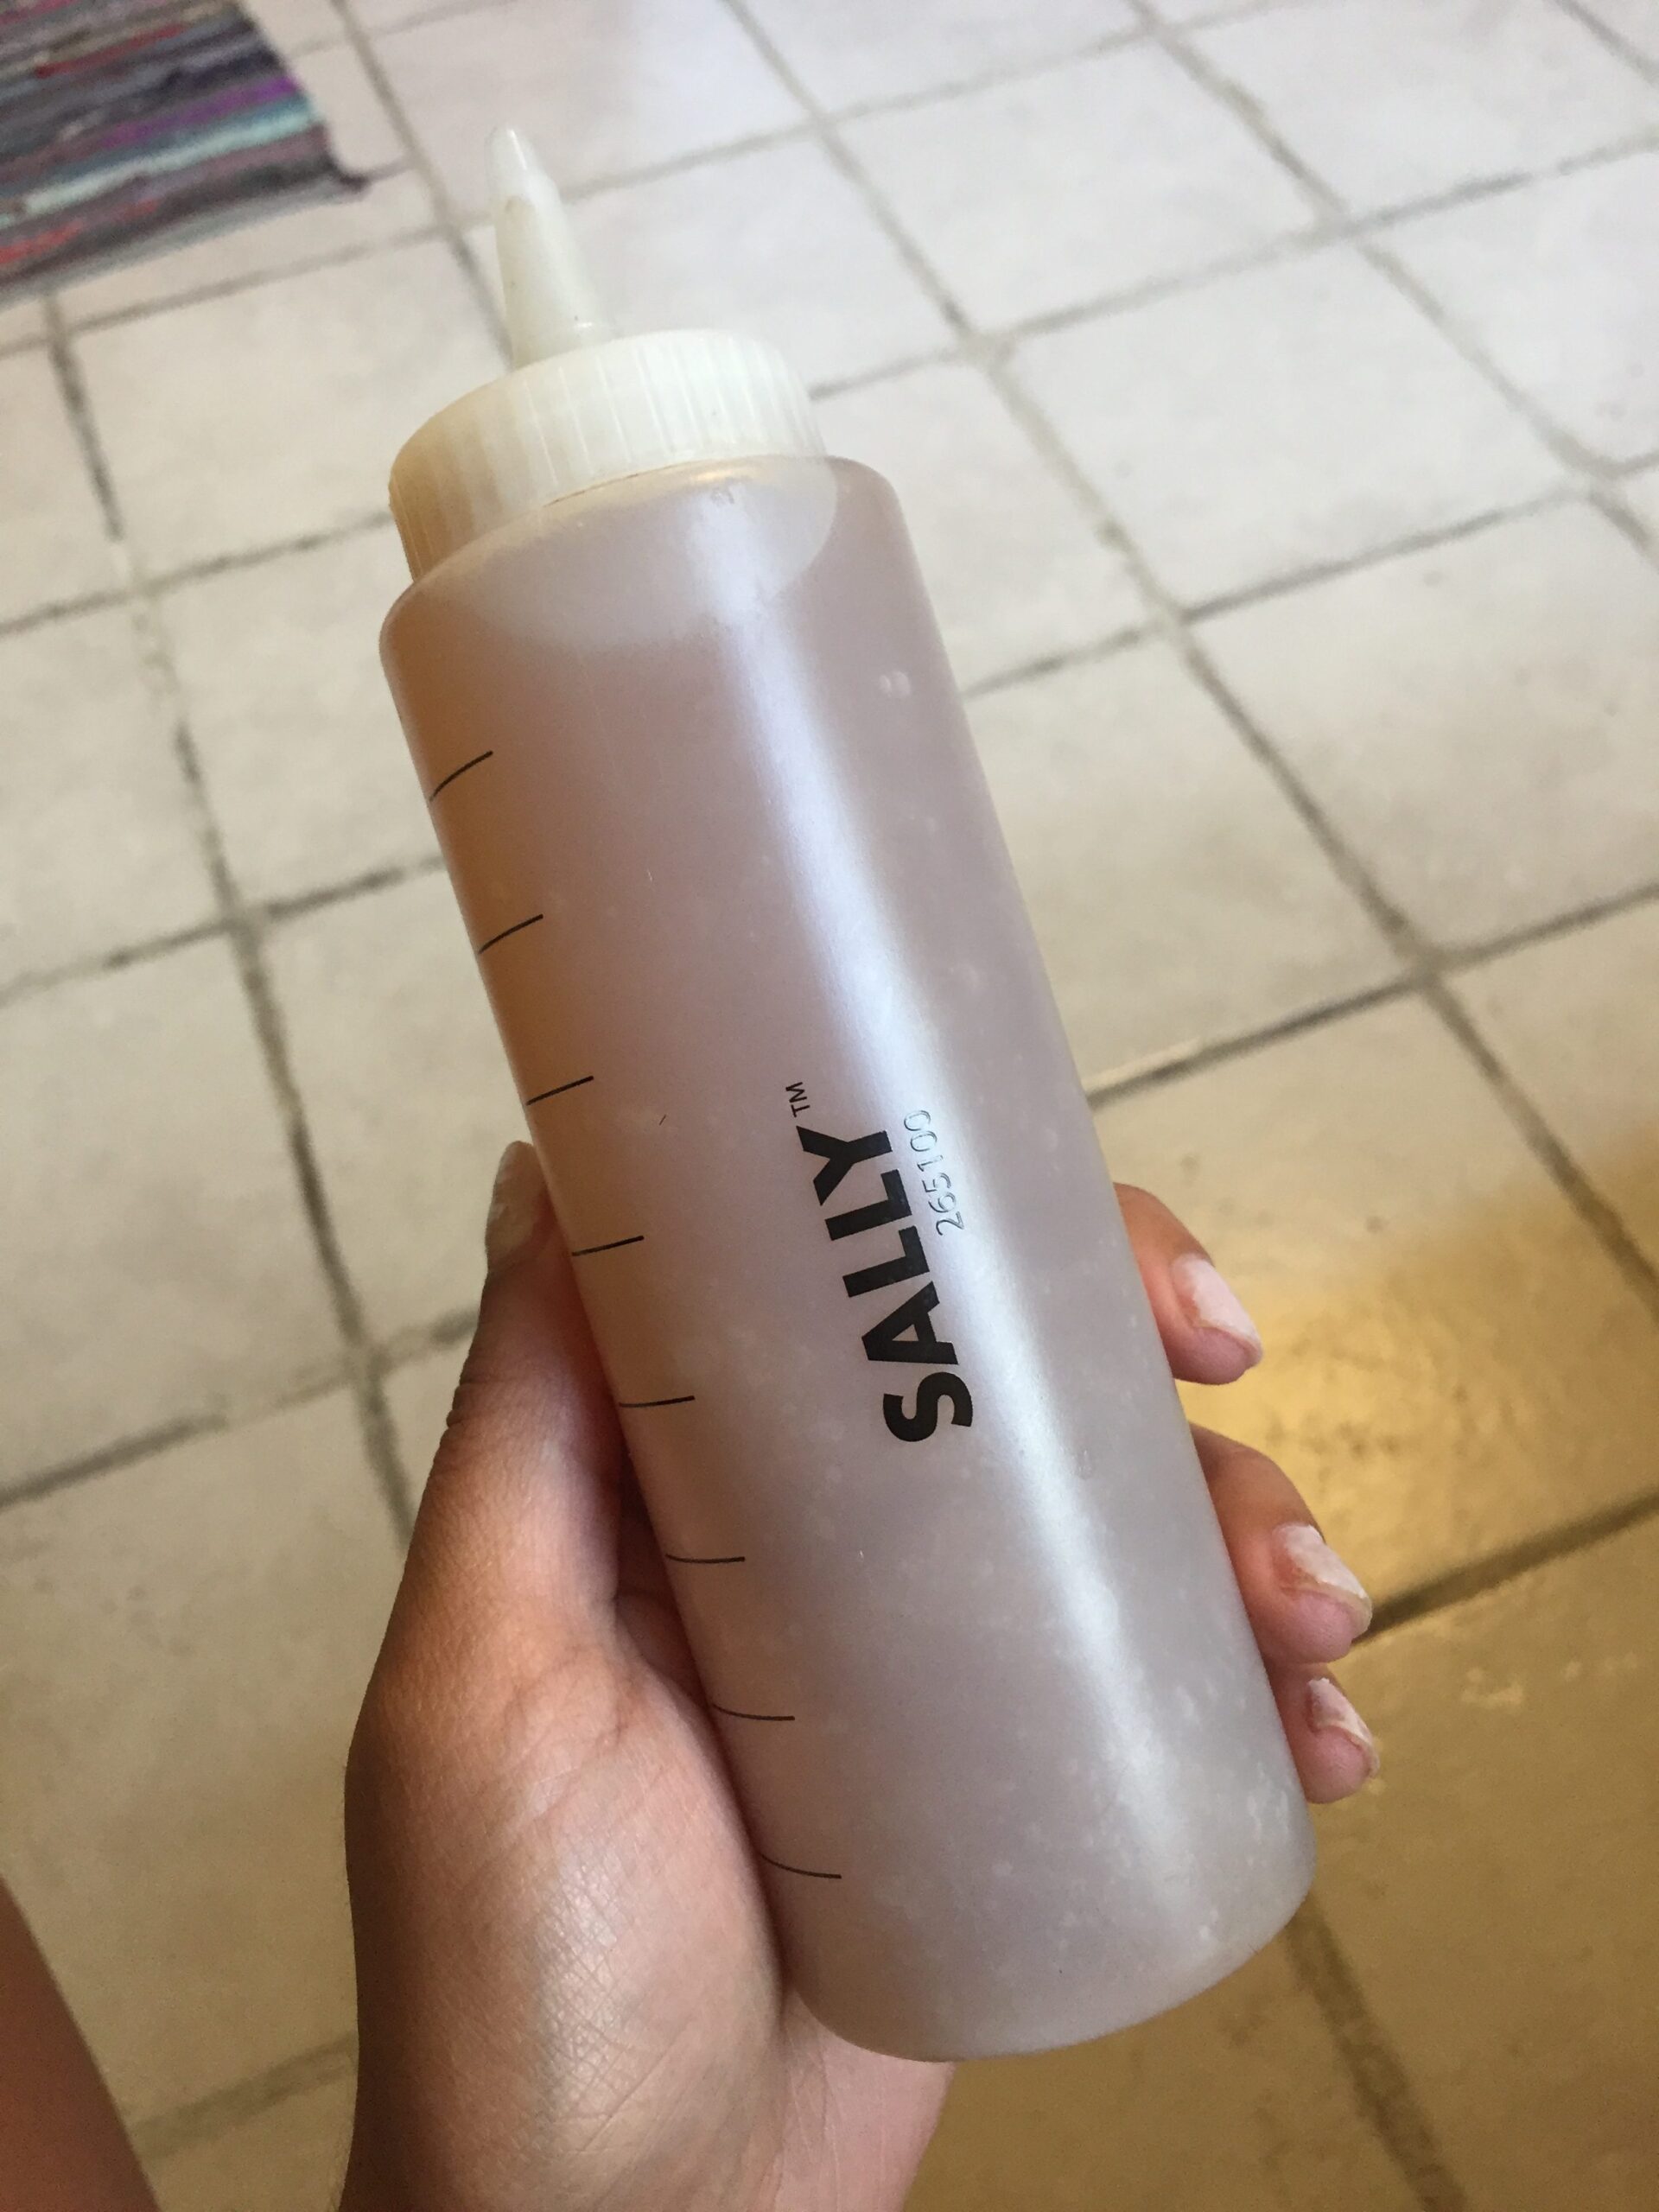
Time for the best part: slime in my hair!
I usually apply this hair gel last, after I've applied leave-in conditioner, cream, or whatever other products I'm using on a given day. Sometimes I only use water and flaxseed gel to refresh my hair in the morning.
Oh, and FYI: This gel keeps for about two weeks in the fridge.
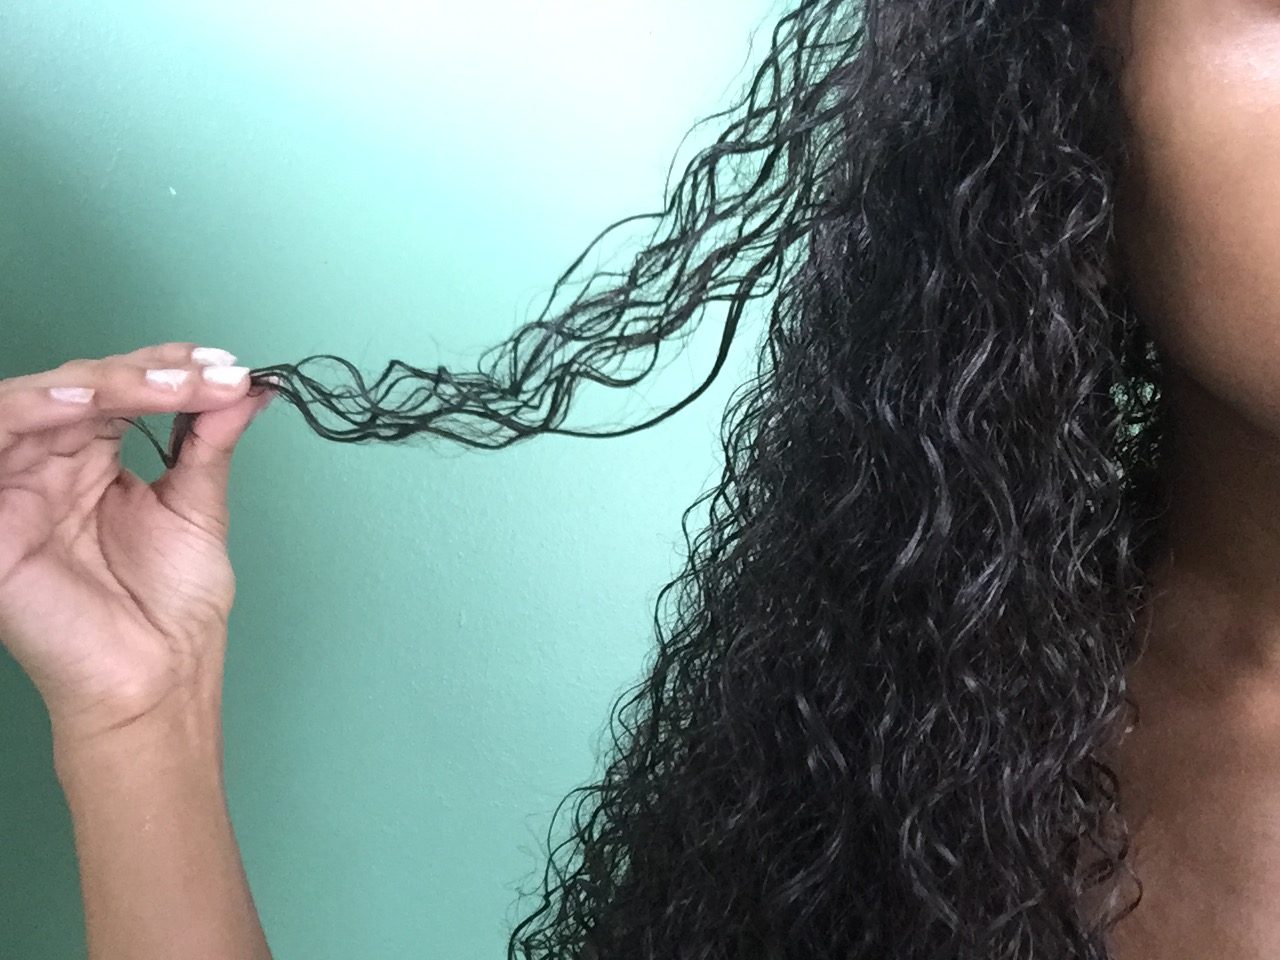
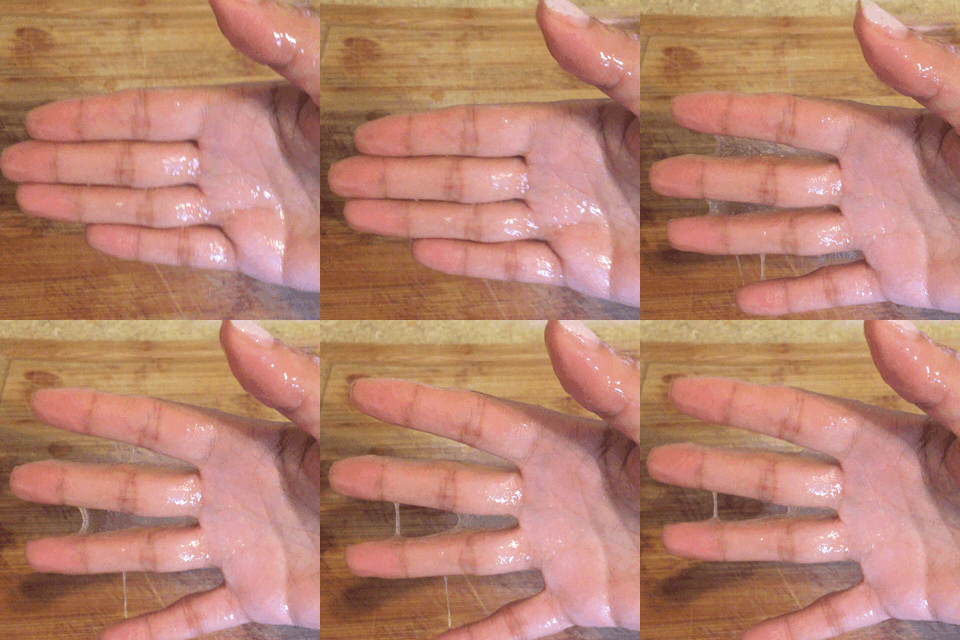
It results in hair that is soft, yet defined — not crunchy at all. It makes my hair springy and smooth and doesn't have any smell (which I love).
The cherry on top? It cost me just $1.25 to make. I never thought I could love goo this much.


