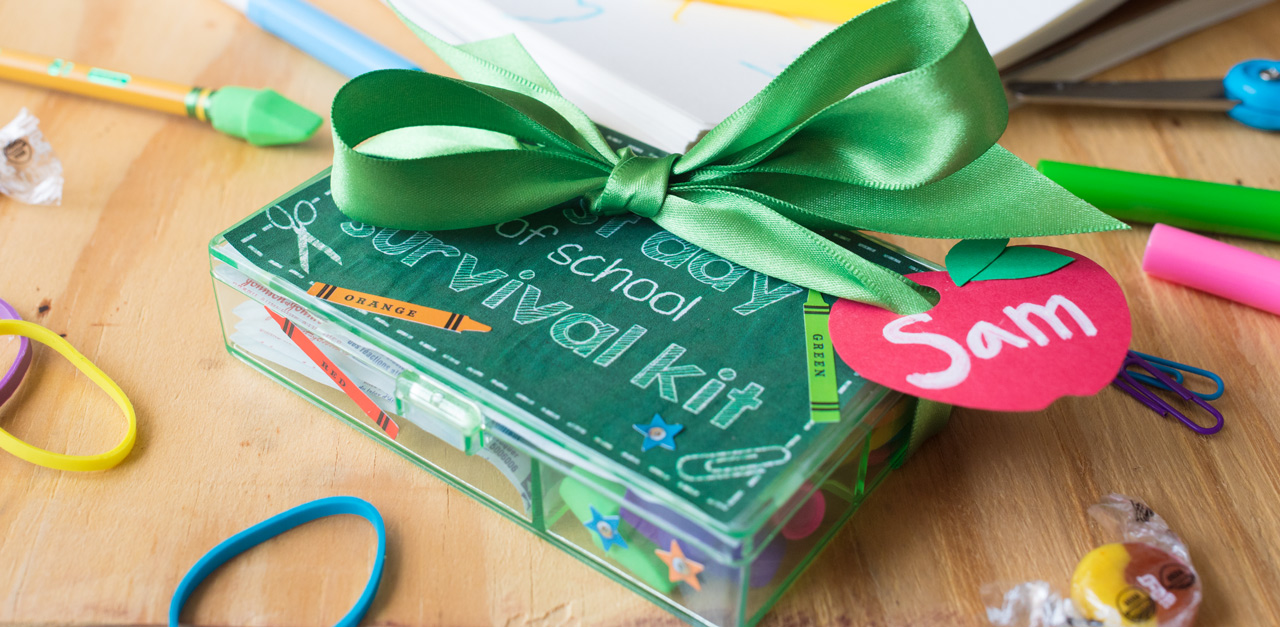
It's that time of year again: back-to-school season!
Parents all over the country are getting their kids ready to head back to class. For some families that means buying new uniforms and back-to-school supplies, and for other families it means getting familiar with a new bus route, walking route, or carpool group.
No matter how old your children are, sending them back to school is always emotional.
Lots of parents will be able to relate to this mom who couldn't stop crying when her daughter got on the school bus for the first time.
Usually, it feels like a more significant moment for parents than it does for children, but if your child is nervous about going back to school this year, you should make them a simple back-to-school survival kit!
With just a few simple items, you can make your child or grandchild a little kit that will remind them you love them and encourage them to have a good time at school.
Learn how to make one of these kits below!
Thumbnail Photo: Public Domain Pictures / George Hodan
Supplies
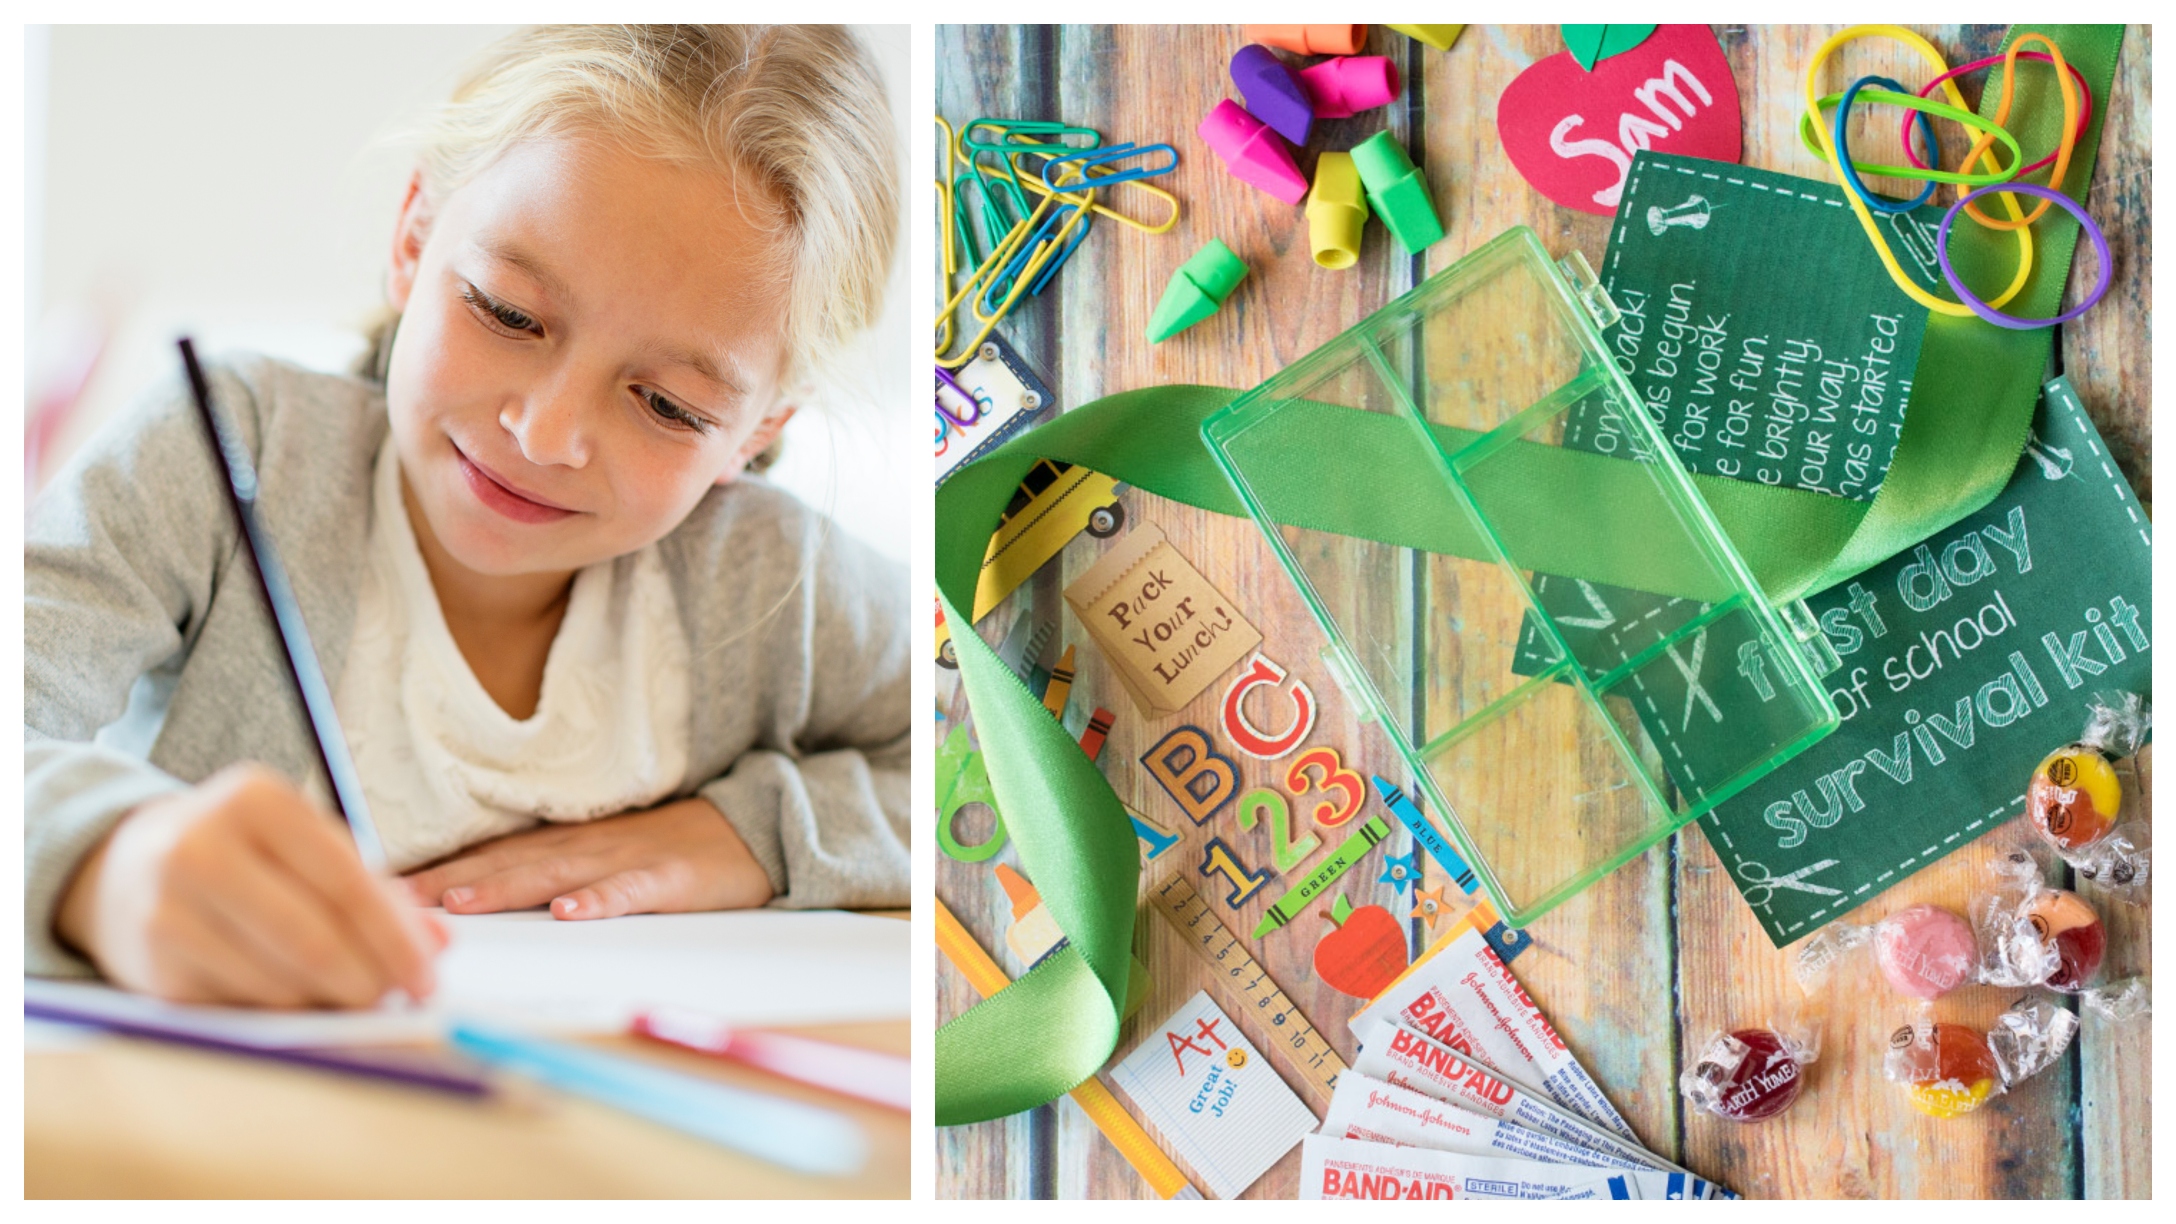
- Small plastic organizer
- Band-aids
- Colorful eraser caps
- Rubber bands
- Small candies
- Back-to-school poem
- Stickers
- Ribbon
- Glue
Instructions Step #1: Print Out And Attach Cover To Organizer
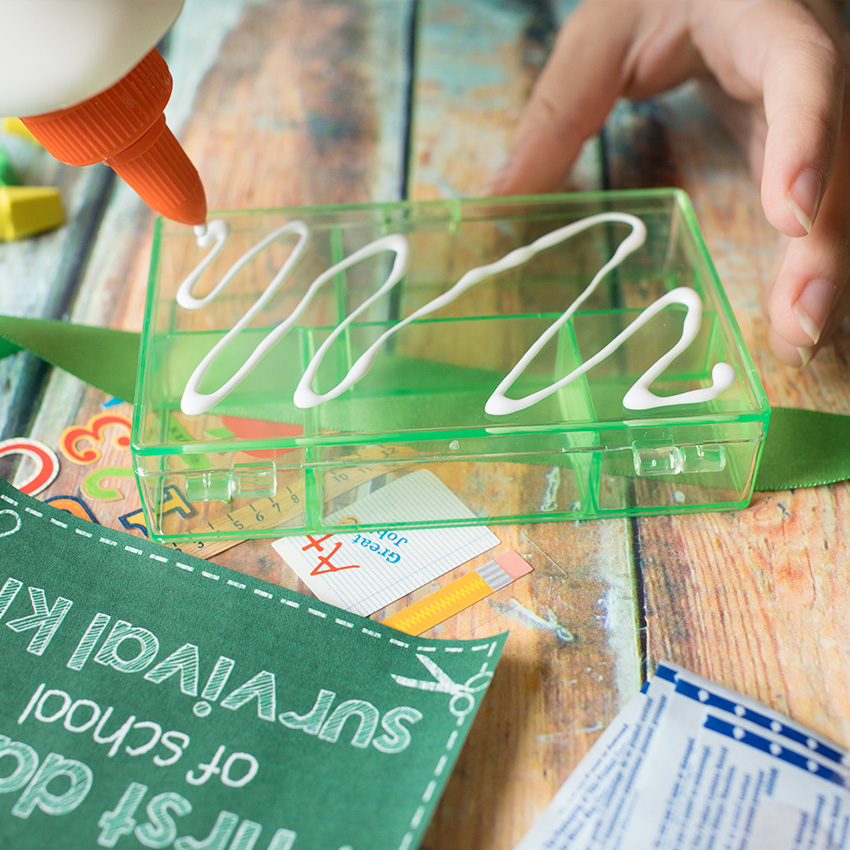
On the top of the little plastic organizer, you'll want to make a label for the kit.
Print out a piece of paper that says "First day of school survival kit" or write it by hand.
Once you've printed out the cover label, cut it down to size and attach it to the top of the plastic container.
Step #2: Print Out And Attach Poem To Inside Lid Of Organizer
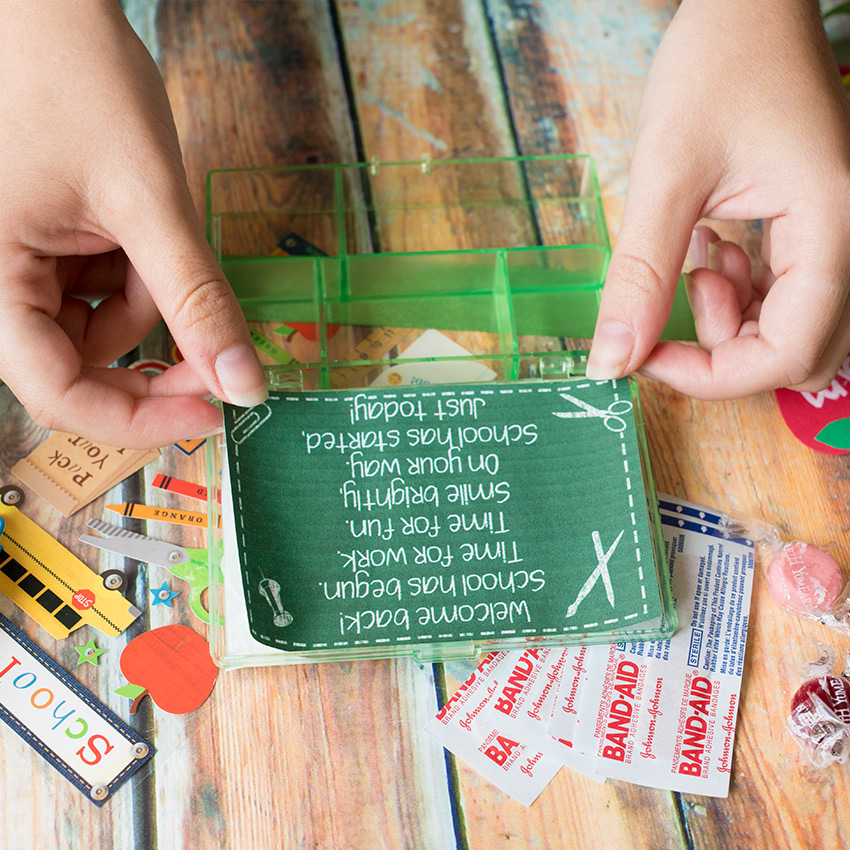
On the inside of the container, print out a back-to-school poem to encourage your little one on their first day.
You can use any poem you'd like, but here's an example of the one we chose:
Welcome back!
School has begun.
Time for work.
Time for fun.
Smile brightly,
On your way.
School has started,
Just today!
Step #3: Fill Survival Kit With Items
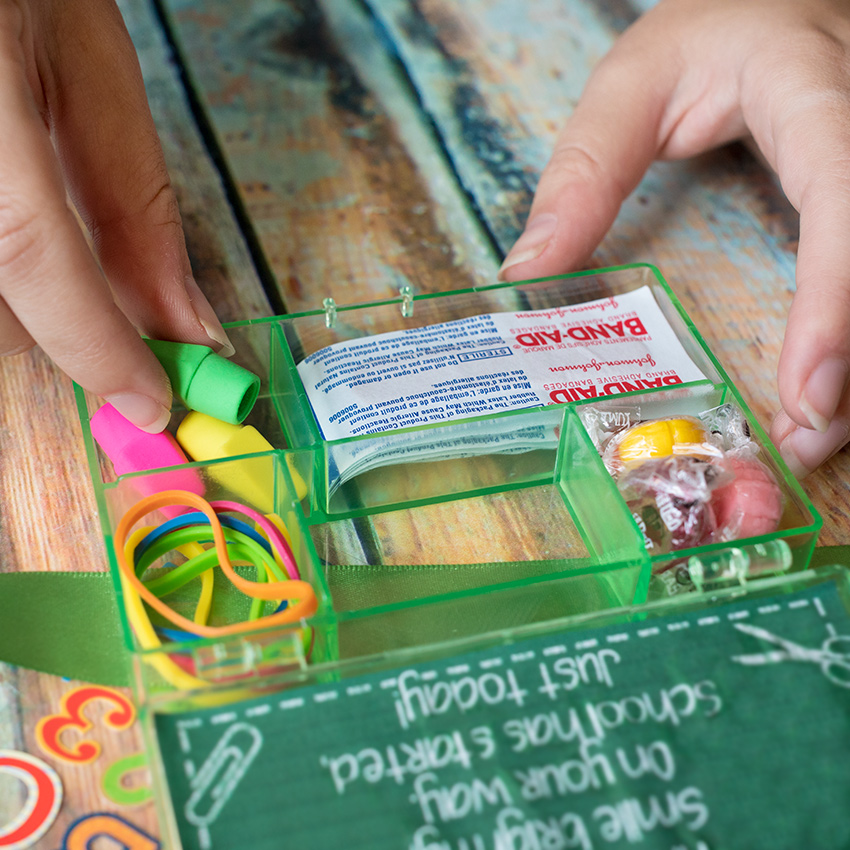
Next up, fill the kit with all the back-to-school survival goodies.
Depending on the age of your kiddo, you can choose items that will suit them.
We went with rubber bands, eraser caps, band-aids, and little candies.
Step #4: Decorate!
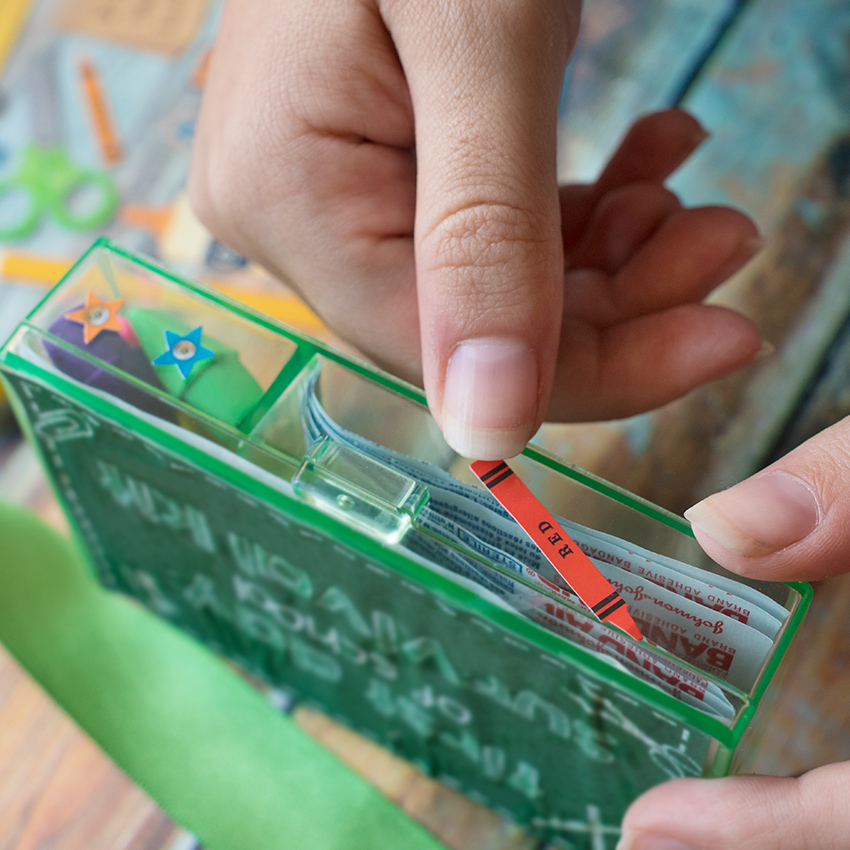
After you've filled the kit with items of your choice, it's time to decorate!
The simplest way to decorate your container is with stickers — and there are so many good back-to-school options!
Step #5: Tie Up The Kit With A Ribbon
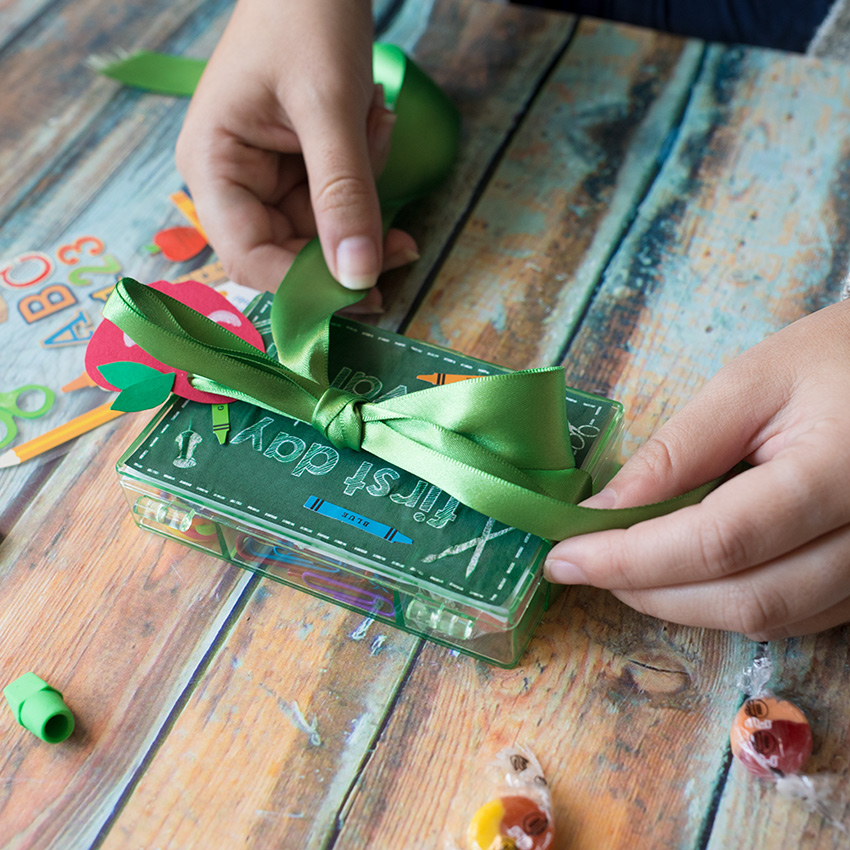
Once you're content with the items inside the kit and the decorations around the outside, pick a nice piece of ribbon and tie it around the kit.
Sometimes these small containers pop open (especially if they're bouncing around in a child's backpack), so tying it shut with a ribbon will help make sure all the goodies stay safely inside.
Step #6: Put Kit In Child's Backpack
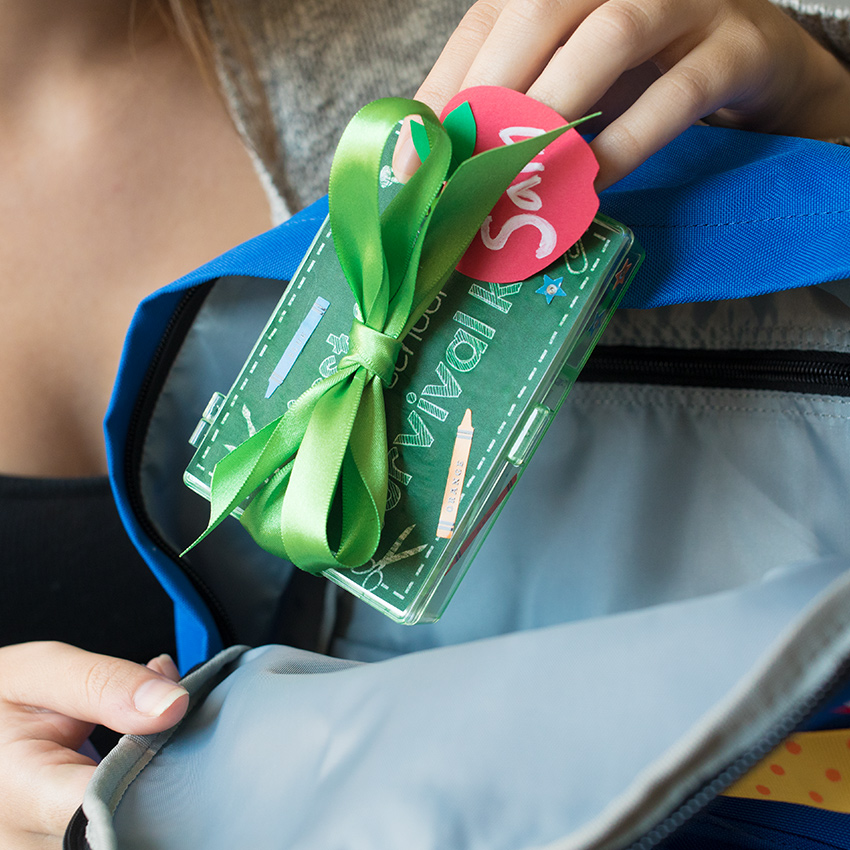
Finally, put the kit in your kid's backpack — if you want to, you can attach a name tag or sweet note to remind them that you love them.
Try not to let your child see the kit before they get to school, so that it's truly a surprise!
Step #7: Let Your Kid Enjoy!
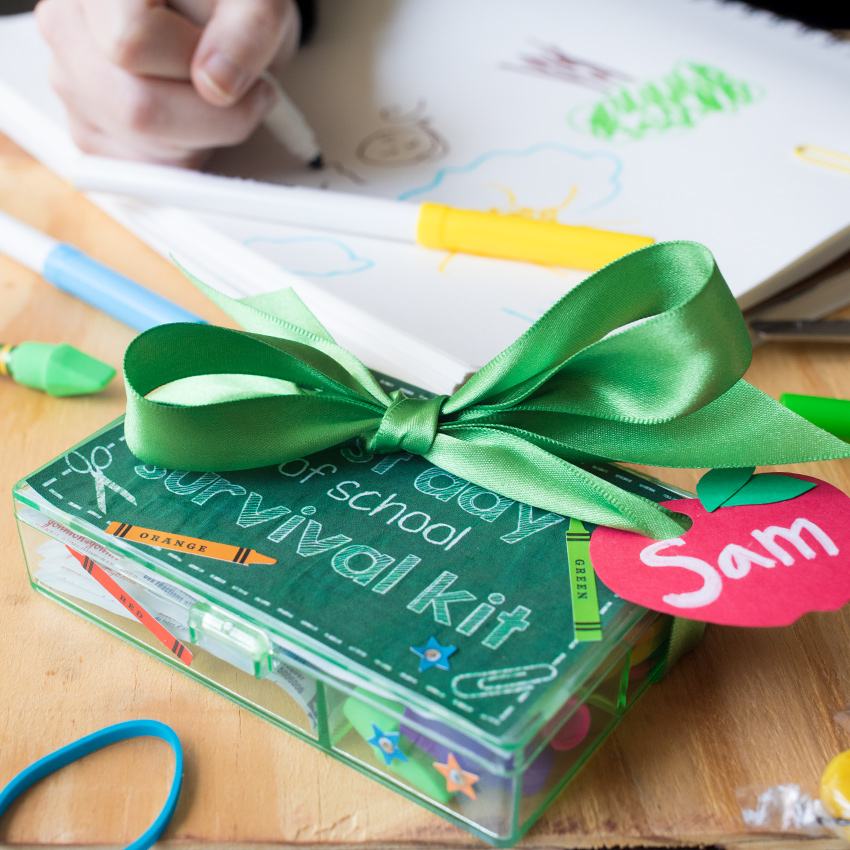
Once at school, your little one will find your survival kit and love the goodies inside!
If you're excited to make this for your kids or grandkids, please SHARE this article with your friends and family!


