I've always considered myself pretty lucky as far as my skin goes. Other than dryness and the occasional breakout, I've never had to deal with anything I couldn't handle skin care-wise. But in the last few months, I've started to notice that the skin on my face presents much redder than it used to. It flares up even more when I do basic things like laugh, cough, or sneeze — any bodily exertion, really. And once it flares up, it stays that way for a while.
Most of the motivation behind me wanting to find a cure for my facial redness stems from a desire to experiment more with makeup. With the redness, I feel like I never have an even canvas to work with. Bronzer looks one way when I put it on but changes by the next time I look at myself in a mirror. The same is true of concealer. I've noticed myself shying away from pictures. I've thought about picking up some green correcting concealer to neutralize my redness, but I'm not comfortable wearing all that makeup just to have an even complexion; I'm not quite ready to commit to a full face of products every day.
I also jump at the chance to try a home remedy. I openly admit that I am a member of the Apple Cider Vinegar Cult. I've put sea salt up my nose to cure congestion. Crazy? Sure. For me, it's crazy easy. Aside from it being easier, I find it kind of fun to throw together things I already have in my house, both short-term and long-term. It's too much of a gamble to spend money on pricey products that can cause other issues with my skin, which is definitely on the sensitive end of the spectrum. So obviously, it was natural (ha, get it?) for me to seek out home remedies for skin redness.
My Skin Woes

On the left is a picture of how I think I look and how I feel (plus a Snapchat filter). On the right, you'll find the reality of my redness.
DIY 1: Cinnamon, Honey, and Nutmeg Face Mask
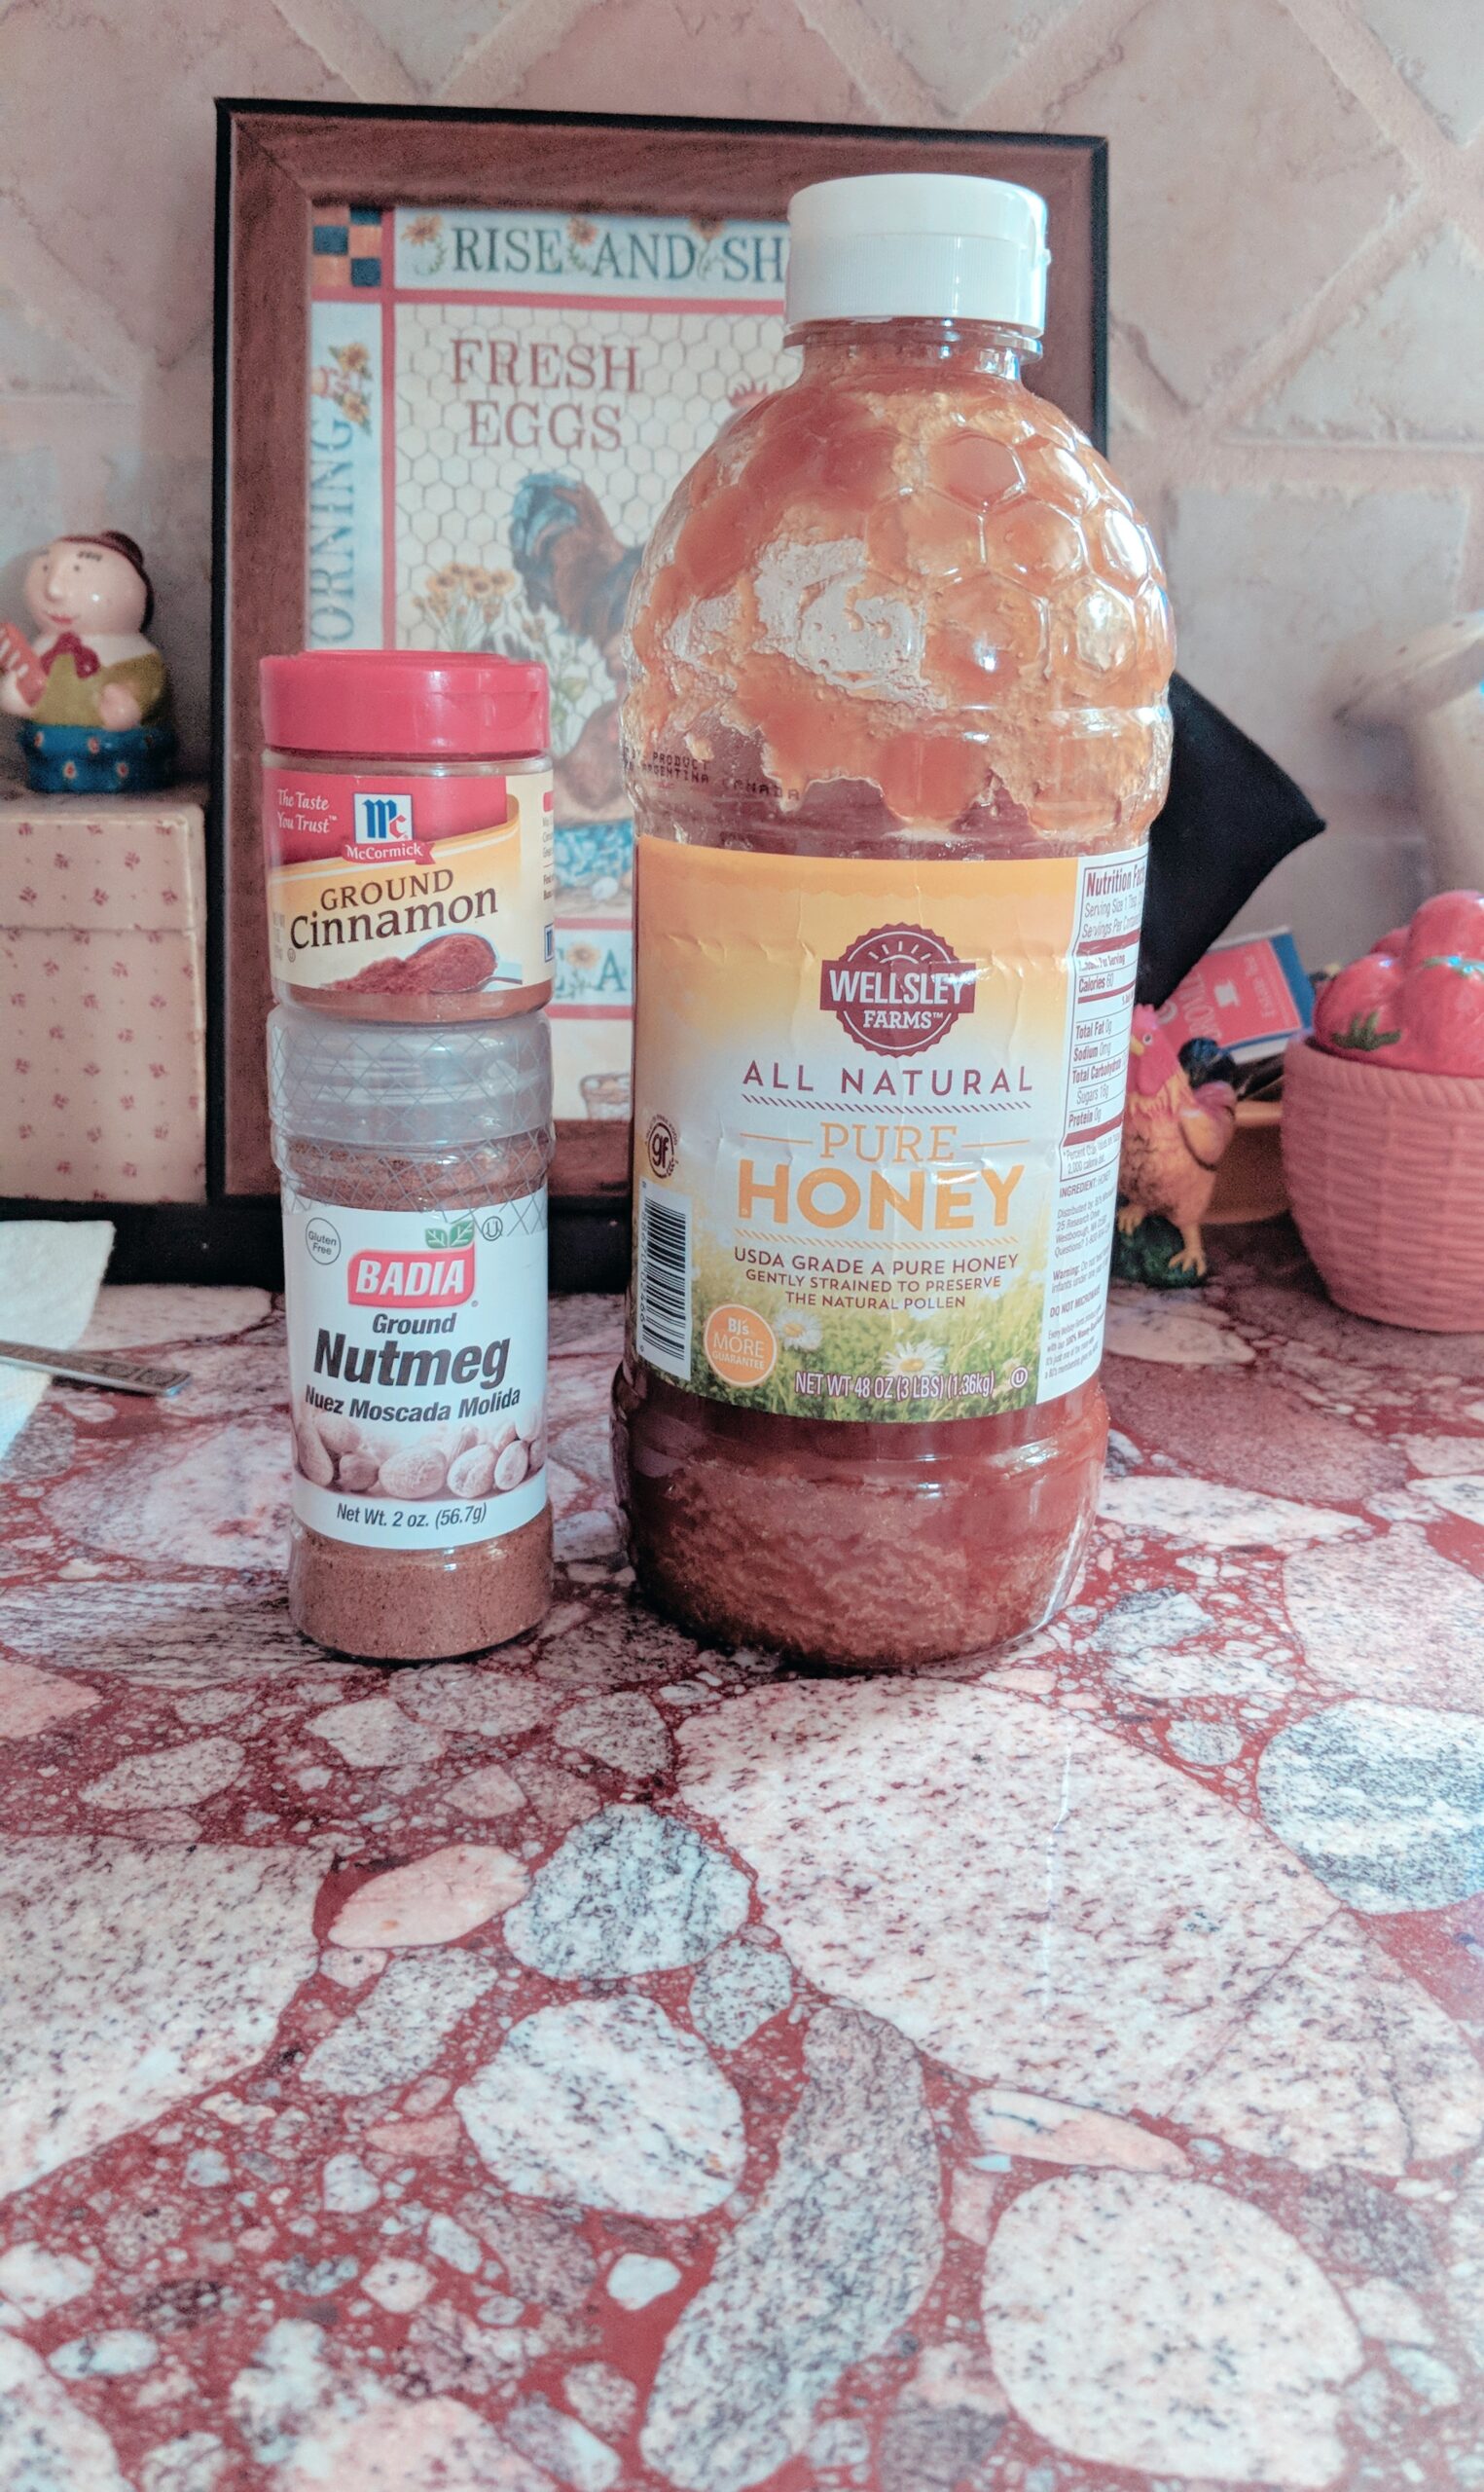
The first alleged redness solution I found called for the following:
- 2 tbsps. honey
- 1 tsp. ground cinnamon
- 1 tsp. ground nutmeg
Seems simple enough, right? I decided to give it a shot.
The recipe recommended a pasty consistency, and it took some intense mixing on my part to really incorporate all the cinnamon and nutmeg:
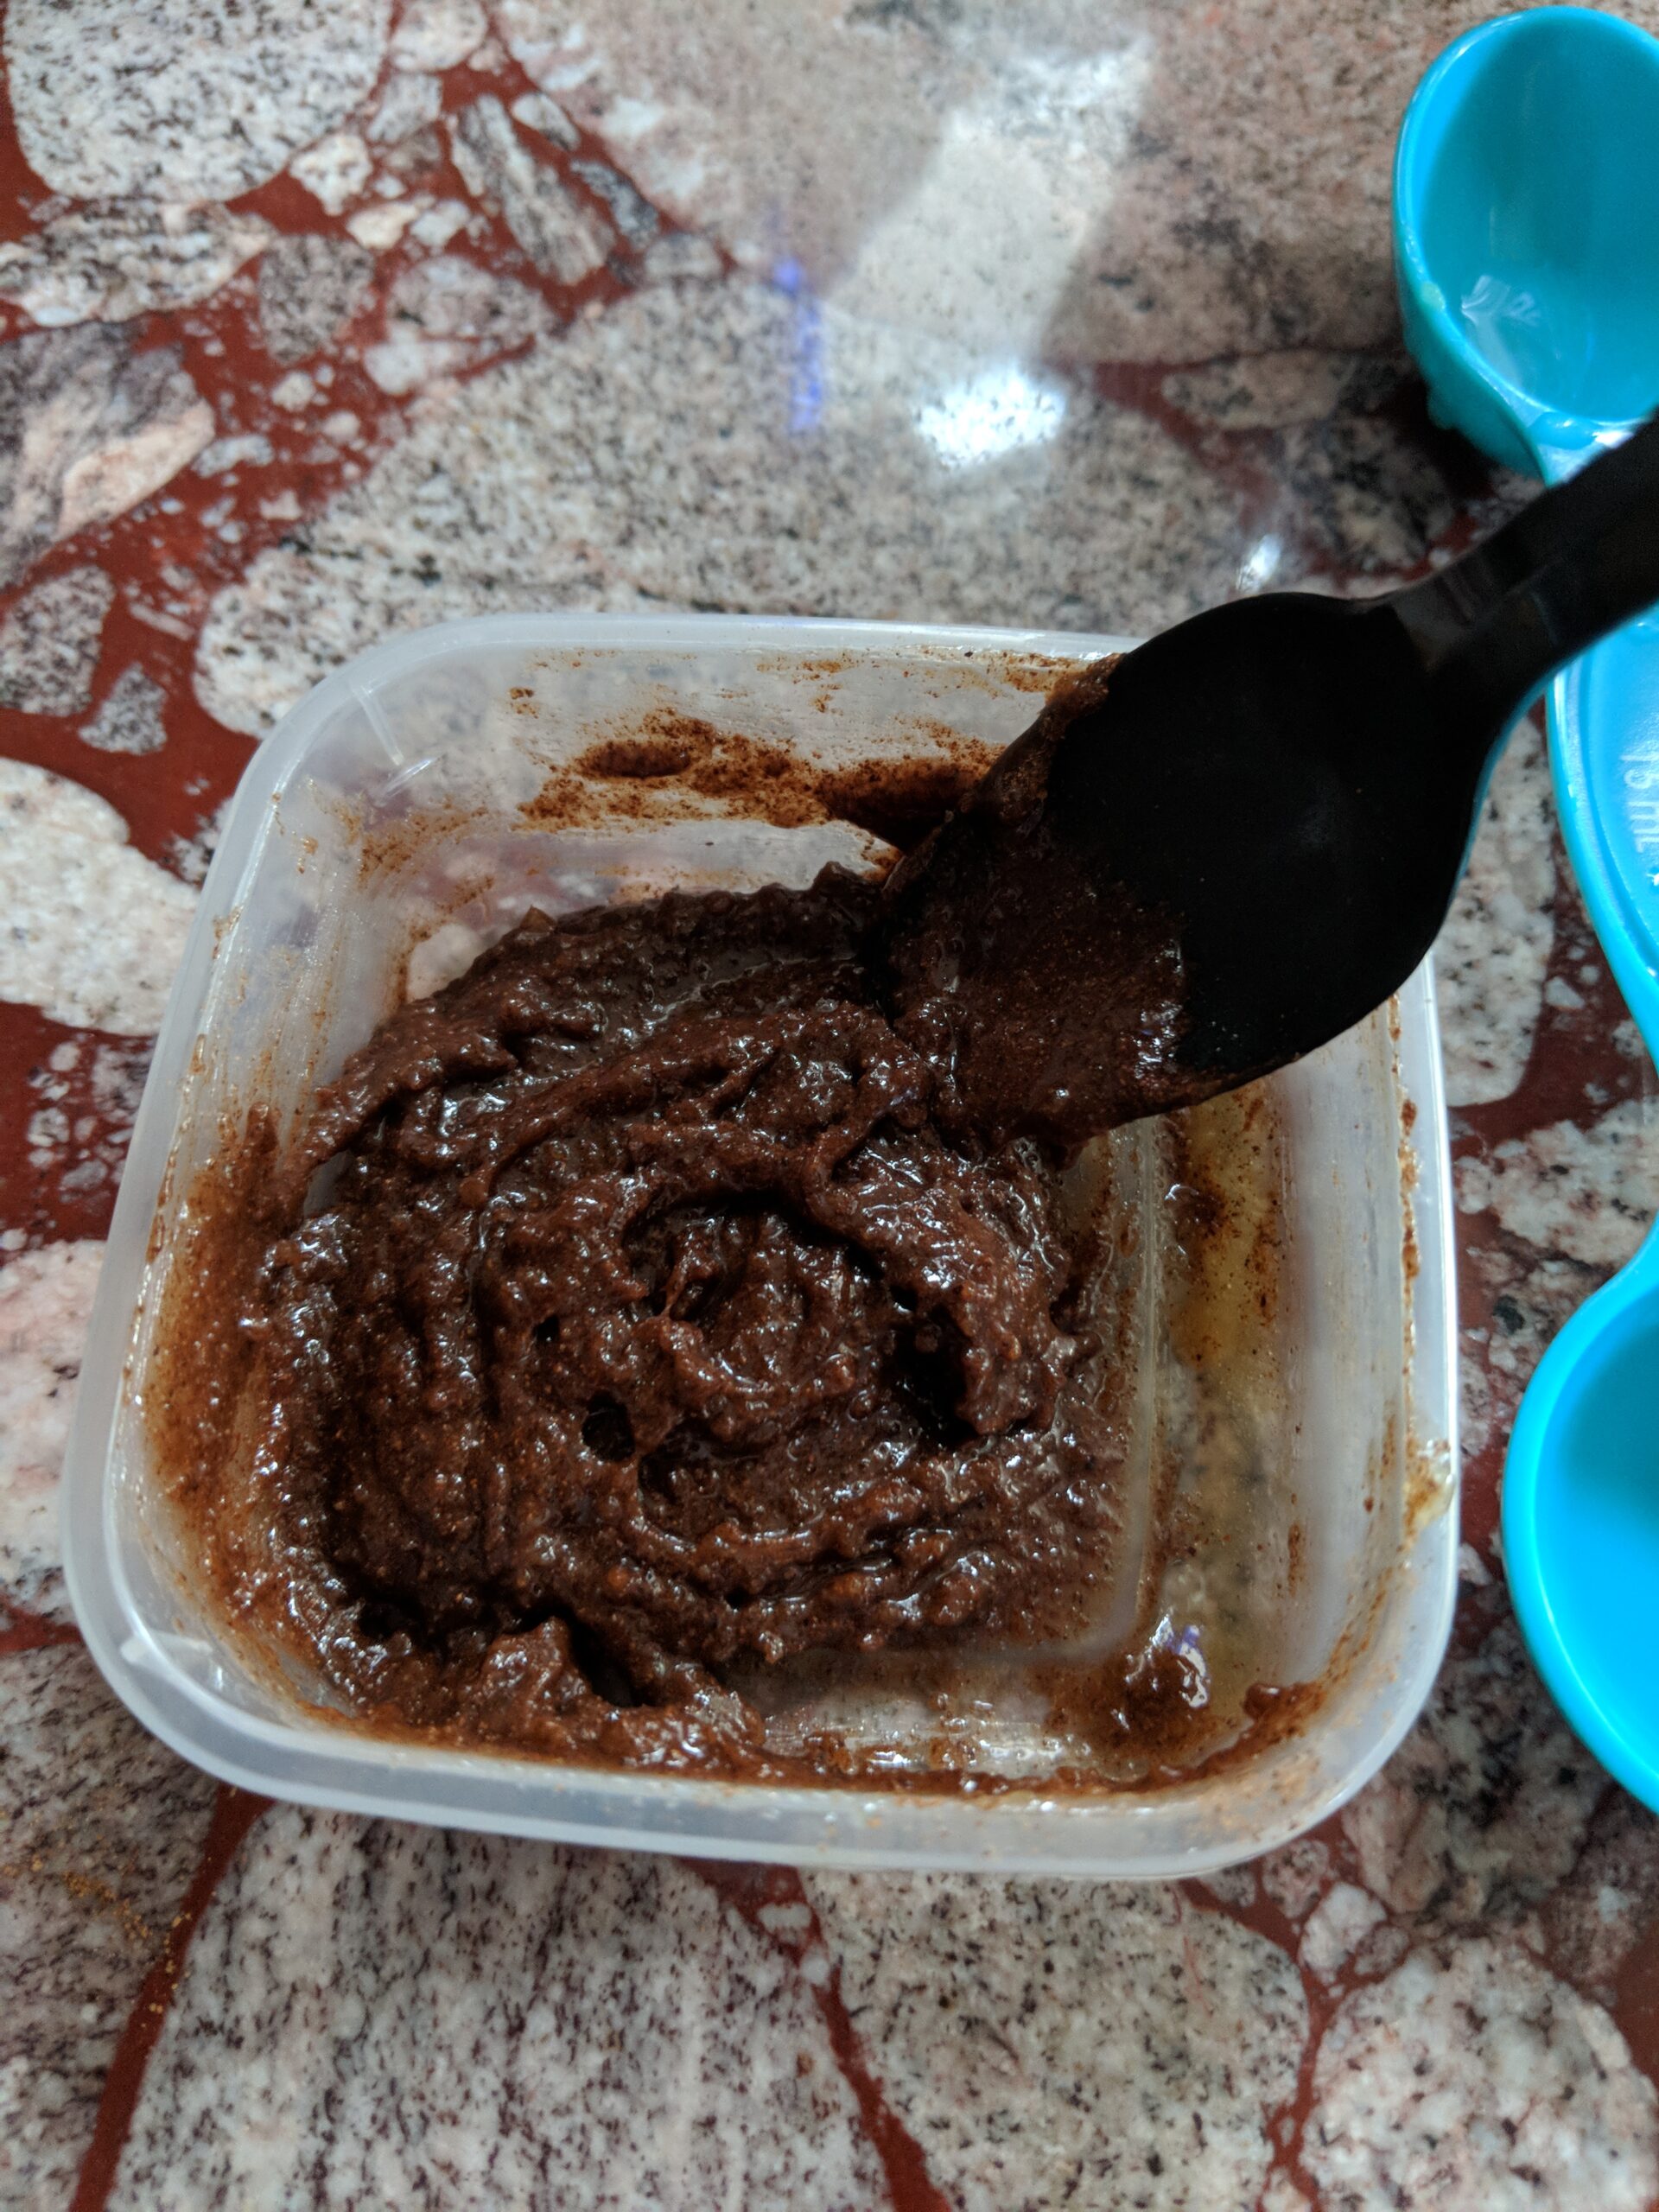
It smelled great but looked undesirable, to say the least.
I didn't think the recipe would make enough product to cover my whole face. I was surprised at how wrong I was:
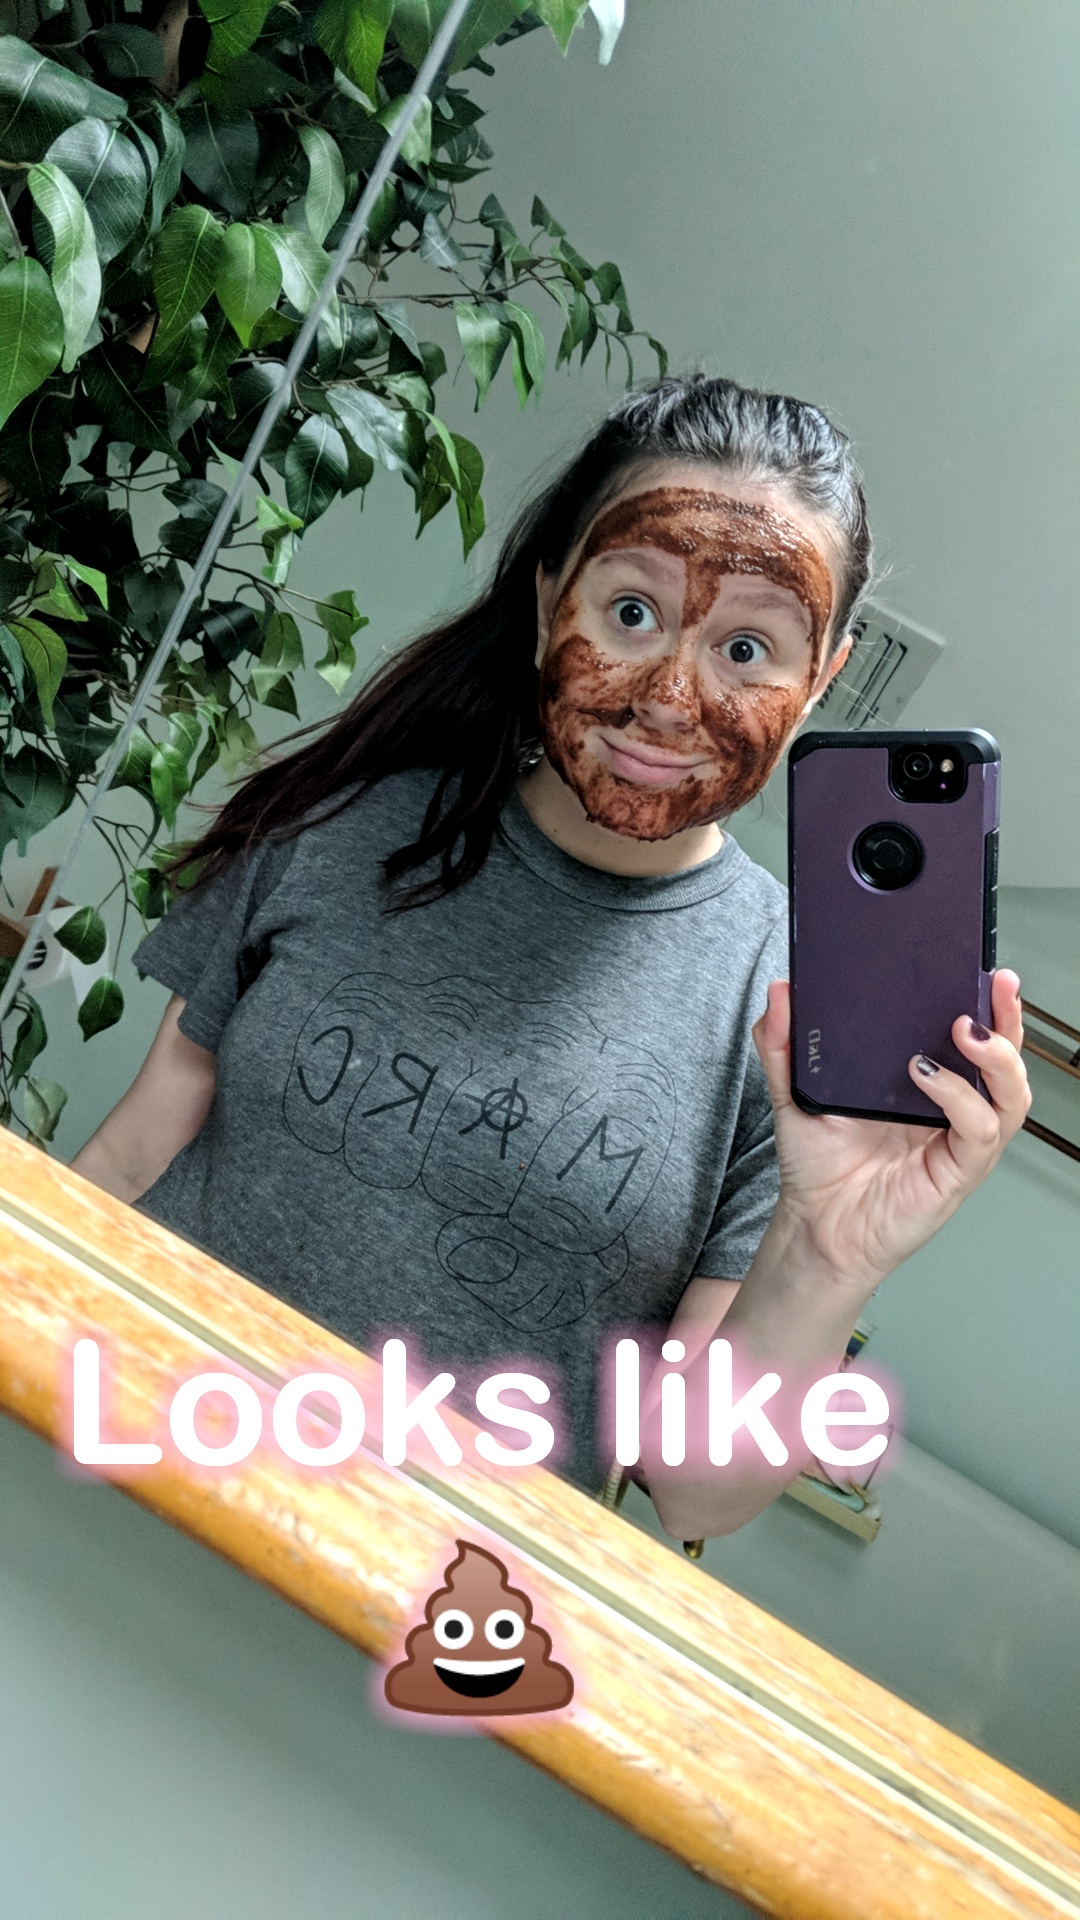
After putting a thin but even layer of the mask all over my face, I just had to laugh at myself. (Also, I endorse the utilization of an Ariana Grande-style high ponytail while applying this mask so that it doesn't gunk up your hair.)
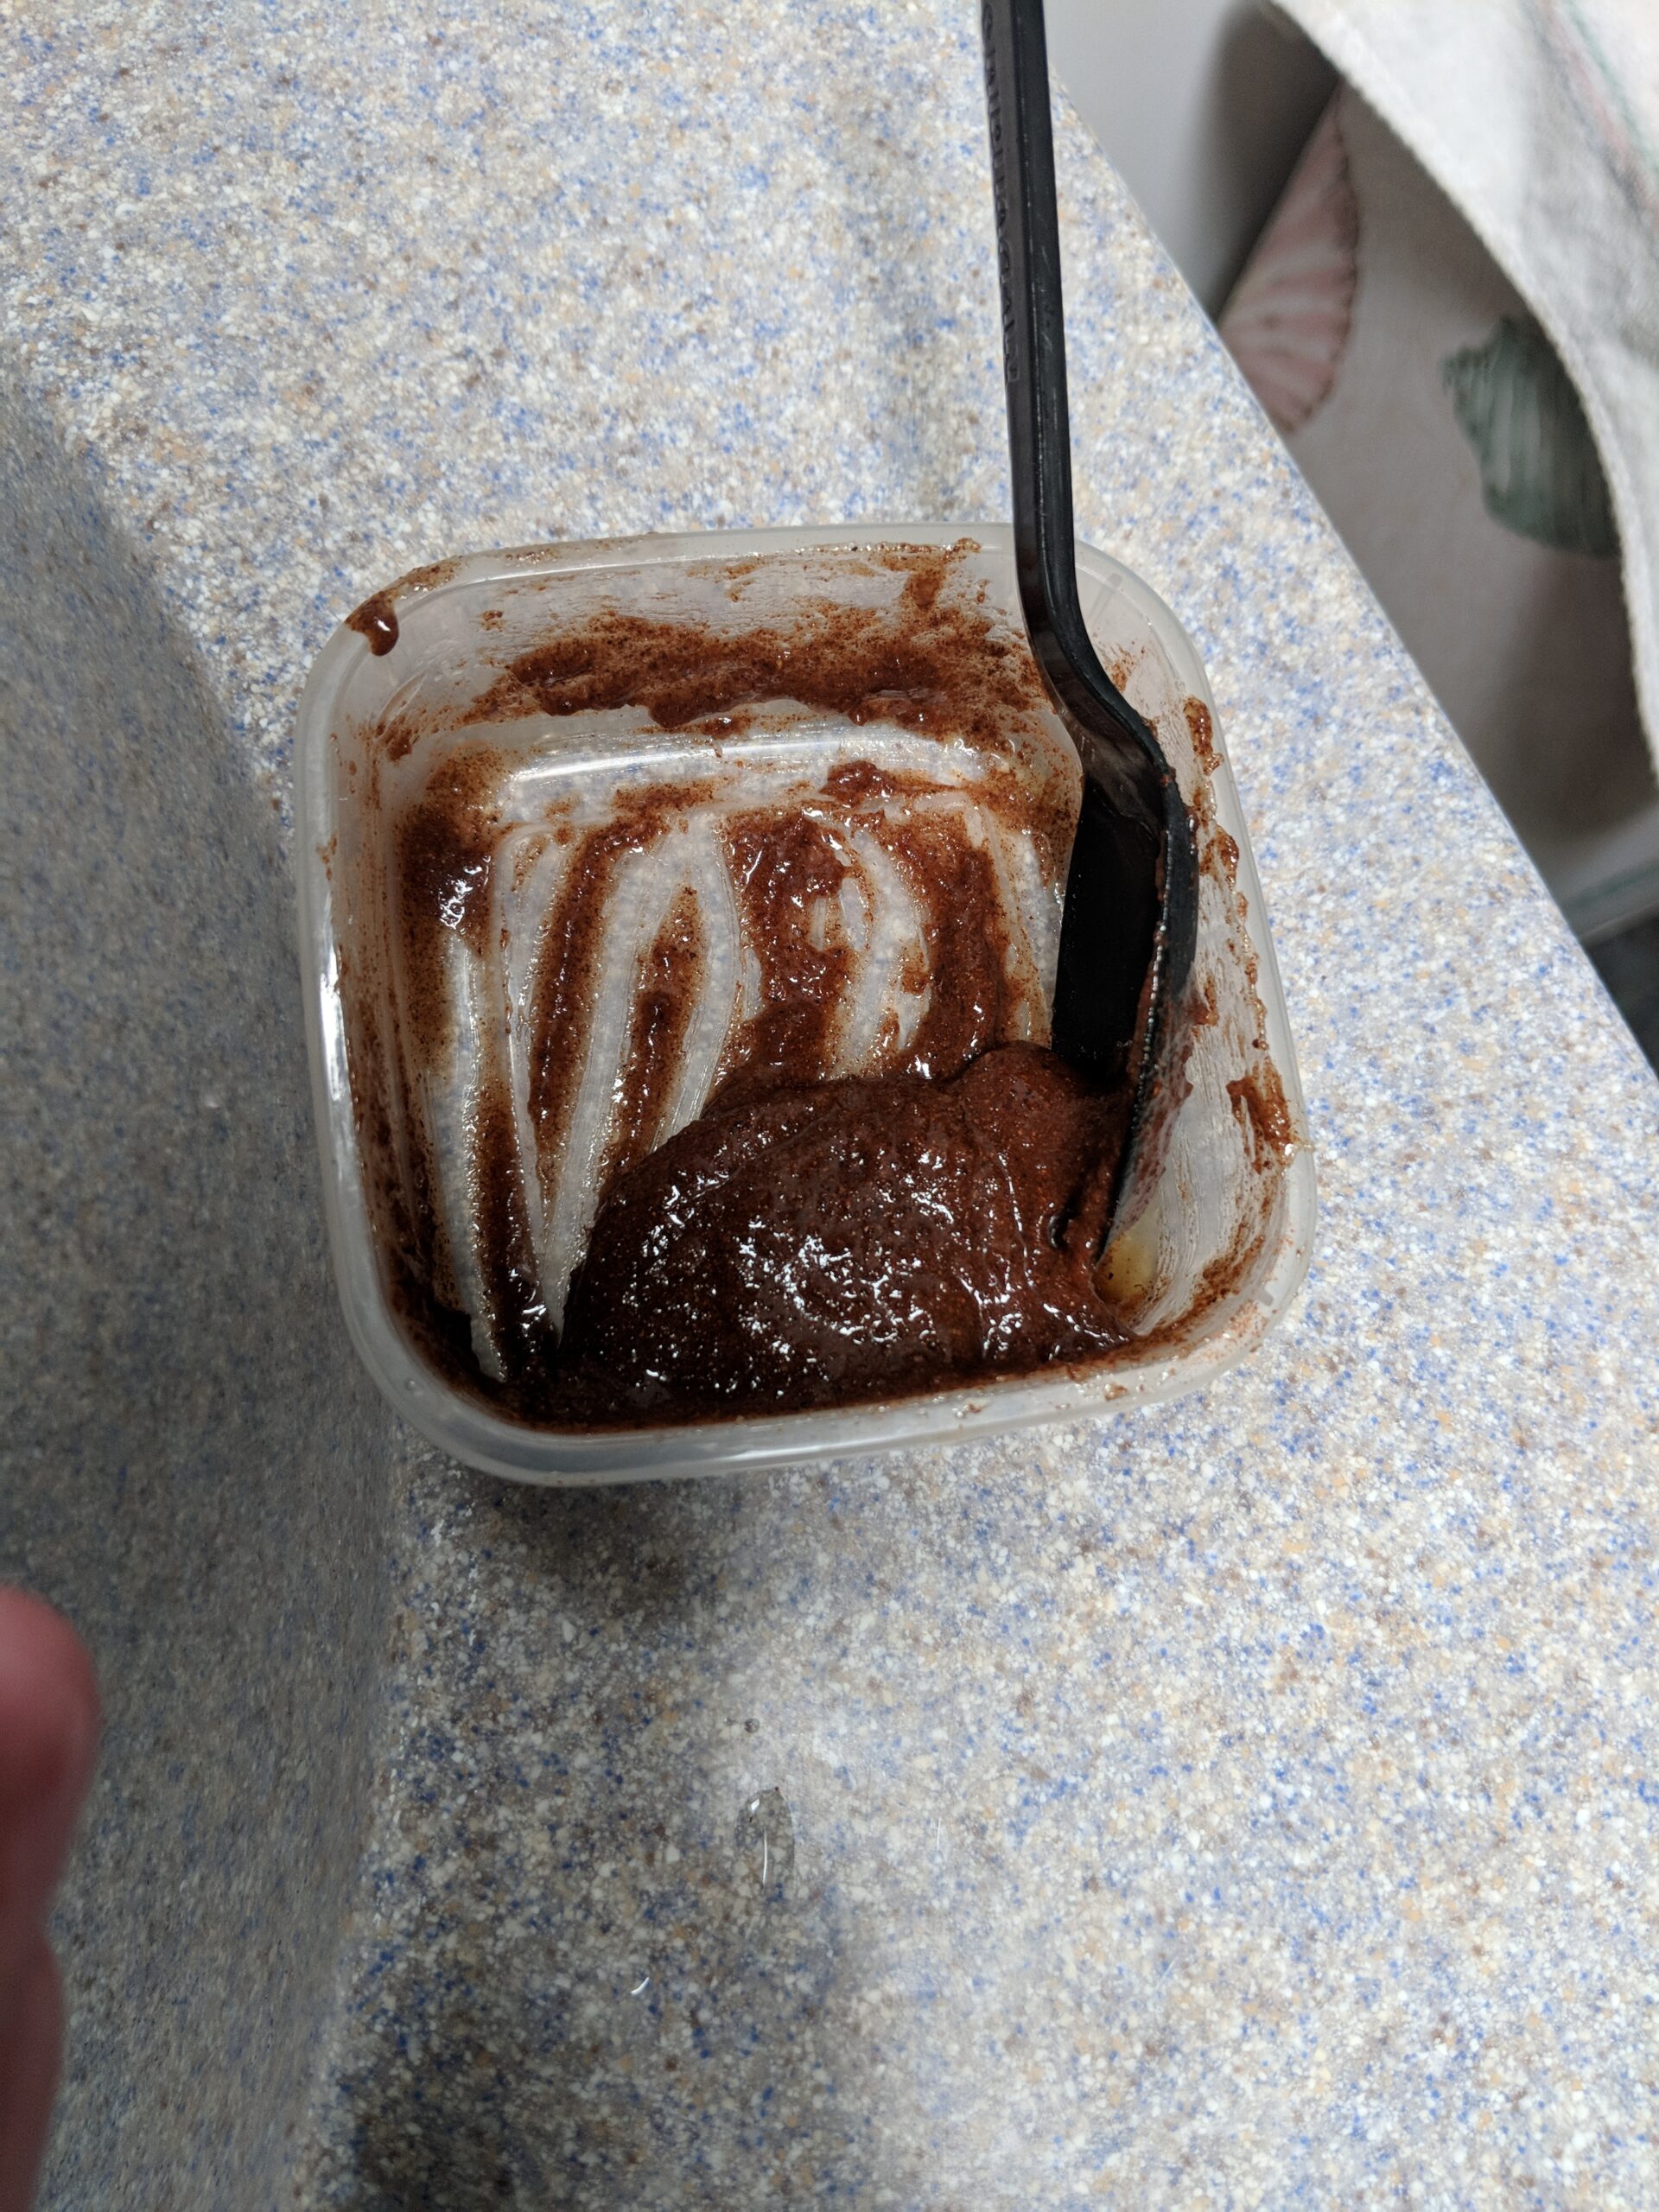
I used about half of the mask I made, so the above recipe can probably be considered a double batch.
I left the mask on for half an hour, per the directions. My skin started to feel tingly about 10 minutes in, and the mask itself started to get drippy at 20. (Be sure to keep a towel on hand if you try this at home.)
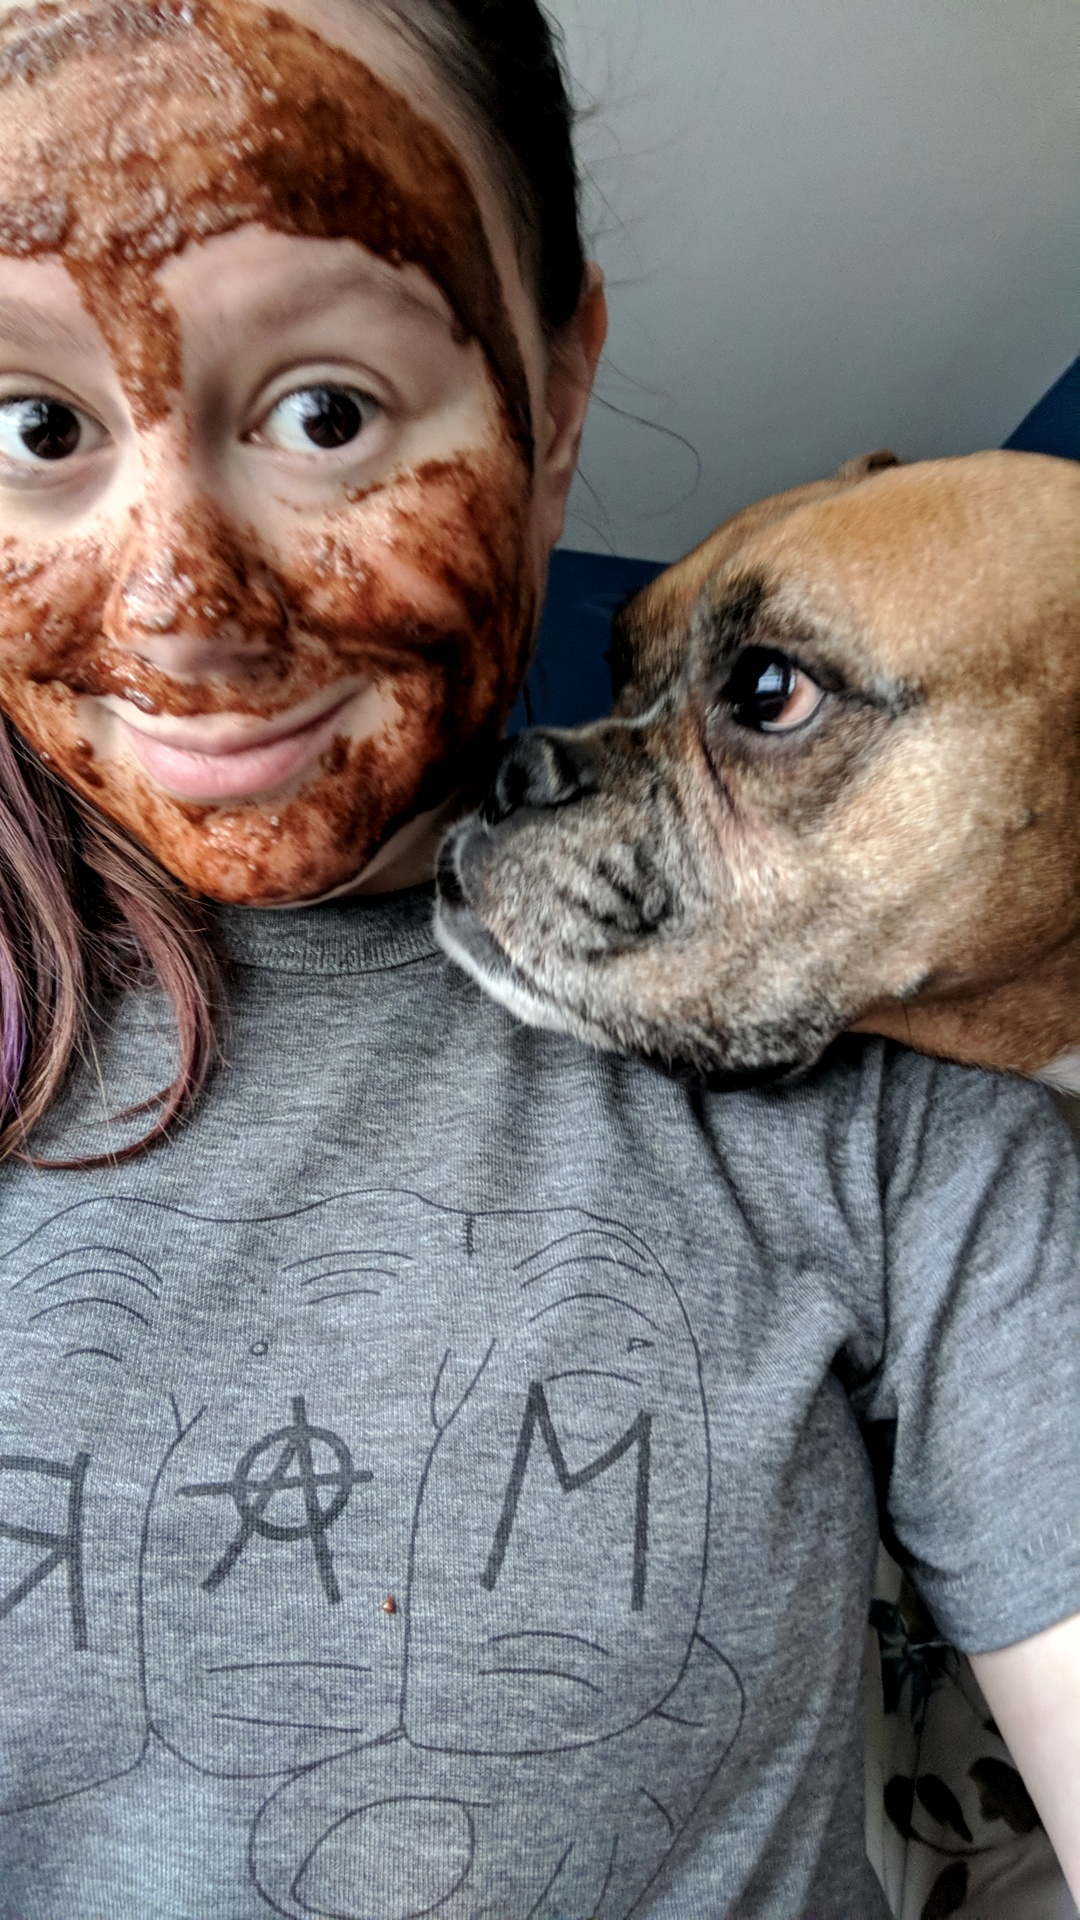
This is my dog, Moesha. She yells at me any time I put anything on my face, but she took a quick break during her scolding to try to taste this mask. She came this close.
After the half hour was up, I washed off the mask with warm water, which was somehow both easier and harder than I'd imagined. The honey came off right away with the warm water, but I had to wipe my face with a towel a few times before all the spices came off.
A few minutes after I washed off everything, my face felt raw — a little more intense than when I wash with an exfoliant, but not by much. I also thought my veins looked more pronounced post-mask, but my eyes could have just been deceiving me, so you be the judge. My skin felt soft in the hours after using the mask, but I did feel a little drier than usual come nighttime.
Overall rating: 3.8/5
DIY 2: Apple Cider Vinegar and Green Tea Face Mask
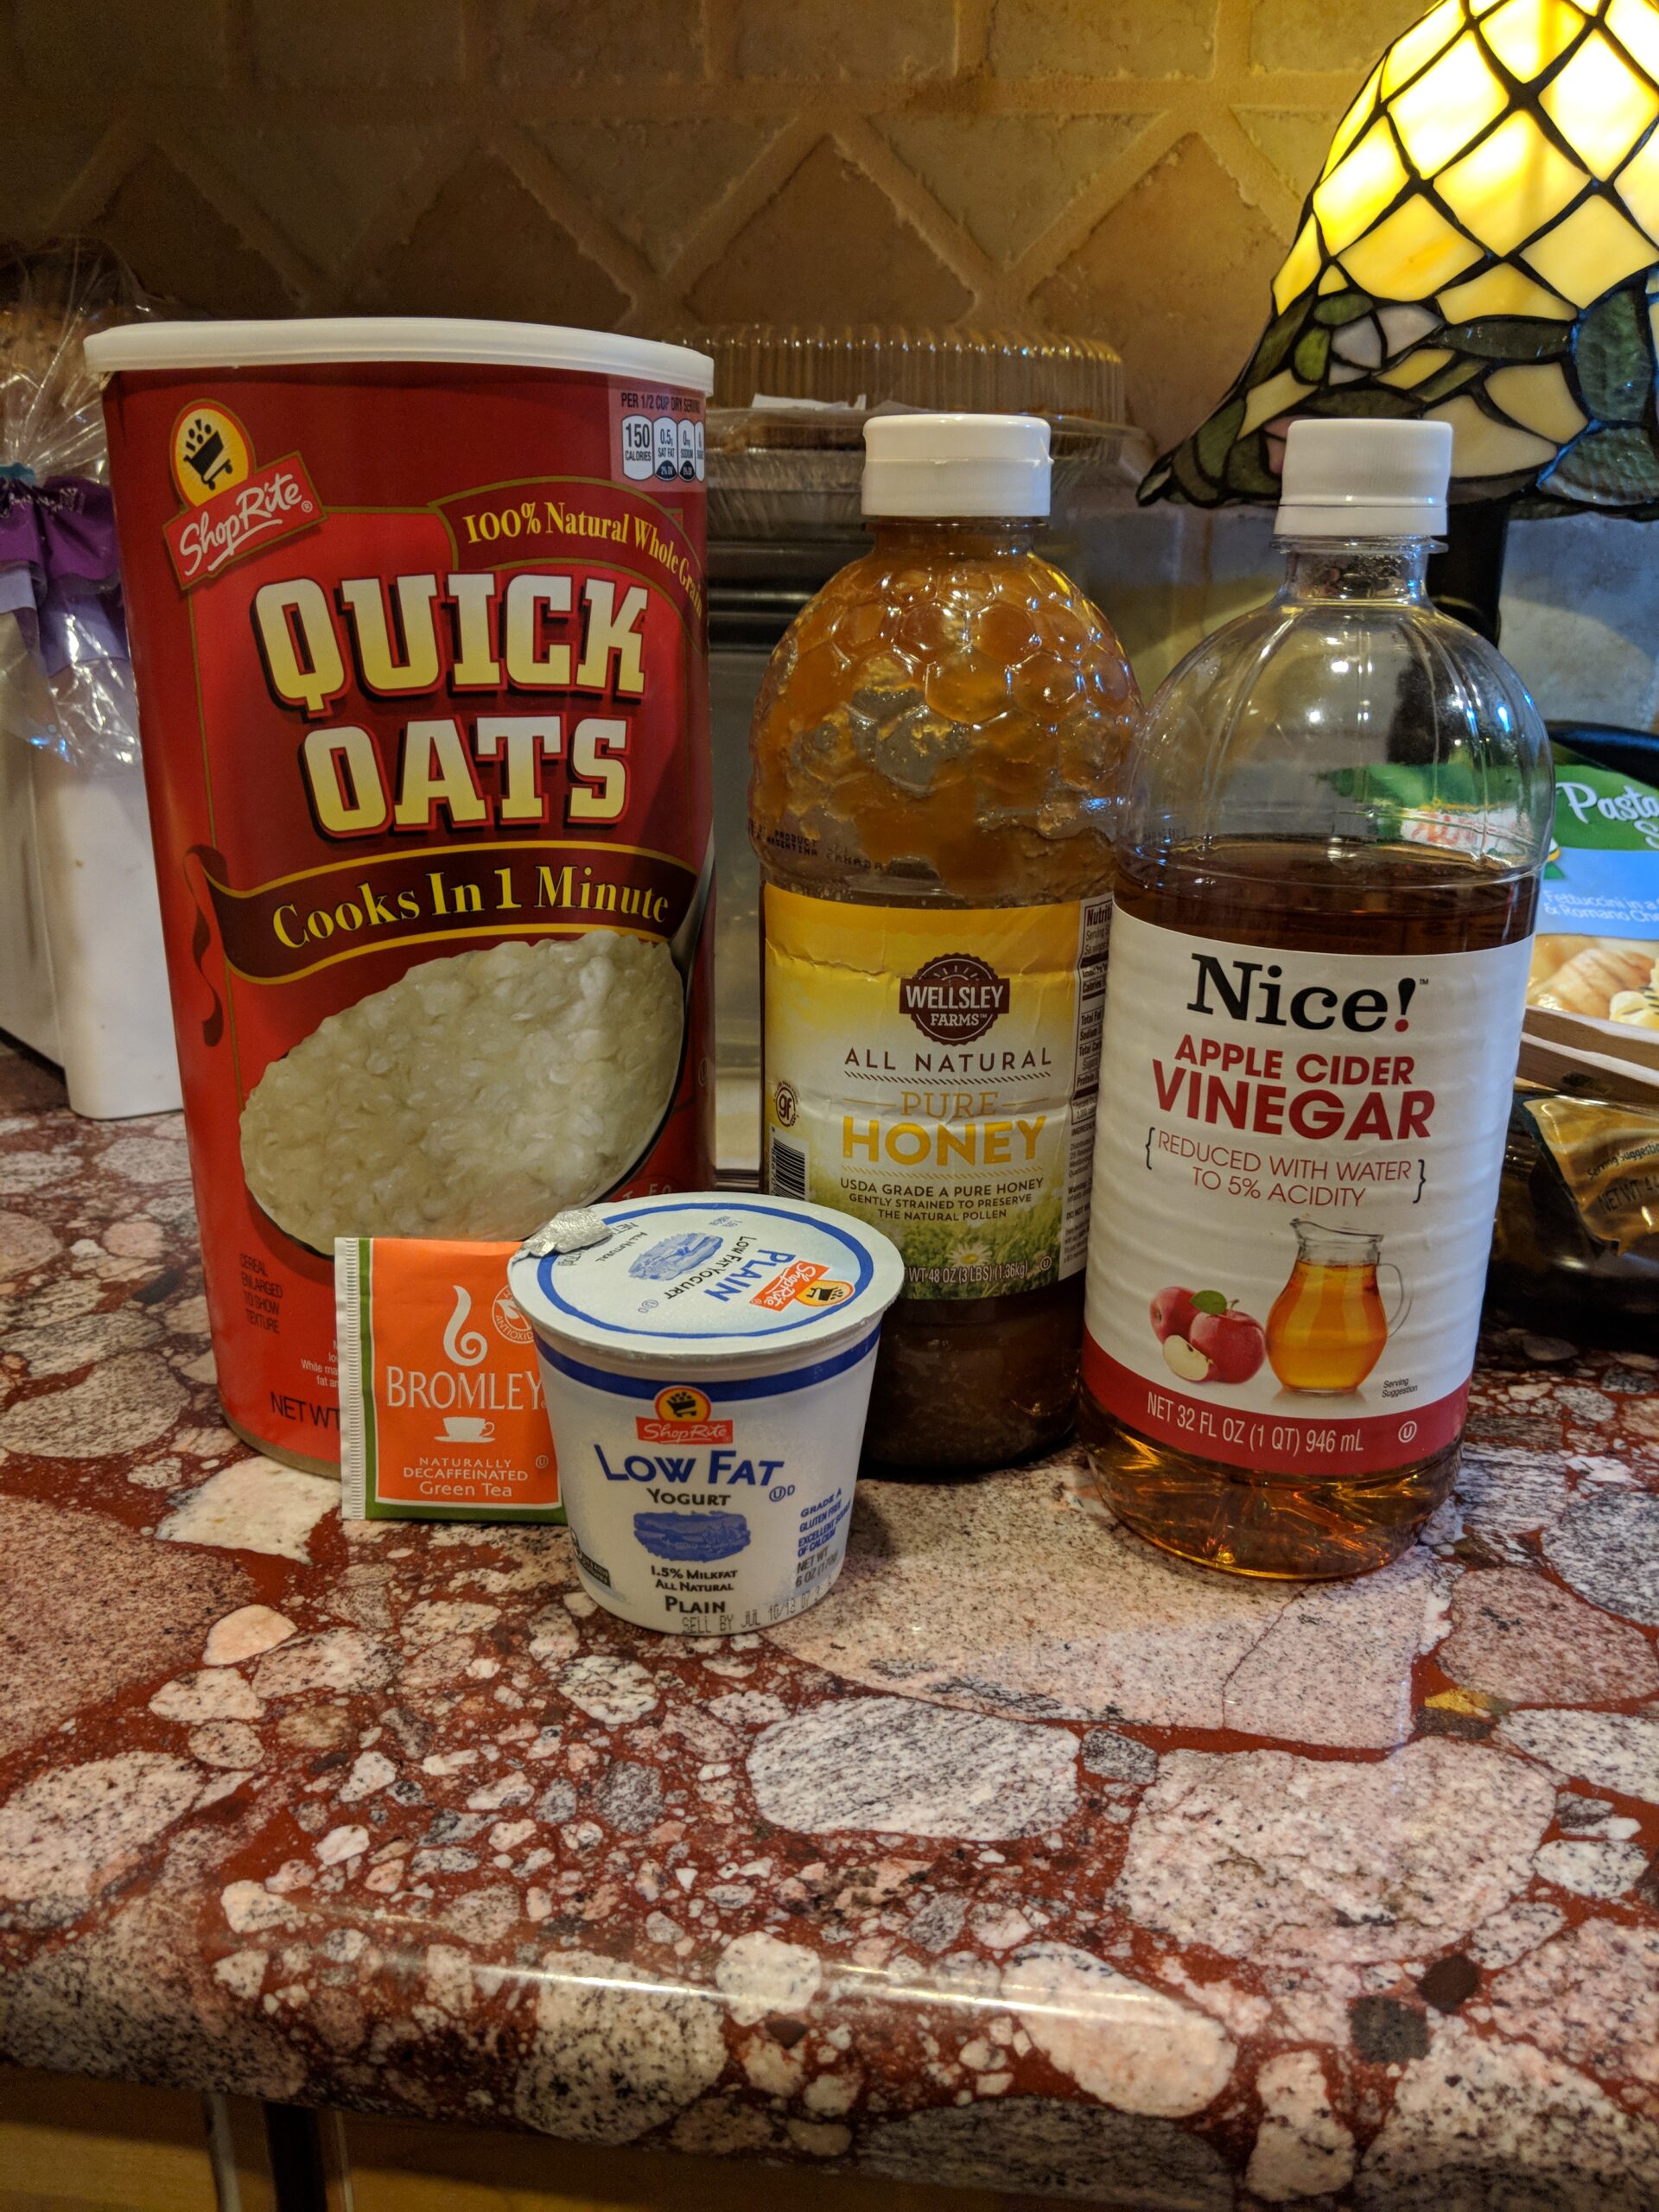
Next up was my big chance to use apple cider vinegar. This mask calls for the following:
- 1 cup green tea
- 1 1/2 tbsps. dry oatmeal
- 1 tsp. honey
- 1 tbsp. apple cider vinegar
- 2 tbsps. plain yogurt
You’ll also need an oil-free cleanser to prep your face before applying the mask.
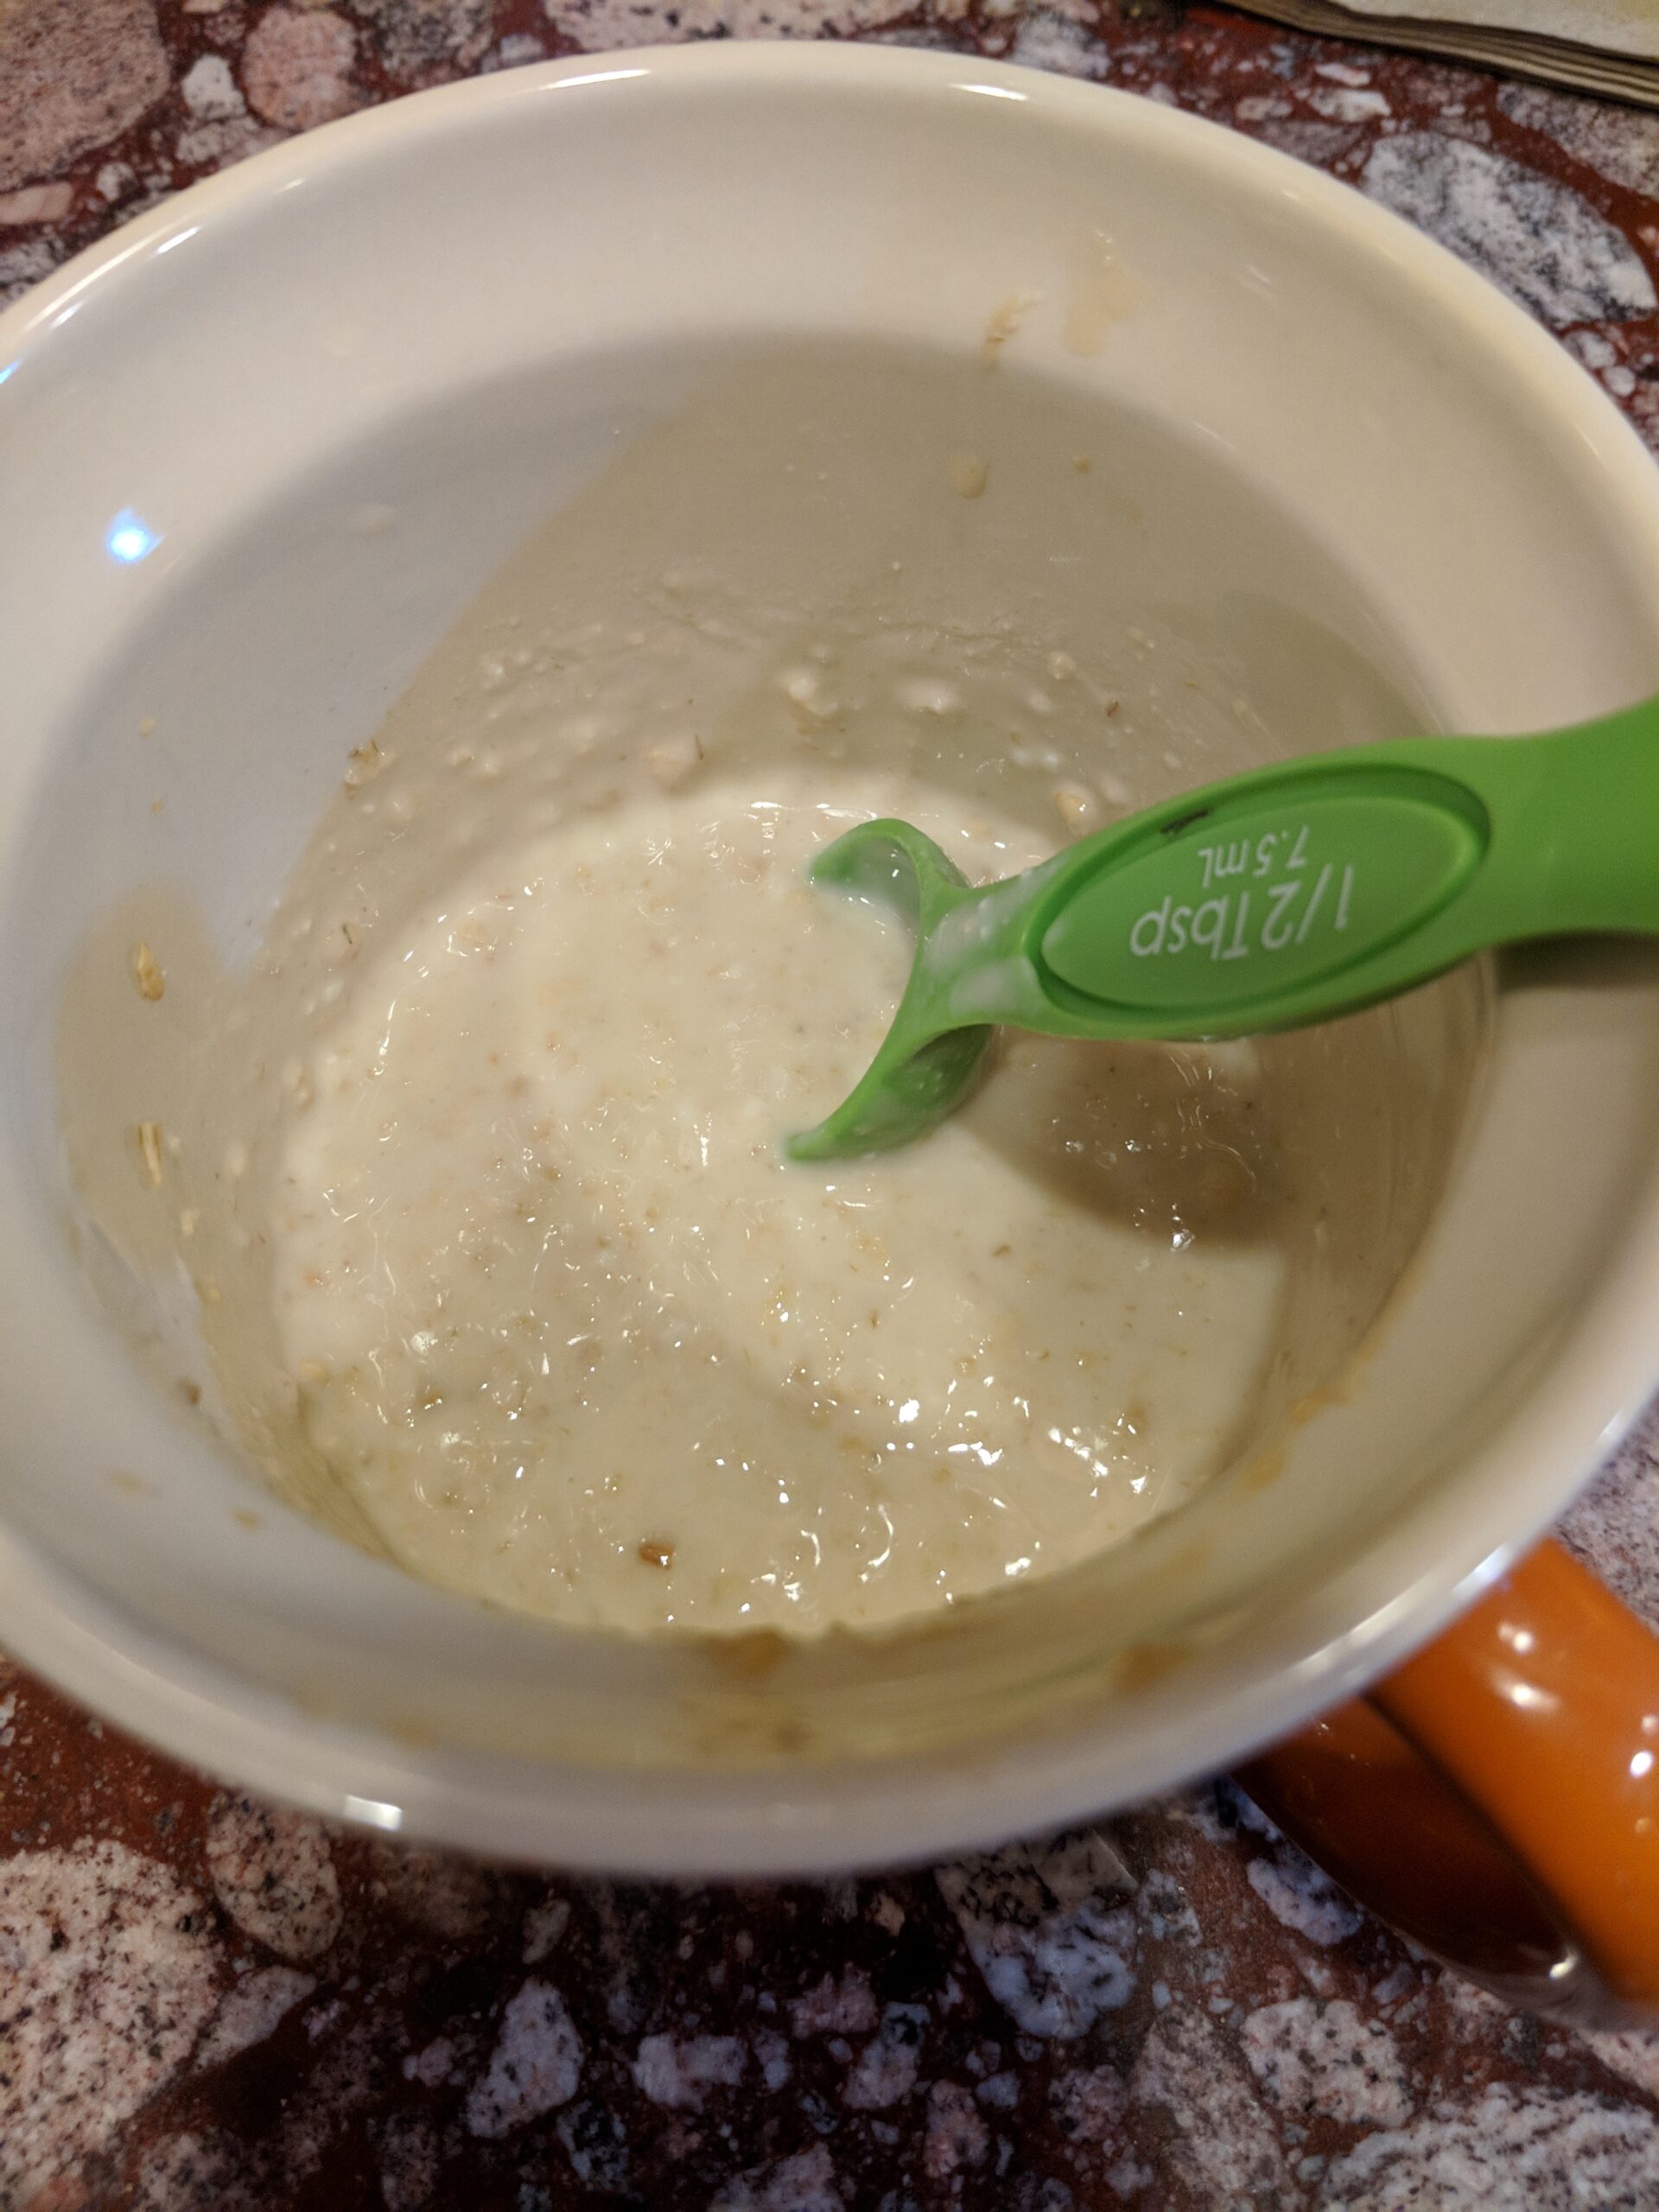
The consistency still seemed a bit thin at first, so I let it sit for about five minutes and gave it a good stir. That helped it thicken up a bit more, which made the application much easier and much less messy.

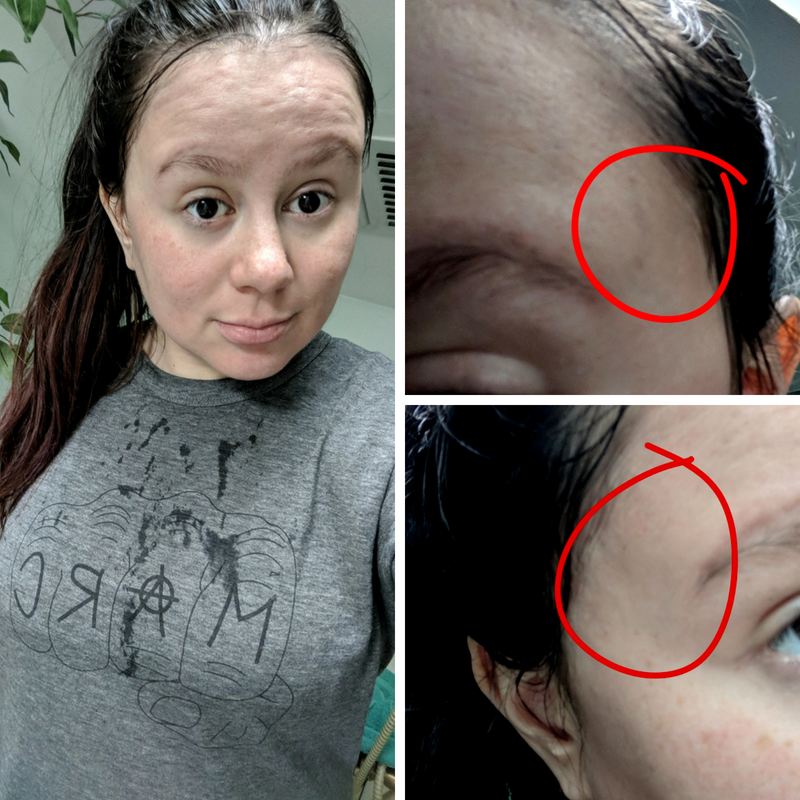
Here's my skin before applying this mask. You'll see that most of my redness appears around my cheeks.
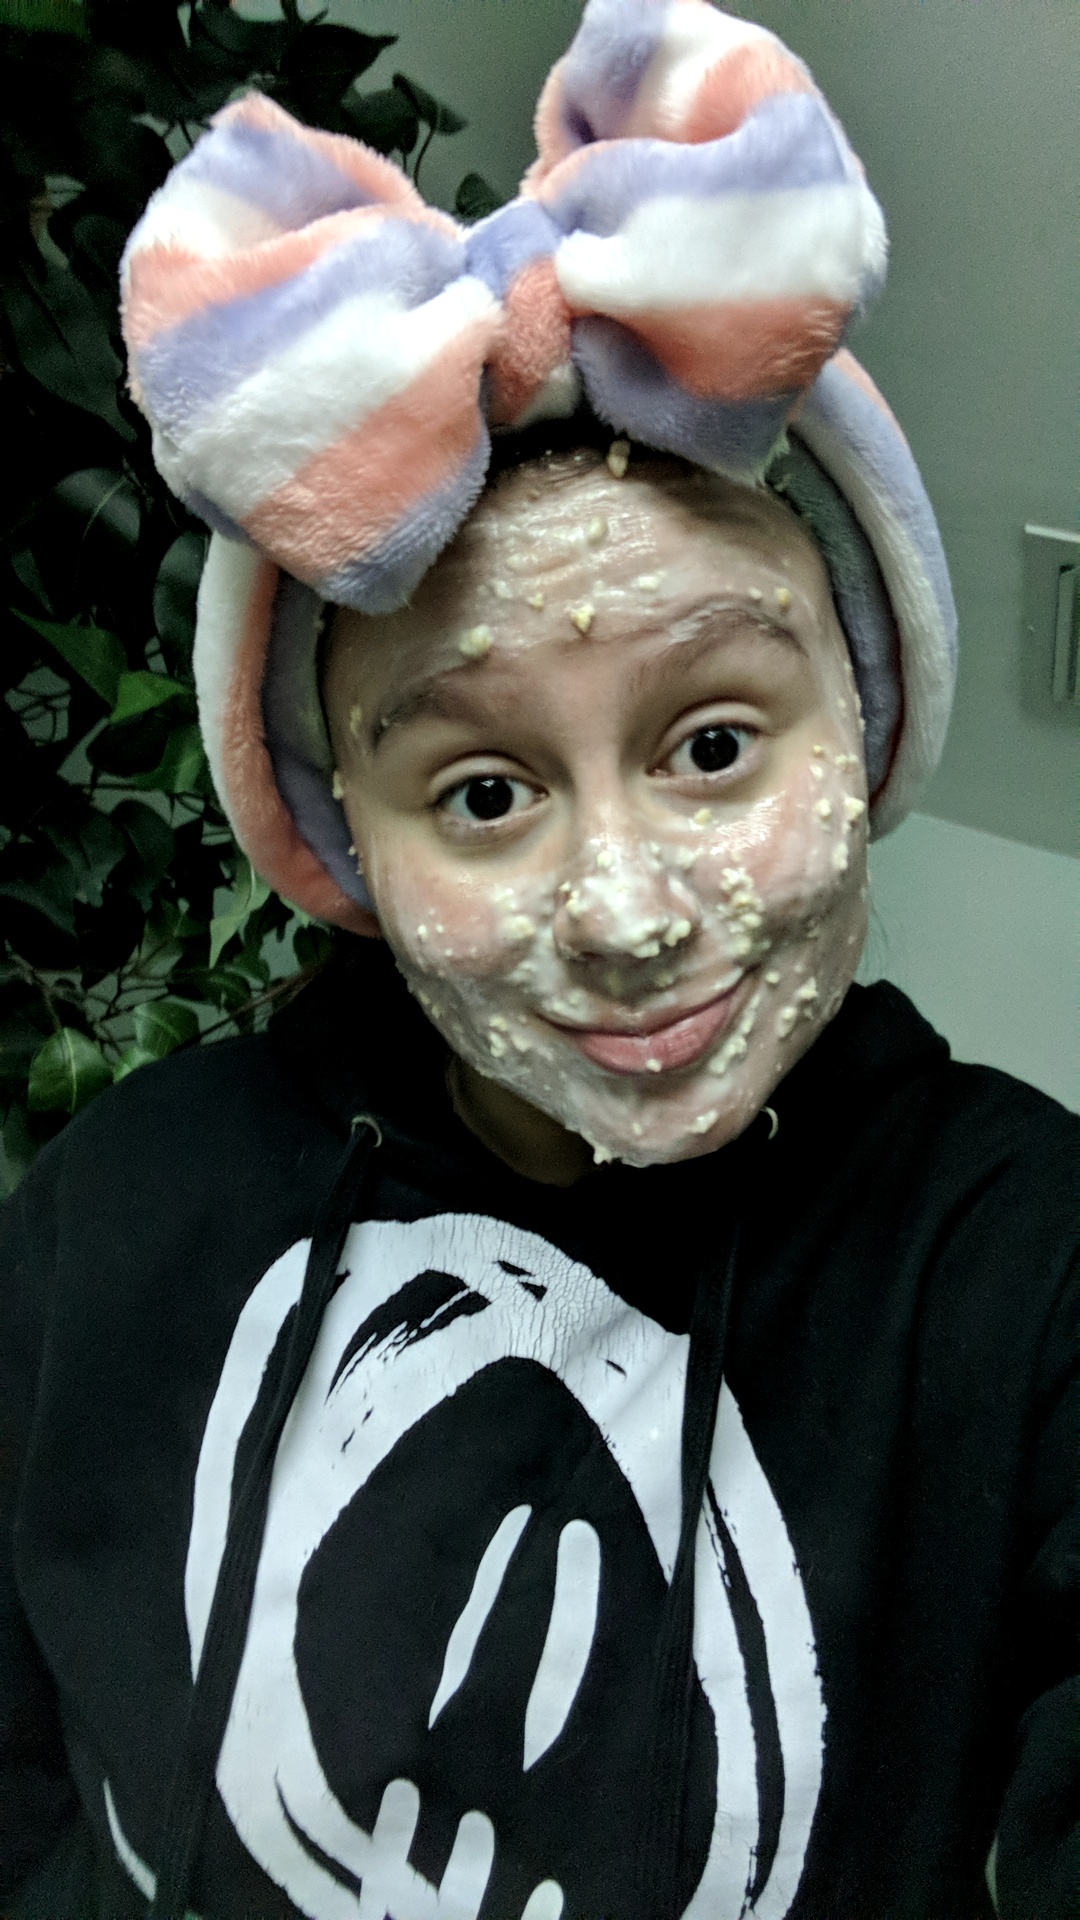
After washing my face with warm water as instructed in the directions, this mask felt COLD. (At least I had my bow to bring me joy.)
About halfway through the 15 minutes required to let the mask sit, I could feel my face tightening up a bit. (Thanks, apple cider vinegar and green tea!)

After I washed off the mask, my skin felt as tight as it usually does after I apply toner, but not as dry. I kept touching my face to feel how soft it was. If anyone in my house had been awake at the time, I definitely would have encouraged them to touch it. When I woke up the next morning, my skin was just as soft and definitely less red.
Overall rating: 5/5
DIY 3: Honey Cinnamon Face Mask
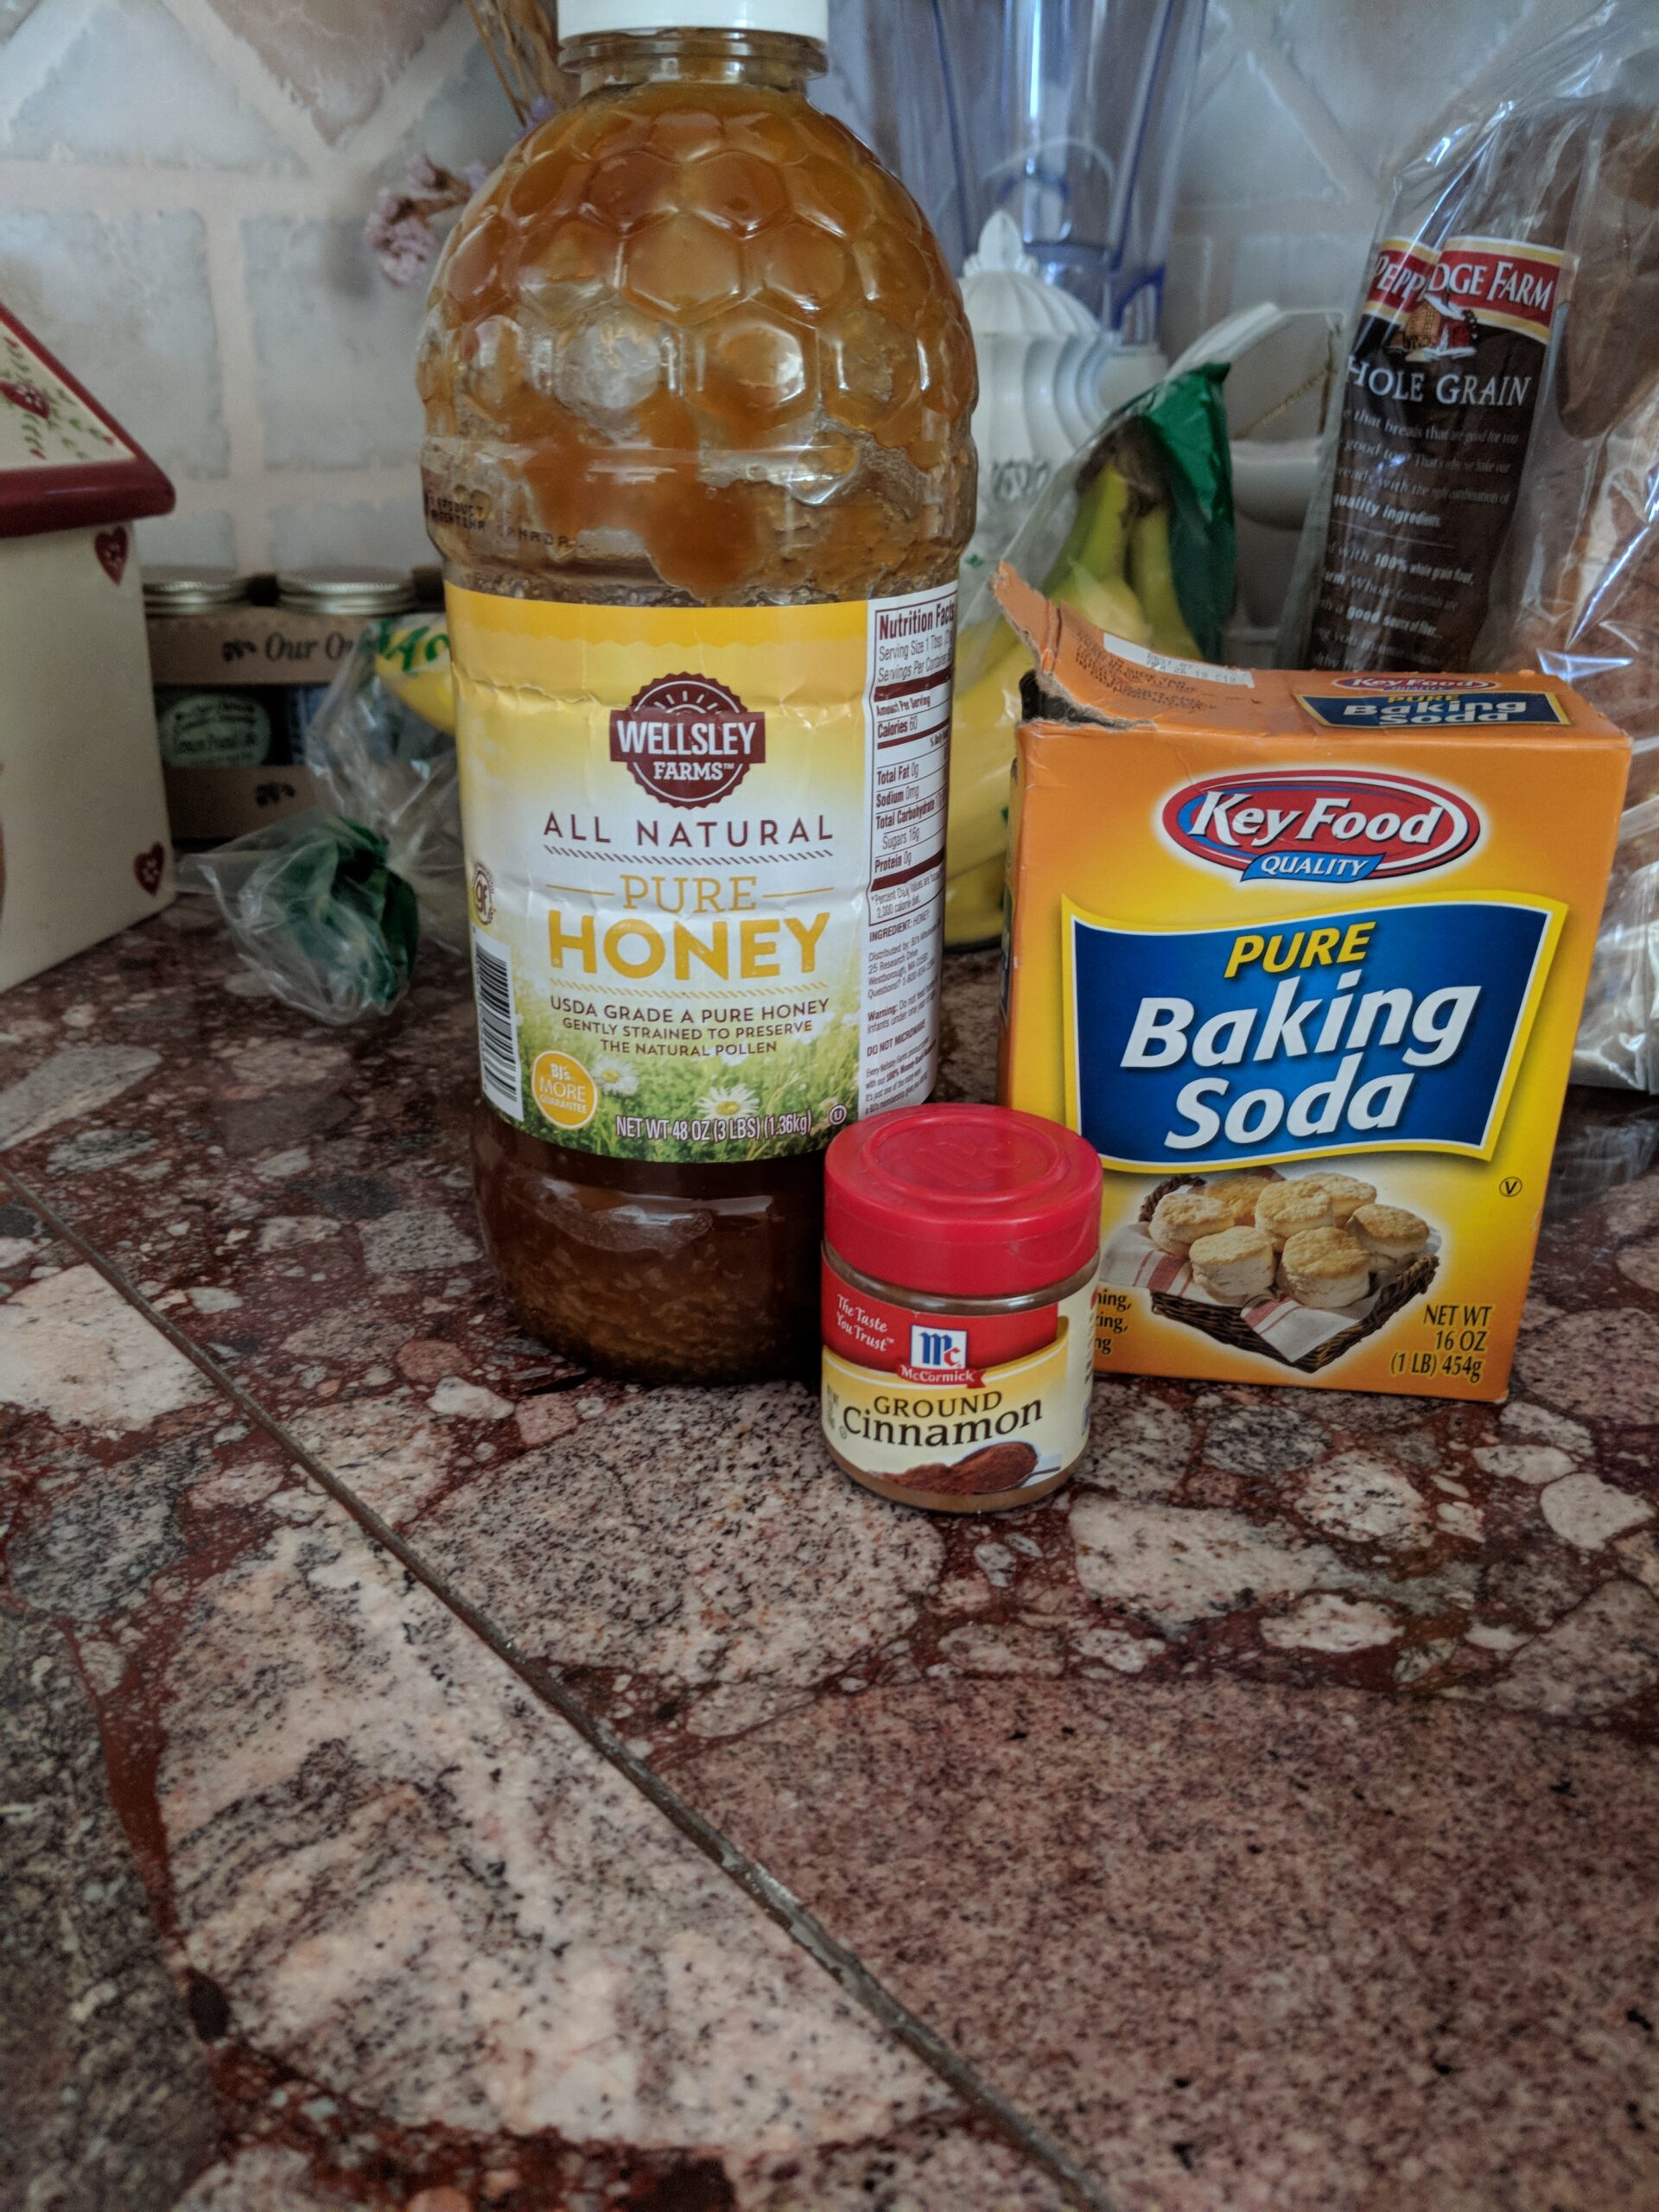
This recipe is very similar to the first, so I was curious to see if it would feel the same. Here are the ingredients I used:
- 1 tbsp. honey
- 1 tsp. baking soda
- 1 tsp. cinnamon
A quick mix of the three and you’re ready to go!
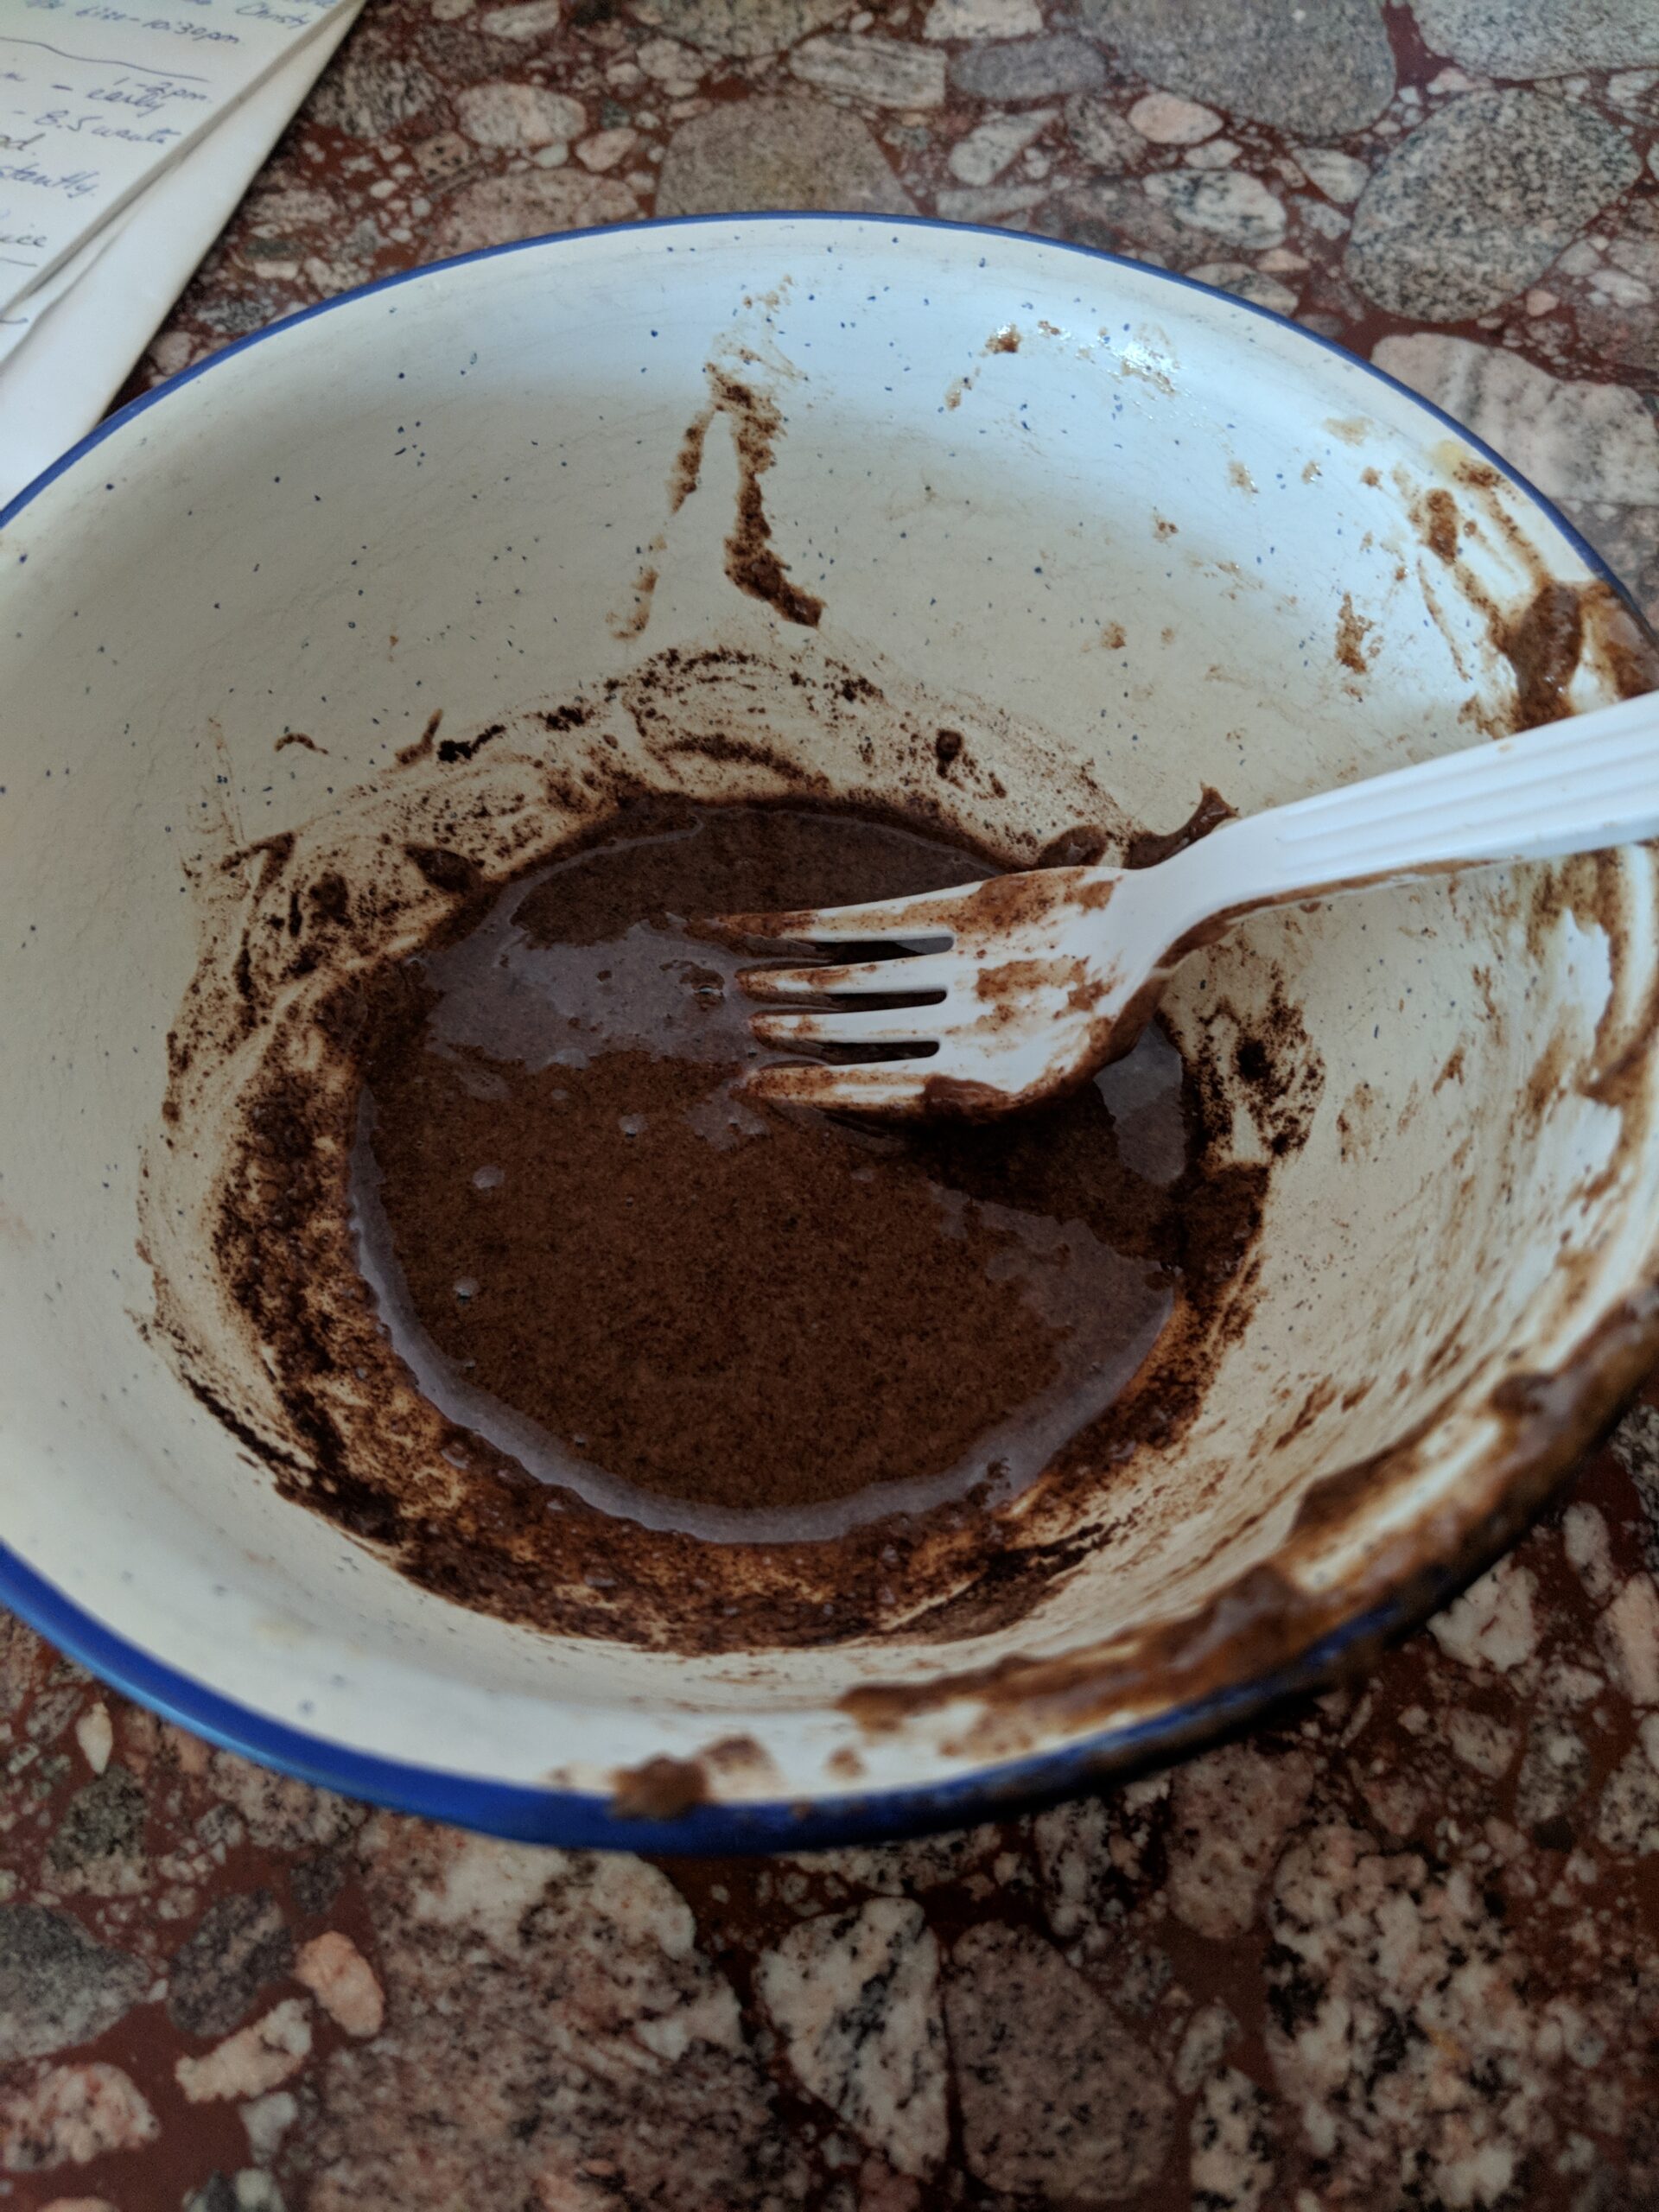
It looked like pudding. Even my nonexistent sweet tooth wanted a taste.

Here's my skin before applying this third mask. This time, I felt like the redness was concentrated around my cheeks and chin.
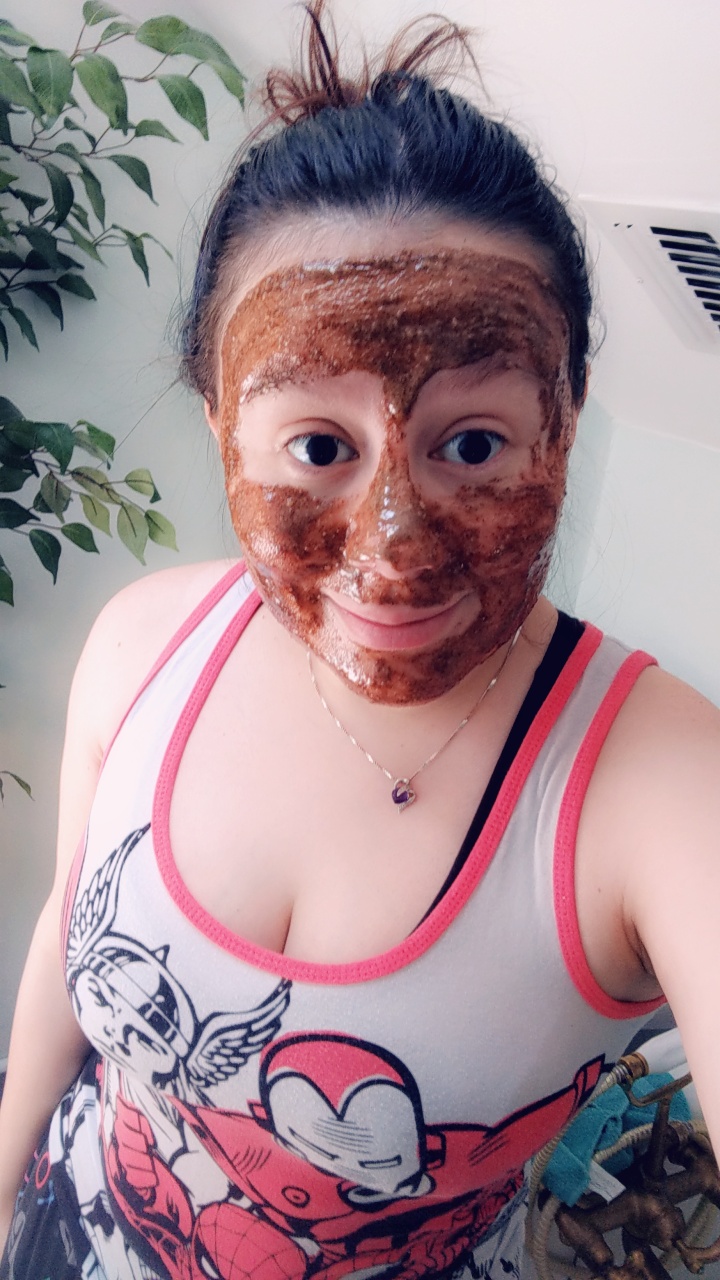
My face smelled like Cinnamon Toast Crunch. Nom.
This mask was decidedly less tingly than the first one I'd made out of cinnamon, honey, and nutmeg. I also left it on my face for a third of the time (just 10 minutes).

I felt like my skin was less red after washing off the mask, although no amount of rinsing alleviated the feeling of stickiness on my skin. It felt like there was residue on my face all day. I also noticed my skin drying out after a few hours.
Overall rating: 2.9/5
DIY 4: Mocha Frappuccino Face Mask
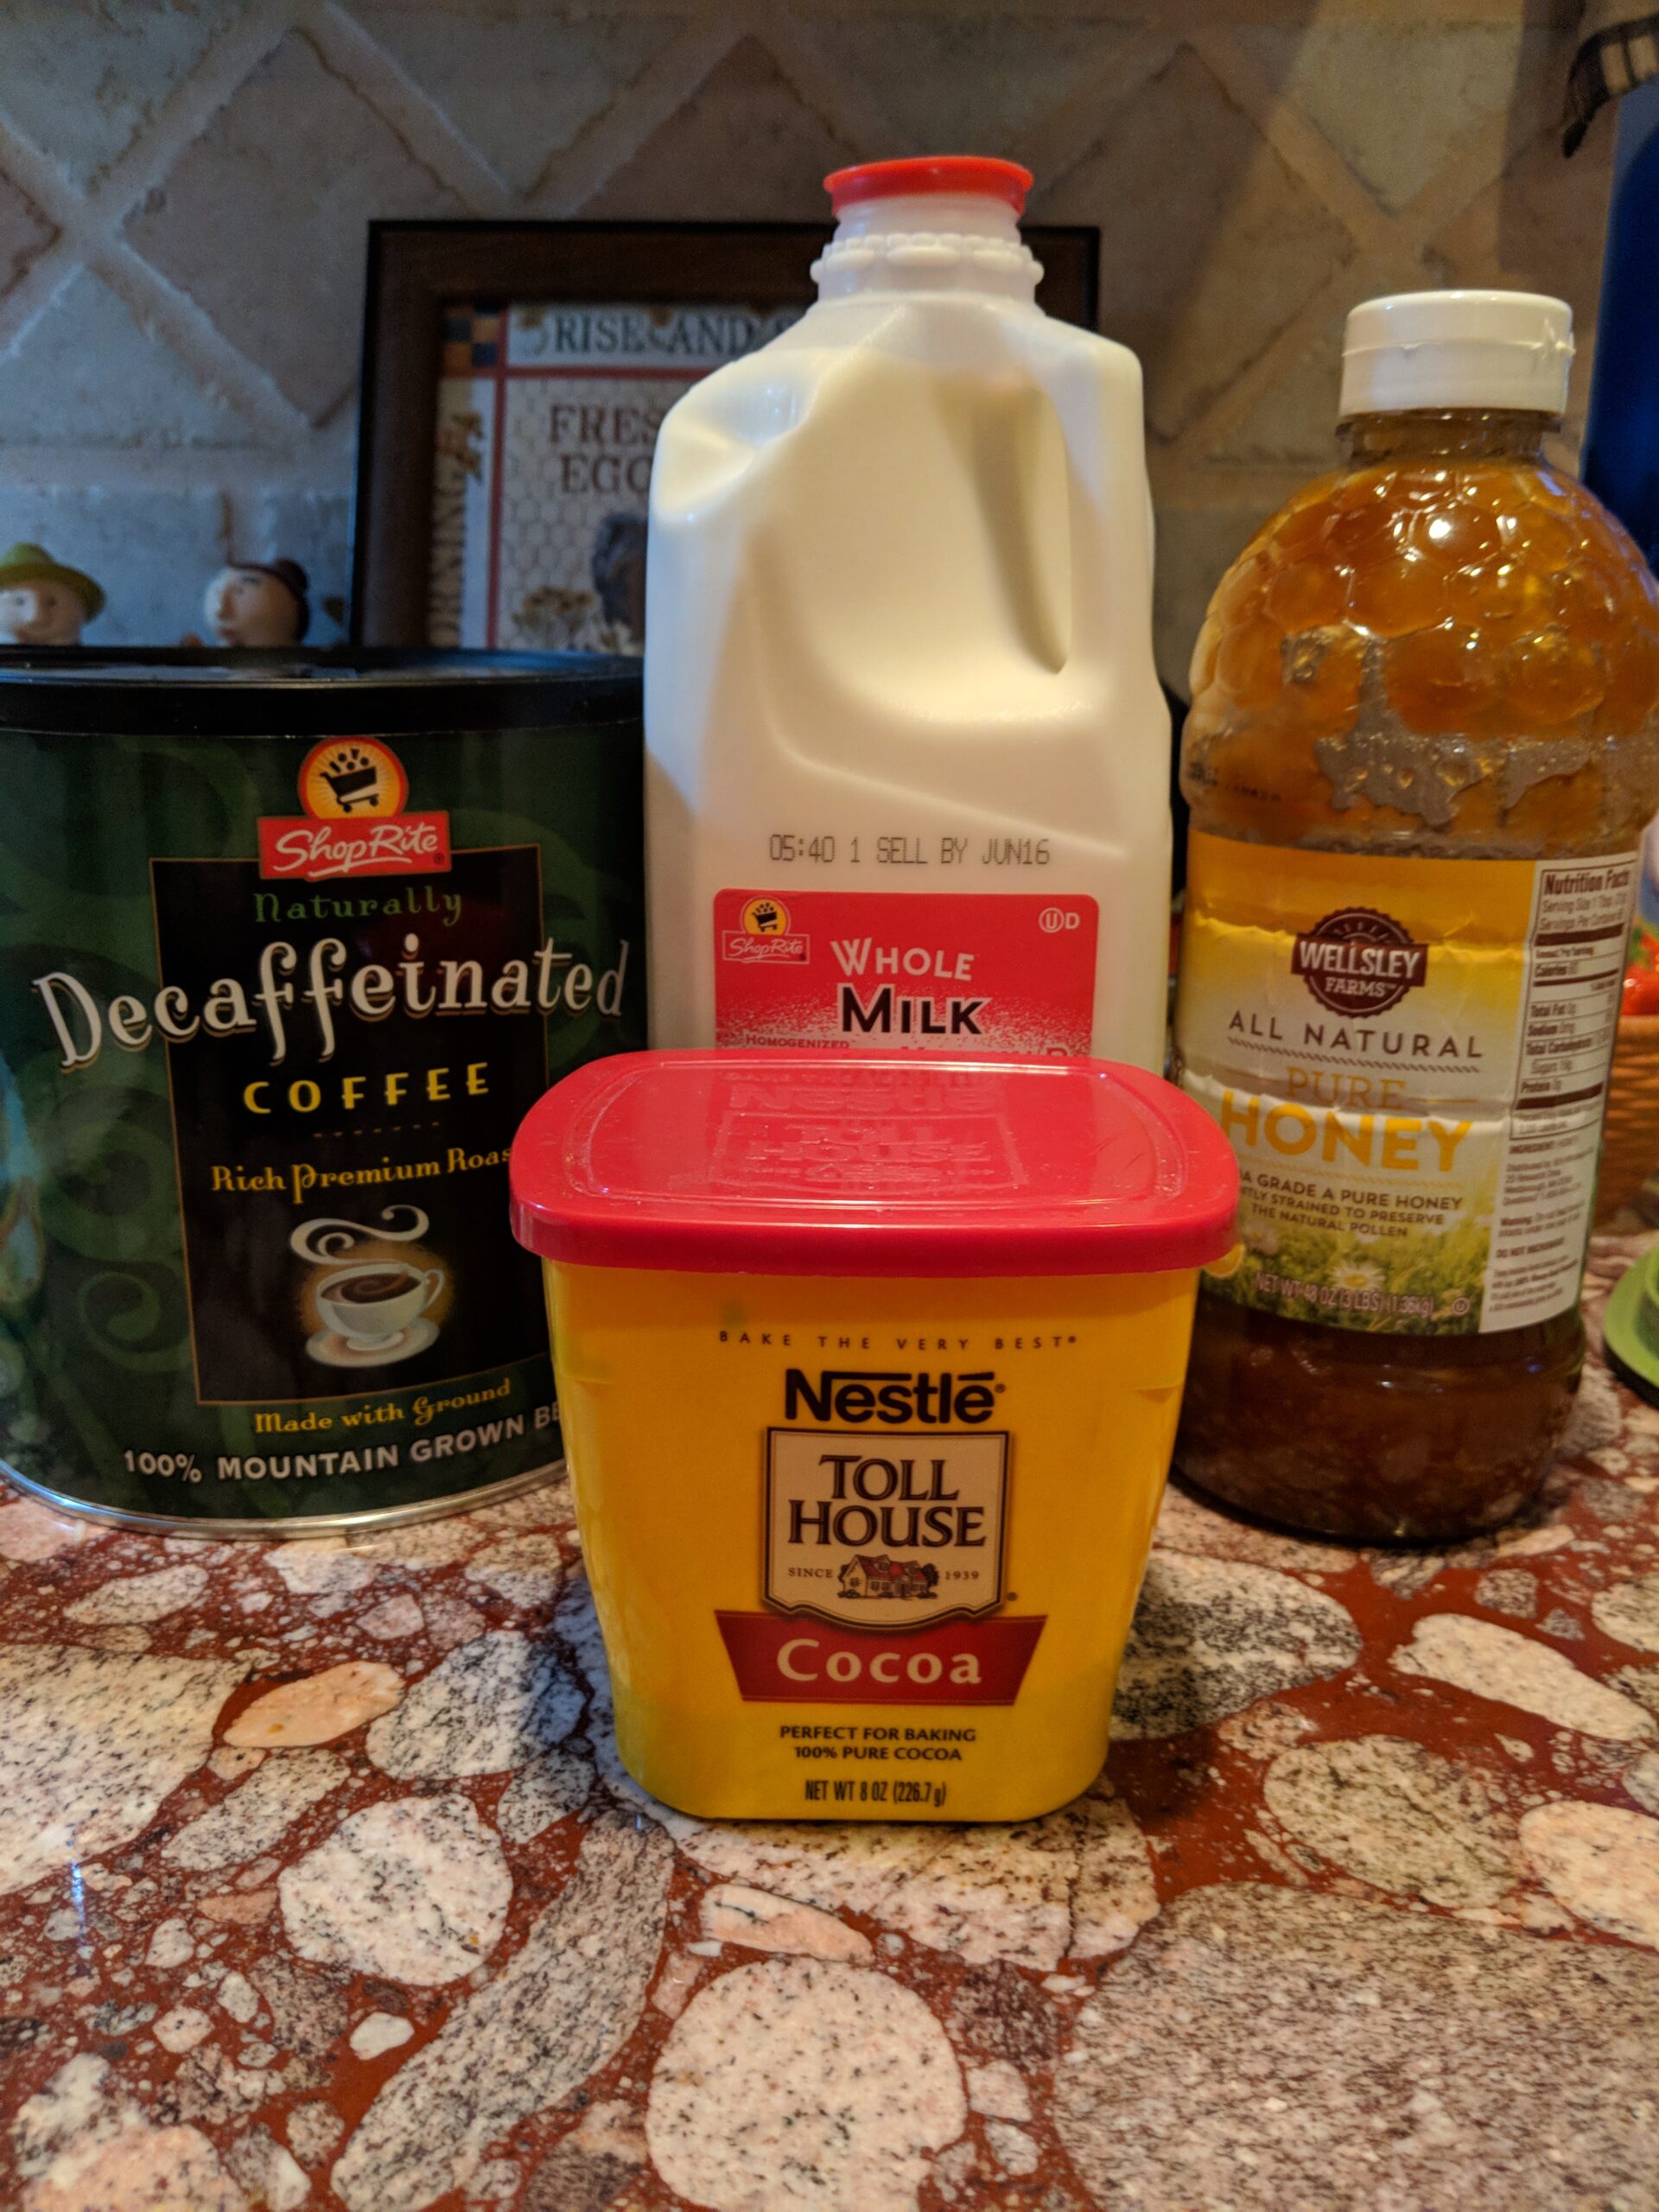
It was time to turn my face into a Frappuccino! Here's what I used to make this penultimate mask:
- 2 tbsps. ground coffee (the fresher and finer, the better)
- 2 tbsps. cocoa powder
- 3 tbsps. milk
- 1 tbsp. honey
Simply combine and apply! The directions noted that caffeine can permeate through one’s skin, so if you’re sensitive to caffeine and want to try this one yourself, use it in the morning.
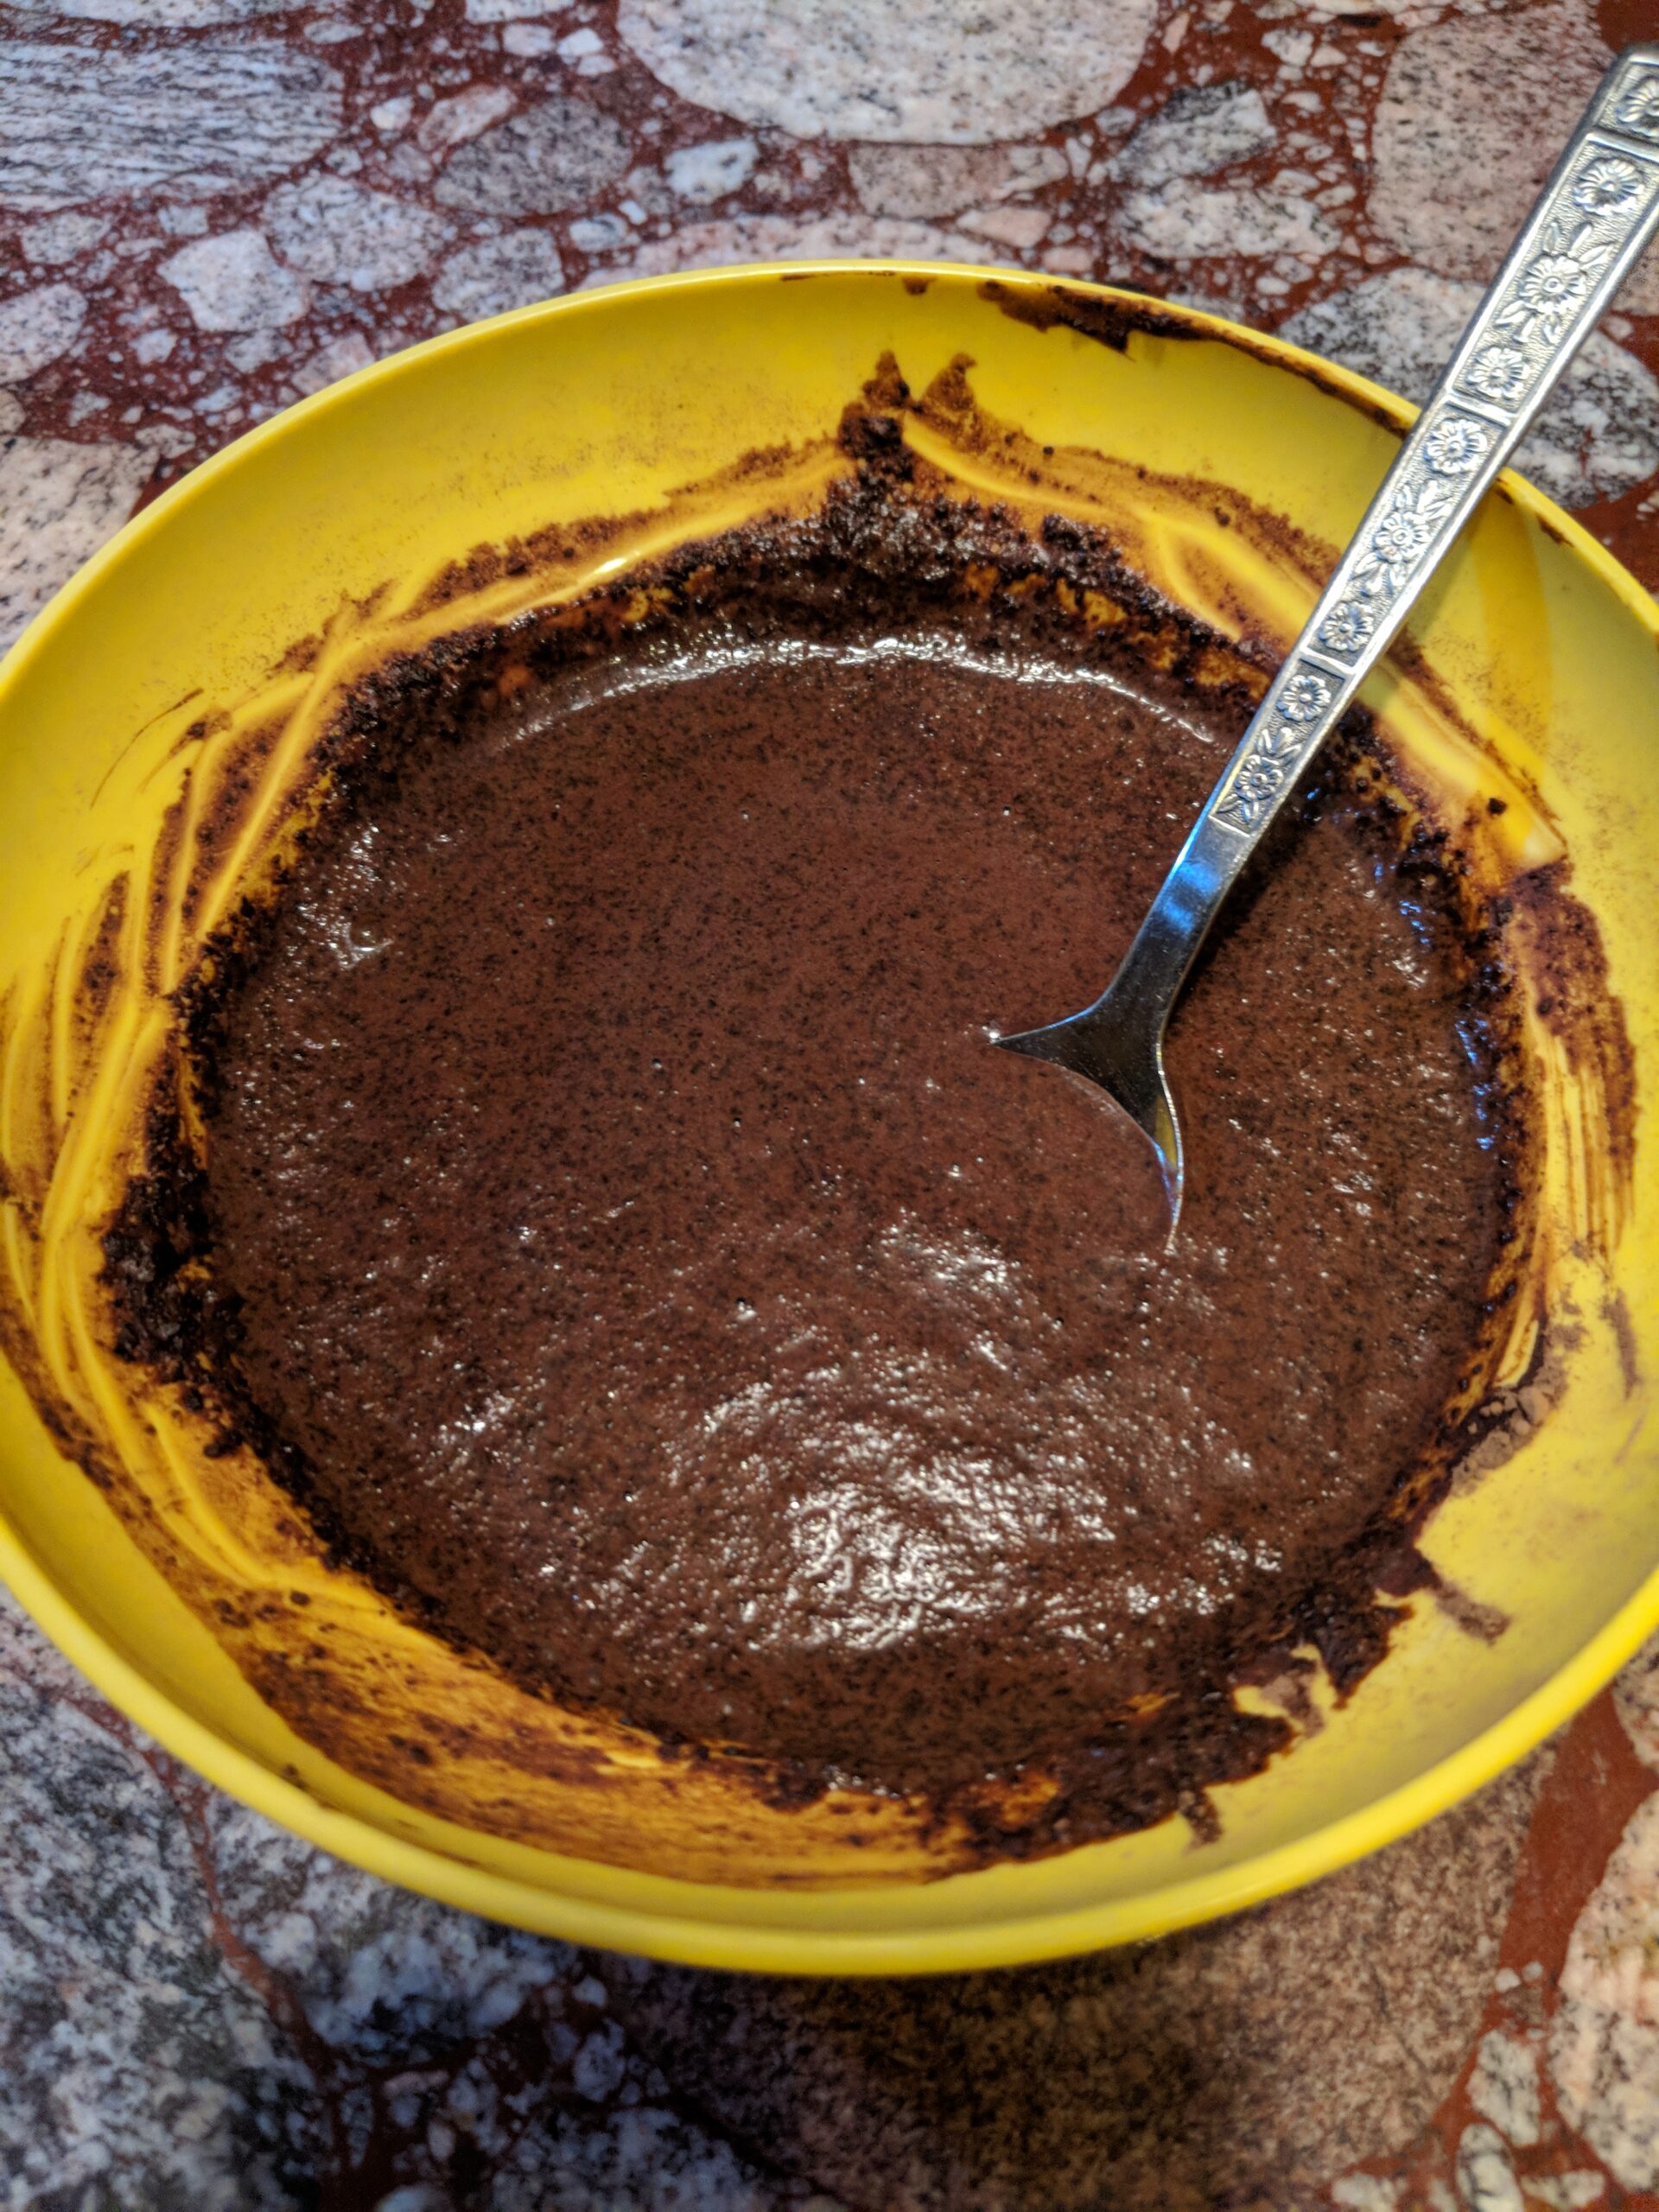
Nice and goopy, and it smelled great.

The redness on my face wasn't too bad on this particular day. My three days of face masks leading up to it had definitely been working some magic.
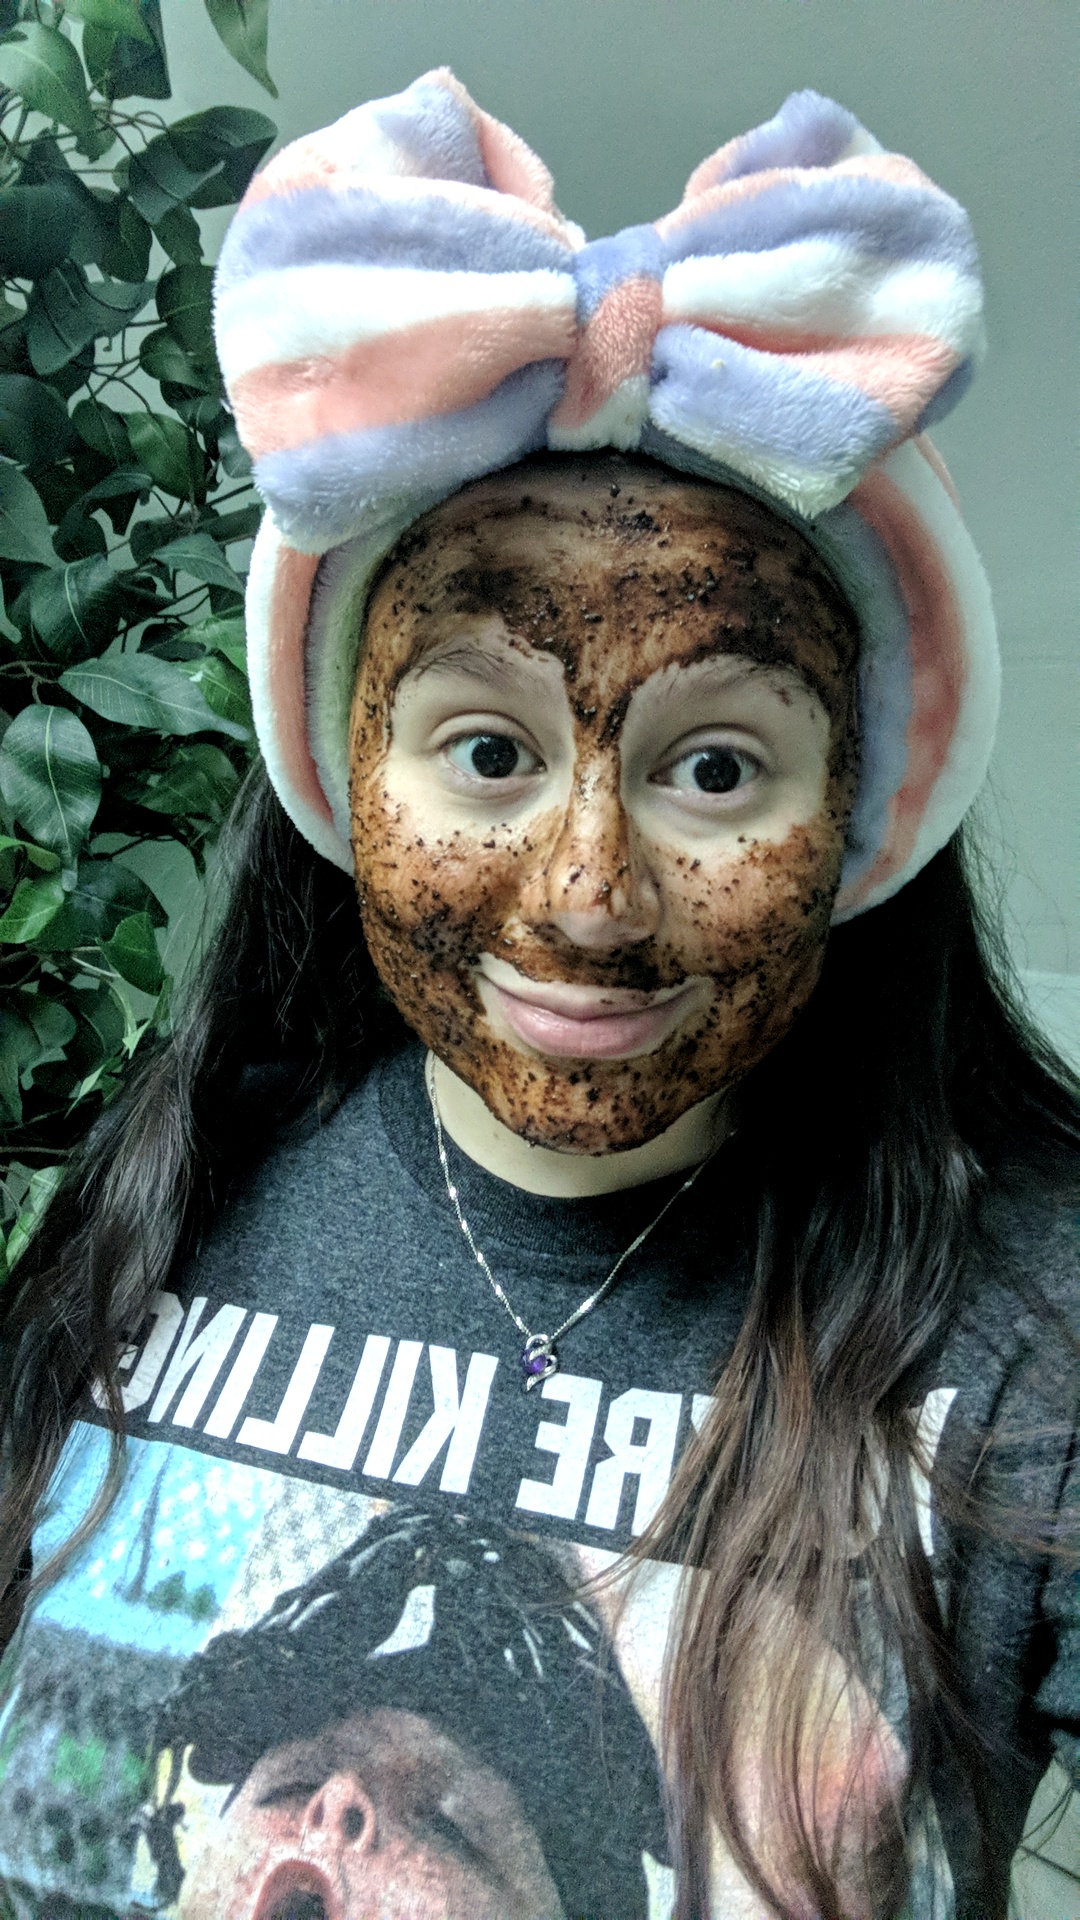
I was worried that coffee would be harsh on my skin during application, but it wasn't abrasive at all. This mask didn't quite tingle like the previous ones had, but I did feel something happening to my skin.

I felt like there was a pretty immediate difference in my skin after using this mask. The only thing I found sort of odd about it was the fact that my skin stayed pretty warm after I rinsed it off despite the rest of me being cold.
Overall rating: 4.1/5
DIY 5: Oatmeal Egg Face Mask
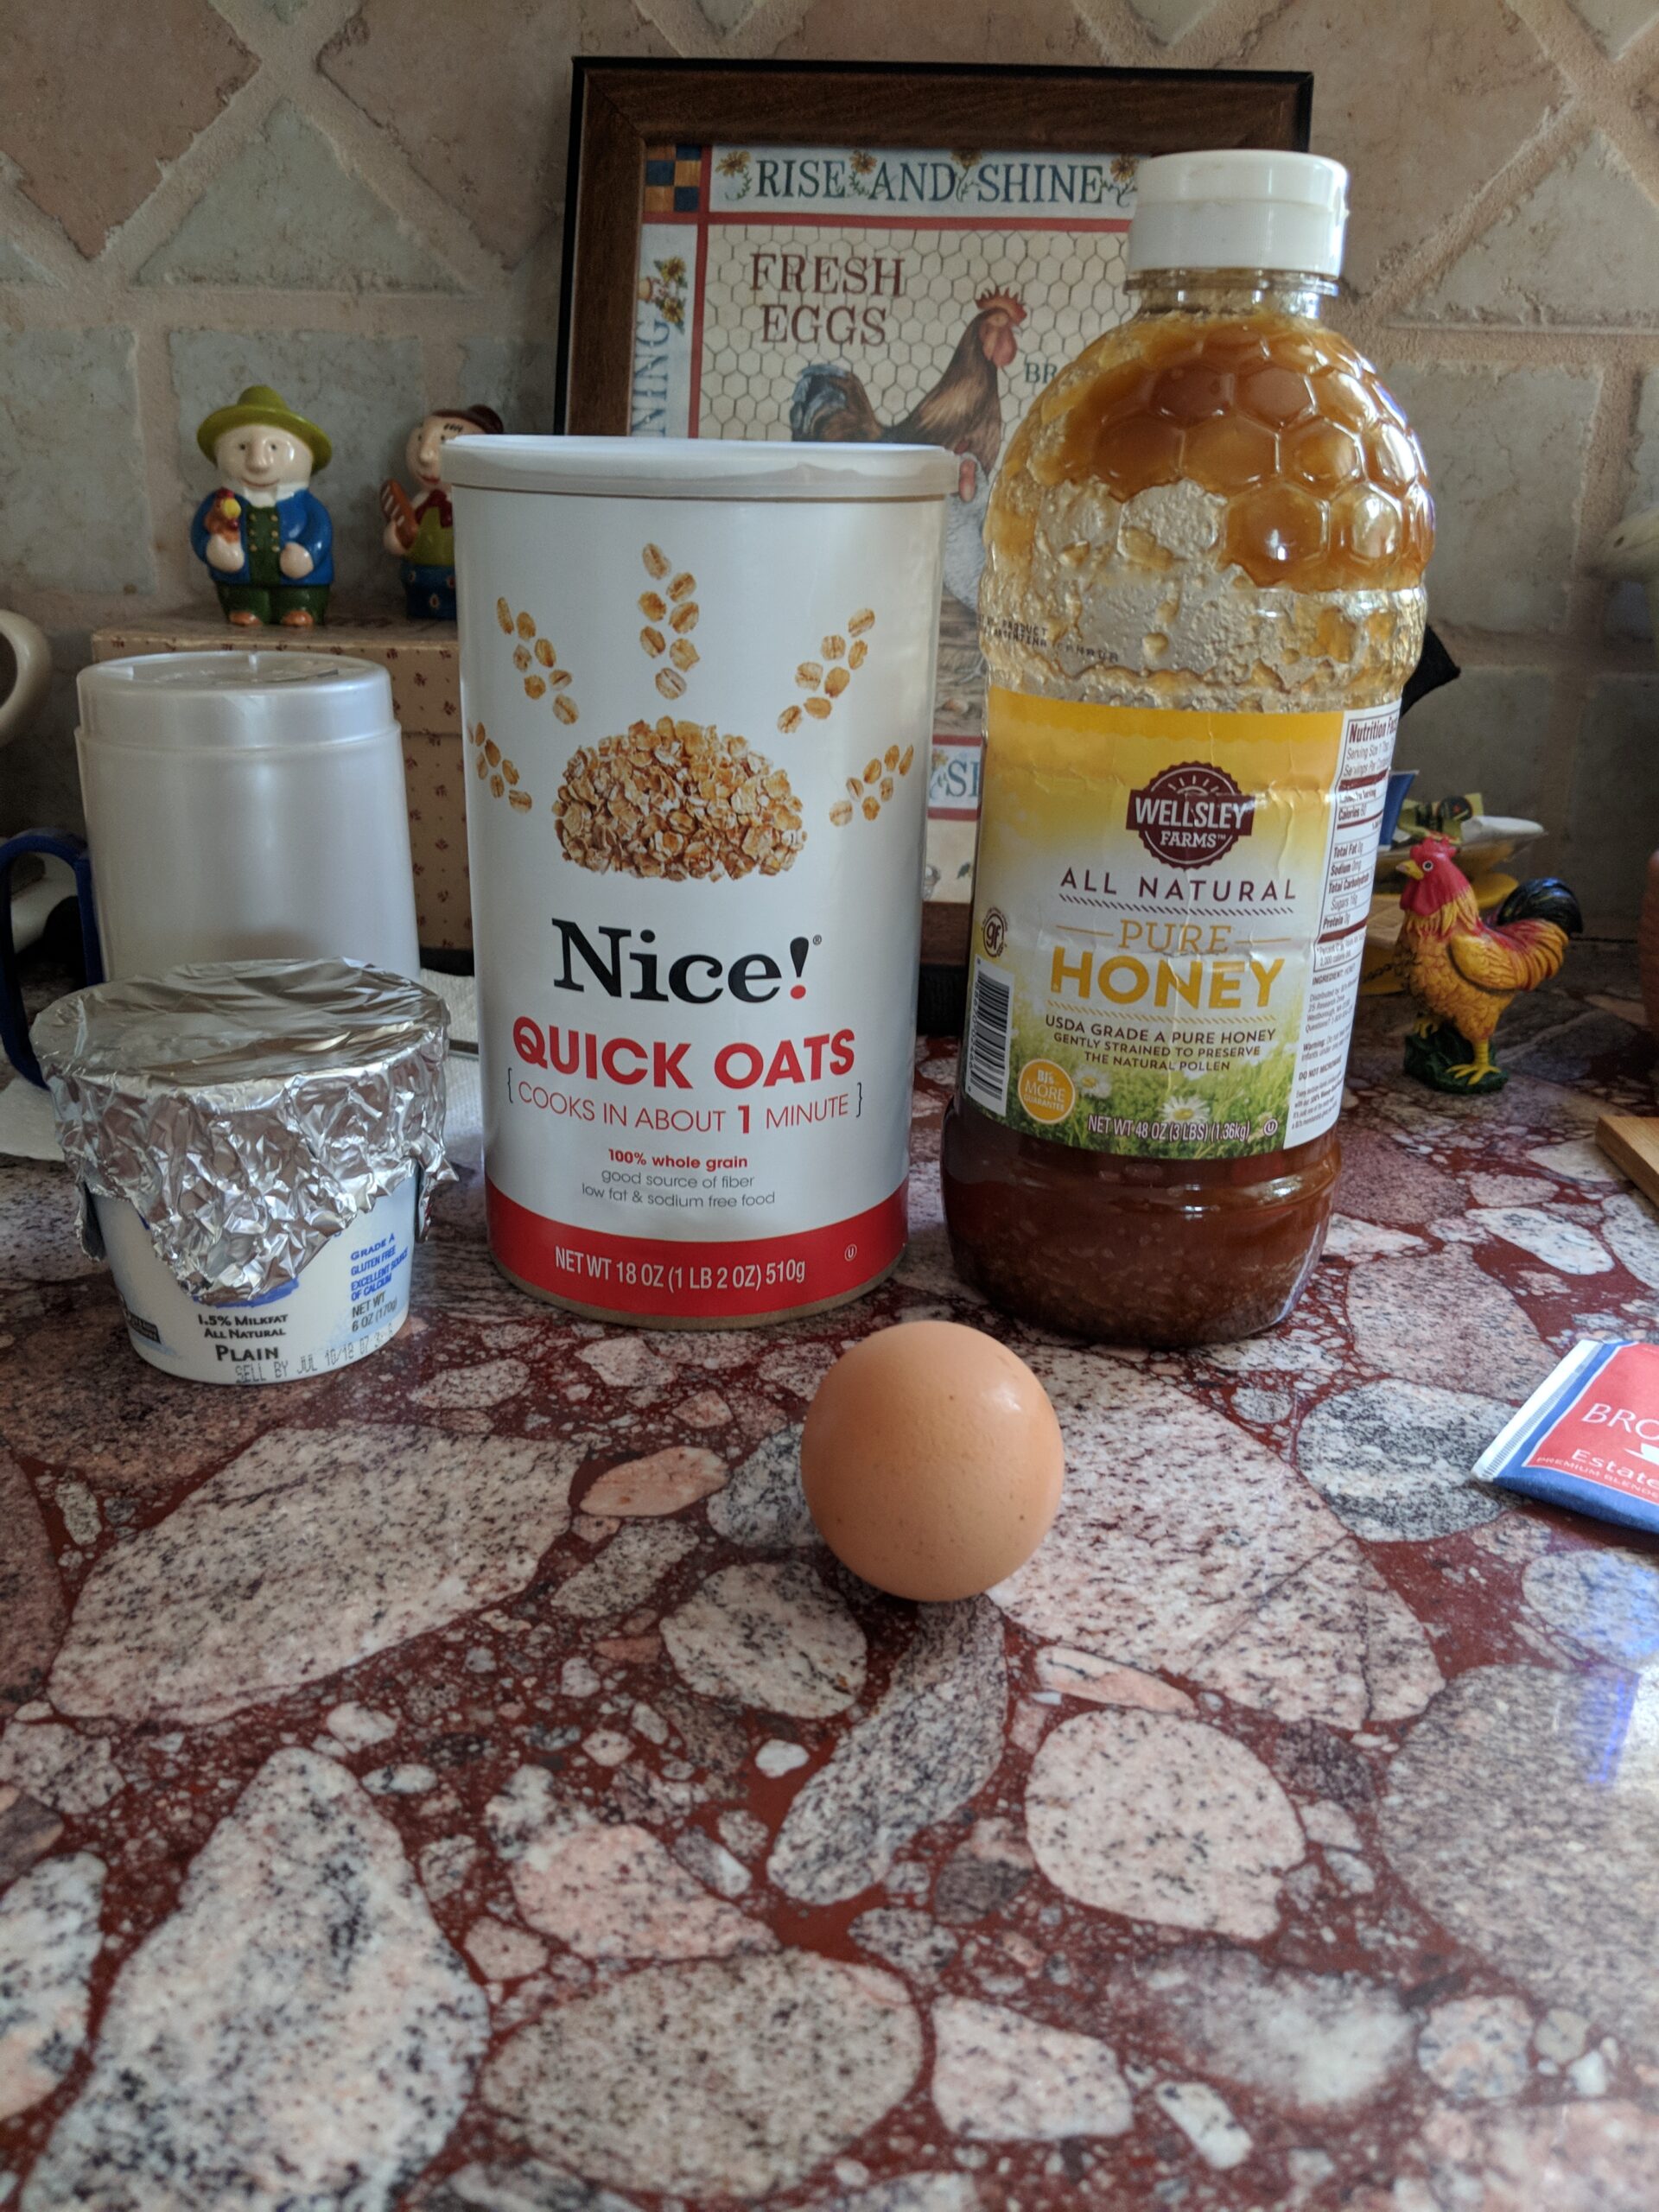
Another simple one! I followed this recipe, which called for these ingredients:
- 1 cup regular oatmeal, blended but not powdered
- 1 egg
- 2 tbsps. plain yogurt
- 1 tbsp. honey
- 1 tbsp. lime juice (which I subbed for lemon juice)

This day, there was redness all around.
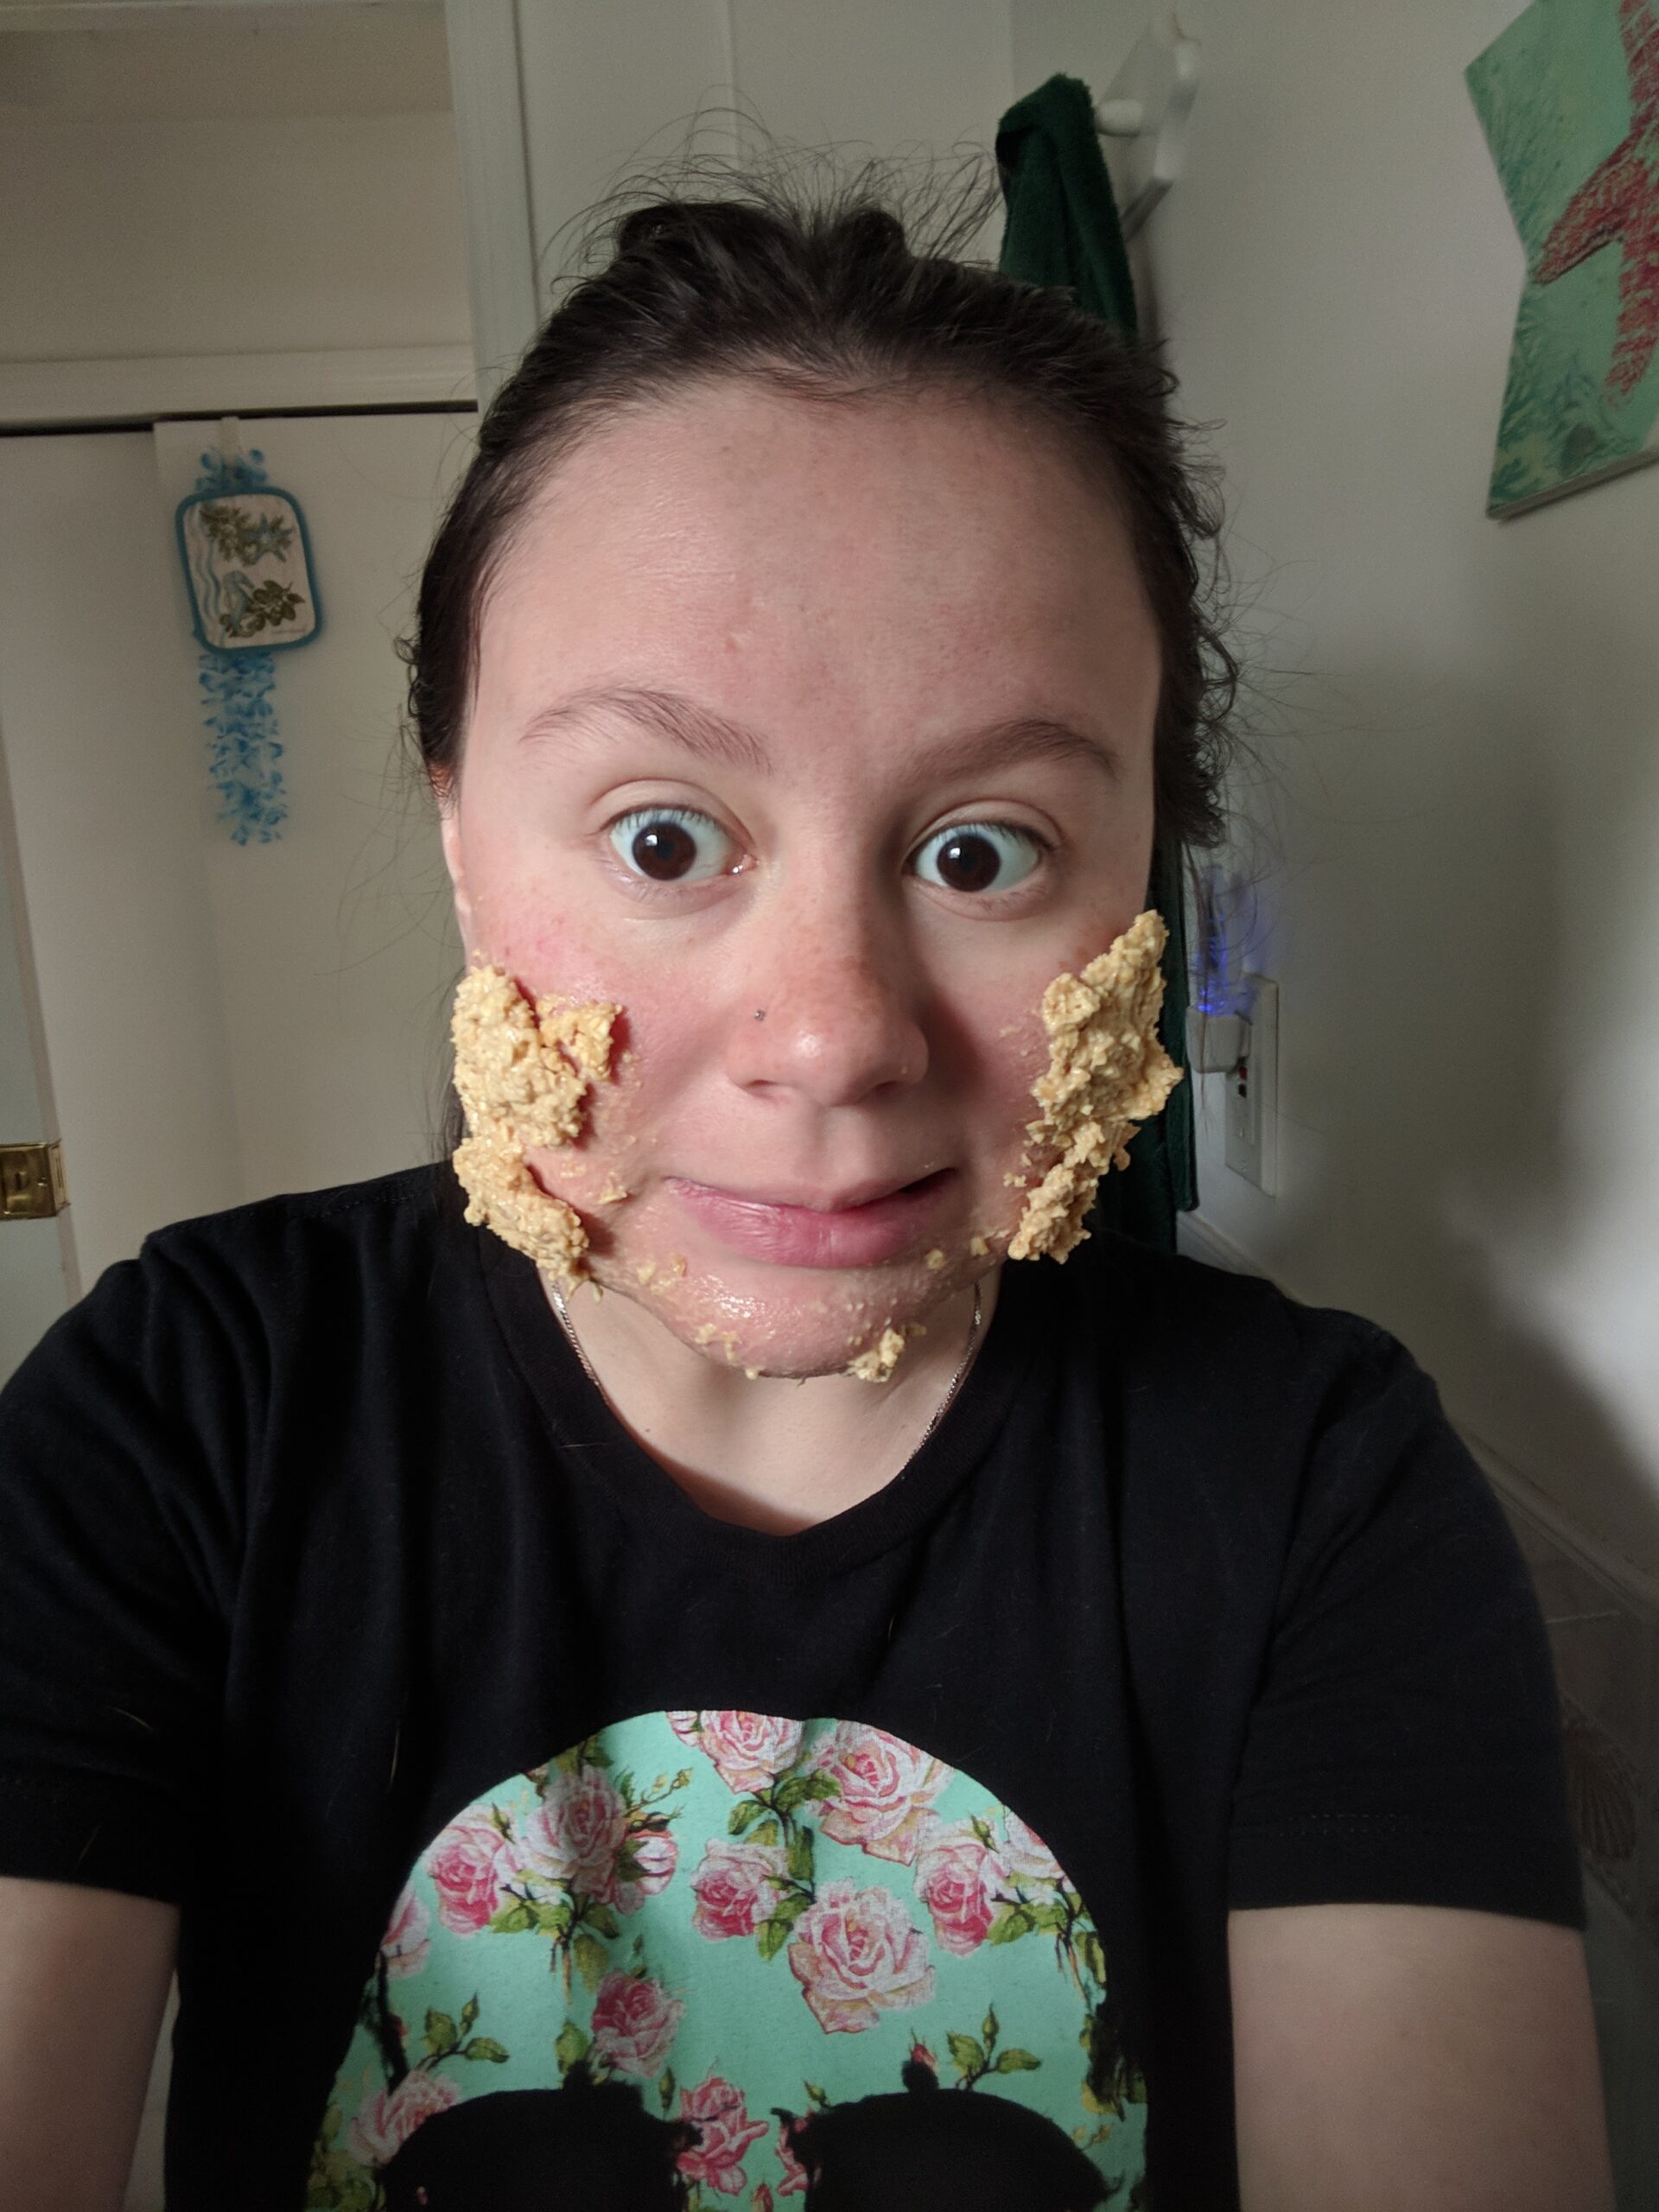
This mask didn't go all that well. It was initially too thick to spread across my face, but when I added a bit of water to it, it was too thin and falling off my face. Womp.
Overall rating: 0/5
The Verdict
I learned a lot about the health and beauty benefits of food this week, and after looking over the ingredient lists of my five masks again, I came to the following conclusions:
- Honey and yogurt are crazy moisturizing. I’ve seen these two ingredients in skin care products before, and using them in plain form directly on my skin made it feel great. I would totally use these two ingredients again, as dryness seems to be a precursor to my facial redness.
- Coffee reduces puffiness and swelling. Keep that in mind the next time you watch a sad movie and have a good cry good right before you have to get ready to go somewhere.
- Oatmeal is life. I was already aware of this prior to my DIY mask experiment, having dealt with sensitive skin my whole life, but I’ve never managed to incorporate it into my official skin care routine. I’m seriously reconsidering this.
- Green tea is the bomb. Not only is it loaded with antioxidants, but it’s also got antiaging effects.
- I’ve always been afraid to experiment with different products because of my sensitive skin. Now I know that if I go the all-natural route, there’s nothing to be afraid of.
Most importantly, though, I’ve learned that the more you care for your skin, the more you’ll find yourself taking pride in it.
Try a similar experiment at home. While my clear winner was the apple cider vinegar and green tea face mask, maybe you'll discover that one of the other four home remedies for skin redness works better for you and your skin. If you do, please dish. I'm now fearless and open to experimenting more with skin care, loving my newfound fresh take on my face.


