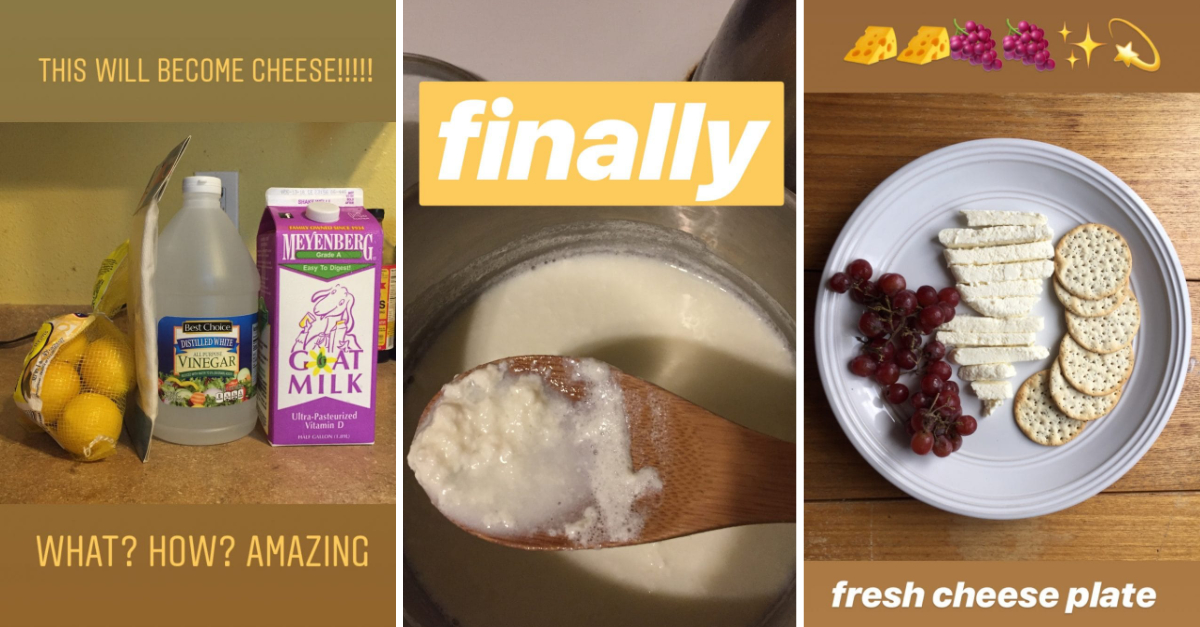
There are very few things I know for certain, one of them being that cheese is the Best Food on Earth. Velveeta slices, fancy Brie, whatever — I love them all equally, and have ever since I was little. (My family still makes fun of me for lovingly carving a block of cheddar into a pyramid when I was a kid, which I did just for fun.) In general, my attitude is: If it’s not cheese, why am I even eating it?
So in a quest to take my cheese obsession to the next level, I recently tackled a lifelong dream: making my own homemade cheese.
When you think about the concept of cheese making, you probably picture fancy, complicated equipment and imagine a process that involves lots of aging. And yes, if you want to make most of your favorite kinds of cheese — cheddar, Gouda, or blue cheese, for instance — you’ll need special ingredients and the patience to wait several weeks.
But then there’s fresh cheese — cheese that’s eaten immediately after it’s made, not aged. Cheese that you can whip up using common ingredients found in most kitchens.
My goal was to make a valiant attempt to concoct fresh cheese in the comfort of my own home, hoping that it would be the start of a new, richer, cheesier phase of my life. I envisioned myself bringing homemade cheese to all my friends’ parties, impressing everyone. I pictured my fridge filled with stacks of ricotta, paneer, queso fresco, and goat cheese. Would I even need a job anymore, being so rich in cheese?!
If you, too, consider a cheese plate to be an acceptable entrée, read on to hear this tale of my cheese-making endeavor.
The Supplies

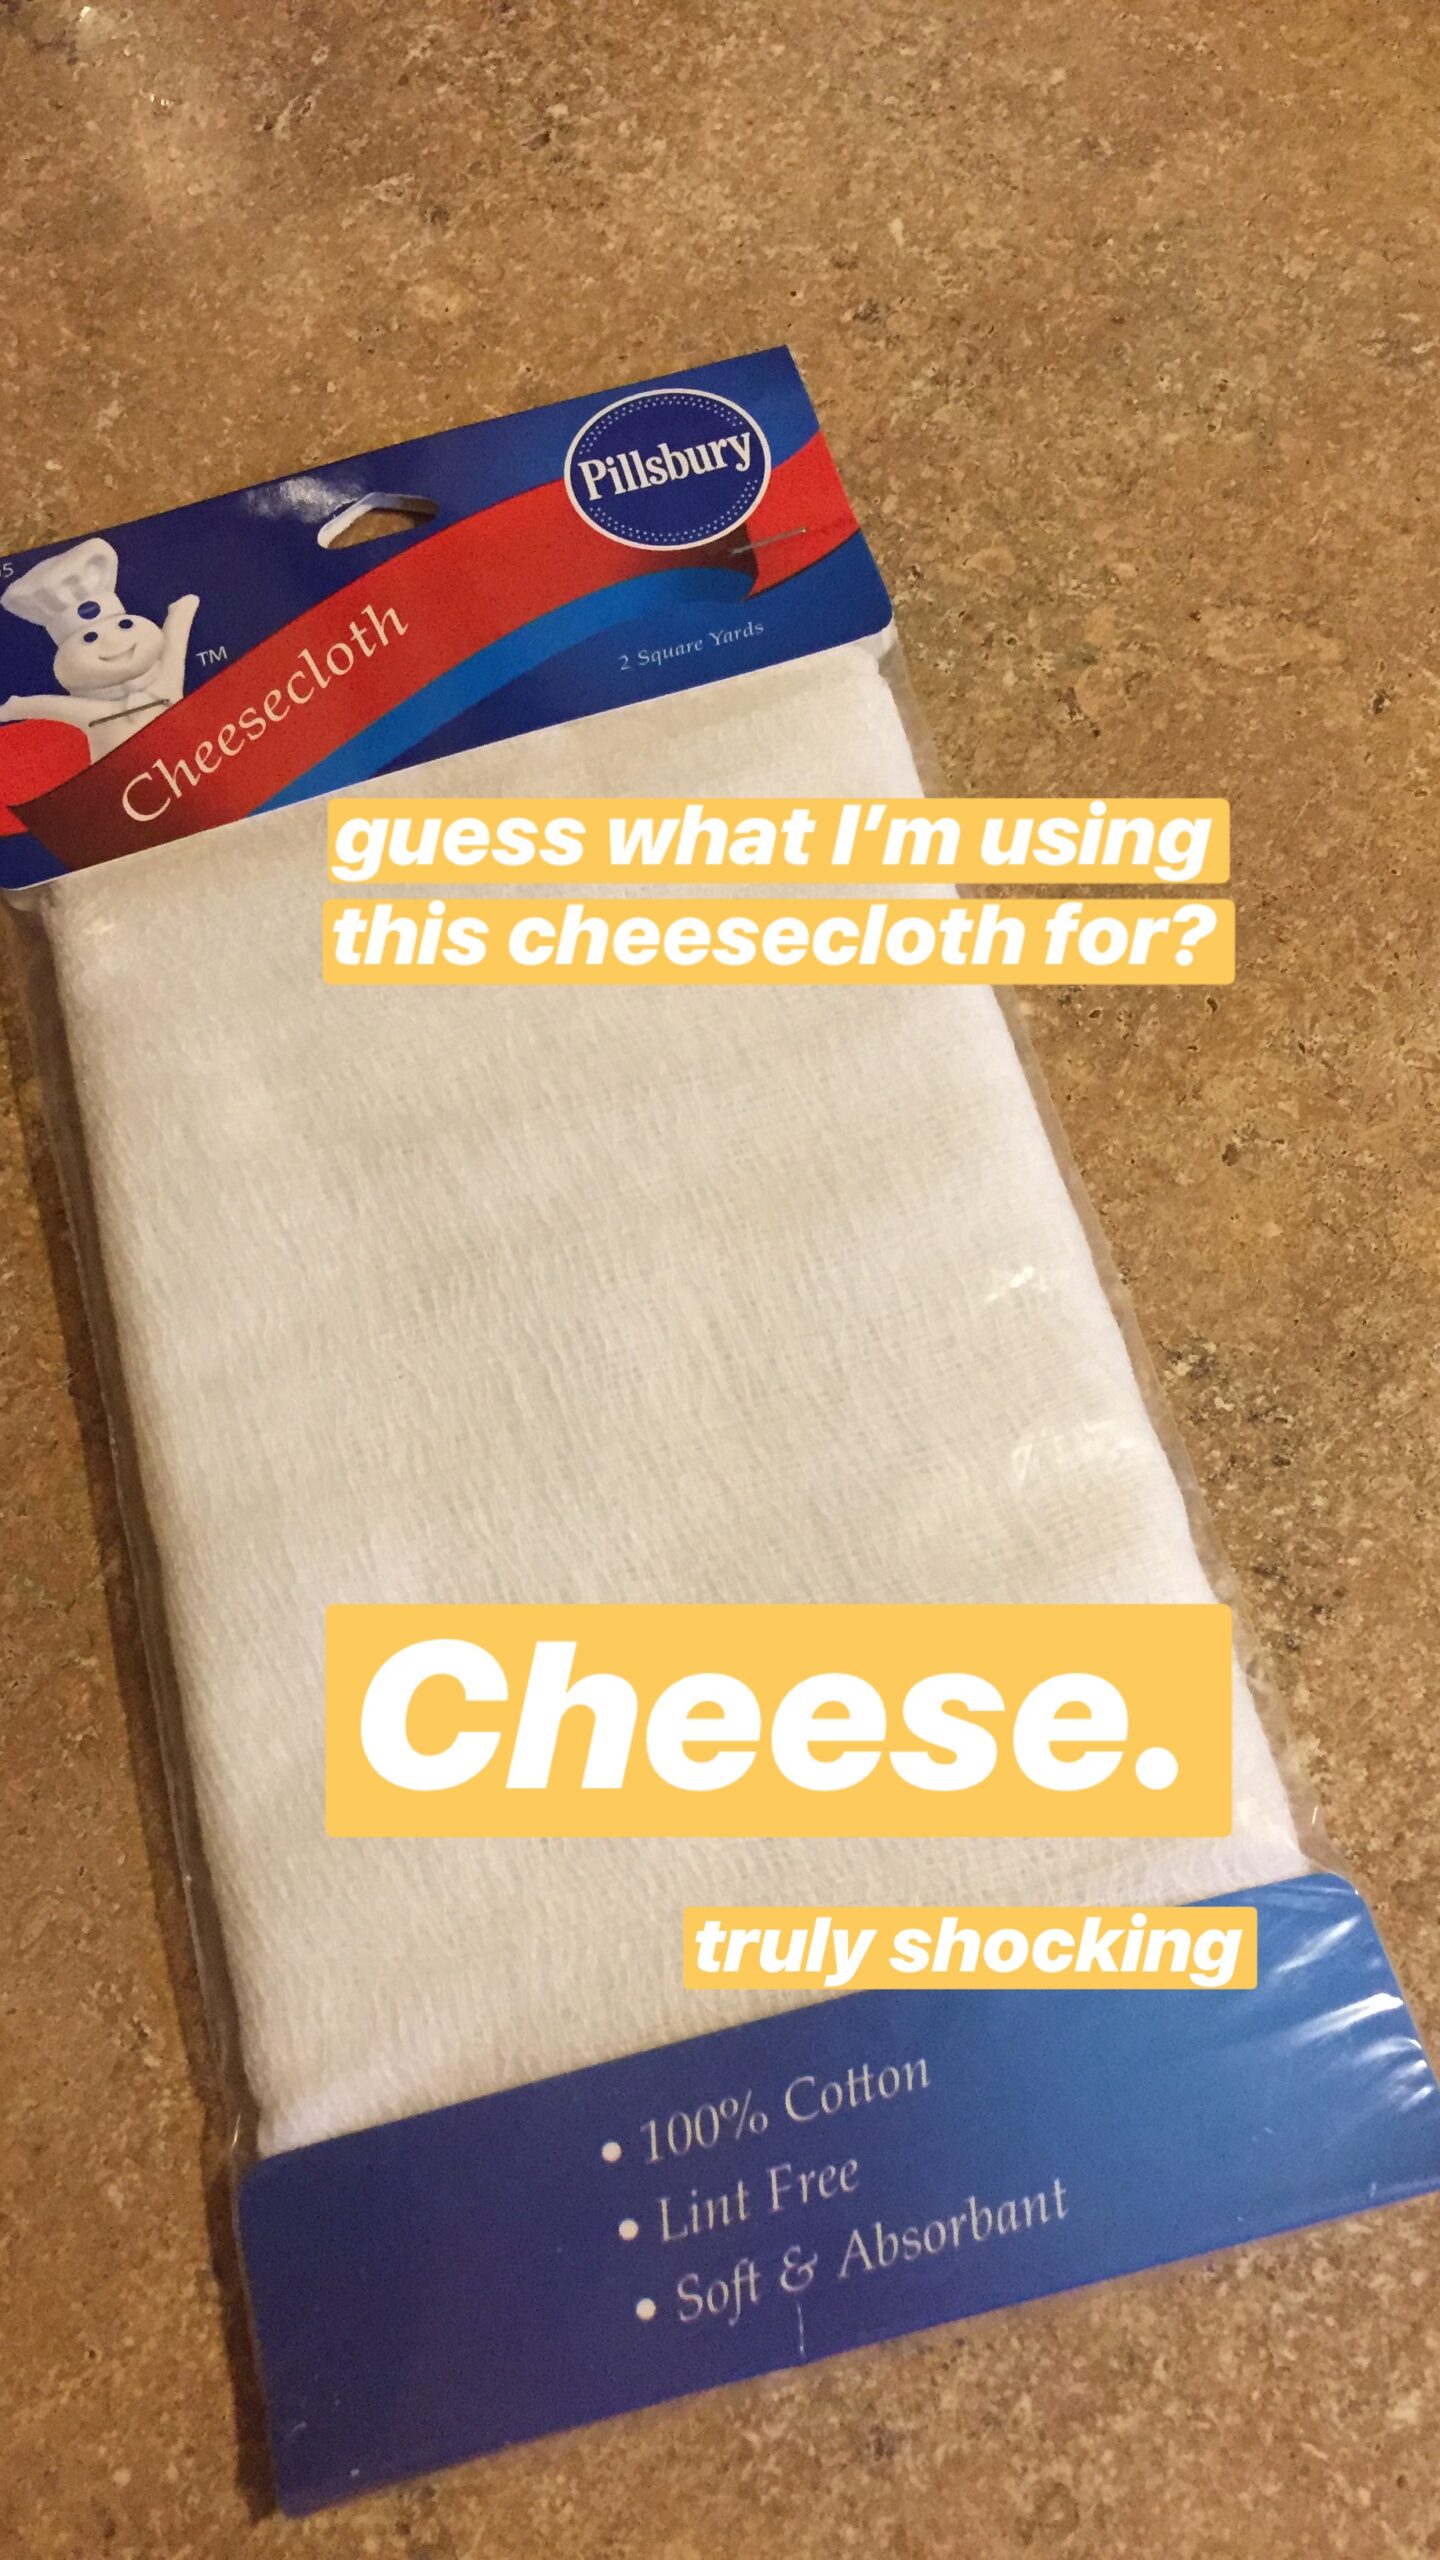
All you need to make fresh cheese are three ingredients: whole milk, lemon juice or white vinegar, and salt. You also need a couple supplies, all of which you can find in any grocery store: cheesecloth and a proper food thermometer.
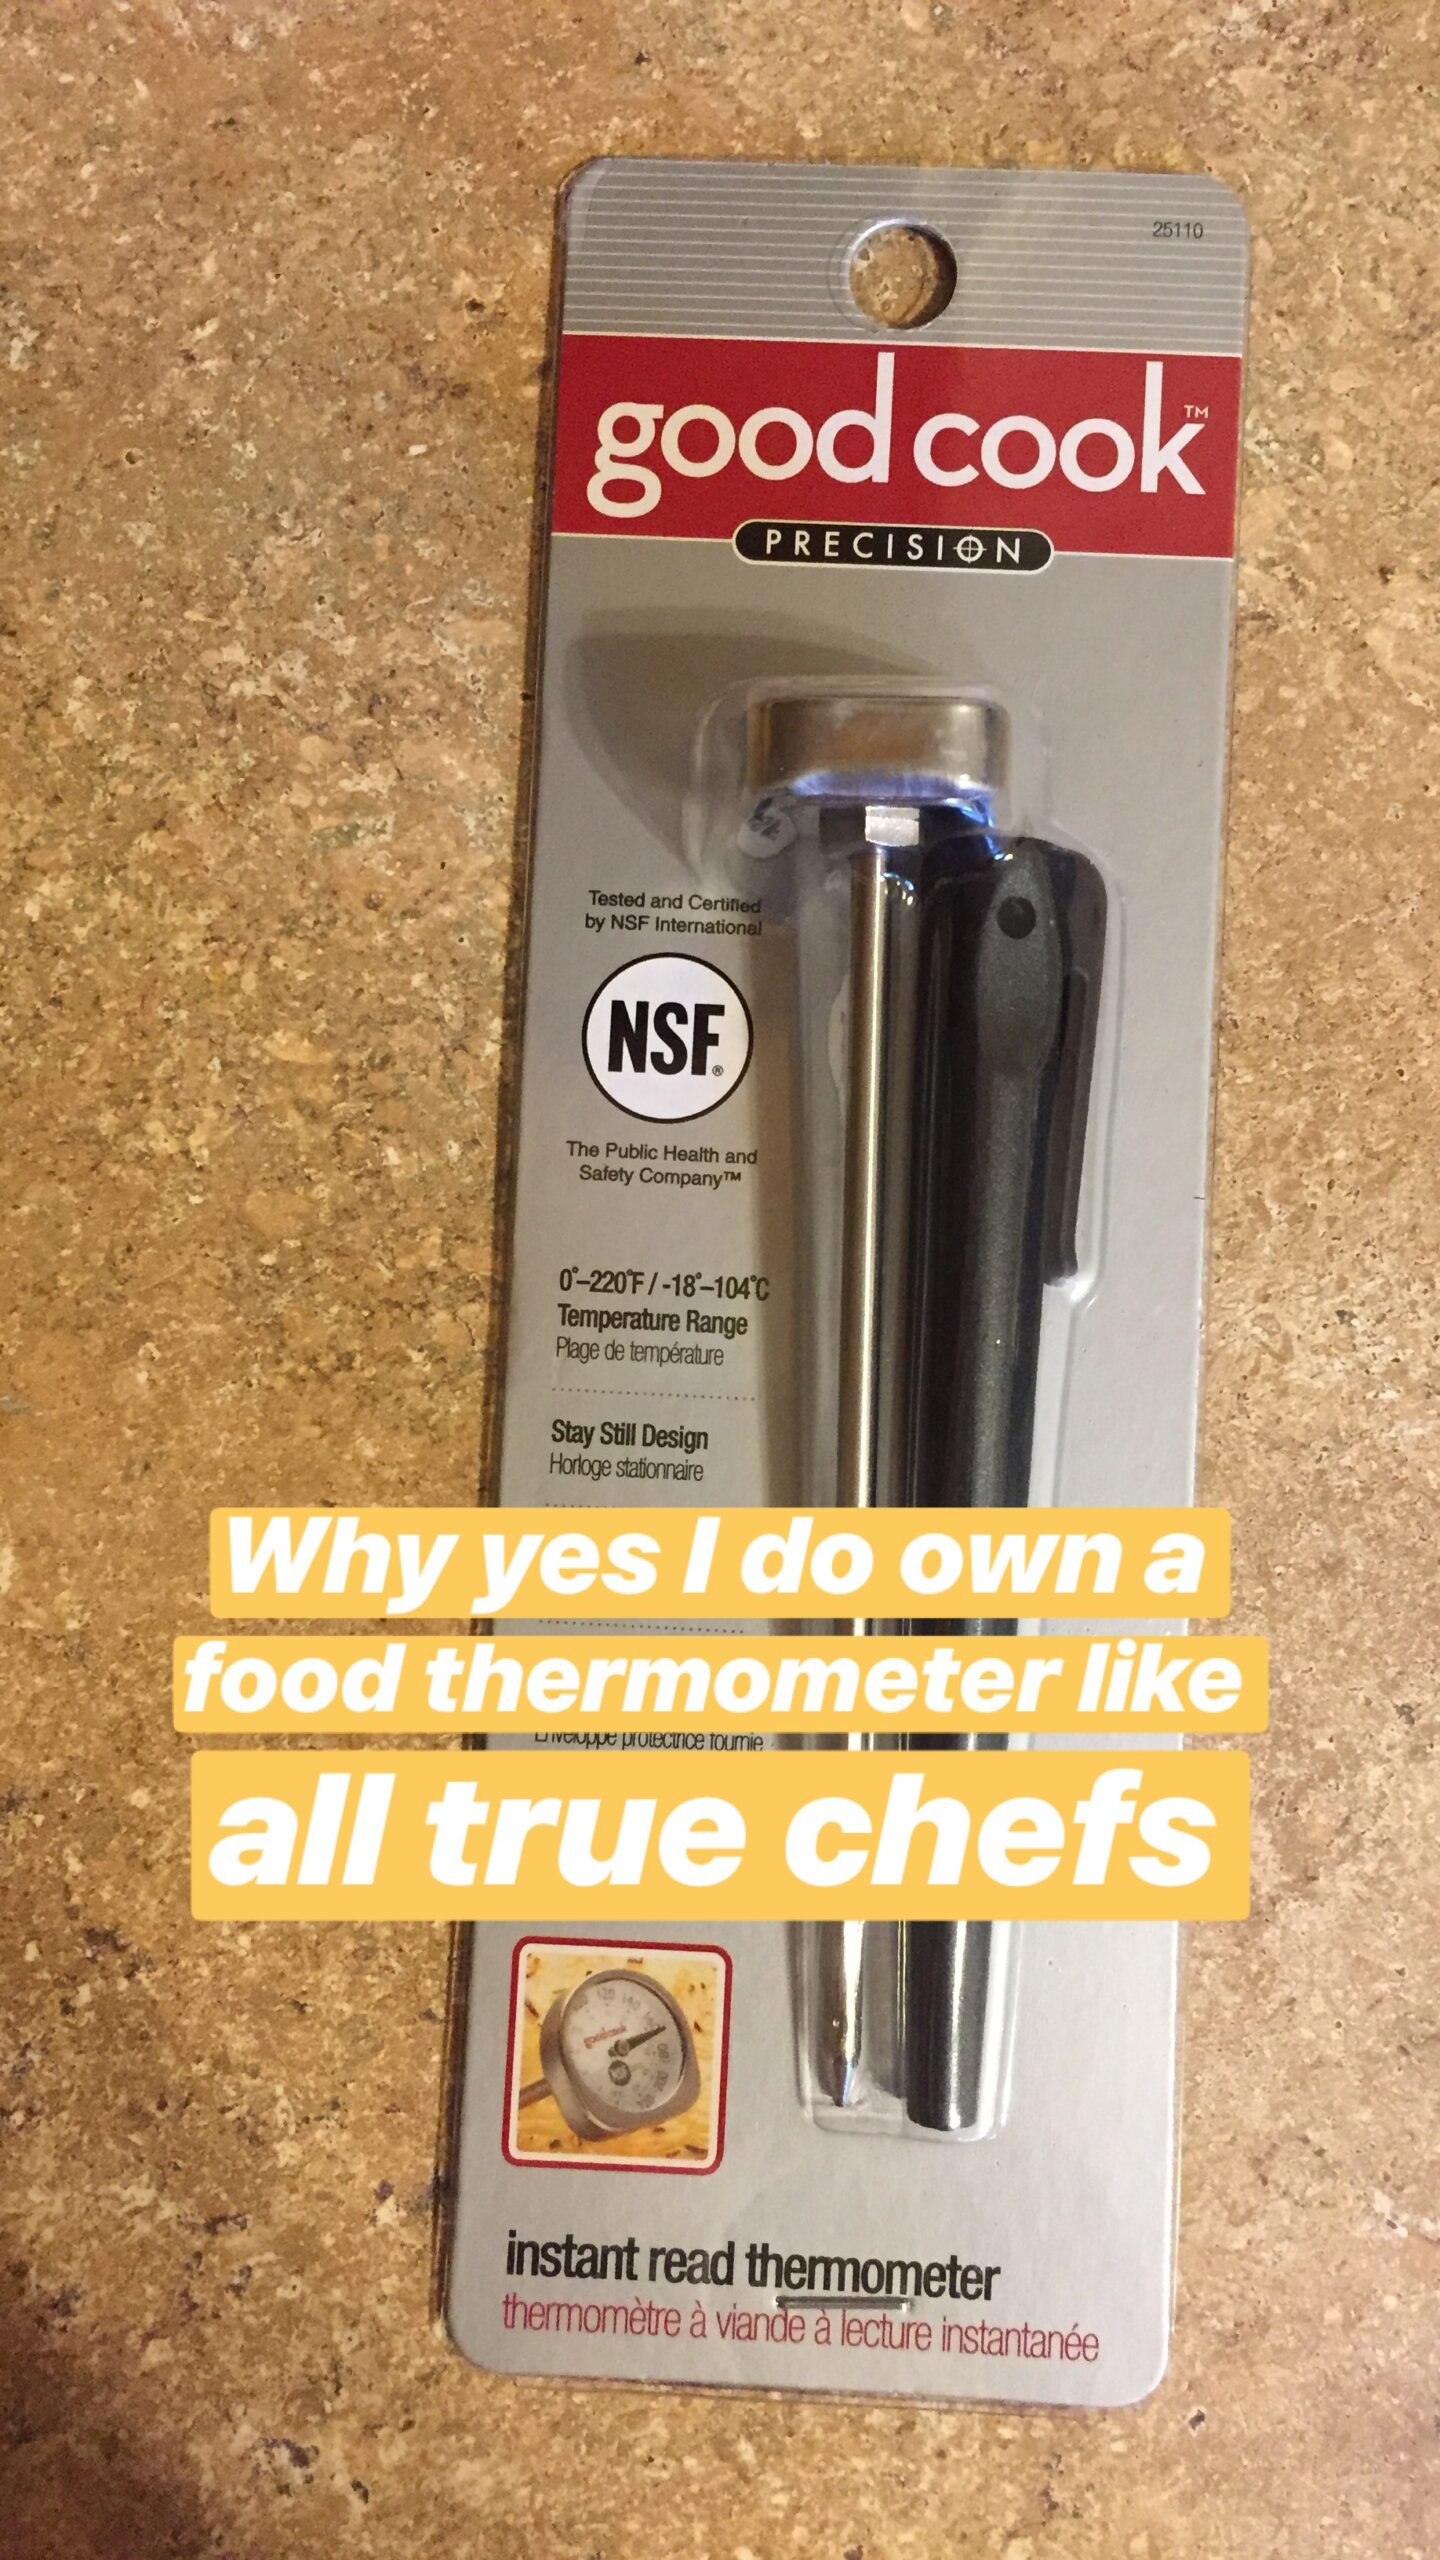
(I felt very official with a food thermometer in my kitchen arsenal, and I was awfully excited to actually use cheesecloth for its intended purpose.)
You can use either whole cow’s milk or whole goat’s milk, depending on the type of cheese you want to make. I adore goat cheese, so I hunted down a gallon of goat's milk. It was expensive — almost $9 a gallon! — but I hoped it would be worth it.

Attempt No. 1: Goat Cheese
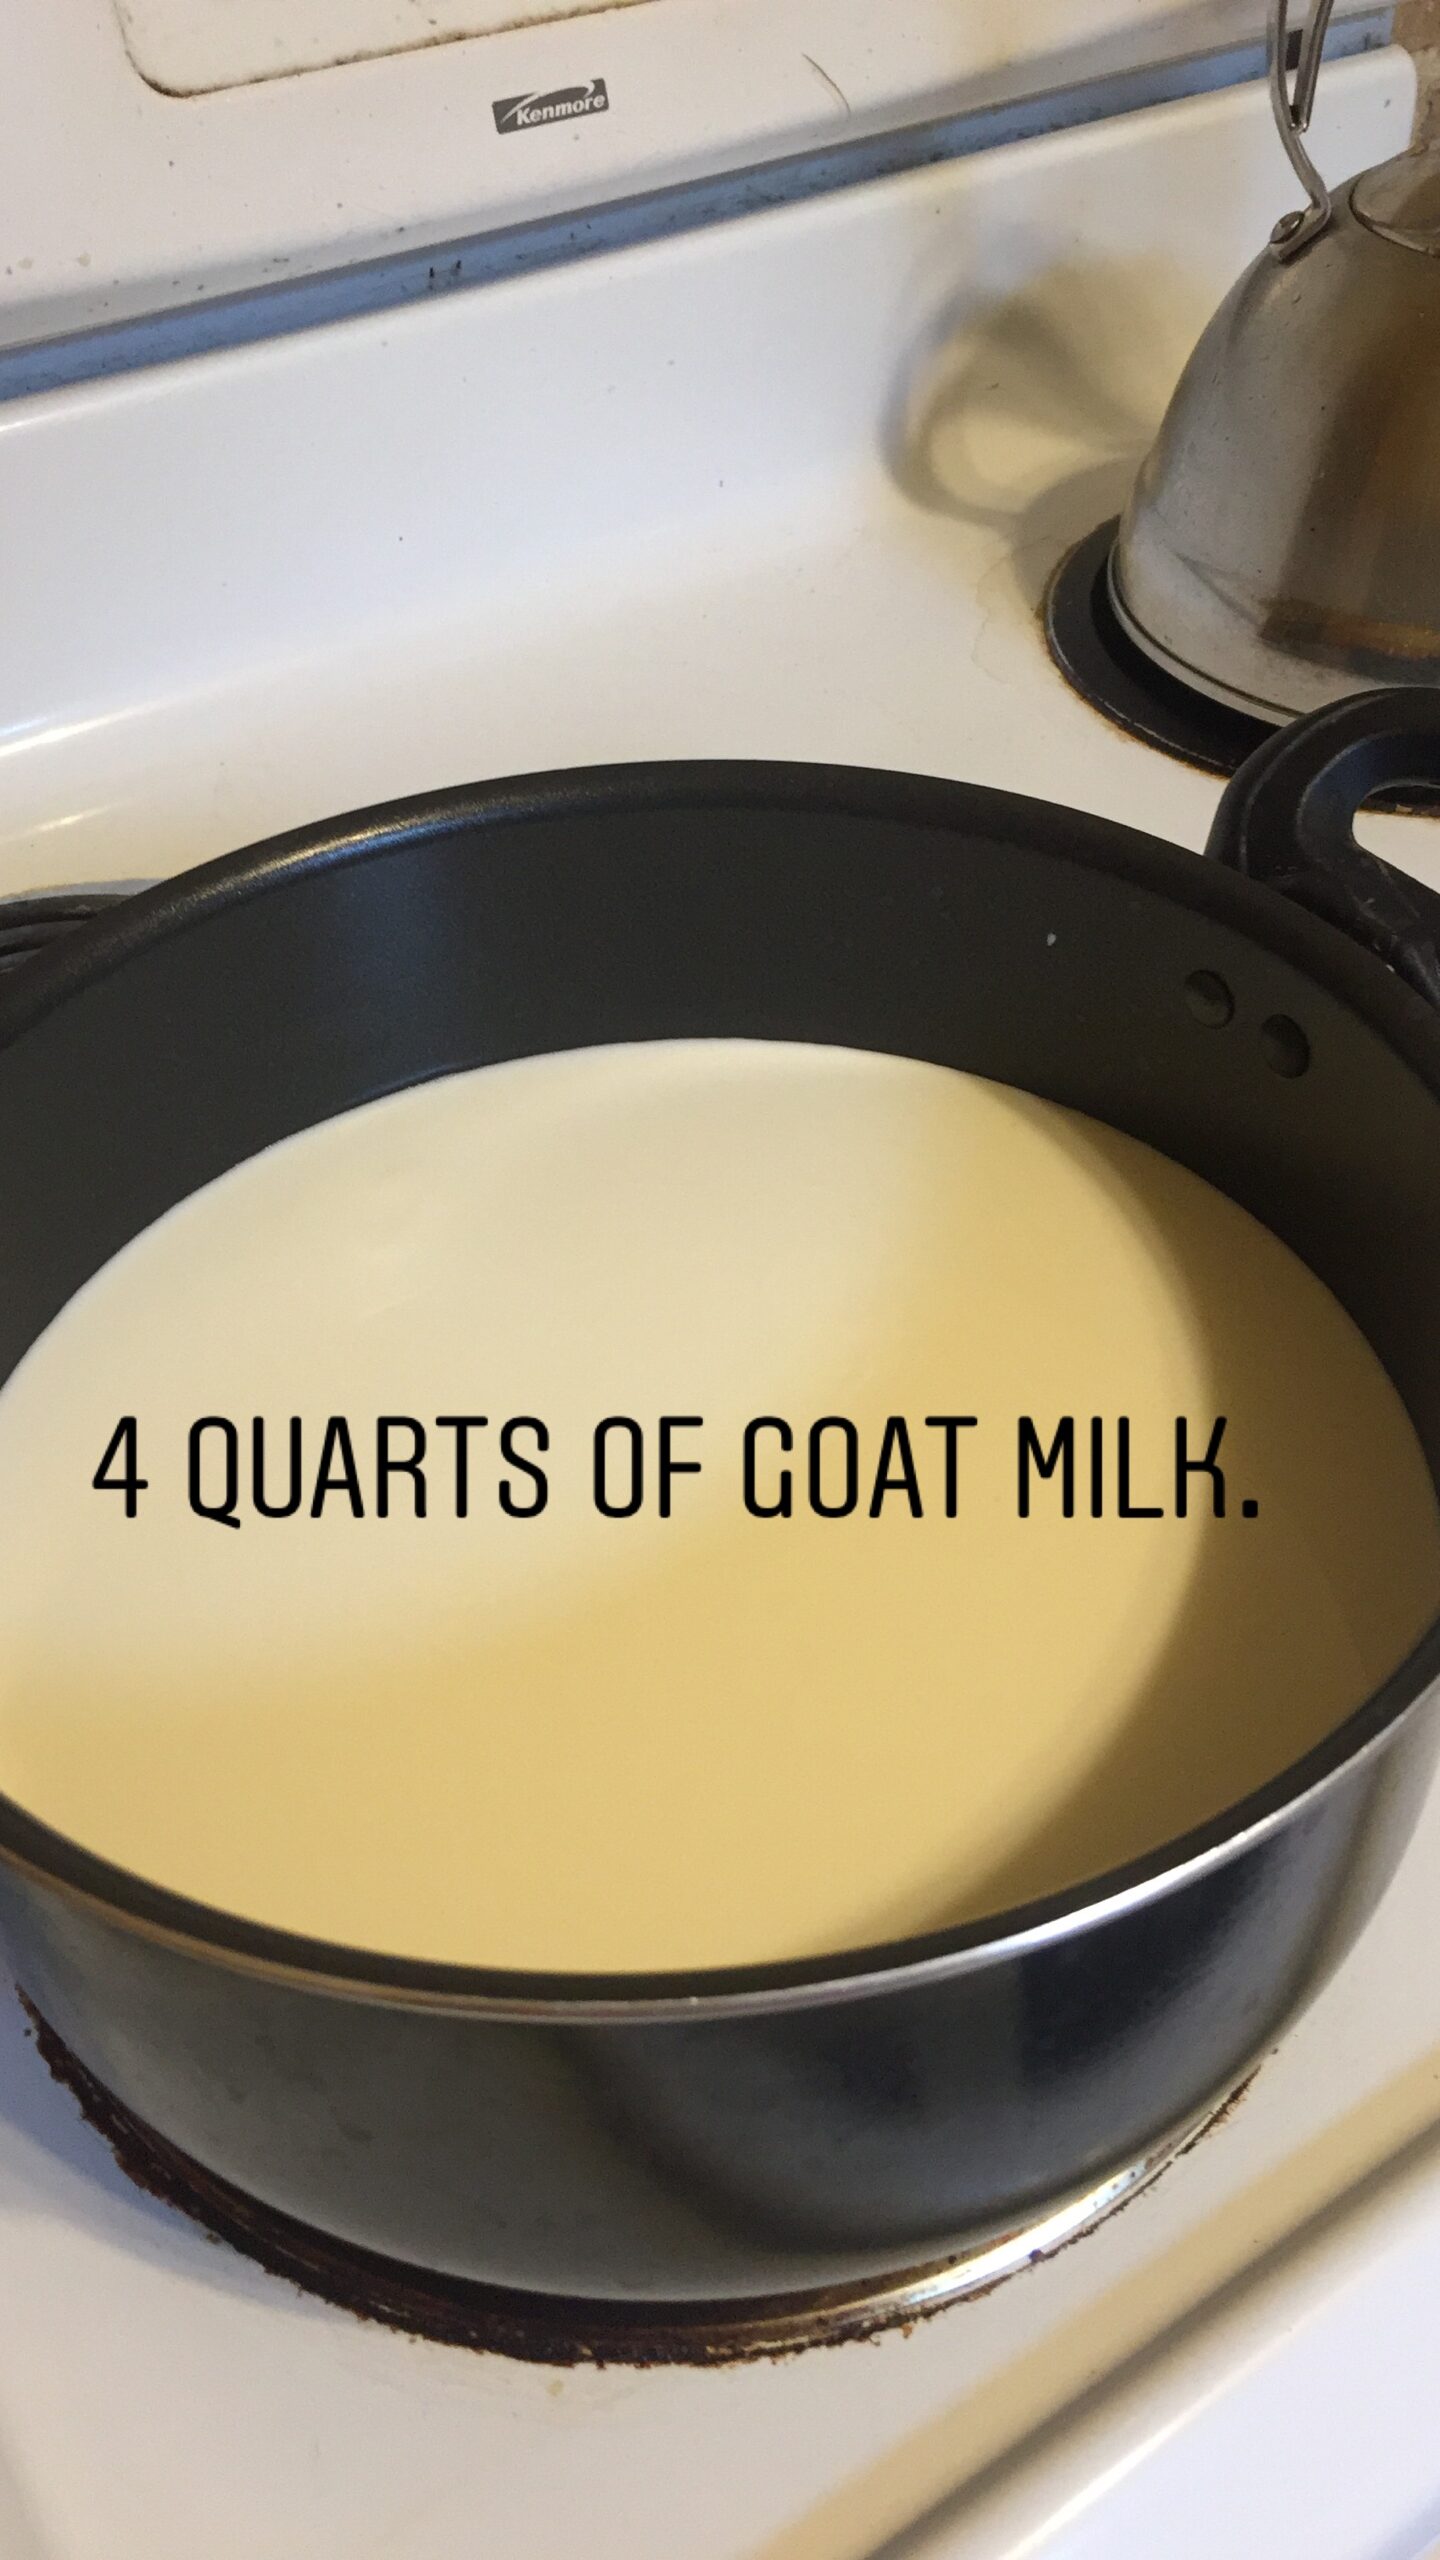
For my first attempt, I got started by heating up the entire gallon of goat’s milk to 180 degrees F. (Some recipes I saw called for 4 quarts, while others called for just 1 quart. I went ahead with the former because I love goat cheese, and I wanted to make as much of it as possible.)
I monitored the temperature; it took longer than I expected to reach 180 degrees.
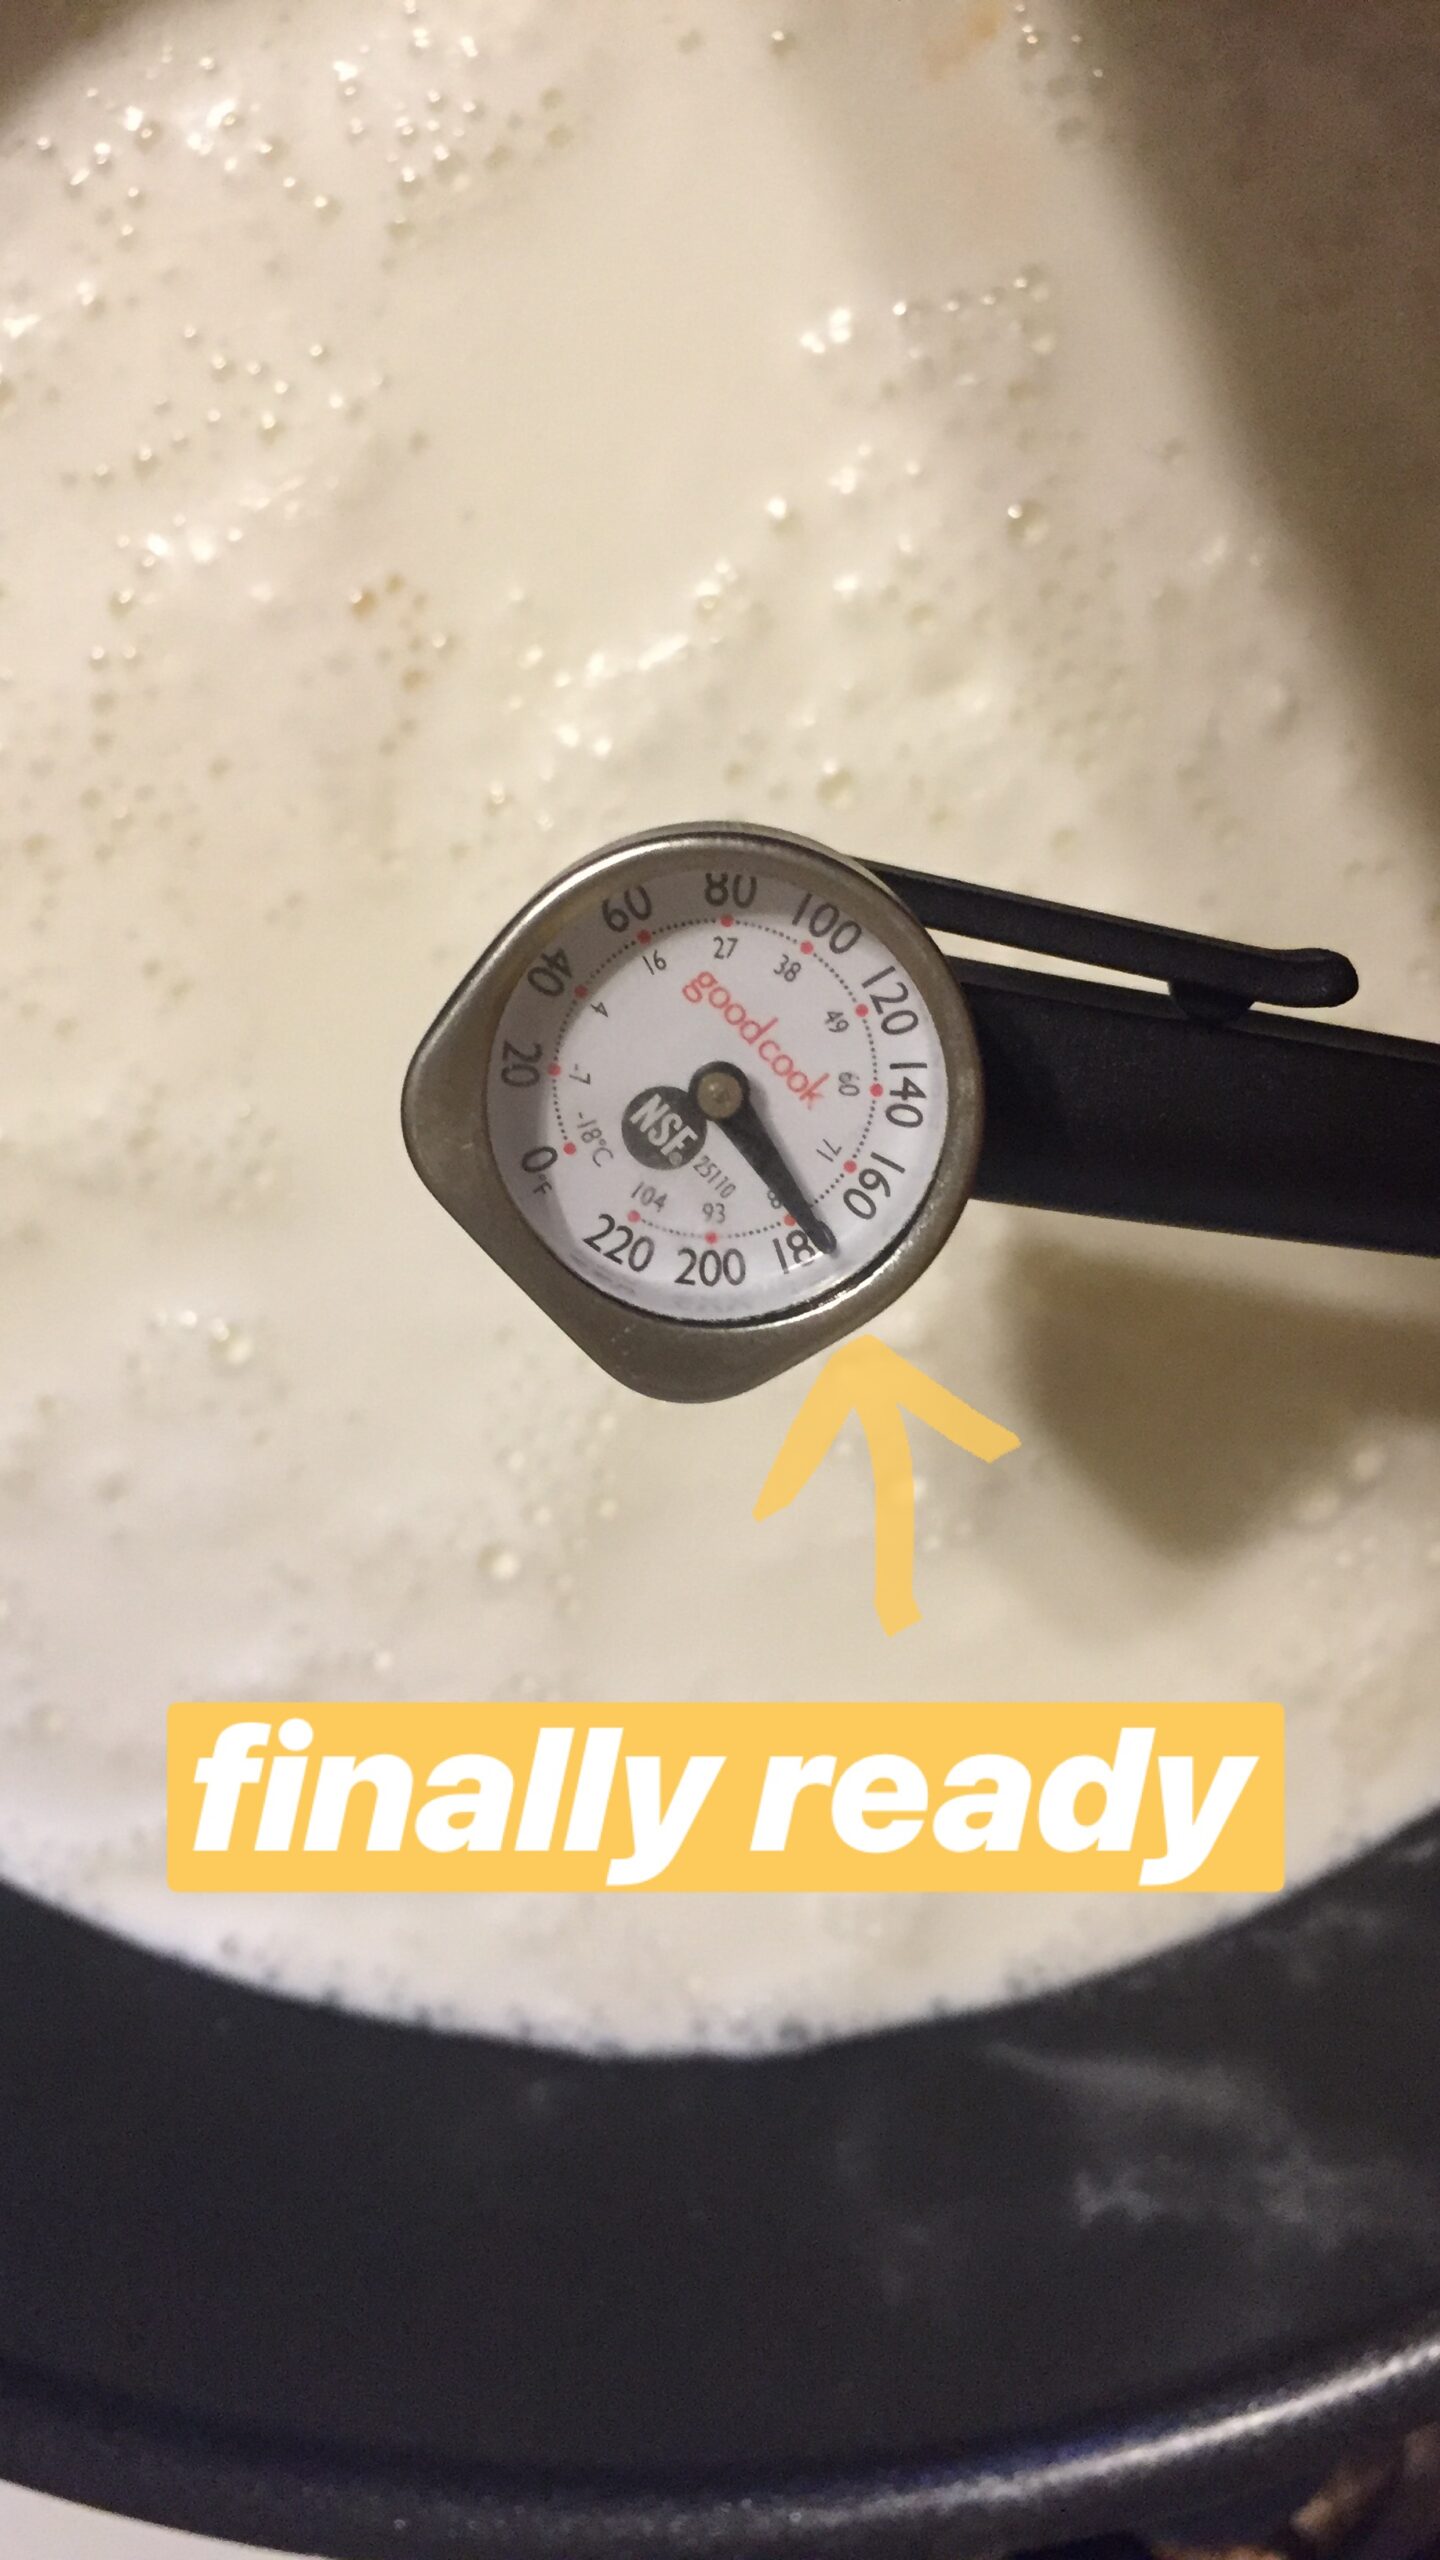
When, at last, the milk was hot enough, I took the pot off the heat and stirred in 1/3 cup of lemon juice and vinegar.
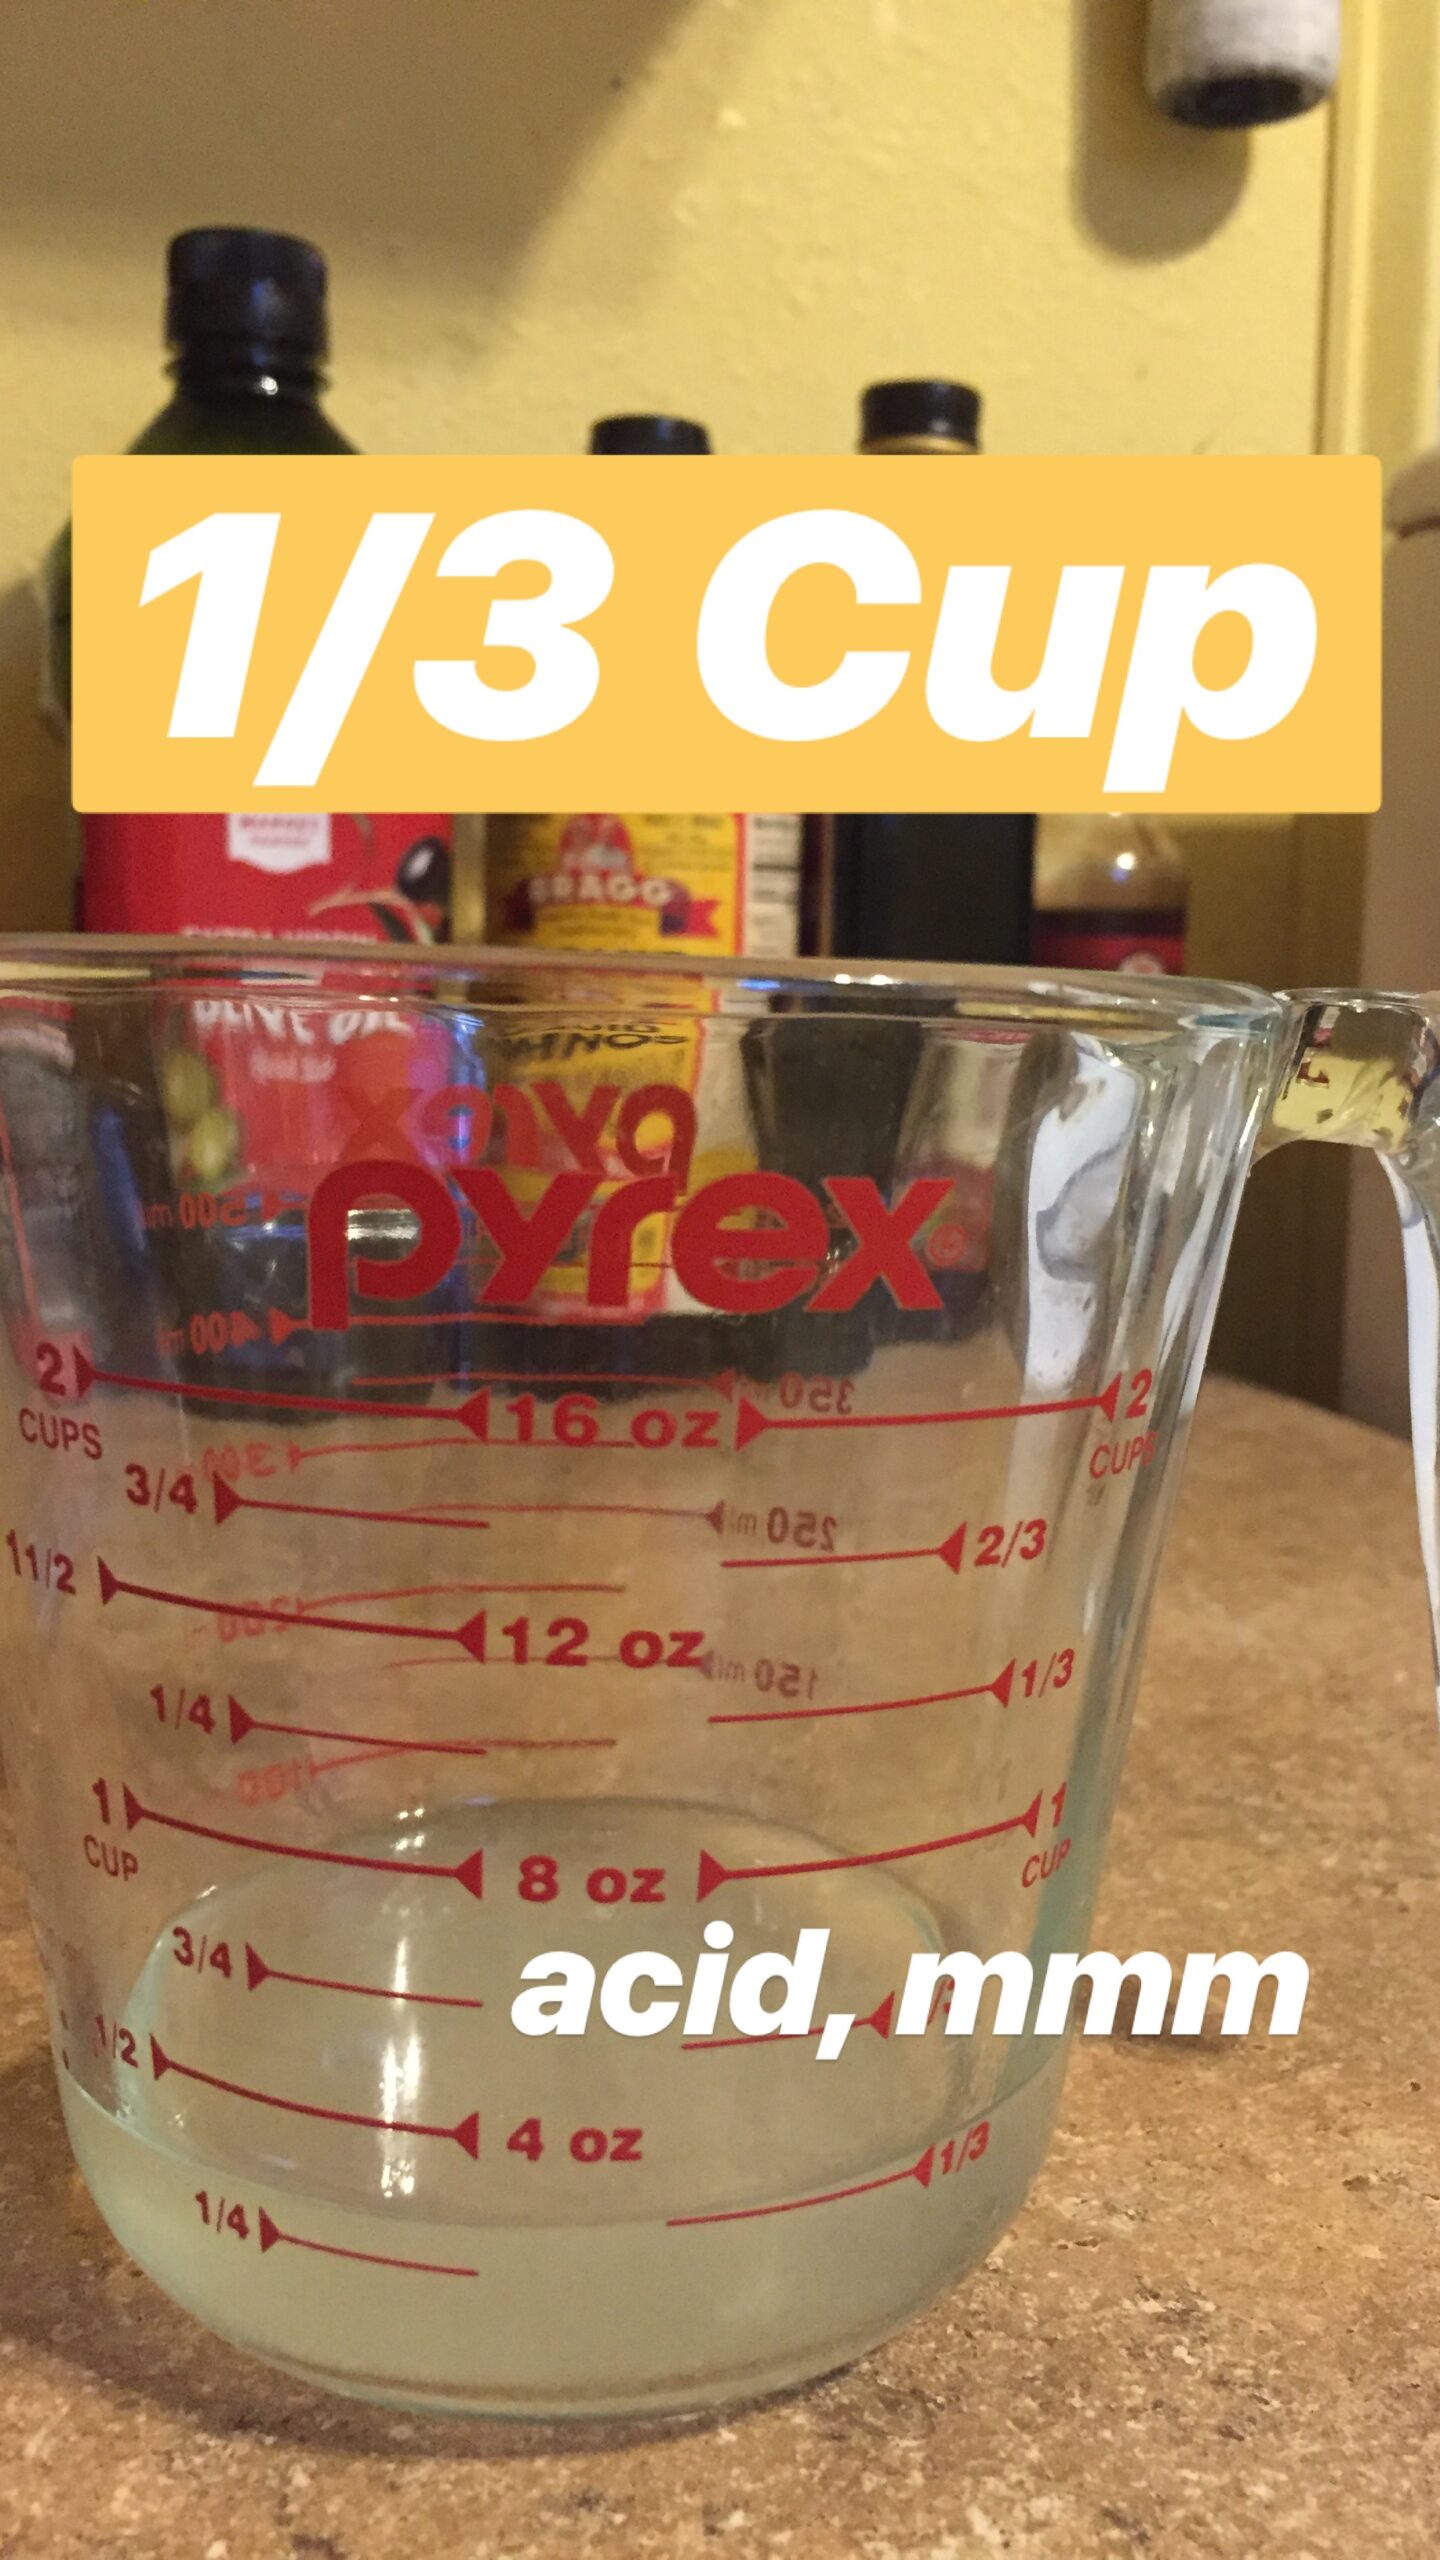
All fresh cheese recipes call for an acid of some kind; it’s what separates the whey from the curds, thus forming cheese. You can use either lemon juice or white vinegar, each of which imparts a slightly different taste. I went rogue and used some of each, mixing them together, just because.
I stirred the acid concoction into the milk and waited about 10 minutes for small curds to form. (Yes, we are making curdled milk on purpose. Mmm, cheese.)
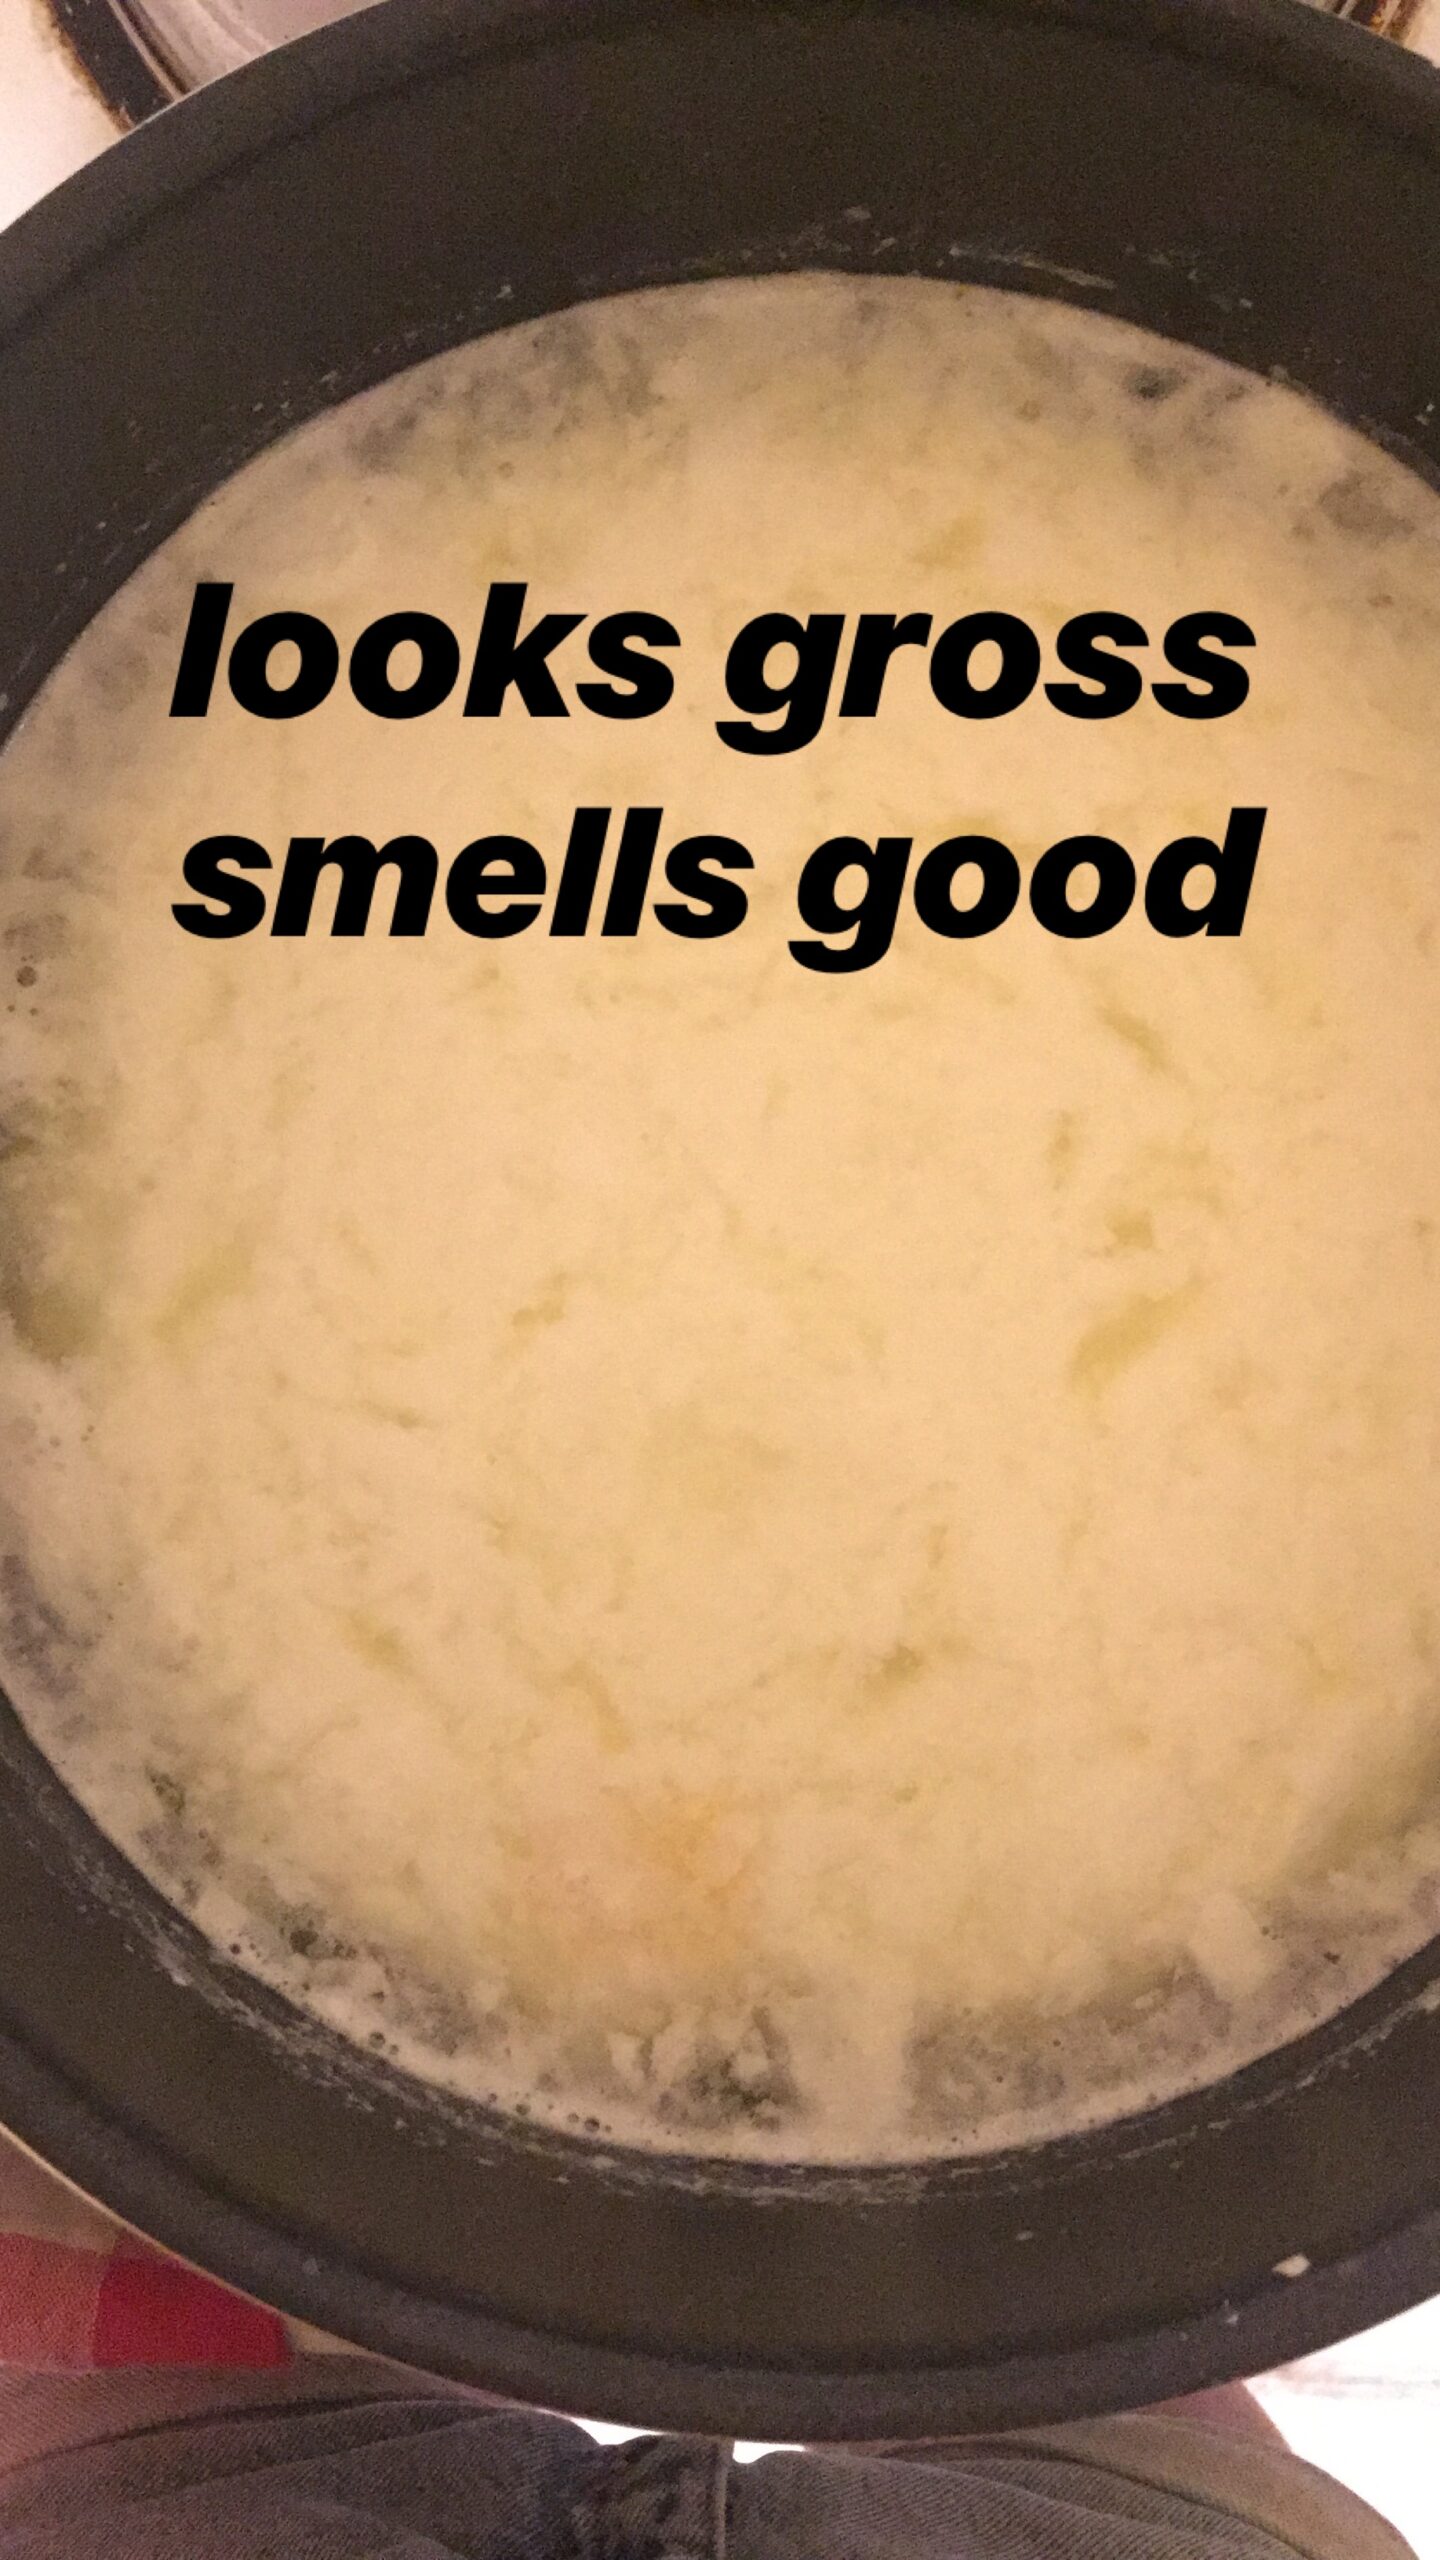
After a few minutes, the milk looked curdled and smelled goat cheese-esque. But upon stirring, the feeble curds quickly disappeared.
Upon the advice of the internet, I tried adding some extra vinegar to encourage curdling. Nothing. The milk looked just like plain milk.
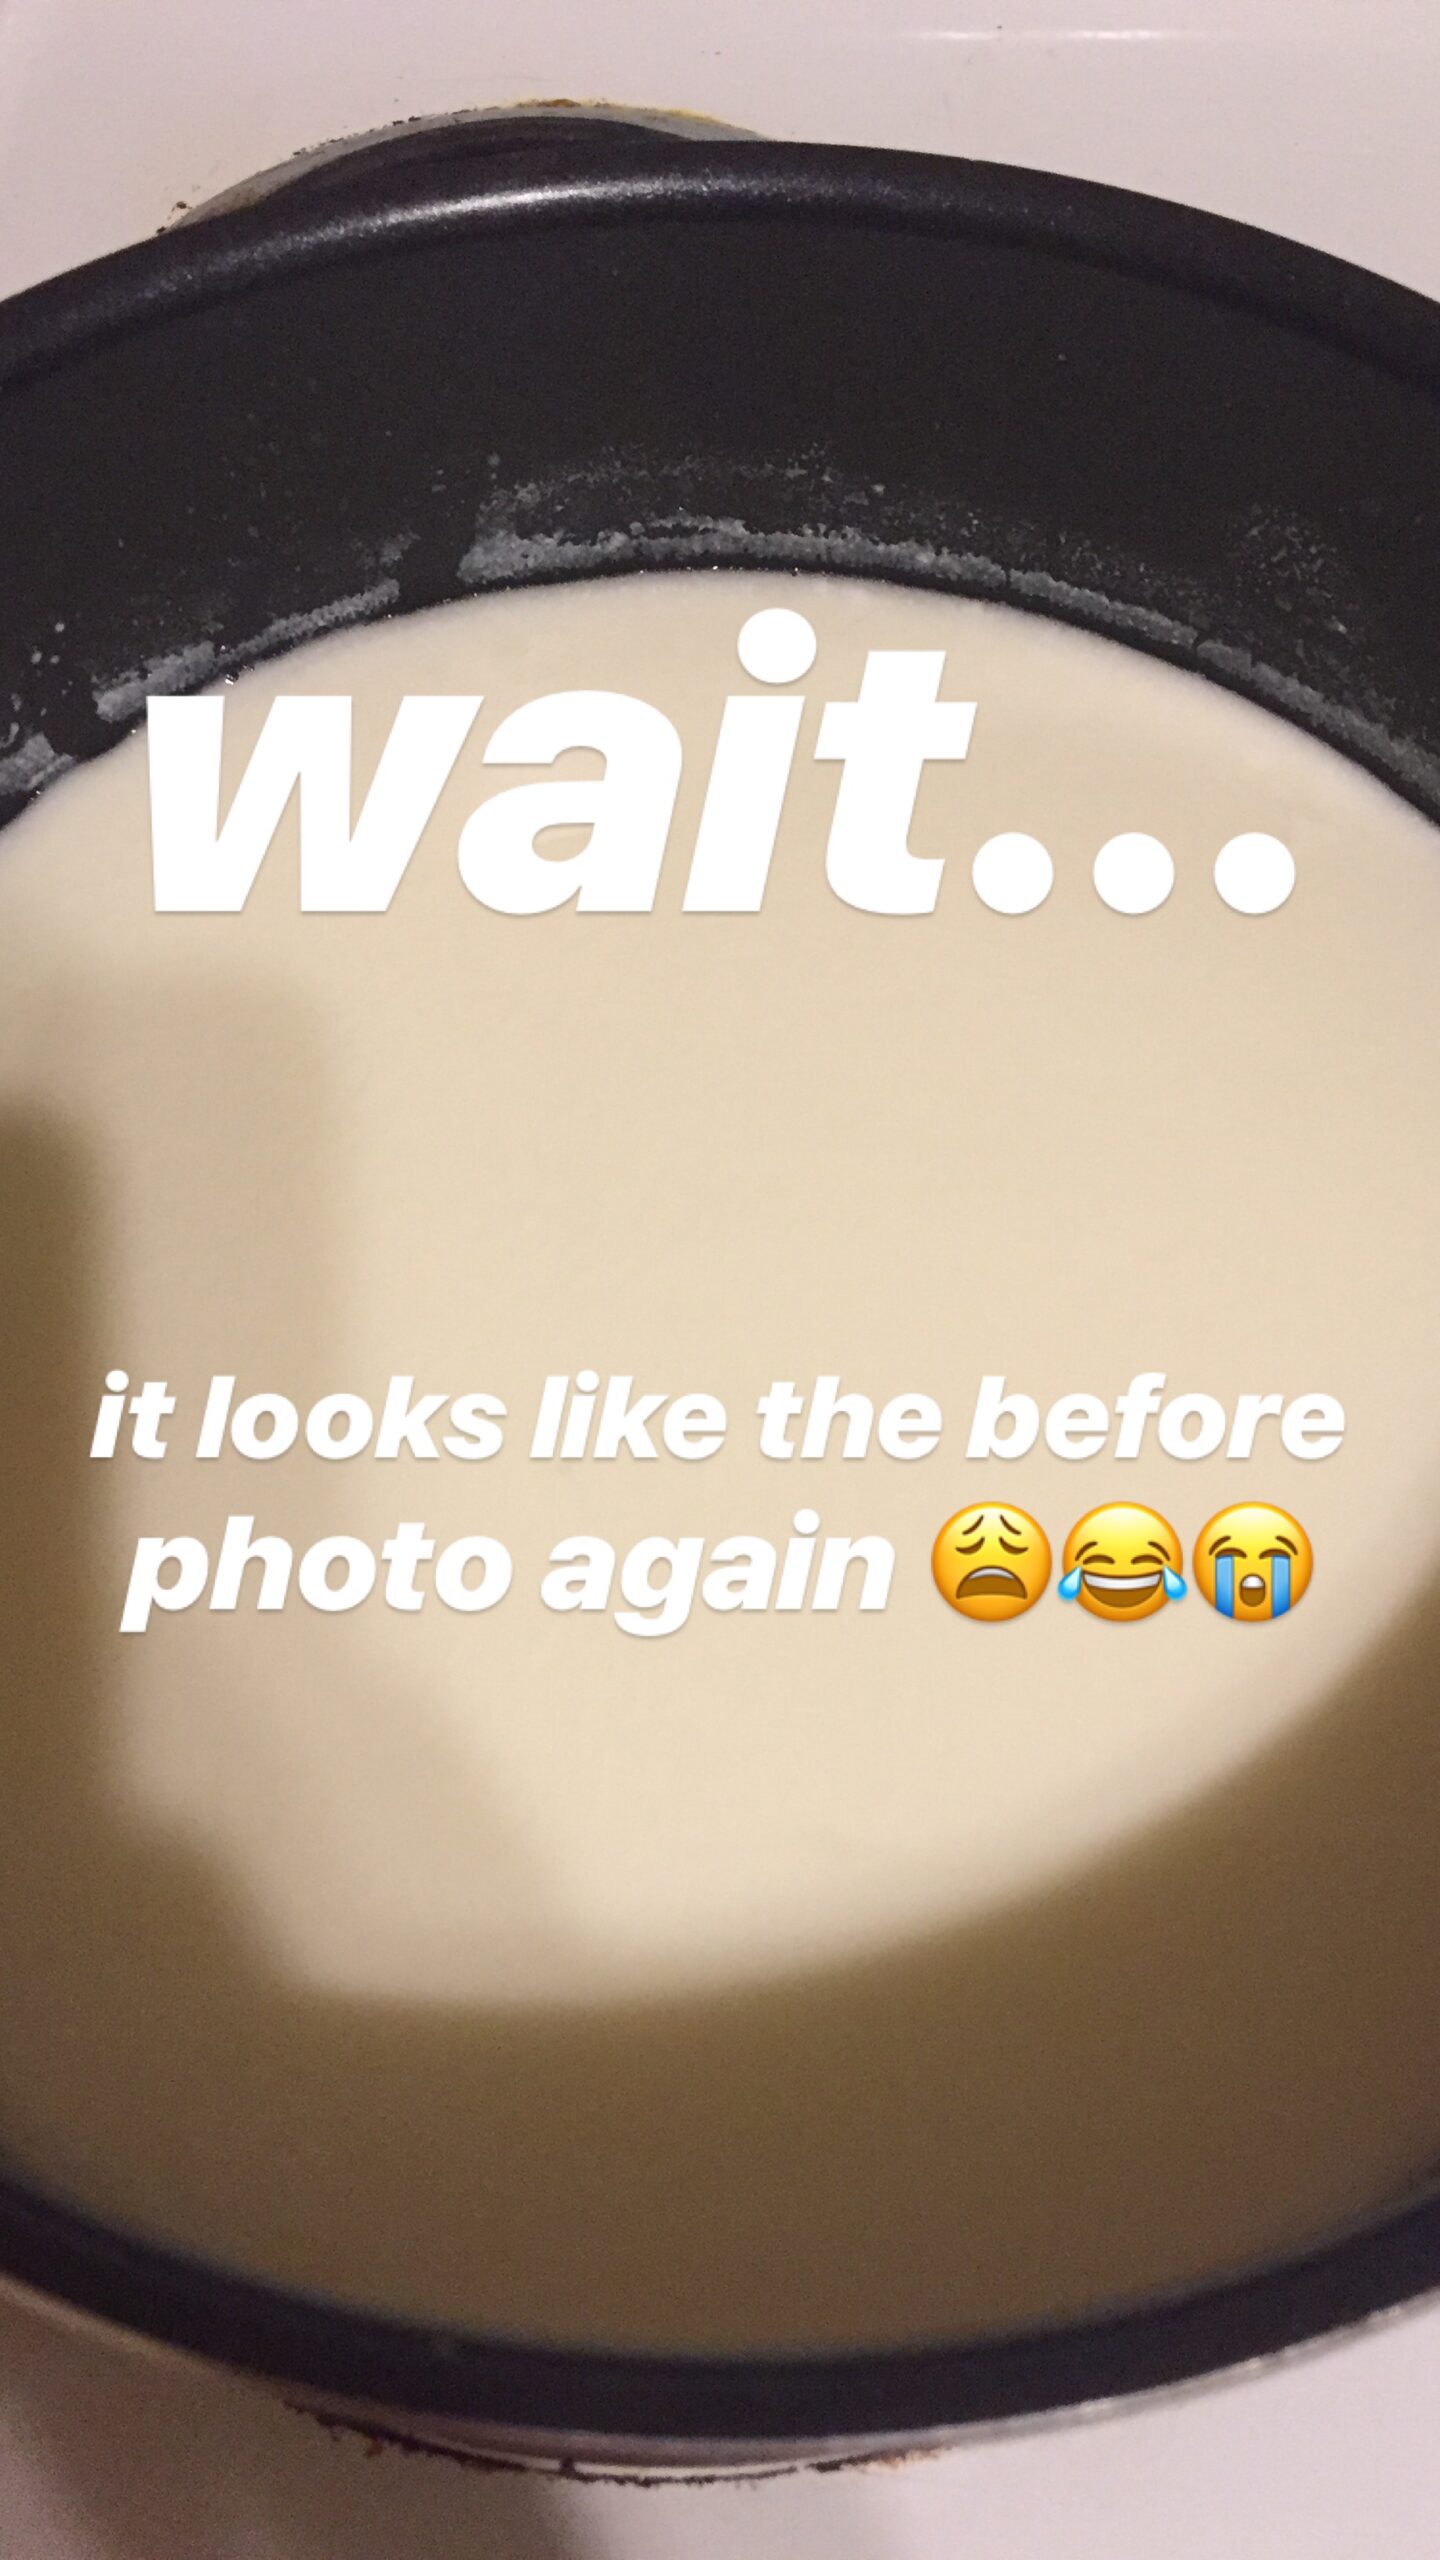
That’s when I looked over my recipe again, and promptly realized something.

My goat’s milk was ultra-pasteurized. Ultra-pasteurized milk is processed differently, and it’s unlikely to form curds at all. OOPS.
After discovering that my local grocery store doesn’t even sell non-ultra-pasteurized goat’s milk, I shelved my dreams of homemade goat cheese, switched gears, and bought some whole cow’s milk — pasteurized, but not ultra-pasteurized.
Attempt No. 2: Ricotta
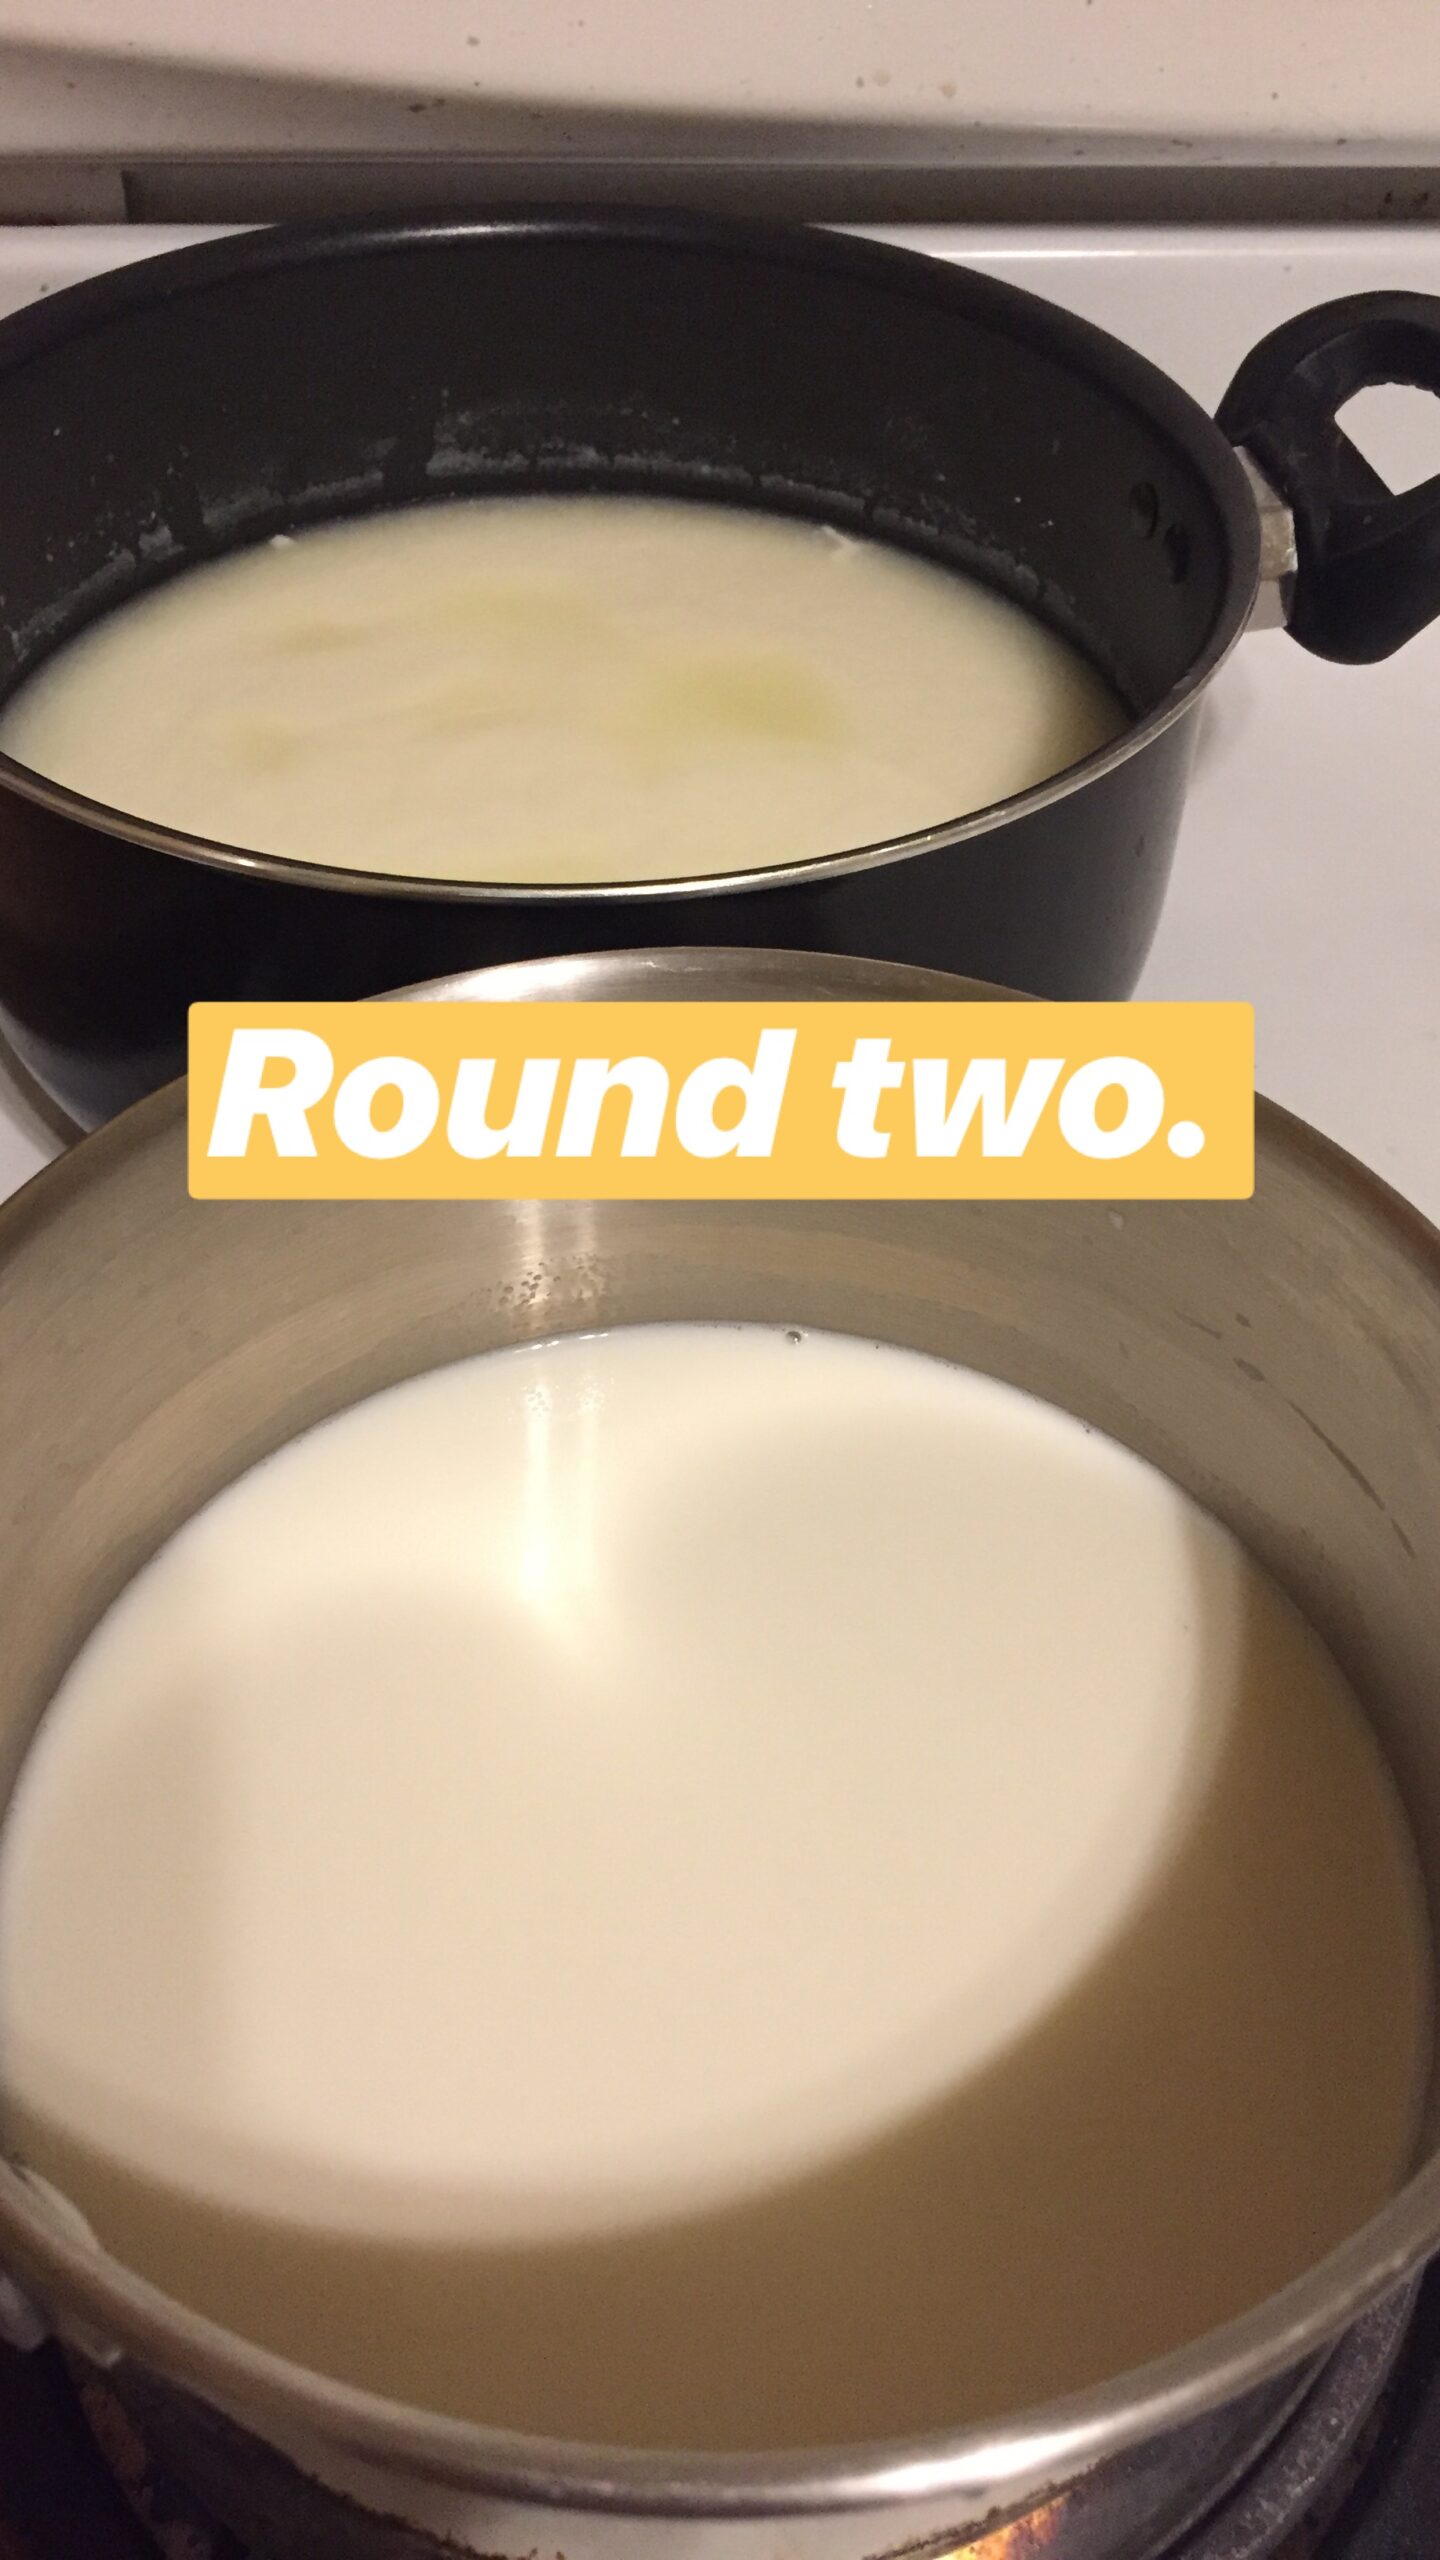
Fortunately, you can use whole cow’s milk to make a variety of fresh cheeses, including ricotta, paneer, and queso fresco. (Queso fresco is the crumbly Mexican cheese that goes on top of tacos, while paneer is the cubed cheese that goes in Indian dishes. They are essentially the same thing, believe it or not.)
I started with the same basic steps again: I heated up the milk, this time to about 200 degrees F. (I used only 1 quart of milk this time because I was worried that my cheese-making attempt would result in another failure.)
Once the milk was hot, I stirred in 1/8 cup lemon juice.
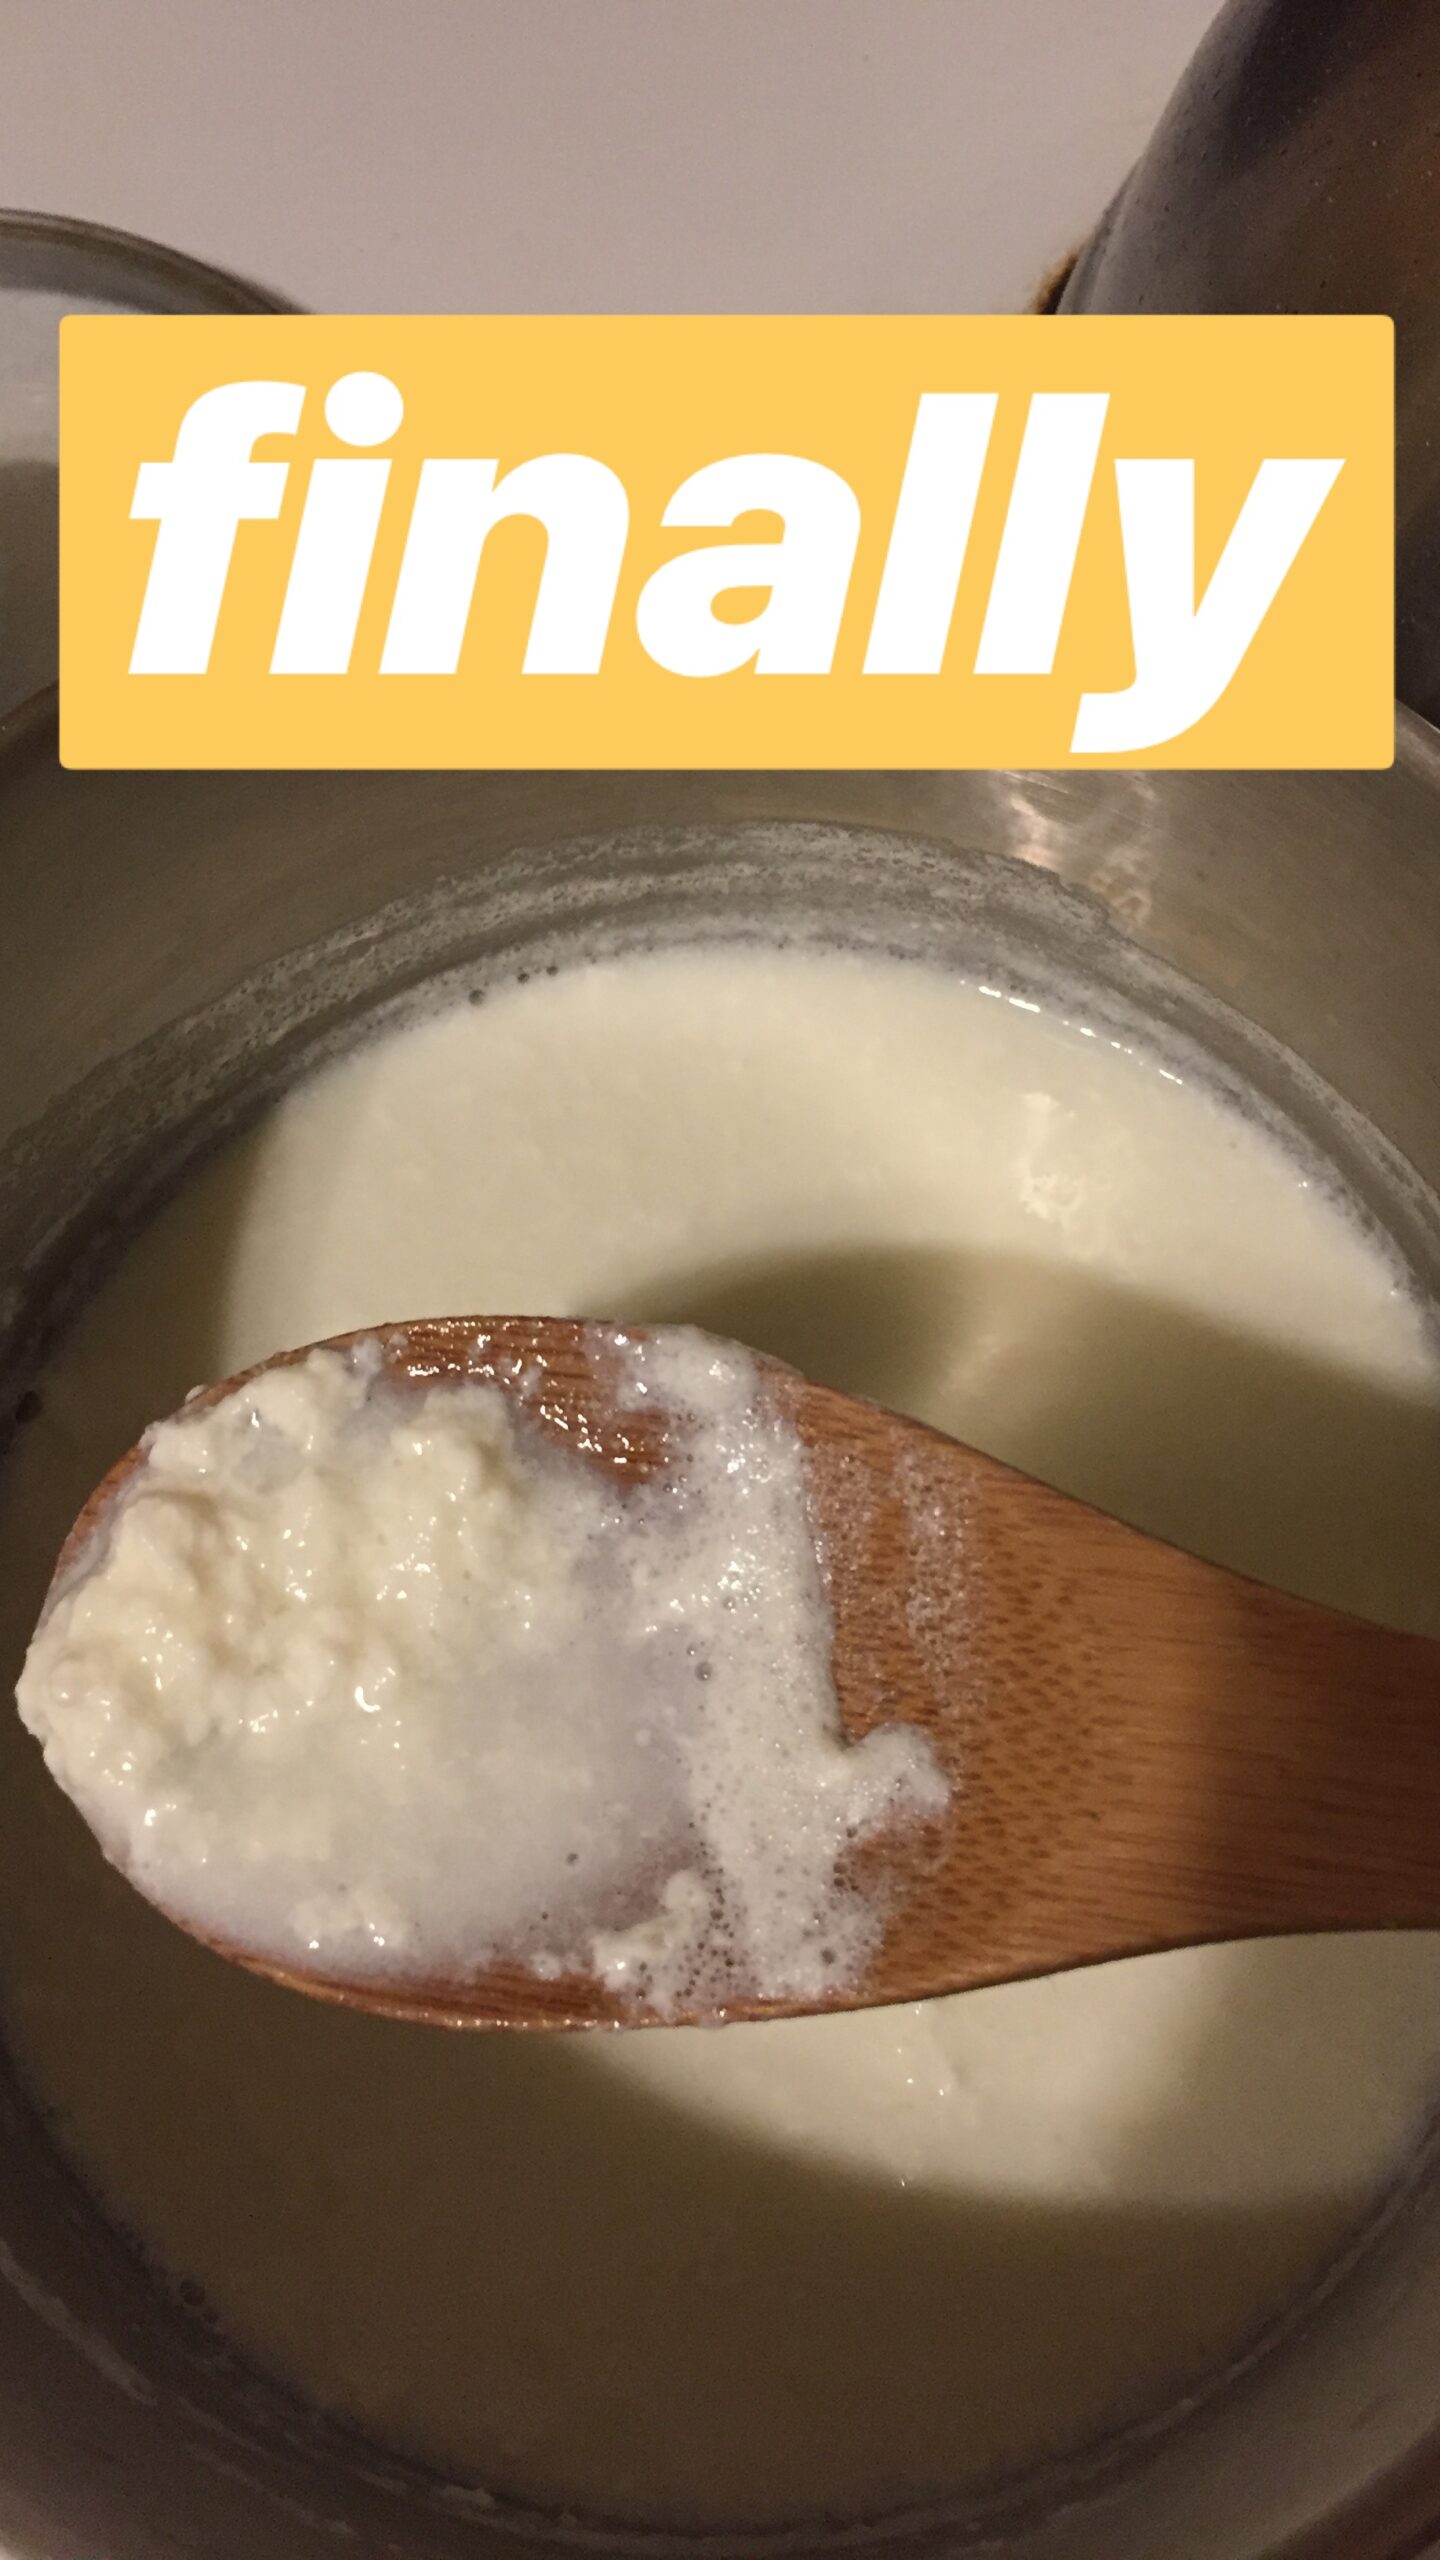
Success!
I transferred the curds to a colander lined with cheesecloth that I’d placed inside a metal bowl. The liquidy whey dripped through the cheesecloth and colander into the bowl, leaving soft curds — also known as ricotta — behind. I then mixed a bit of salt with my curds, and it was done.
I was impressed with myself. I had made ricotta cheese!
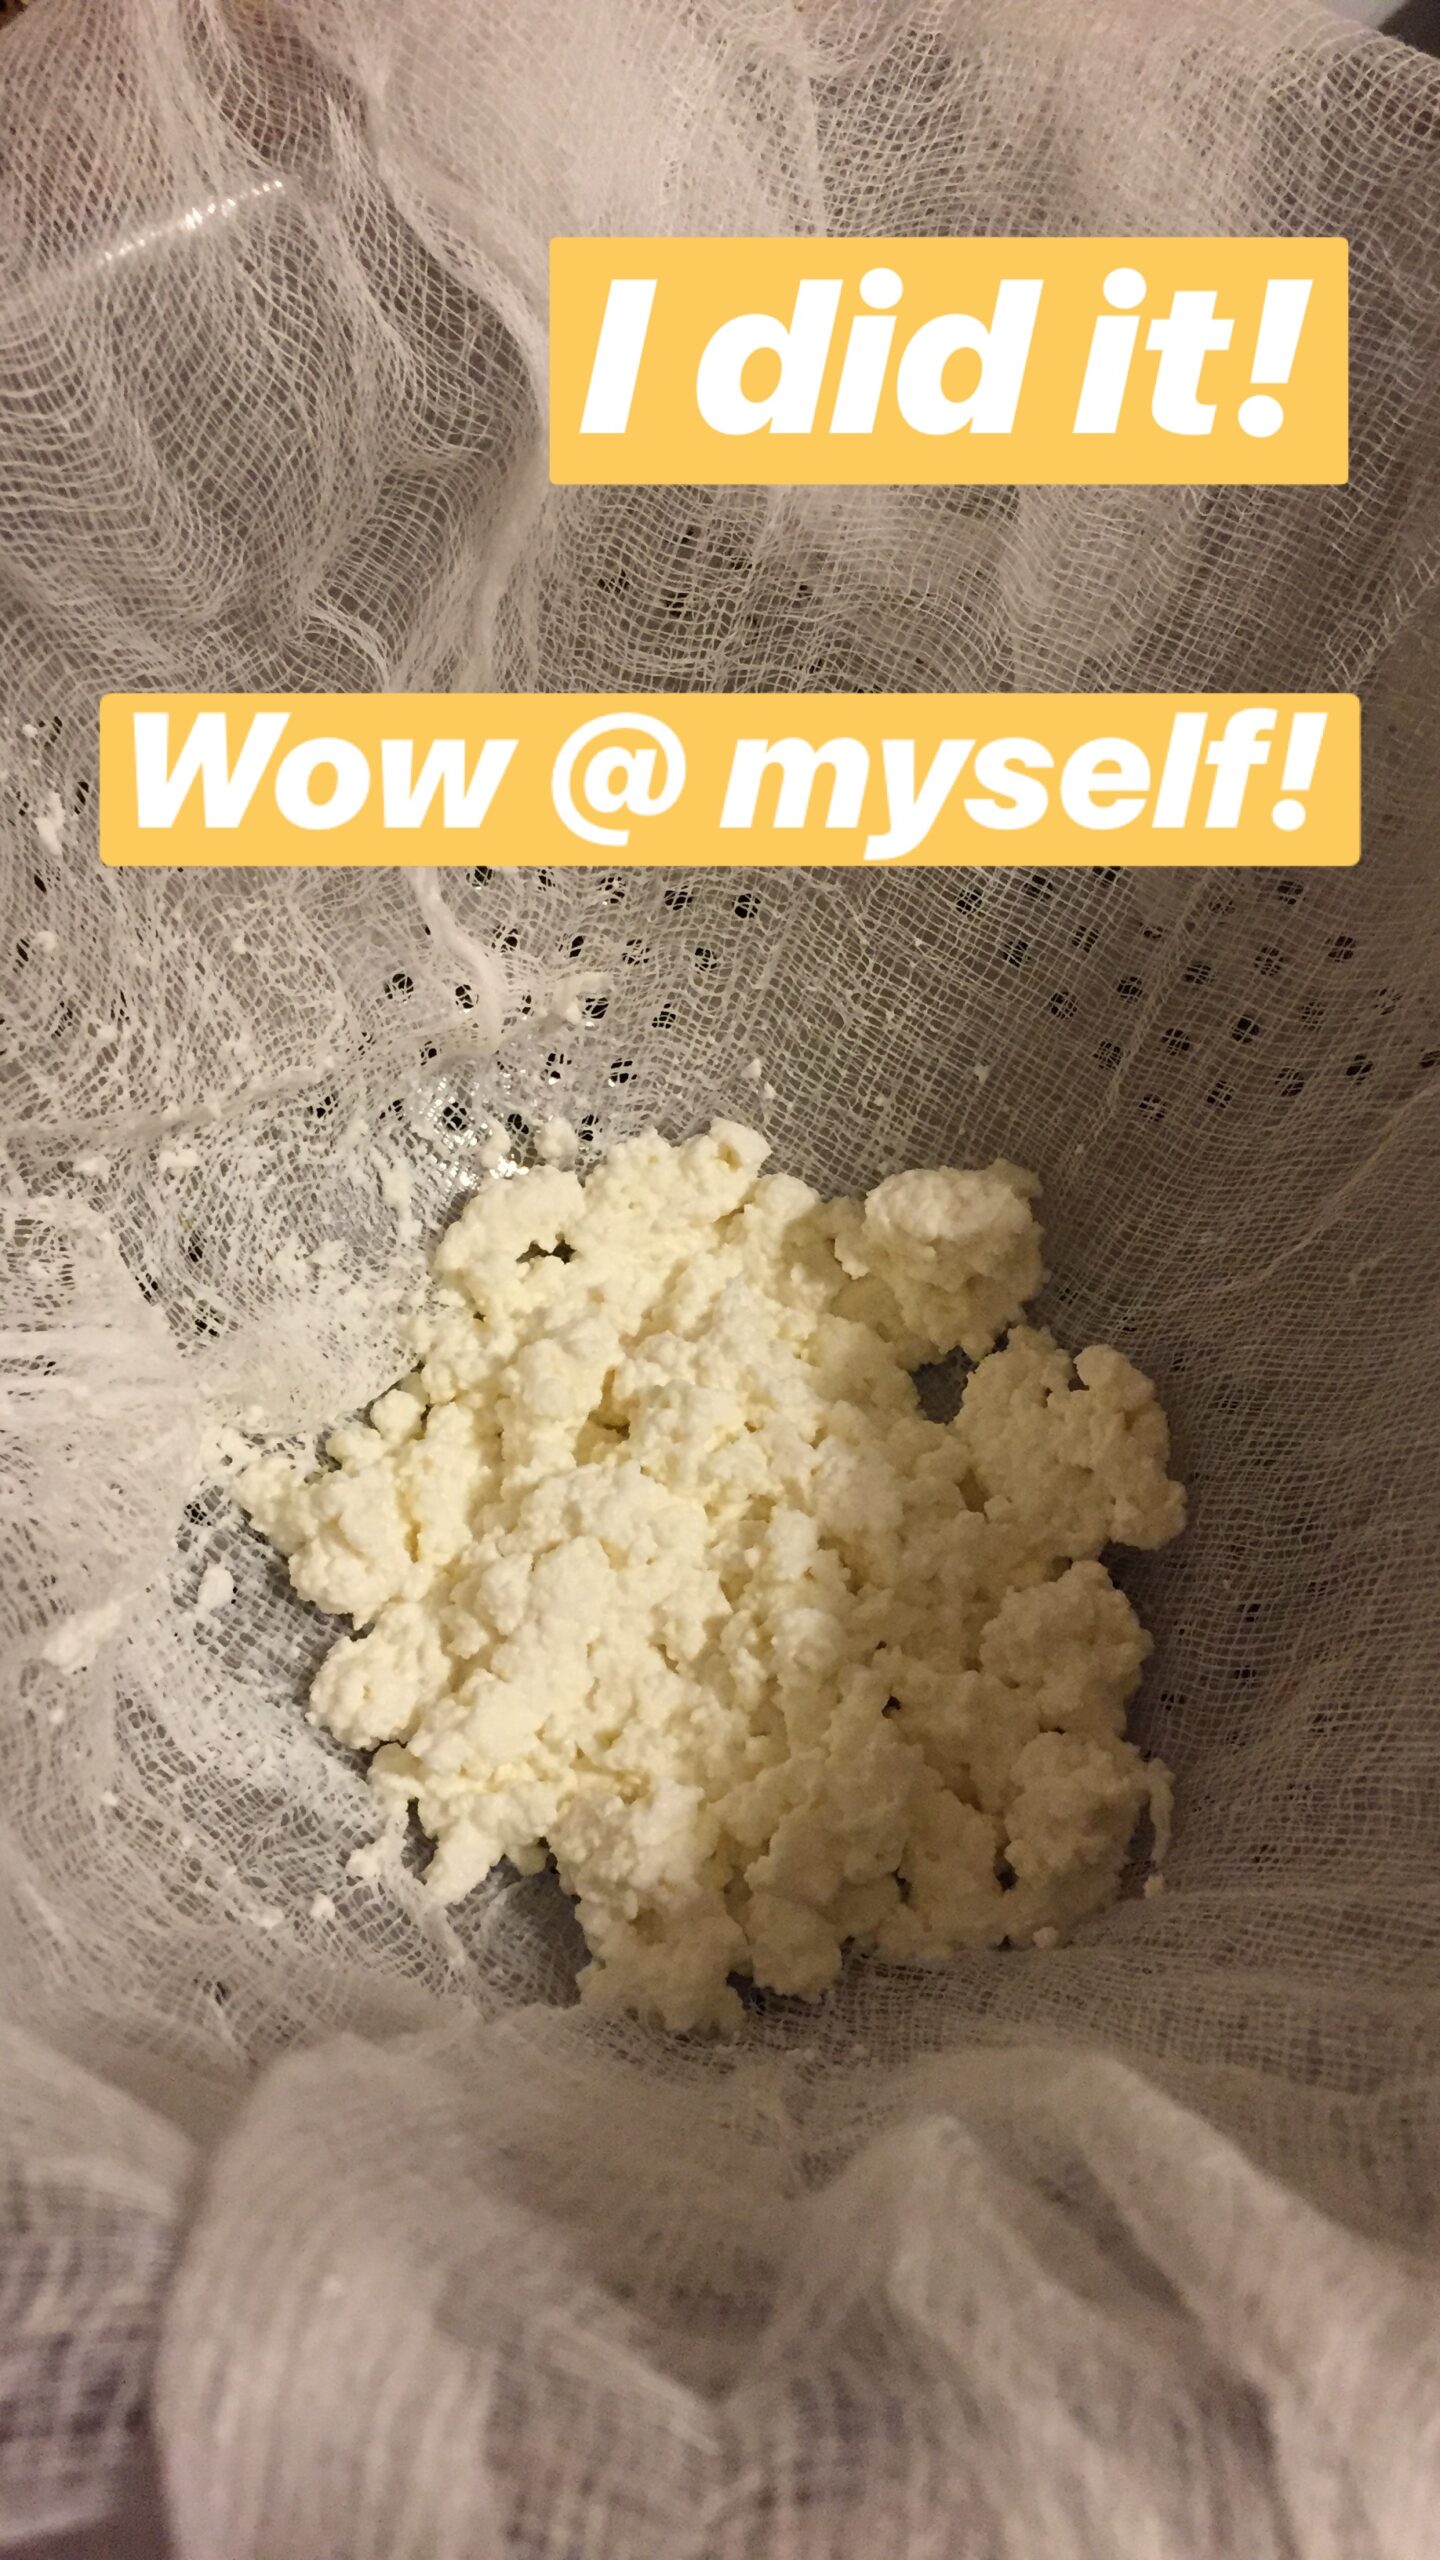
(Note: If you try this at home, you can eat your ricotta fresh or put it in the fridge so that it firms up. Also, you can squeeze more or less liquid out of the ricotta, depending on how dry you like it.)
Now that I’d mastered one type of cheese, I wanted to make another.
Attempt No. 3: Paneer/Queso Fresco
Paneer and queso fresco are basically the same cheese even though they’re used in very different ways. They both have a mild flavor, and they’re solid — they won’t melt at all. You’ll often find them used as a topping or added to soups and stews.
Making paneer/queso fresco involves the exact same process as making ricotta, except you don’t stop after squeezing the whey out of the curds. Instead, you take those curds and form them into a square shape — still in the cheesecloth — and press them down with some type of weight.
As you can see, I improvised with the weights:
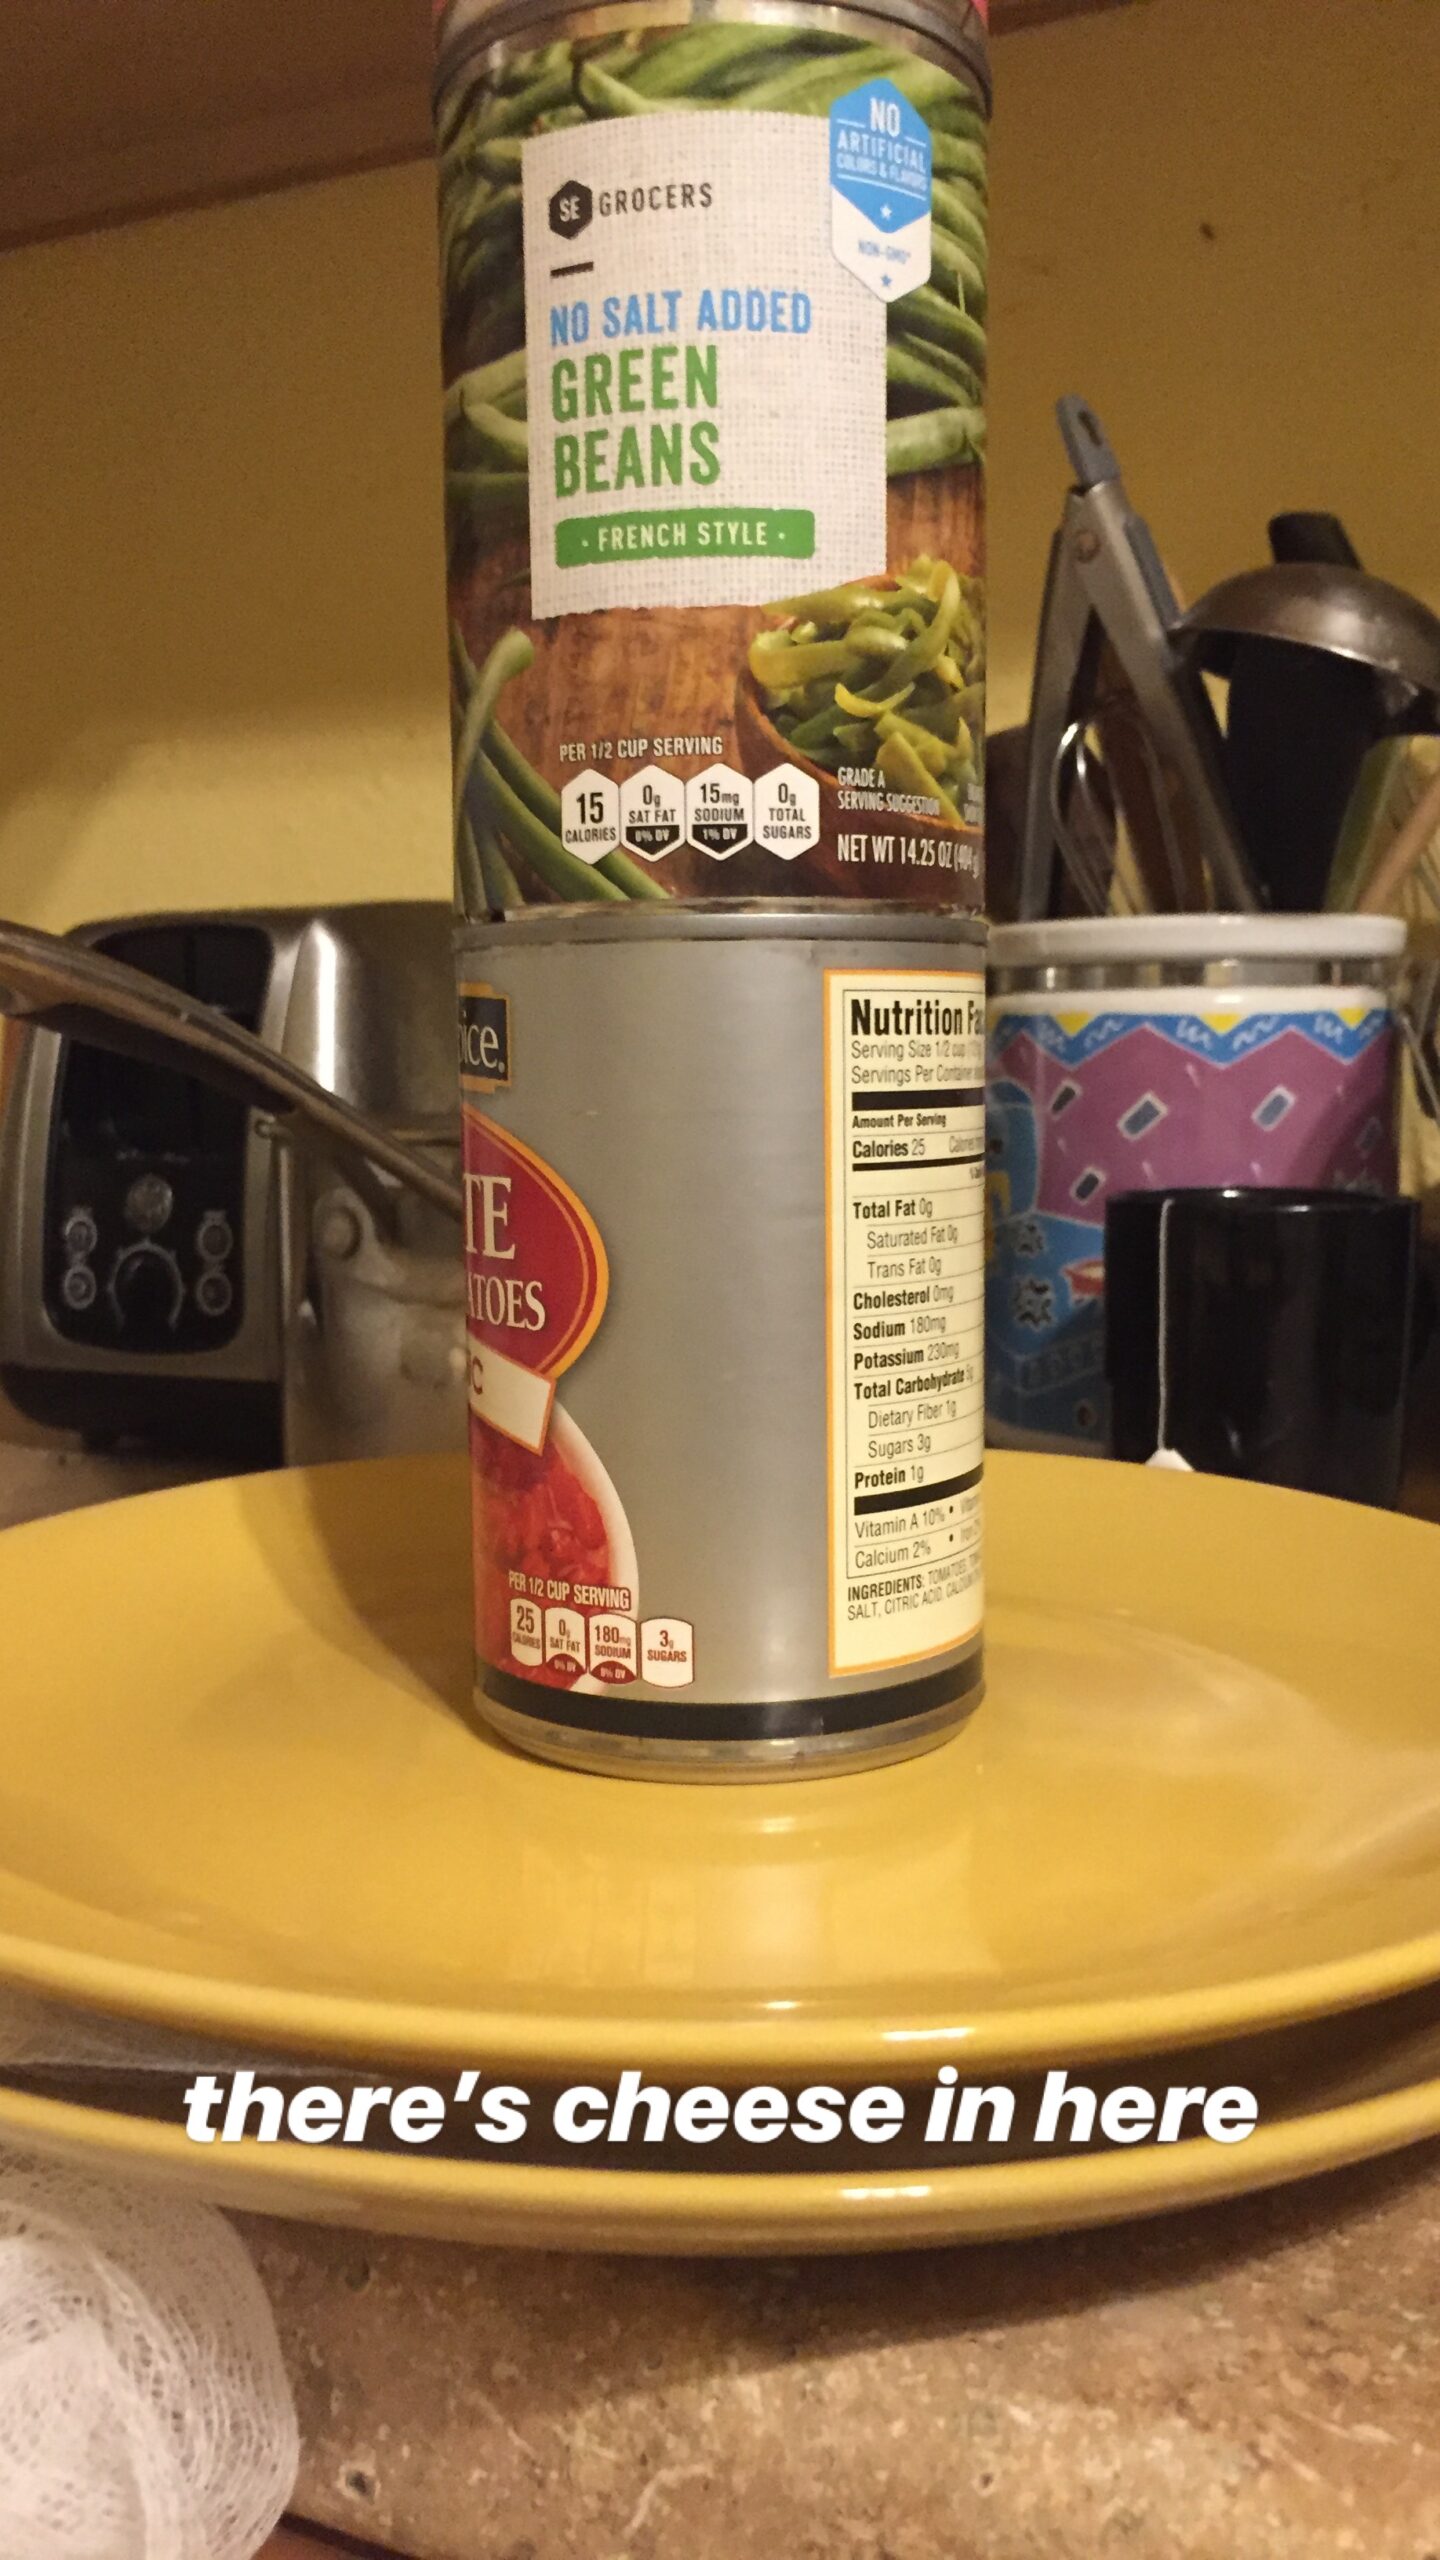
I left the plate/cans on my cheese for about 20 minutes. When I took them off, I was left with a pretty solid cheese.
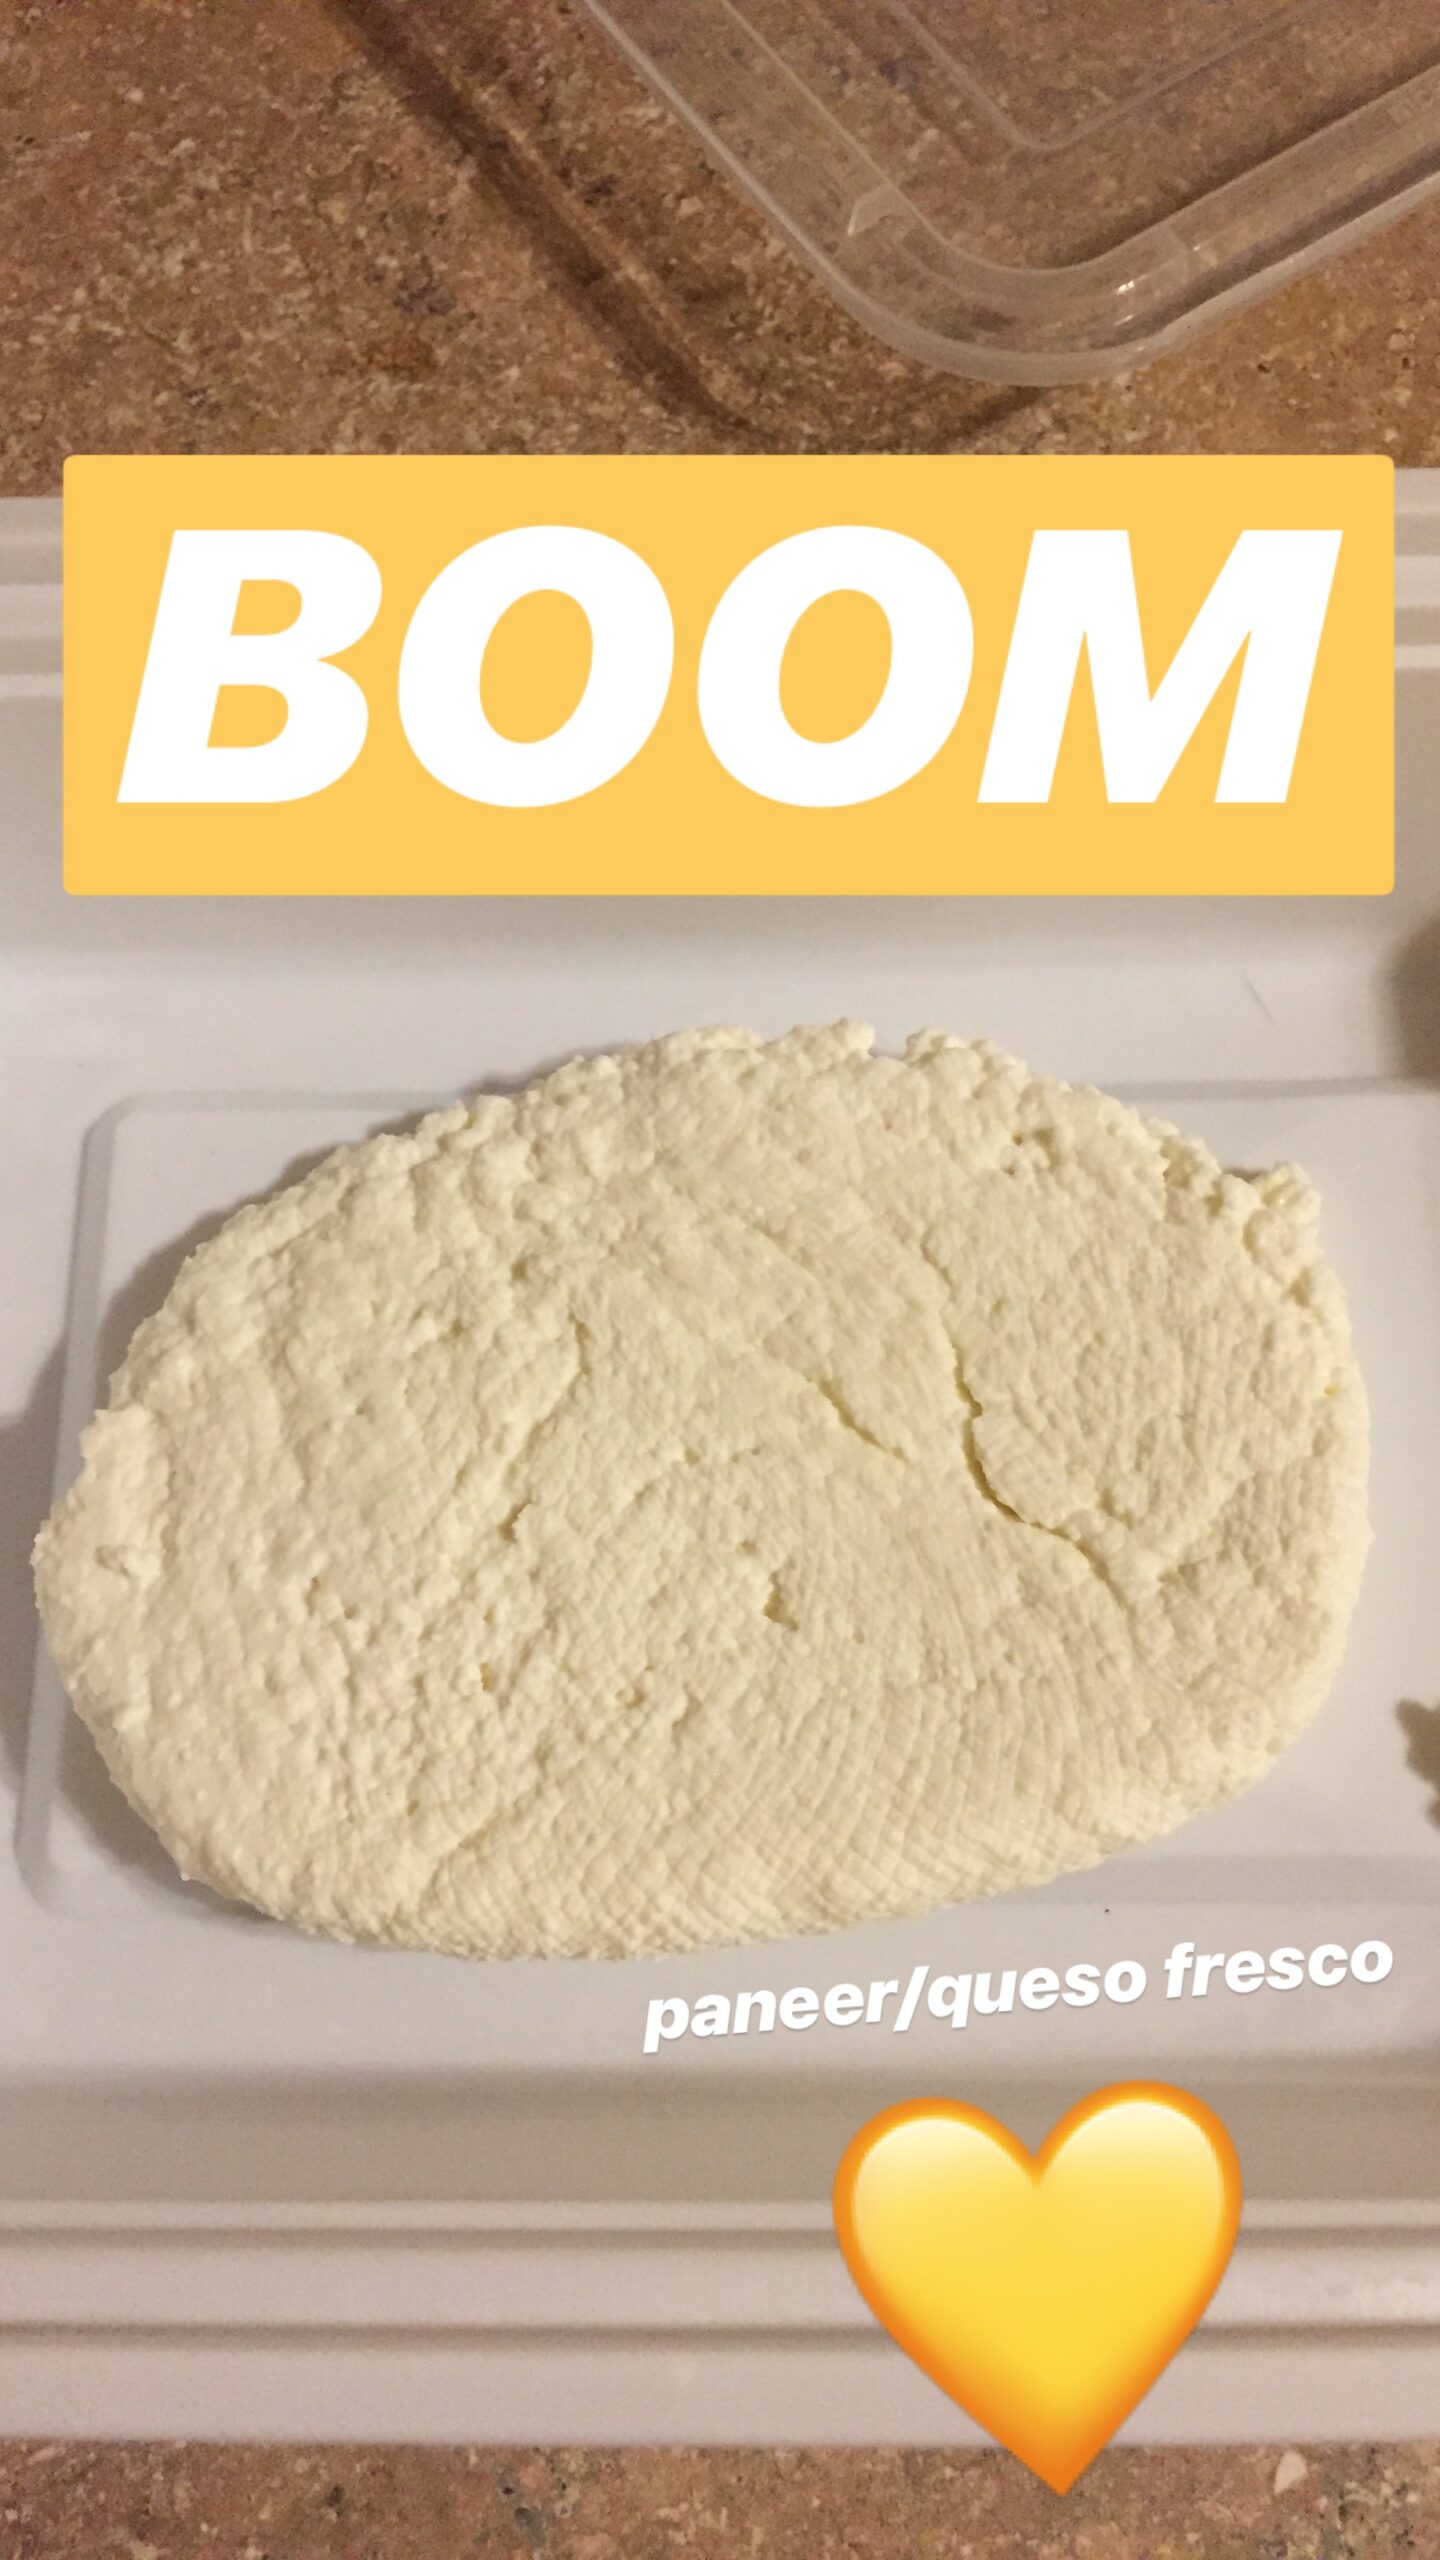
I put mine in the fridge overnight to firm it up a bit. The next day, voila!
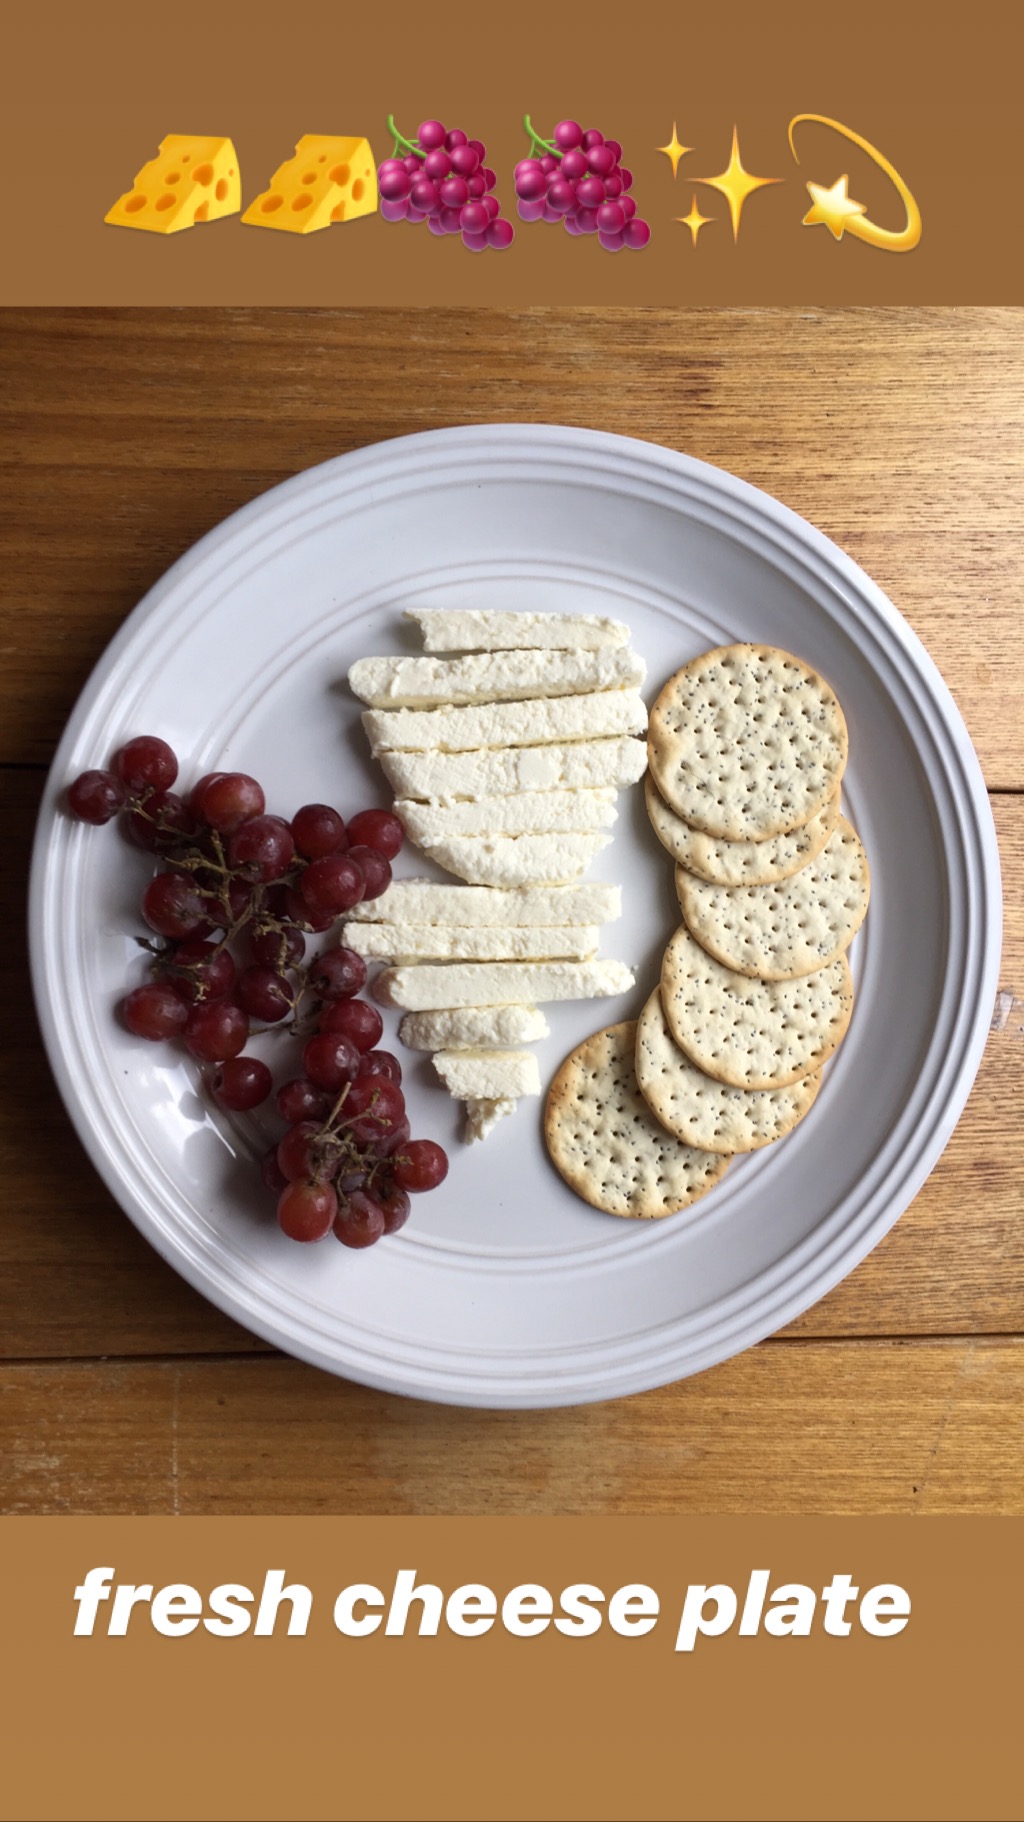
A HOMEMADE CHEESE PLATE. Dreams do come true!
Now that I understand the (very) basic principles of making cheese, I’d definitely like to experiment with different varieties — even the slightly more complicated ones. Who knows? Maybe one day, you’ll see me toting a rind of homemade Gouda on my way to a party.

