If you love dogs as much as we do, you probably devote lots of your crafting time to making the world a happier and cozier place for your number one pooch!
After all, there's nothing better than emerging from your latest project with a brand-new puppy sweater or handmade chew toy!
This is the perfect time of year to put together an awesome dog-friendly tutorial, since there are tons of crafty supplies left over from Christmas. Besides, most of us are still holding on to our New Year's resolutions to really spend more time on DIY projects!
Even better, here's one simple project that seamlessly combines both of those goals: our DIY Dog Food Cannister!
This DIY project calls for a handful of basic art supplies, as well as one Christmastime staple, the popcorn tin!
If you received one of those giant buckets of flavored popcorn for the holidays, you are probably due to clear out the last of the popcorn right about… now.
Once it's empty, it's ready for a quick wash and a stunning transformation into the most useful Christmas gift you've ever received!
Thumbnail Photo: Flickr / The Heather Chronicles
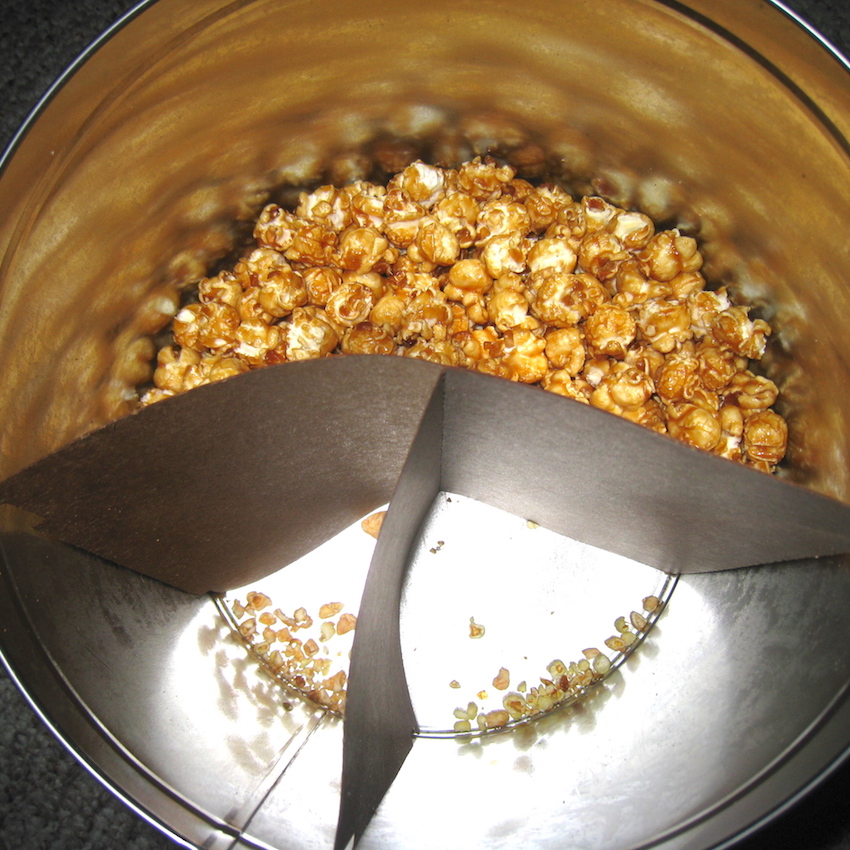
This tutorial calls for a few simple supplies. If you're into crafting, you may already have a lot of them at home!
First and foremost, you'll need an old popcorn tin, either from this year, or one you hung onto from a previous season.
Next, you'll need:
You’ll also want to make sure you have handy plenty of kibble and, of course, a doggy!
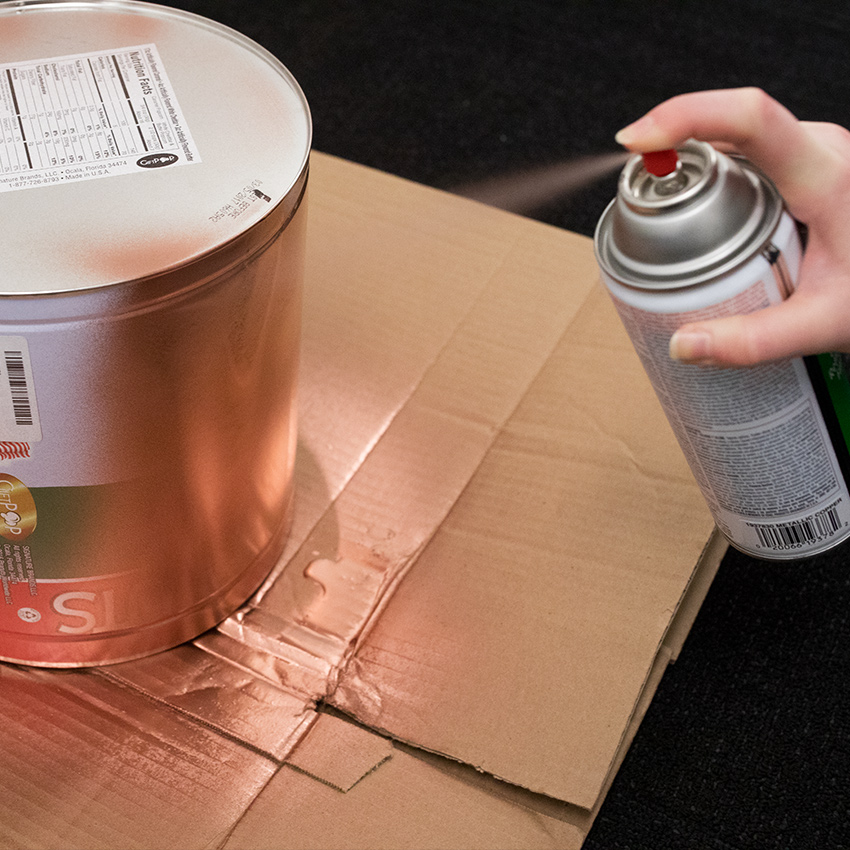
First, set up your clean, empty popcorn tin on a piece of scrap cardboard or on old newspapers.
Place it with the mouth side down, and carefully spray the whole canister with spray paint in the color of your choosing.
You may have to paint a few coats to cover up the original pattern on the tin, and you'll want to do this part in a well-ventilated area like a porch or patio.
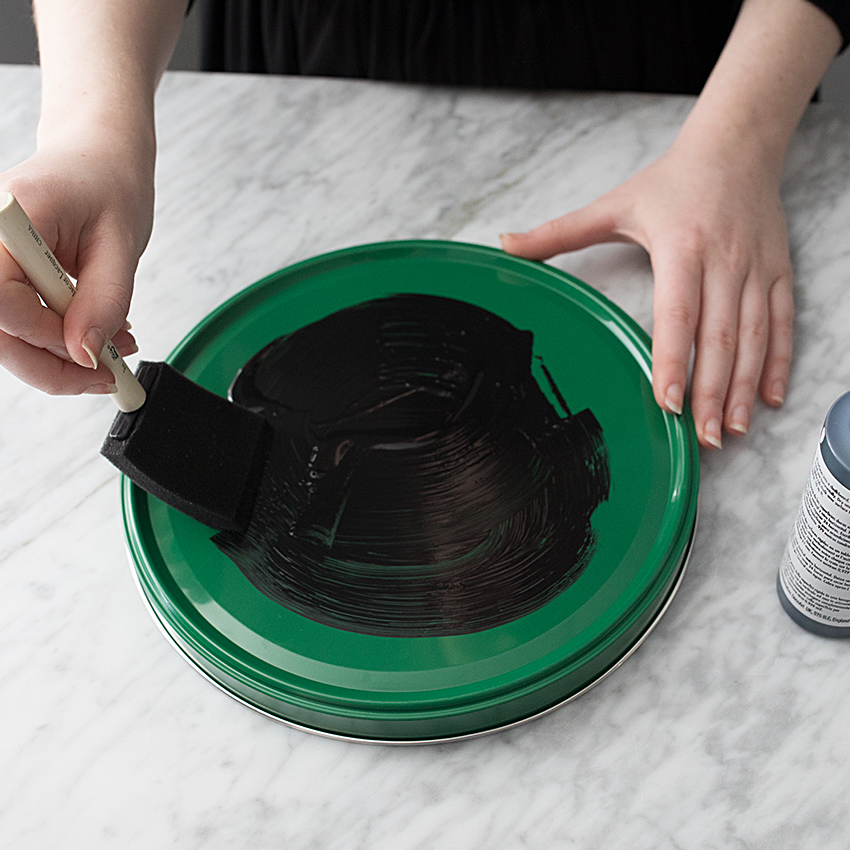
While the body of the tin is drying, move on to the lid!
Paint chalkboard paint in the shape of your choosing on the top of the lid; we decided to make a solid circle inside of the raised edge of the lid.
Make sure you layer on the chalkboard paint until you're left with a solid black shape that will dry evenly.
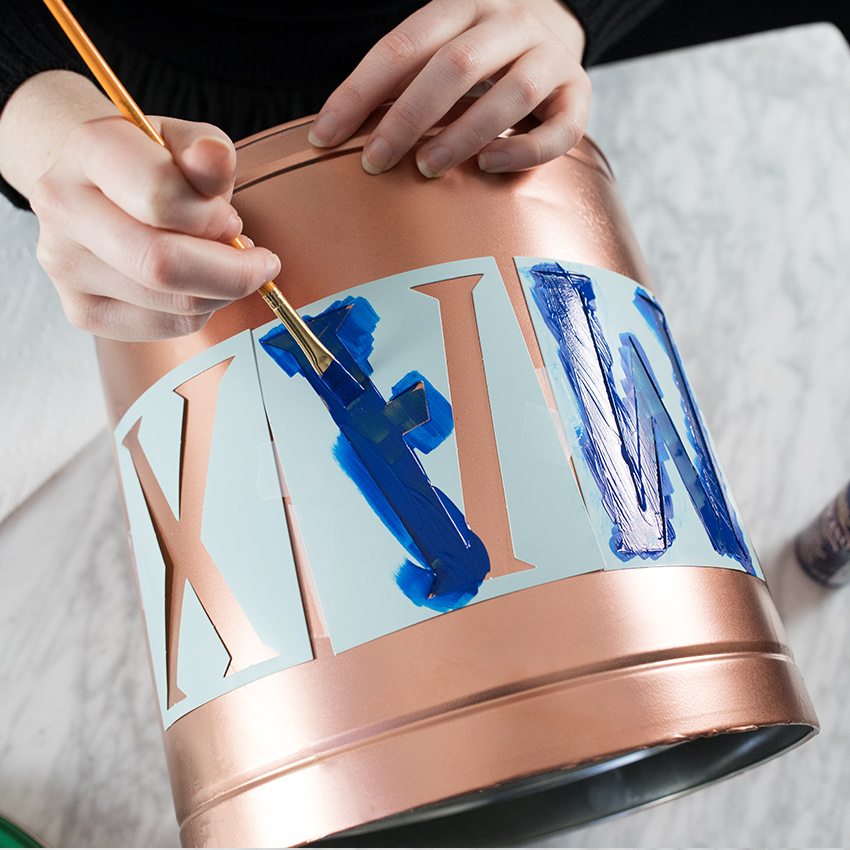
Let your spray-painted tin dry at least 12 hours (though 24 hours is preferable), to make sure the paint is completely dry.
Then, use flexible stencils to paint the name of your pooch onto the side!
We used a couple of coats of acrylic paint to create the letters, but you could also use spray paint or chalk paint, as long as it's a contrasting color.
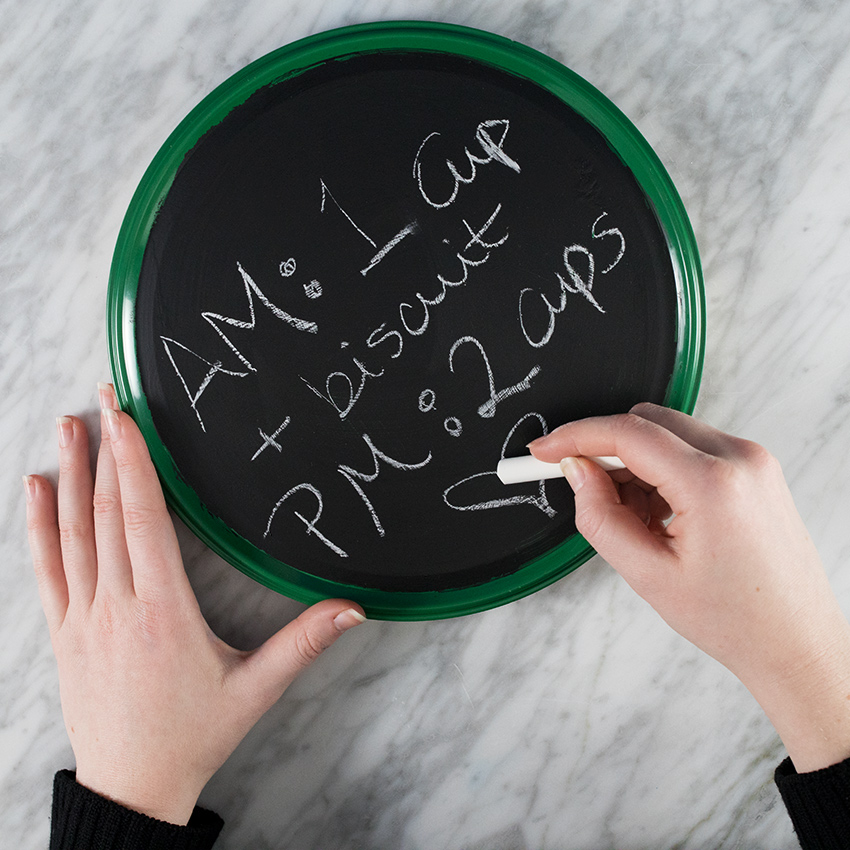
Let the lettering on the tin dry an hour or so, and return to the lid, which should be dry now.
Here, you can leave feeding instructions as a reminder, or notes for your dog walker or house sitter!
It's the perfect place to jot down little pet care reminders, from medications and dosages to preferred walking routes.
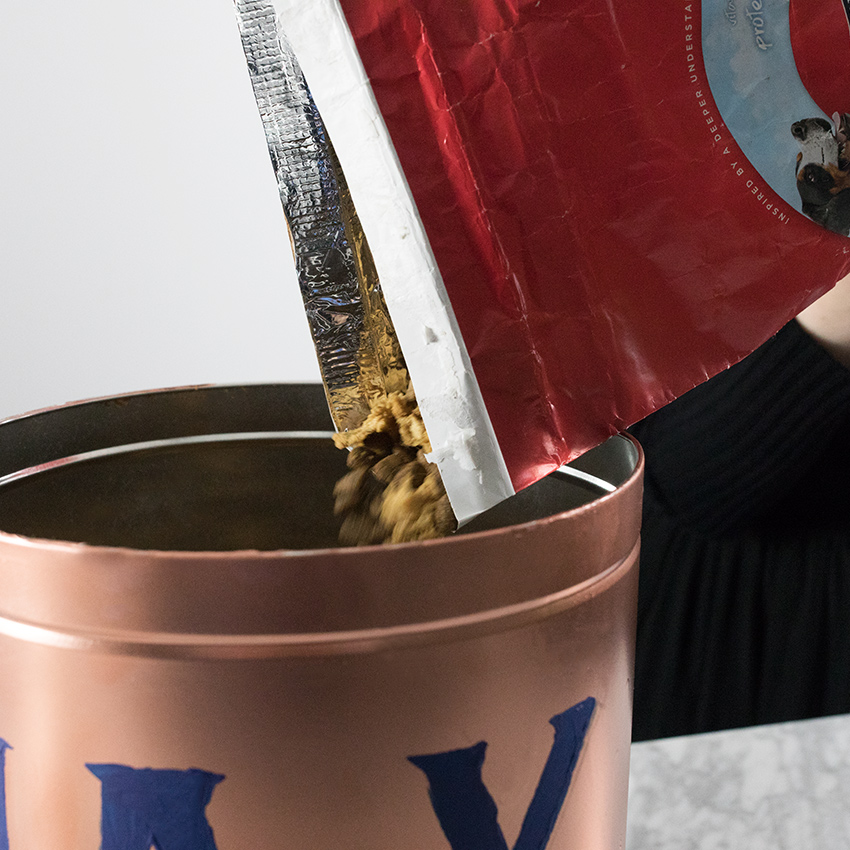
Once the whole tin is completely dry and no longer off-gassing, it's ready for use!
Fill the tub up with your pup's favorite dry food and close the lid down tight.
You can store it in your mudroom or front hall alongside any wet food and other doggy supplies!
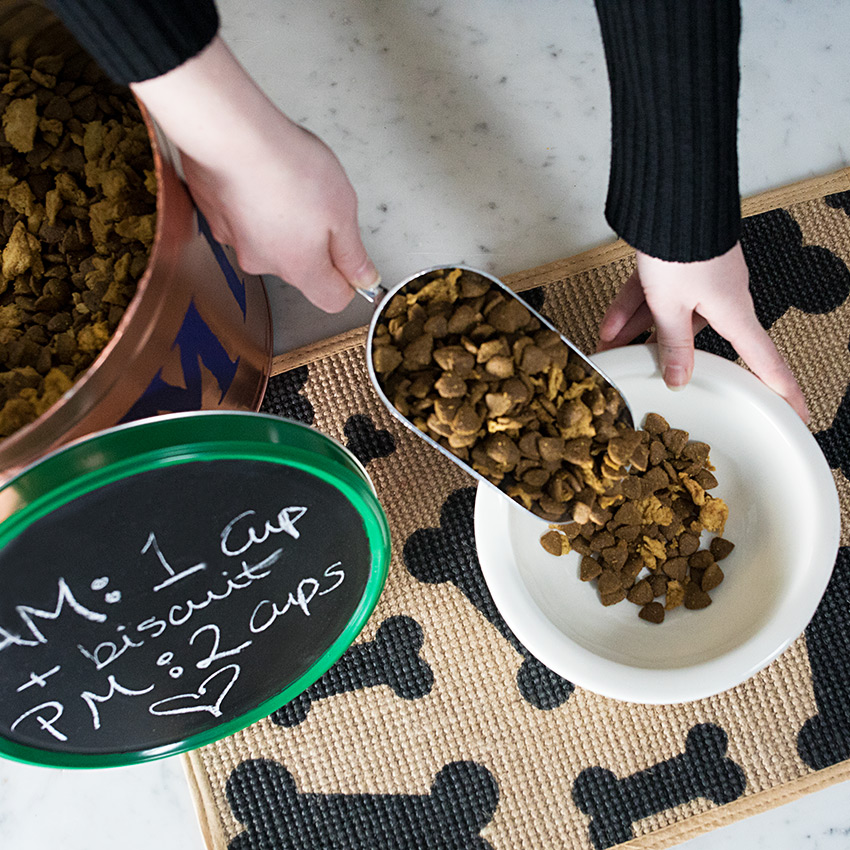
Then, the next time your favorite pooch comes along with his best pair of puppy-dog eyes, you'll be ready to serve up the perfect meal!
Rinse and dry the container whenever you run out of kibble before refilling, and switch up your chalkboard notes as needed.
The chalkboard-painted surface erases easily with a soft dry cloth.
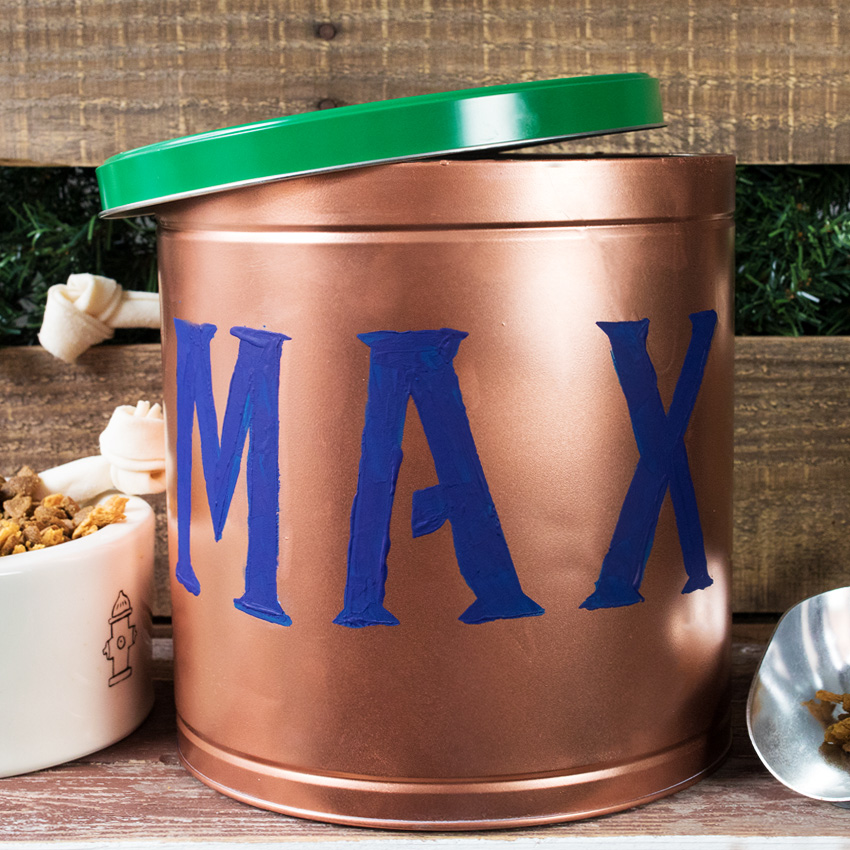
Not only is this the perfect way to use up the bits and pieces of stuff left behind after the Christmas celebration is over, it's an awesome belated gift to your dog and a great way to spruce up your kitchen for the New Year.
If you love the idea of turning a Christmastime leftover into an adorable New Year's solution, be sure to SHARE with every crafty dog owner you know!


