One of the most useful items in your medicine cabinet is probably the Band-Aid. It's a product we've used for decades, but it really hasn't changed much over the years.
When you grow up and live on your own, having Band-Aids is a must — you never know when you're going to slice your finger while chopping vegetables or burn your hand while cooking.
And the best way to deal with these annoying little injuries? Throw a Band-Aid on it and go on with your day.
If you have kids or grandkids, you know how important these little adhesive bandages are — they're a little miracle item. Anytime children get booboos, they believe it can be fixed with a Band-Aid; and because they believe it, it works!
The biggest problem with Band-Aids, though, is that they can sometimes slip off, especially after a long day of wear.
Instead of dealing with the awkward way they lay on your finger, try this incredible Japanese hack!
[H/T: Daily Mail]
Step 1: Grab A Band-Aid
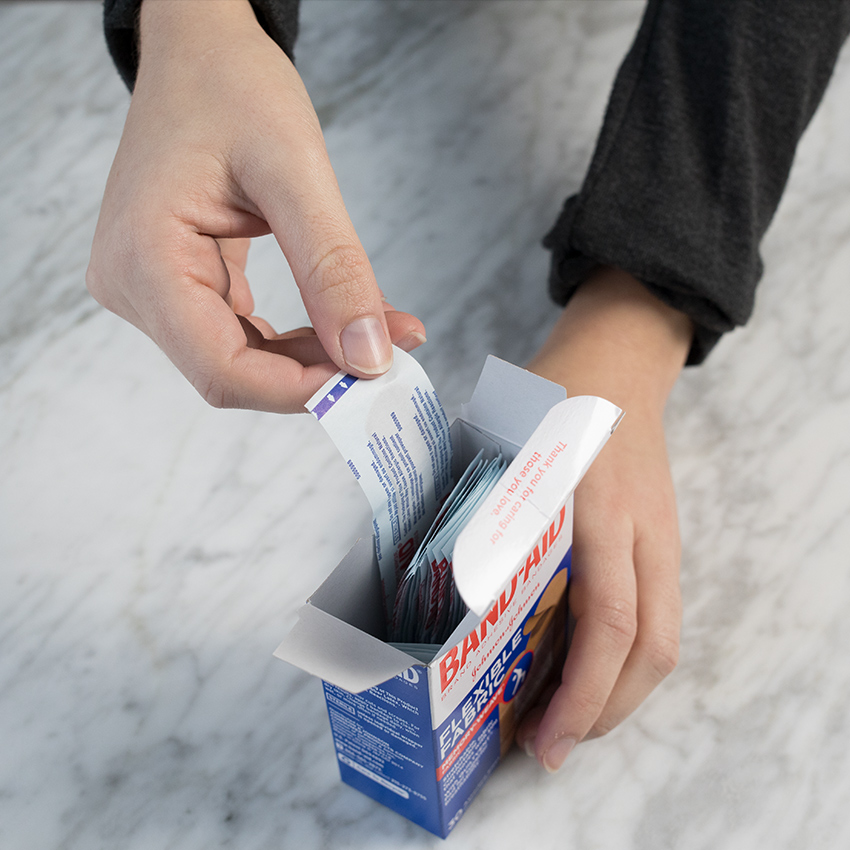
The first step of this genius Band-Aid hack obviously starts with getting a Band-Aid.
Use whatever style of Band-Aid is your favorite, whether that's plastic, fabric, or foam.
Step 2: Open It Up
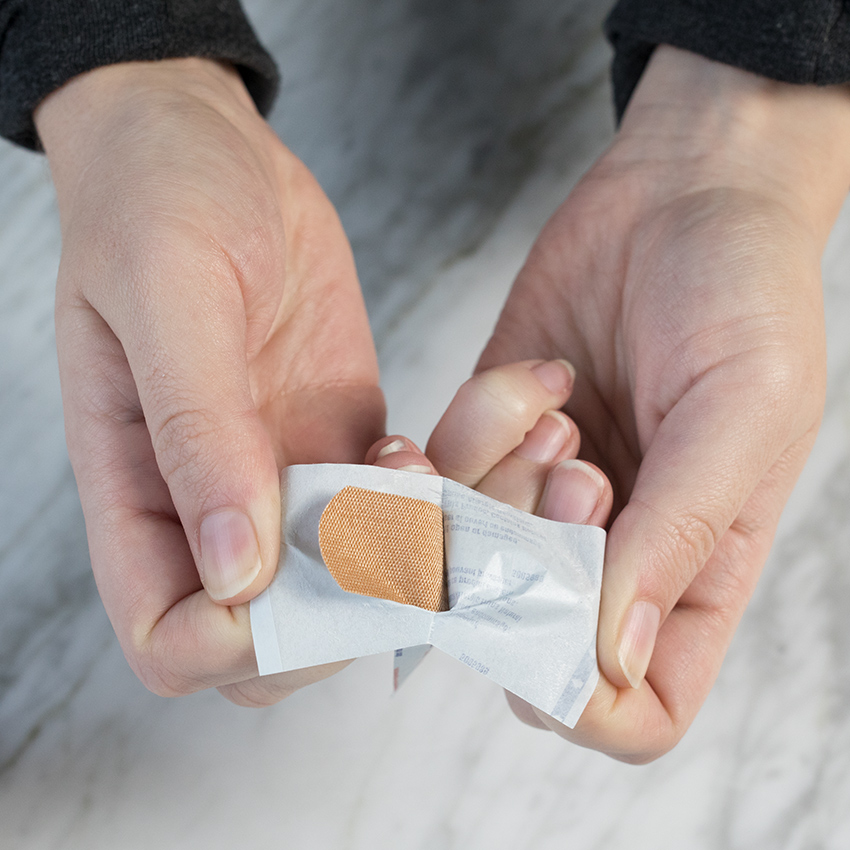
After cleaning your cut, go ahead and open the Band-Aid up. Be sure to recycle the wrapper!
Step 3: Lay The Band-Aid Flat
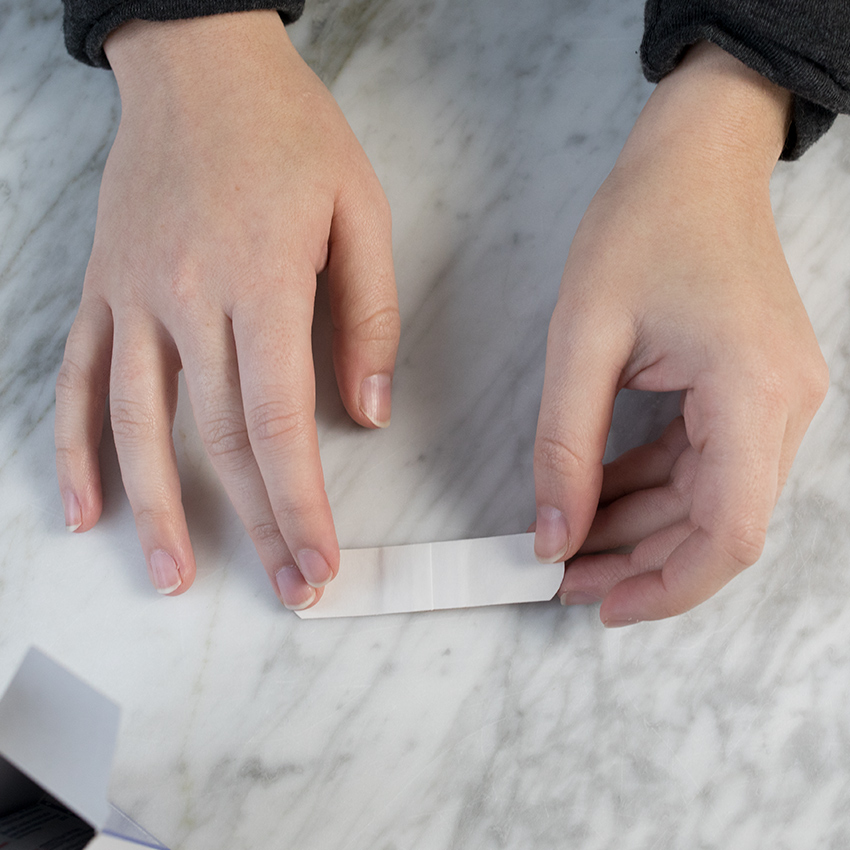
Now that your Band-Aid is out of the wrapper, lay it face-up on a table or other hard surface.
Make sure the sticky side is facing up.
Step 4: Cut A Horizontal Slit Into Both Sticky Sides
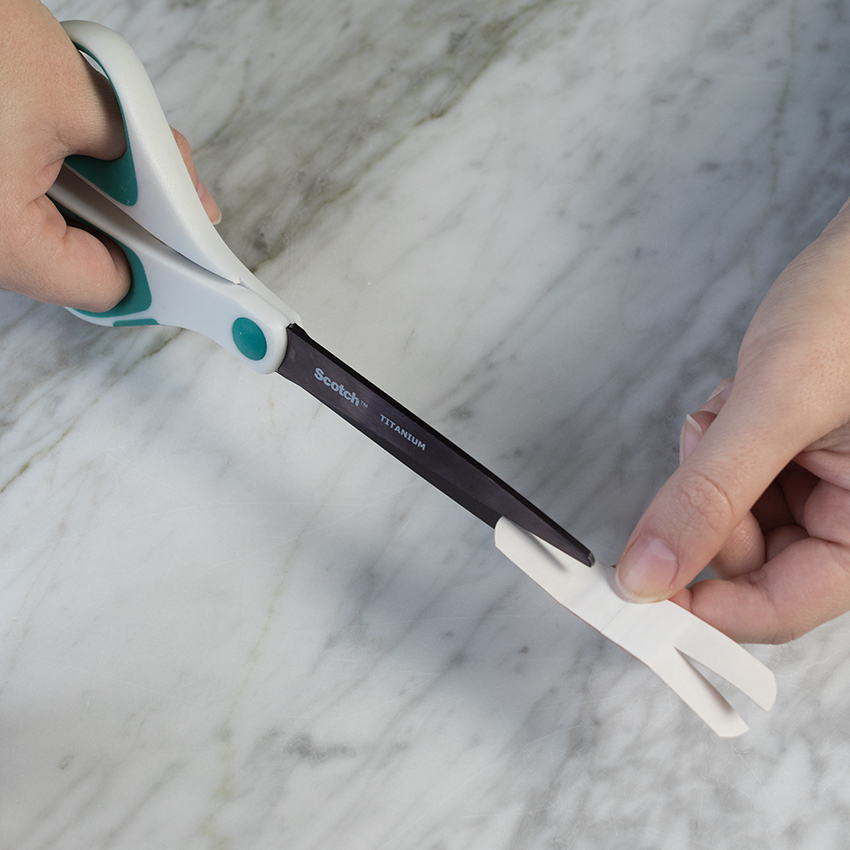
Leaving the paper on, cut a horizontal slit into both sides of the Band-Aid. Be careful not to cut into the gauze part of the Band-Aid.
Step 5: Remove The Paper
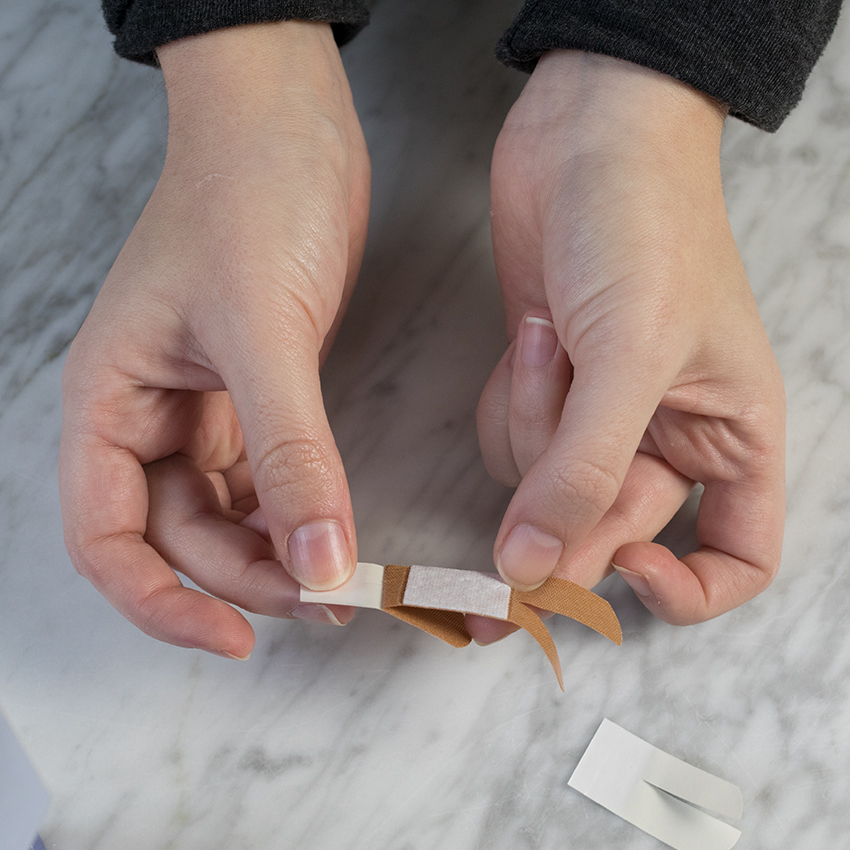
Pull the paper strips off the Band-Aid, making sure to keep the sticky parts from getting stuck to your fingers, the table, or any other parts of the Band-Aid.
Step 6: Put The Band-Aid Back Down
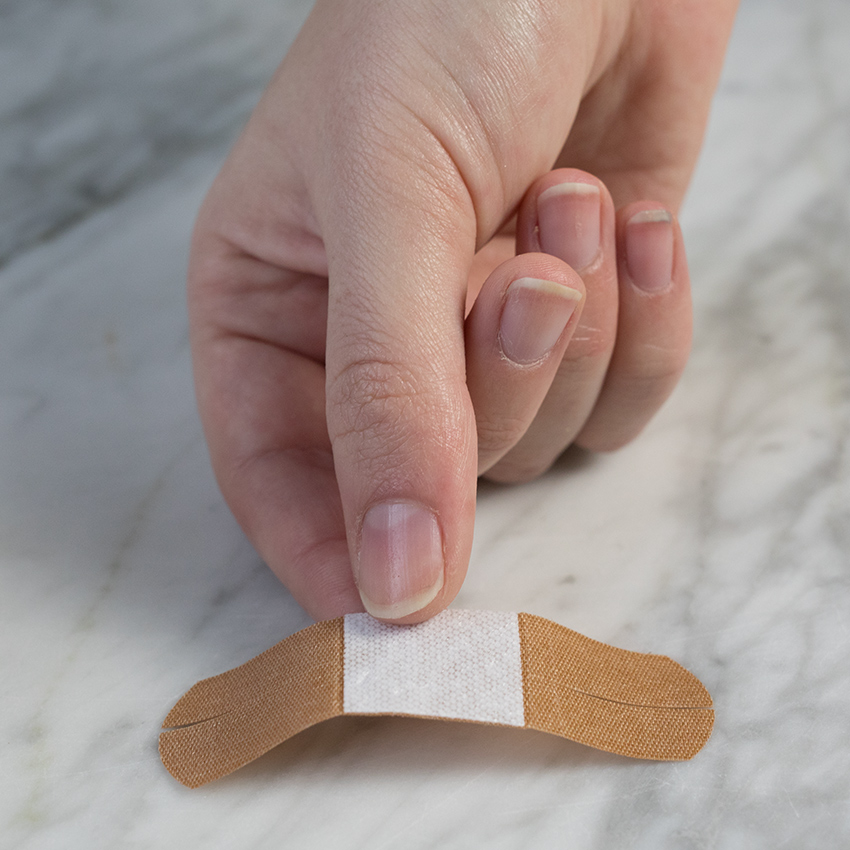
After making the slits and removing the paper, lay the Band-Aid down flat on the table. This step will help make sure the Band-Aid doesn't accidentally get stuck on anything else.
Step 7: Lay Your Finger On The Gauze
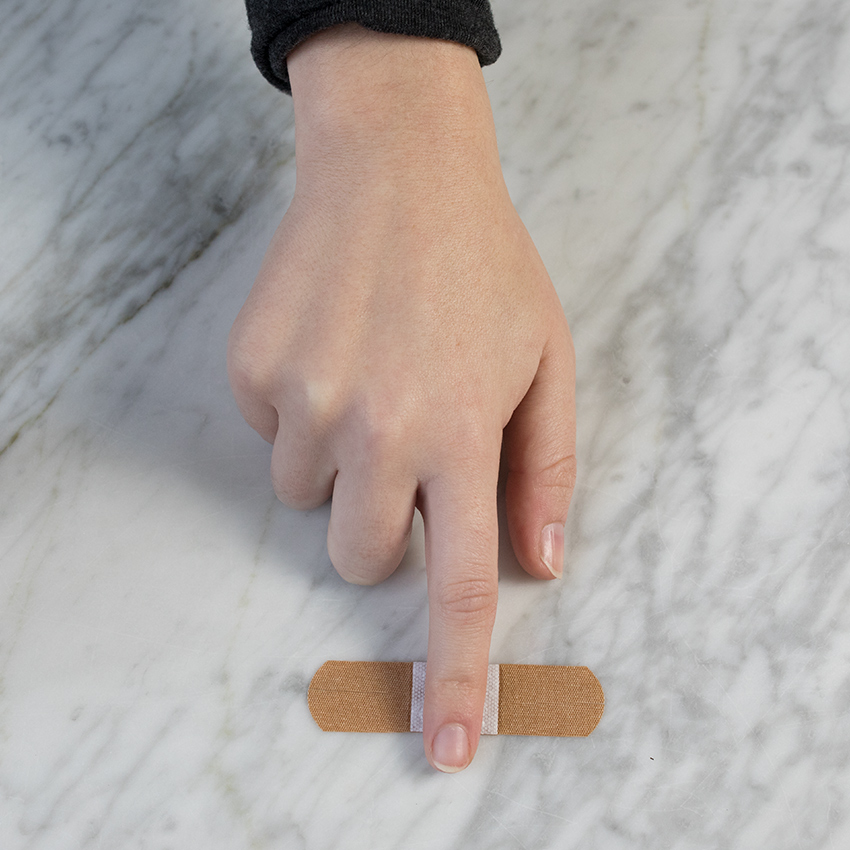
Next, place the injured part of your finger onto the Band-Aid, directly in the middle of the gauze.
Step 8: Criss-Cross The Flaps
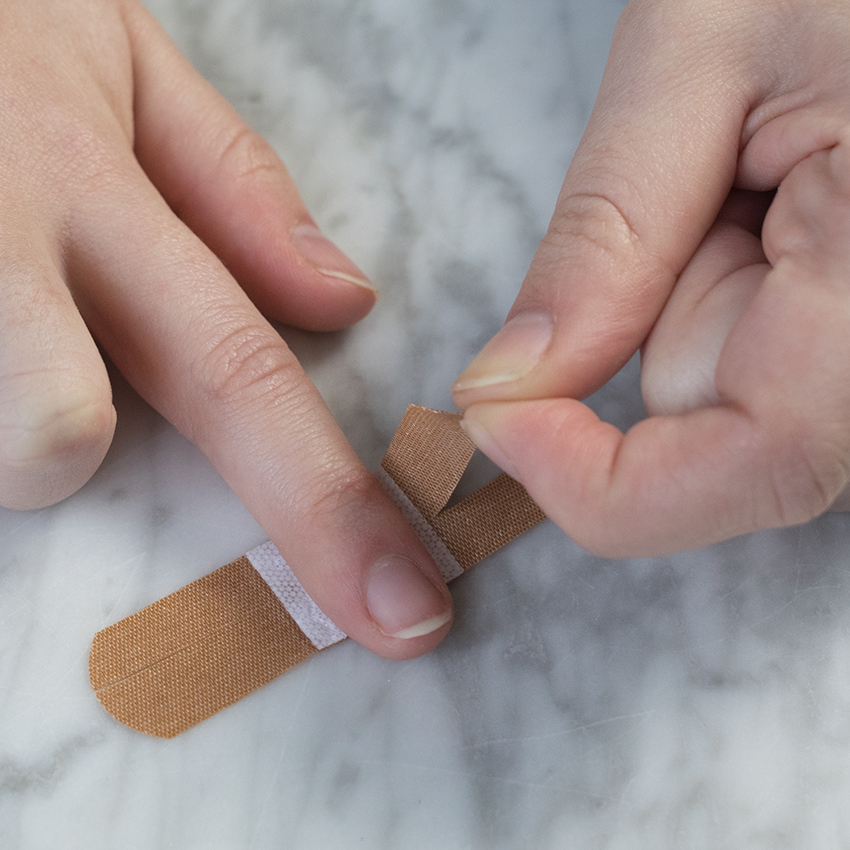
Grab one of the flaps and place it diagonally across your finger.
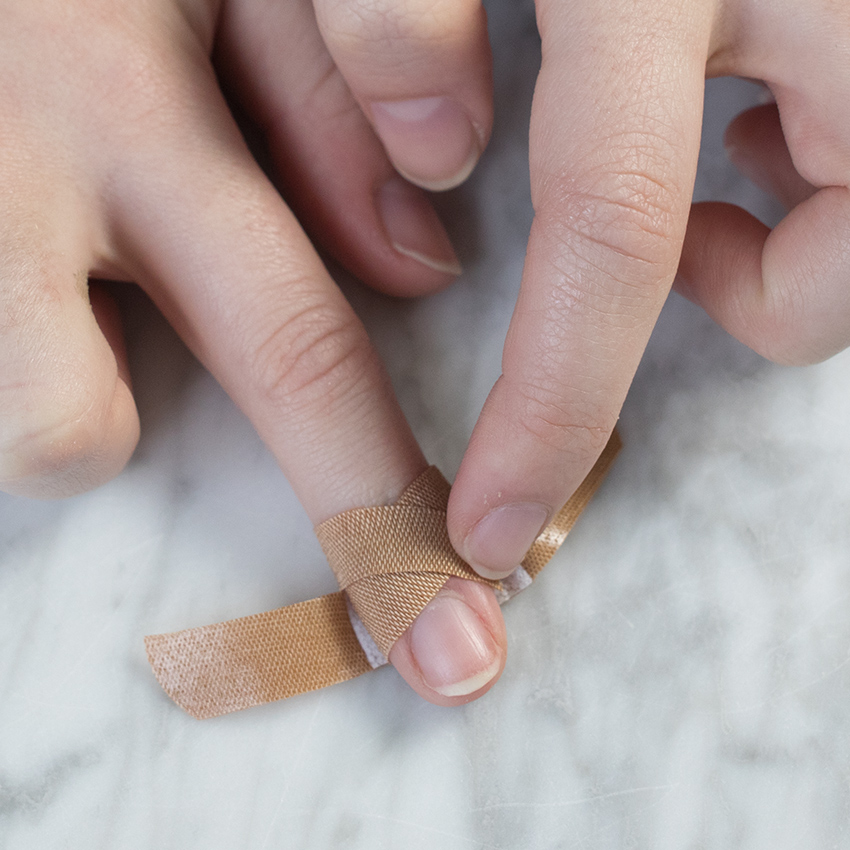
Now repeat the previous step with the other side, crossing the flap in the other direction.
Step 9: Repeat The Criss-Cross
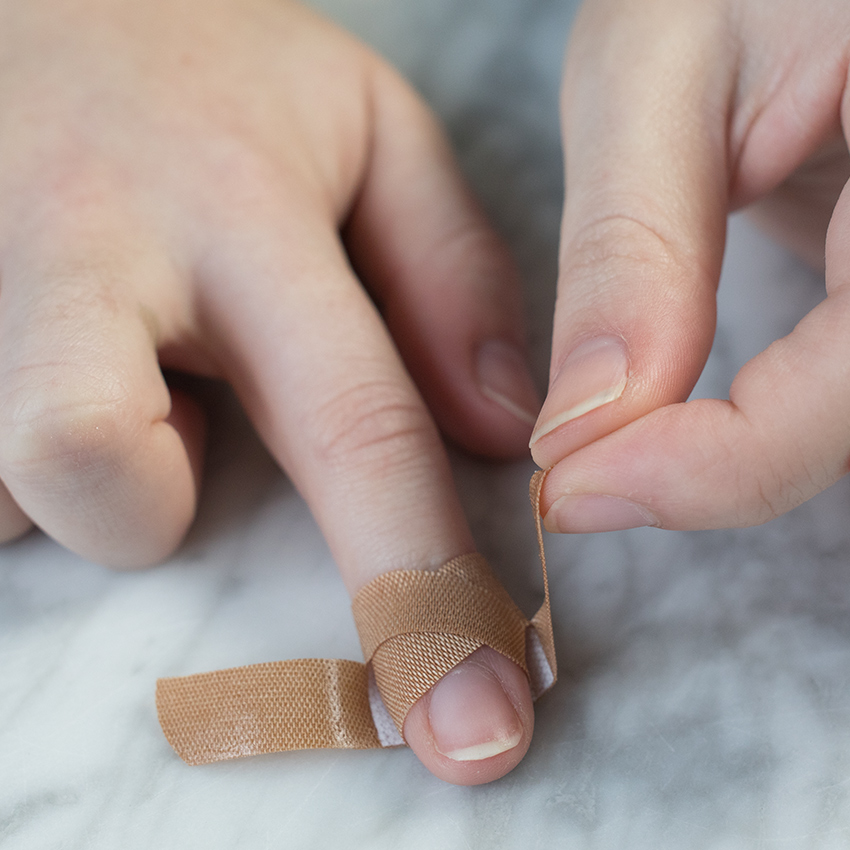
Once the two bottom strips are in place, repeat the previous two steps.
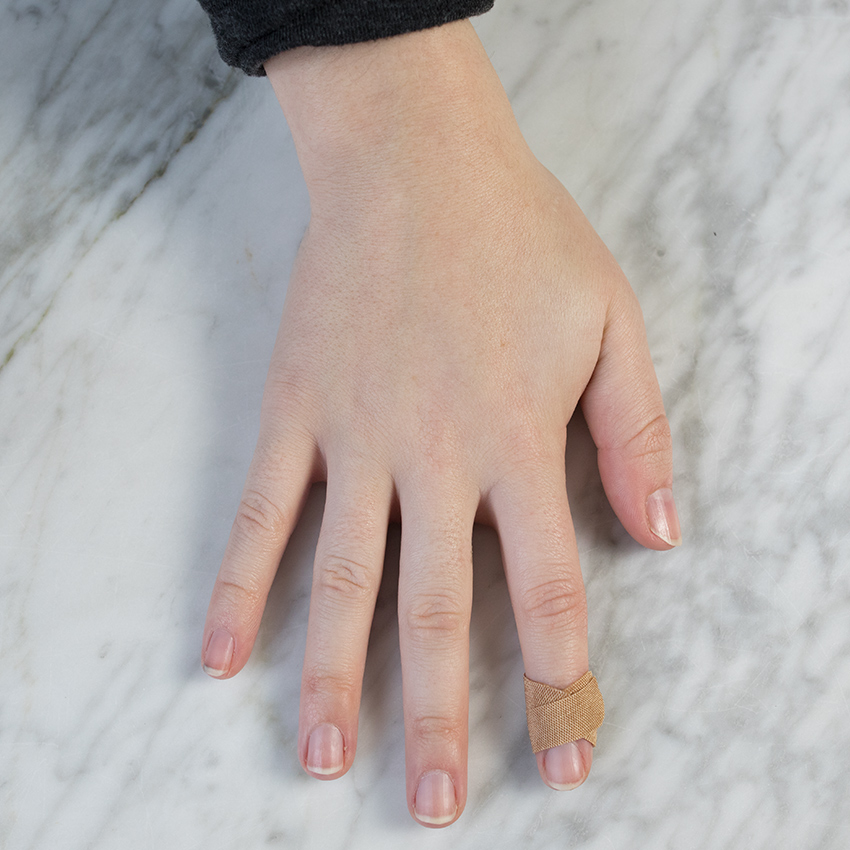
Ta-da! You've completed this brilliant Band-Aid hack.
Although this takes a tad more time than just putting the Band-Aid on your finger directly, this hack will make the Band-Aid more comfortable and help it stay in place longer.
If you decide to try this hack, let us know how it goes in the comments below! Do you know any other brilliant ways to put on a Band-Aid?
Please SHARE this article with your friends and family members who love life hacks!


