Mother's Day is just around the corner, and if you're still wracking your brain trying to come up with a gift, this is the article for you!
Moms always love getting pictures of their kids — but most parents have a million framed photographs of their kids.
So this year, mix it up a little and give your mom something more unique: a wooden photo cube.
Not only is this photo cube different than the normal, framed photograph; it also requires more time and effort to make it, which means your mom will appreciate it even more.
This project is easy to complete, only takes 12 steps, and is a fantastic DIY project that can show your mom how much you love her — it looks like something you'd pay a decent amount for from a craft website!
Follow the instructions below to learn how to make this nifty photo cube for your mom!
Step 1: Gather Your Supplies
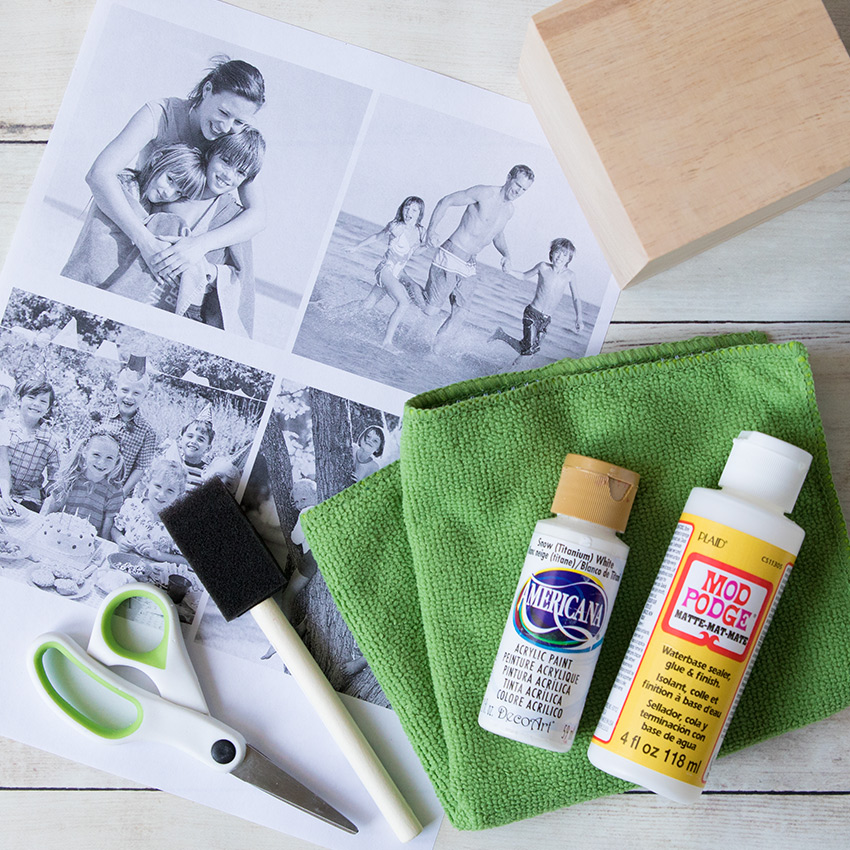
All you need for this simple DIY Mother's Day gift are a few simple supplies — you might already have some of them!
Supplies:
- 4″ wooden cube
- Mod Podge
- Foam paint brushes
- Craft paint
- 4″ photos, printed on regular computer paper
- Washcloth
Step 2: Paint All Sides Of The Cube
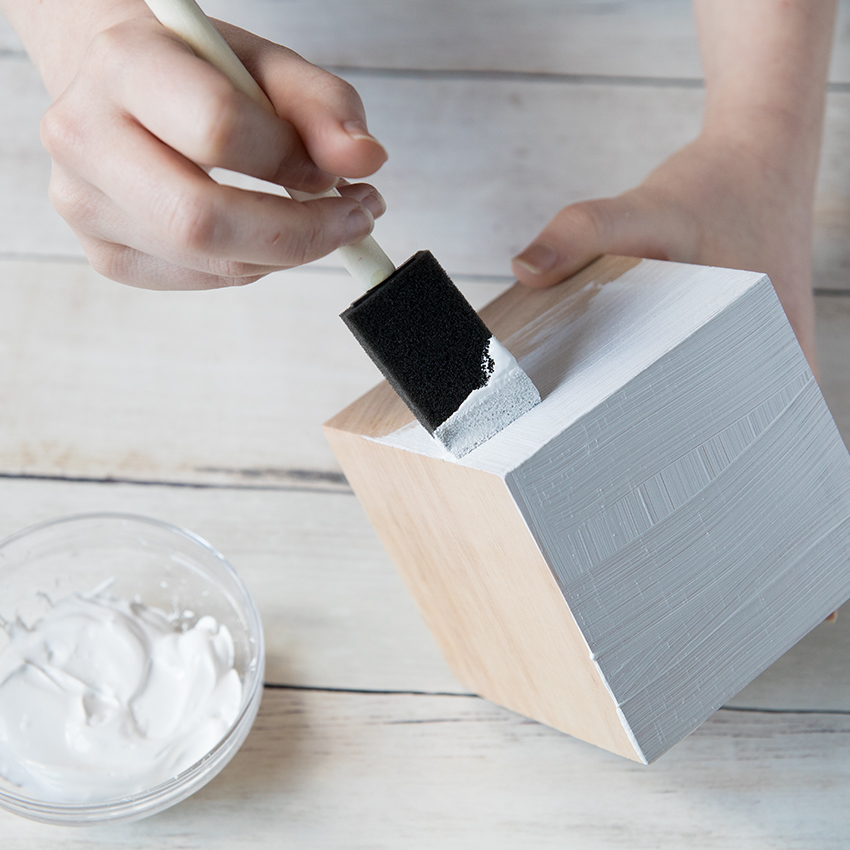
To begin the project, paint all sides of the cube with your chosen color. White works well because it shows off the photos beautifully.
Once the cube is covered in a generous layer of paint, set it aside and let it dry for a few hours.
Step 3: Print And Cut Photos
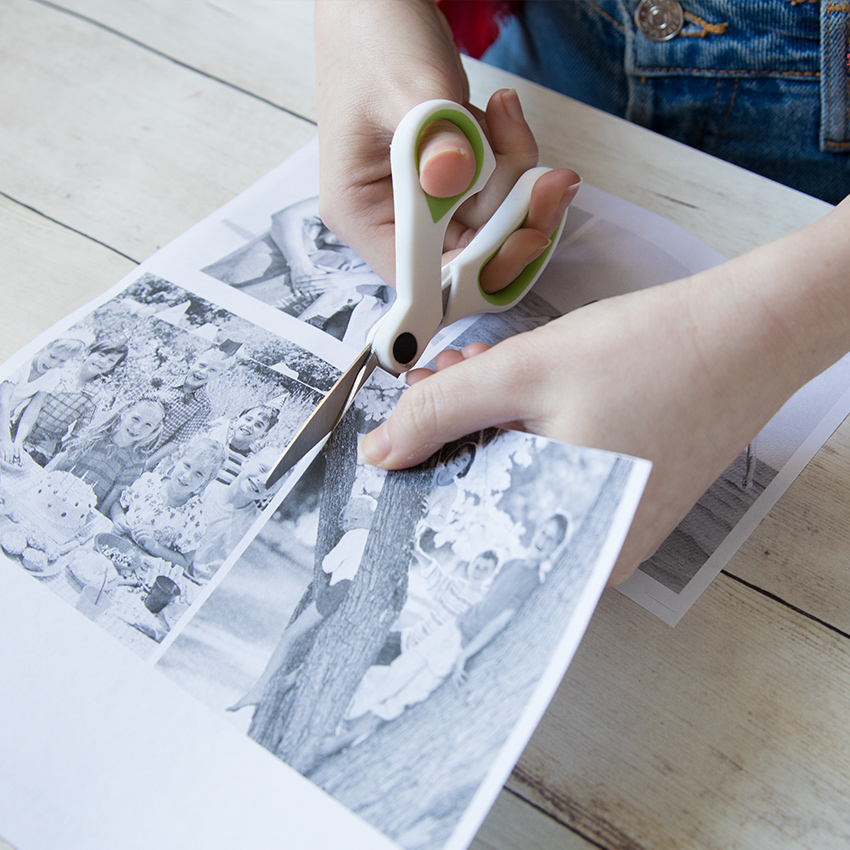
Using a regular printer, make photocopies or printouts of your chosen images. Print them on normal printer paper.
Cut down each of the images to 4 x 4" — the same size as the cube.
Double check that all the images will fit on the sides of the cube.
Step 4: Coat Photos With Mod Podge
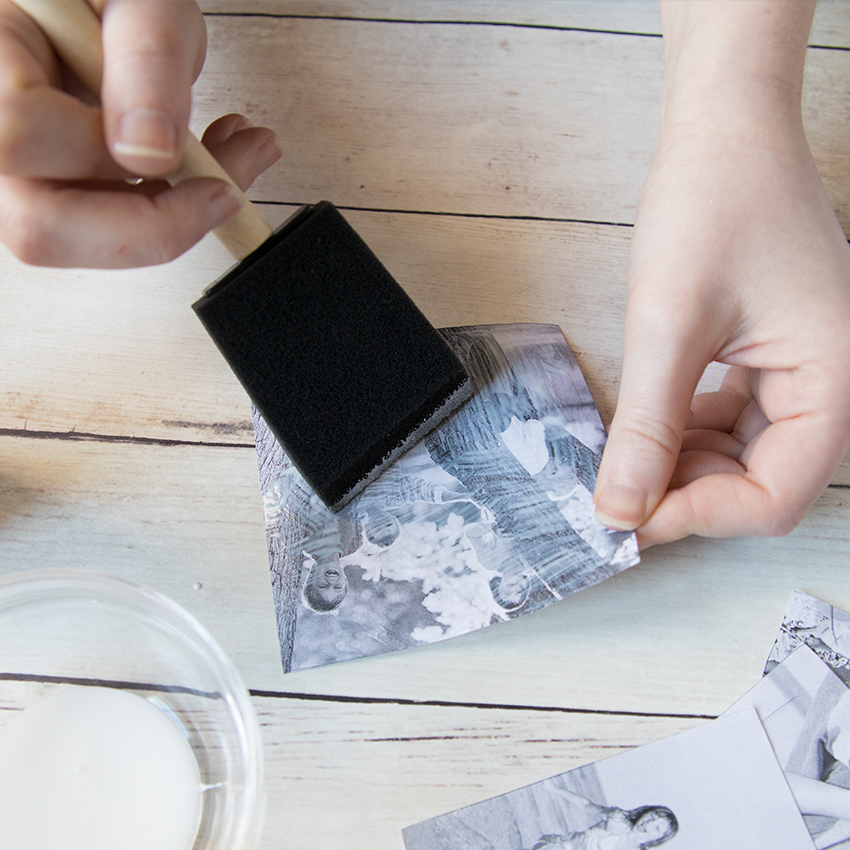
Starting with one photo, coat the front of the image with a thick layer of Mod Podge.
Use enough Mod Podge that it becomes opaque — that is, you can no longer see the image through the layer of Mod Podge.
Step 5: Place Photo Face-Down On Cube
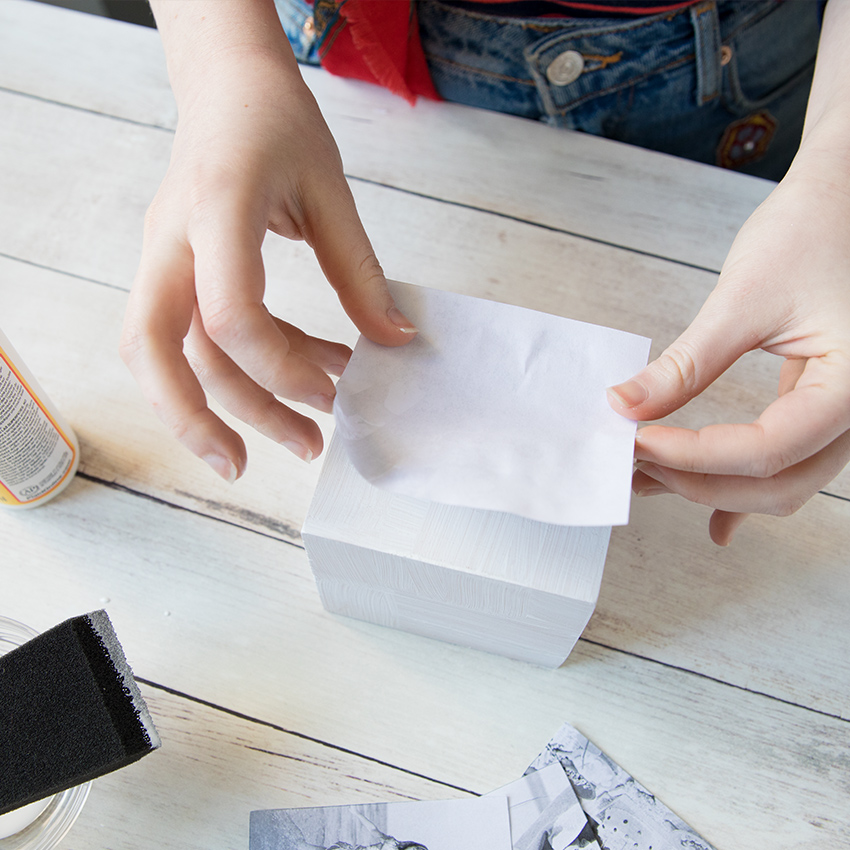
Once the photo is covered with Mod Podge, place it face-side down on the wooden cube.
Use your fingers to smooth out the photo — it should lay completely flat on the cube.
Step 6: Repeat For All Sides
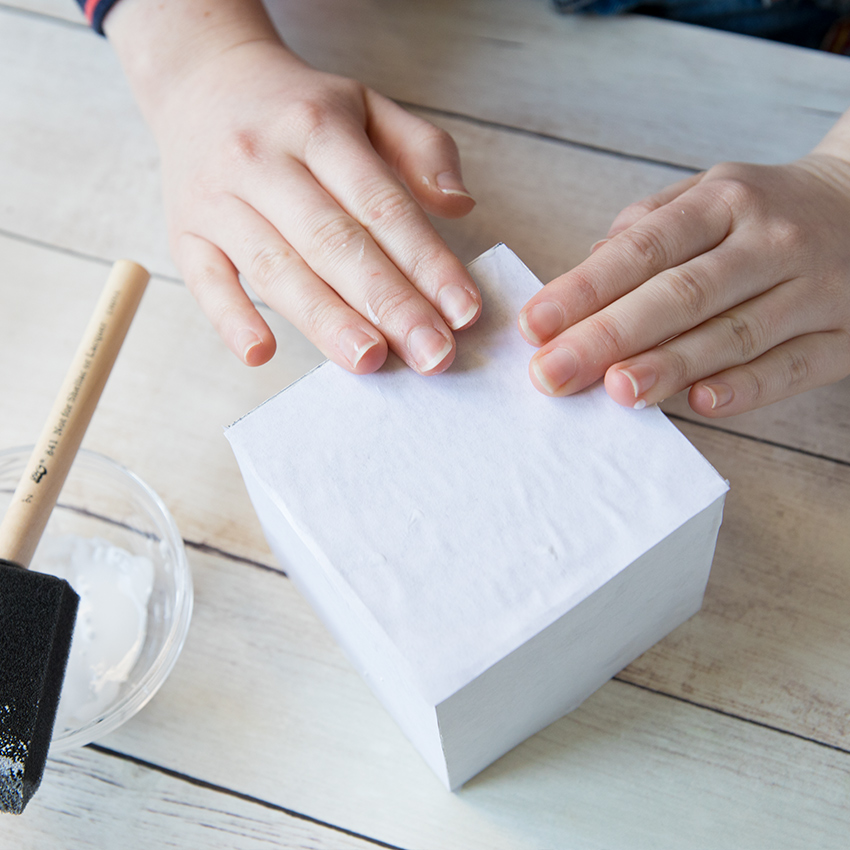
Repeat the last two steps for all the sides of the photo cube.
After all the photos have been placed on the cube, use your fingers to smooth down the sides once more, then set the cube aside.
Step 7: Allow To Dry Overnight
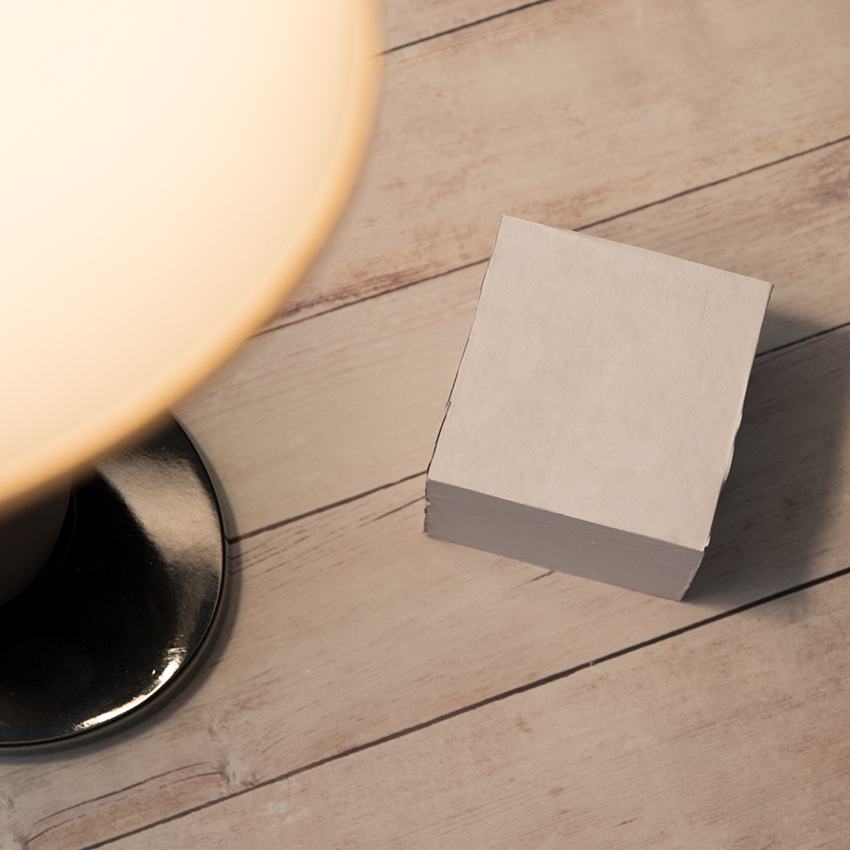
With the photos still in place, allow the cube to dry overnight. The Mod Podge needs to be completely dry before you move on to the next step.
Use this time to clean up any paper scraps, wash out your foam brushes, and get your supplies ready for the next day.
Step 8: Wet Photos Using Washcloth
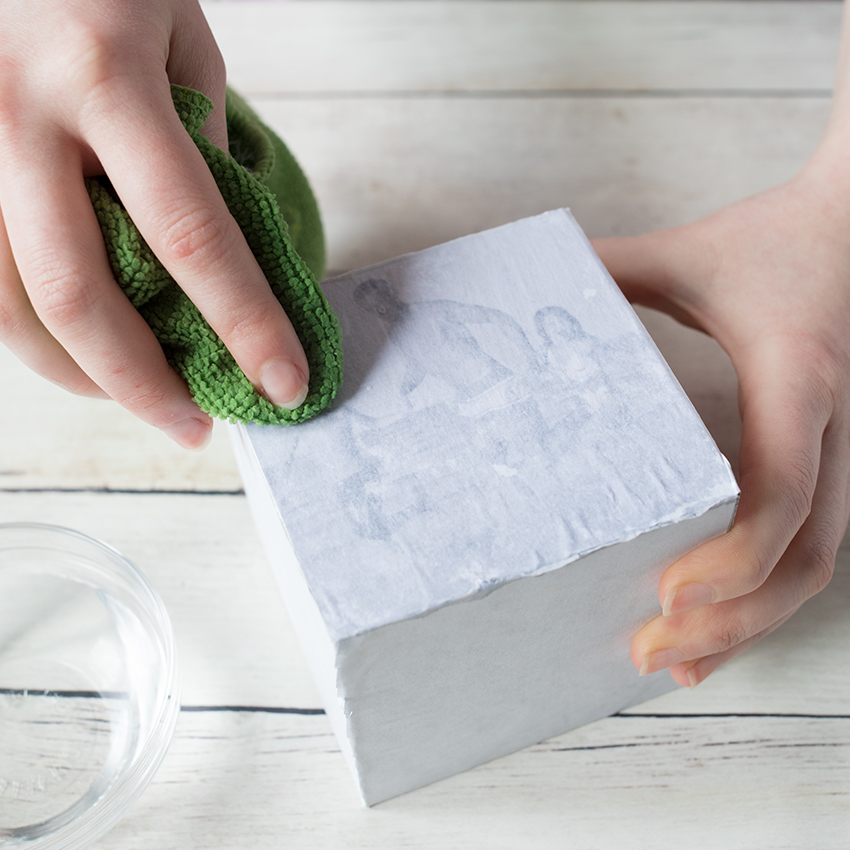
Once you've allowed the cube to dry overnight, thoroughly wet a washcloth and start moistening the photos.
You should use enough water on the photos so that they are completely saturated.
Step 9: Rub Photo With Finger To Remove Paper
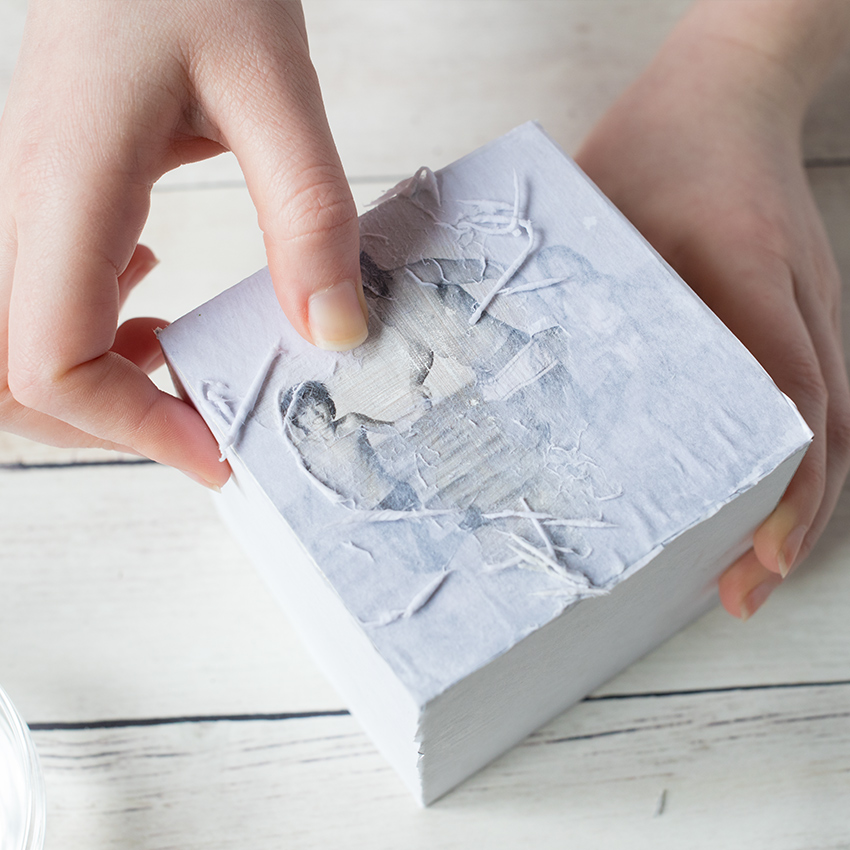
Once each of the photos is wet, use your fingers to rub the paper off the box.
While you may need to use some pressure to remove the paper, don't press so hard that you remove the image.
Step 10: Repeat For All Sides
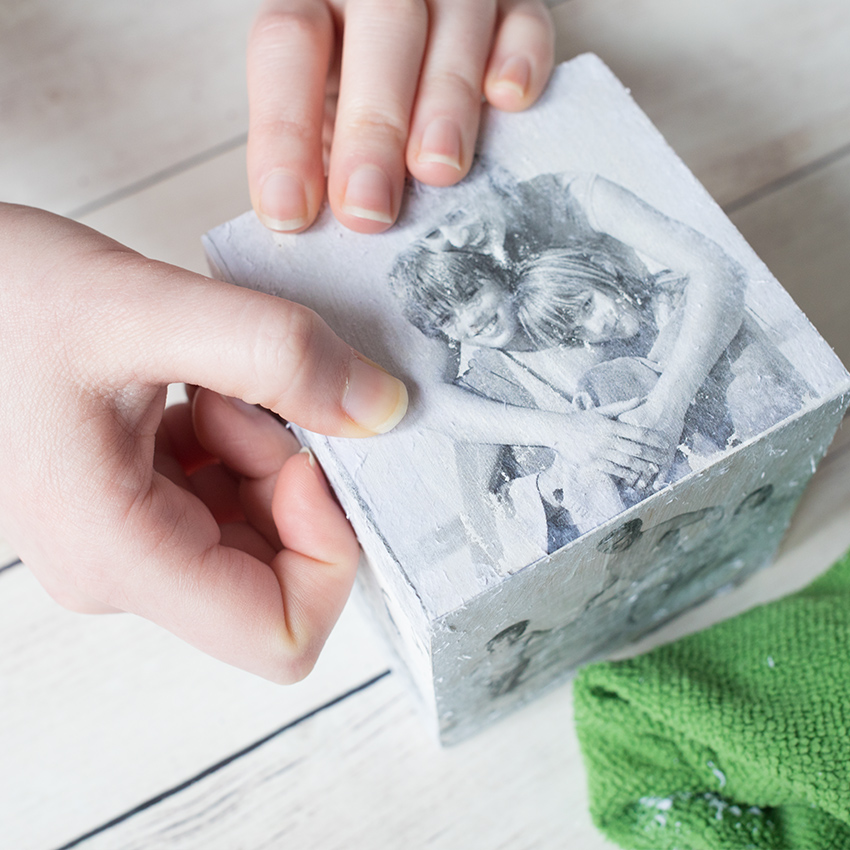
Next, repeat the previous steps on all six sides of the cube, making sure all the paper is entirely removed from the cube.
Once all the paper is off the cube, allow the cube to dry.
Step 11: Coat Cube With Mod Podge
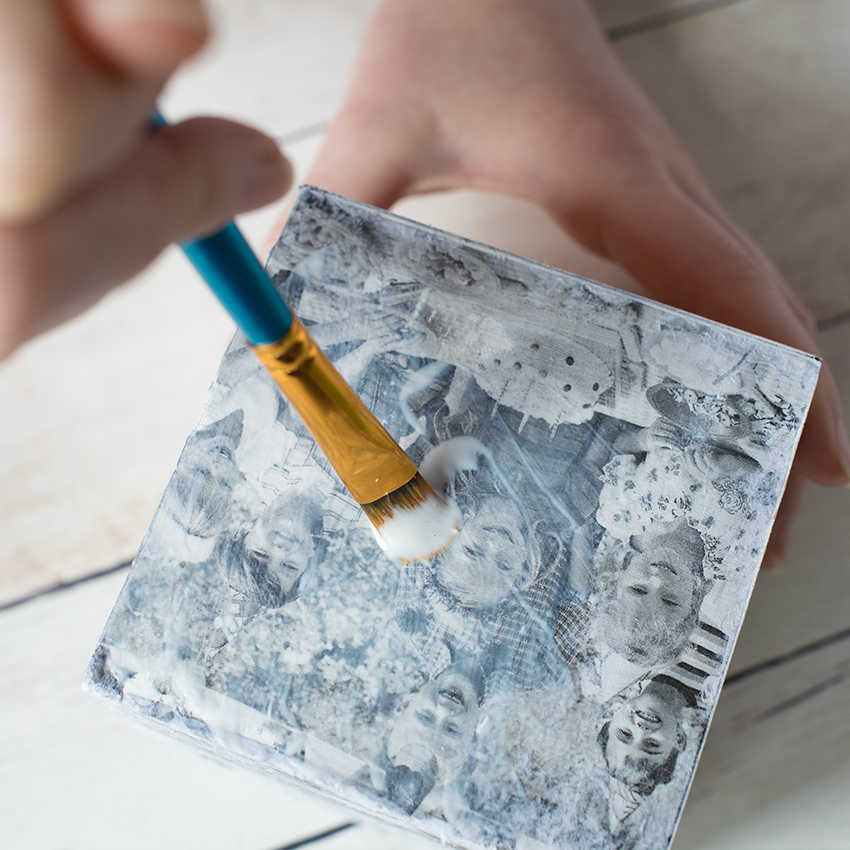
Next, coat each of the photos with another layer of Mod Podge.
This step will seal the photos onto the cube, as well as giving the cube a nice, glossy finish.
After this step, let the cube dry — then it's done!
Step 12: Give It To Your Mom!
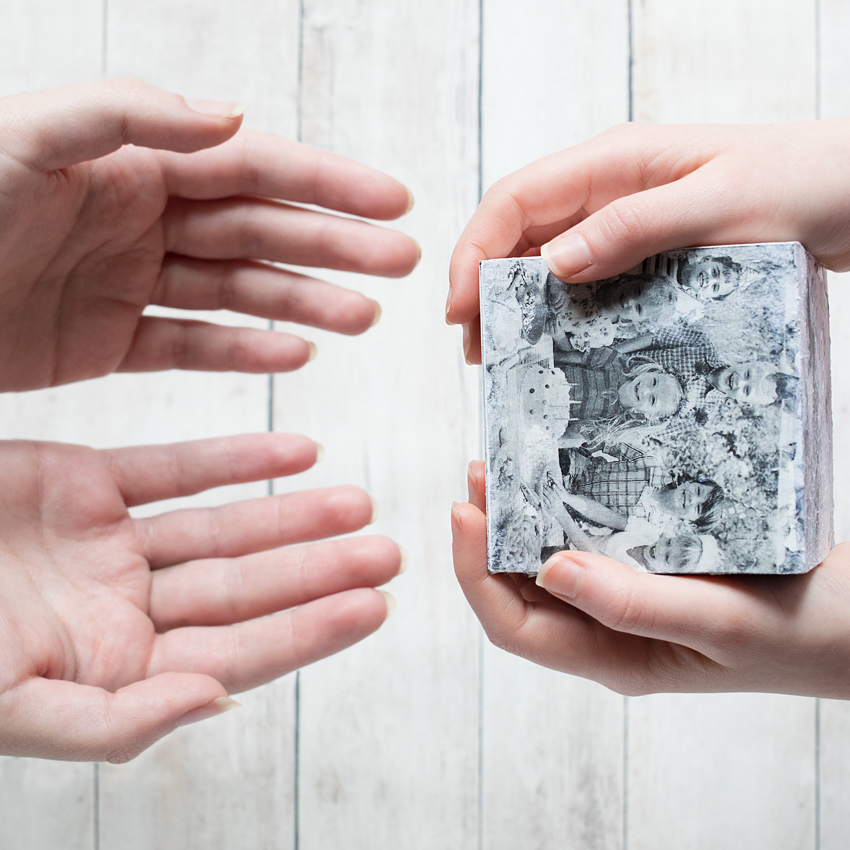
Finally, give this lovely present to your mom — she will definitely love how thoughtful and unique this gift is!
If you can't wait to make one of these photo cubes for your mom, please SHARE this article with your friends!
Pin It!
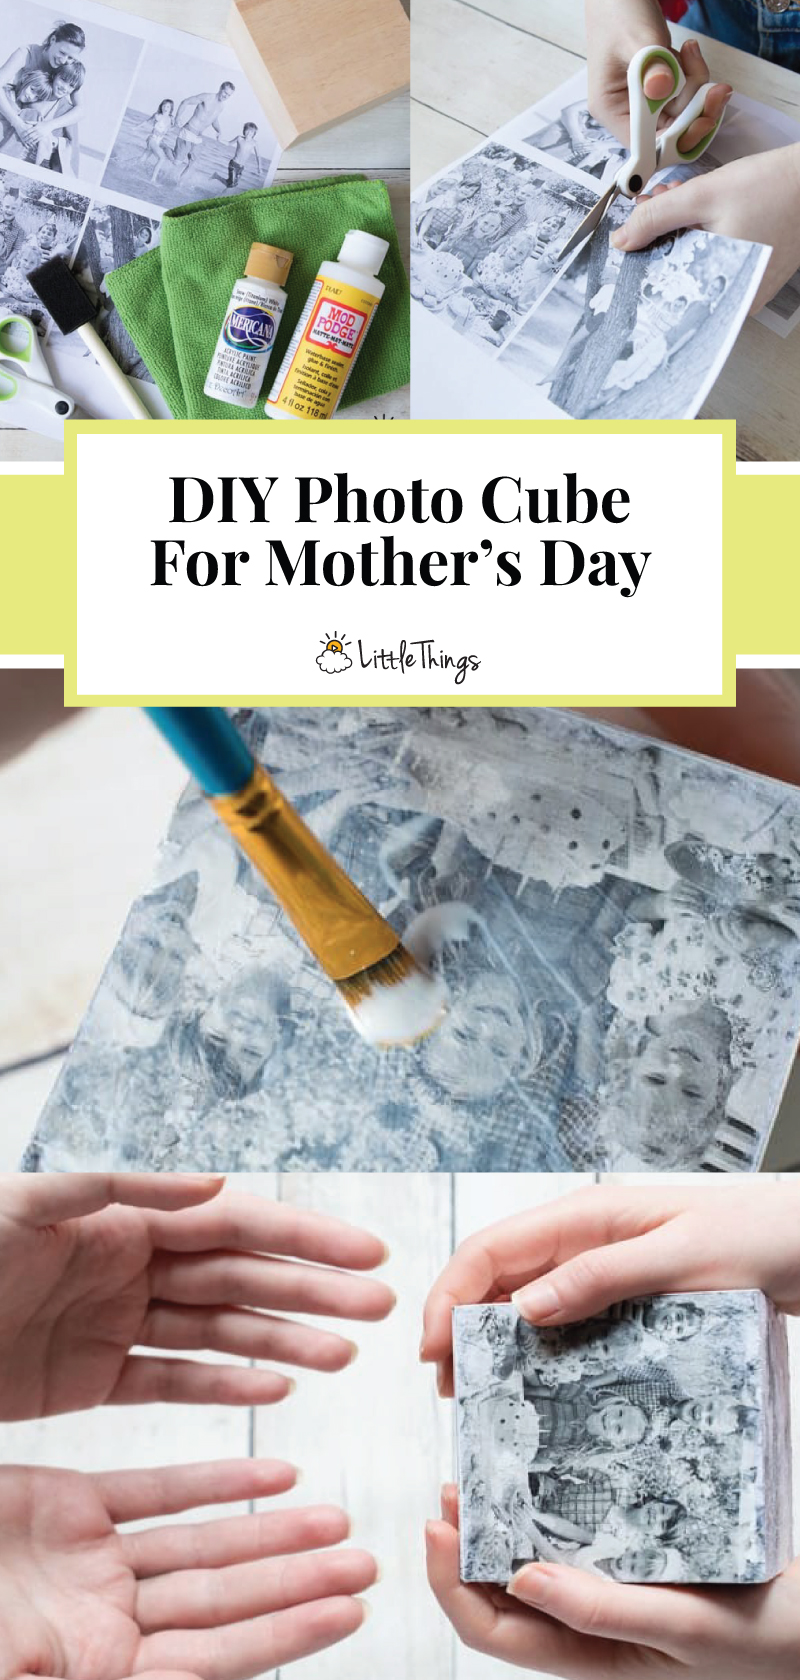
Save this DIY photo cube to your Pinterest boards to make a nifty photo cube as a precious gift for your mom!


