One of the many joys of being a grandparent is getting to spoil your grandkids. You've already done the job of parenting your children and teaching them to be good, responsible people, so now it's your turn to just have fun with your children's children.
Lots of grandparents like to make things for their grandkids — whether that's a freshly cooked meal, a batch of warm cookies, a knitted sweater, or something else.
Kids always love getting gifts — homemade or purchased — from their grandparents, so it's always a special moment when they see the present.
One grandfather decided he wanted to make something truly unique for his granddaughter, so he used advice from a 1965 issue of Popular Mechanics to build a train in his backyard.
He posted photos of the experience on Imgur, a photo sharing site, where people immediately loved it.
To see how this devoted grandpa built a DIY train from Popular Mechanics for his granddaughter, keep reading!
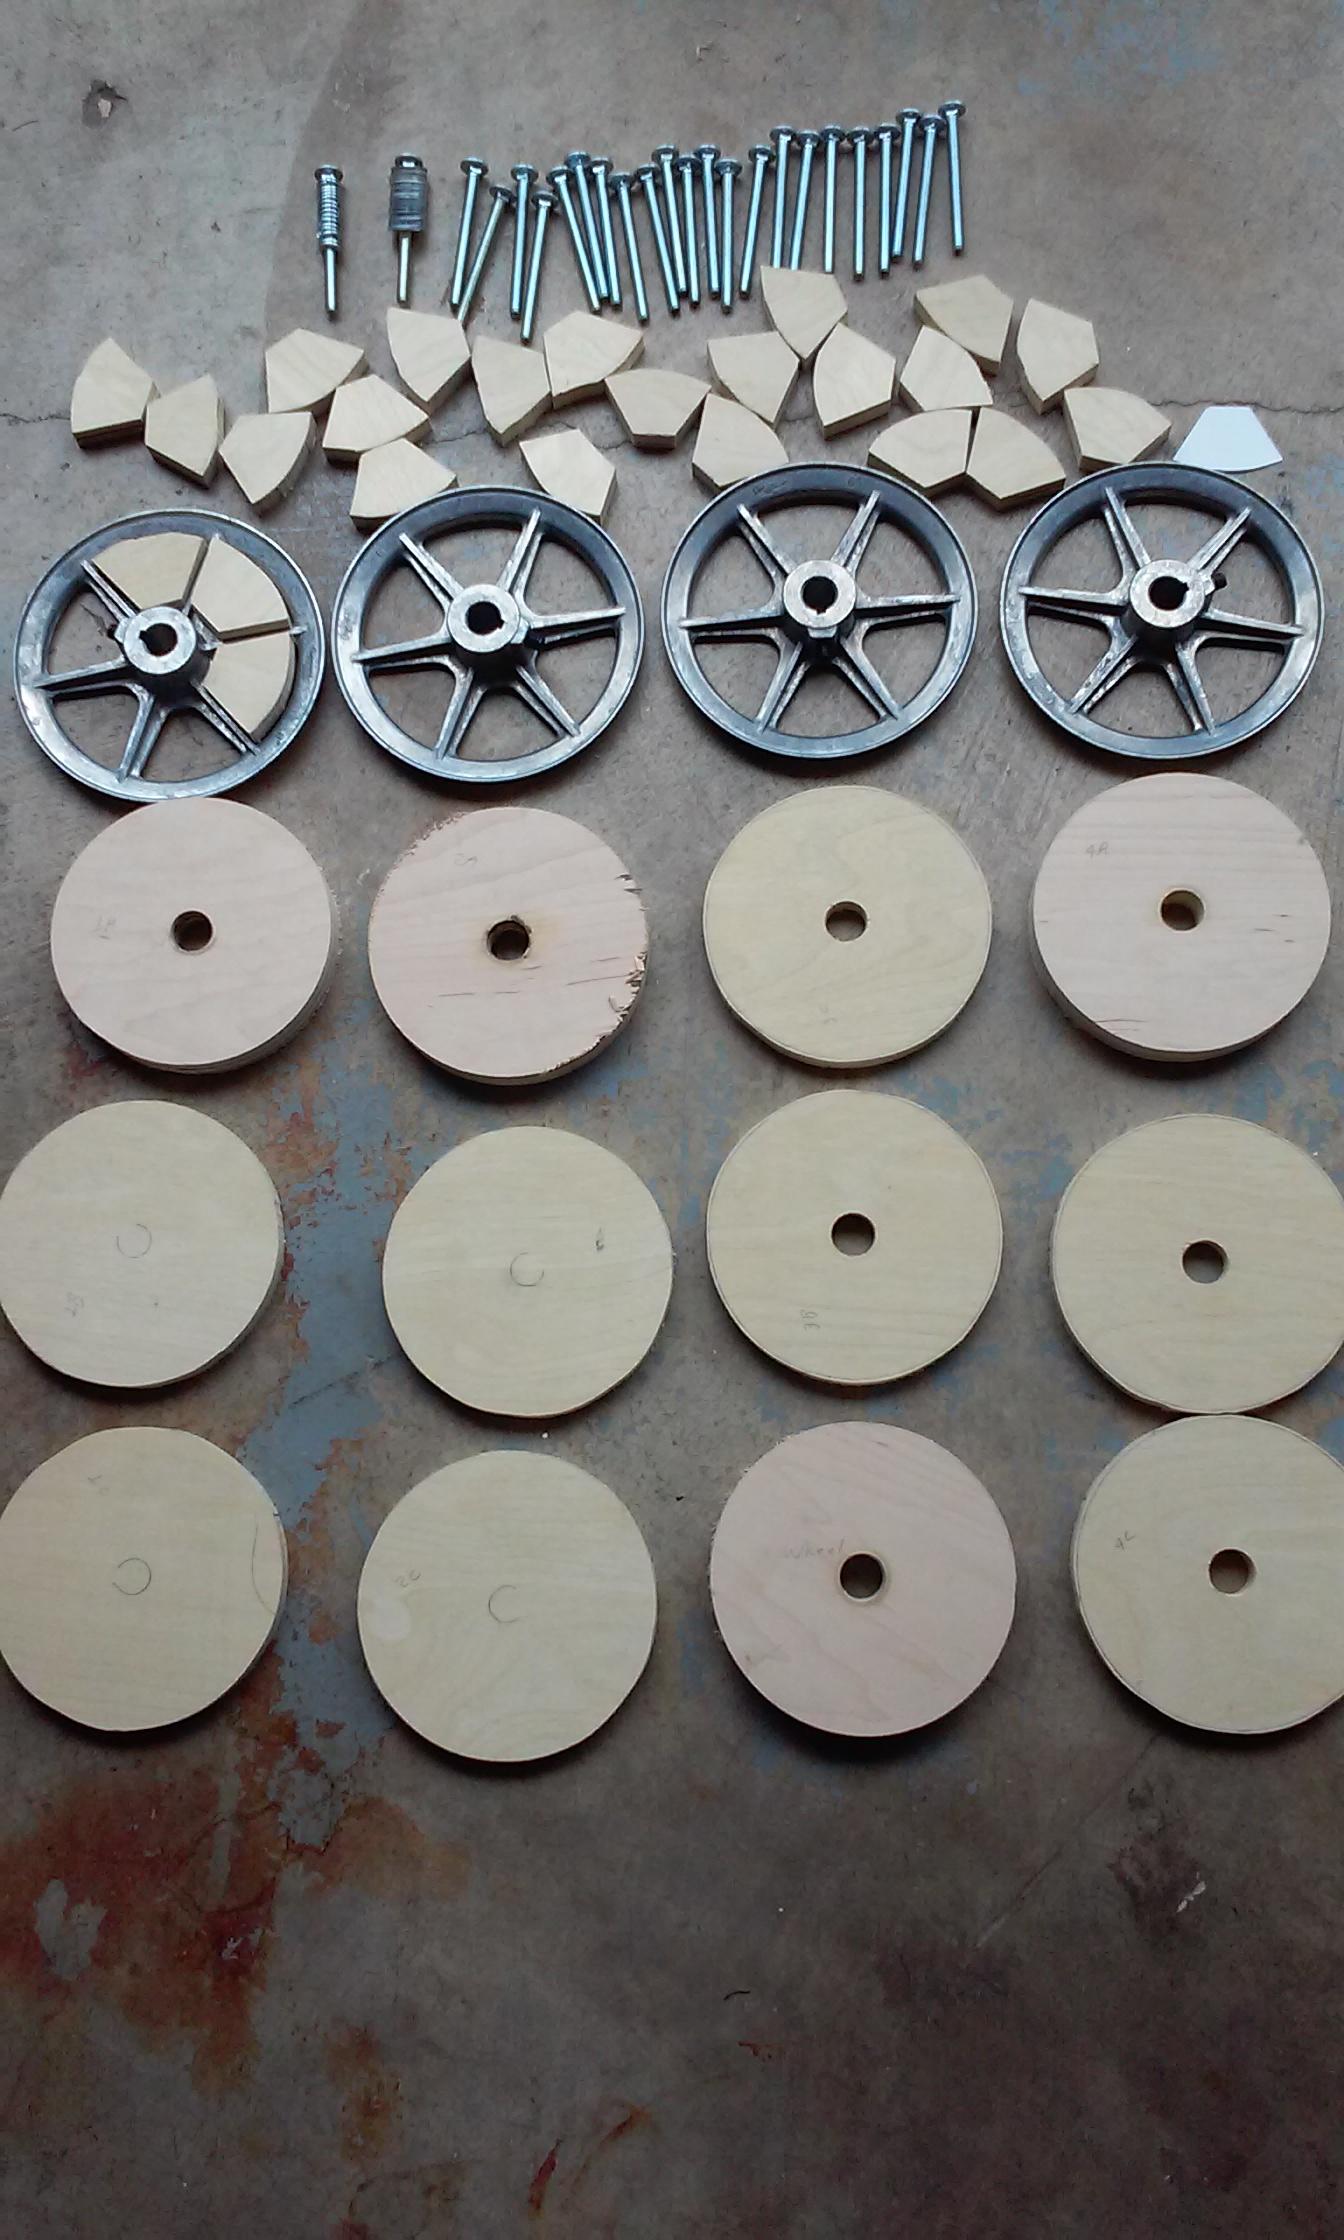
This handy granddad explained:
I built a train in my backyard from scratch for my granddaughter, using readily available materials.
The train is powered by electric motors that are controlled by a custom-built computer circuit.
The project includes 275 feet of track, an engine house, and a crossing signal with fully functioning lights and bells.
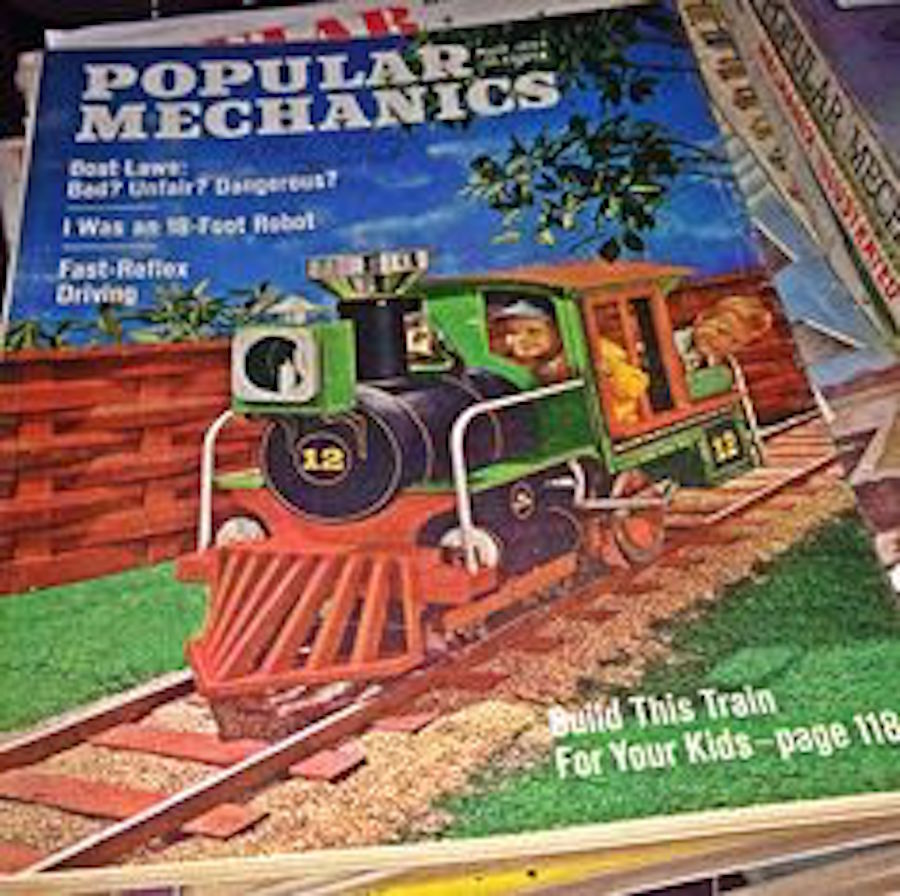
After searching for options for getting a train, I ran across an article from a 1965 issue of Popular Mechanics about building a train.
Using this article as a guide, here's the journey from start to finish for building my railroad.
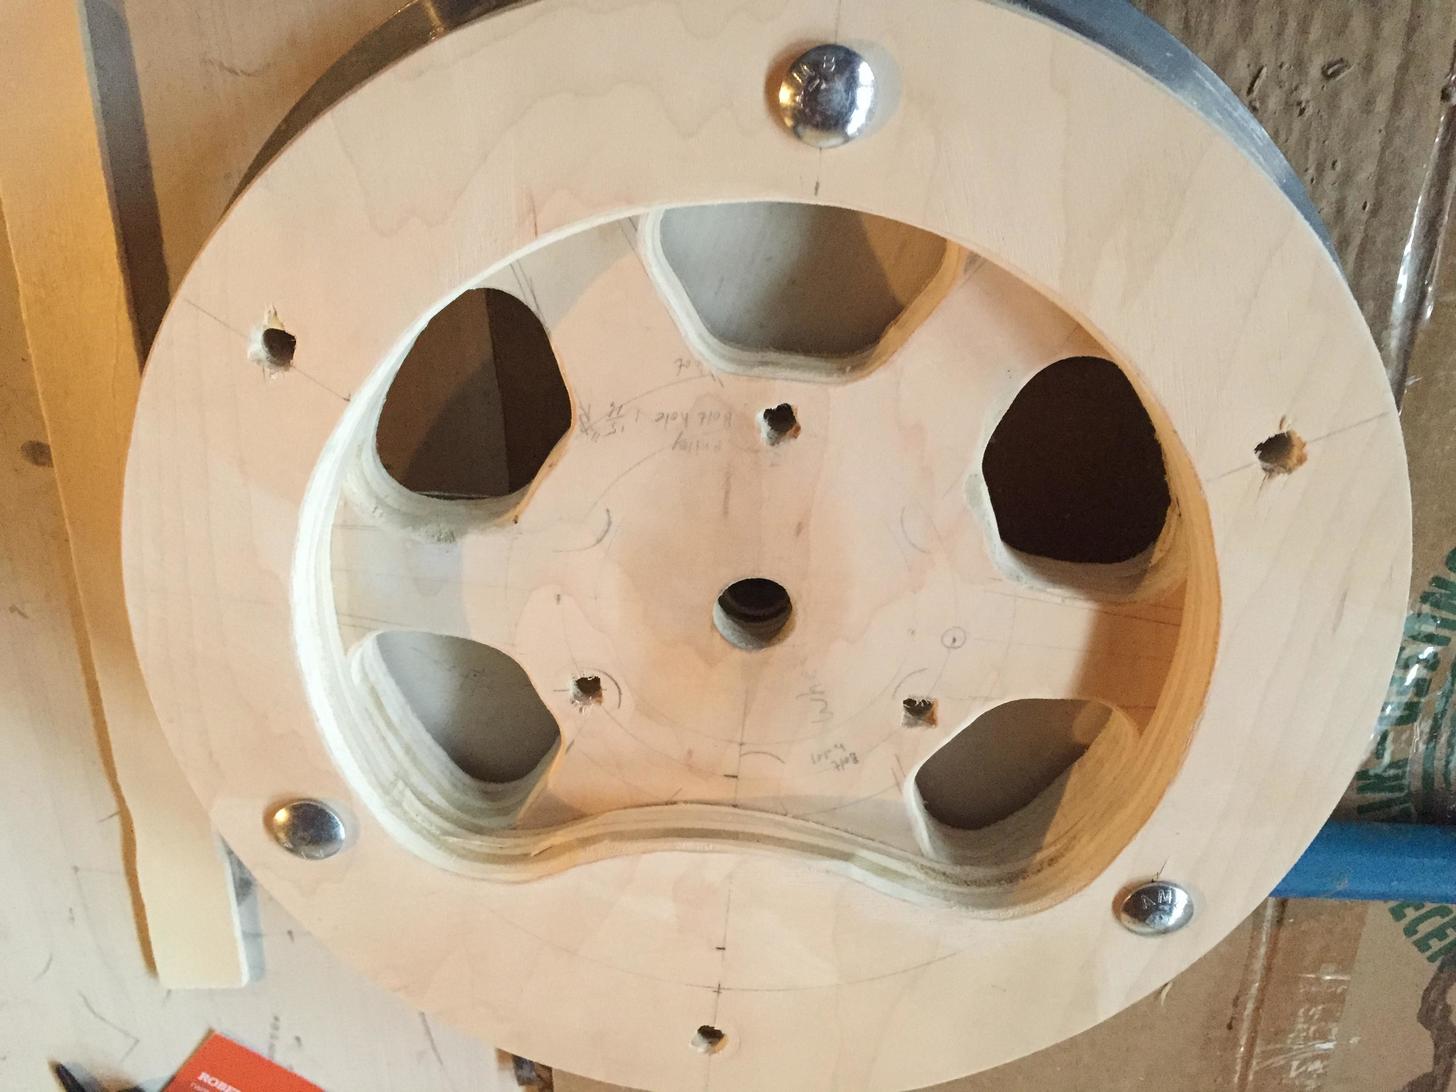
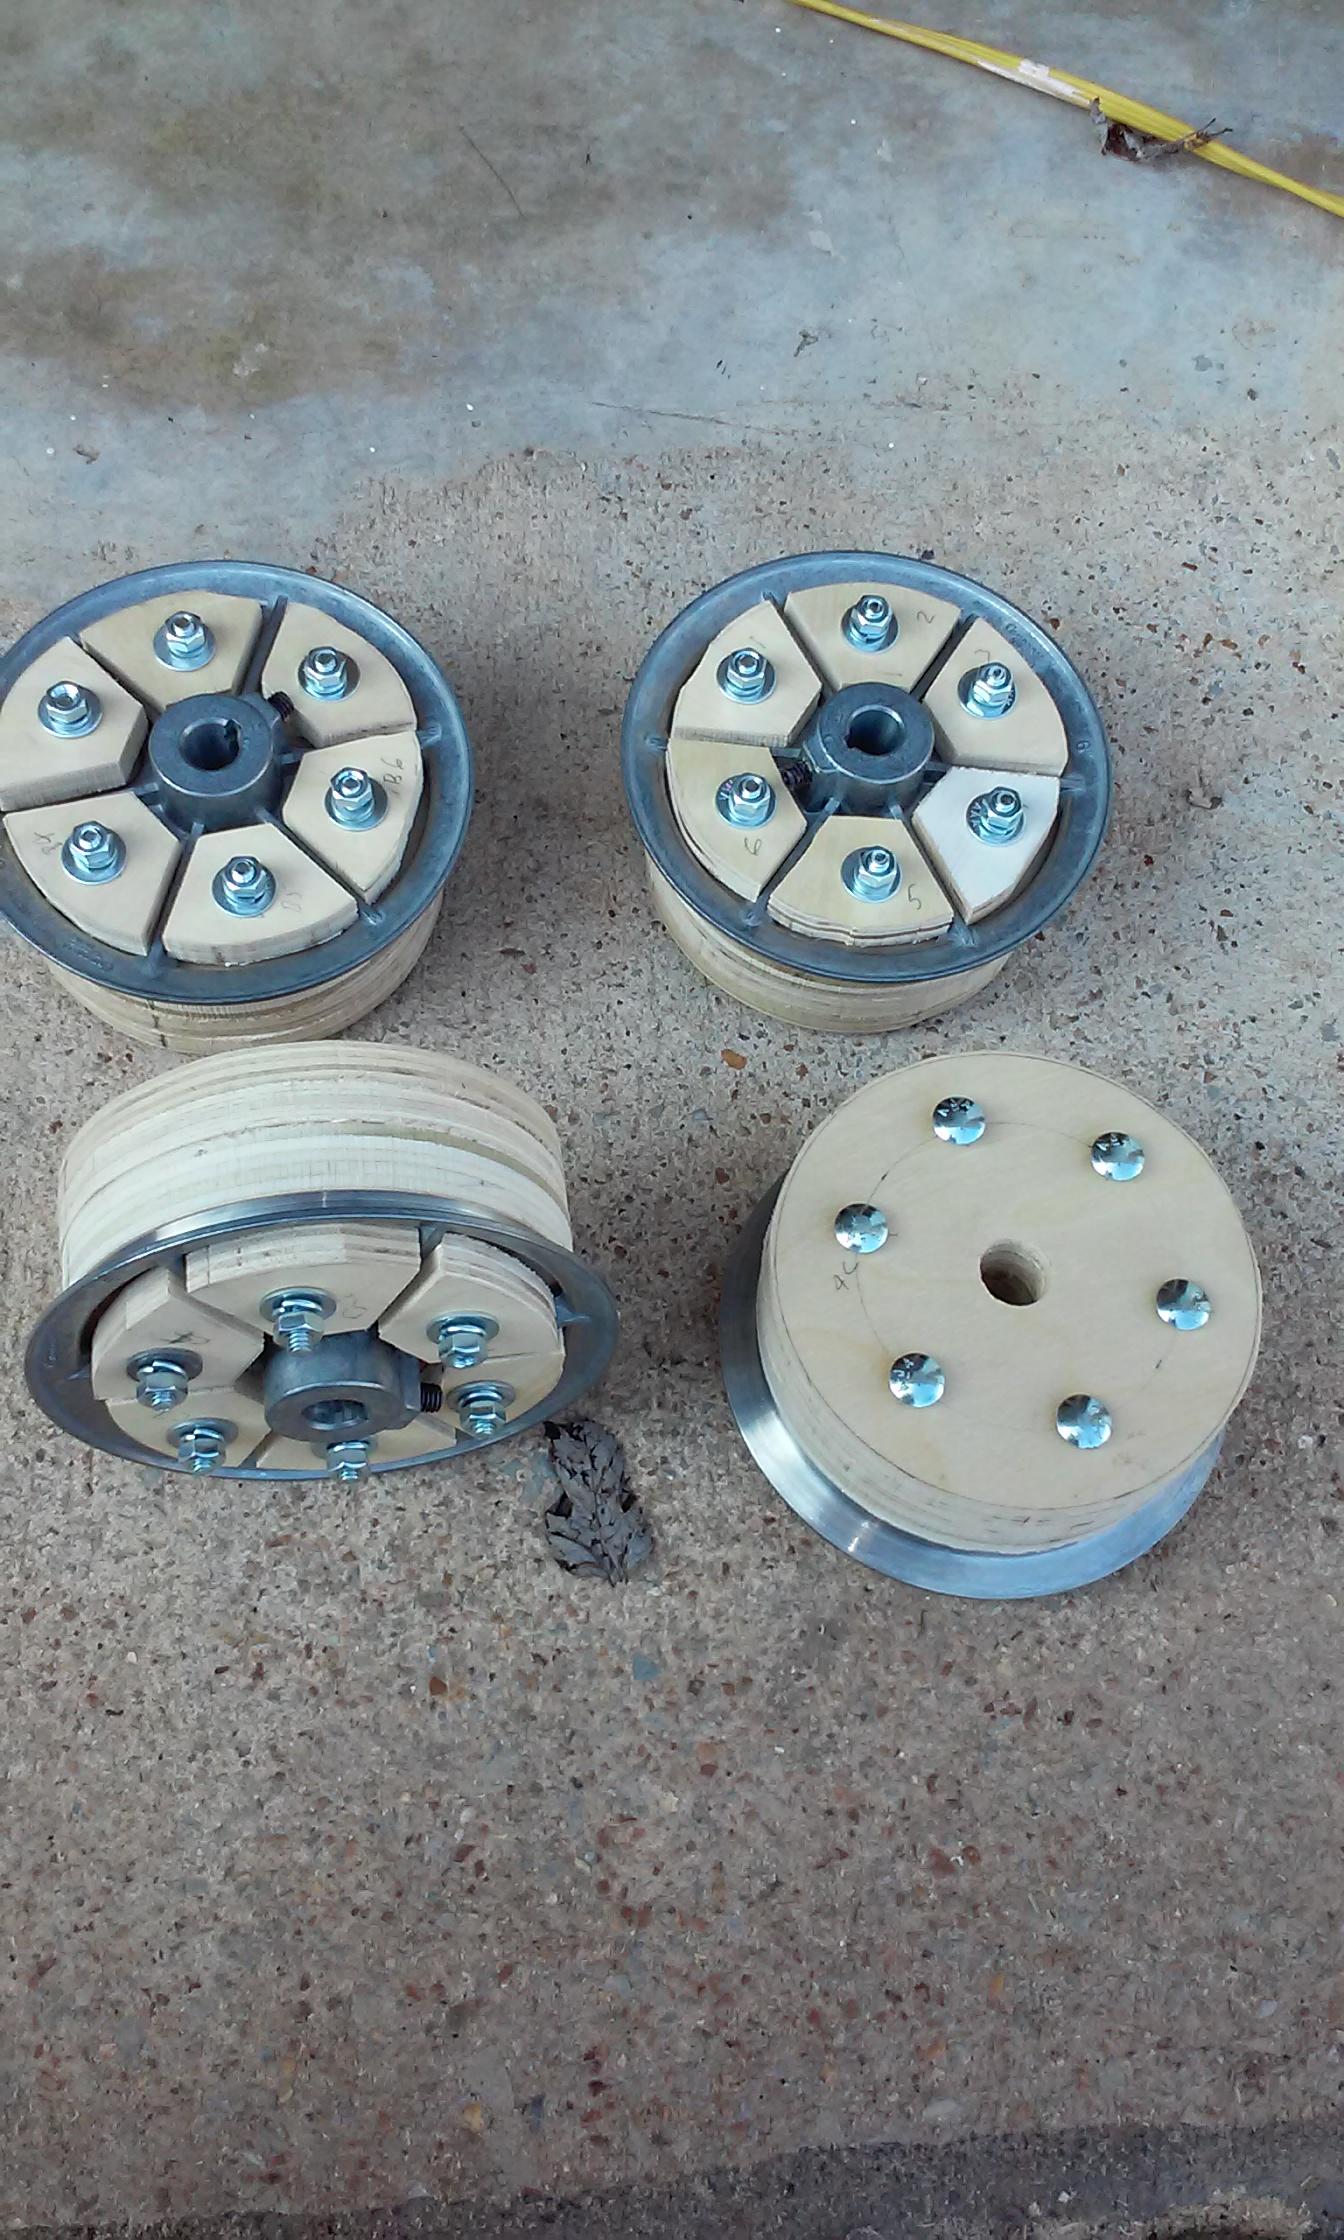
I started with the wheels. They’re made of two layers of 3/4″ plywood bolted together.
The flange is from a v-belt pulley with one of the flanges removed. This is one of the two drive wheels. There are six wheels in all.
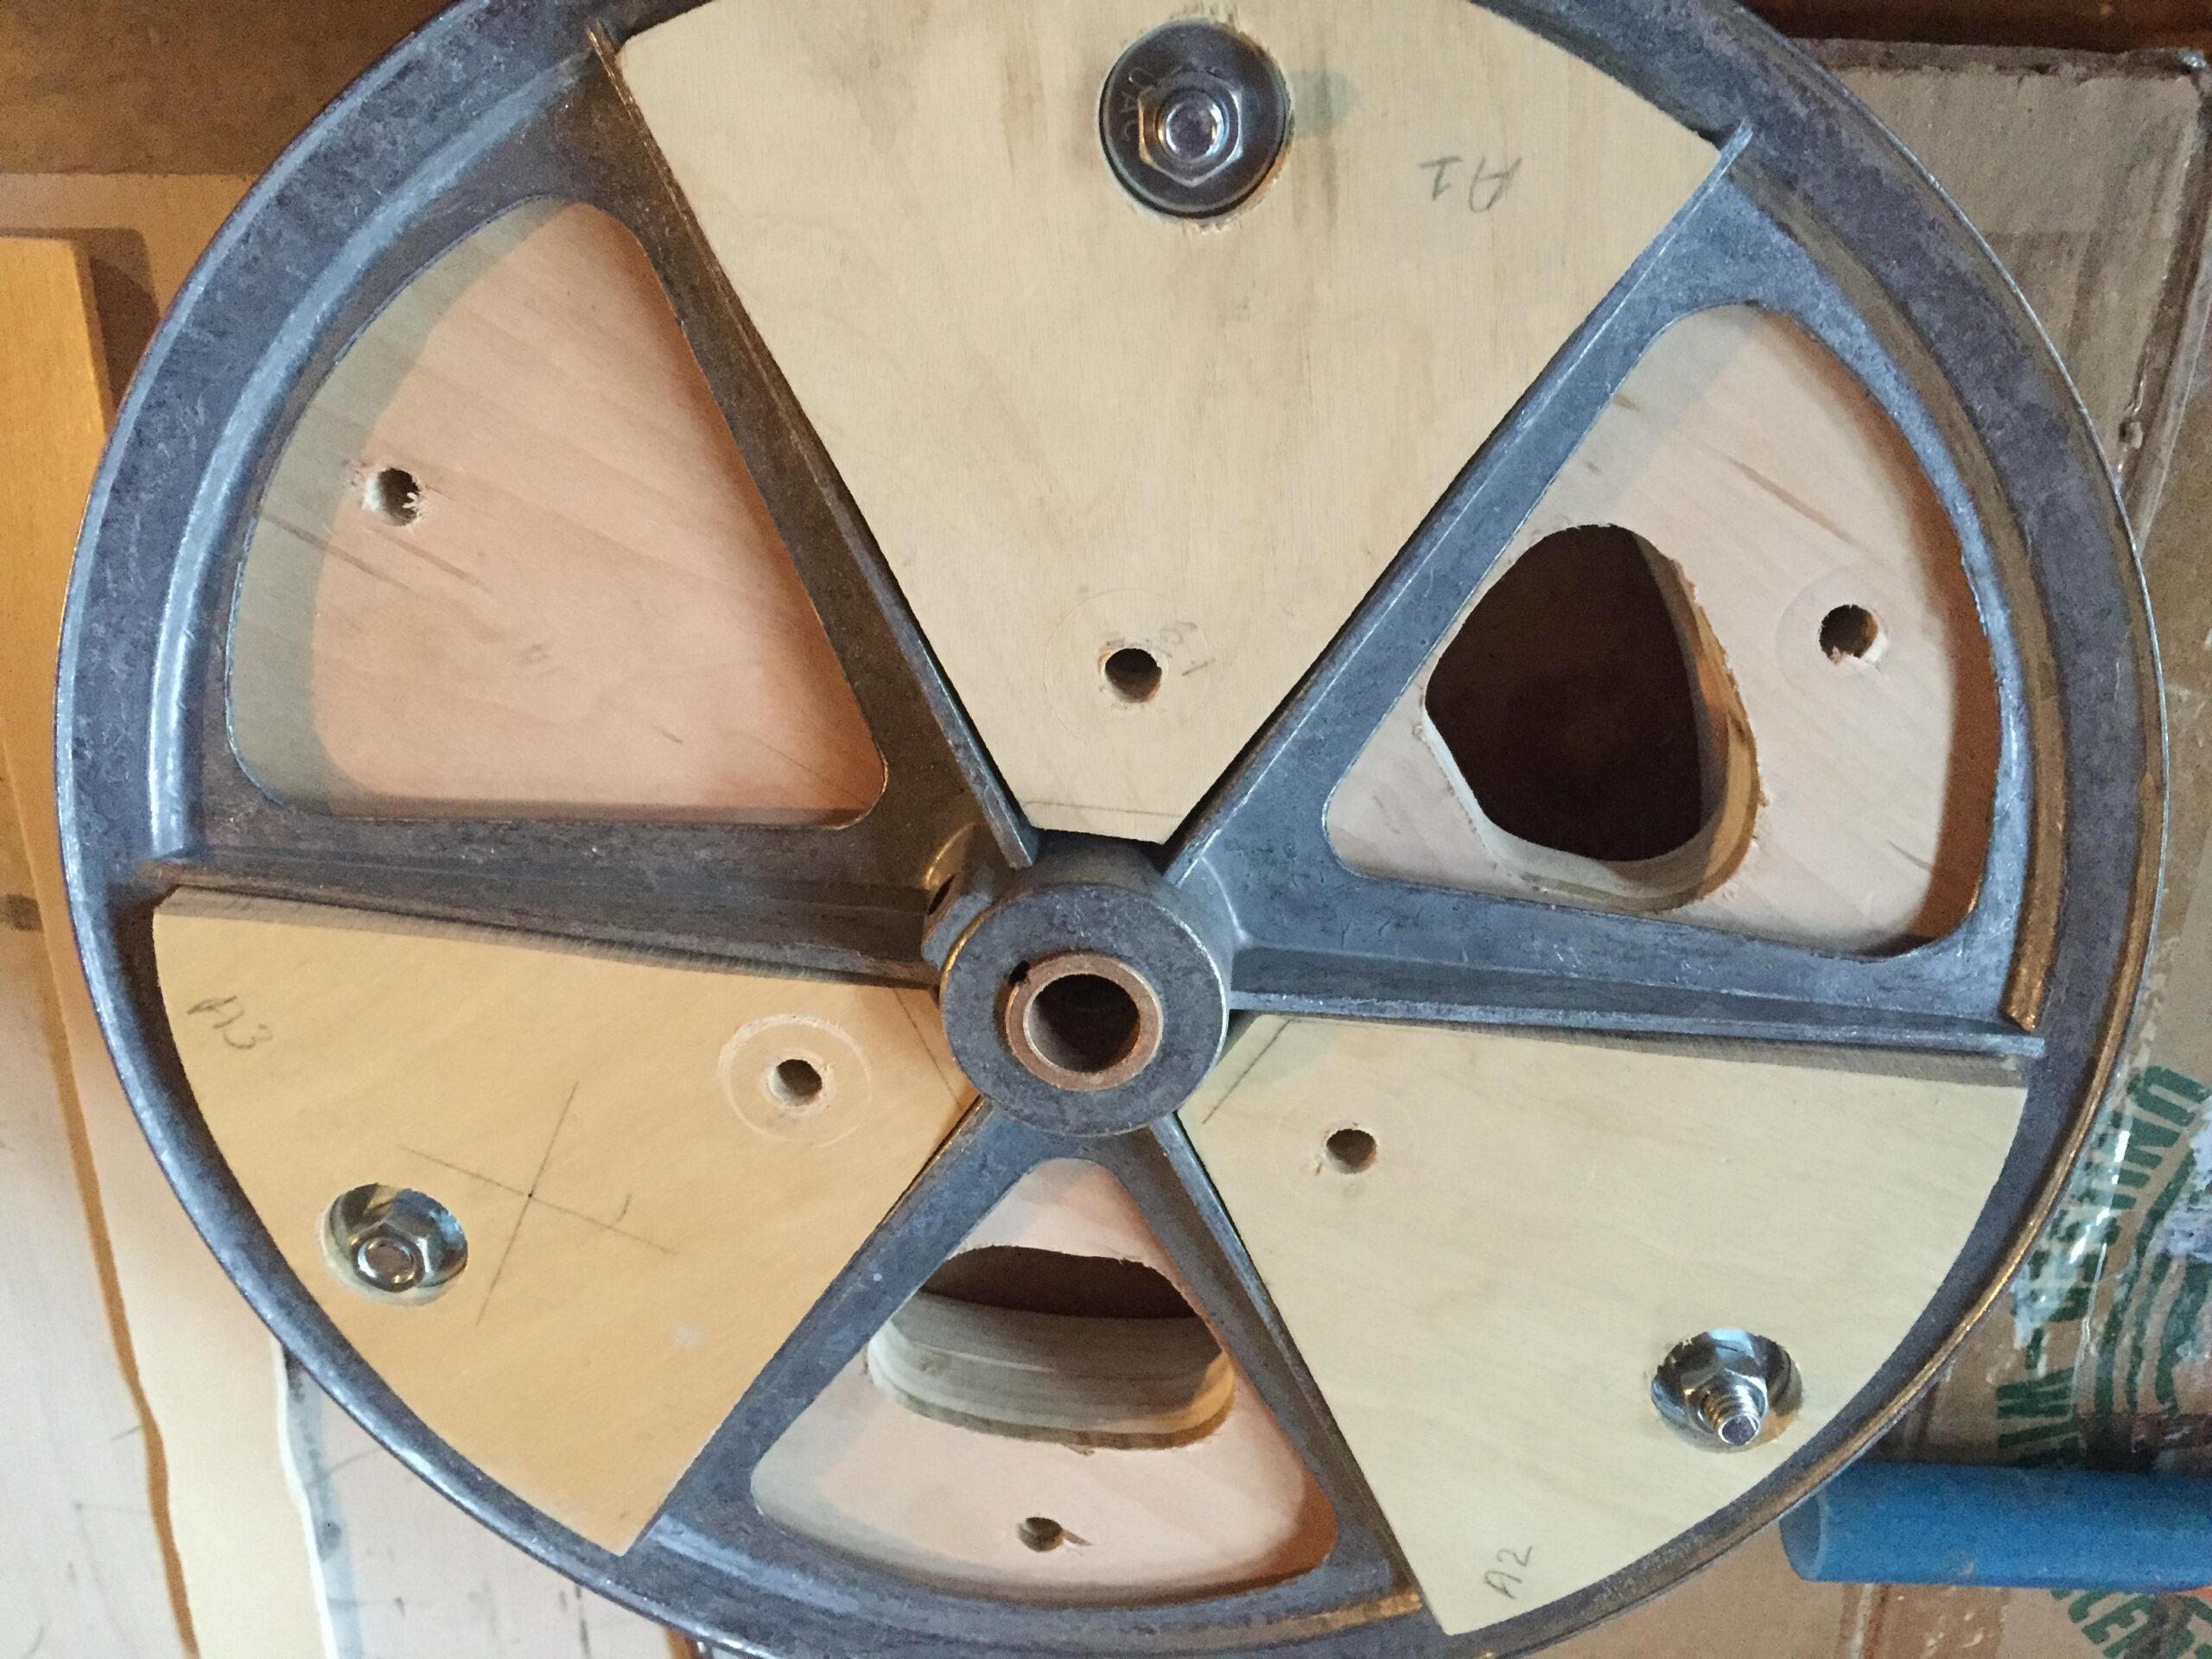
Here’s the back side of the drive wheel. The pie-shaped pieces fit into the back side of the pulley so all the pieces can be bolted together like a sandwich.
Note the brass bushings that provide the bearing for the axle.
The front wheels are mounted on steel axle rods, which in turn are mounted into pillow block bearings.
The axles are mounted on a wood carriage that swivels as an assembly as the train approaches a curved section of track.
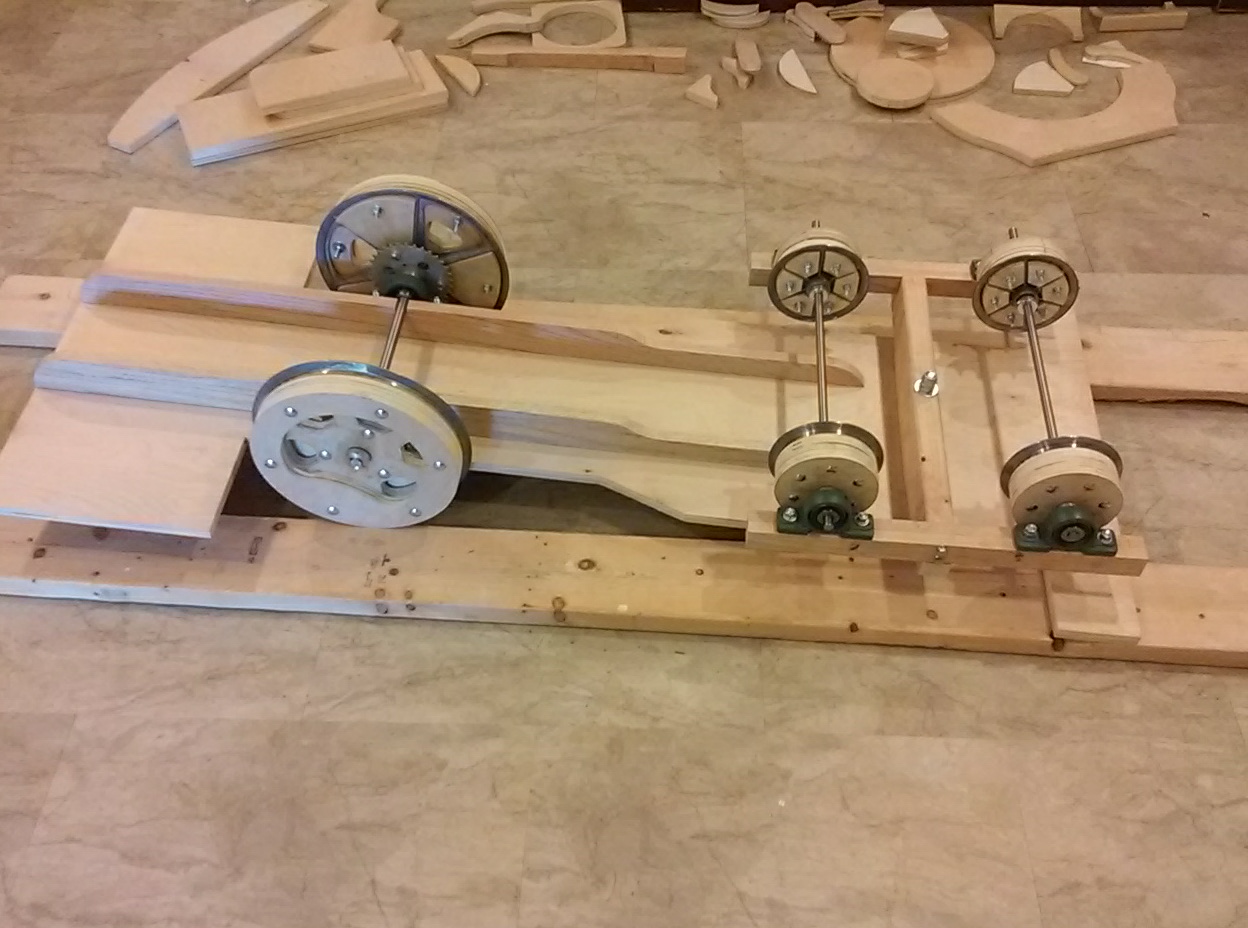
The wheels are mounted to the chassis, which is cut from 3/4 plywood. Note the sprockets on the drive wheels for the chain drive (both wheels – 2 wheel drive).
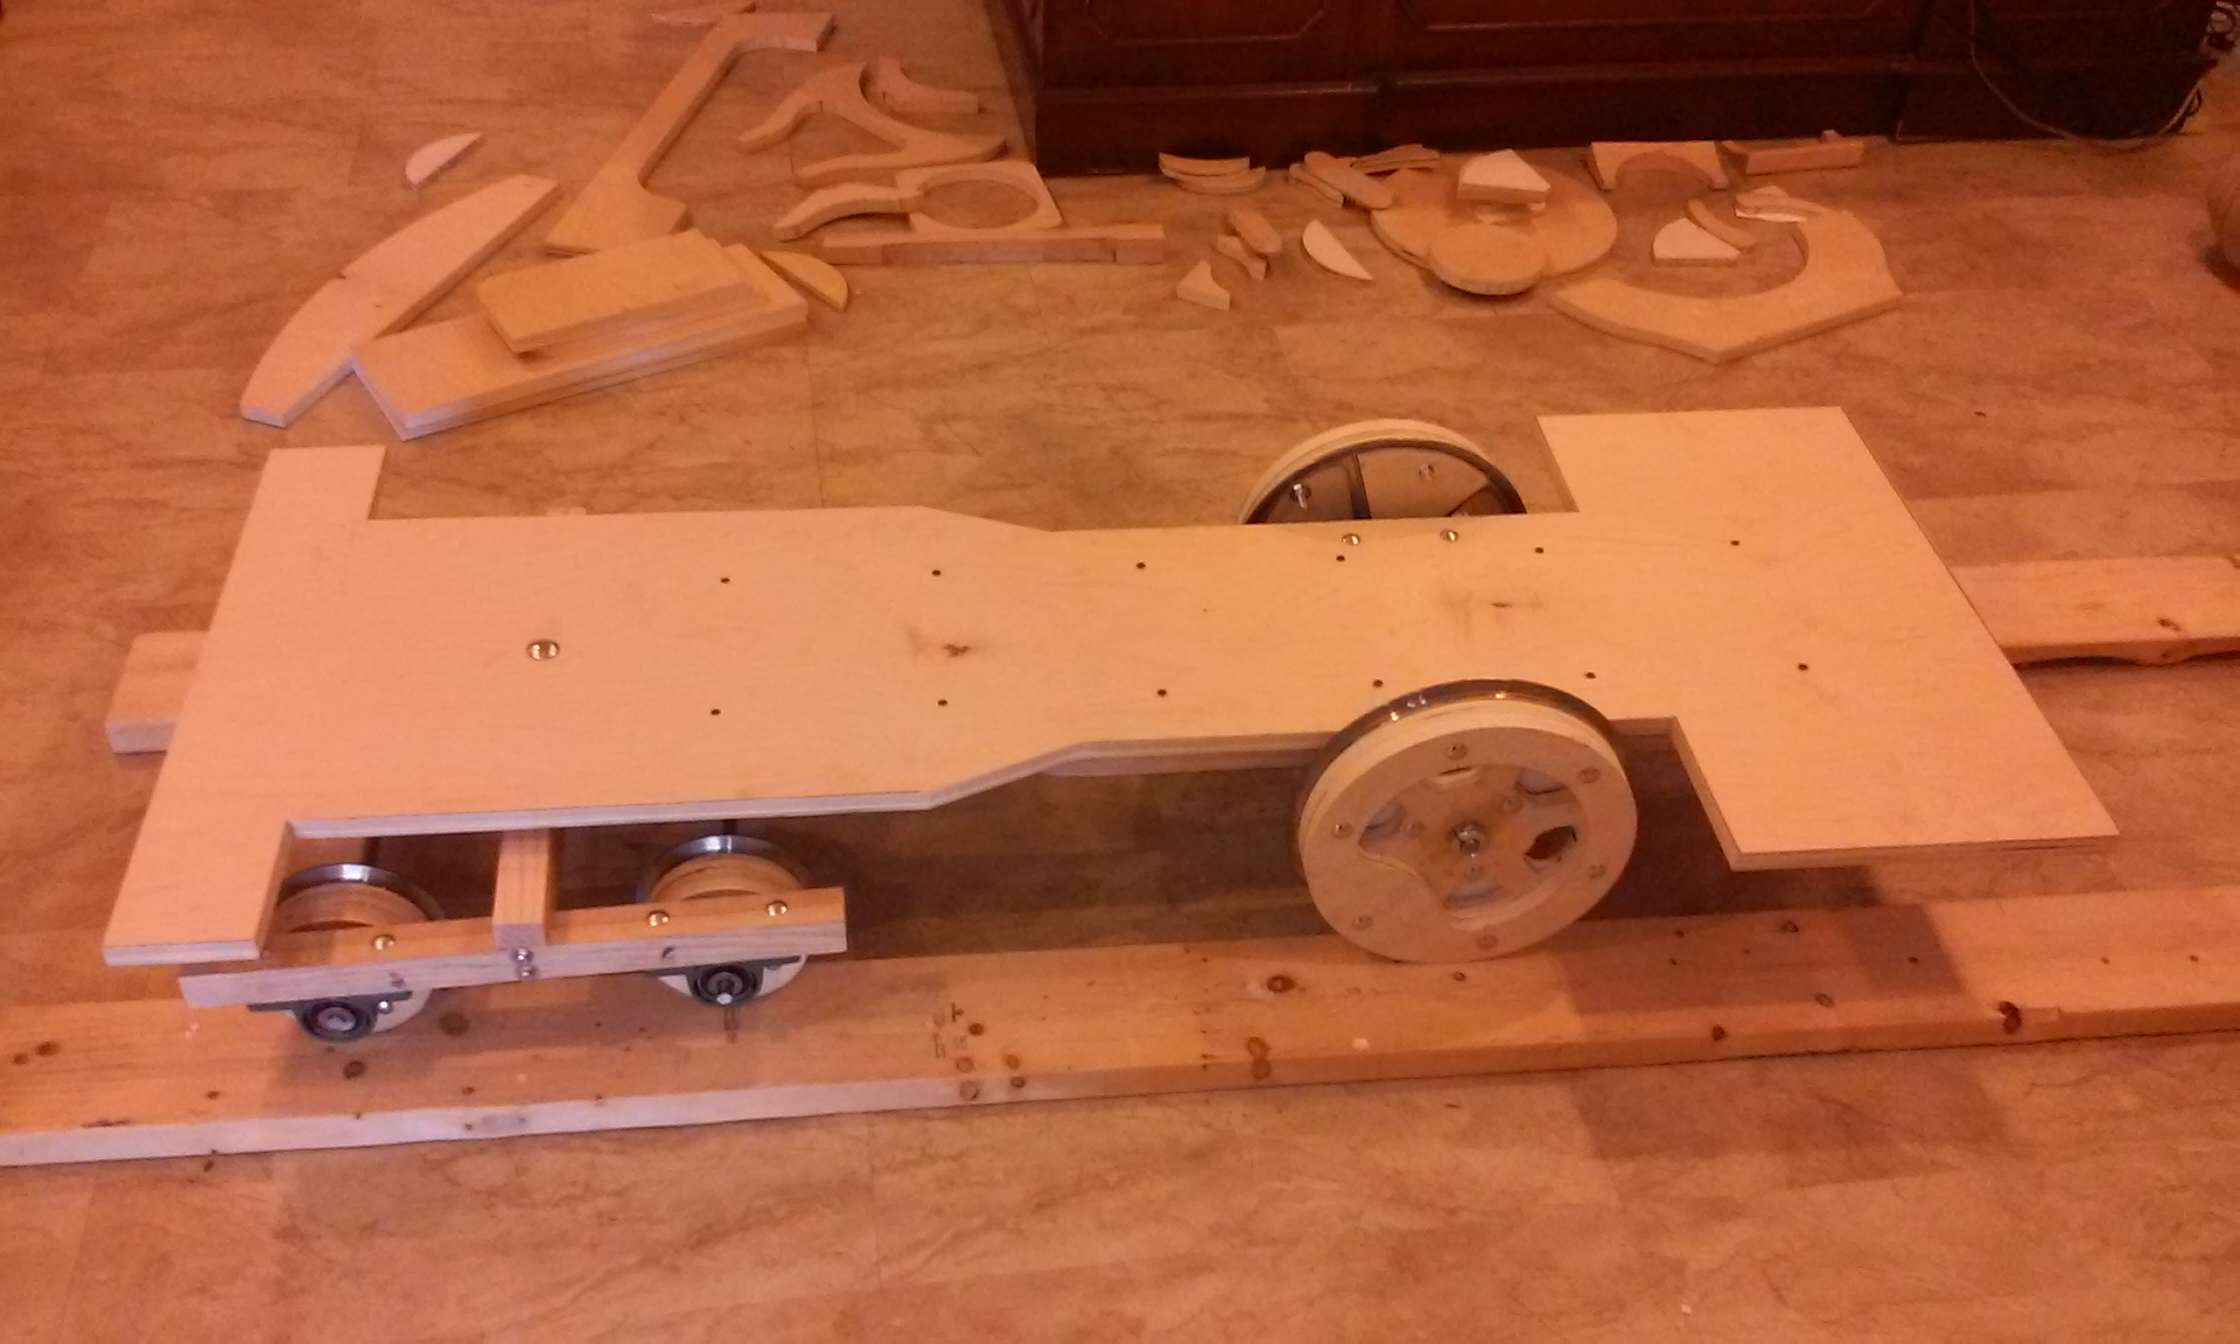
And here’s the chassis and wheel assemblies turned right-side-up. Lots more wood pieces in the background that are part of the project.
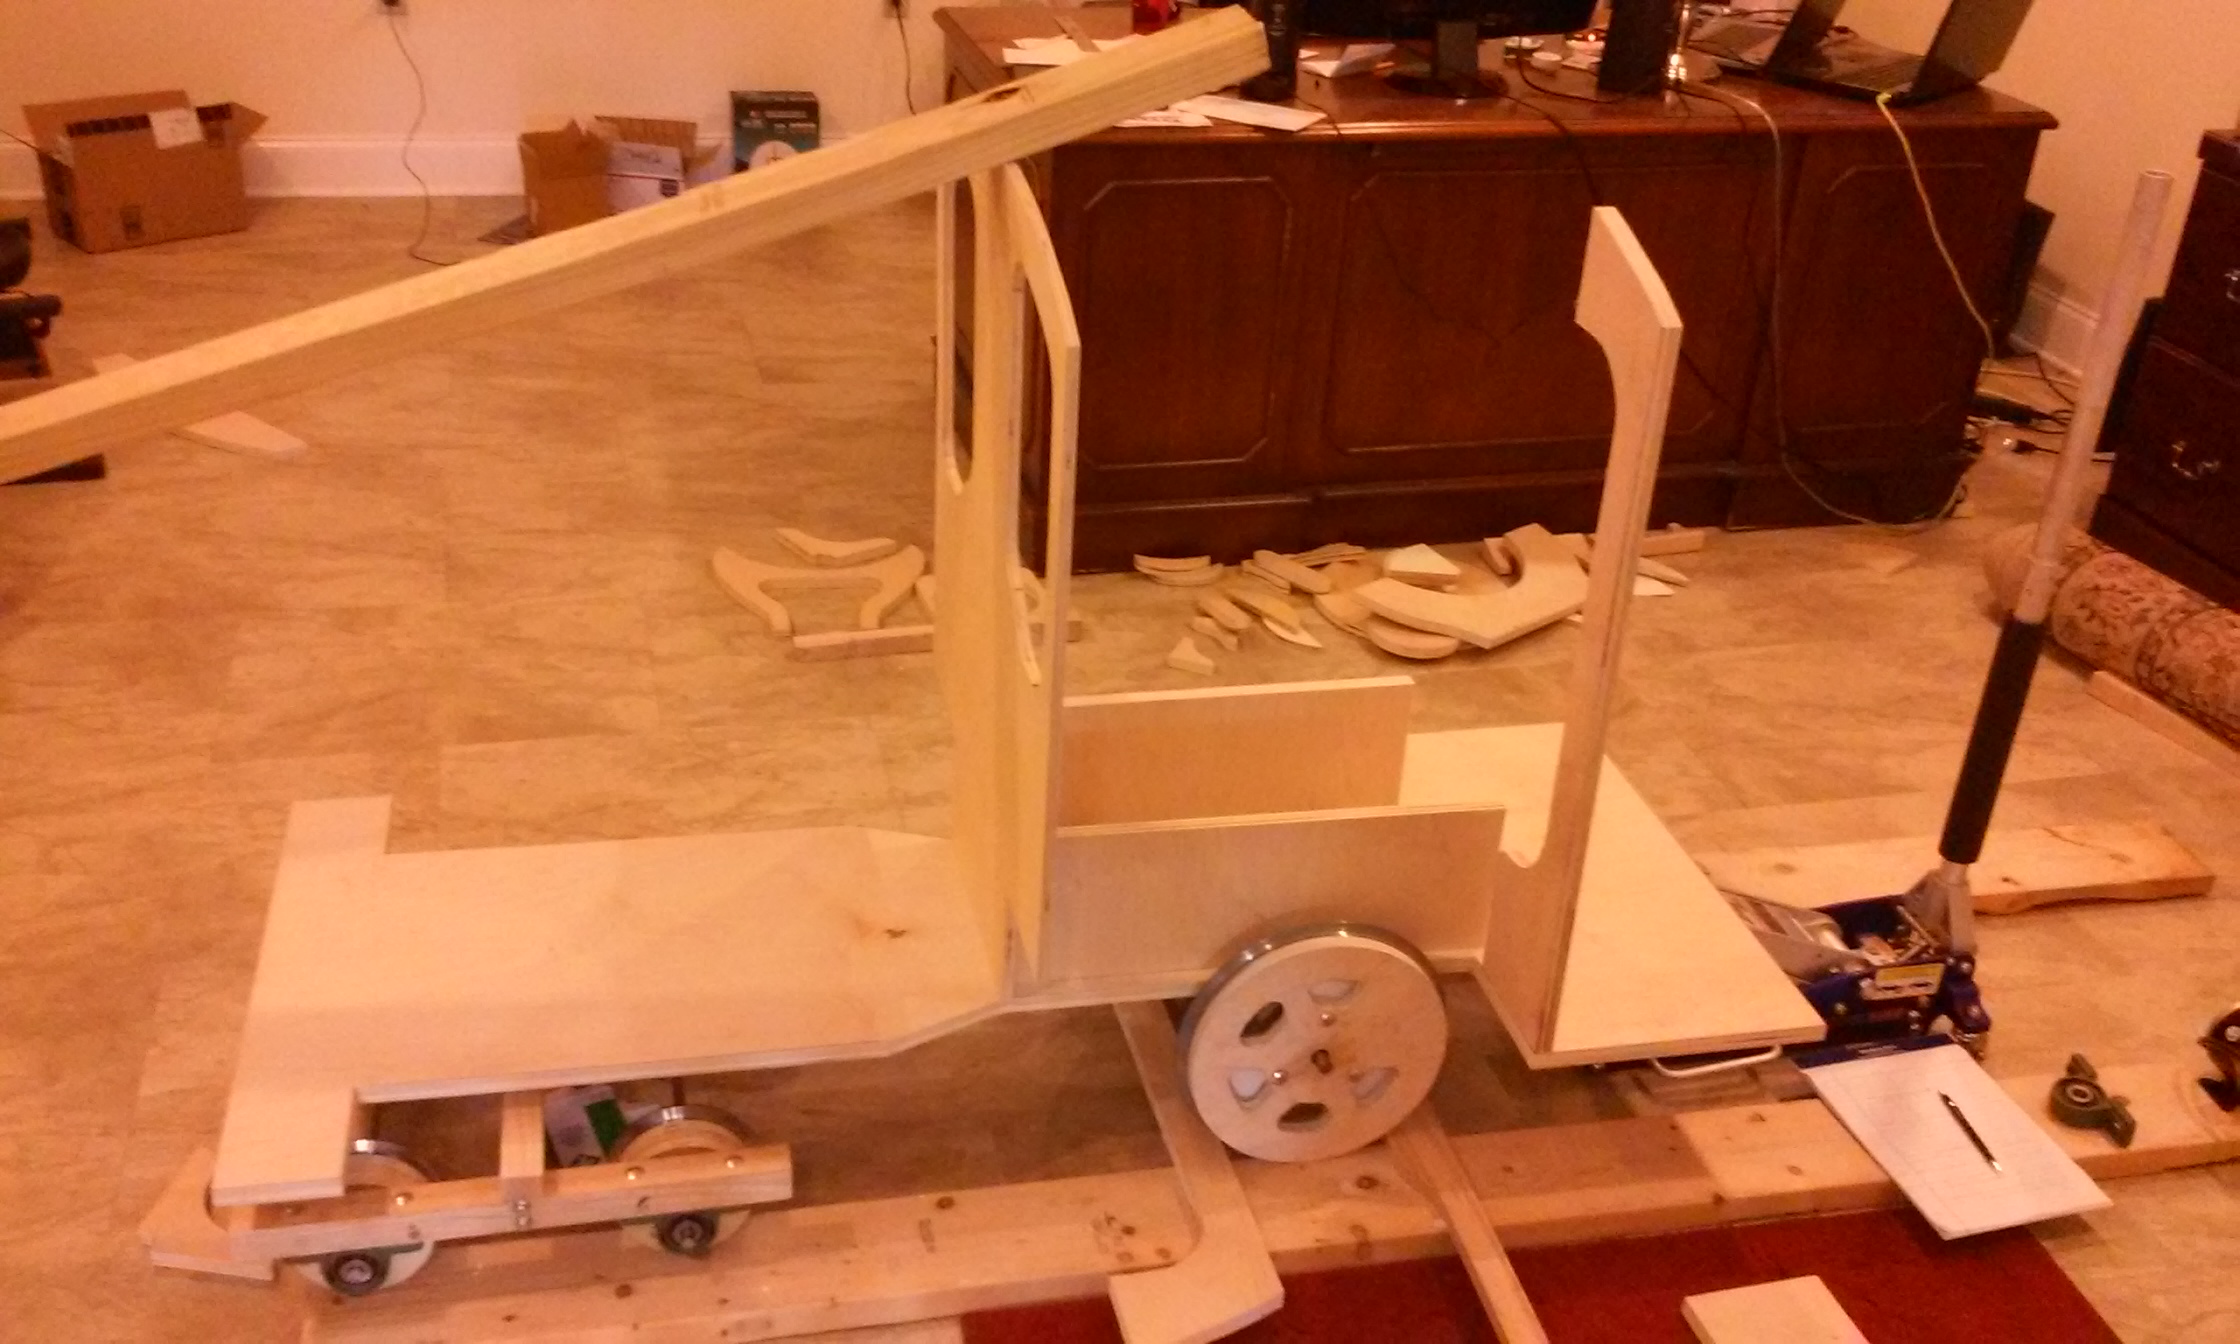
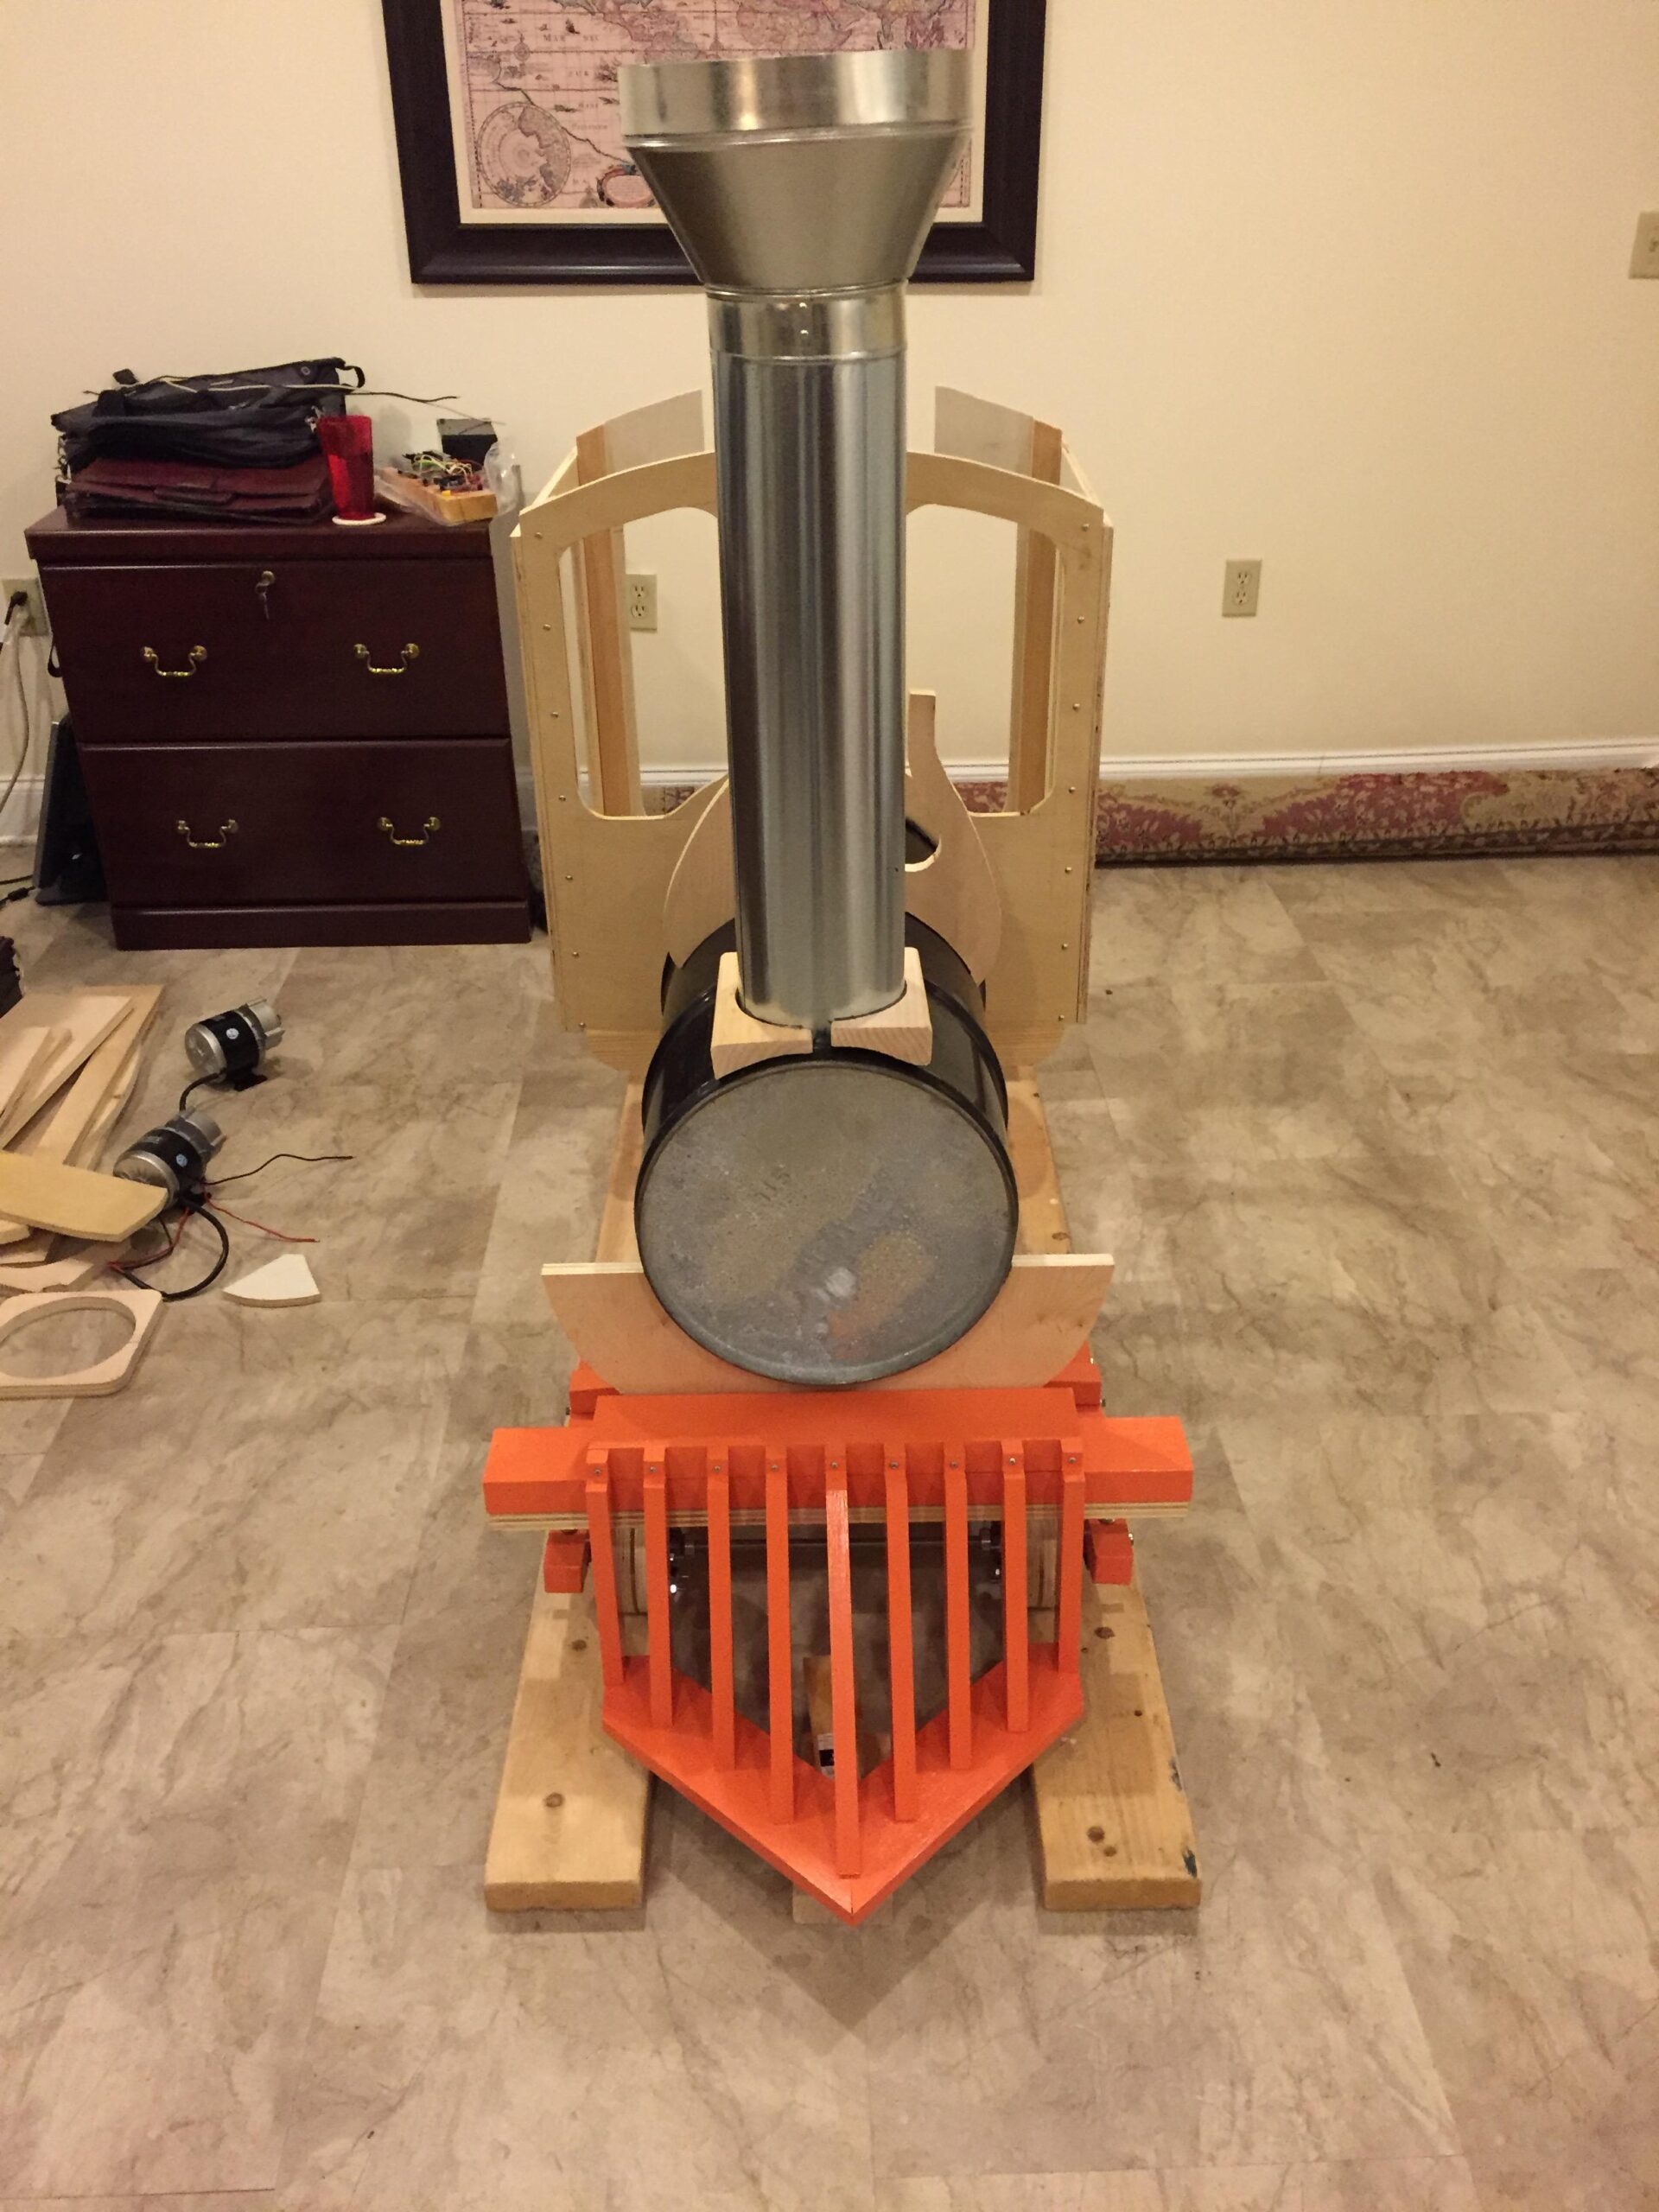
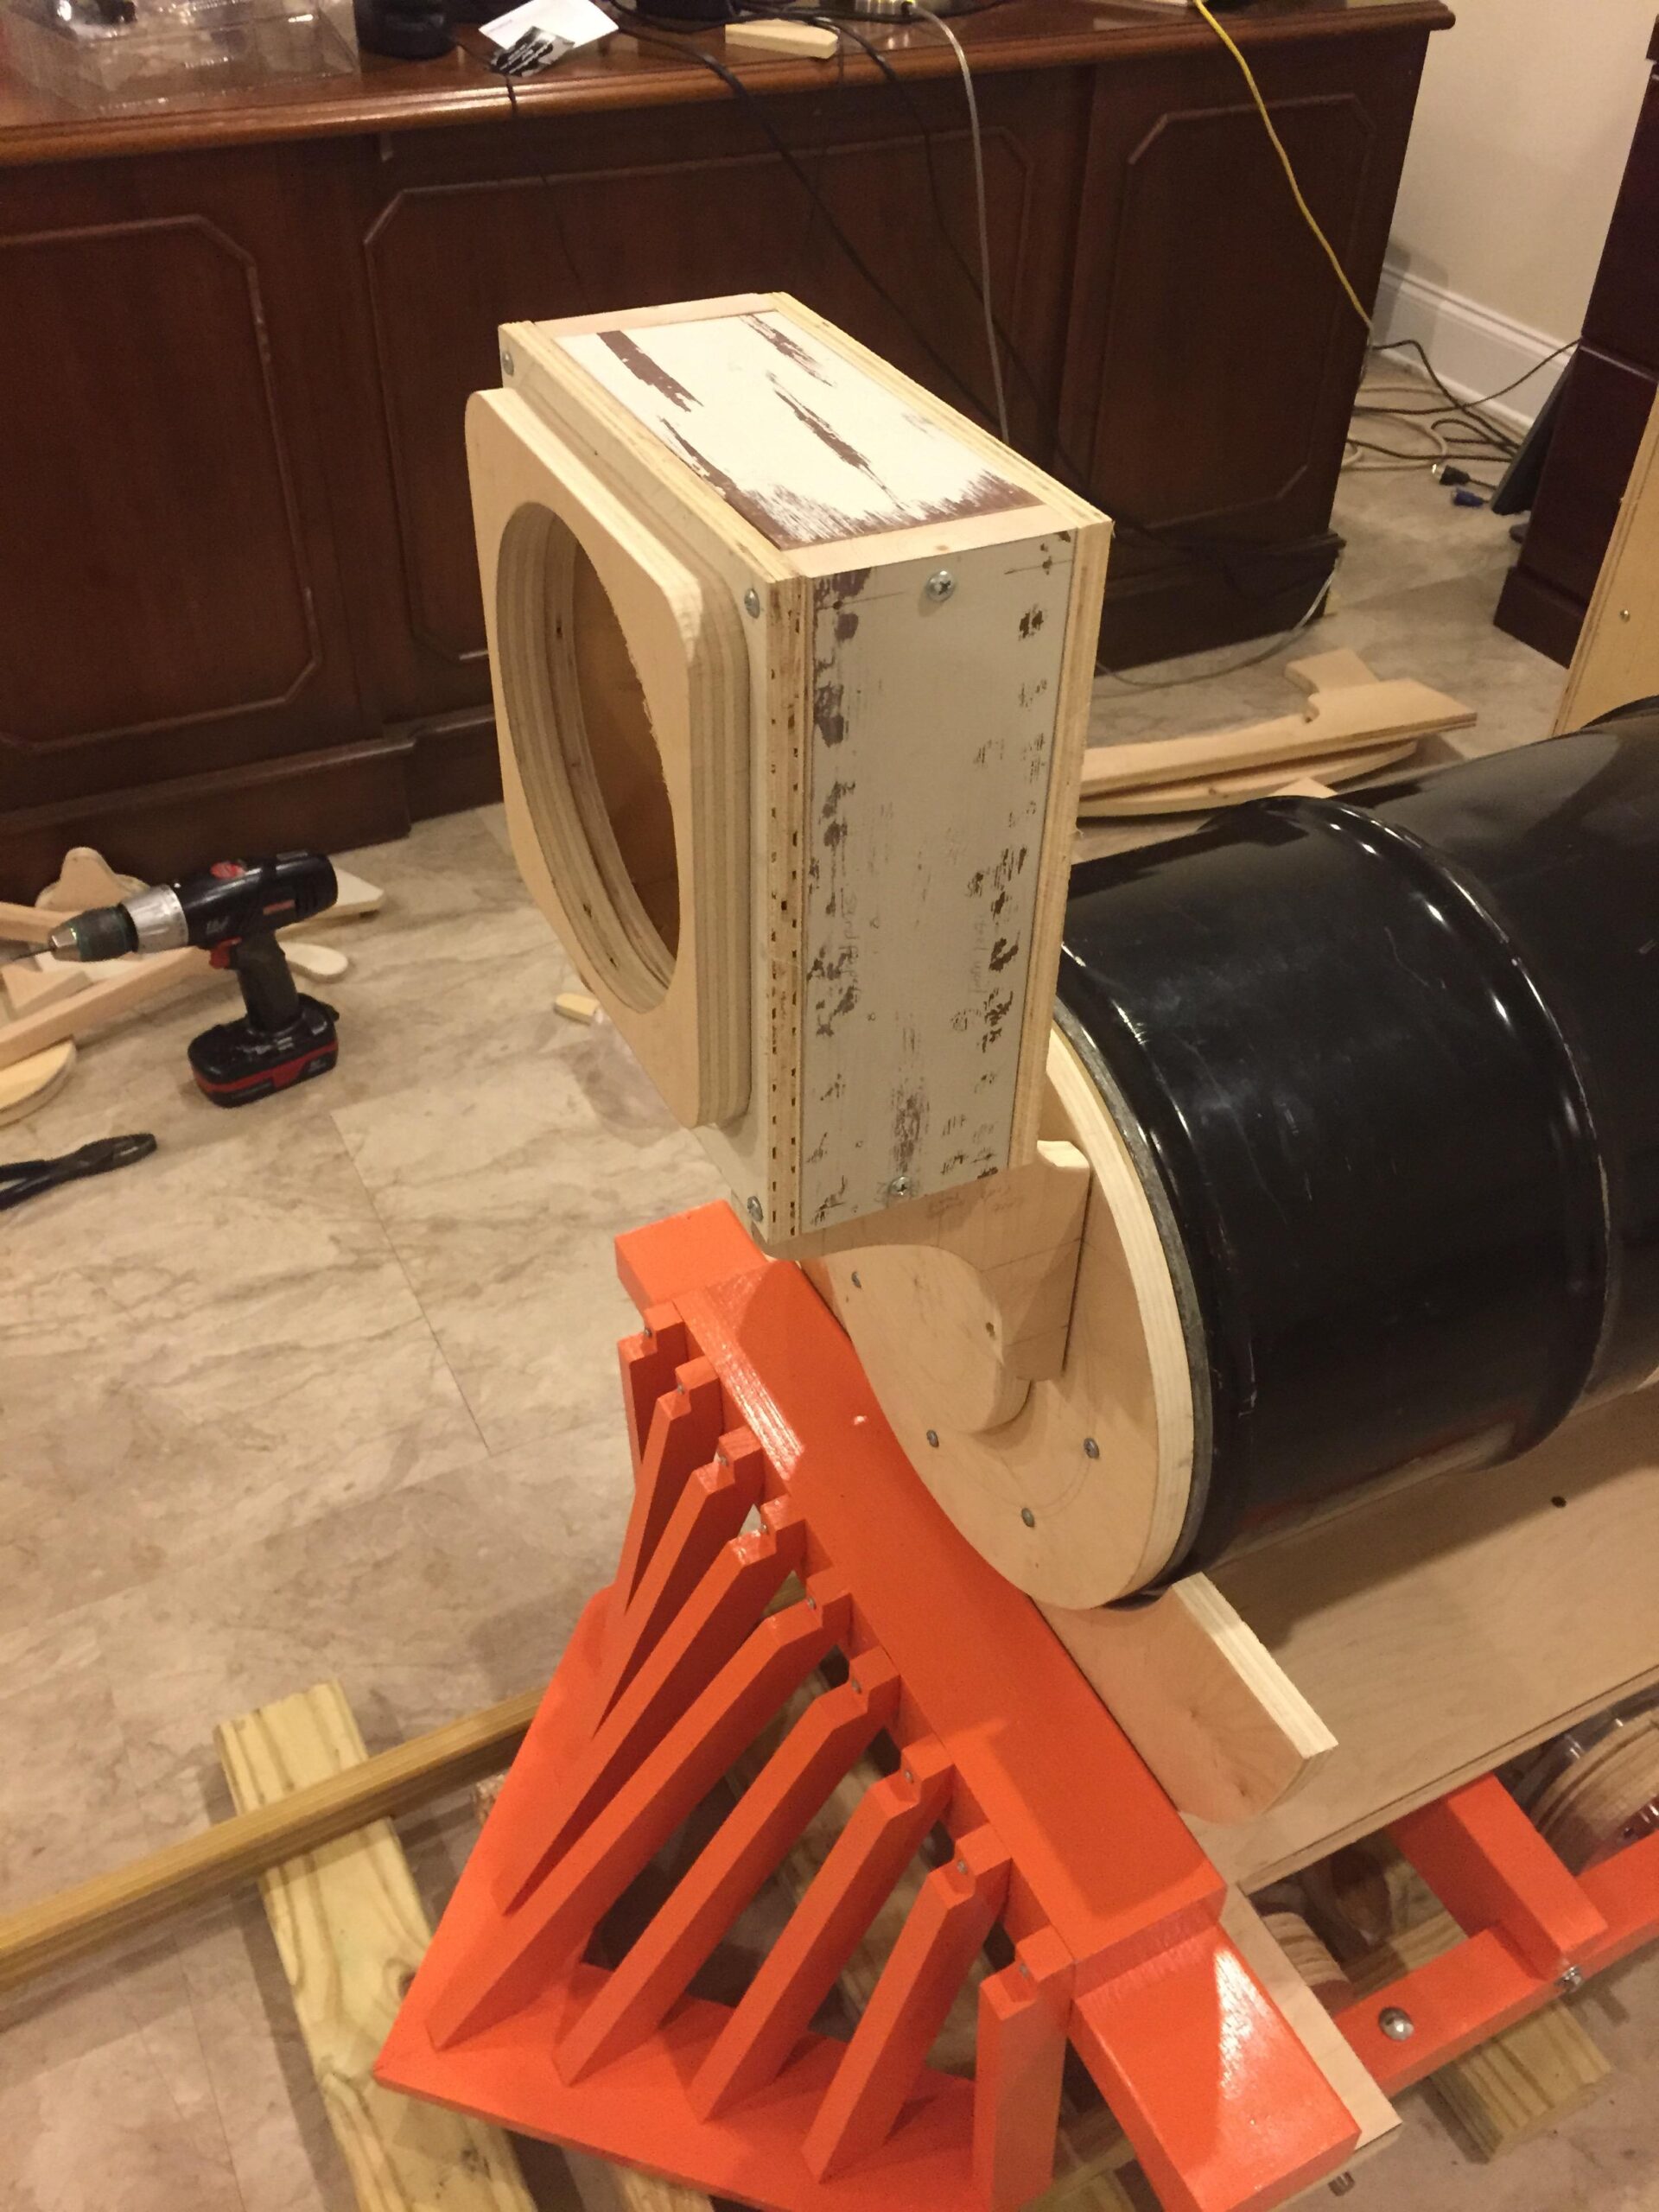
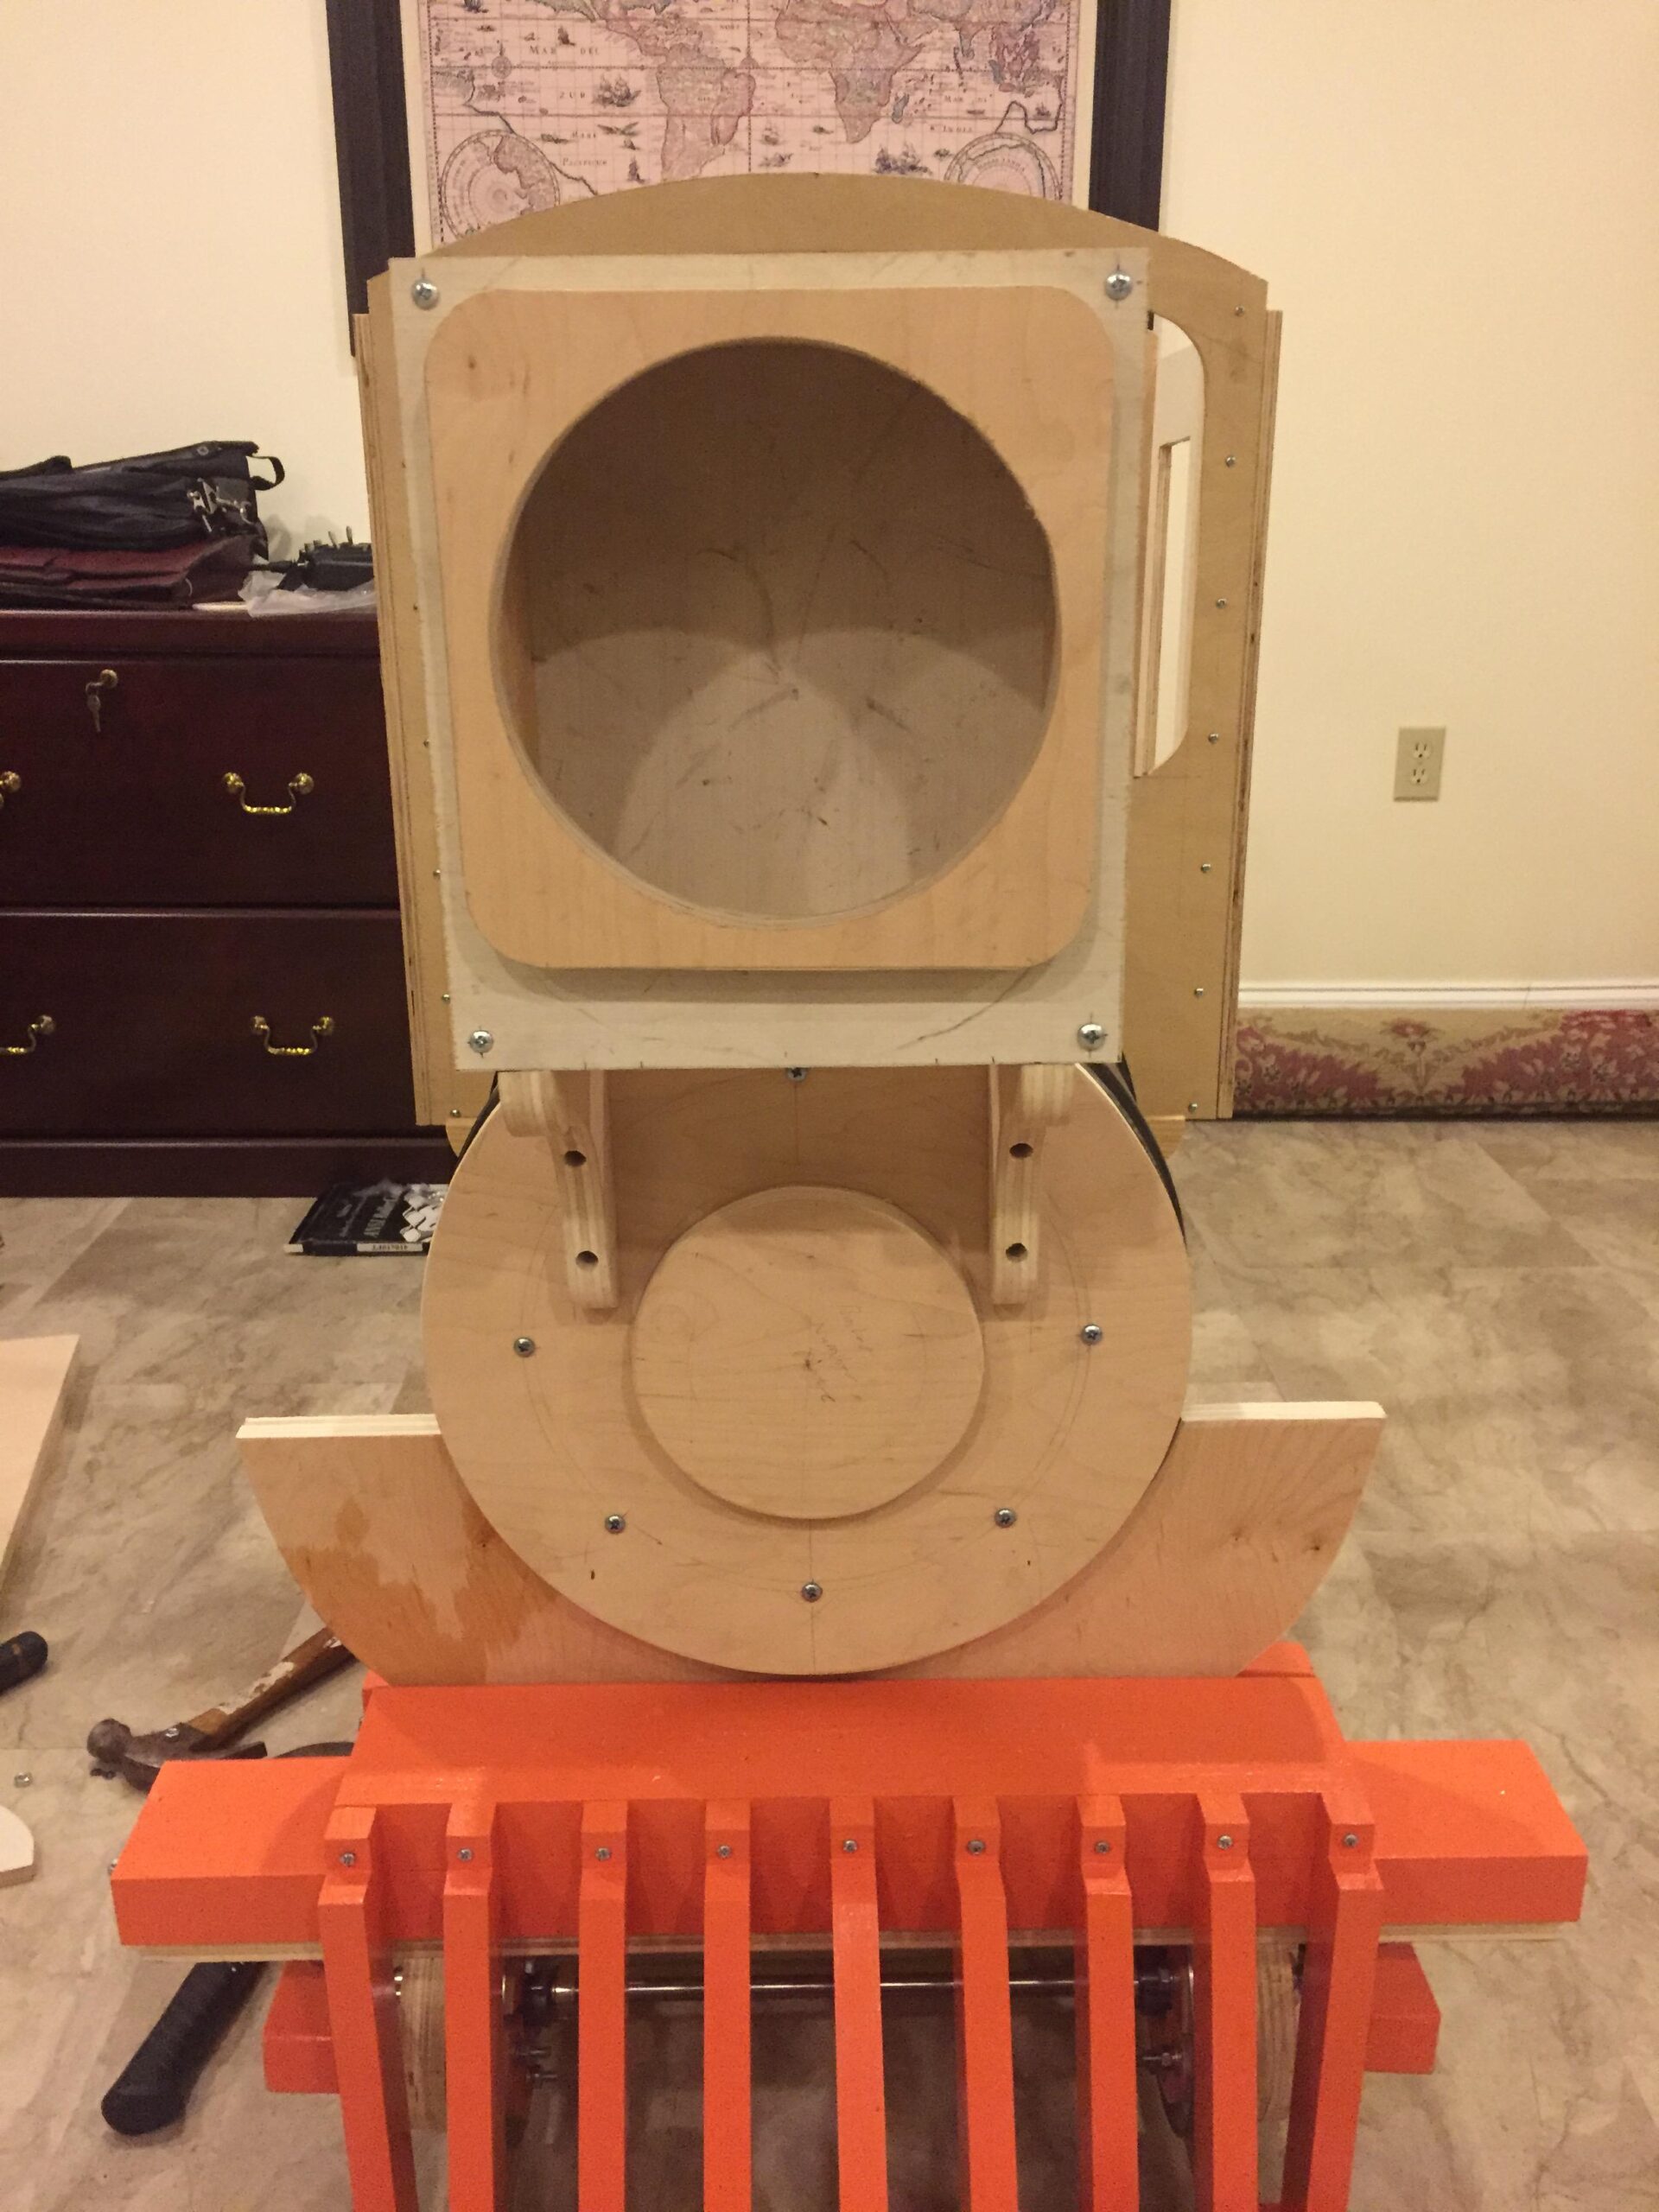
Starting to put the cab on the chassis. I’m building this in my home office.
Had to ensure that the final assembly would fit through the door to get it outside.
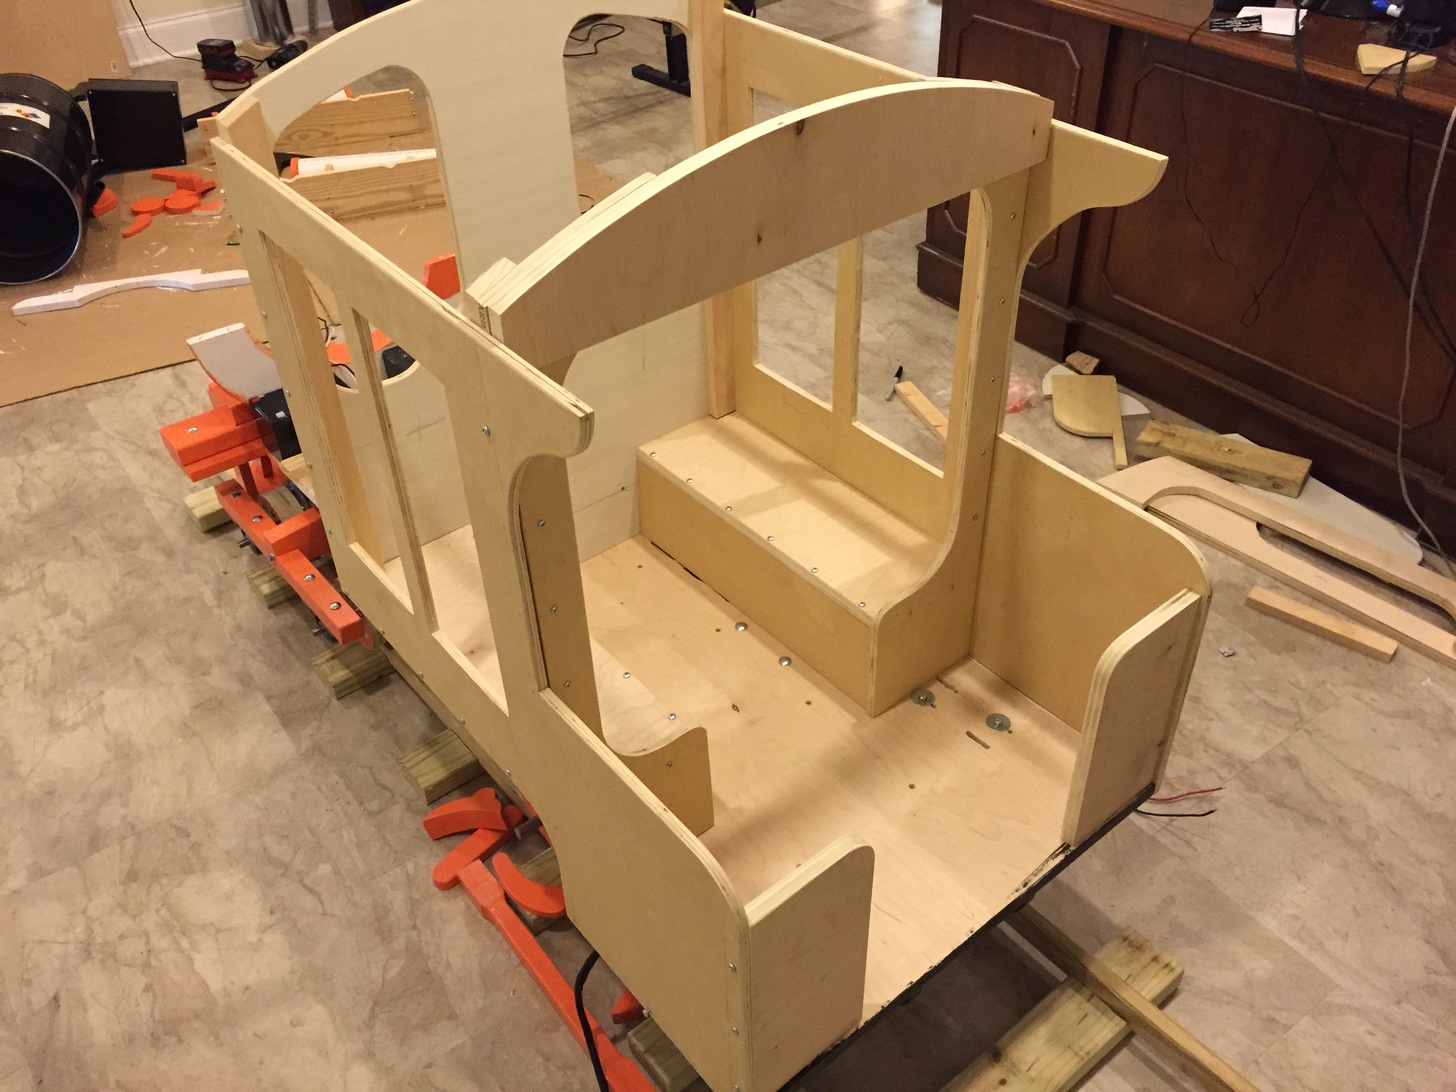
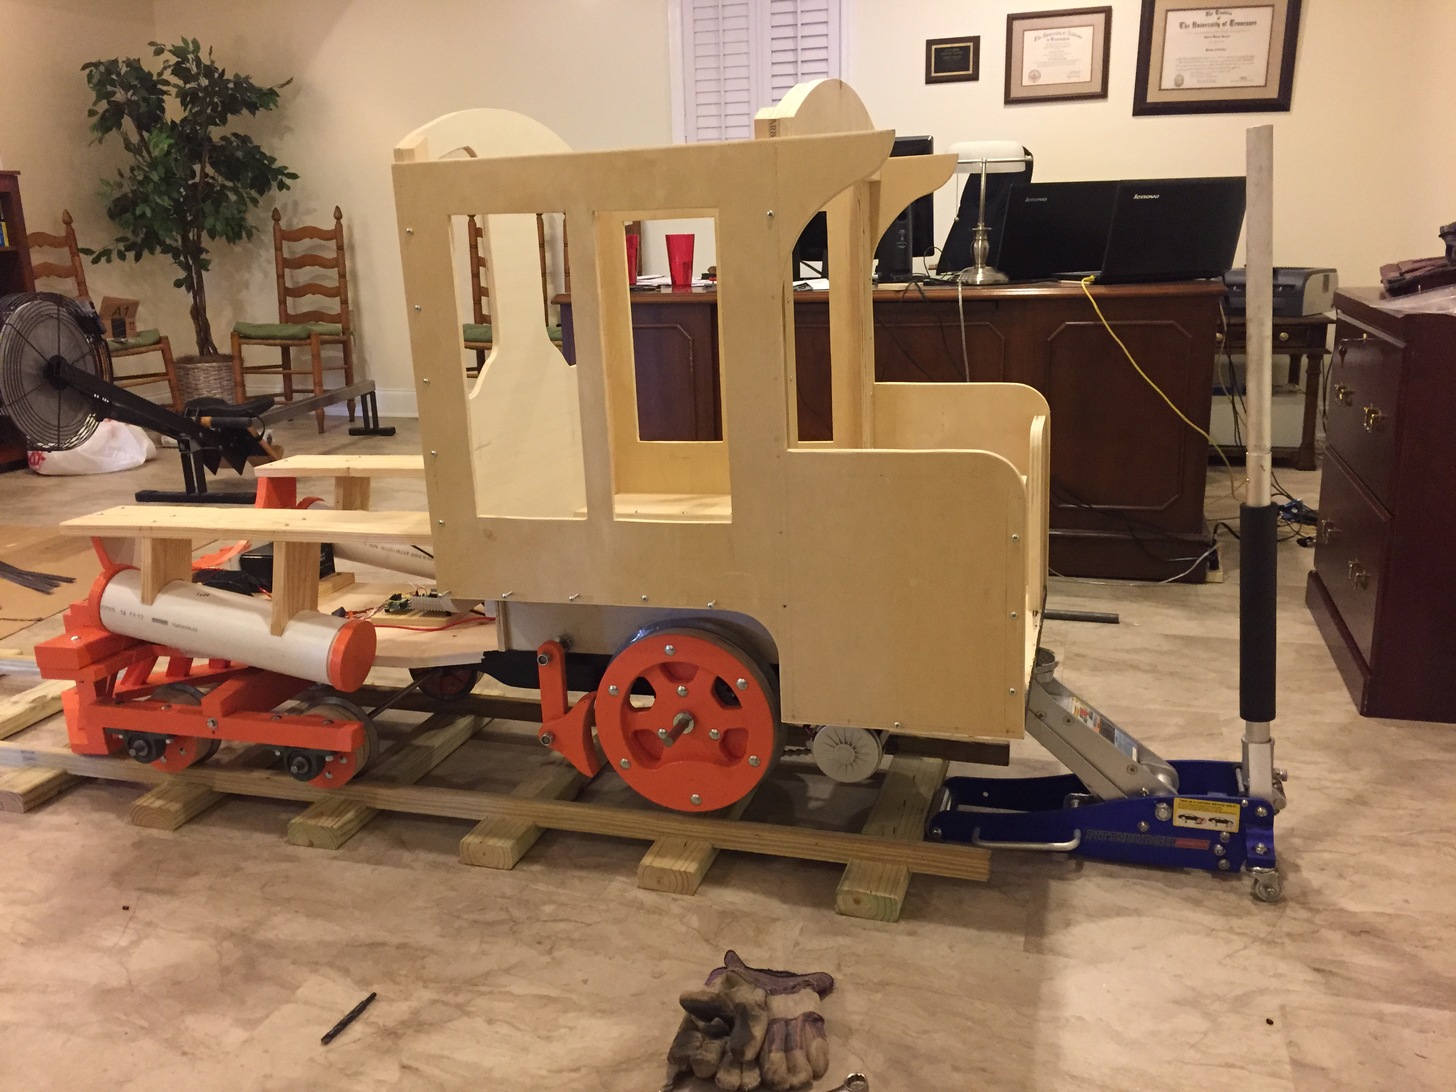
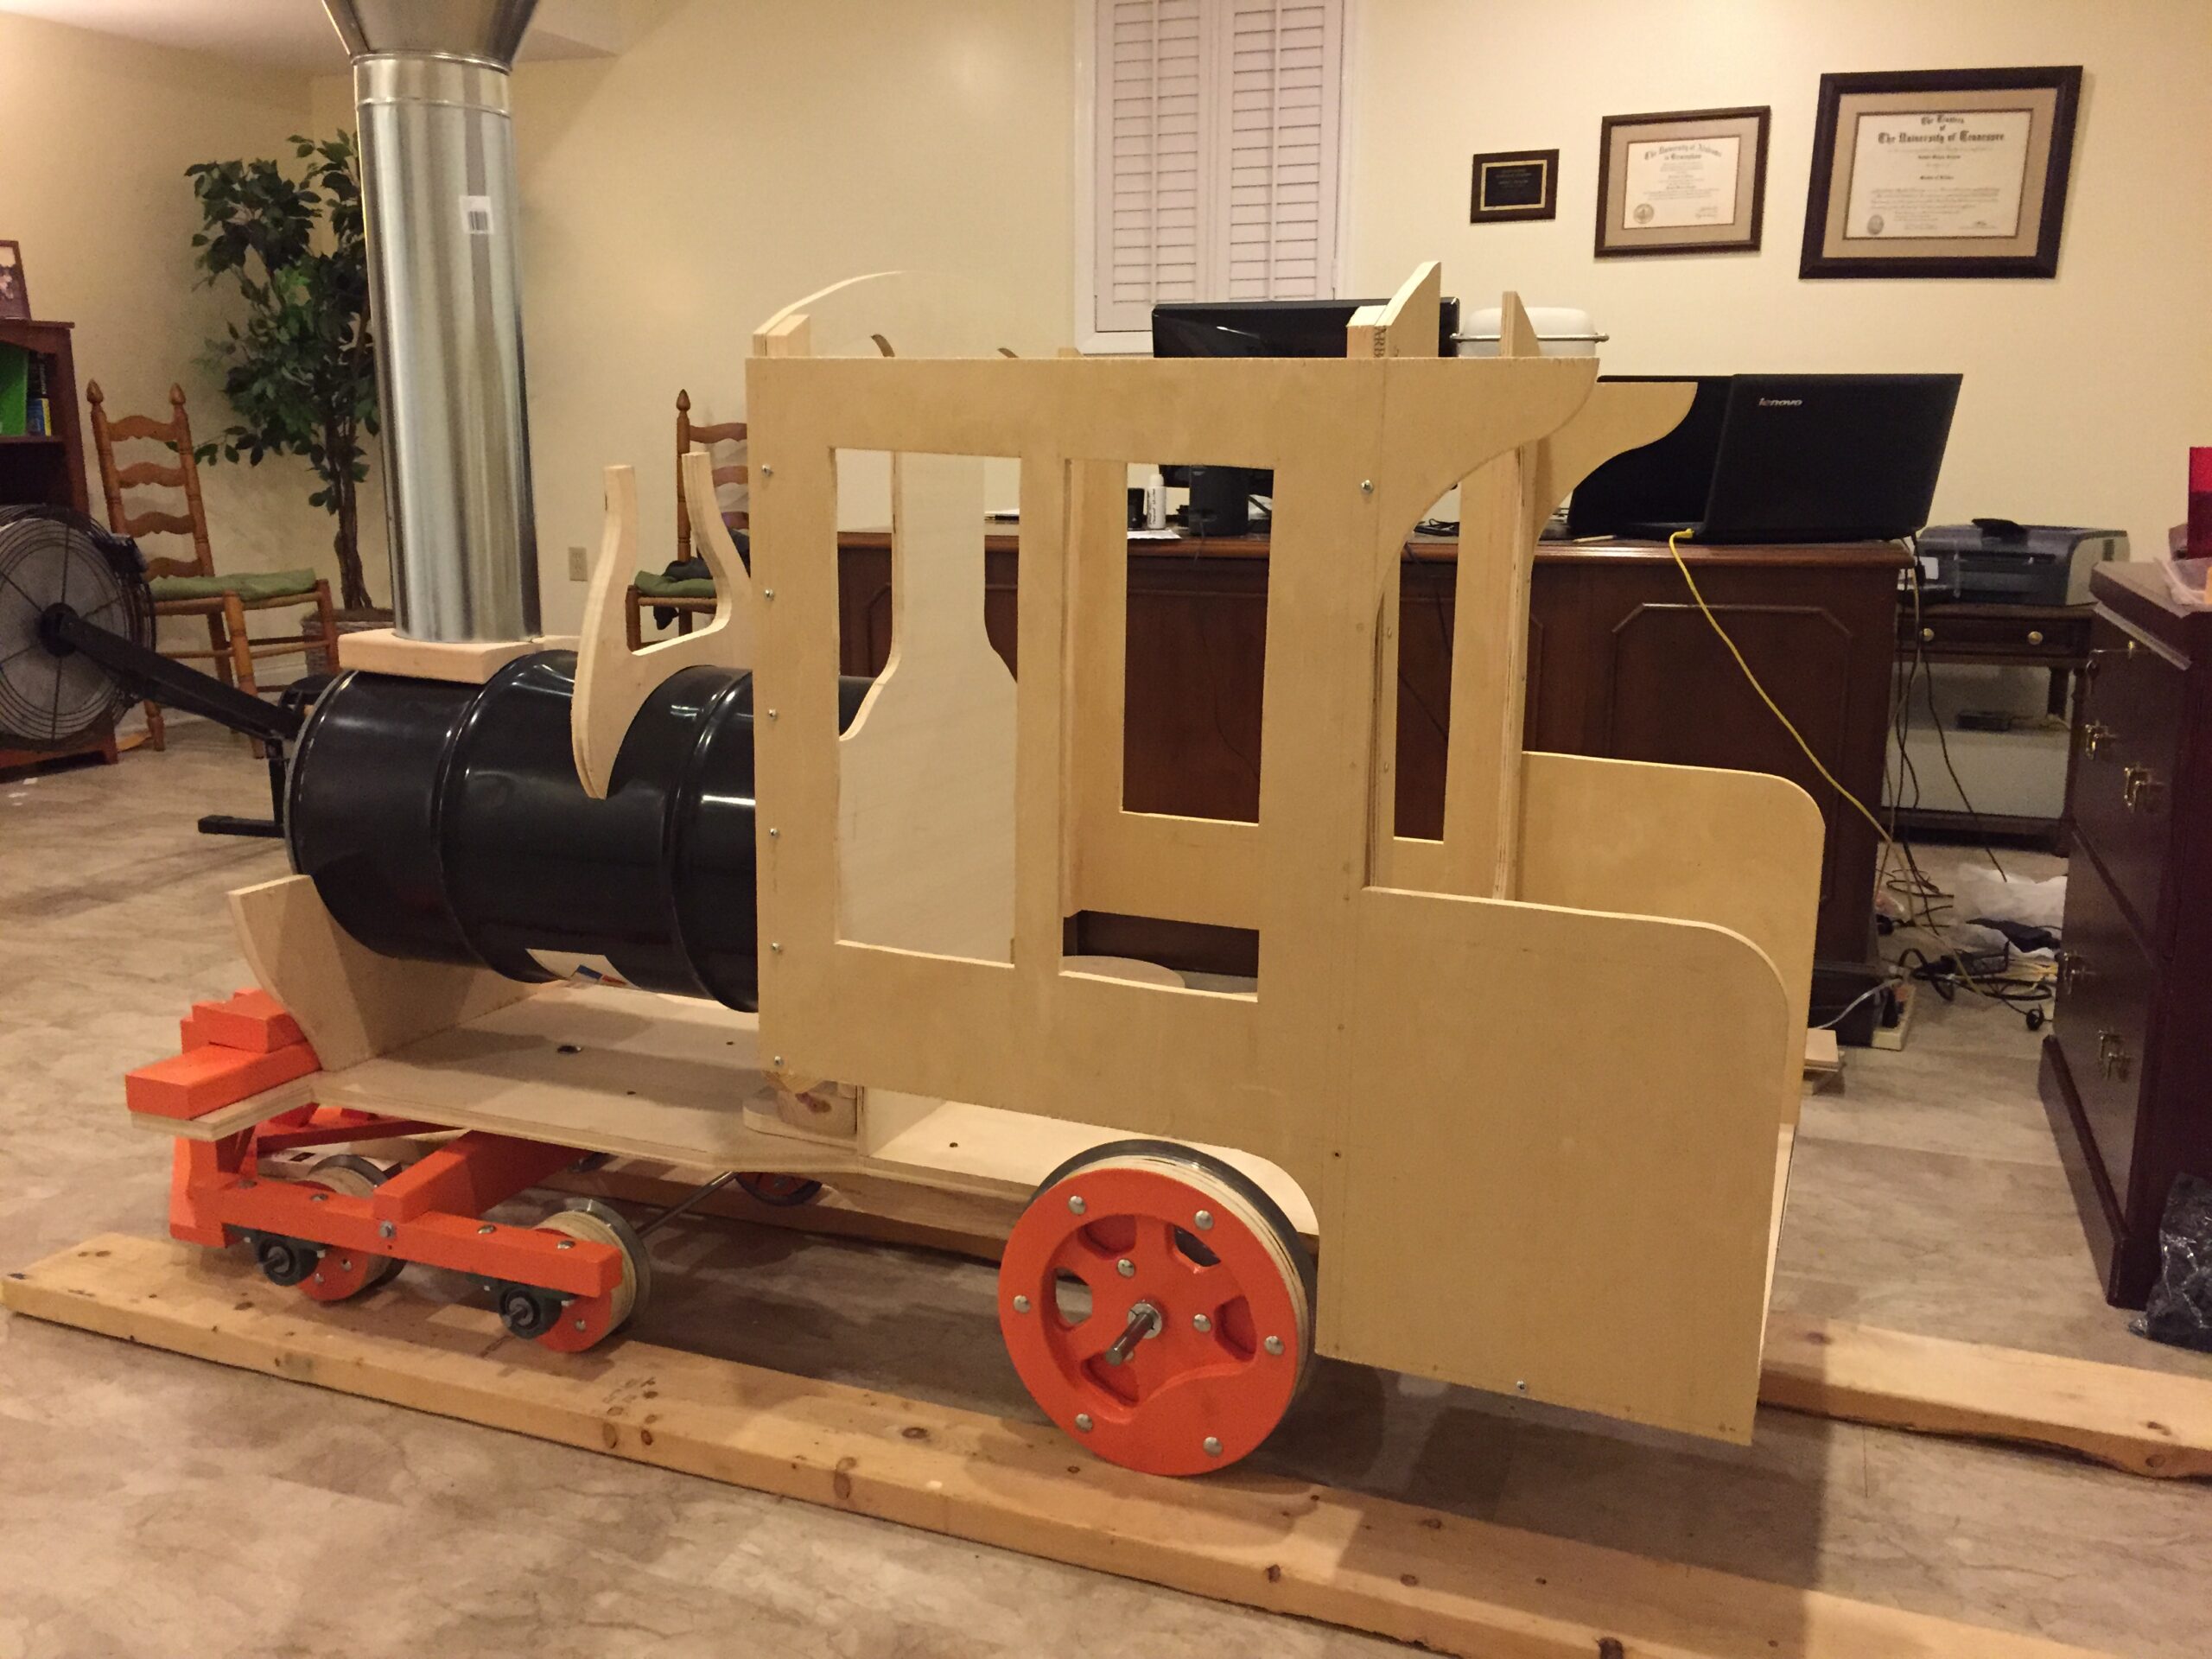
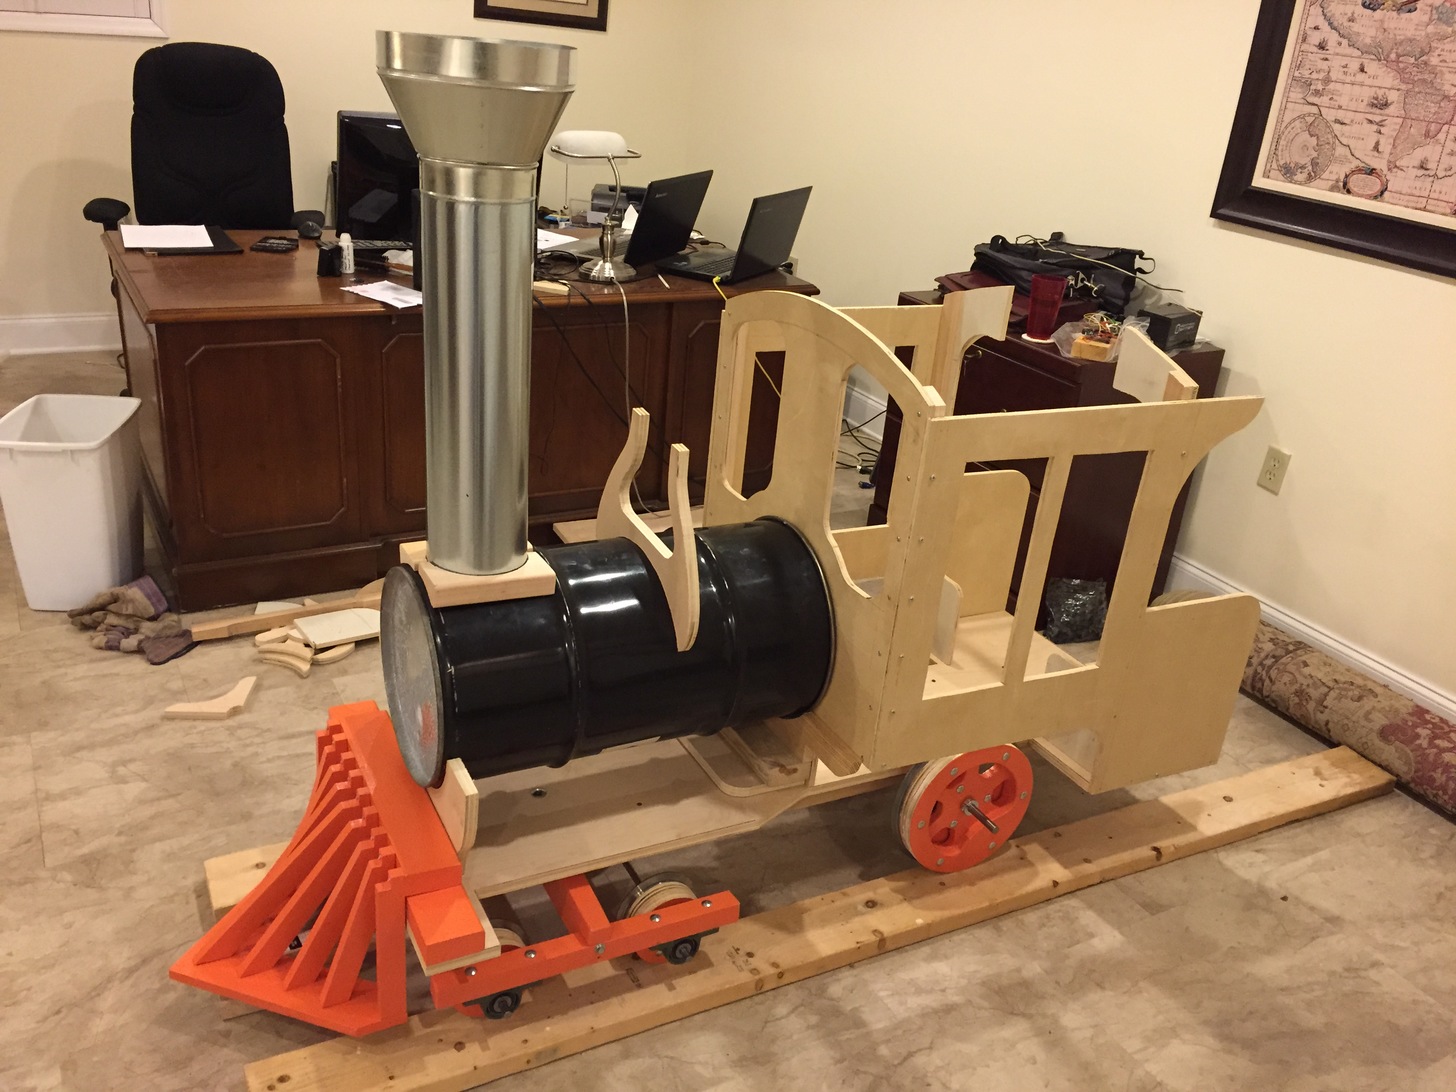
Note that the smokestack has also been added. It was built from a length of 6-inch A/C duct purchased from Lowes. The top is a 10-inch to 6-inch duct reducer purchased from an HVAC supplier online.
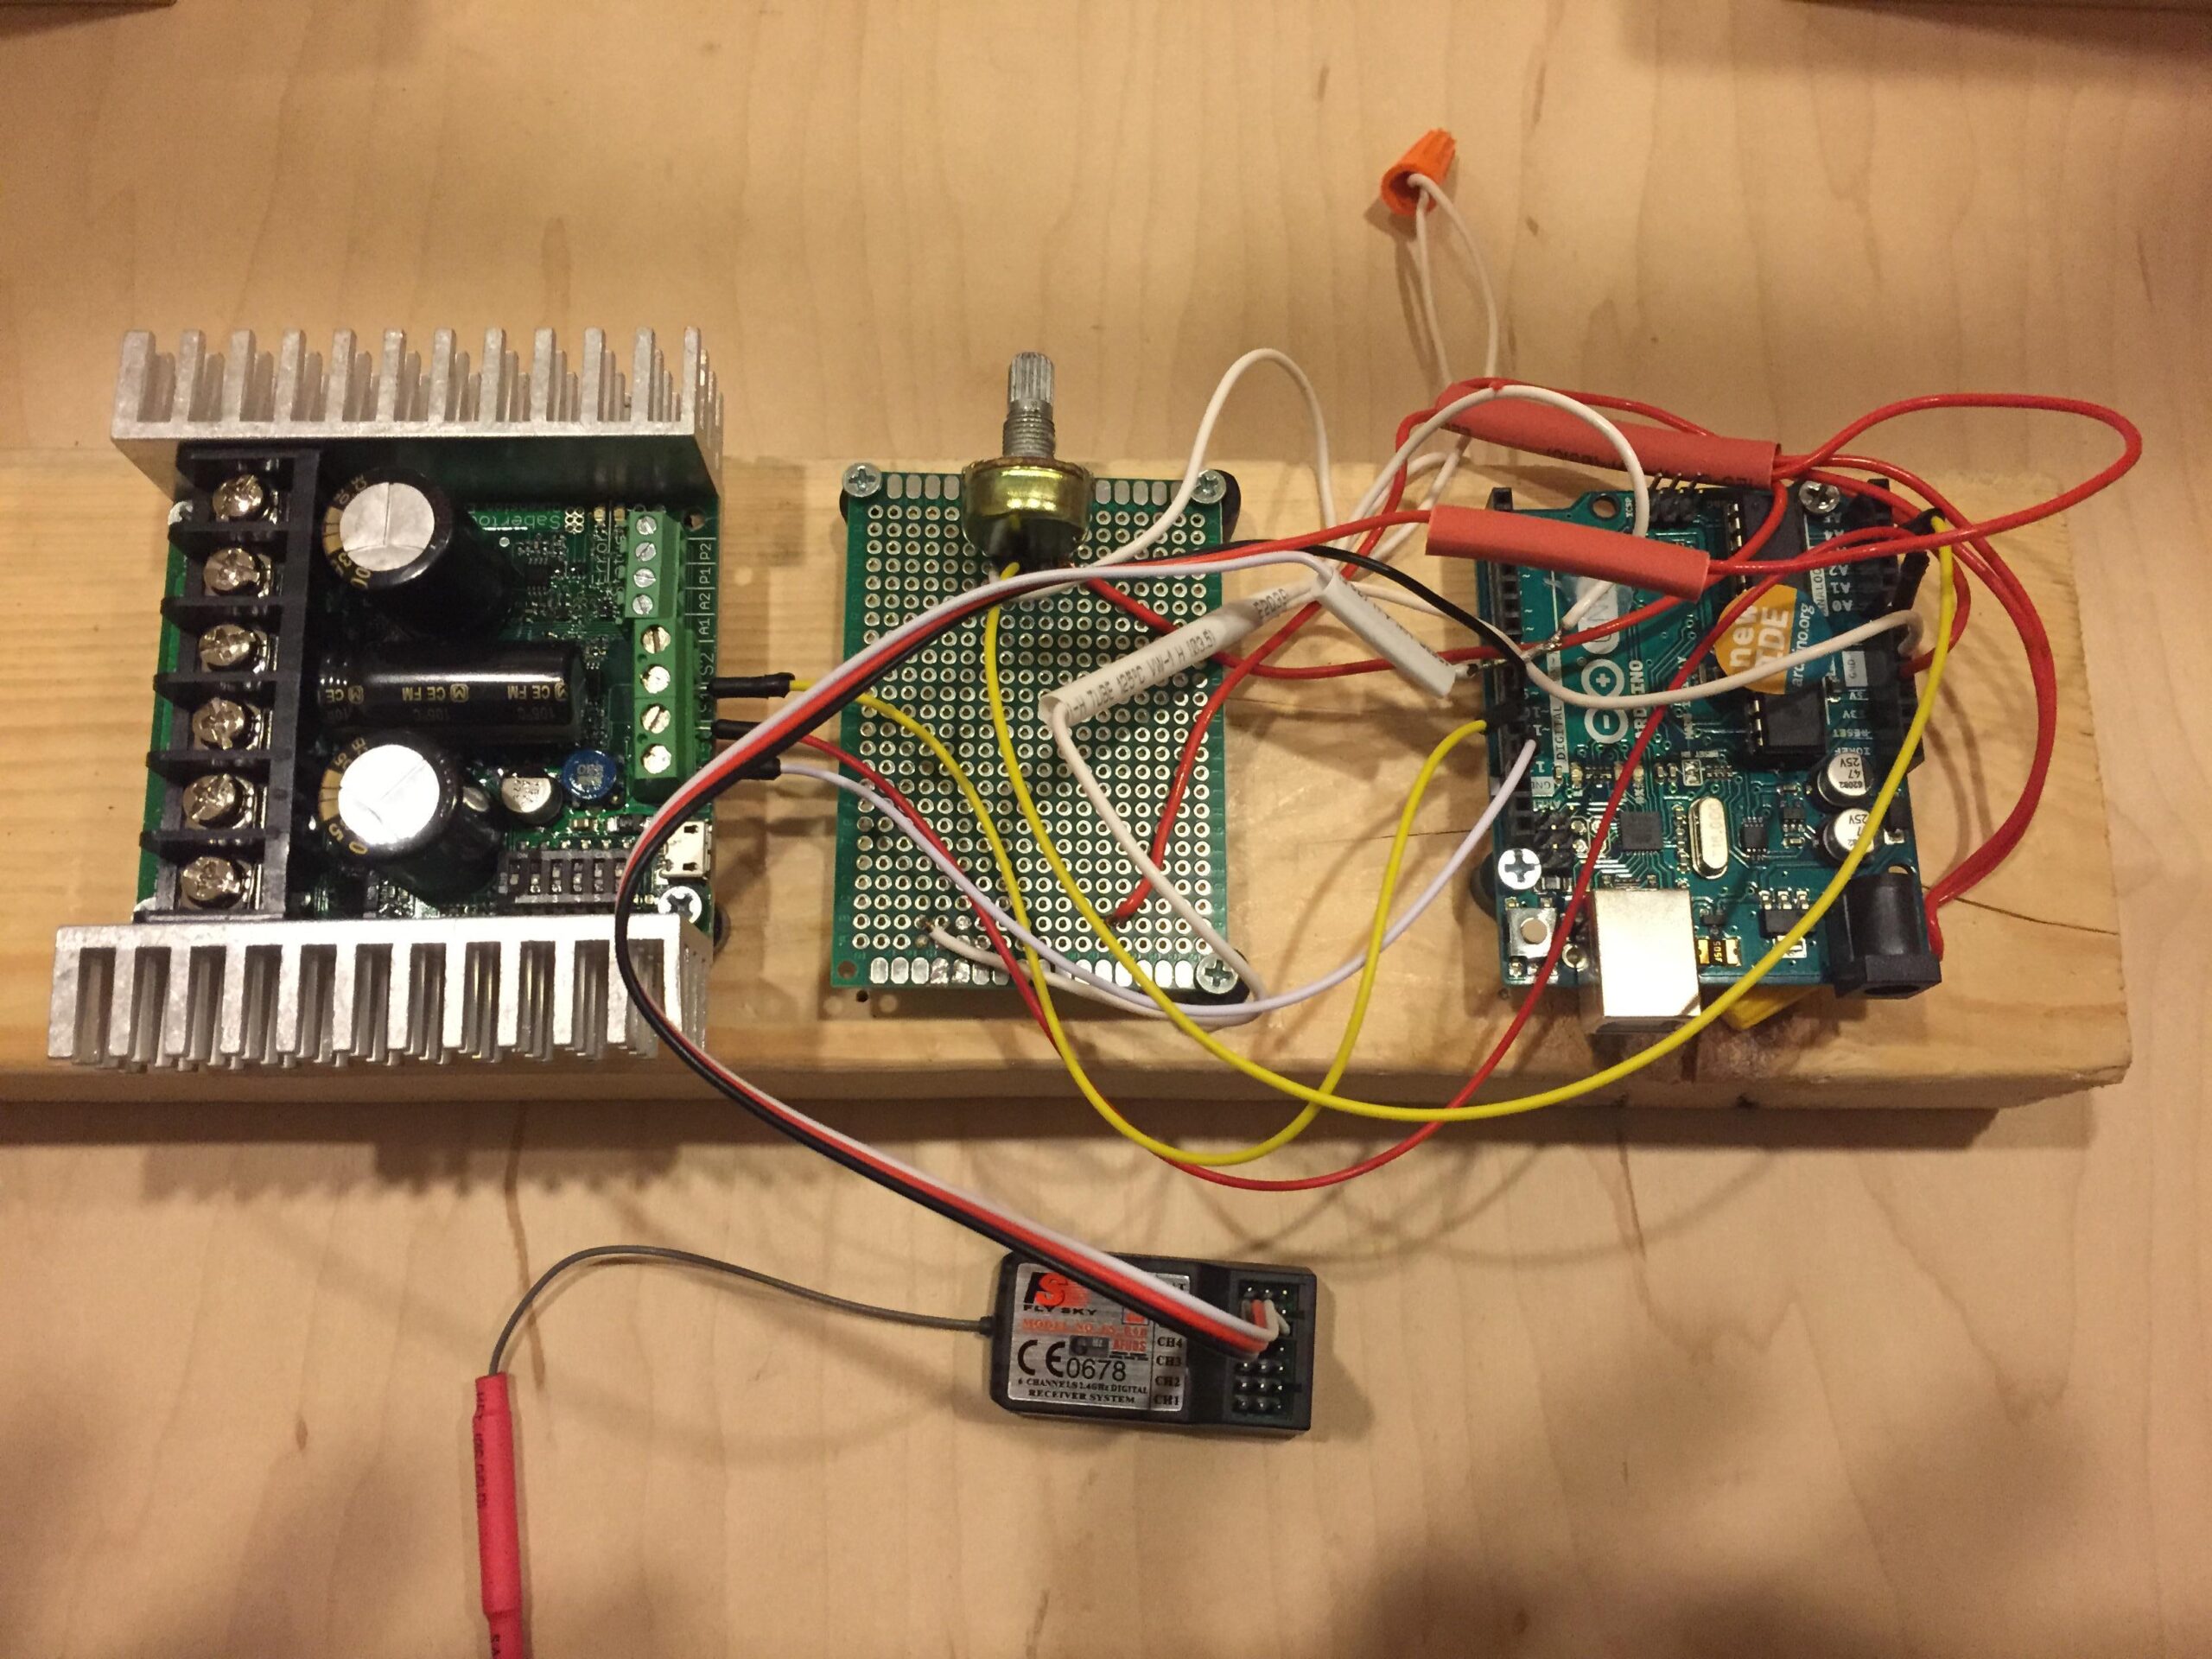
Next step was the motor control unit. The plan was to have a pair of 12v batteries in series to deliver 24 volts to the two 350 watt dc motors. The control unit was required to be able to vary the speed of the motors. Here’s a prototype of the first version of the circuit.
The board to the right is an Arduino computer. It accepts an input (the potentiometer in the center board here) for the motor speed and converts the analog signal to the proper digital signals and sends it to the H-Bridge unit (left side), which sends the proper current to the motors. Note the radio control receiver (bottom) for optional remote control.
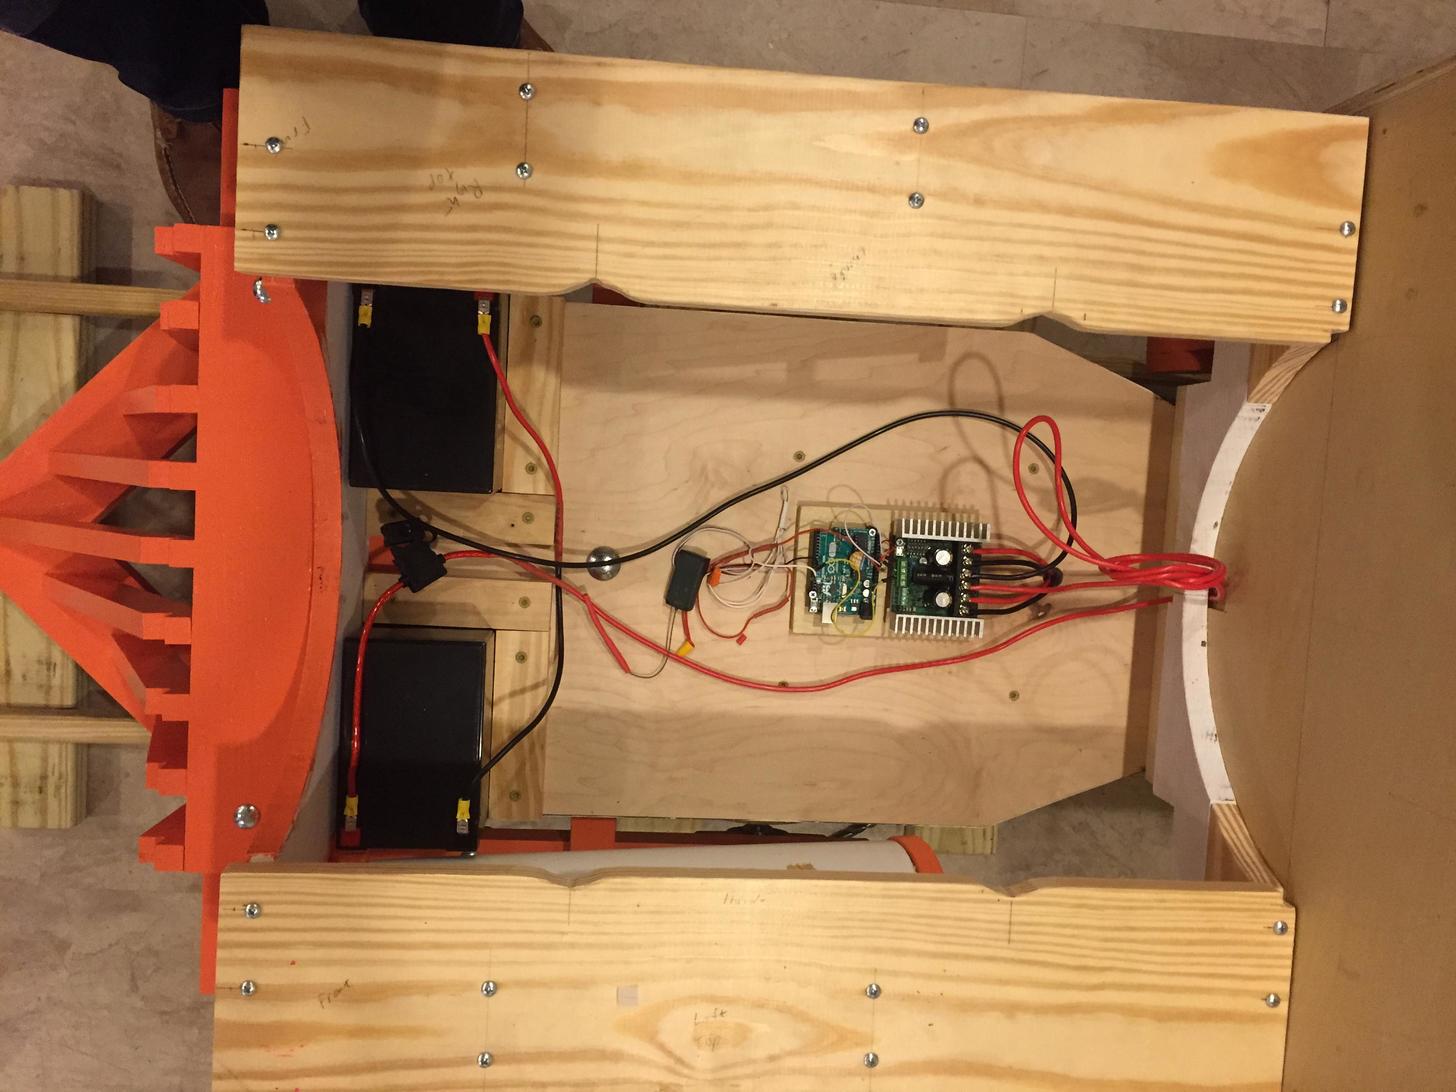
Here is the motor control unit installed in the engine chassis, along with a pair of 12v batteries.
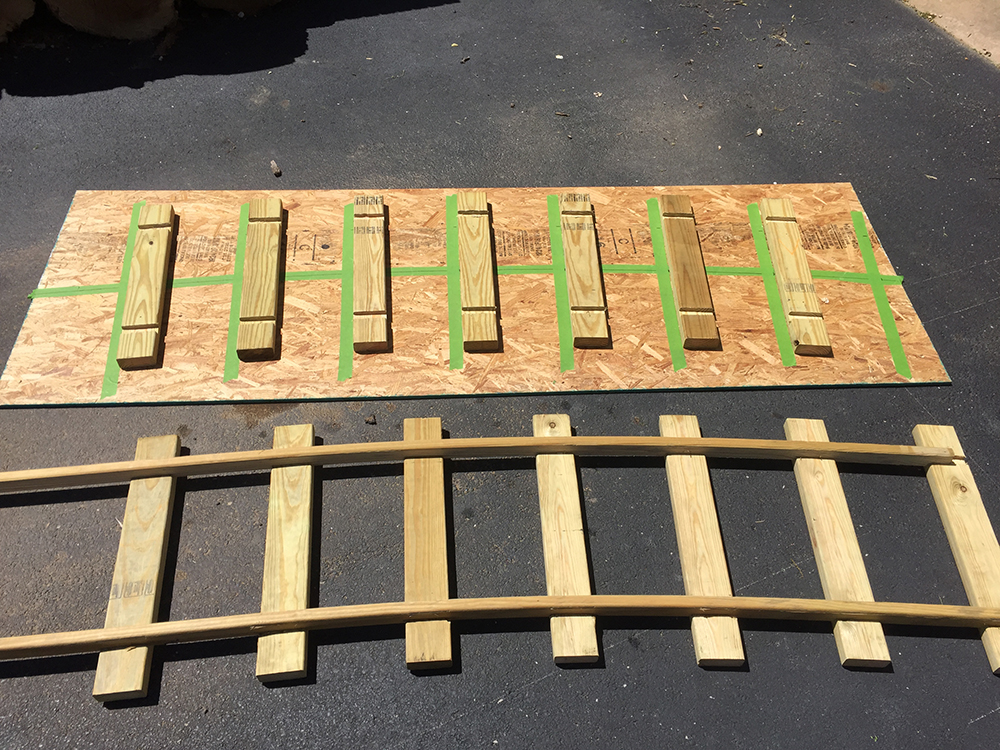
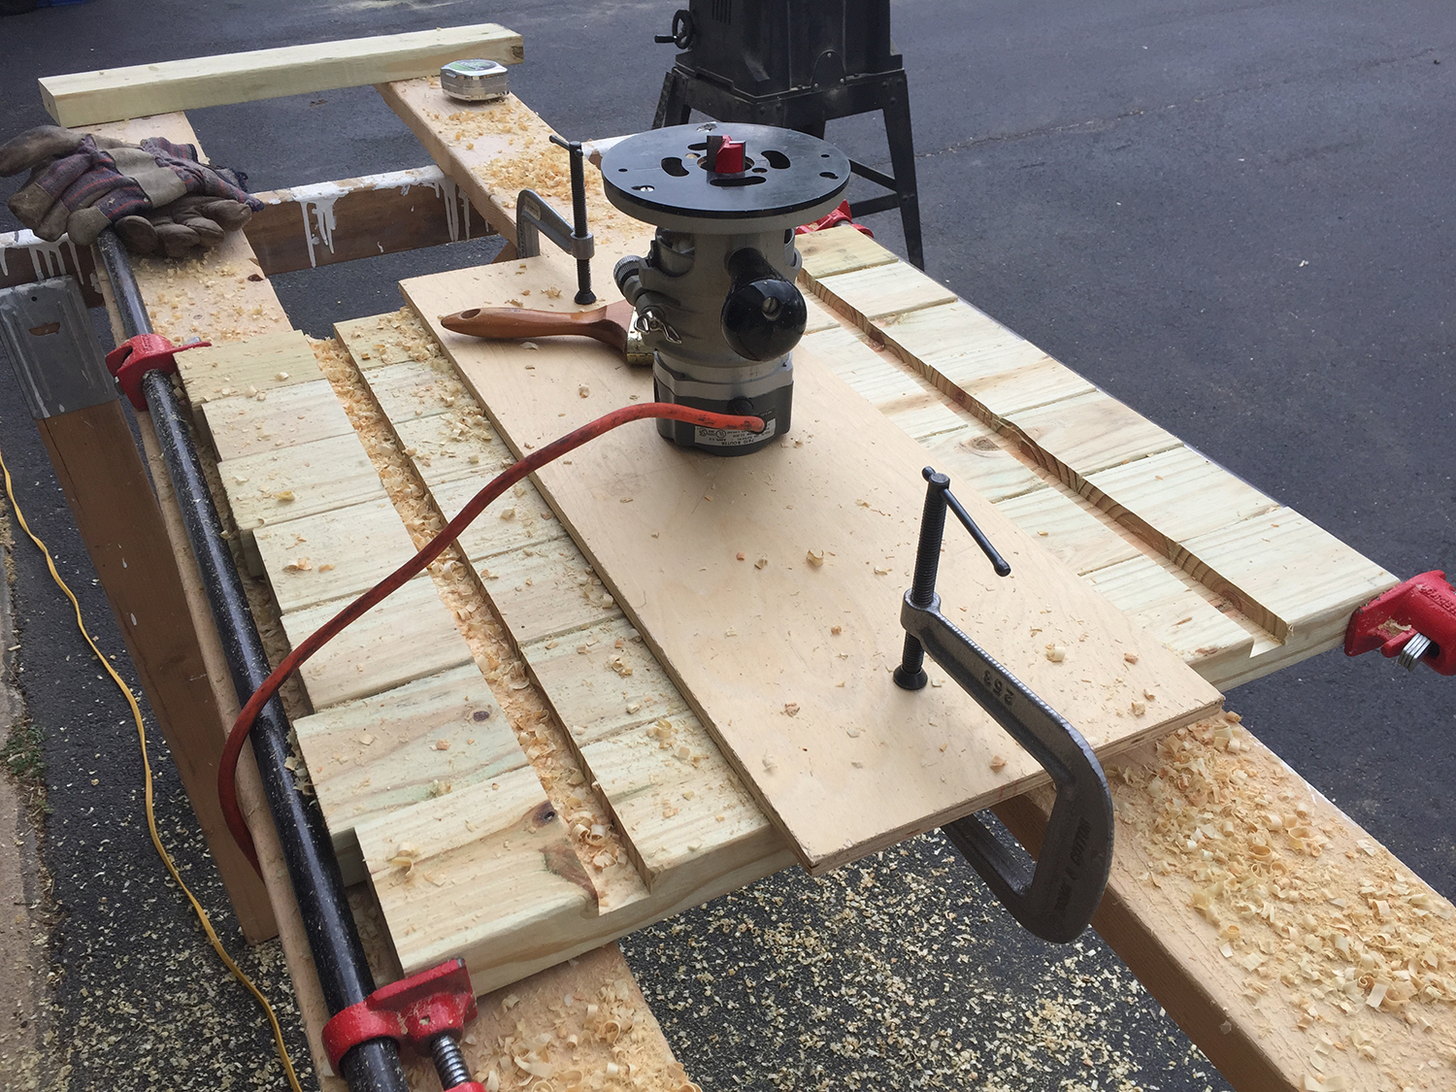
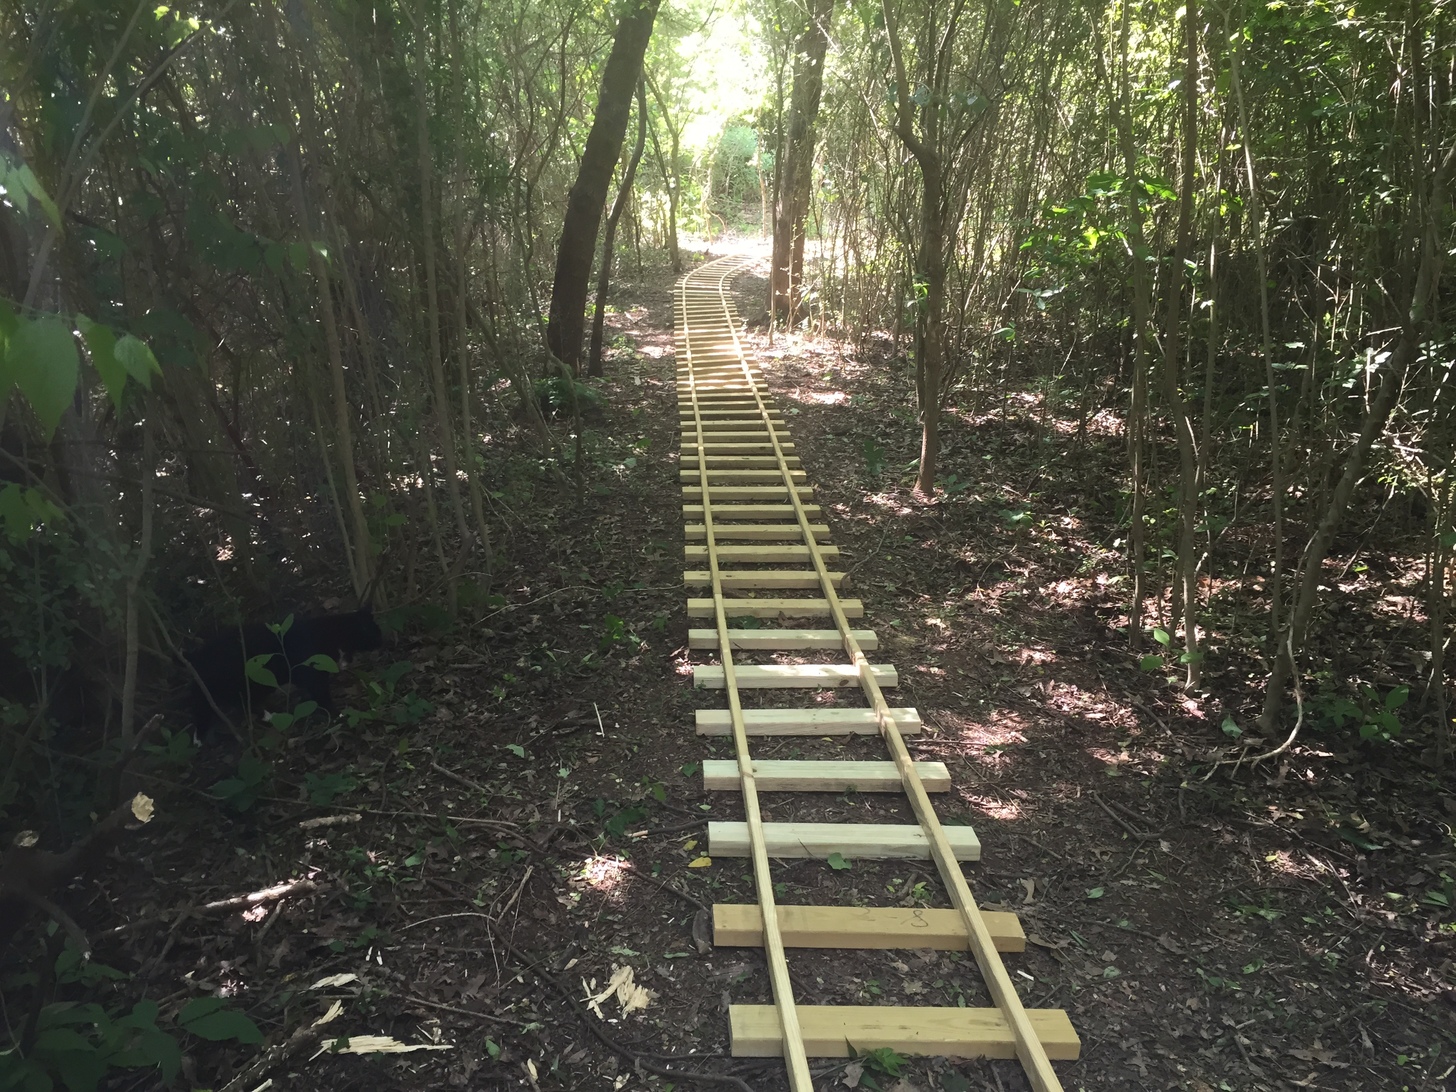
Here is a straight section of track going through the woods where I cleared the trees for a right of way.
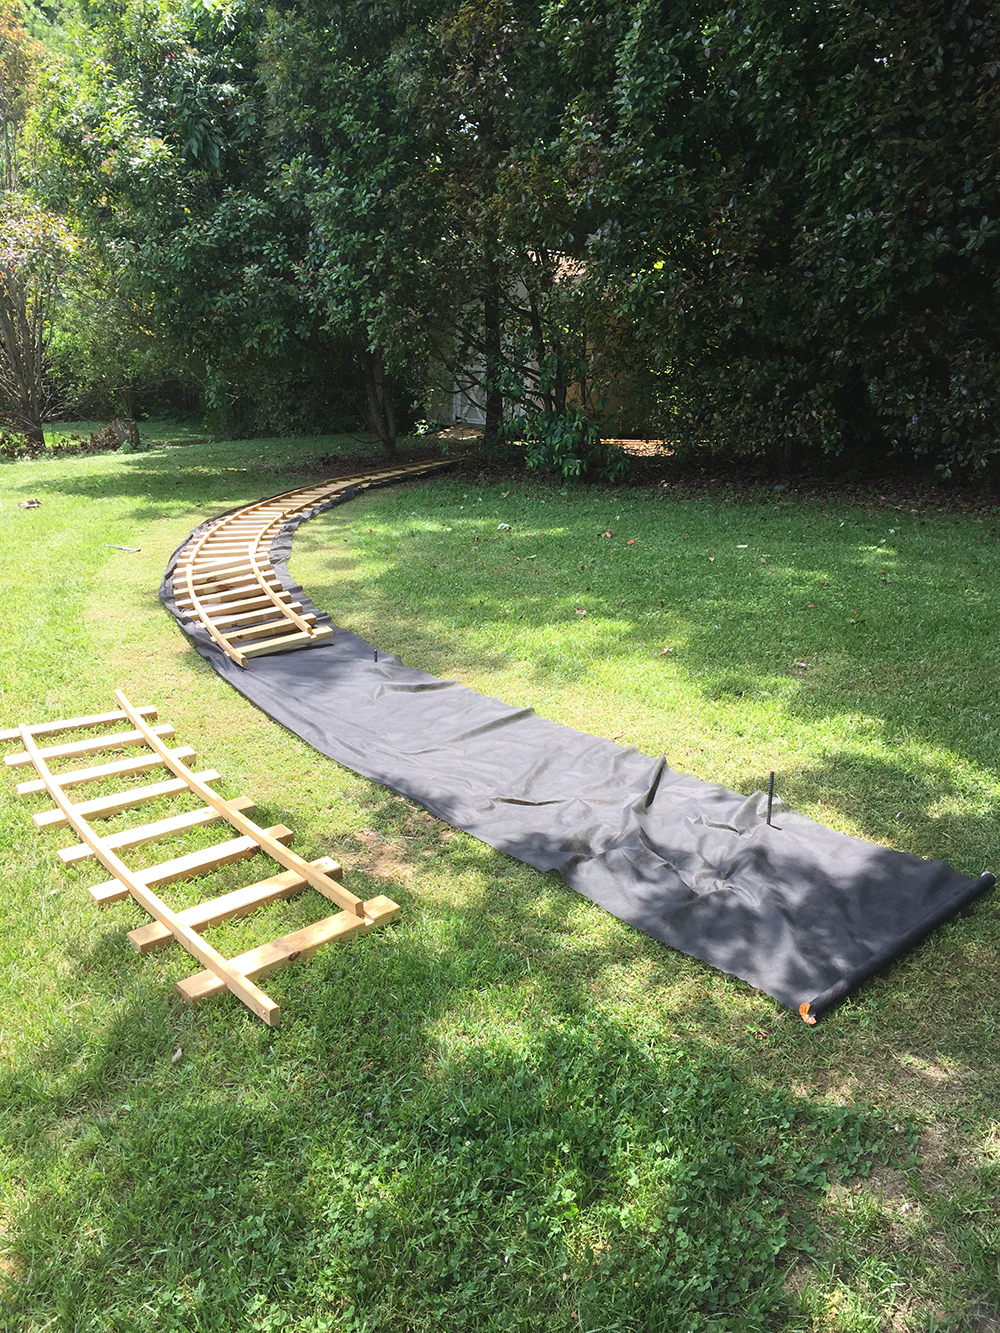
And here is the laying of a curved section of track.
Track sections were pinned to the ground to prevent shifting by driving a two foot length of half inch rebar through holes in the cross ties.
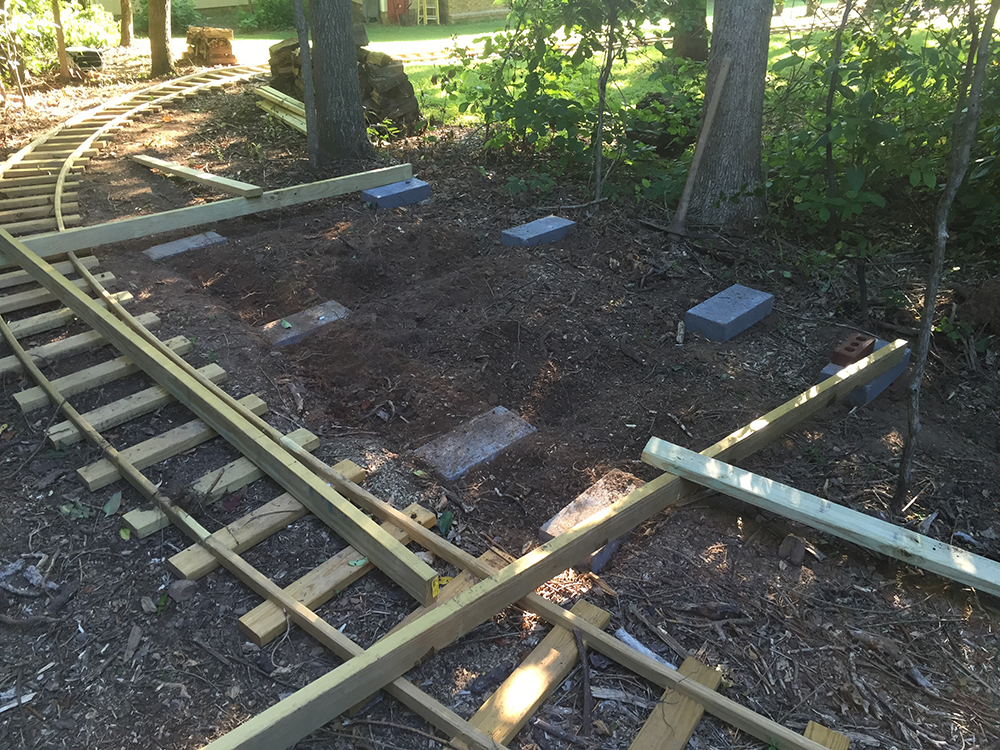
Building the foundation around the track. I’m using 4-inch cap blocks on 5-foot centers. It’s critical to get all of the blocks level with each other to keep the framing square and level.
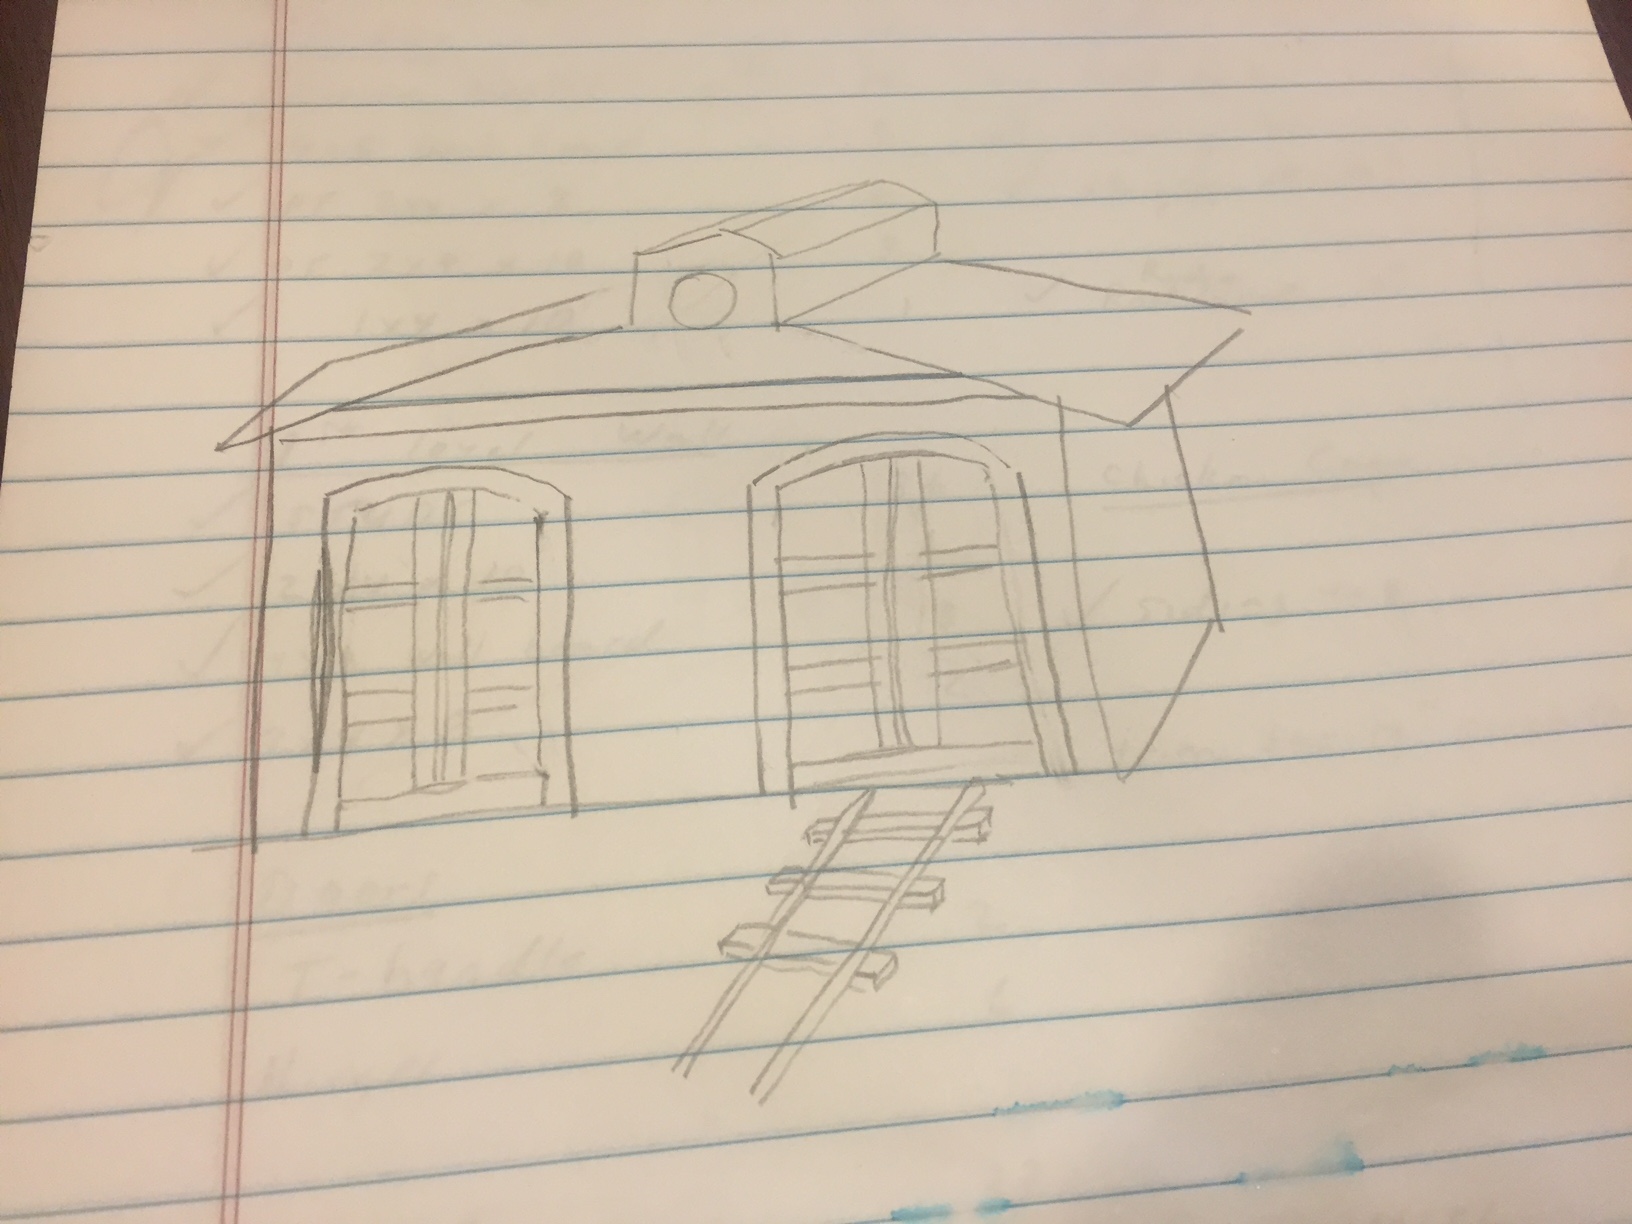
Note that the engine house spans the track, so there will be two doors. This way I don't have to build a track switch.
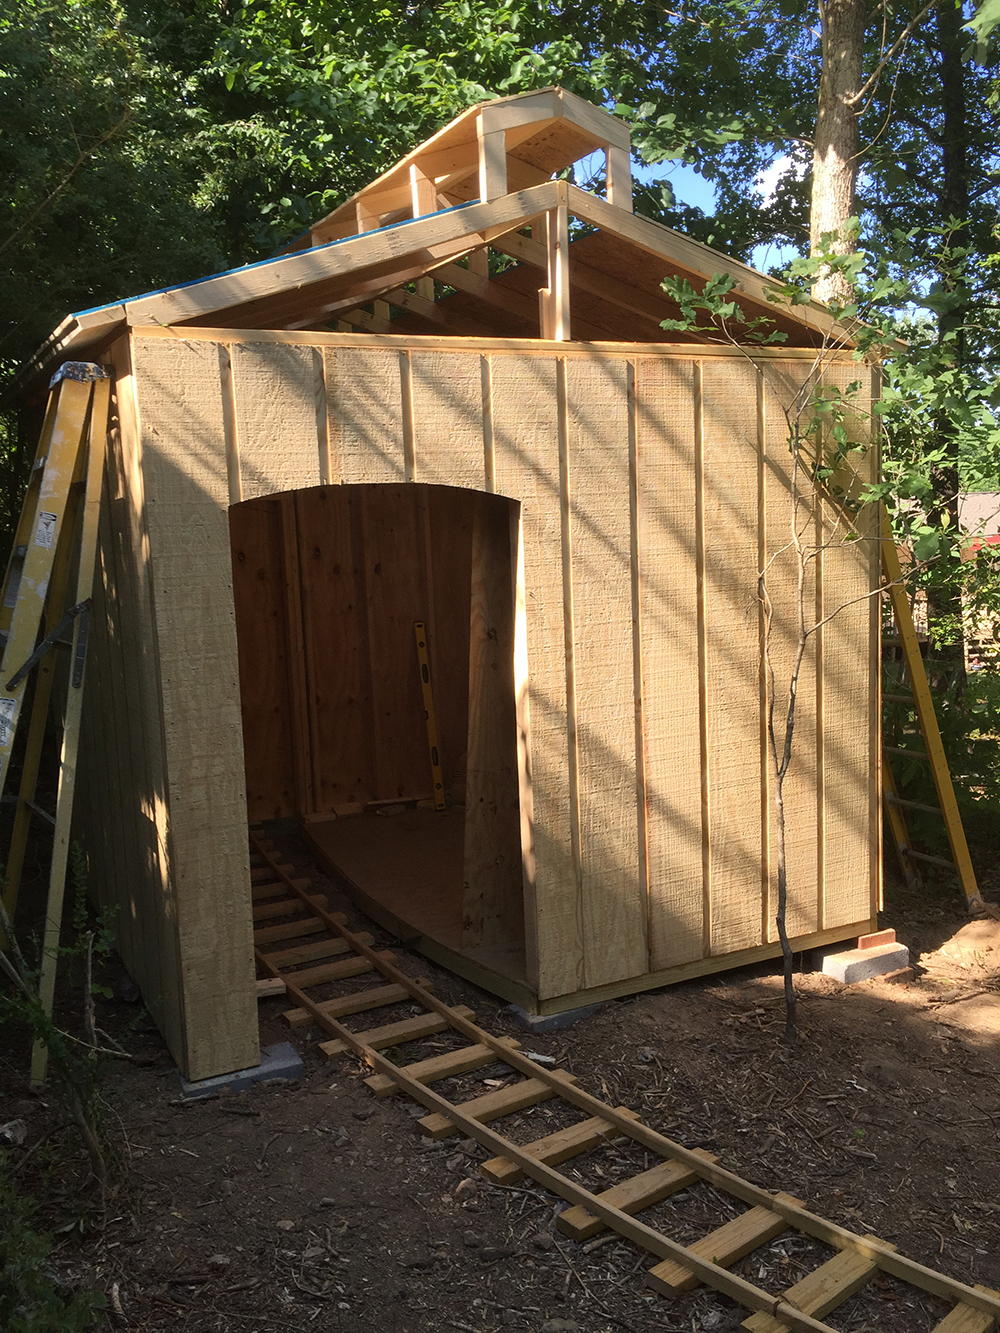
Adding a Clerestory to the roof. A Clerestory is a part of the roof that projects upward so that there can be a place to put a window and permit light to enter.
Lots of the engine houses seemed to include this architectural feature, based on my Google image search of engine houses.
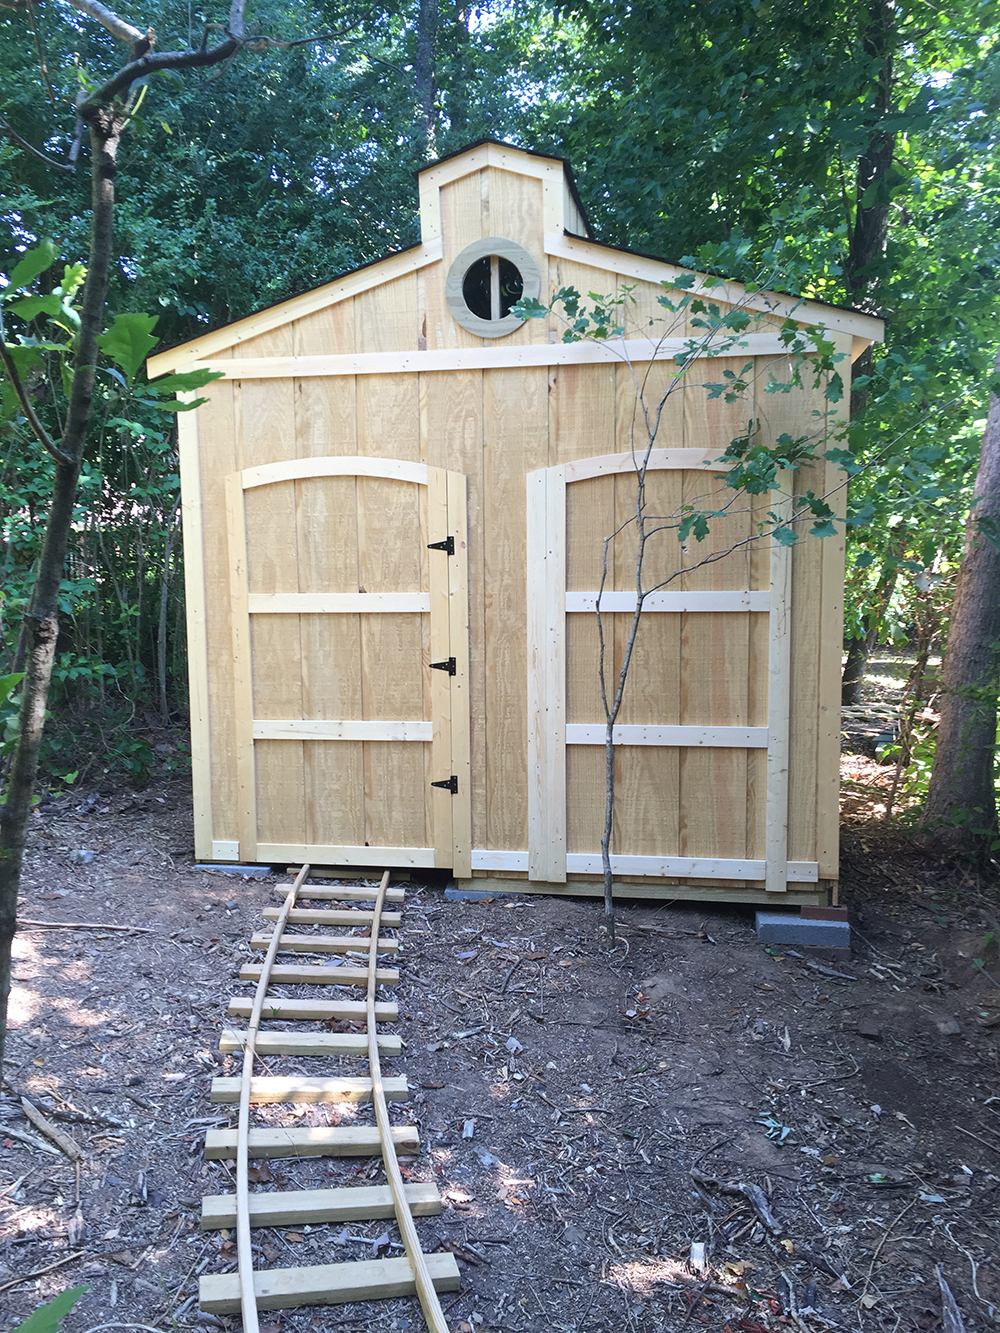
And the (nearly) complete engine house. All that’s left is the caulking and painting.
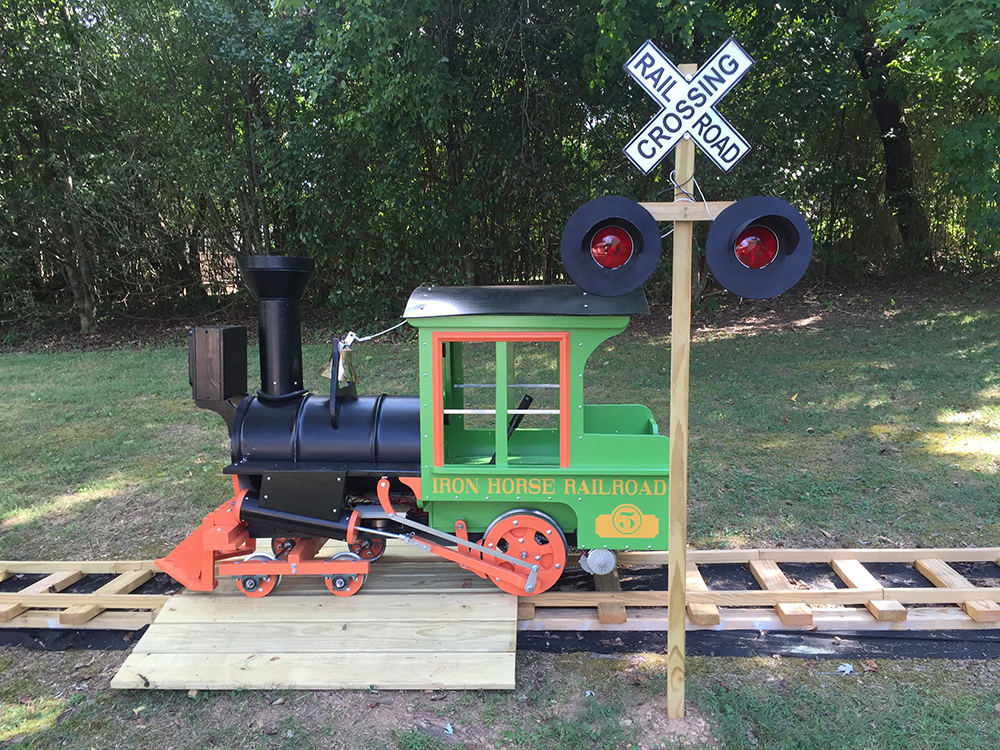
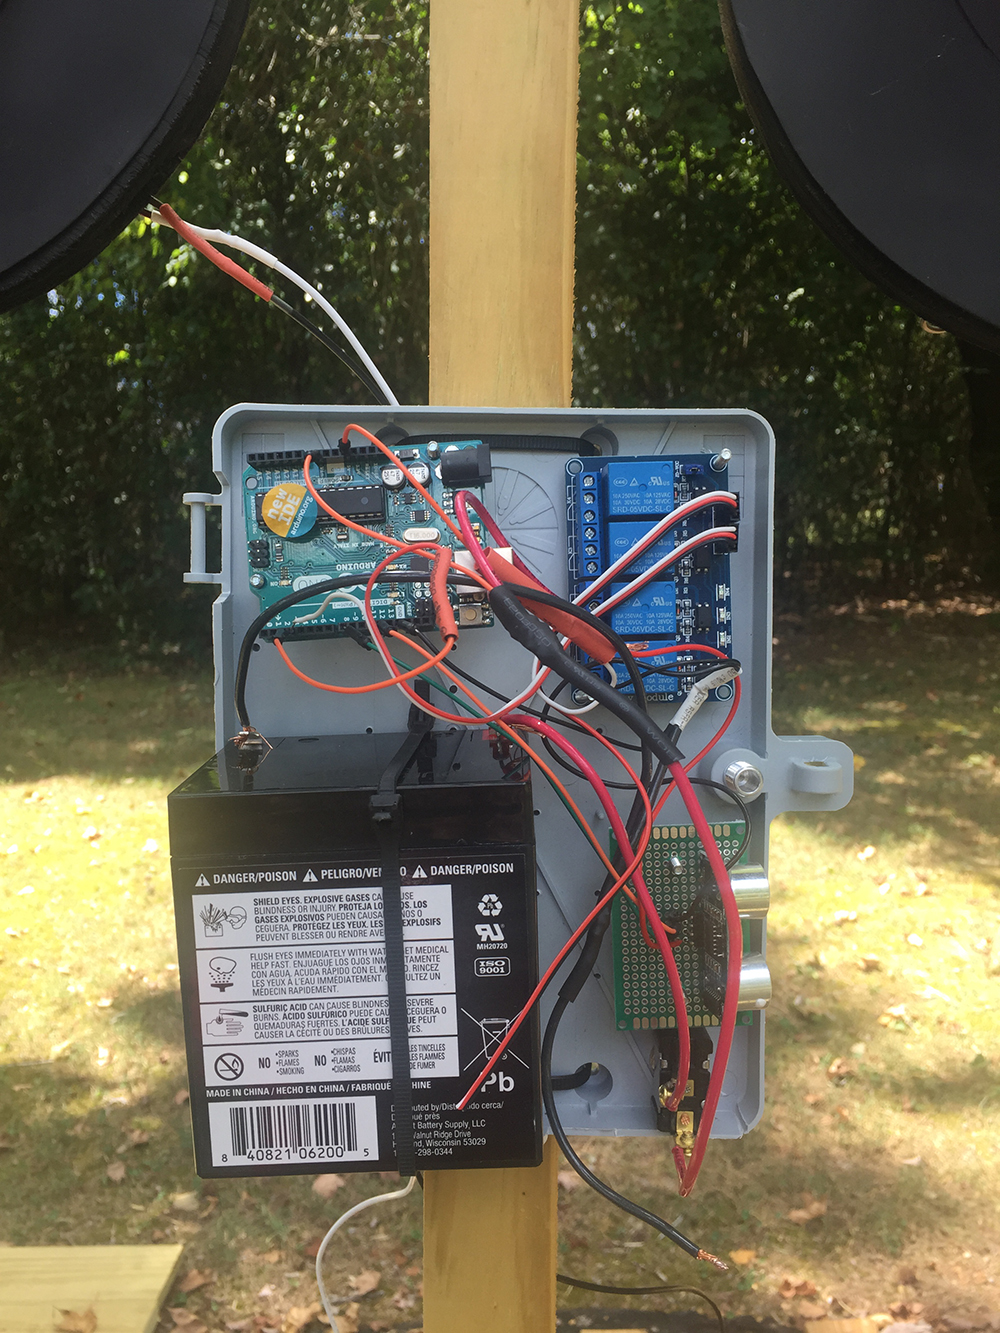
I added a RR crossing so I could get the lawn tractor across the tracks. Of course, the crossing needs a crossing signal. The lights were 4-inch trailer stop lights.
I mounted these inside wood brackets fabricated from scrap plywood. The metal surround and visors were cut from extra roof flashing from the train house project and painted with flat black BBQ grill paint.
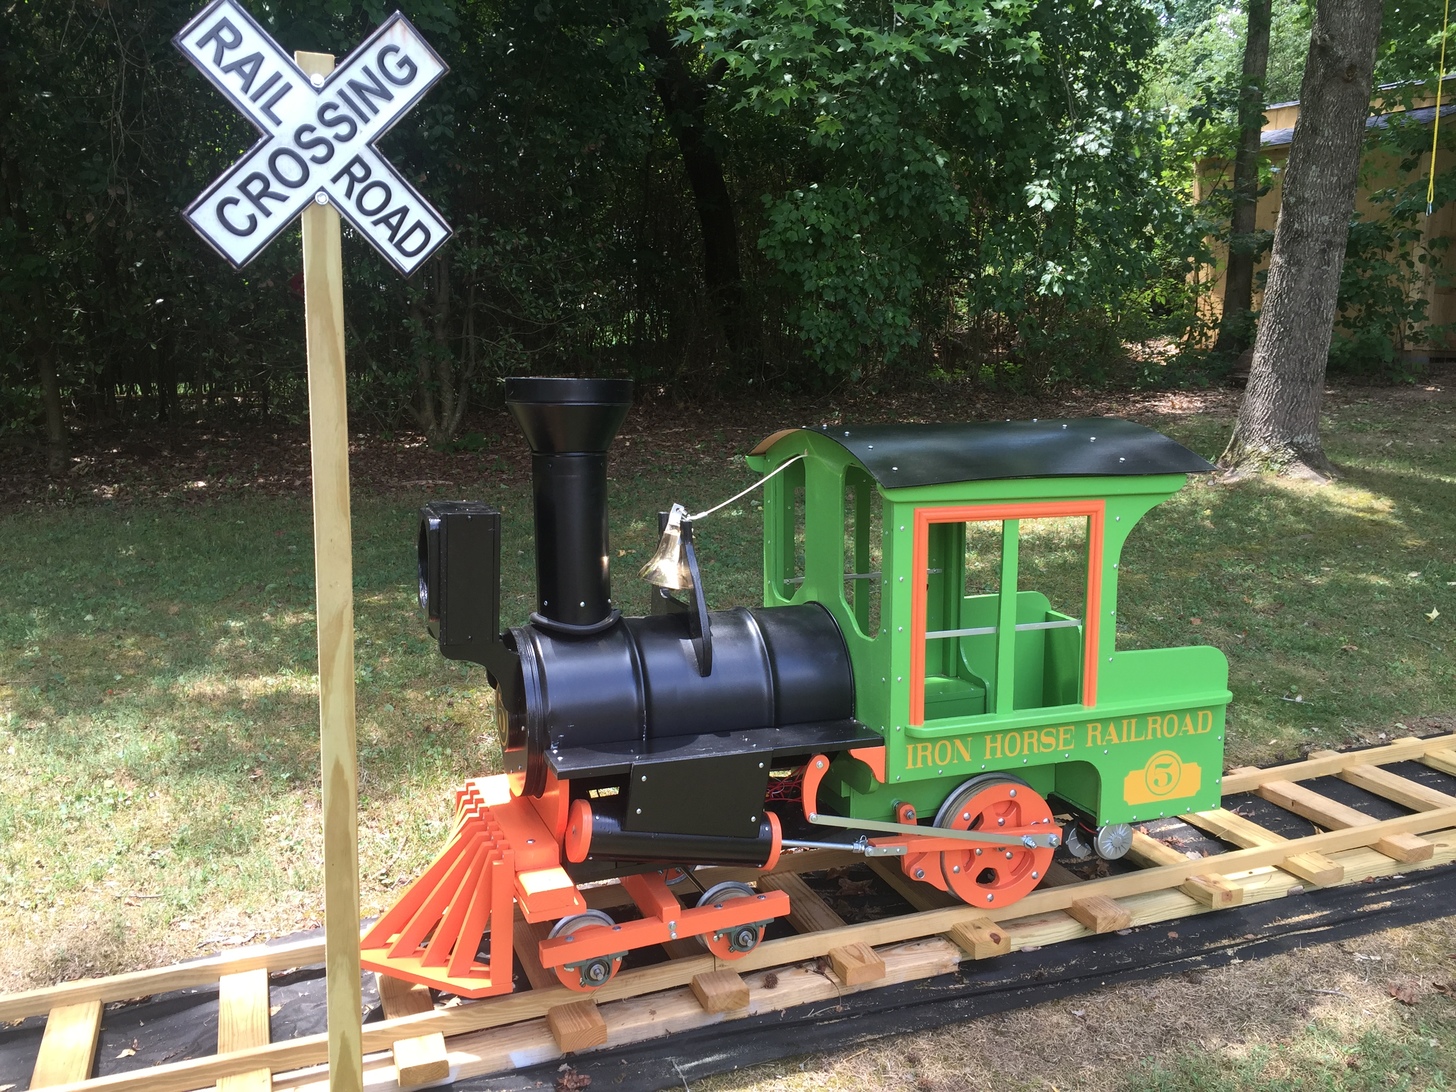
How incredible is the final product? This is such a stunning gift for a grandfather to give to his granddaughter!
To learn more about this project, visit his website!
If you're blown away by this stunning train, please SHARE this article with your friends and family!


