There's nothing we love more than providing our pets with a safe living environment.
Especially if it ends up being one that allows them to live, in a manner, of their own accord. Happy pet, happy people, right?
We are constantly concerned about our pets' health and wellbeing. That's why one adoring dog owner even went to extreme lengths to construct the Taj Mahal of doghouses, to gift his pooches with the highest comforts.
Sometimes, however, the best way to ensure your pet's safety is to make sure that it's maintaining a healthy lifestyle. As with humans, this means making sure that they get enough of that one most vital nutrient: water.
That's exactly what Instructables user JimTiffinJr's daughter did. This 11-year-old girl made a "Watering Bowl" with her own hands, in order for her pooch to stay hydrated at all times. The results were stunning — this young crafter has truly impressed me with her skills and creativity.
Please SHARE if you'll be giving this DIY project a go!
The young crafter had an idea to make a watering bowl that would dispense the maximum amount of water, without requiring constant refills. Here are the materials she used:
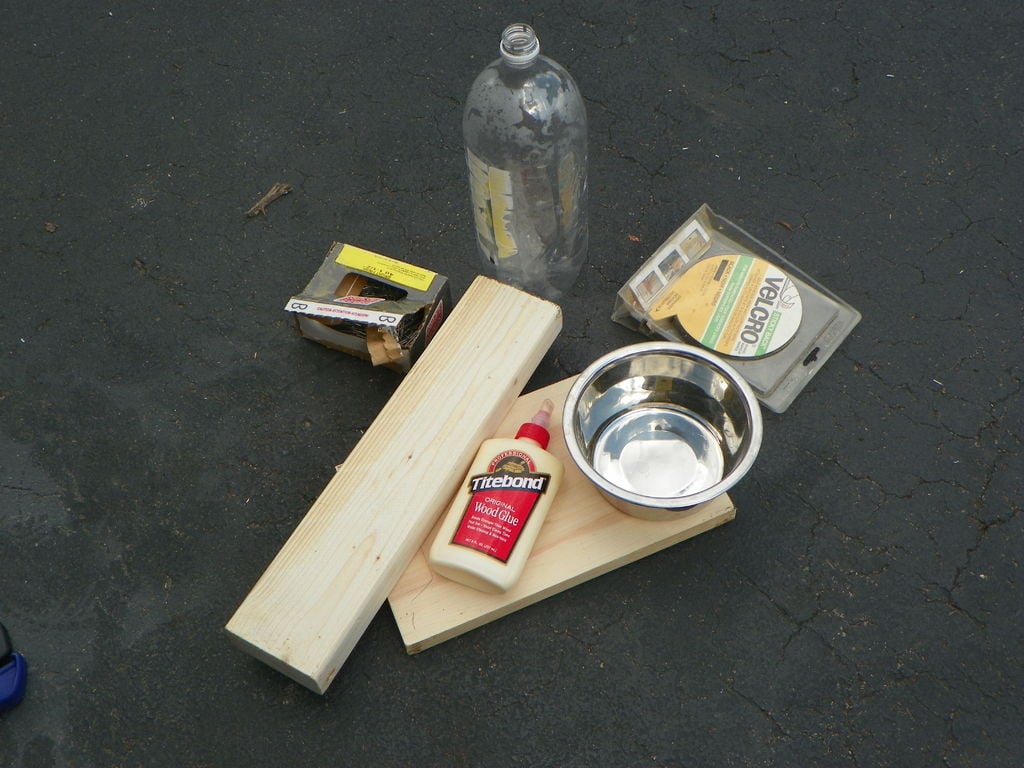
- One piece of wood measuring 4′ x 16′ x 2′
- One piece of wood measuring 6′ x 12′ x 1′
- 2-liter bottle (keep the cap!)
- Dog dish/bowl
- Velcro tape (2 pieces each of hook and loop sides)
- 3 nails
- Hammer
- Wood glue
- Wood clamp
- Spray paint or stain (optional)
The best part is that this project didn’t require any drilling, nailing, or gluing of the dog bowl — and using the dog’s regular bowl was just fine.
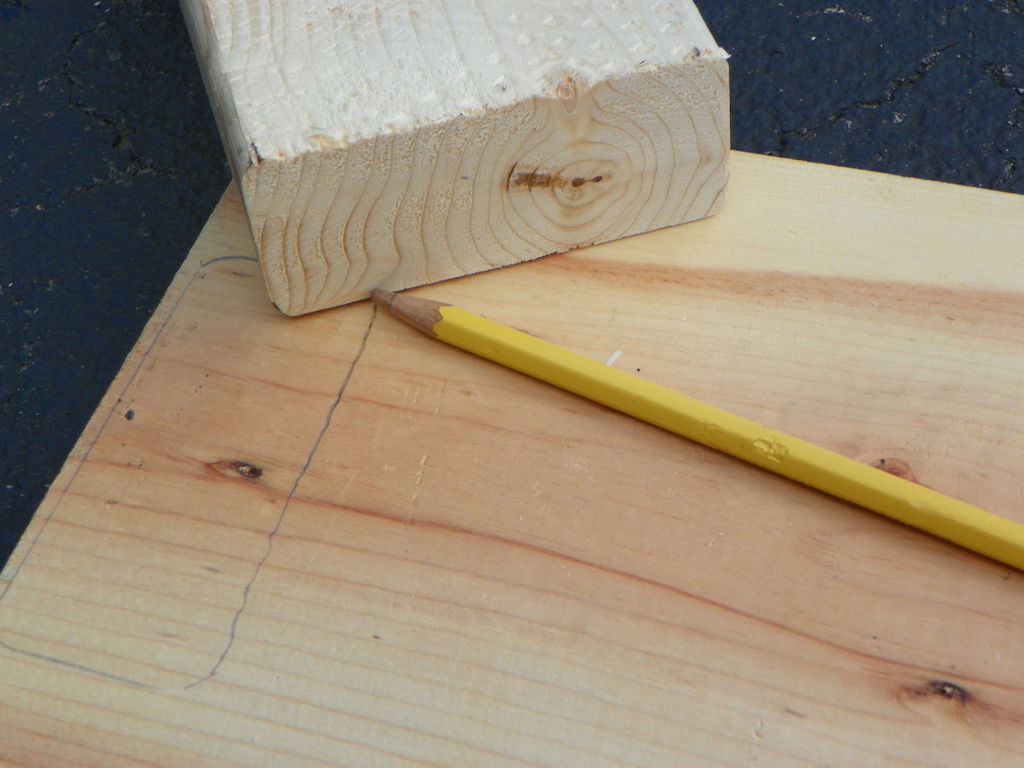
The taller plank is going to end up standing vertically on top of the other plank, to help station the bottle. First, position the 2' x 4' plank upright, and place it at the end of the 1' x 6' plank. Once you've found a spot you're happy with, trace the base of the 2' x 4' plank.
Paste on some wood glue to the base in order to attach the two planks.
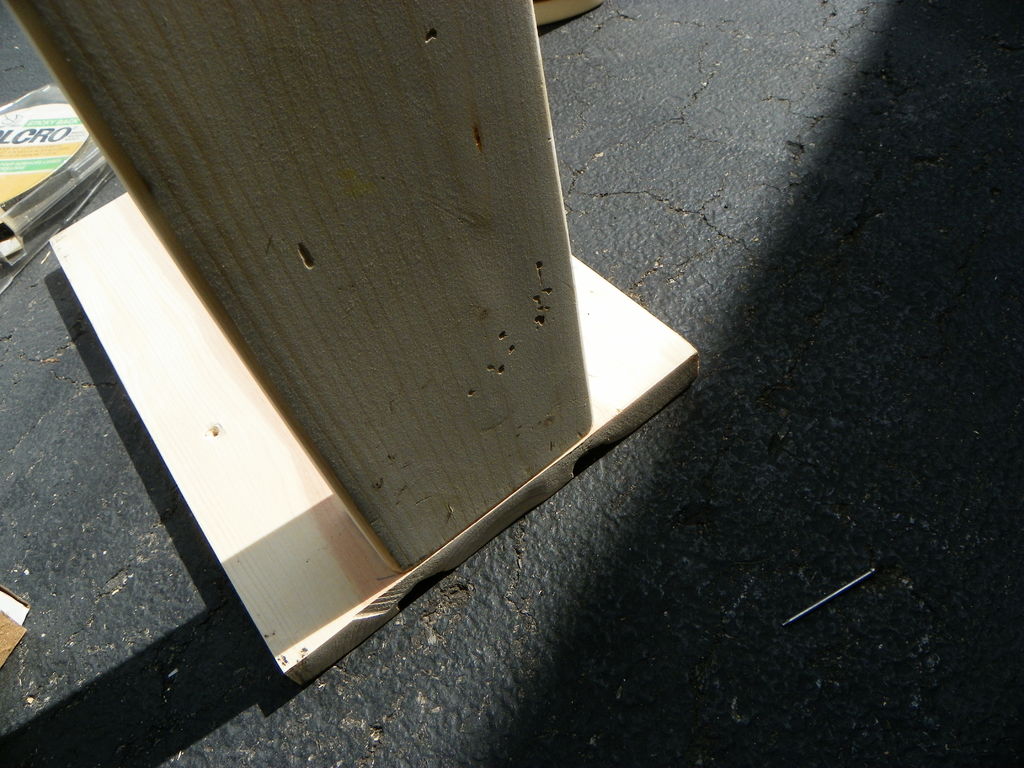
Use the clamp to help stabilize the gluing.
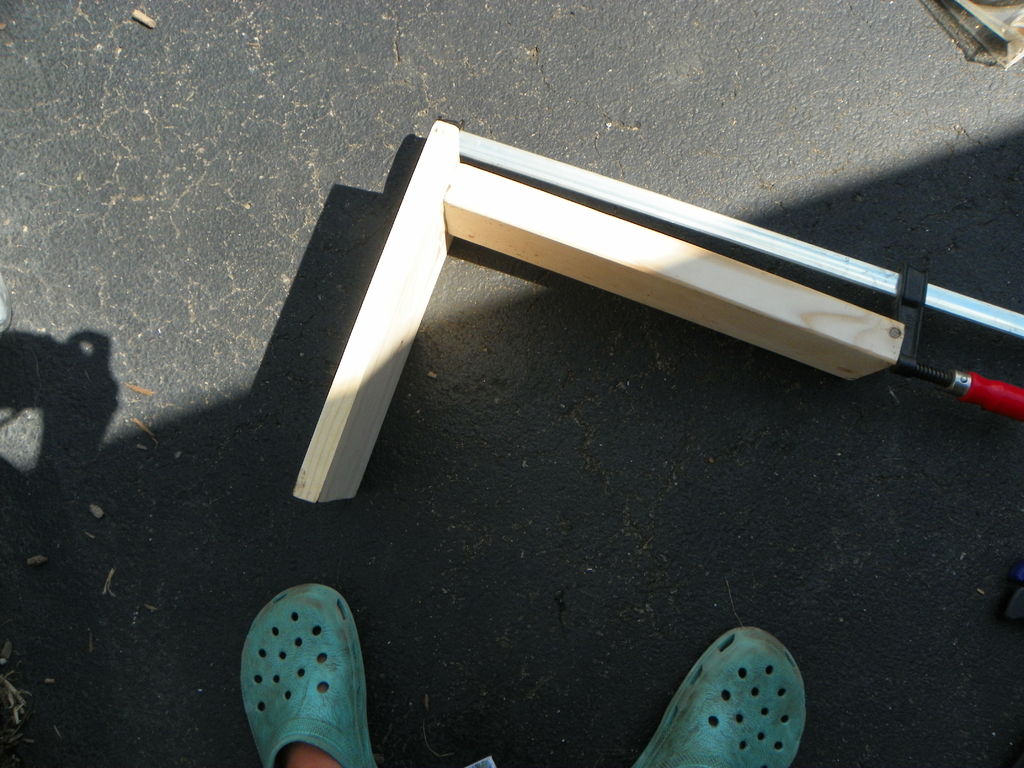
Next, nail the two pieces of wood together.
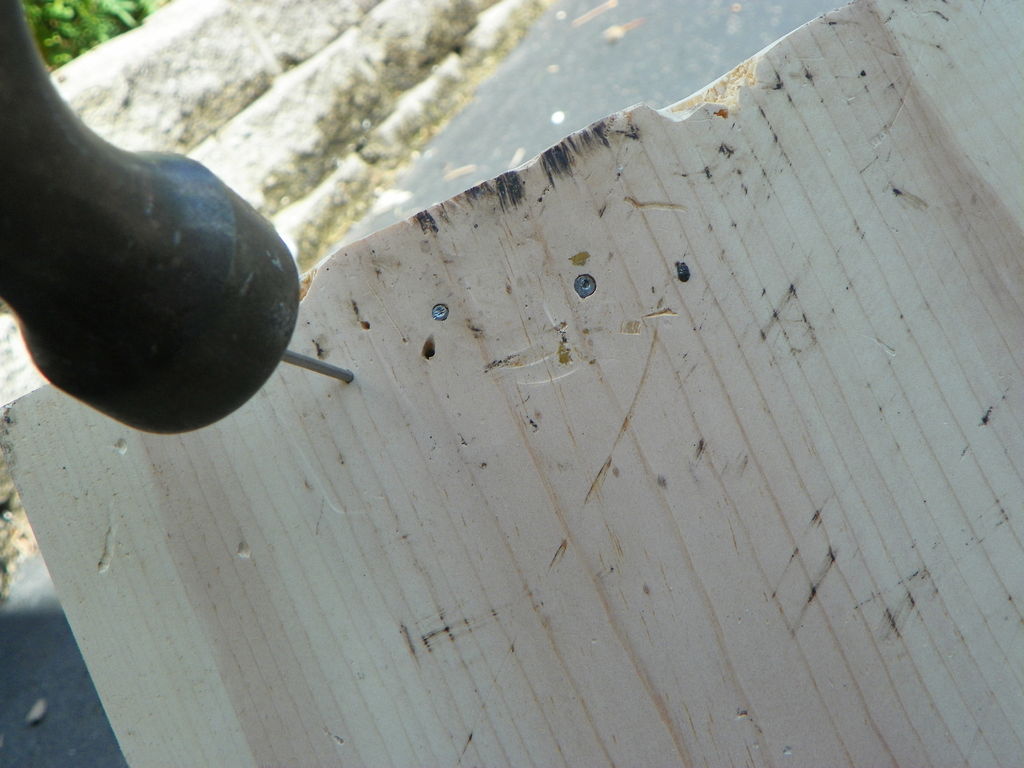
Pencil in the positions where you'd like to place the Velcro tapes.
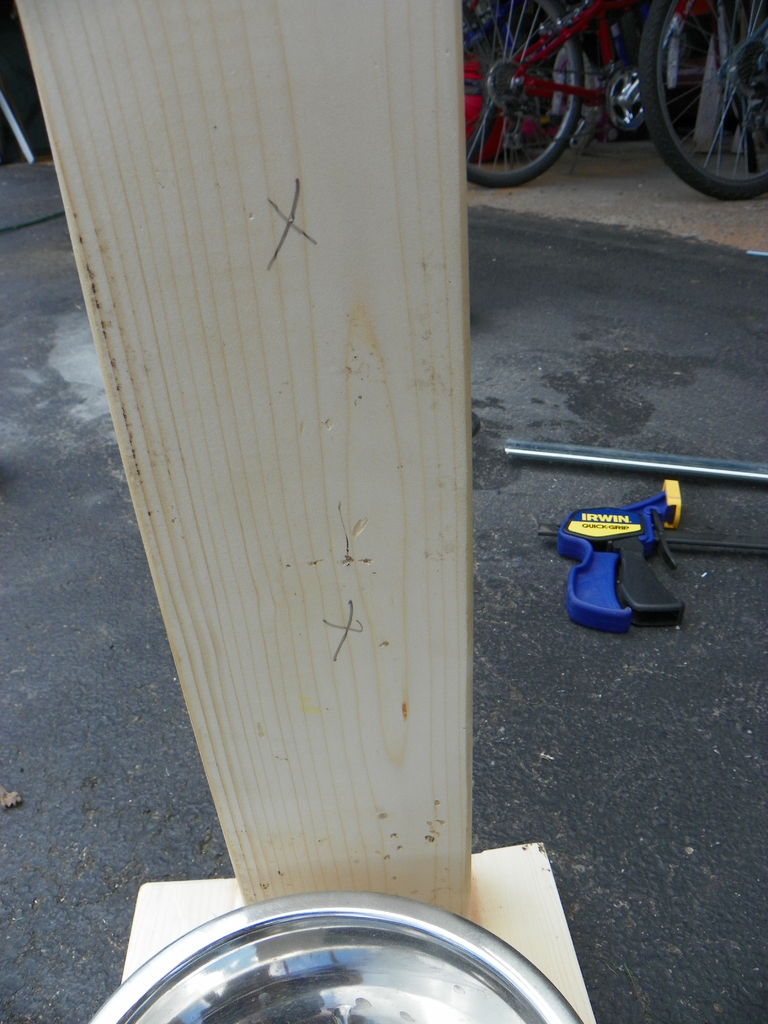
Stick 2 pieces of Velcro, with the loop side (the soft, fuzzy side) facing outward.
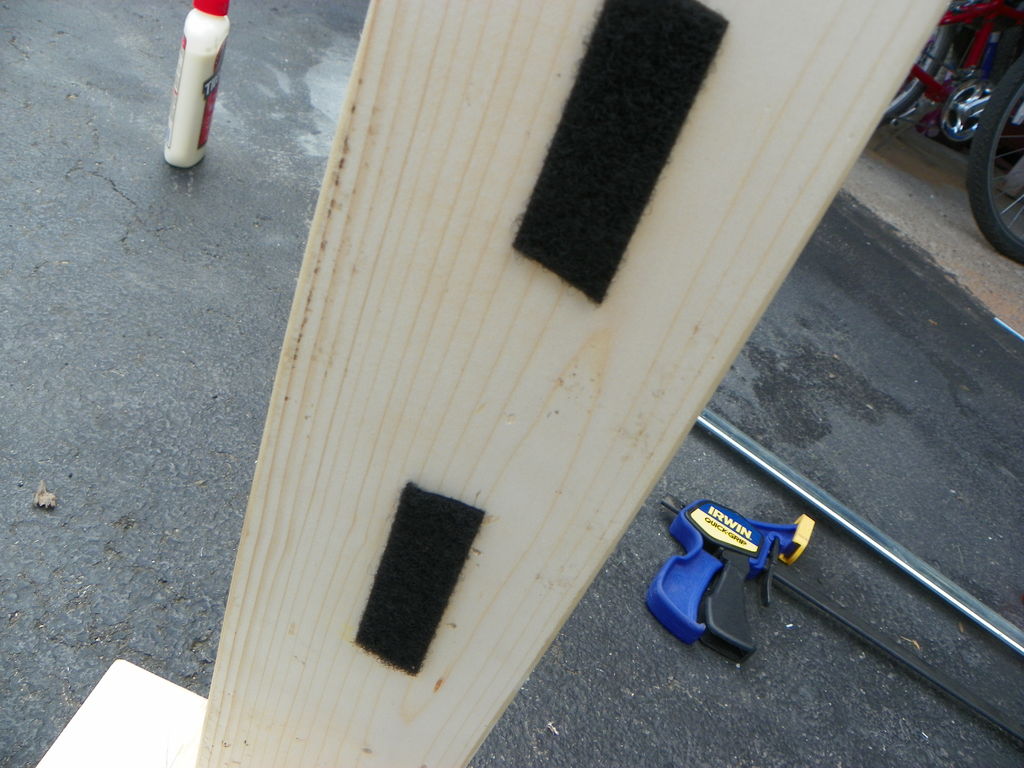
Tip: Try putting the bottle against the standing plank to measure its eventual placement, as well as to decide where to place the Velcro strips. It's better to place the mouth of the bottle further down, and not too far away from the bowl, to prevent spilling.
Afterward, stick the other two pieces of Velcro onto the loop sides. Remember, the bottle will be "standing" upside down. It's best to place the upper strips of Velcro almost level to the "top" of the bottle.
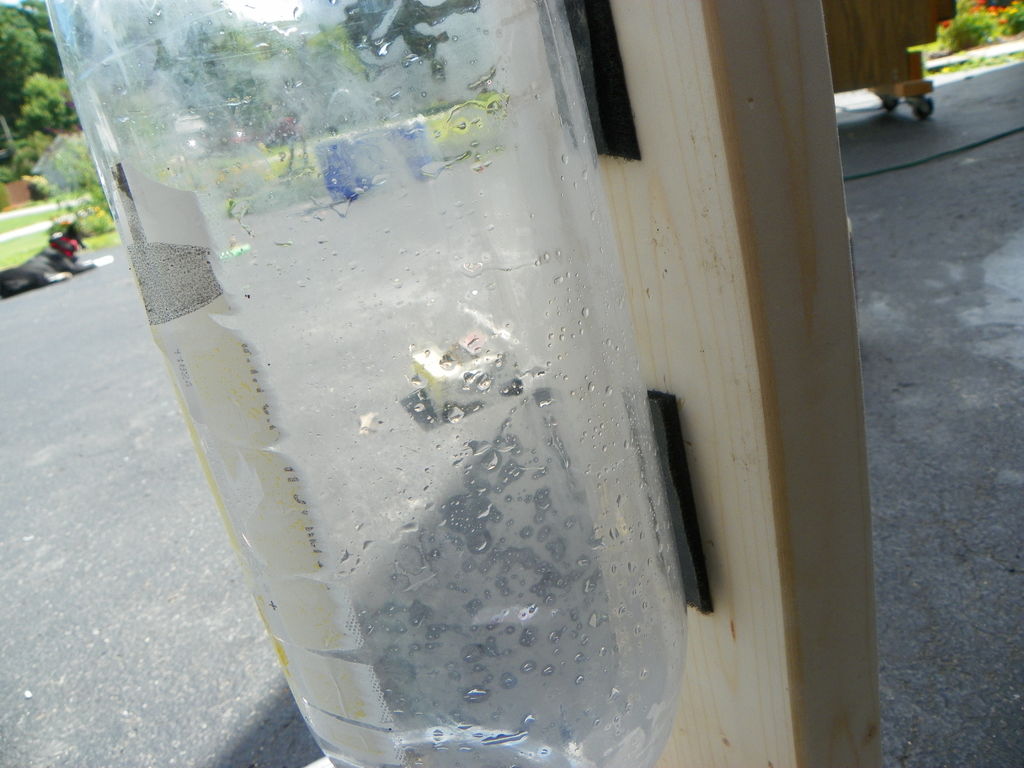
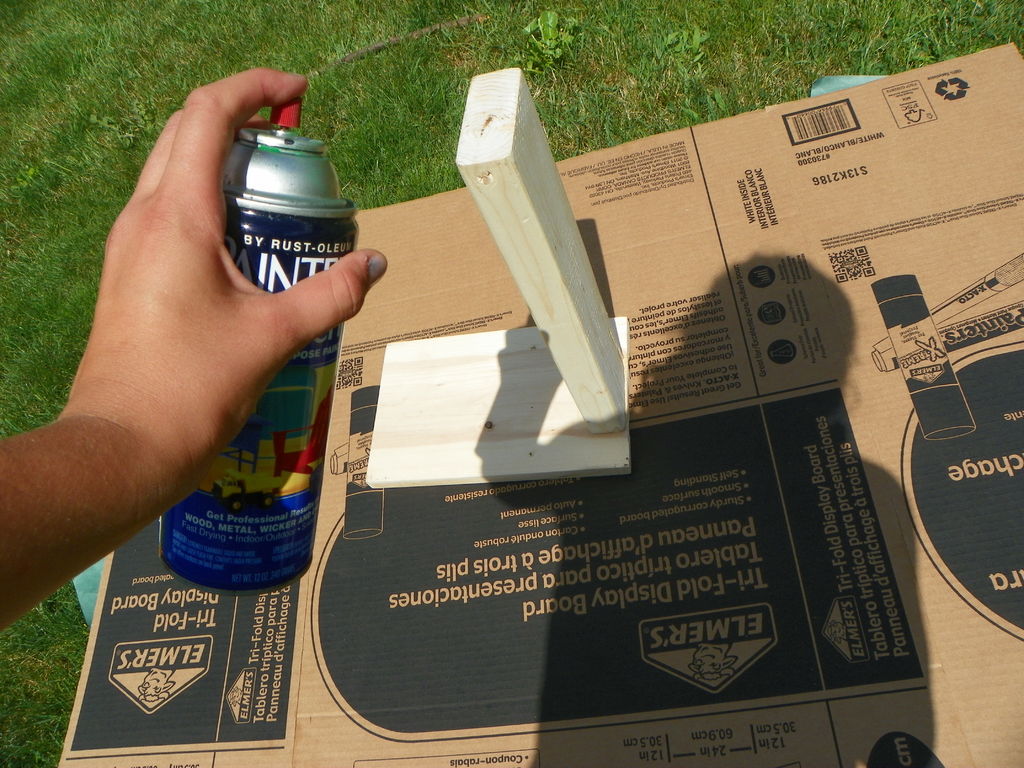
If you want, you can spray paint or stain the planks — and even draw on cool designs.
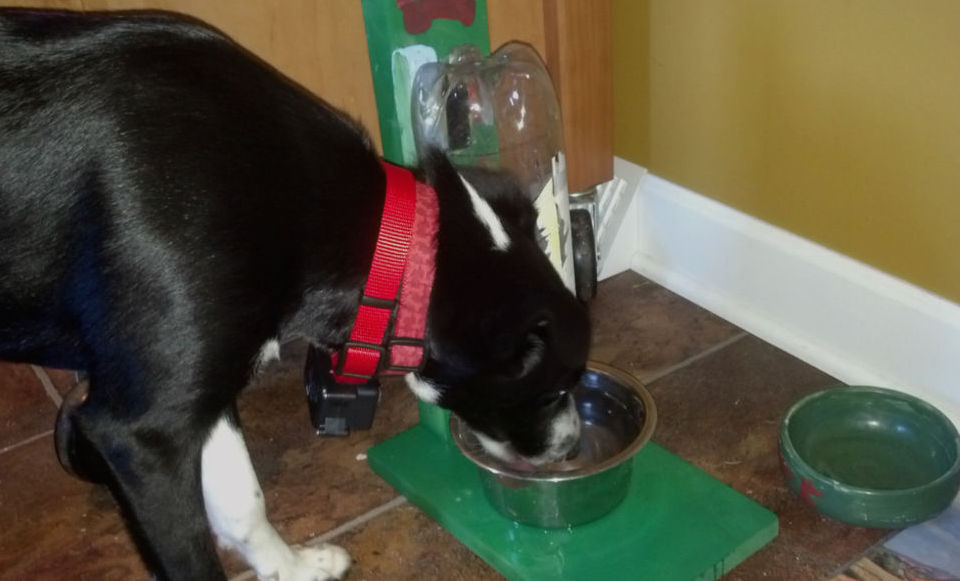
Now, to put this device to use — fill up the bottle about halfway, and screw on the cap. Turn it upside down, and line the Velcro tapes up to the bottle. Put the cap back on after you've put enough water in the bowl, and voilà, there you have it.
Let us know what you think of this watering bowl in the comments, and please SHARE if you loved it!


