If you're a casual HGTV watcher like myself, chances are you've fantasized about the ways you could make over your space. As a new homeowner, I'm overwhelmed by all the ideas I want to implement. If only I had all the money and time in the world, my yard could be an oasis.
When I snap back to reality, I realize there are plenty of projects within my budget and reach. So when I caught myself envying this very blue pond in Ohio, I tried to think of how I could scale this down for my own home.
As much as I'd like to excavate my yard and add a pond in-ground, I'm just not there yet. A mini pond is totally doable, however. I have a little bit of hydroponic gardening experience from playing with my fish tank aquascape, so it helped me better understand how to balance this. There are also a lot of awesome resources out there for anyone looking to make a mini pond, also known as a container pond.
More from LittleThings: I Made DIY Flower Seed Bombs, And This Kid-Friendly Gardening Activity Was A Total Blast
The cool thing about mini ponds is that many techniques emphasize upcycling and environmentally friendly practices. This is especially important to follow if you're going the extra mile and adding fish to your mini pond. Sadly, fish won't survive a New York winter, so I'm starting with just plants. In creating this little ecosystem in a planter, I could attract birds and frogs to my yard. It's a nice way to observe nature in the comfort of my backyard.
The first thing I'd recommend to any prospective pond parent is to do your homework! There is a lot to know and a lot of different ways to go about creating a mini pond, also known as a container pond. I ended up referencing articles from wikiHow, Inner Spark, and Gardener's World.
Consider your climate and the animals natural to your area when considering what plants and/or fish you'd like to incorporate. It's important to know your USDA hardiness zone, which you can find on this Department of Agriculture page. Some plants might have to be moved indoors during winter, so be sure you can accommodate that or be prepared to start over each spring.
You'll also want to make sure that the plants you choose can be purchased in your state. Certain plants are classified as invasive species in certain states, so some plants are only available in certain areas.

Get an idea of the needs of the plants you like. Then determine how big of a container you'll need. You want something that you can waterproof yourself or something that is entirely sealed. Many sites suggest upcycling an old planter or another large container you might have lying around. Since it's a pond, it doesn't need to be particularly deep. I picked up a planter from Lowe's for just $20.
For my pond, I wanted a combination of the three different types of plants you can incorporate into a pond. Floating pond plants keep your pond cooler, clean, and safe for fish by living on the surface. I chose water lilies, water lettuce, and water hyacinth as my floaters.
Submerged pond plants live completely underwater. They grow fast and provide hiding places for fish. I chose hornwort.
Marginal, or bog, pond plants live best in shallow waters along the edges of ponds. I chose blue pickerelweed and dwarf horsetail.

Depending on the depth your plants need to live, you'll need containers to accommodate various soil or gravel needs. I got a bunch of Aquascape aquatic planters in various sizes. You may also need plant shelves or other items to create different depths. Some tutorials recommend using rocks or bricks to get plants to the height needed.

The horsetail was the first to arrive. Since I wasn't quite prepared to put my pond together, I had to set it up temporarily. Using a partnerless food container to hold some water, I placed one of the planters in it and filled it up with the soil I thought I'd need (more on that later). The marginal plants shouldn't be submerged more than an inch and a half deep, so I made it happen.

Next to arrive was my hornwort. Later that day, two of my floating plants — the water hyacinth and the water lettuce — arrived. I decided to set them all up in my fish tank until I had time to put the pond together that weekend.

Next to arrive were my water lilies. I was excited to get them and perplexed by how they looked. There's a little something to planting water lilies, so keep that in mind when setting up your pond. The water lilies will bloom in the colors indicated by the stickers on the bags below them. I was excited to see them get to that point, but it'll be a while.

Now, where I goofed. I used Hydro Crunch Expanded Clay Growing Media since clay or loamy soil was recommended for the plants. I didn't take into consideration that this stuff is super buoyant. As you can imagine, the second I tried to submerge my carefully planted lilies, I saw the error of my ways.

Take 2: I learned I needed to use topsoil, sifting out anything that might float. If you forget to do that part as I did, you'll need to sift it off the surface later.
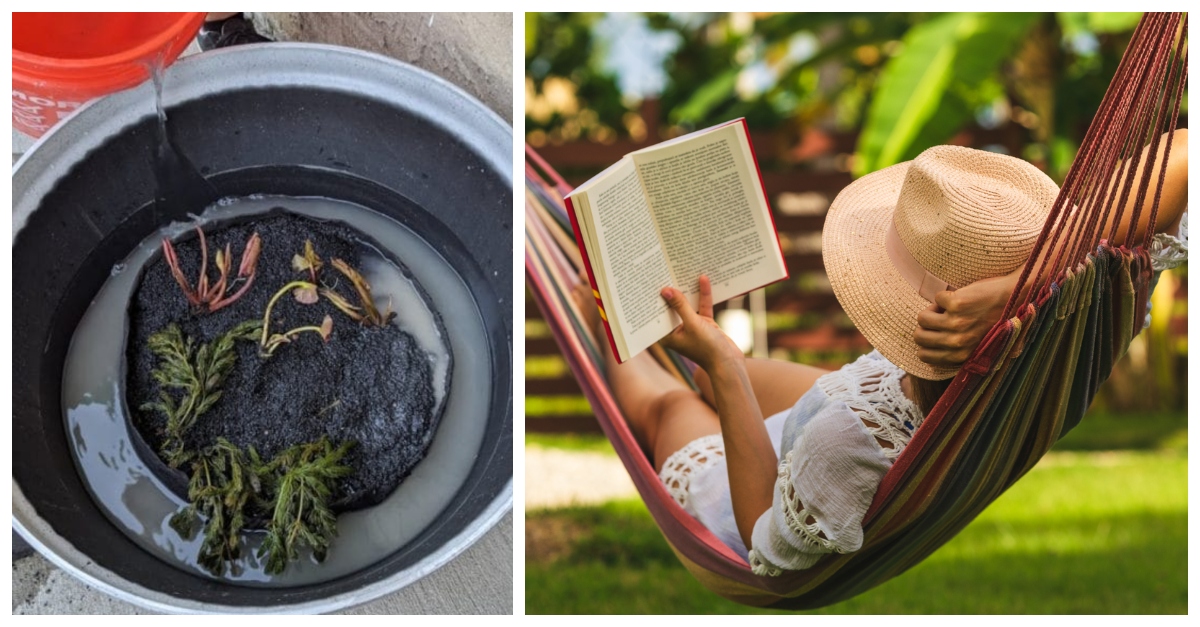
I planted my water lilies and my submerged plants in a large planter that would be at the bottom of the pond. Submerging it went much better the second time. At this stage, the water will be cloudy and take time to clear up, so don't be alarmed.

The next challenge was to create a shelf out of bricks and rocks for the planter for my marginal plants — the blue pickerelweed and dwarf horsetail. Getting the bits to balance without crushing any of the submerged plants was a challenge. I had to carefully situate an area and channel my best Jenga skills to make it happen.

Last, but not least, I added the floating plants. They took to the water immediately and perked up a bit after about 24 hours in there.
My little pond looks pretty humble, but it makes me so happy. I'm so excited to see whether or not the water lilies will bloom and come to the surface. The plants seem to be enjoying the heat so far, but with temperatures creeping into the 90s this week, I'll be watching to see if they're getting too much sun.

I've spotted a bird or two that landed on the edge of the pond. I've read that adding a floating rock will help them feel comfortable hanging out there. Frogs, which are native to my new area, may also show up. This little pond could be the beginning of something big. It brings a lot of potential to my yard for less than $150 altogether. I'm excited to see how this pond turns into a little ecosystem unto itself.