Everyone has those days that feel like they go on forever, or days that they're just not sure they'll make it through. On those days, many people turn to others for support.
Sometimes, though, there's nobody around who can help you through whatever you're struggling with.
During those times, many people look to their faith and spirituality to get them through tough times. If you ever feel like you need a little extra support, a prayer box might be the perfect answer for you.
Needing help is nothing to be ashamed of, and, no matter where you choose to find support, it's always meaningful.
Prayer boxes are useful for anyone and everyone — whether or not you're religious or spiritual.
Using an Altoids tin, all you need to do is decorate it in a way that suits you, then add a small pad and paper to the inside to house your thoughts, wishes, and prayers.
Learn exactly how to make this DIY Altoids tin prayer box below!
Thumbnail Sources: Flickr / Flickr
Step #1: Gather Your Supplies
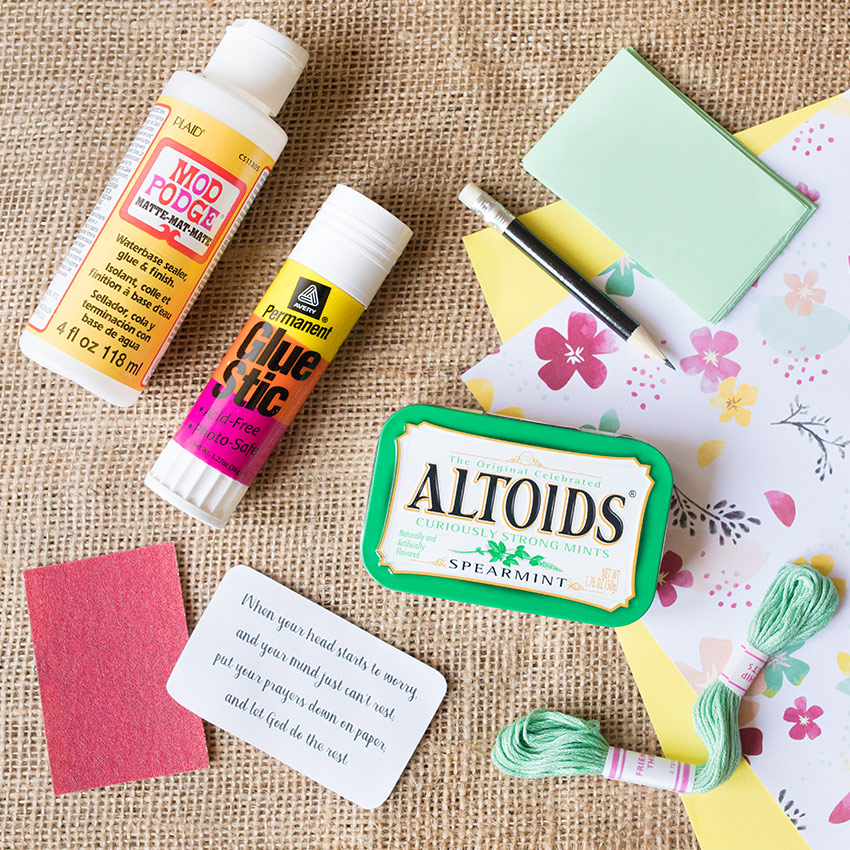
To make your own Altoids prayer box, start by gathering up your supplies:
- Altoids tin
- Mod Podge
- glue stick
- small pad and paper
- scrapbook paper
- ribbon, stickers, stick-on gems, and any other decorative items you’d like to use
Step #2: Grab An Empty Altoids Tin

If you don't have an empty Altoids tins lying around, just buy a fresh tin and empty out the mints.
But don't throw them out! Keep them in a plastic bag and tuck them in your purse.
Be sure to thoroughly rinse your tin (whether it's old or new) to remove all the dust and crumbs from the mints.
Step #3: Trace Onto Some Scrapbook Paper
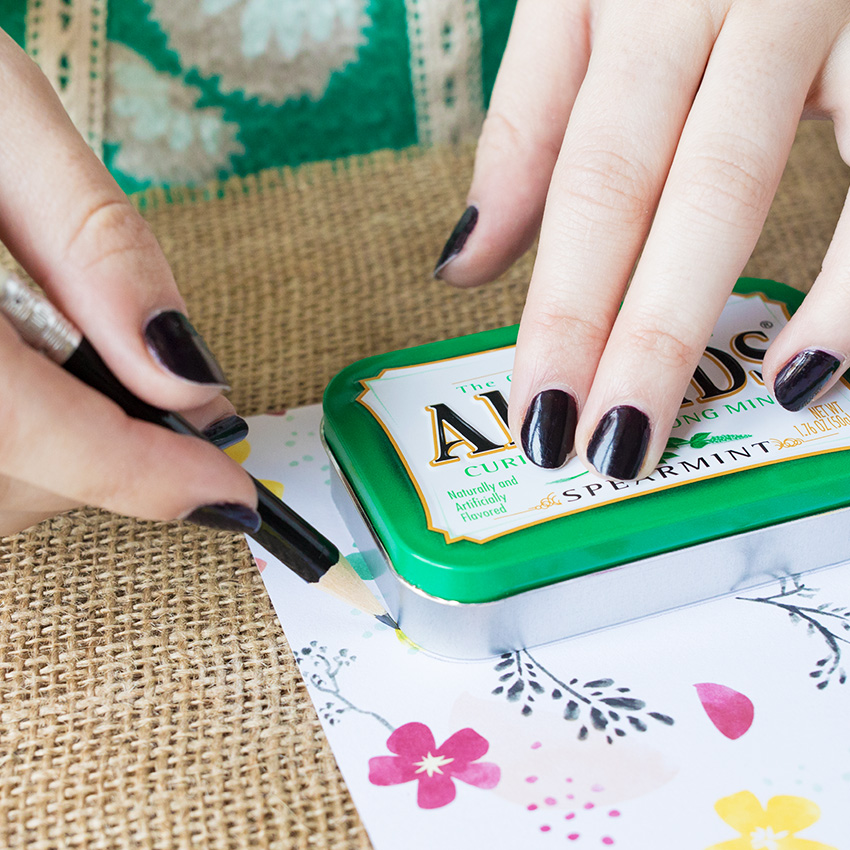
When the Altoids tin is empty and clean, trace the outside of the tin onto scrapbook paper.
You'll glue the paper to the Altoids tin later, so make sure to trace close enough to the tin that you don't have any excess paper.
Step #4: Sand Down The Altoids Lid
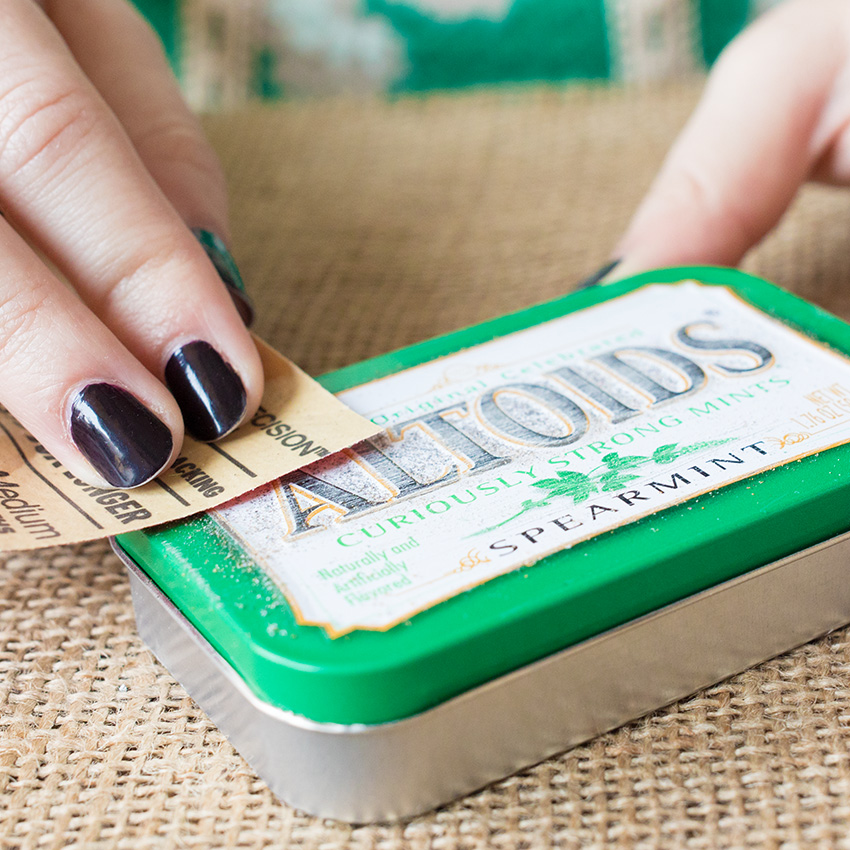
Using sandpaper, gently rub the lid of the tin with sandpaper.
Your goal here is to make the surface of the tin a little rough, just so you can easily glue on your paper and decorations.
Step #5: Cut Out Some Scrapbook Paper
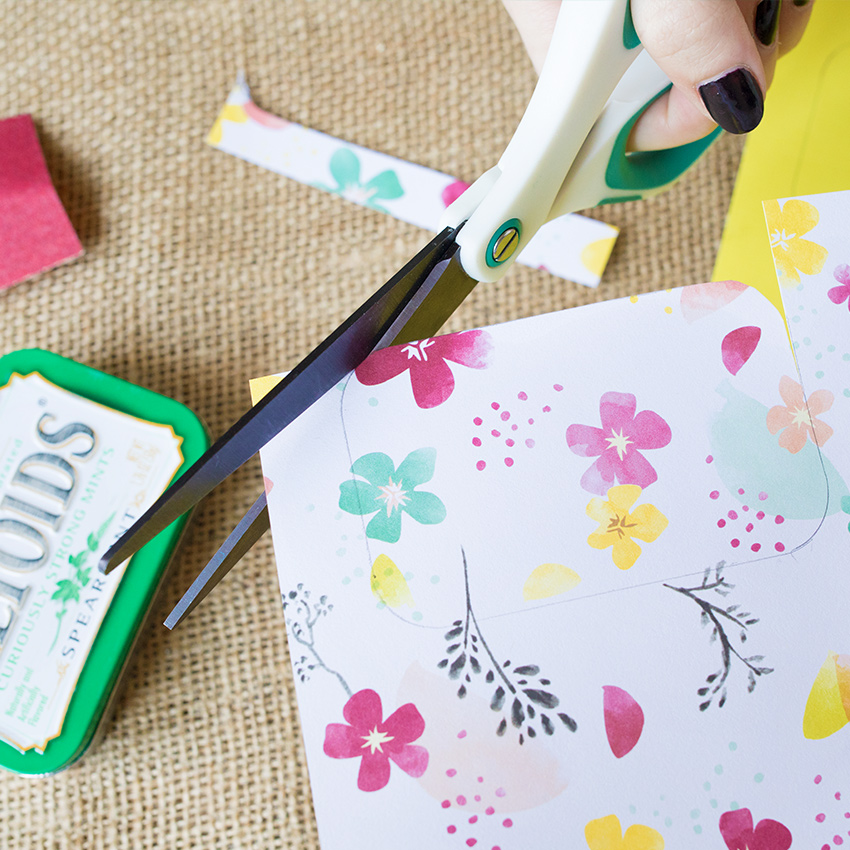
You can use any sort of paper to decorate your prayer tin, but make sure it's something you really love, since you'll be looking at it a lot.
You can also use a family photo, a drawing, an excerpt from a book — anything you want!
Just be sure it's sturdy and won't easily tear, rip, or snag.
Step #6: Glue Some Paper To The Surface Of Your Altoids Tin
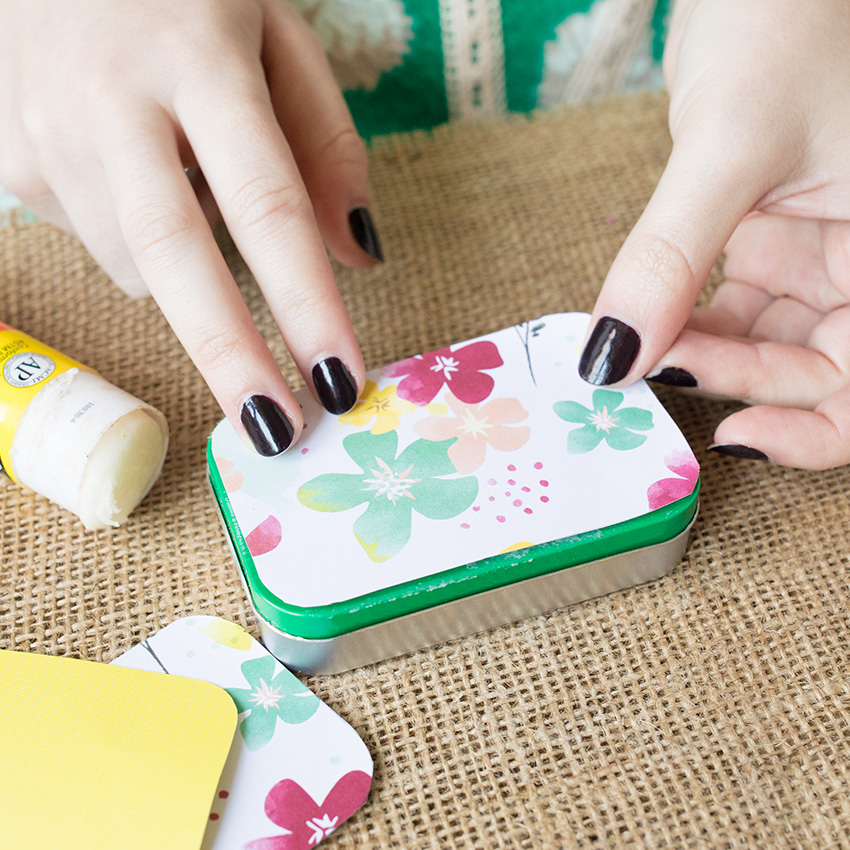
Using your glue stick, attach the decorative paper to the Altoids tin.
You won't want to use any sort of liquid glue for this step because it could make the paper wrinkly as it dries.
Once it's glued down, you can also "laminate" the lid and paper using clear packing tape. This will protect its surface within your purse or bag.
Step #7: Glue A Prayer Inside
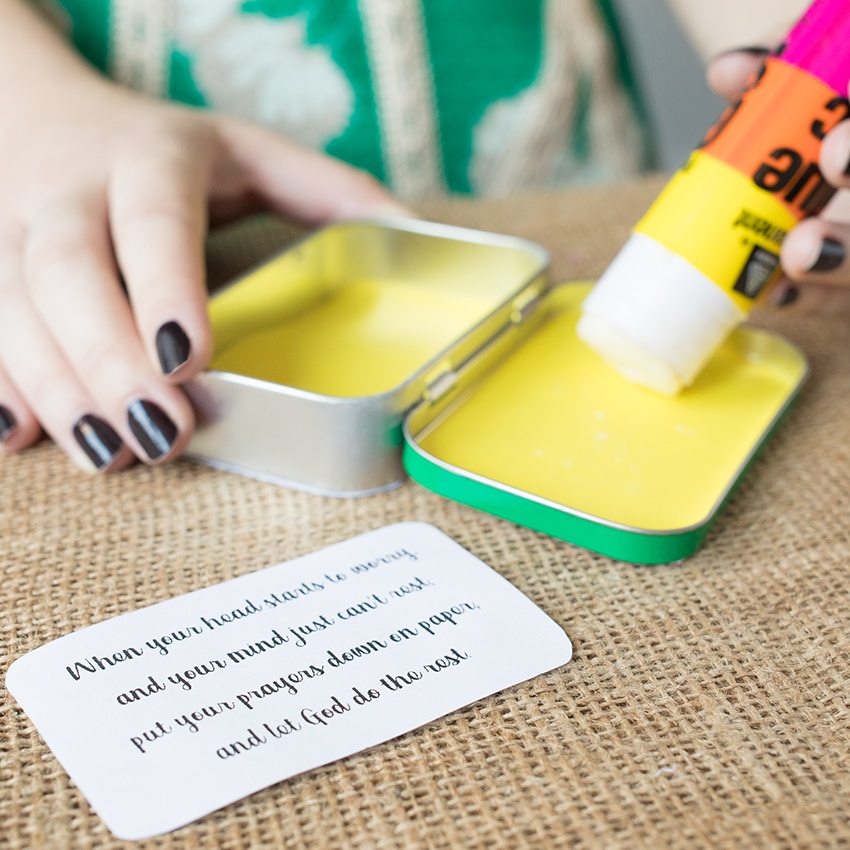
After you've glued the decorative paper to the outside of the tin, glue the prayer or poem to the inside of the tin.
Feel free to use any poem or prayer that inspires you. This is what we decided to go with:
When your head starts to worry,
And your mind just can’t rest,
Put your prayers down on paper
And let God do the rest.
Step #8: Seal Your Work
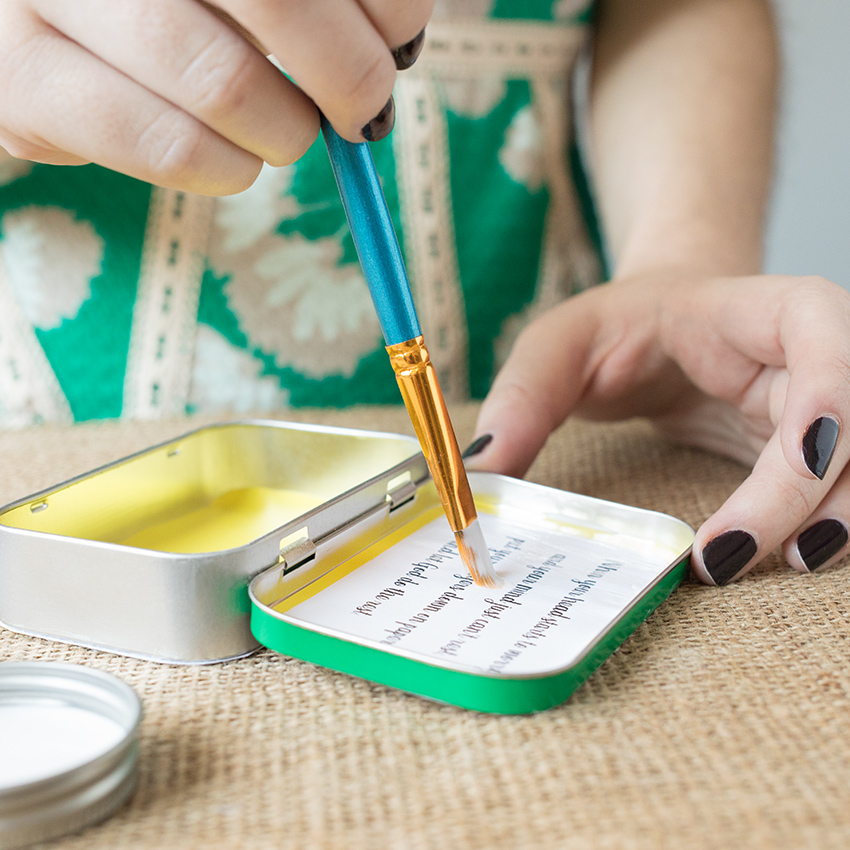
After you've decorated the entire box with all the paper you want to use, seal your work with Mod Podge.
This step will make your prayer box look shiny and complete, and it will give it a very professional look.
Let the Mod Podge dry for a few hours before moving on to the next step.
Step #9: Decorate Your Finished Box
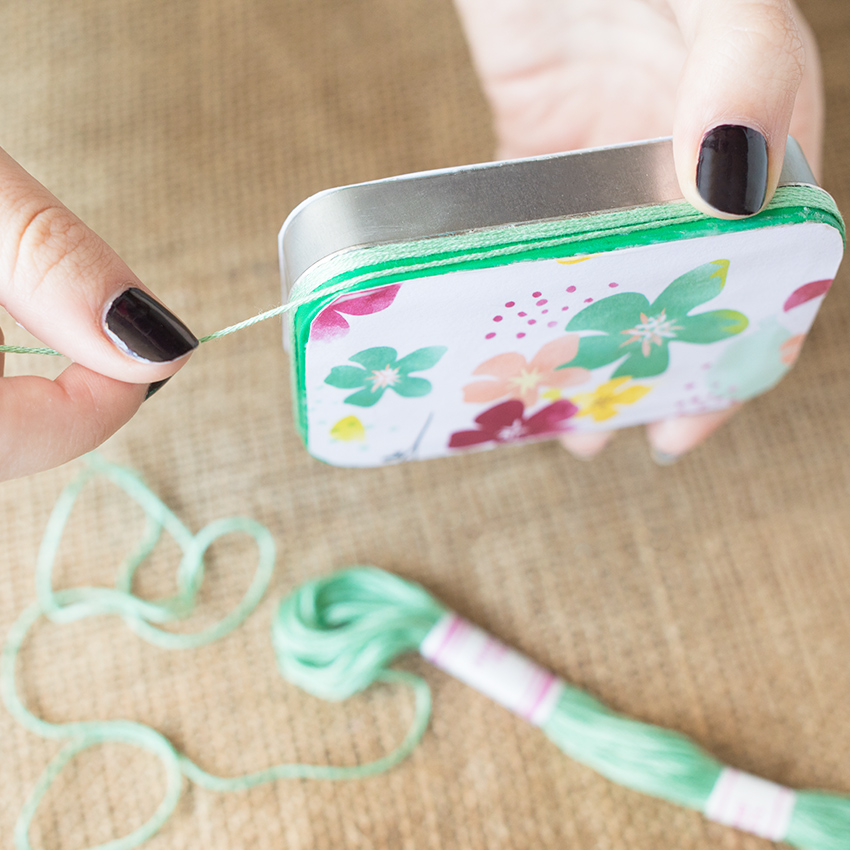
Finally, add some string, ribbon, stickers, or glitter to complete the prayer box.
This is the step where you really get to be creative — so be artistic and make your prayer box as unique as you can!
Step #10: Put A Pen And Some Paper Into The Box
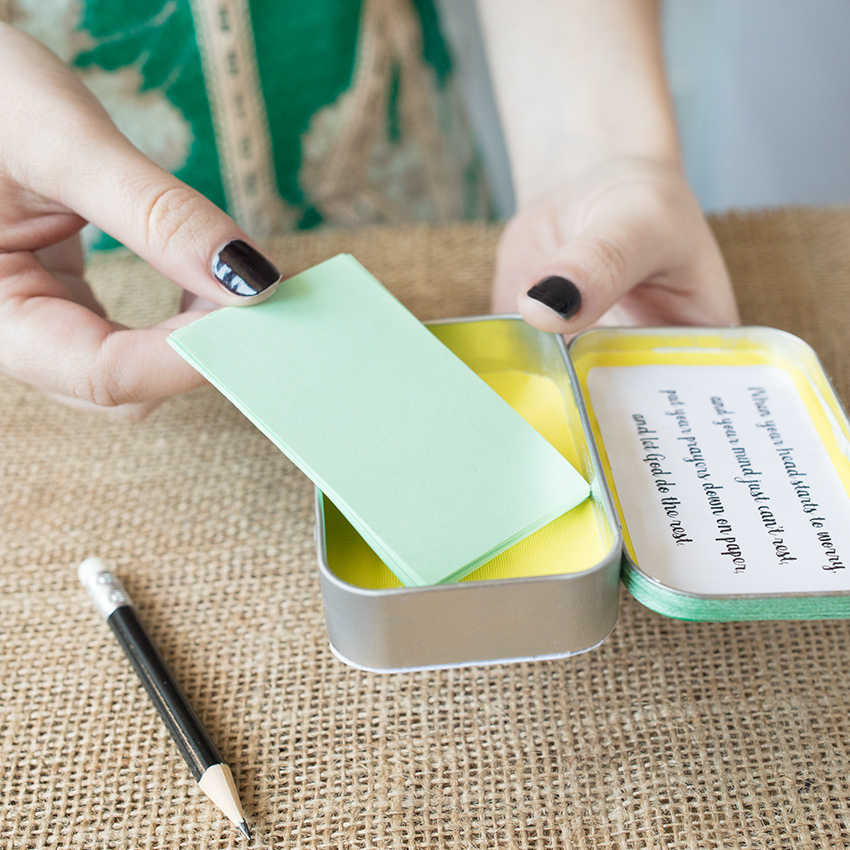
The next step is not only the simplest, but it may also be the most important.
Add a few pieces of paper to the box, along with a small pen or pencil.
When you want to write down what you're praying for — or what you're grateful for — you'll have the supplies you need.
Step #11: Keep Your New Prayer Box With You
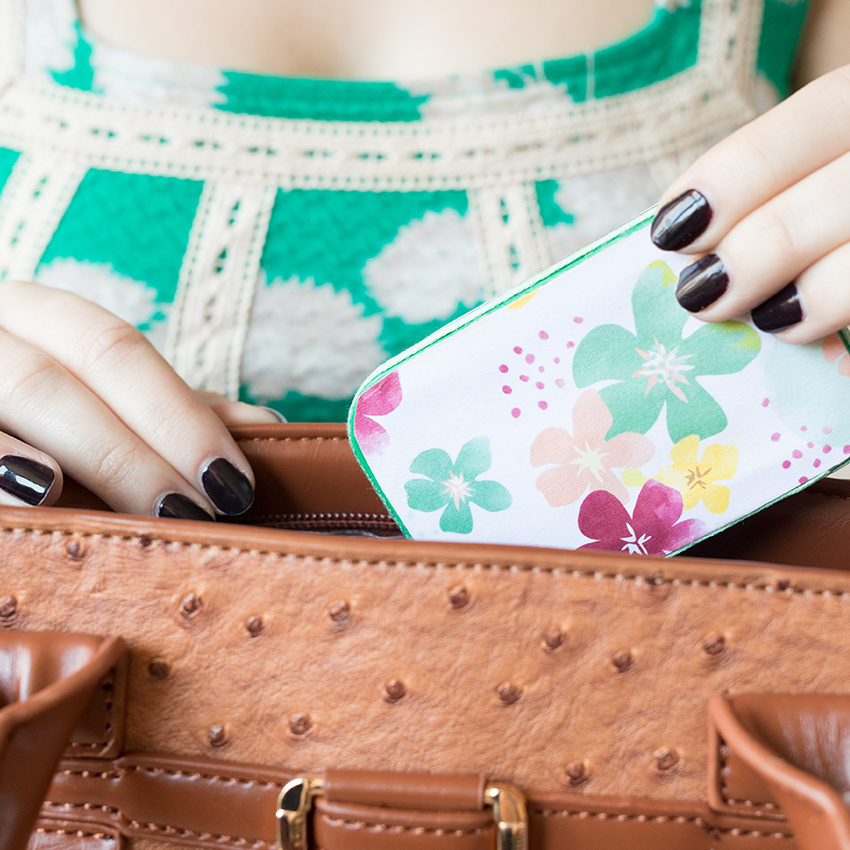
You're done! Keep your prayer box with you by putting it into your pocket or tossing it into your purse.
These little prayer boxes are also perfect as gifts for friends!
If you can't wait to make one of these adorable prayer boxes, please SHARE this article with your friends and family.


