Pieces of equipment from old hobbies are often the cause of a lot of clutter in basements, storage spaces, and garages everywhere.
Snowboards, baseball bats, and surfboards can sit for years collecting dust because their owners don't have the heart to sell them or the stuff is just too beat up to use again.
Instead of tossing out old equipment or letting it sit around taking up space, there are plenty of inspirational DIY projects out there that people of all skill levels can give a try!
With some imagination and the right tools, you'd be surprised what you can create out of the useless items sitting around your house.
We found one cool project for snow lovers who have a need for outdoor seating and a few too many pairs of skis lying around.
Scroll through below to see how this DIY-er put his old skis to good use, and let us know what you think of his clever project in the comments!
[H/T: Instructables]
This clever DIY-er has been an avid snowboarder for years and loves spending time in the mountains.
As an engineer, he has always had a knack for design, so when he spotted a couple of Adirondack chairs made out of skis on the lift one day, he decided he'd give it a shot!
He started off by creating the design of the chairs.
Being a savvy engineer, he utilized CAD, or computer-assisted design tools, to map out the process.
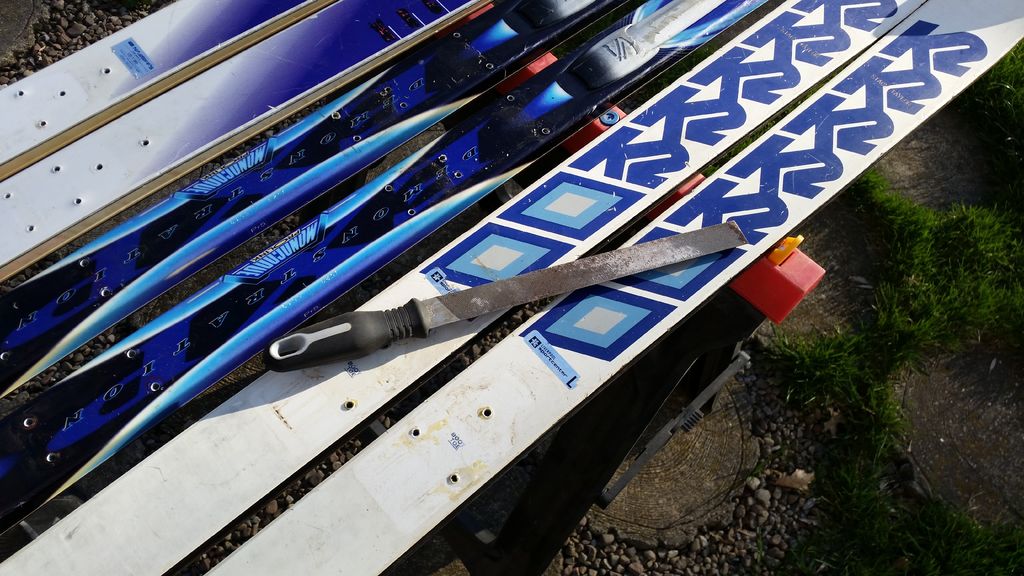
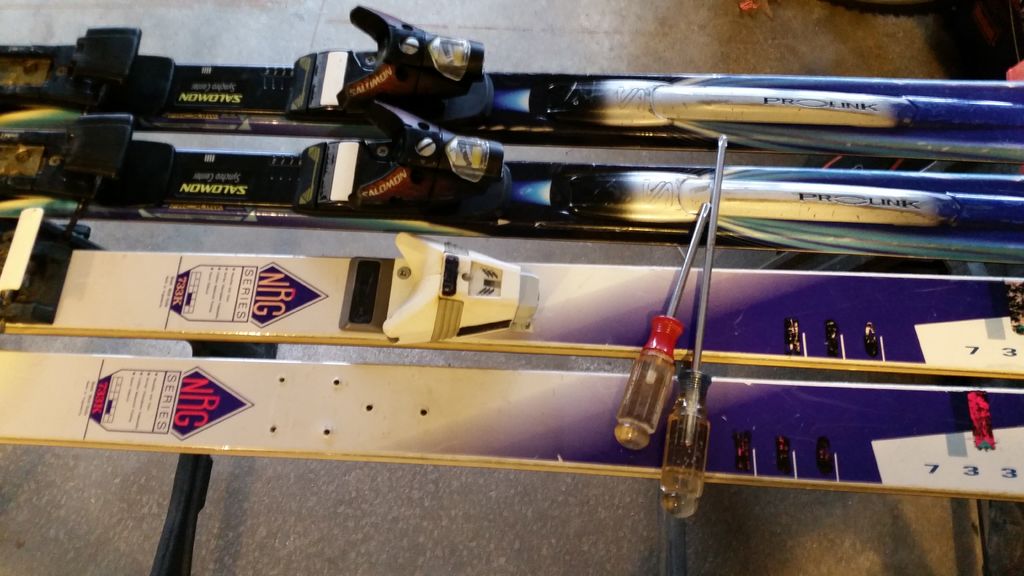
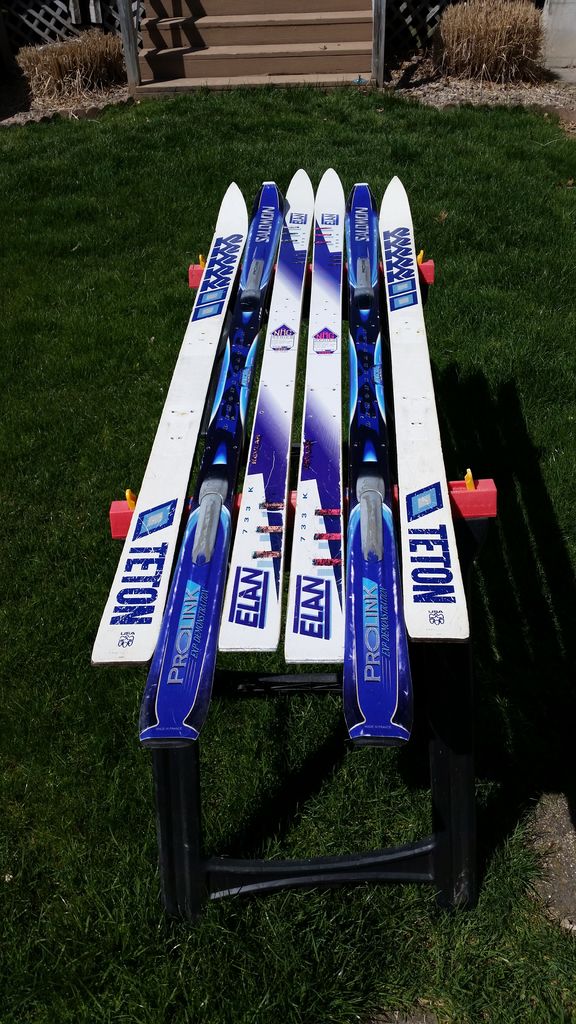
Next, he prepped three pairs of skis he had at his disposal.
After removing the edges, he took off any existing rust with a metal file.
He also broke the cardinal rule of skiing and smoothed out the skis' sharp edges!
Obviously, this would make it safer for anyone who sits in the chair.
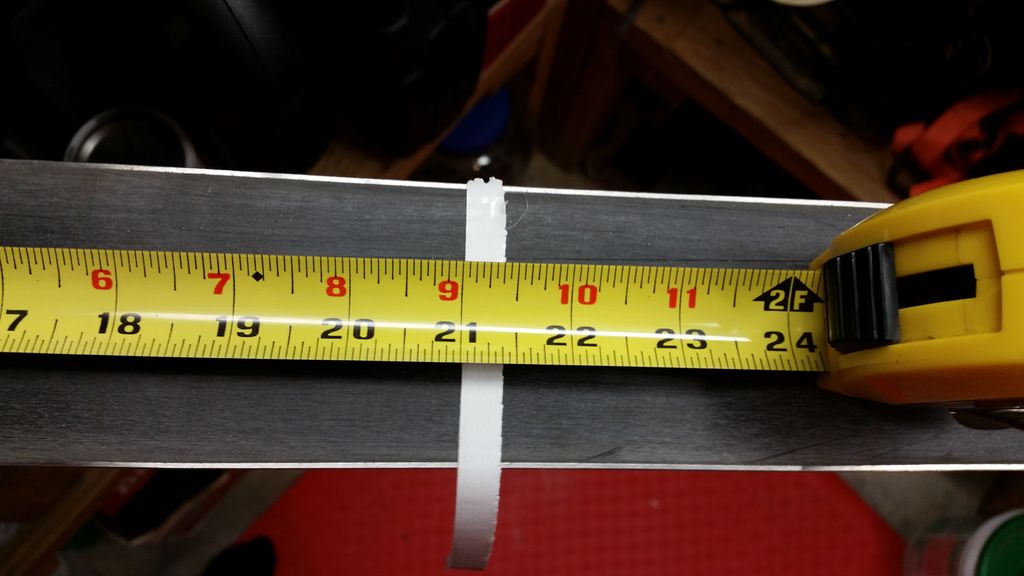
Next, he cut the skis.
Two cuts were necessary, one for the backing of the seat and one for the chair's base.
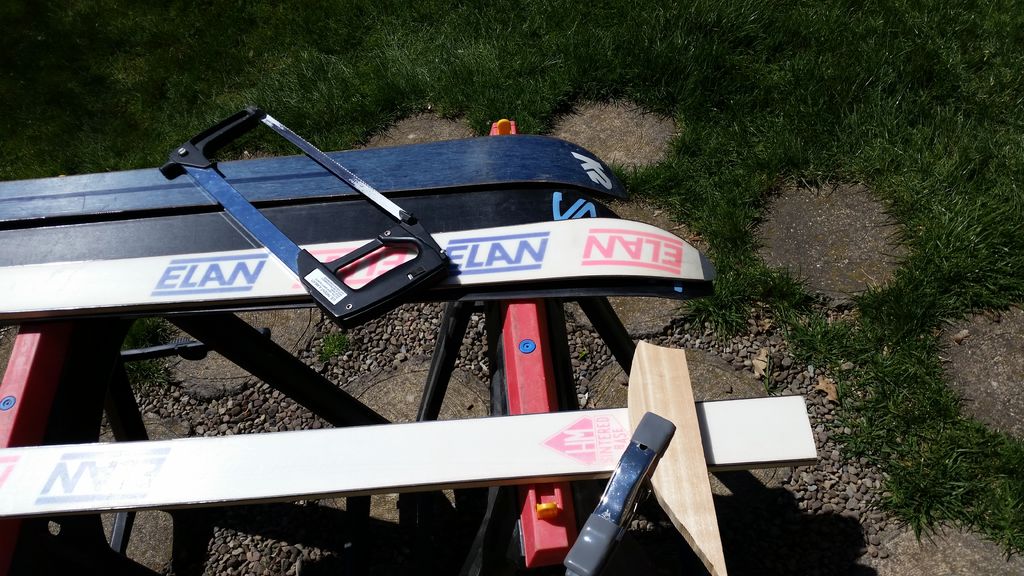
Since skis are sold by length, this DIY-er suggests purchasing skis that are at least 150 centimeters, if you're looking to build a 21-inch seat and a 38-inch back like he did.
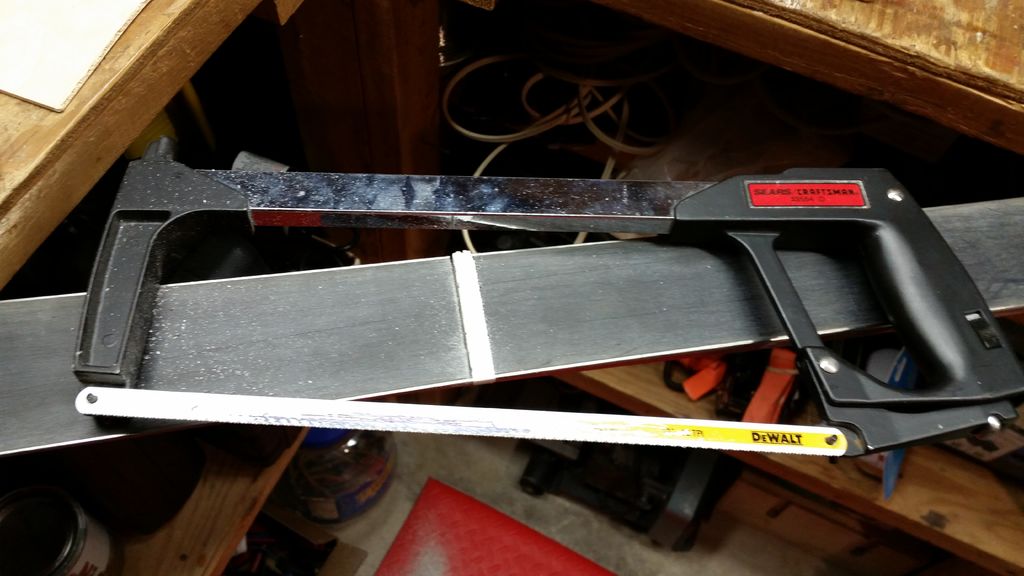
He cut through the skis easily enough by clamping them down and cutting them with a 12-inch hacksaw.
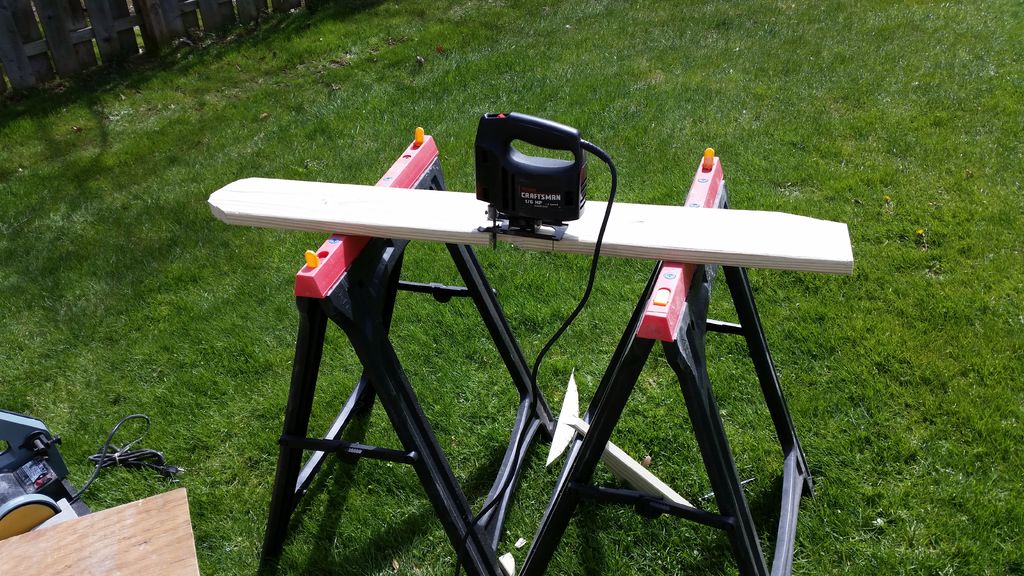
Cutting the wood was next.
The timber was used as the base of the chair and the armrests.
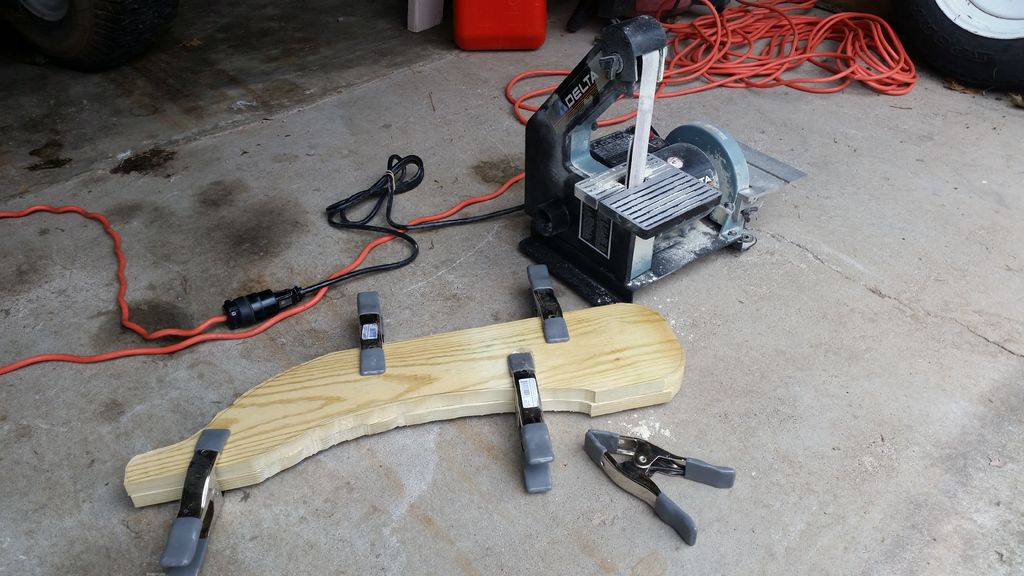
Carefully, the DIY-er used a jigsaw to cut out the armrests.
To avoid any potential for splinters, he used a sanding block and coarse grit to sand down all of the edges.
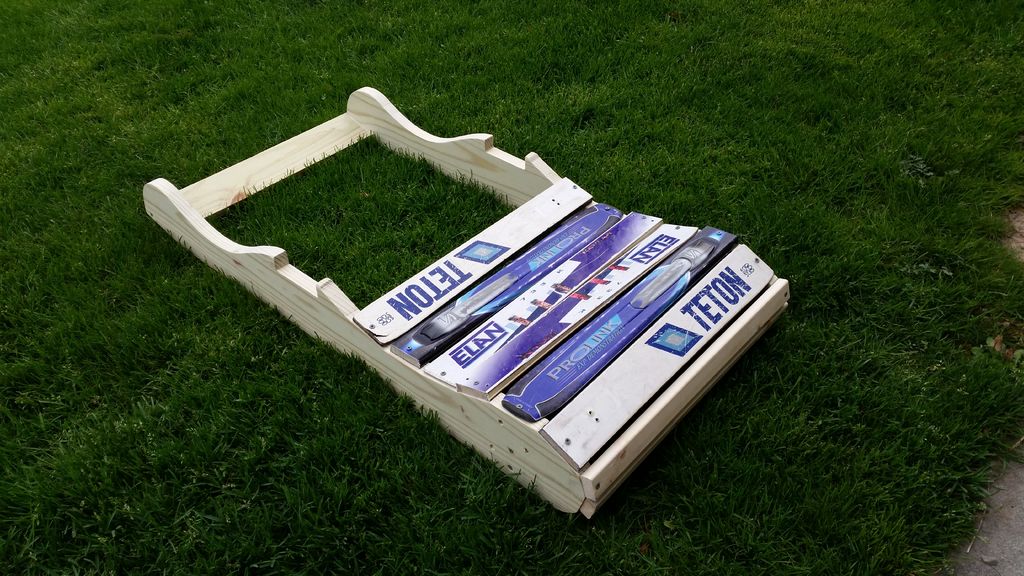
At this point, everything was cut and ready to be assembled.
He used two-inch exterior-grade screws to hold the bulk of the wood and the skis together.
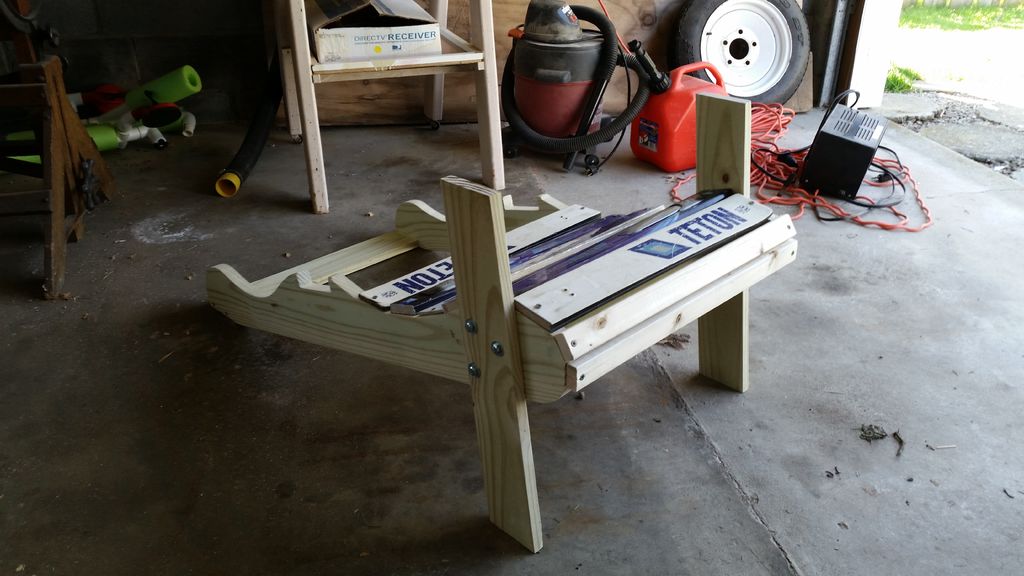
He began to build the chair up by squaring the back legs with the crossbar and brace pieces.
This helped the legs to keep their shape.
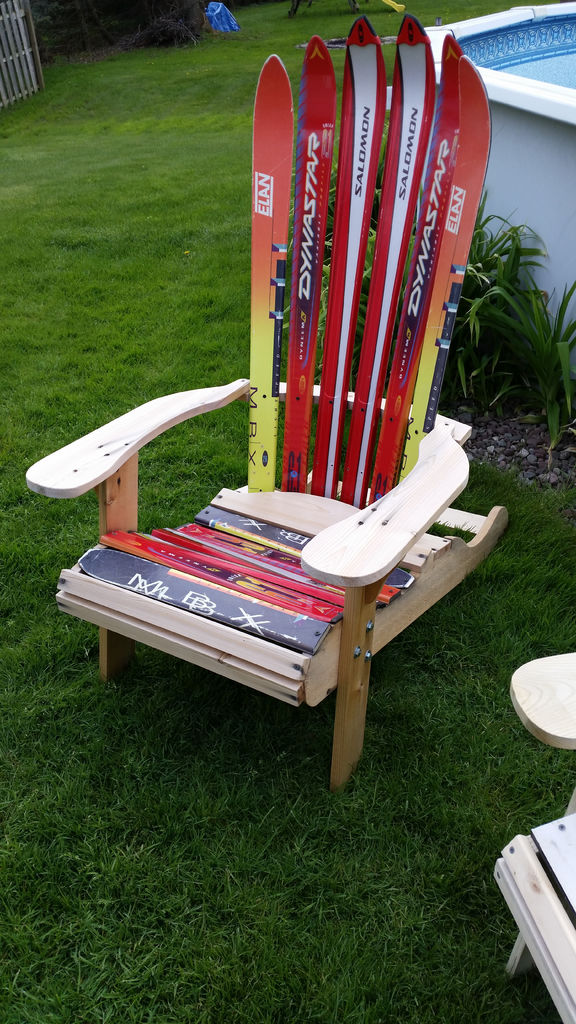
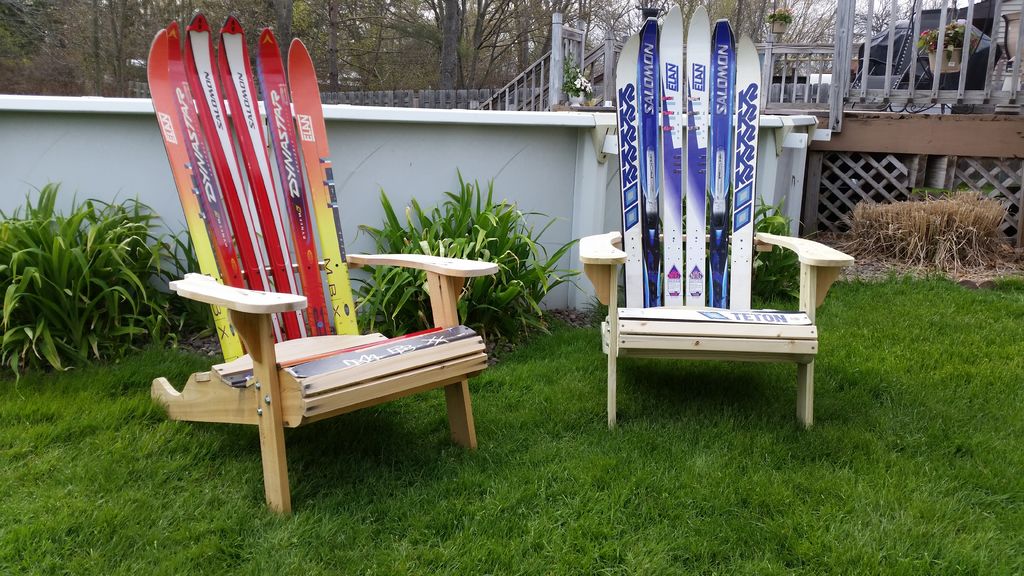
The last and final step was to enjoy his new Adirondack ski chair!
We're sure this DIY-er will be putting it to good use during his snowboarding weekends.
Have you ever upcycled old sporting equipment to create something new?
Let us know in the comments, and don't forget to SHARE this cool DIY idea with the avid boarders and skiers in your life!


