I love spending time outside, but there's one thing that's always bugged me about warm weather — all the insects coming out of hiding. For most people, bugs are a pesky problem that they just have to deal with when the weather gets nicer. Other people, however, welcome the creepy crawlers. How could anyone be happy about the return of bugs? Well, gardeners happen to love them! Some bugs are extremely beneficial to gardens and encourage growth.
So, how does someone get a bug to call any one garden their home? With a bee house!
These aren't exclusively for bees; they can provide space for all different kinds of bugs.
One Instructables user decided to make one for himself after getting discouraged by his search in the store. By making his own bee house, he was able to save money and customize it to ensure the right kind of bugs made the box their home.
Have you ever created something like this for your garden? Let us know in the comments!
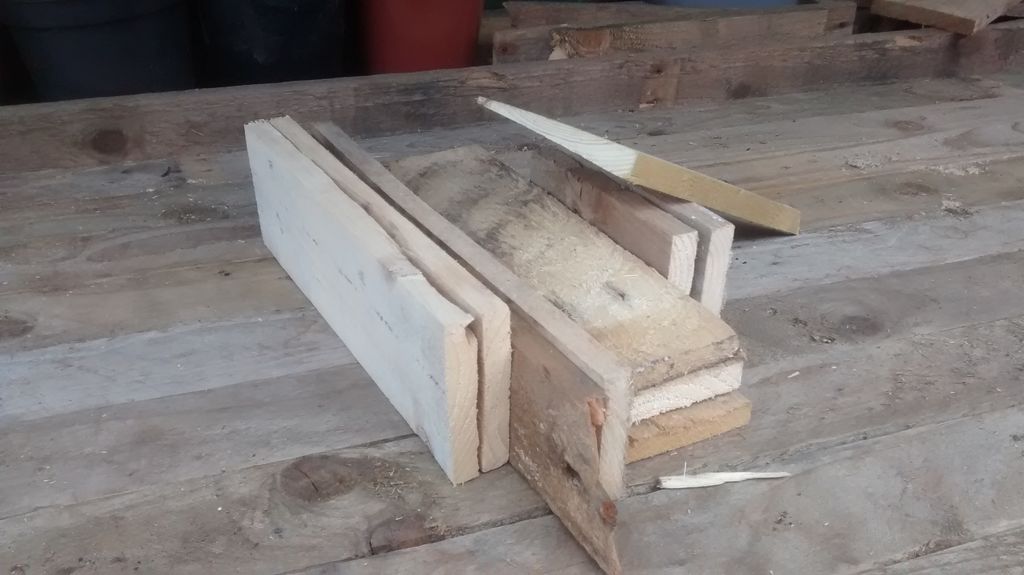
This project is pretty simple and doesn't require too many materials!
In fact, the wood he used was lying around.
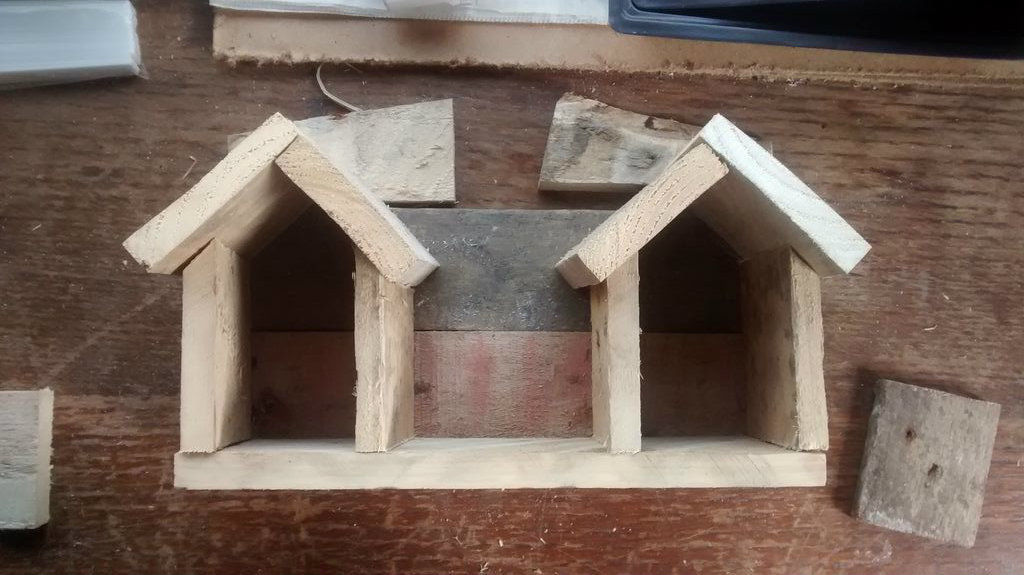
He began by mapping out the exact shape he wanted the bee house to take by using the limited materials he had.
Luckily, each piece was the appropriate width and thickness!
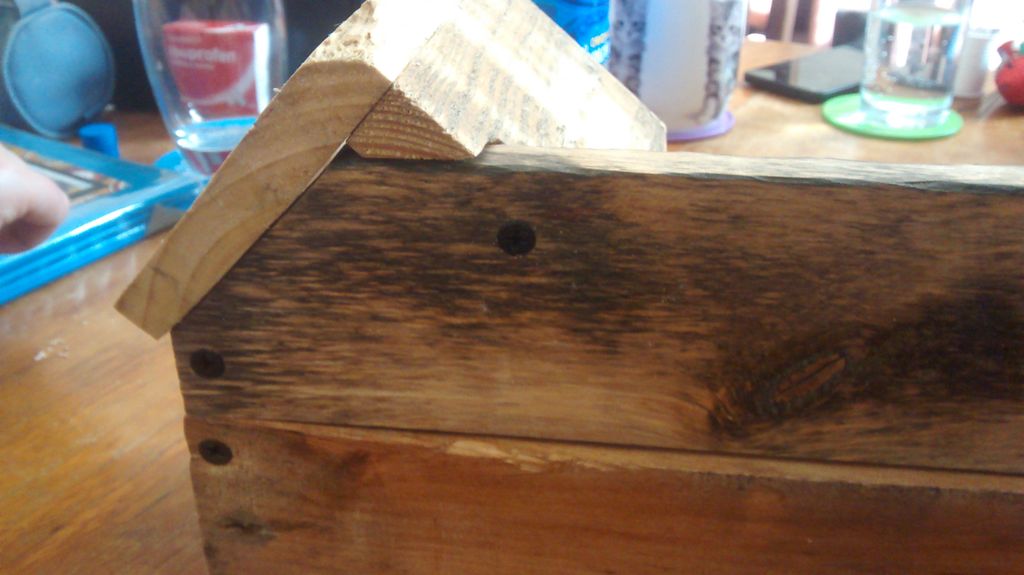
Next up was some roof detail planning.
He wanted to make sure all the pieces met up nicely to ensure moisture can't get in.
A few pieces didn't quite fit, so he made a note to fill them in later.
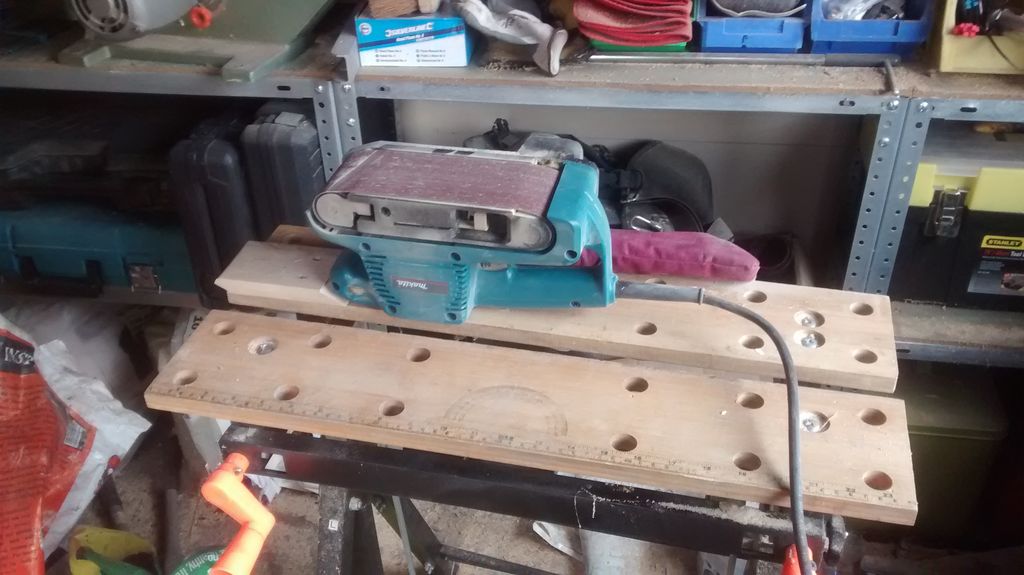
Fortunately for this DIY-er, he had a belt sander to get the job done.
He made sure to make each piece nice and smooth because it makes a big difference in paint application if you have a nice surface.
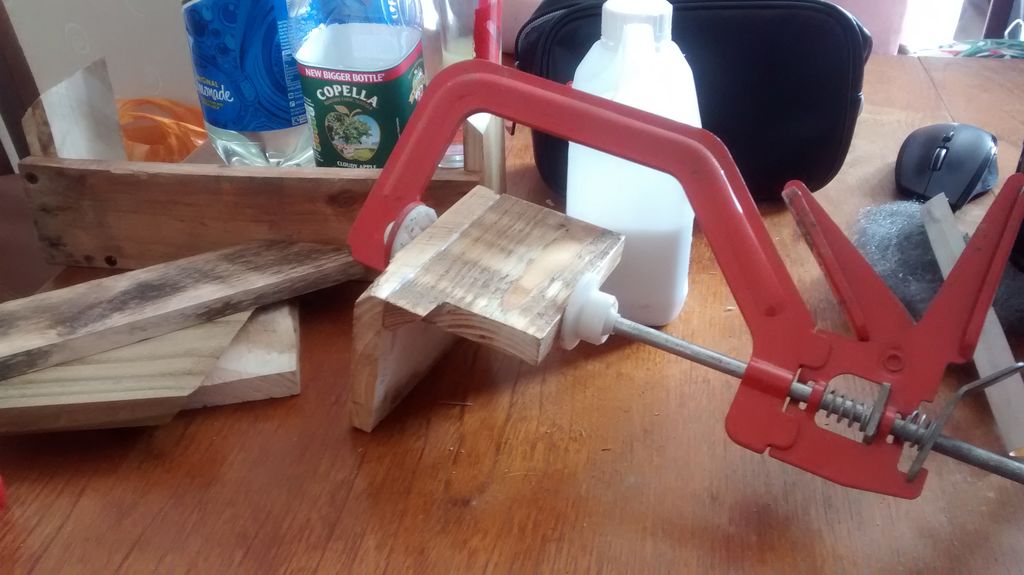
Finally, it was time to assemble!
He began by clamping and gluing the roof in sections.
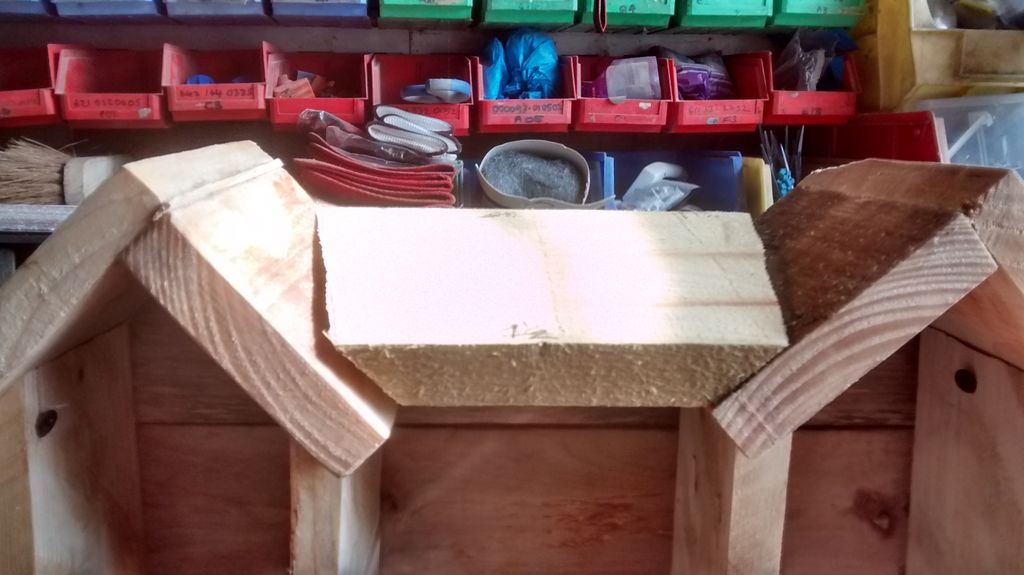
While those pieces were drying, he began to screw together the base of the bee house along with the outside walls and back panels.
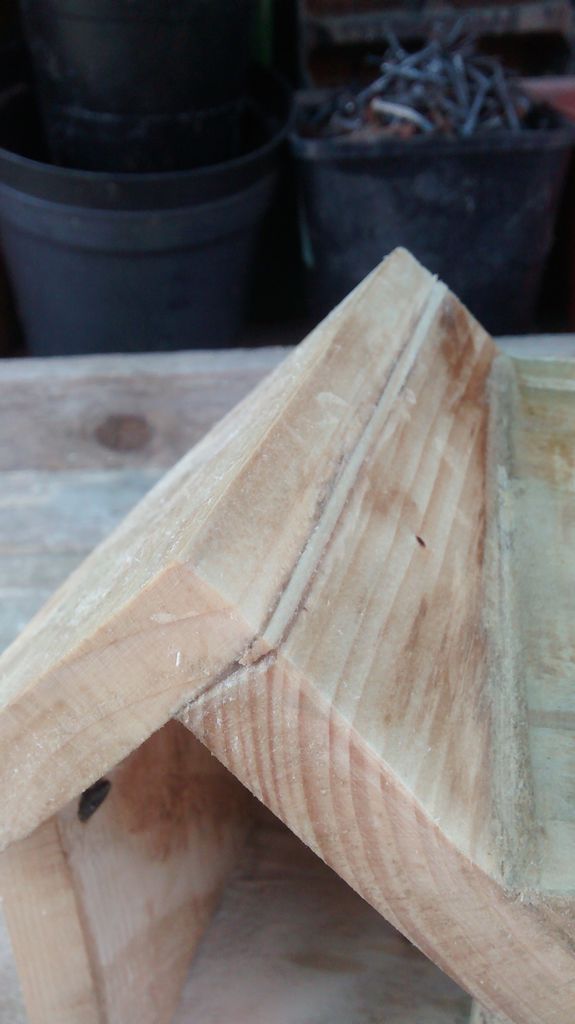
At this point, it was time to plug in the areas that could potentially let moisture in from the top.
He filled these areas with thinly sliced pieces of wood.
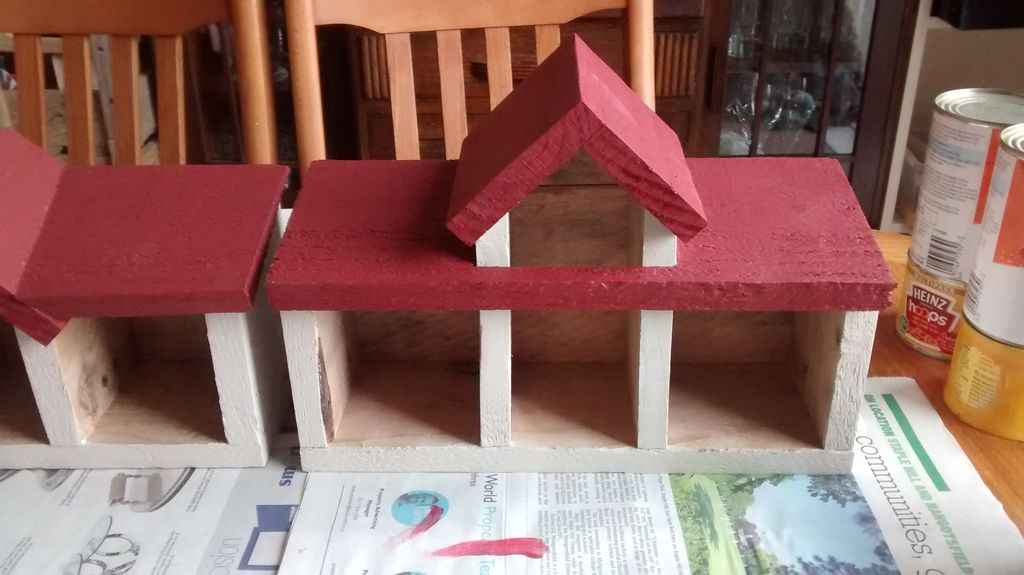
The hard part was done!
After a final round of sanding, he covered the rooftop with nice burgundy paint.
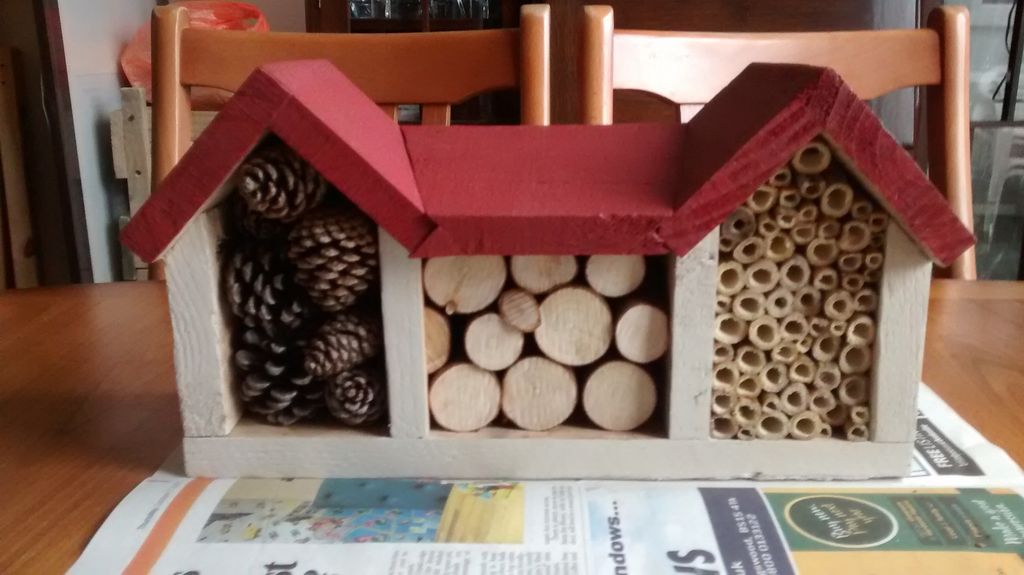
The filling is dependent on the type of bug you'd like to house.
Some bugs enjoy thin vertical holes, while others prefer vertical slits like the texture of bark.
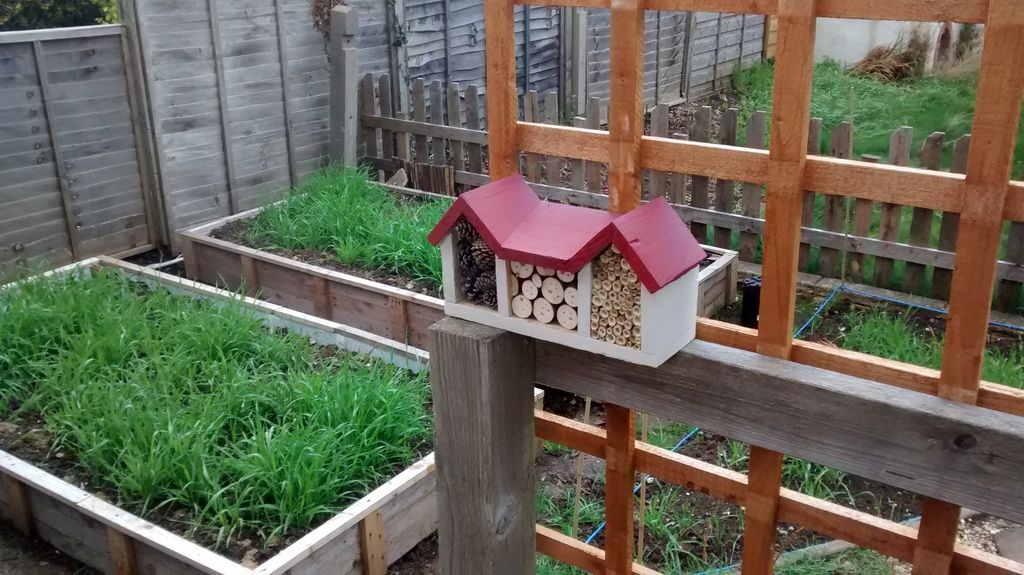
Whatever you decide to fill your bee house with, make sure it's facing south so the insects can stay warmer longer!
Do you have a bee or bug house near your garden? Let us know in the comments and don't forget to SHARE with anyone who has a green thumb!


