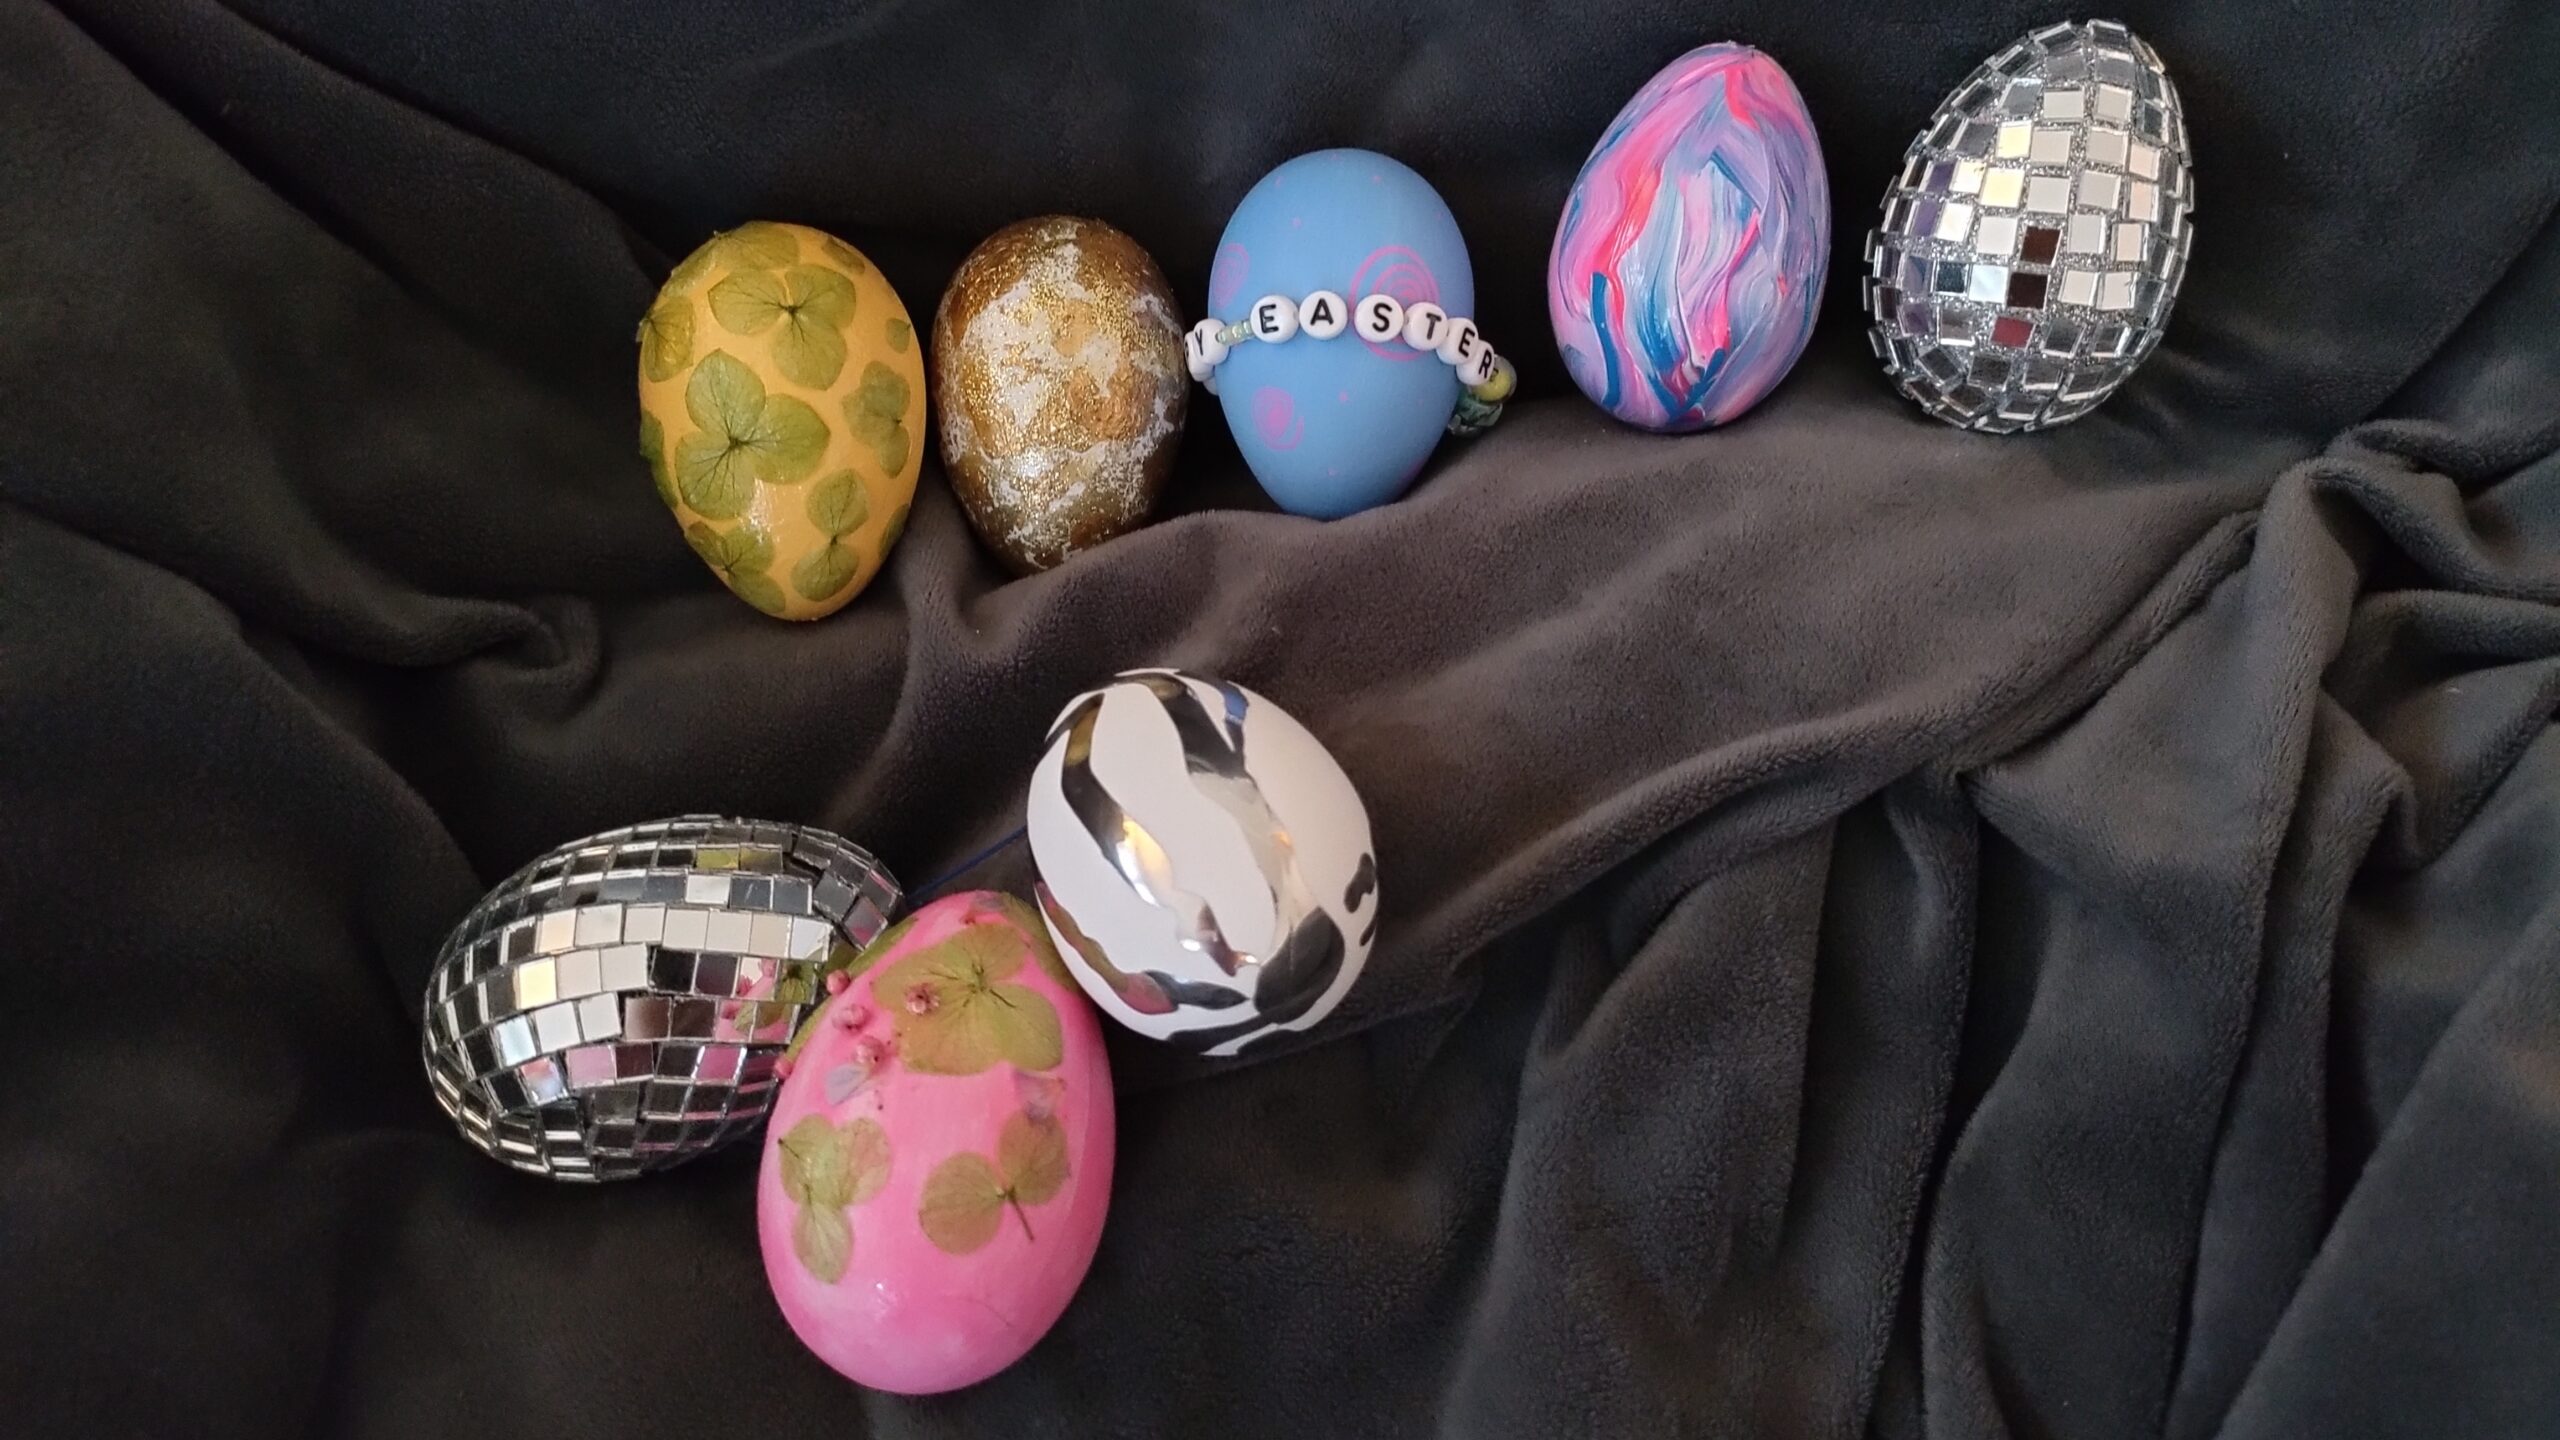
The more Easters that pass, the harder it can be to come up with new craft ideas for your kids. Especially when it comes to egg decorating, as there’s only so much you can fit on that tiny little canvas. That being said, there are still tons of ways to refresh the classic designs, with some paint, glitter, and a little thinking outside the box.
Real boiled chicken eggs can be used for each design, but if you’d like to keep them forever and avoid that eggy smell, pick up a bag of plastic crafting eggs instead.
Friendship Bracelet Eggs
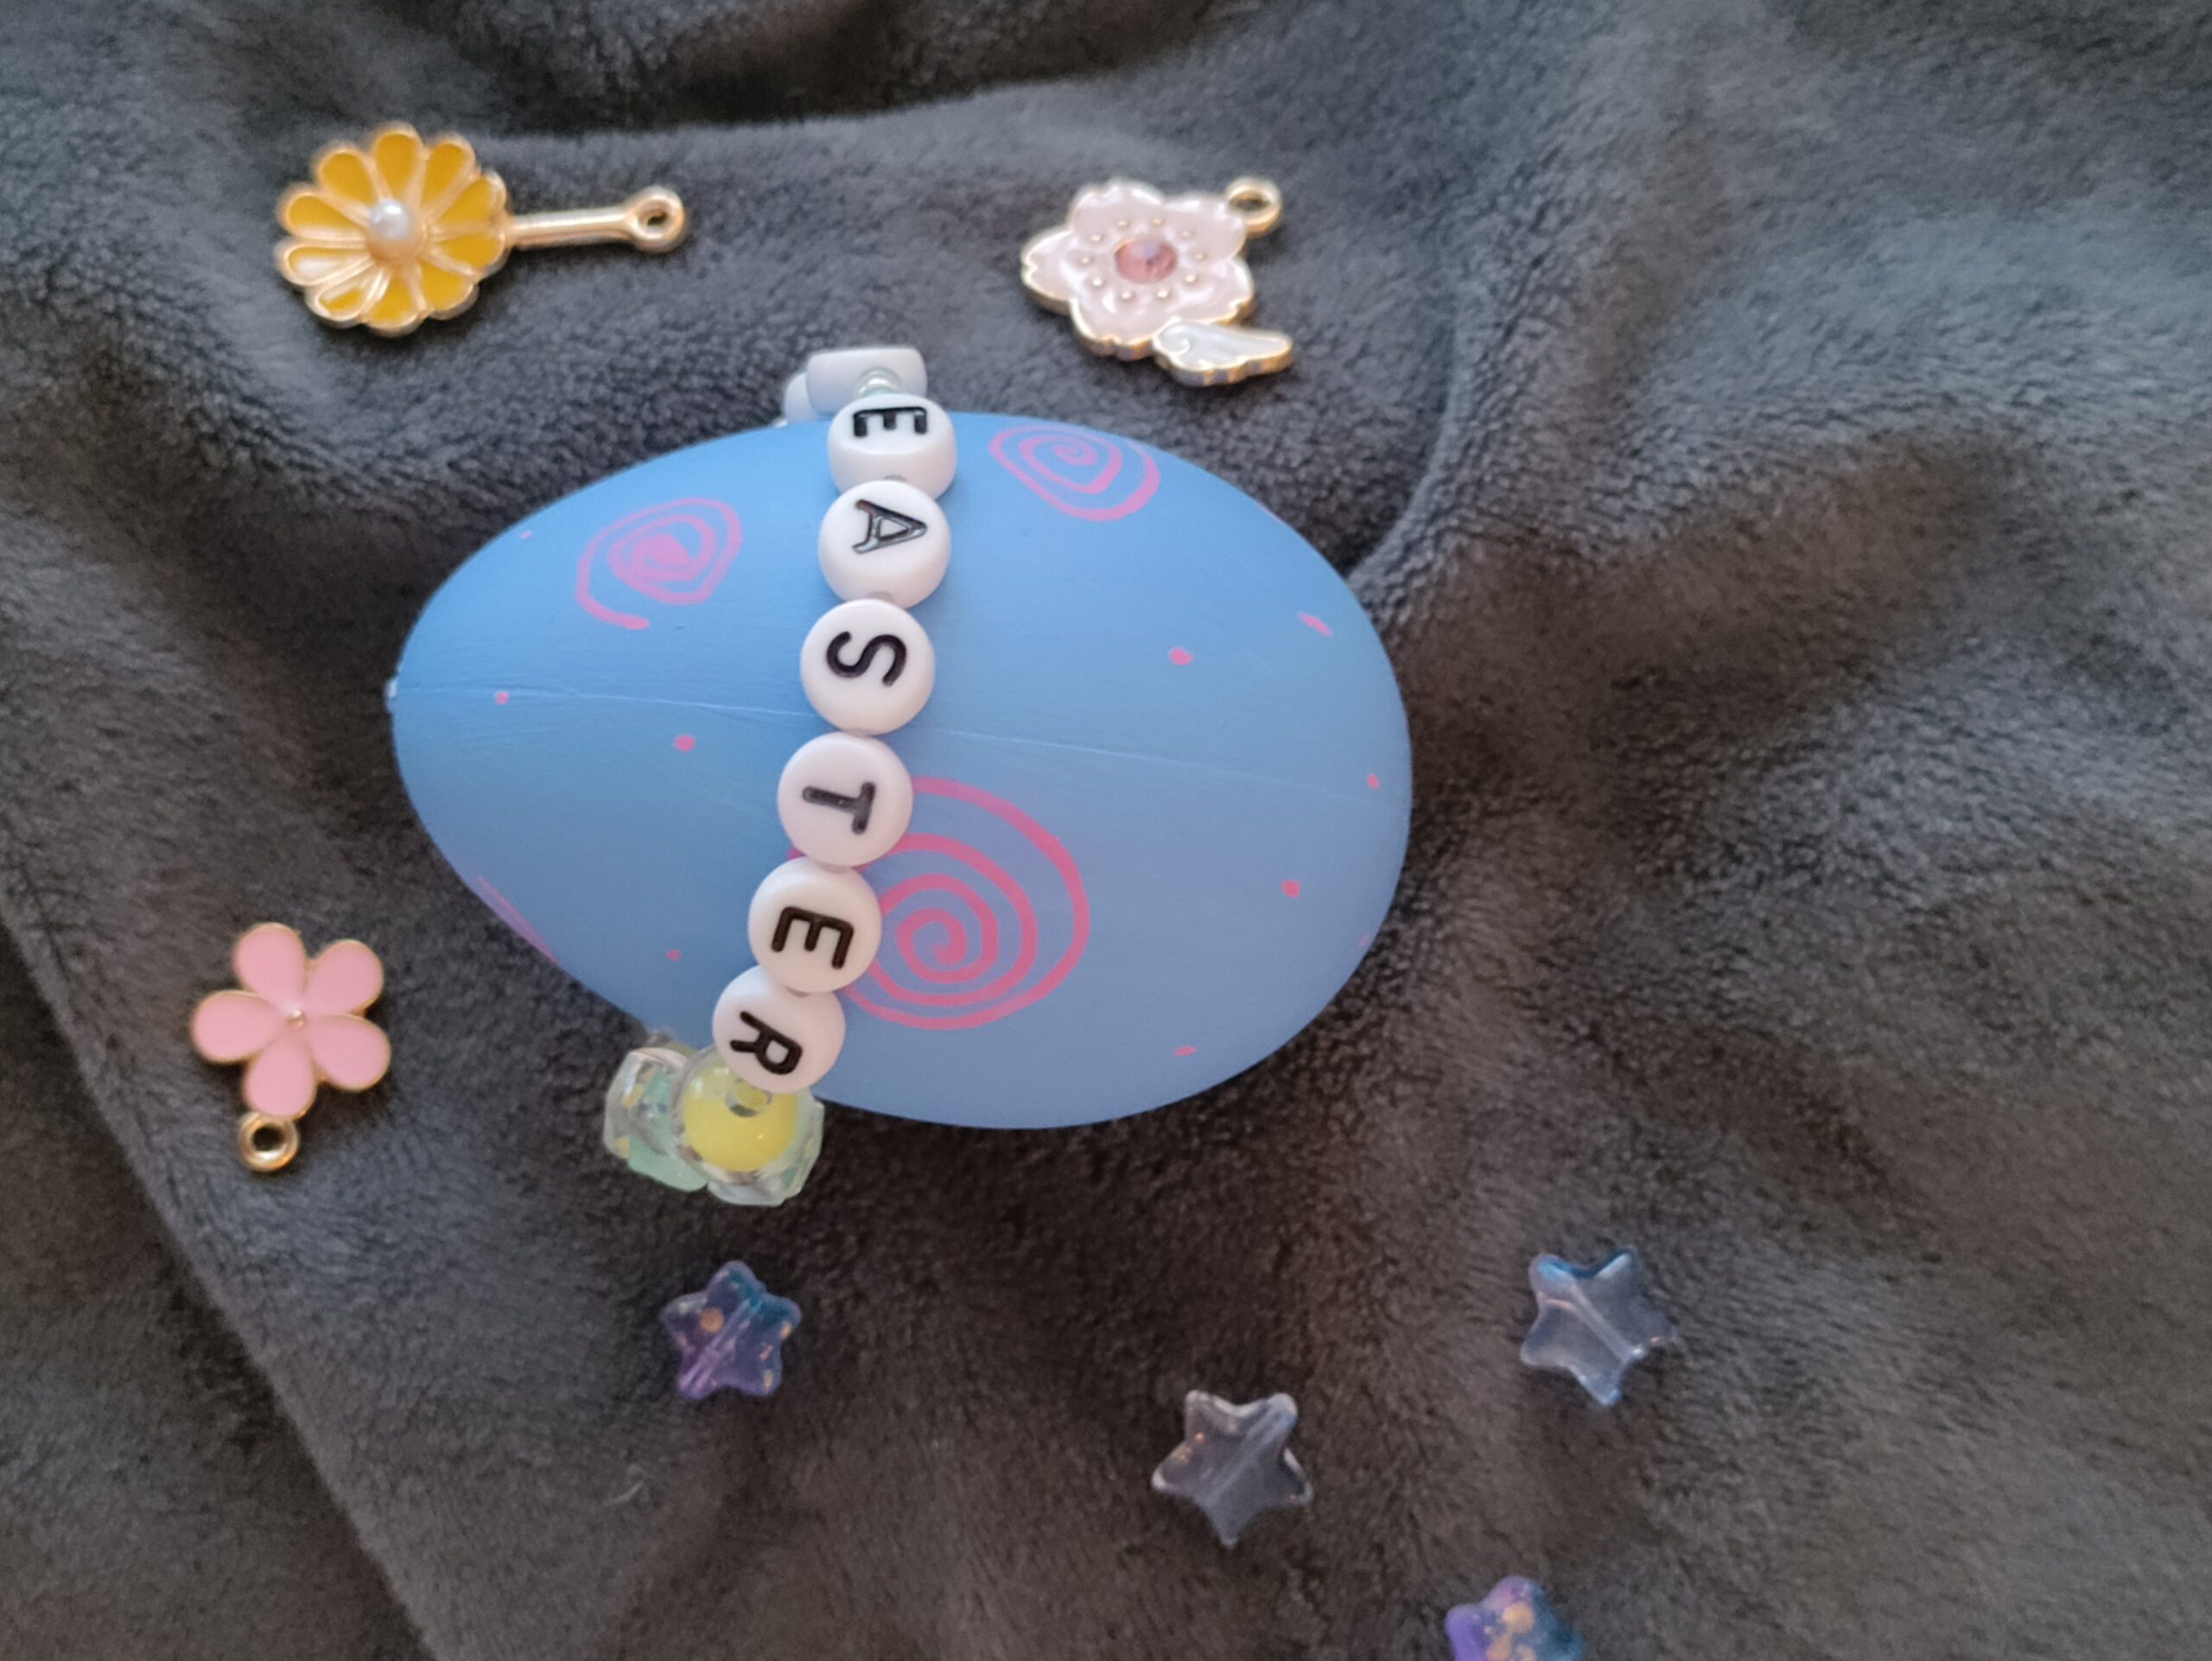
Speaking of thinking outside the box, let’s think outside the egg for a moment. Taking inspiration from Swifties, here’s a fun way of incorporating wearable friendship bracelets into your egg designs. Otherwise known as Kandi, these beaded bracelets come with cute words and phrases that send a message, which in a Swiftie’s case is a song title or lyric, in queer circles it can be the wearer's pronouns or orientation, and for us right now, it's anything Easter related.
What You’ll Need:
● A bracelet-making kit (letter beads, decorative beads, and elastic string)
● An egg
● Acrylic paint
● Decorations such as stickers, glitter, etc.
Steps:
-
Pick a base color that matches or contrasts some of your chosen beads, anything pastel will work well with the Easter theme. If you want some extra spice, paint a metallic shade over your base color. Add paint speckles, stars, stickers, swirls, or other texture details. This is mostly so the egg still looks finished when the bracelets are taken off.
-
While the eggs dry, start on the bracelets. Cut some elastic string to the circumference of the egg (measure this with a loose tape measure), don’t add on any extra length because we want the bracelets to sit snugly on the egg, and not fall loose. Since the bracelets are elastic, they should stretch to fit your child’s wrist. Tape one end of the string to a craft mat on your crafting space.
-
Pick your decorative beads, as well as letter beads that spell out your chosen phrase. Add the beads to the string with decorative beads surrounding the phrase, and separate each word clearly. The colored beads can form a set pattern or you could use random colors.
-
Once your beads have filled the elastic string, tie both ends together in a surgeon's knot. Then slip it onto the egg. Your kids can leave them on the egg and wear them when they want to. They also make great gifts for their friends or fun egg hunt prizes.
Faux Water-Marble Eggs
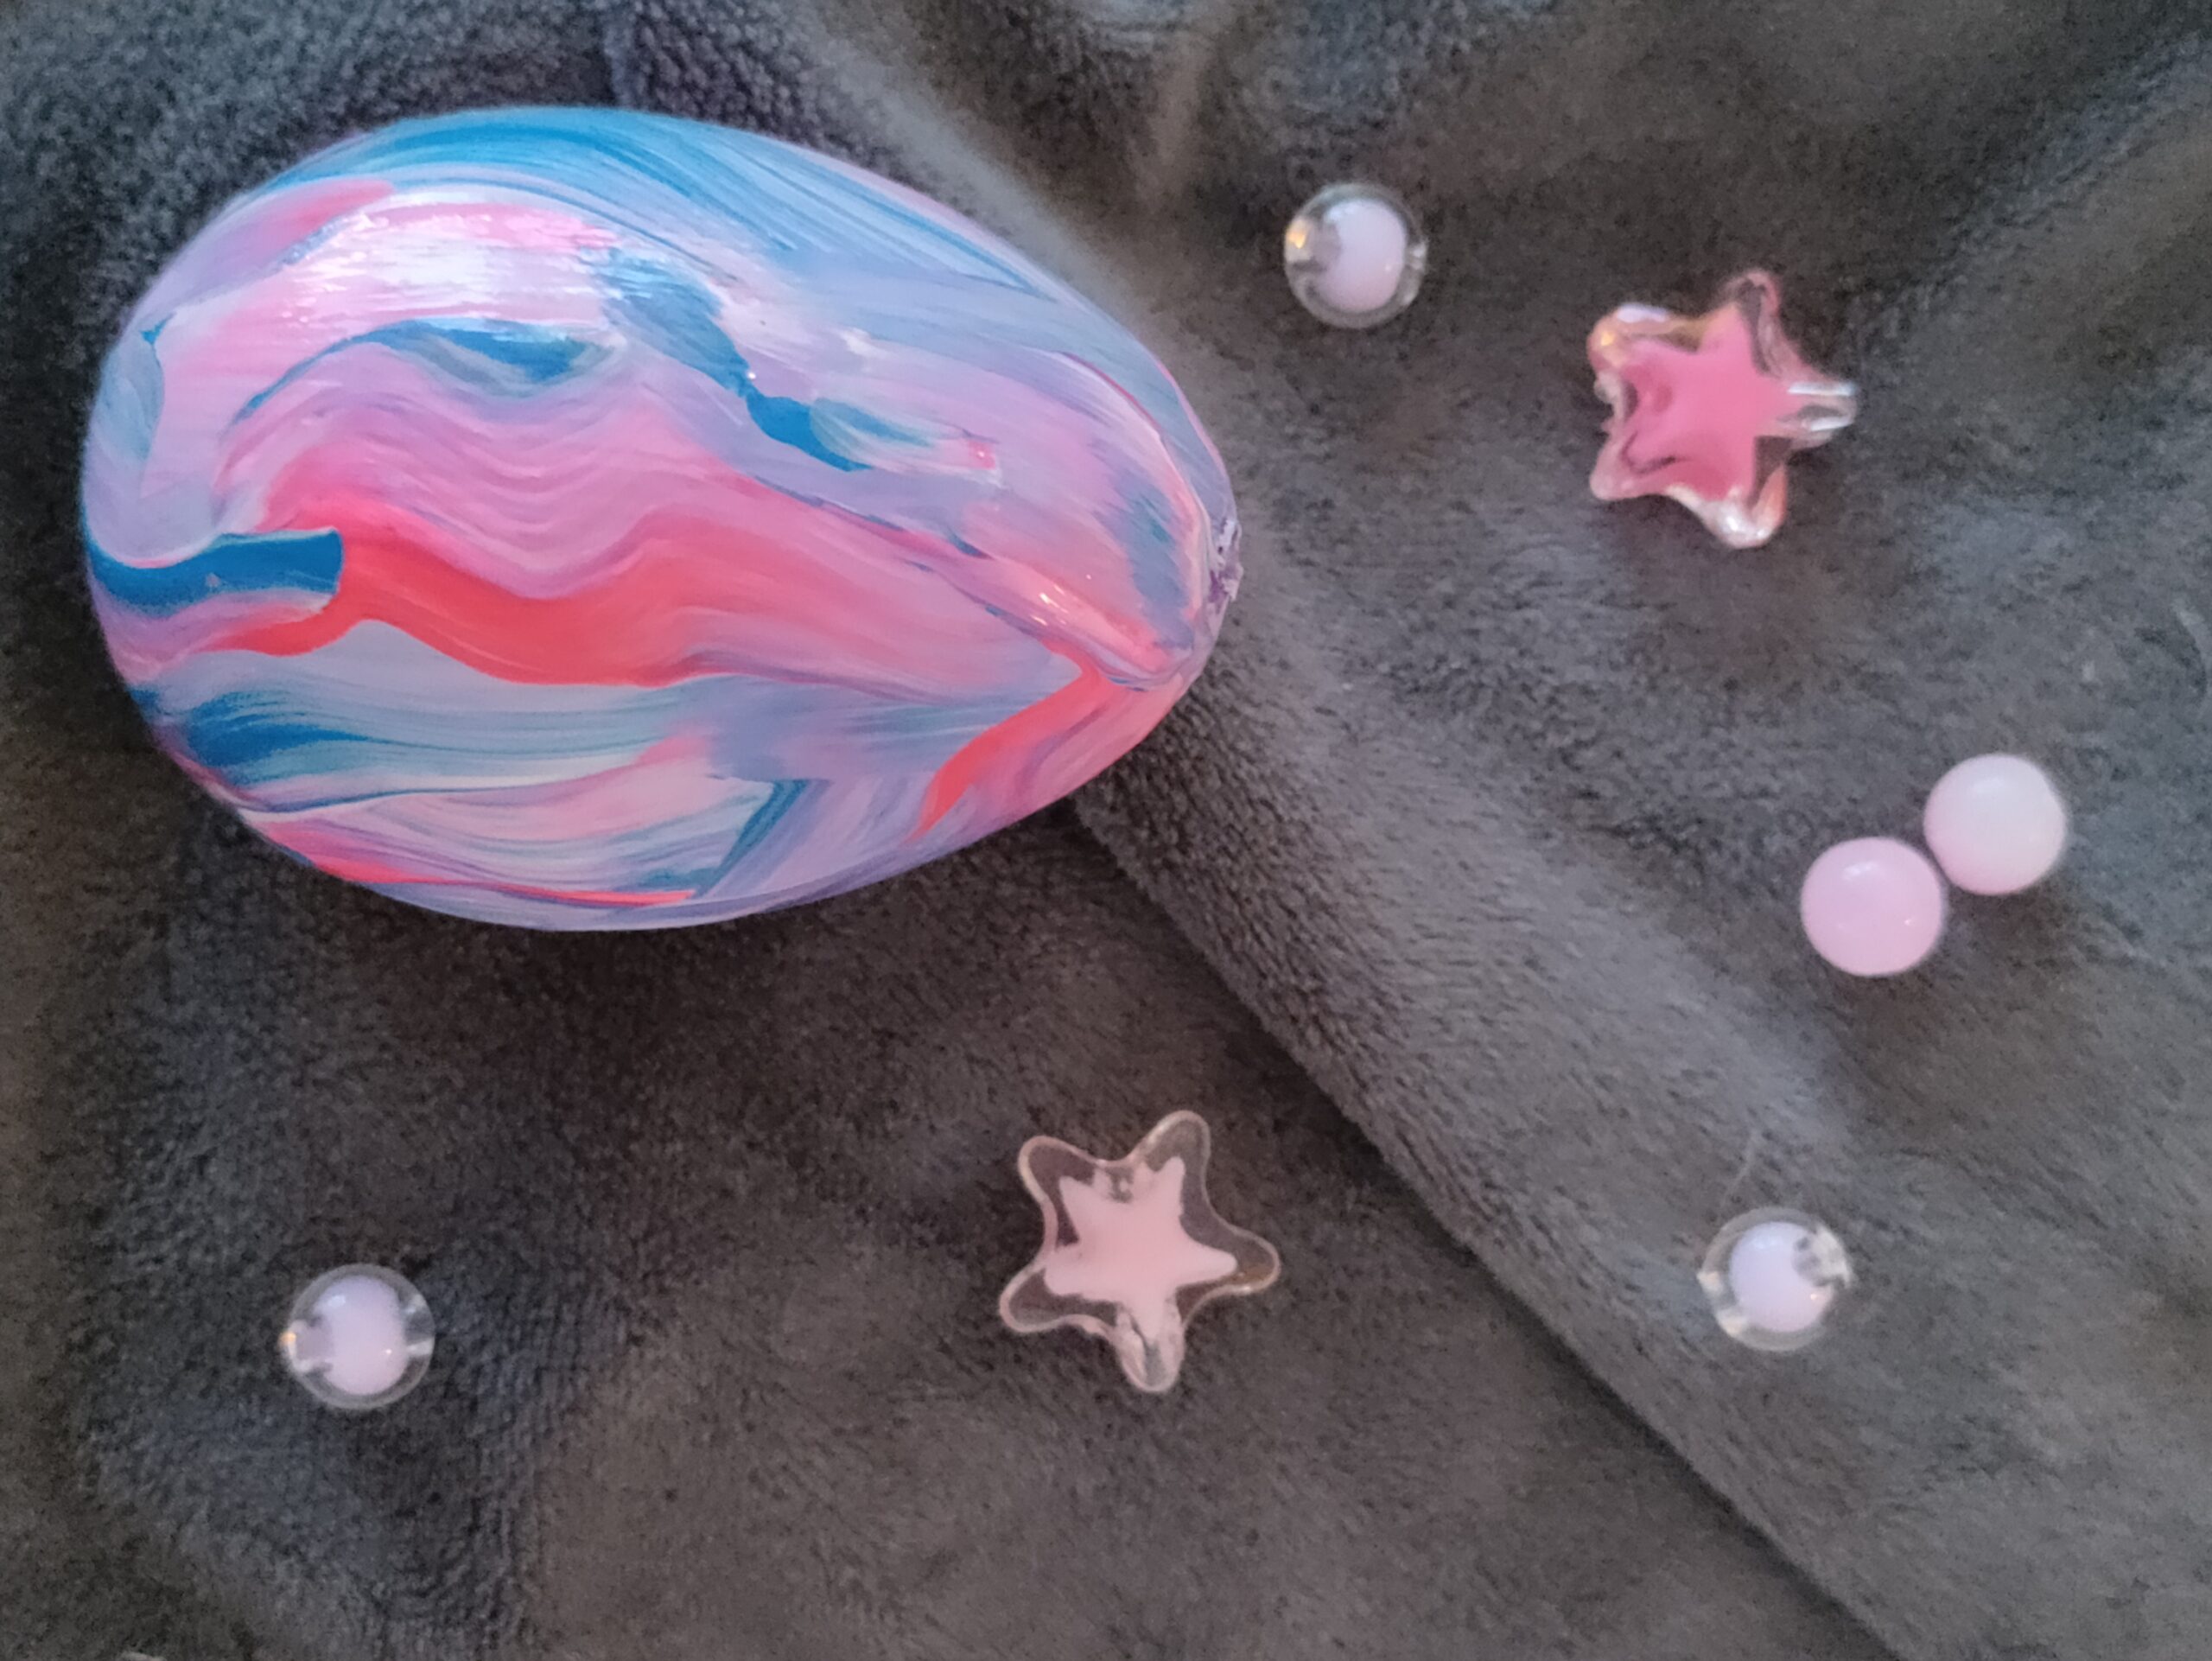
This is much less messy version of the acrylic pour technique, which makes it great for an easy cleanup and perfect for smaller craft spaces. This style also works well for kids who get stressed over their art not being perfect, because marbling can’t be perfect and looks good regardless of effort.
What You’ll Need:
● An egg
● 3 to 4 colors of acrylic paints
Steps:
-
Paint the egg a base color that goes well with your chosen water marble paints, but do not let it dry.
-
Pour each paint into a palette or old egg carton, mix several drops of water into each color to make it runnier.
-
Take your paintbrush and pick up at least two colors at once, don’t wipe off any excess, as you want a lot of paint. Apply the paint onto the egg, letting the paint drip naturally across the base color. The colors should create a marble effect, so don’t use too many brushstrokes.
-
If there are any gaps that don’t quite look right once it’s dry, repeat the process, but make sure there is a nice mix of blended paint and solid drips of color to resemble that marble effect.
Mirrorballs
What You’ll Need:
● An egg
● Silver glitter (preferably biodegradable glitter)
● Mirror stickers/tiles
Steps:
-
Use a sponge or brush to coat the egg in PVA glue, then pour a thick coating of silver glitter (the finer, the better) Let dry, then apply thicker coats of PVA glue until the glittery surface isn’t bumpy anymore. If you want a smooth finish in a single coat, then Triple Thick Gloss Glaze may be the best way to go, but adults only, please!
-
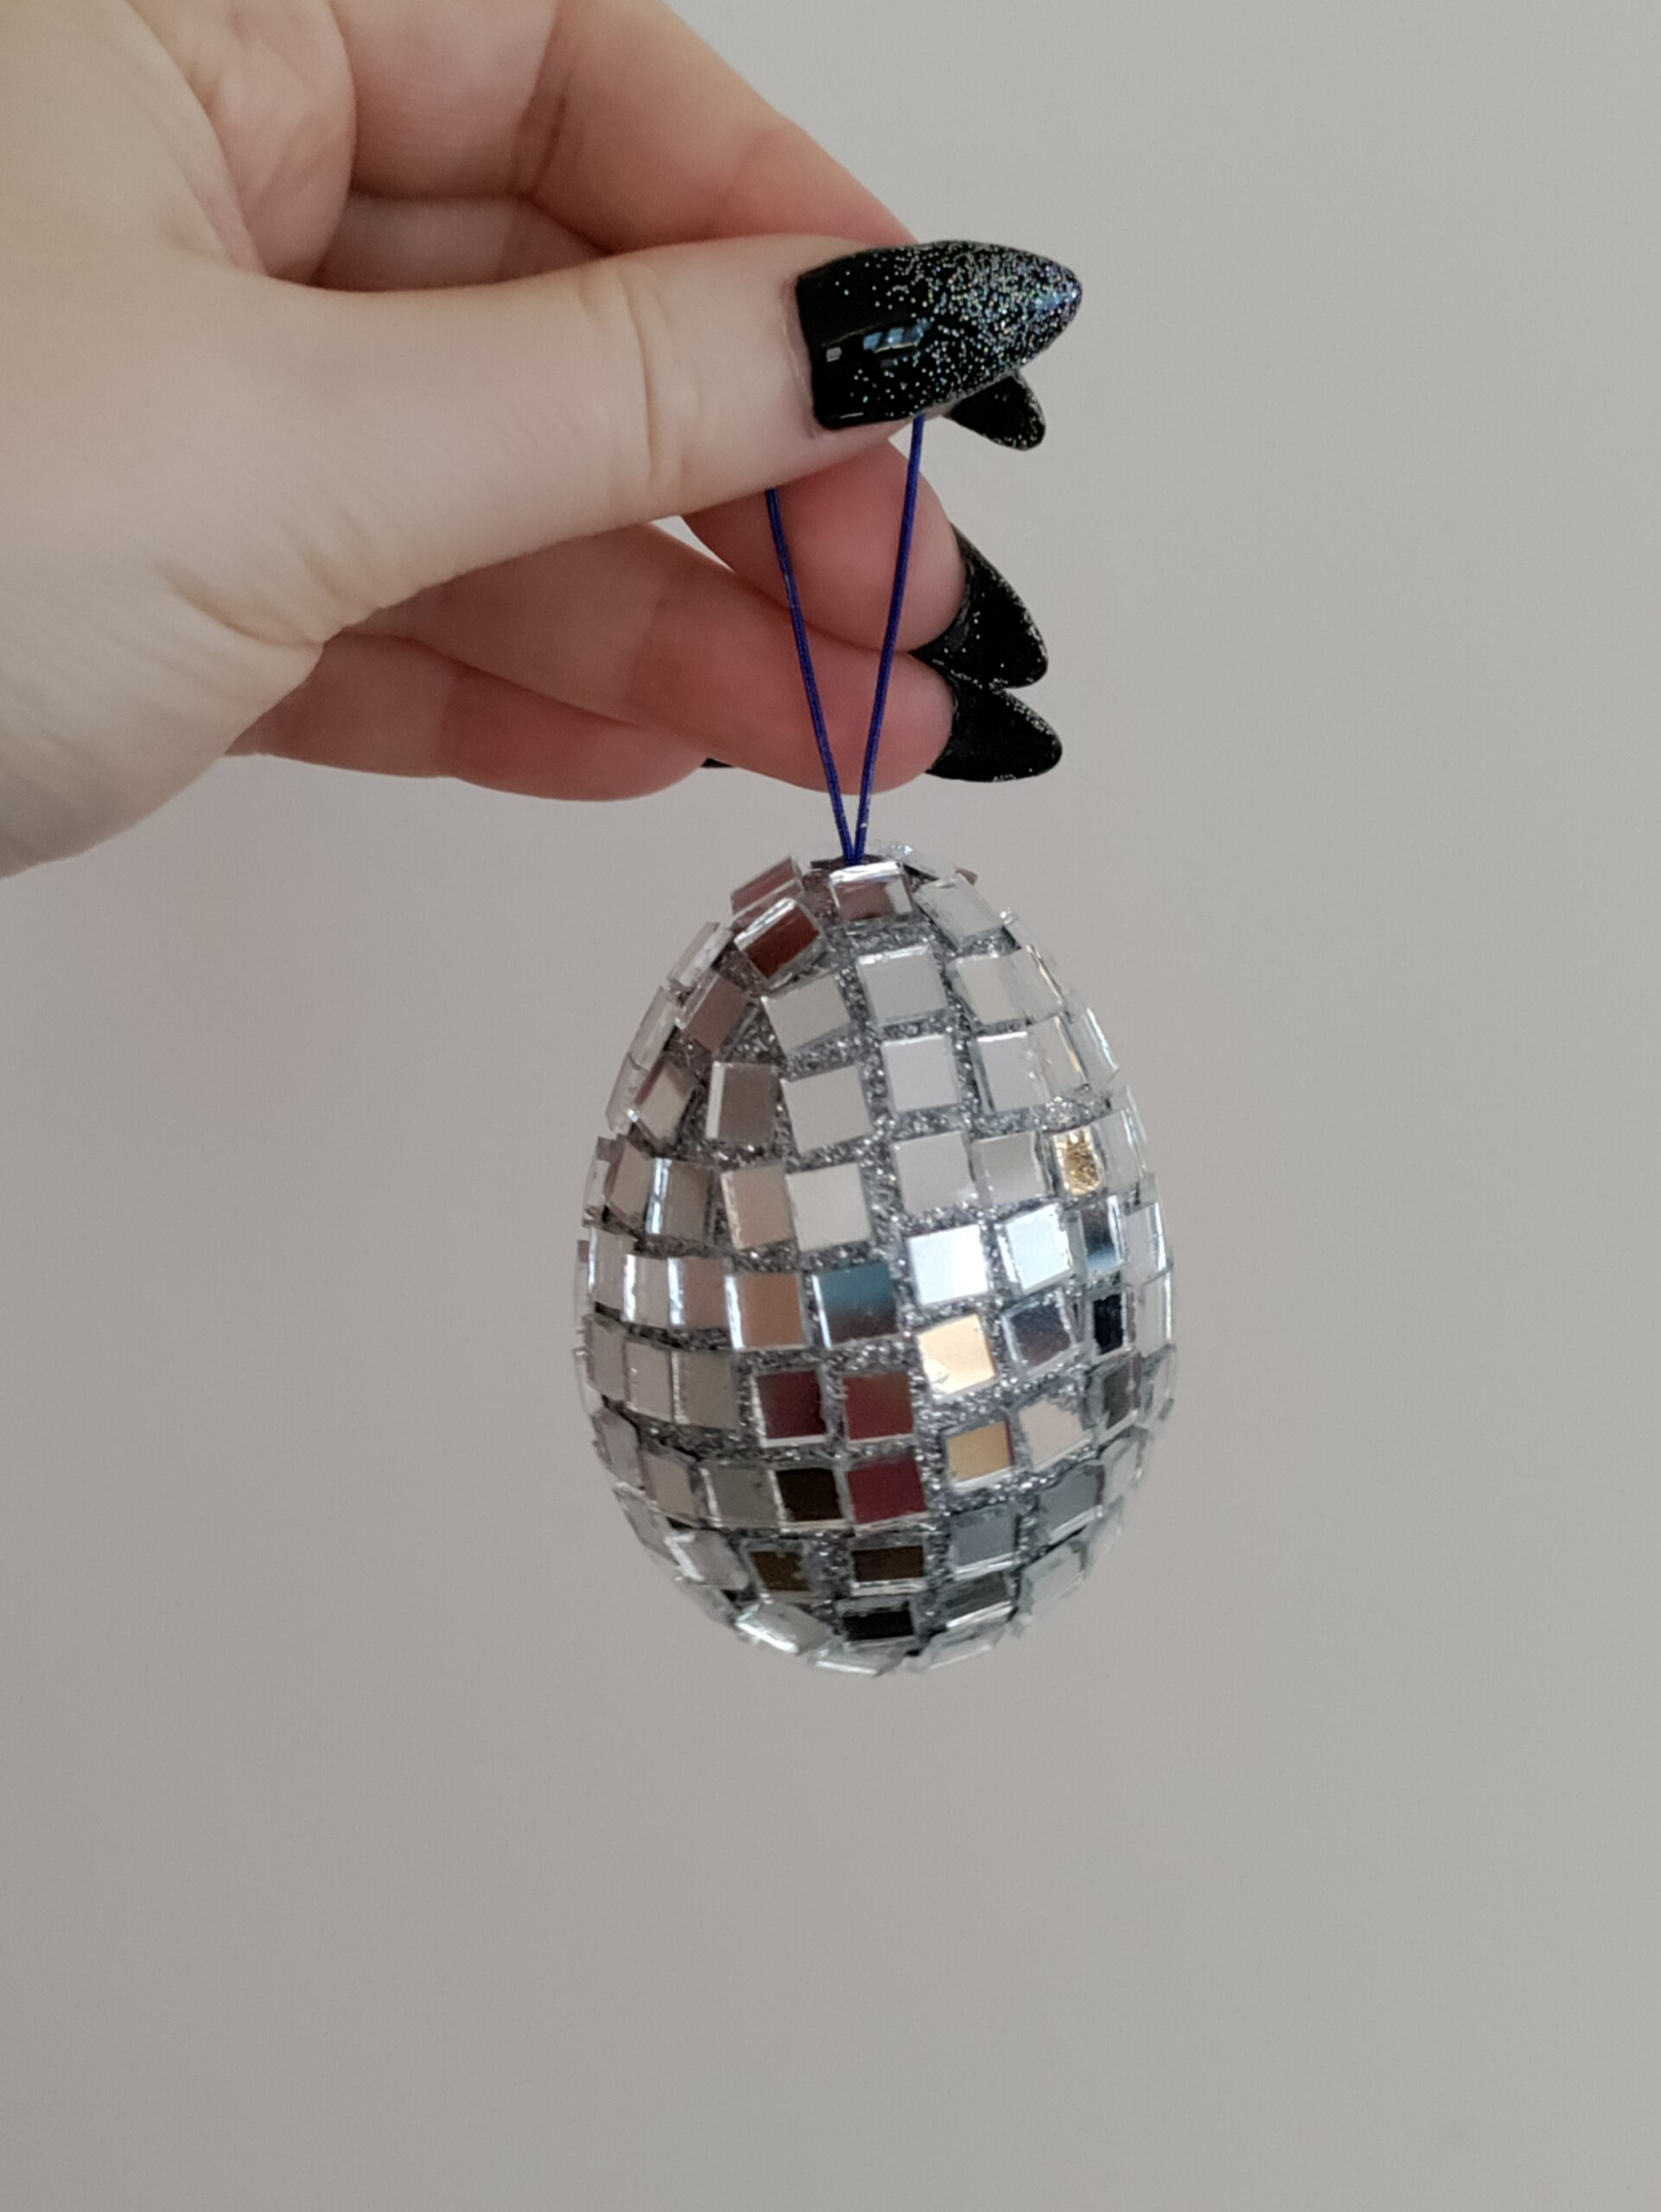
Take your mirror tiles and start sticking individual squares onto the egg in straight lines, working from the bottom of the egg up to the coned tip. There may be gaps now and again because sticking square pieces on a round object will never be completely symmetrical, but hey, that just adds to its charm and uniqueness. And that’s what the glitter is for anyway, think of it as fabulous grout.
Gold-Leaf 'Fabergé Eggs'
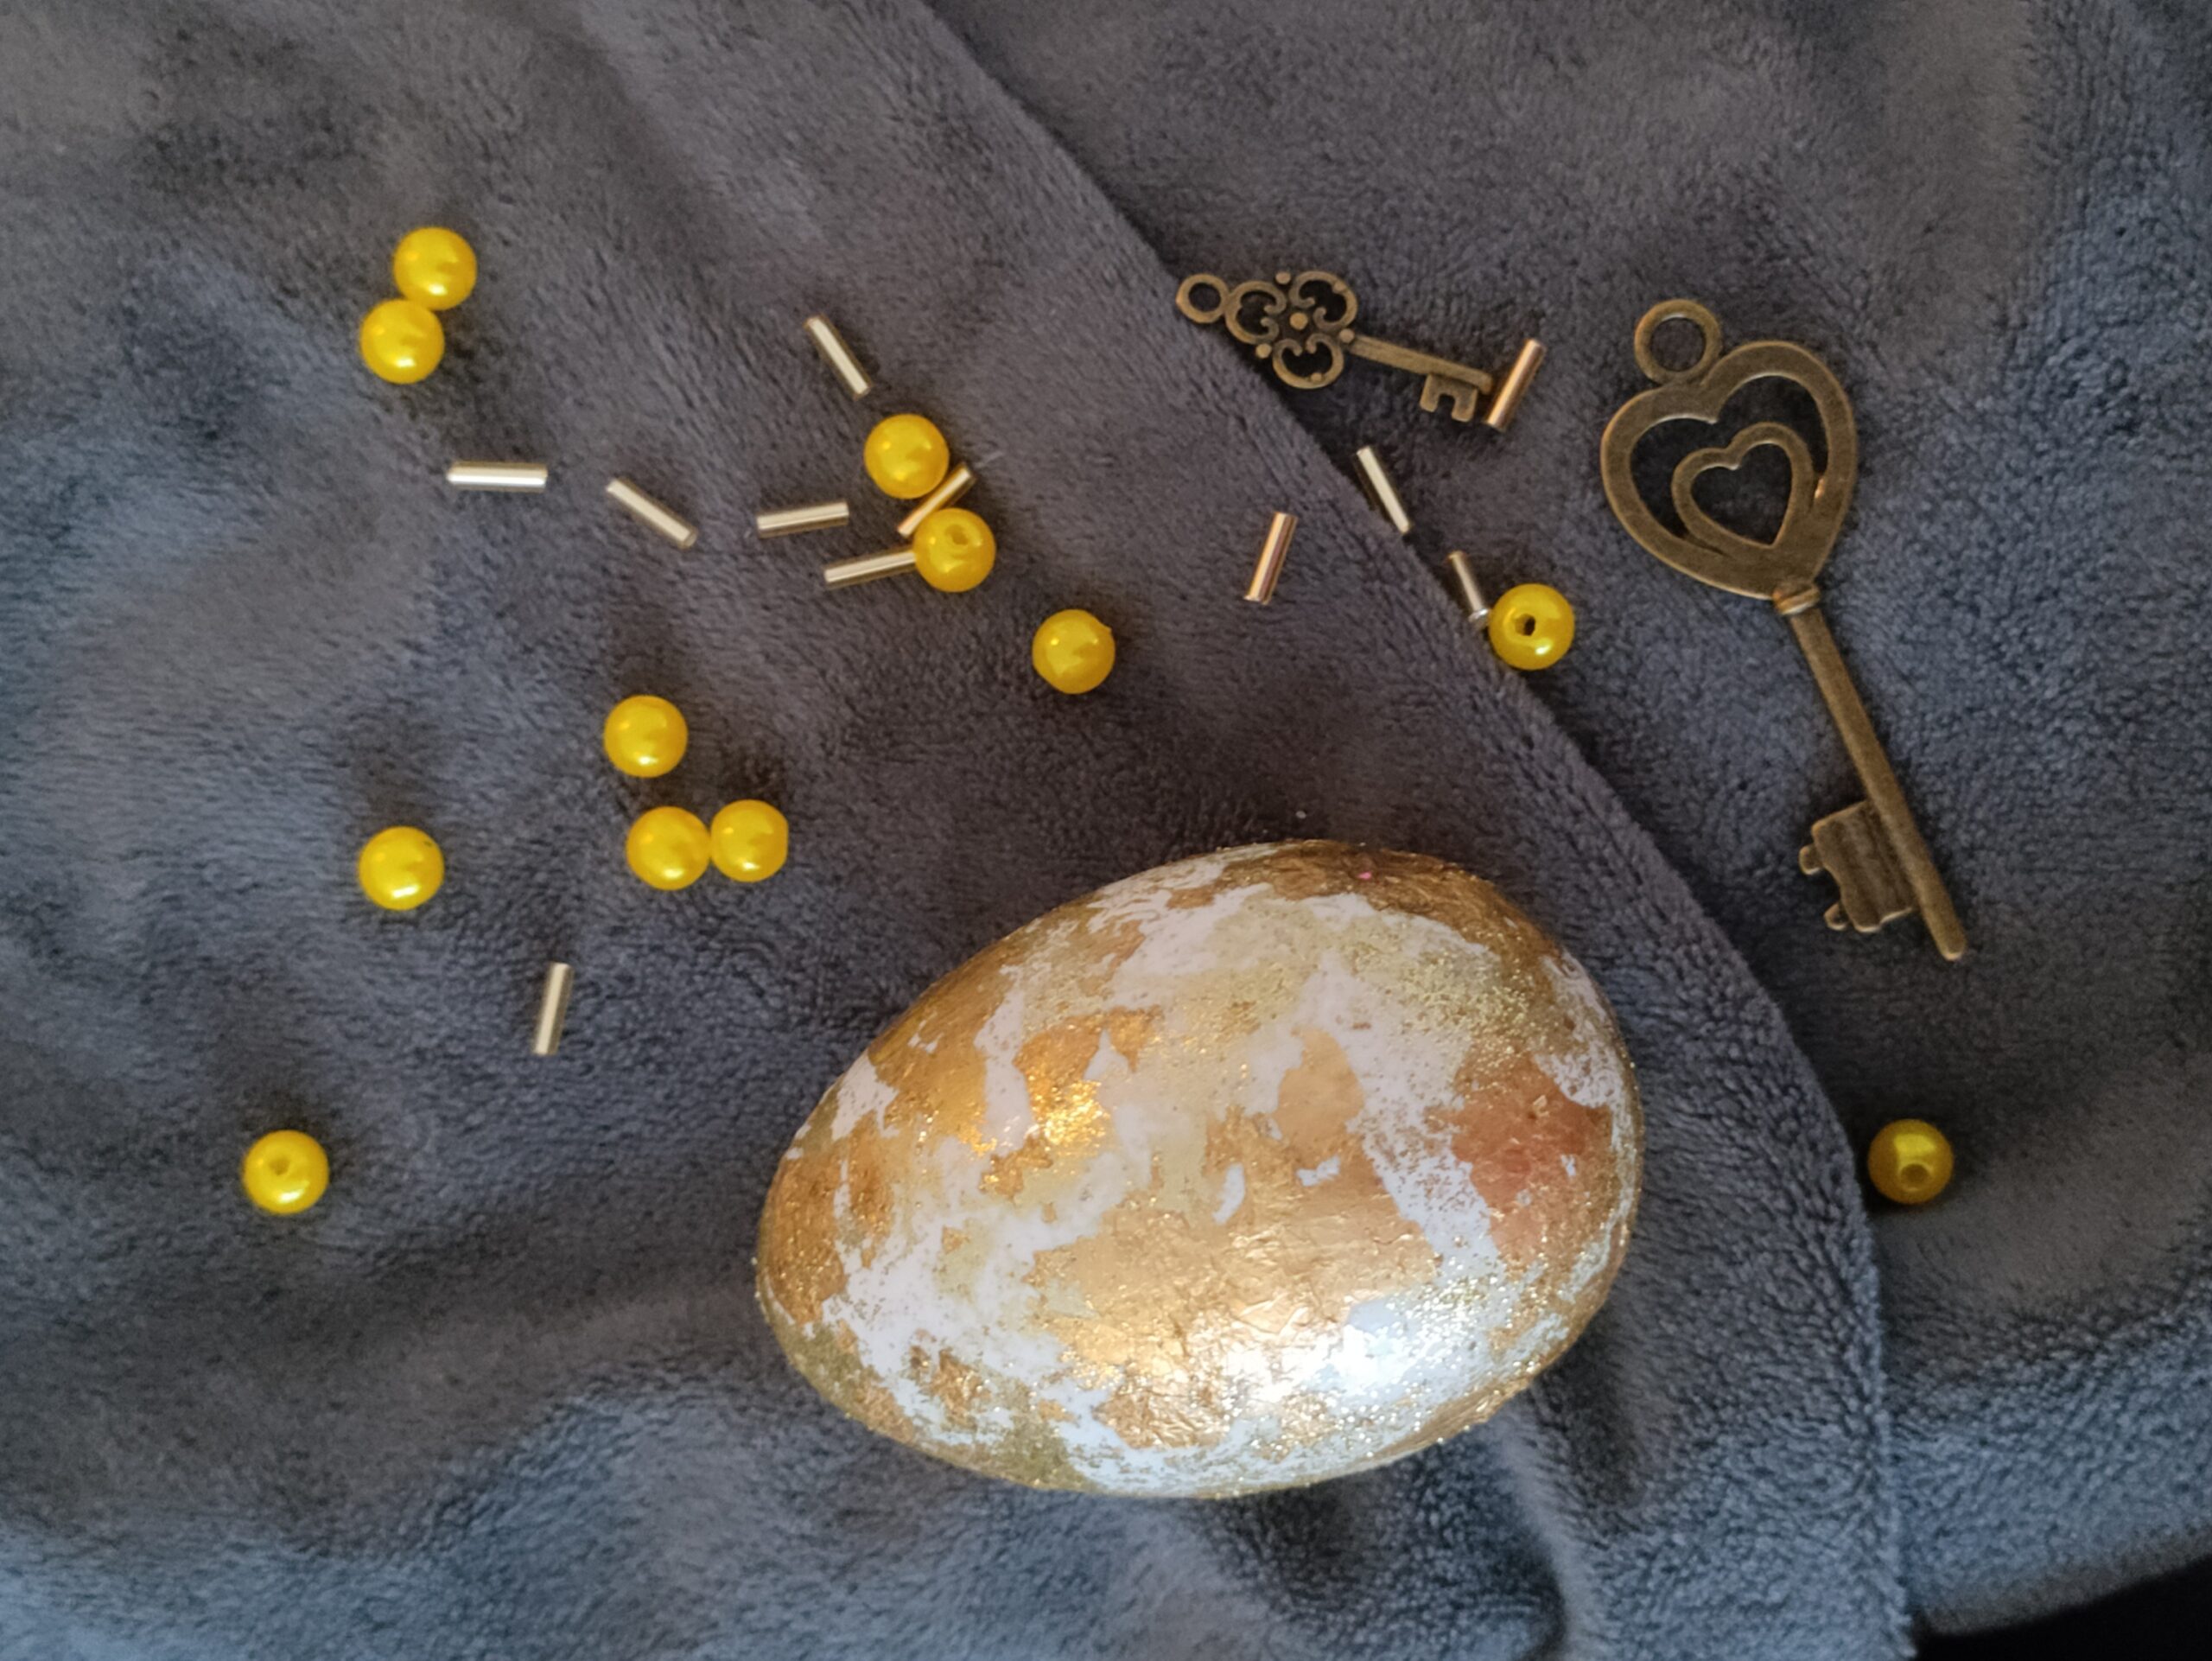
Similarly to the marble paint eggs, you can create a marble effect with gold leaf flakes in an equally random and organic way. This opulent egg will look like it took a heck of a lot more effort than it actually did because gold makes anything fancy.
What You’ll Need:
● An egg
● Gold leaf flakes
● Gold glitter
● PVA glue
Steps:
-
Paint some PVA glue across your egg in thin coats. Take the loose gold flakes and carefully place various different sizes onto the egg. They can easily disintegrate in your hands, so use a dry paintbrush or a popsicle stick to move them. Let dry.
-
Once dry, add another coat of PVA glue with a sponge, if any gold comes off don’t worry about it as it’ll give a natural ripped texture to what stays on the egg.
-
Sponge on another layer of glue and add any extra flakes you'd like, then a thin dusting of glitter. Once dry, sponge on another layer of glue as a finishing glaze.
Pressed Flower Eggs
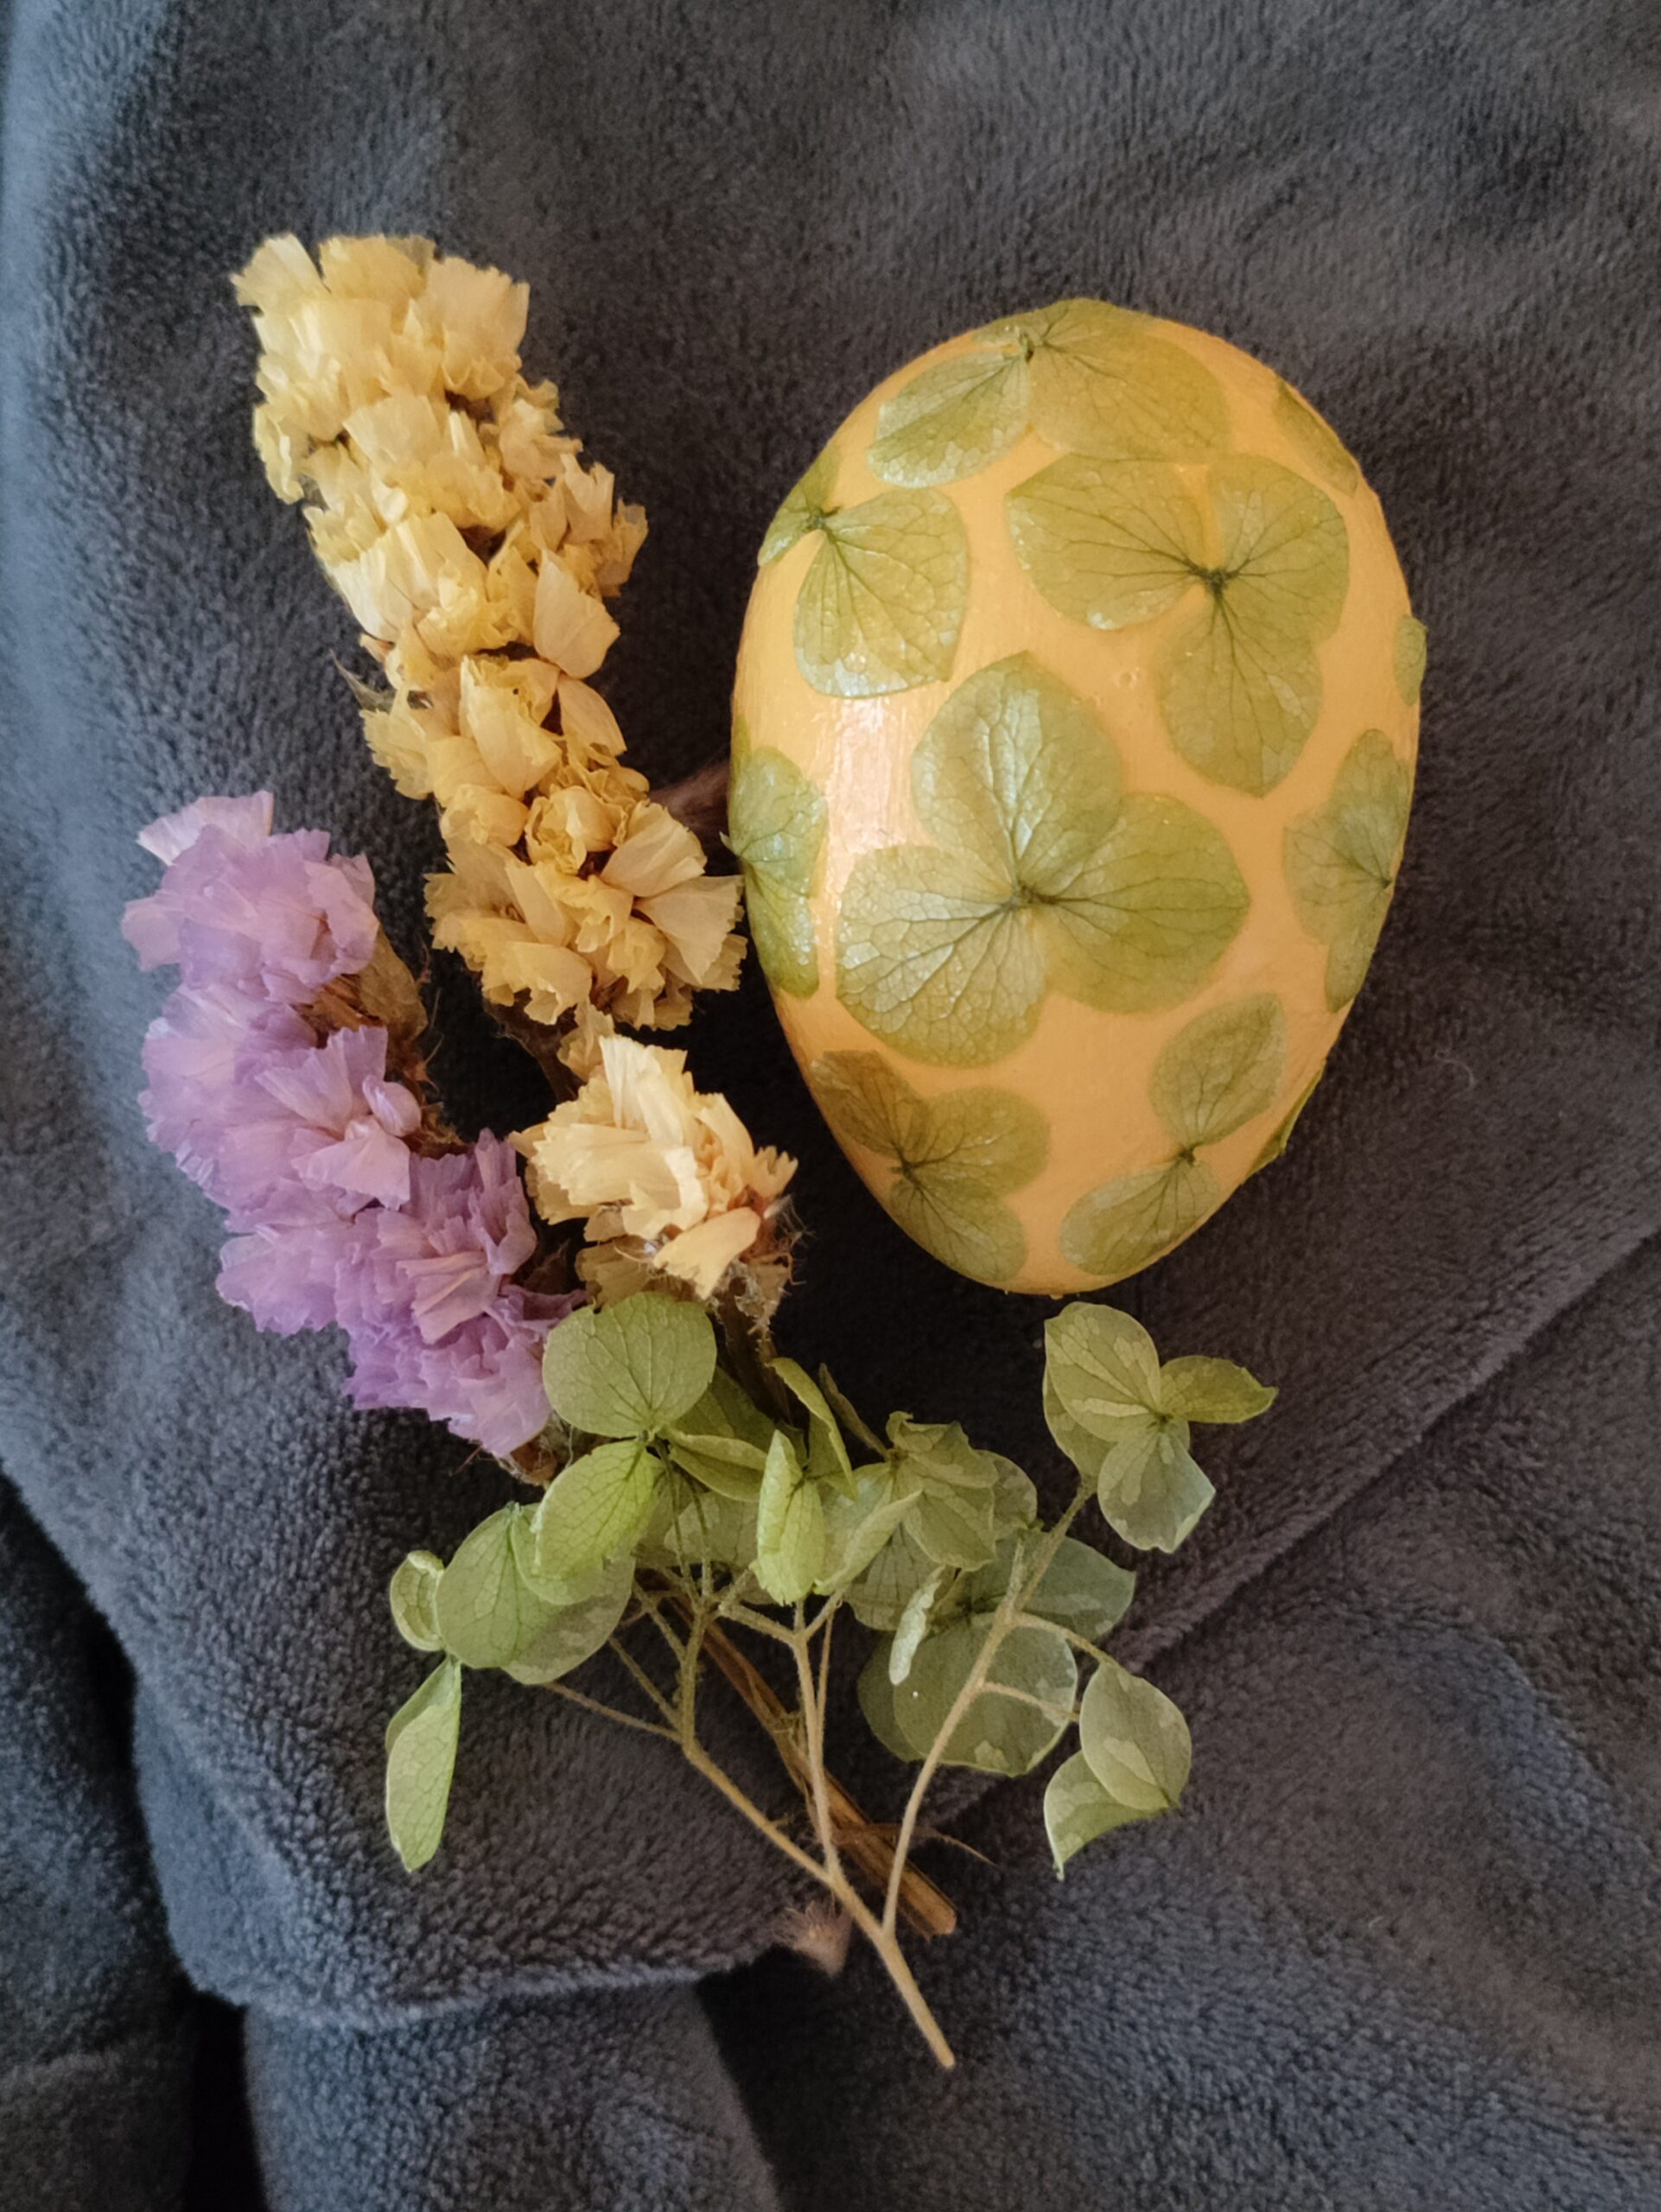
Like a mini scrapbook of pressed flowers, this egg will bring a little extra springtime into your home for the season. This extra simple craft is perfect for when you’re sick of cleaning up spilled paint, and if you want, you can even press and dry your own flowers from your garden.
What You’ll Need:
● An egg
● Small pressed flowers
● Acrylic paint
● PVA glue
Steps:
-
Paint your egg any base color that compliments the flowers. Natural colors are best, but make sure they don’t match your flowers or leaves exactly, as they may disappear into the paint color. So avoid green paint with green leaves, but white flowers will look lovely on a pink base.
-
Spread some PVA across wherever you want to paste your flowers, be gentle so as not to rip any petals or leaves. Stiffer flowers may need you to paint the top of the flowers (think papier-mâché) so they don’t peel off gradually before the glue dries beneath.
-
Once that’s dry, add any PVA glue to the edges that need some extra support. And with that, we wish you a happy Easter!


