As a kid, my friends and I used to build little houses and huts out of sticks and mud — we told our parents we were making houses for fairies. We even sometimes left out sliced fruits and veggies for the fairies to eat.
As I've gotten older, I've learned that the likelihood that fairies actually exist is slim, but it hasn't changed my love for the little whimsical creatures.
Now, whenever I garden, I still think about those days I spent covered in mud and dirt, building homes for fairies. And I recently realized it would be a great addition to a grown-up's garden.
When I came across this DIY fairy house planter online, I was immediately blown away.
It may be simple, but it's the perfect way to add some fun and creativity to a backyard or garden.
More from LittleThings: I Made DIY Flower Seed Bombs, And This Kid-Friendly Gardening Activity Was A Total Blast
Follow along with the instructions below to learn how to make your very own DIY fairy house fit for an adult!
Thumbnail Source: Flickr / FairyRoom
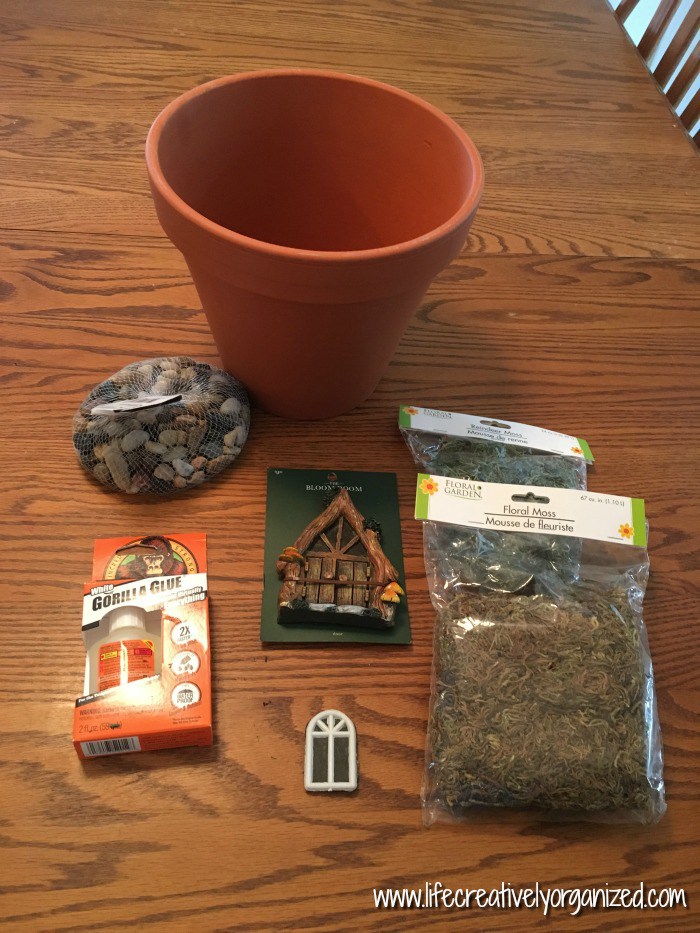
To make your very own fairy house, you'll need the following supplies:
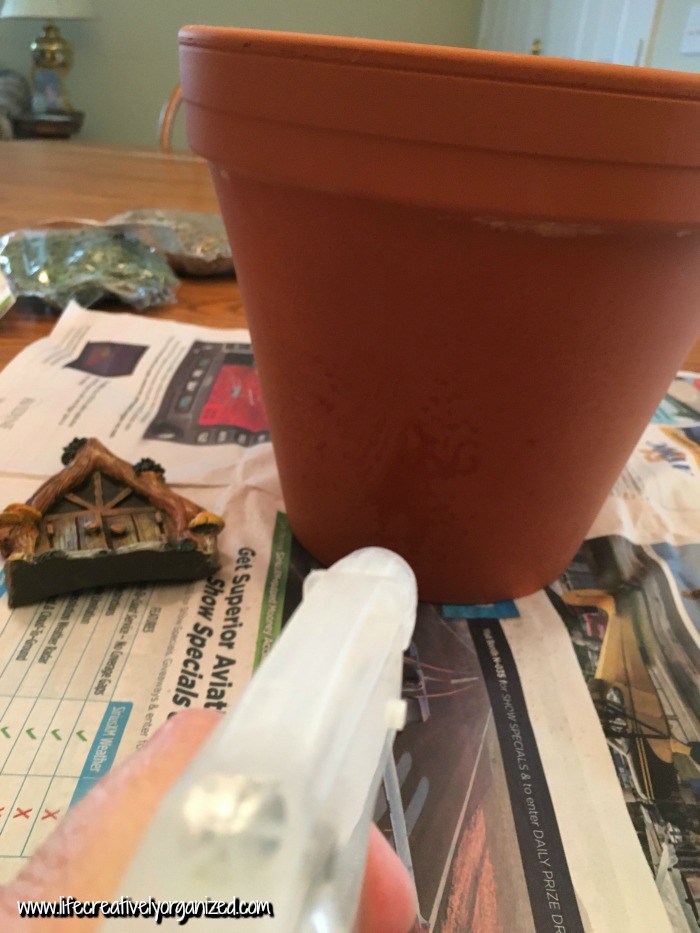
Pam Hoepner, the woman who created this lovely tutorial, wrote instructions for decorating the terra cotta pot.
Pam explained, "To use Gorilla Glue, one of the surfaces you are gluing needs to be dampened first. Use a spray bottle to wet the surface."
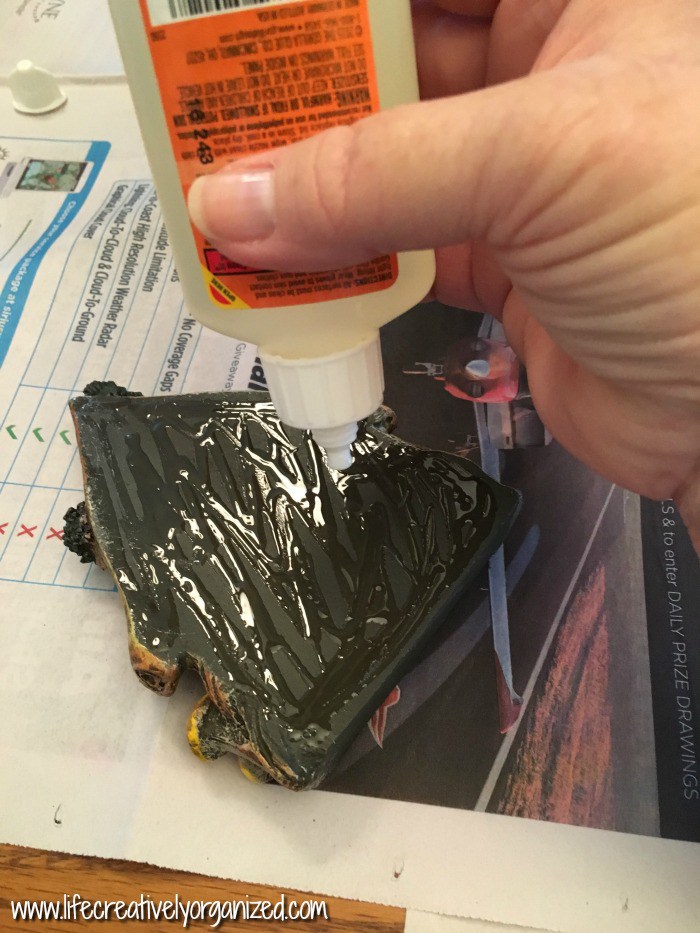
Once the surface of the terra cotta pot is moist, squeeze some of the Gorilla Glue onto the back of your fairy house door.
Make sure you cover the entire back of the door — you want to make sure the door has enough glue to stick to the curved pot.
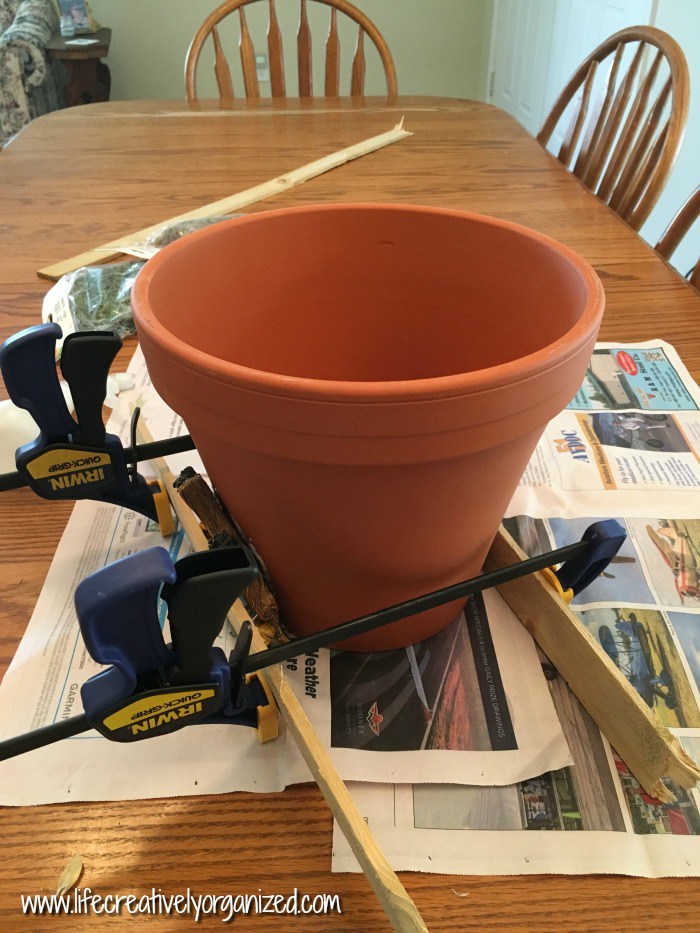
Next, stick the door to the pot in the location you want it.
Pam explained:
The directions state to let the glue dry for 30 minutes. Since I wanted to make sure it had a good seal, I used scrap wood and clamps to keep it firmly pressed.
This particular Gorilla glue dries white, so if you have a bunch that oozes out around the door, just trim it with a knife or scissors, but it can easily be covered up with bits of moss later, so, don't worry, it doesn't have to be exact.
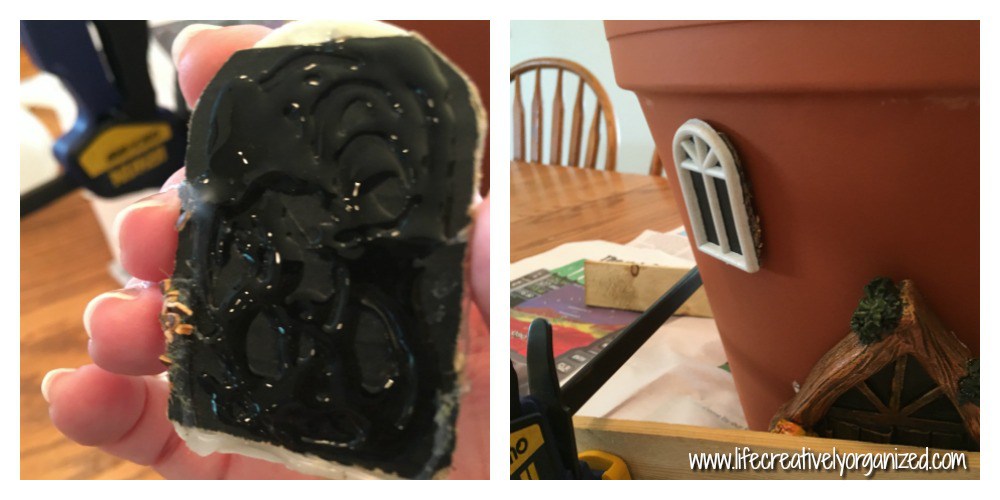
While the door is drying, attach the window to the terra cotta pot.
If the window is made of a light material, like Pam's was, you can use a strong multipurpose glue to attach it (instead of more Gorilla Glue).
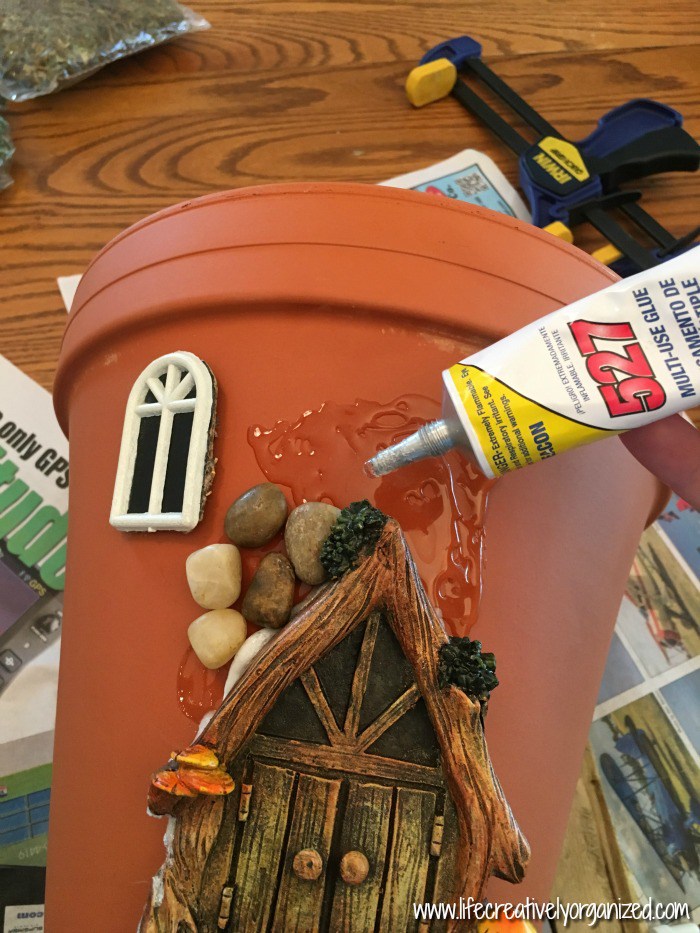
Pam explained the next step:
Once the door is dry, begin adding the stones.
Because I didn't want to hold the stones for 30 minutes while using Gorilla glue, I opted to use another glue we had, called 527 multi-use glue.
I use it for almost everything. It dries clear and peels off fingers relatively easily, unlike Gorilla glue.
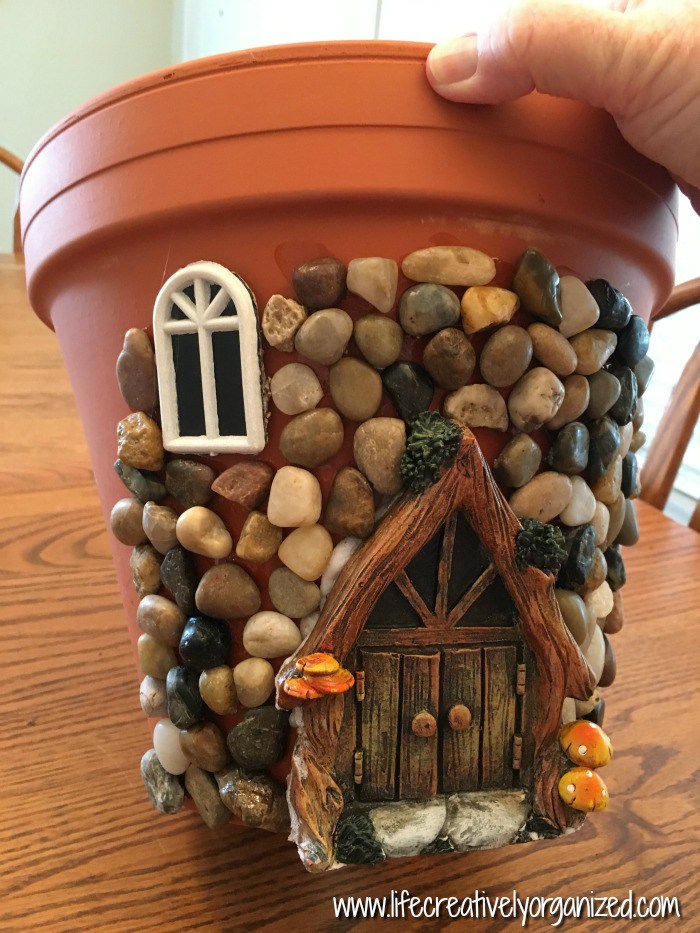
Take your time attaching the stones, as they can slide around while the glue is drying.
Once all the stones are in place, let the pot dry overnight — this will ensure that the pot is ready for the next steps.
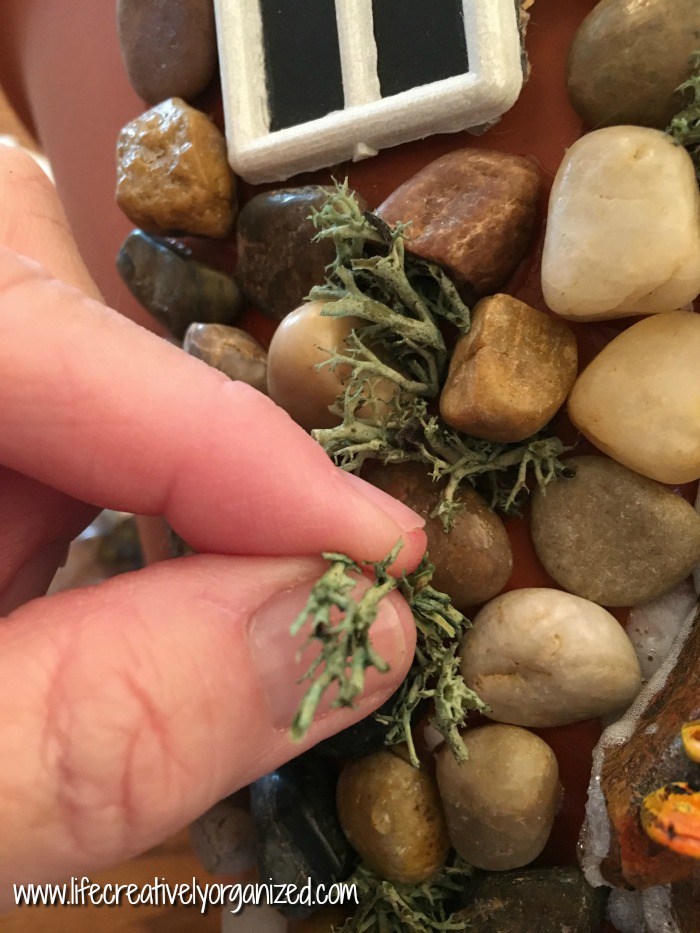
Using some decorative moss, fill in the cracks between the stones.
To glue the moss to the pot, use the same multipurpose glue you used for the window and the stones.
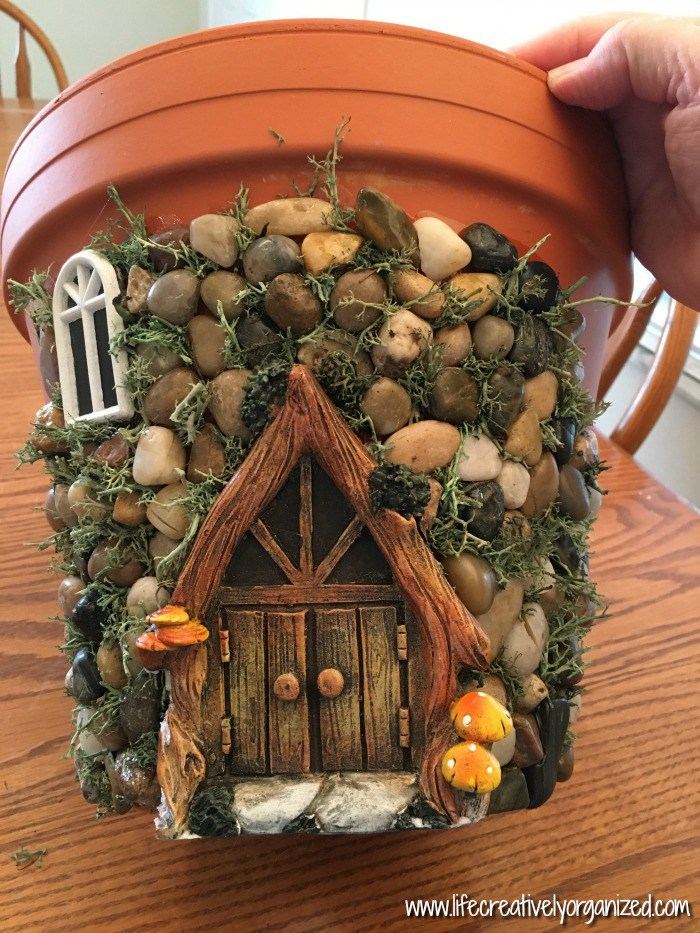
The moss and stones will make your fairy house look natural — it will fit in perfectly in your garden or any other outdoor area.
Once your fairy house planter is complete, pick a flower of your choice and plant it in the terra cotta pot.
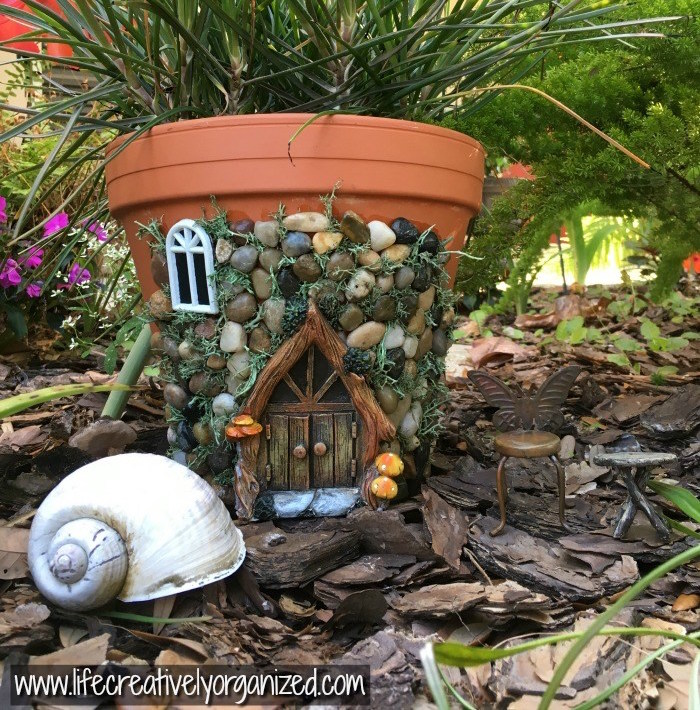
When the pot has its plant in it, your DIY fairy house planter is complete!
If you love this fairy house and can't wait to make one for your own garden, please SHARE this article with your friends and family!
Psst: If you choose to purchase an item we link to, LittleThings may receive a small cut. Each item and price is up to date at the time of publication; however, an item may be sold out or the price may be different at a later date.


