It’s getting cold outside, and you know what that means: hot baths! Baths are great year-round, but nothing beats coming in from a cold autumn day, running a piping hot bath, and grabbing a mug of tea or mulled wine.
Baths are more than just relaxing. They help relieve a lot of the discomforts of cold weather, like dry skin, stuffy noses, muscle pain, and low mood.
And ever since Lush popularized the “bath bomb” in the ‘80s, bath-lovers have been forking over their hard-earned cash for these satisfying little balls. They come in practically every shape, scent, size, and color. Some fill your bathtub with glitter, while others fill your bathtub with dried flowers. Each one, though, has a unique way of making your bath time feel a little extra special.
At this point, I don’t even know anyone who takes bubble baths anymore. Goodbye bubbles! We are bombing our baths now! It is great!
Unfortunately, these magical fizzy balls do not come cheap.
The average Lush bath bomb costs $8 or $9 and is intended for one use. Assuming you want to take a bath more than once a month, that price can add up pretty quickly. So naturally, you might eventually consider making your own.
That’s where I found myself, overeager for fall baths but not excited to spend bath bomb money. But I’ve come to realize that most bath and body products are easier to make than they look, so I figured: Why not give DIY bath bombs a try?
Rather than any ol’ bath bomb, I decided to make a fall-themed bomb — one that smells like pumpkin spice, apple pie, and the autumn woods all mixed together. I couldn’t actually find an exact recipe for what I was going for, which made a DIY experiment seem all the more necessary.
Here’s how my DIY bath bomb attempt turned out!
Ingredients for Any DIY Bath Bomb
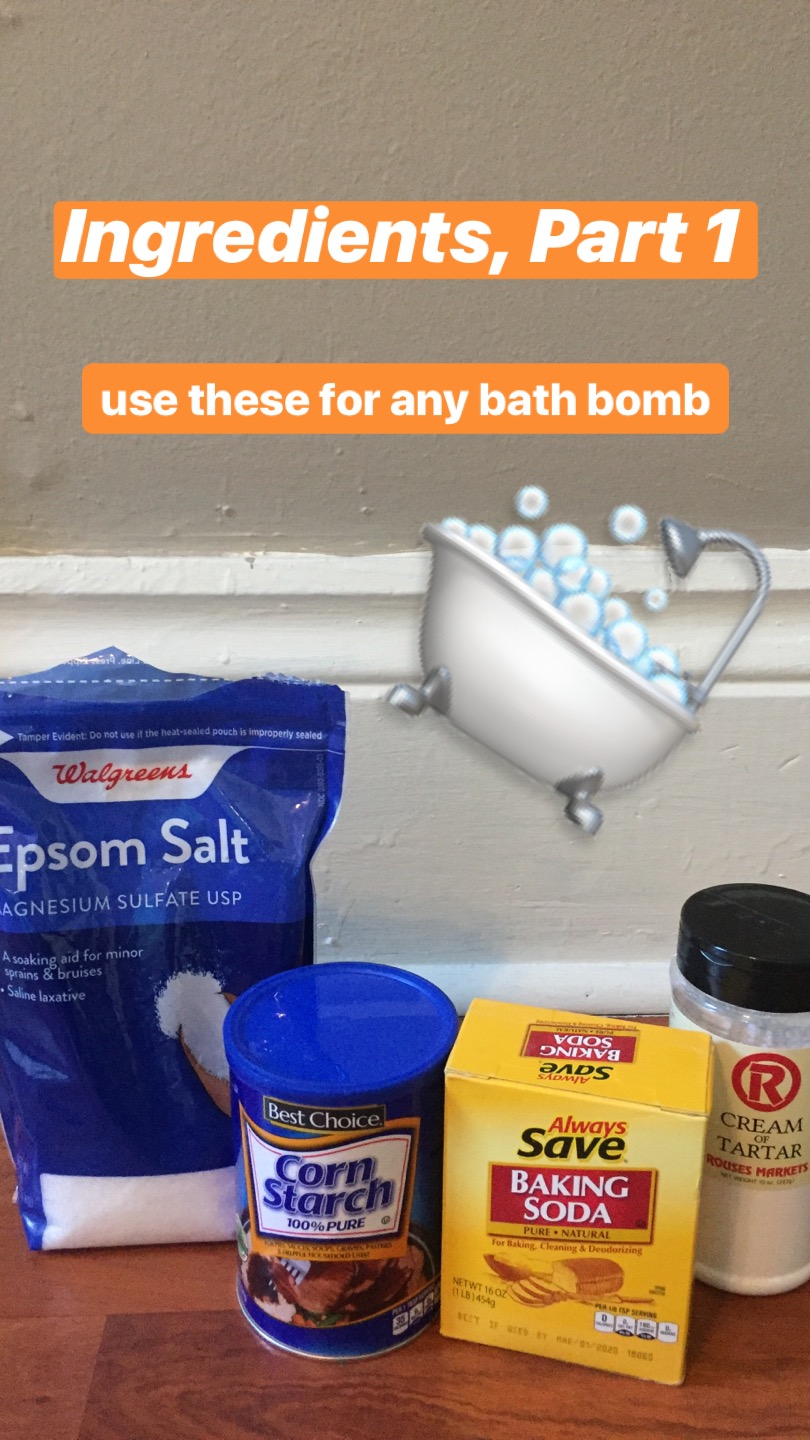
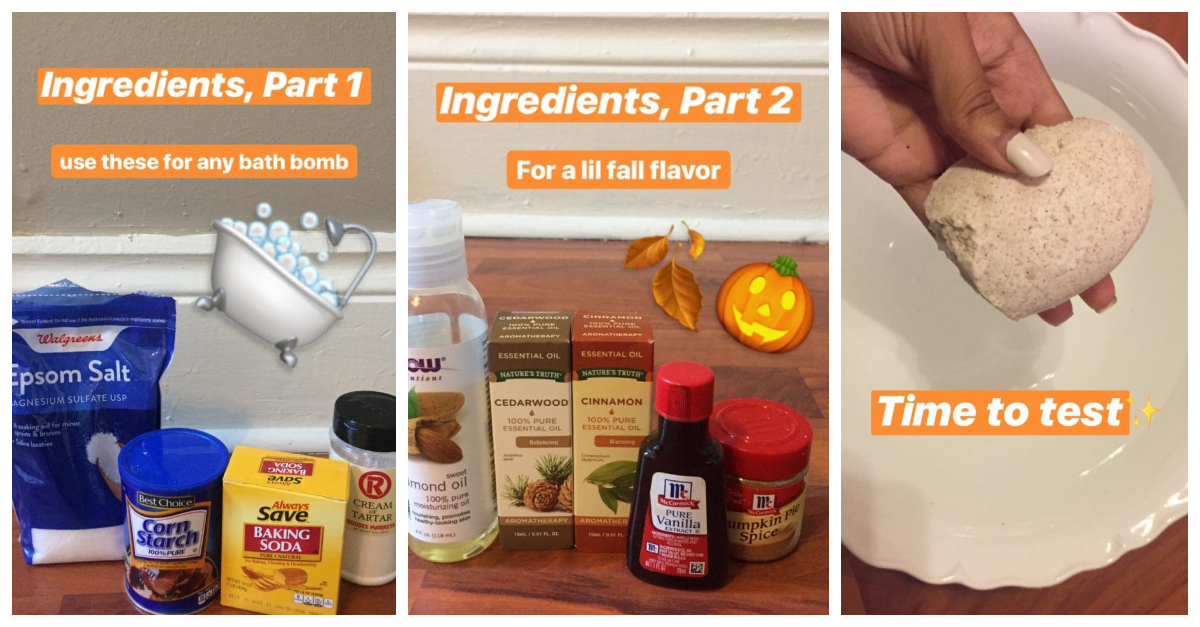
The basic ingredients in any bath bomb include baking soda, citric acid or cream of tartar, cornstarch, and salt. Together, these ingredients create the fizziness and softness that bath bombs are known for.
Citric acid can be hard to find, however, and also expensive. I couldn’t track any down in my grocery store, so I used cream of tartar instead, which the internet recommends as a substitute.
The other ingredients will vary depending on the type of bath bomb that you’re going for.
Fall Scent Ingredients
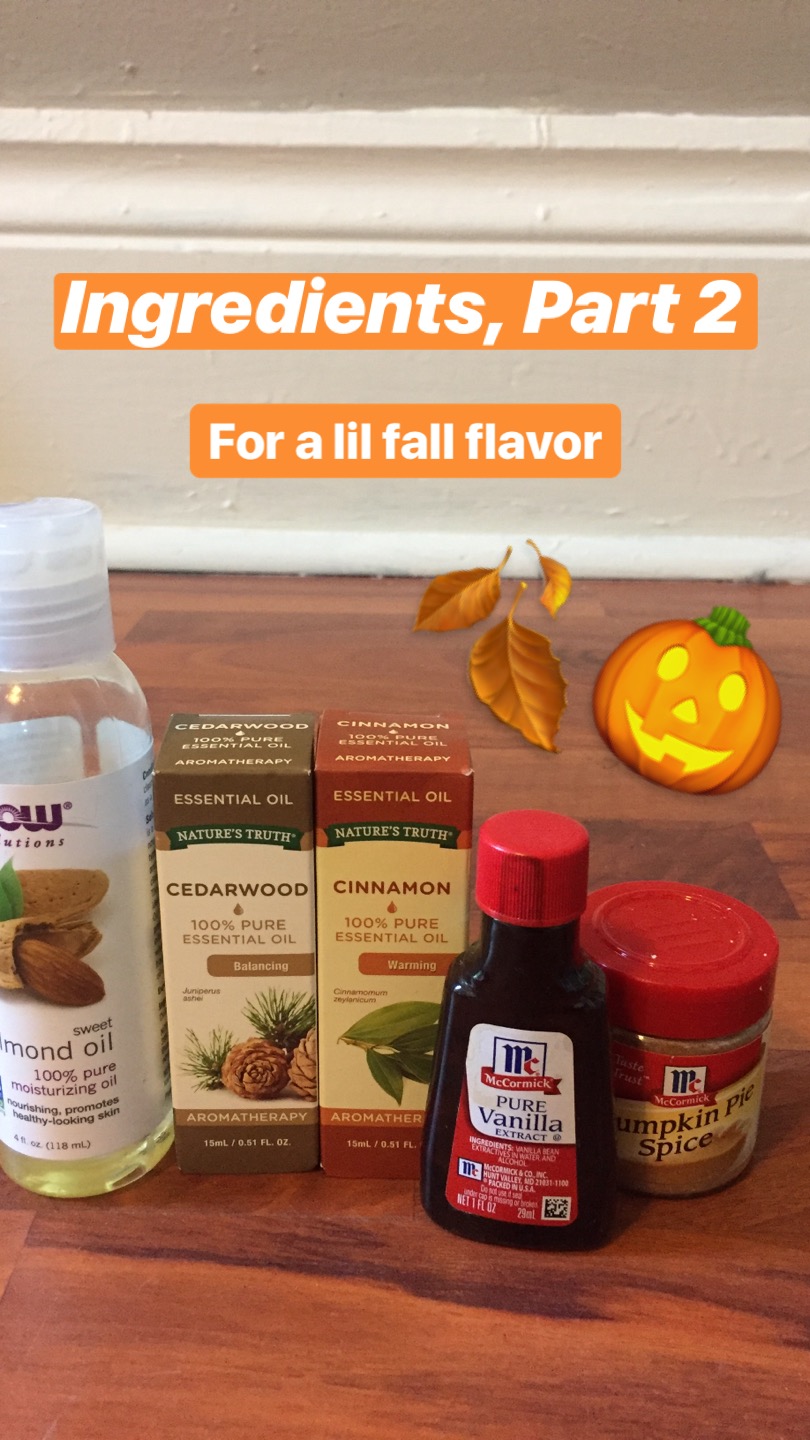
Generally, you’ll also want to add a tablespoon of a moisturizing oil, such as sweet almond or coconut. You can skip this, but it does help make your skin feel nice and smooth.
Also add a couple teaspoons of essential oil, which have a variety of properties depending on which one you choose. These essential oils will mostly determine the scent profile of your bath bomb, and some of them have bonus benefits, like softening the skin or calming your mind.
I was going for a fall scent, so I went with cinnamon (a key ingredient in pumpkin spice and/or apple pie) and cedarwood (a smoky wood scent).
You can also add other spices, extracts, skin-safe fragrance oils, or flavors to enhance your bath bomb. I added some vanilla extract and pumpkin pie spice, because autumn!
Lastly, you might want to use food coloring, which makes your bath bomb pretty (and will not stain your skin). If you go this route, use an oil-based food coloring rather than a water-based one. I used a water-based food coloring, and it did not work!
Here’s the recipe I used for my first attempt. This recipe makes about eight small bath bombs.
- 2 cups baking soda
- 1 cup cornstarch
- 1 cup Epsom salt
- ½ cup cream of tartar
- 2 tbsps. sweet almond oil
- 1 tsp. cedarwood essential oil
- 3 drops cinnamon essential oil
- 1½ tsps. vanilla extract
- 1 tbsp. pumpkin pie spice
- Food coloring in red and yellow
Keep reading to see how it turned out, and the tweaks I’d recommend making to this recipe.
The Bomb-Making Process
I took all my ingredients and assembled them on my floor, somewhat nervous. While I had successfully experimented with soap making, cheese making, and other crafts that I used to think were way out of my field, these bath bombs are definitely the most “from scratch” craft I’ve tried yet.
I wanted to make two different layers within my bath bombs, which required me to make two separate mixes and then layer them together in a plastic mold.
So first, I got a few different bowls for my dry and wet ingredients.
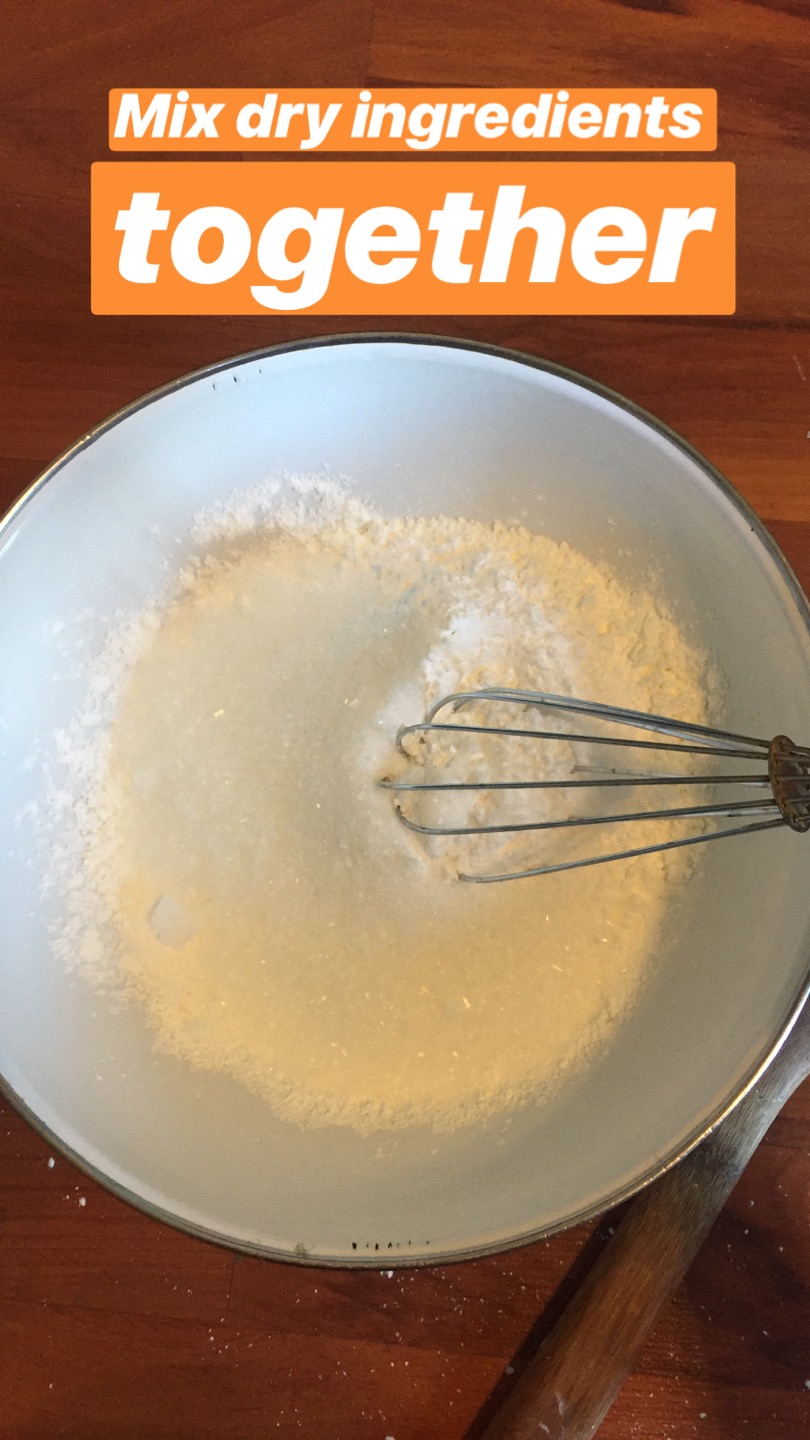
In one bowl, I mixed half of my dry ingredients together: 1 cup baking soda, ½ cup cornstarch, ½ cup Epsom salt, and ¼ cup cream of tartar. Quite immediately, there was white powder everywhere. I hastily grabbed a towel and kept on trucking.
For my second batch, I grabbed my second big bowl and assembled the other half of my dry ingredients — same measurements again, but with a tablespoon of pumpkin pie spice added.
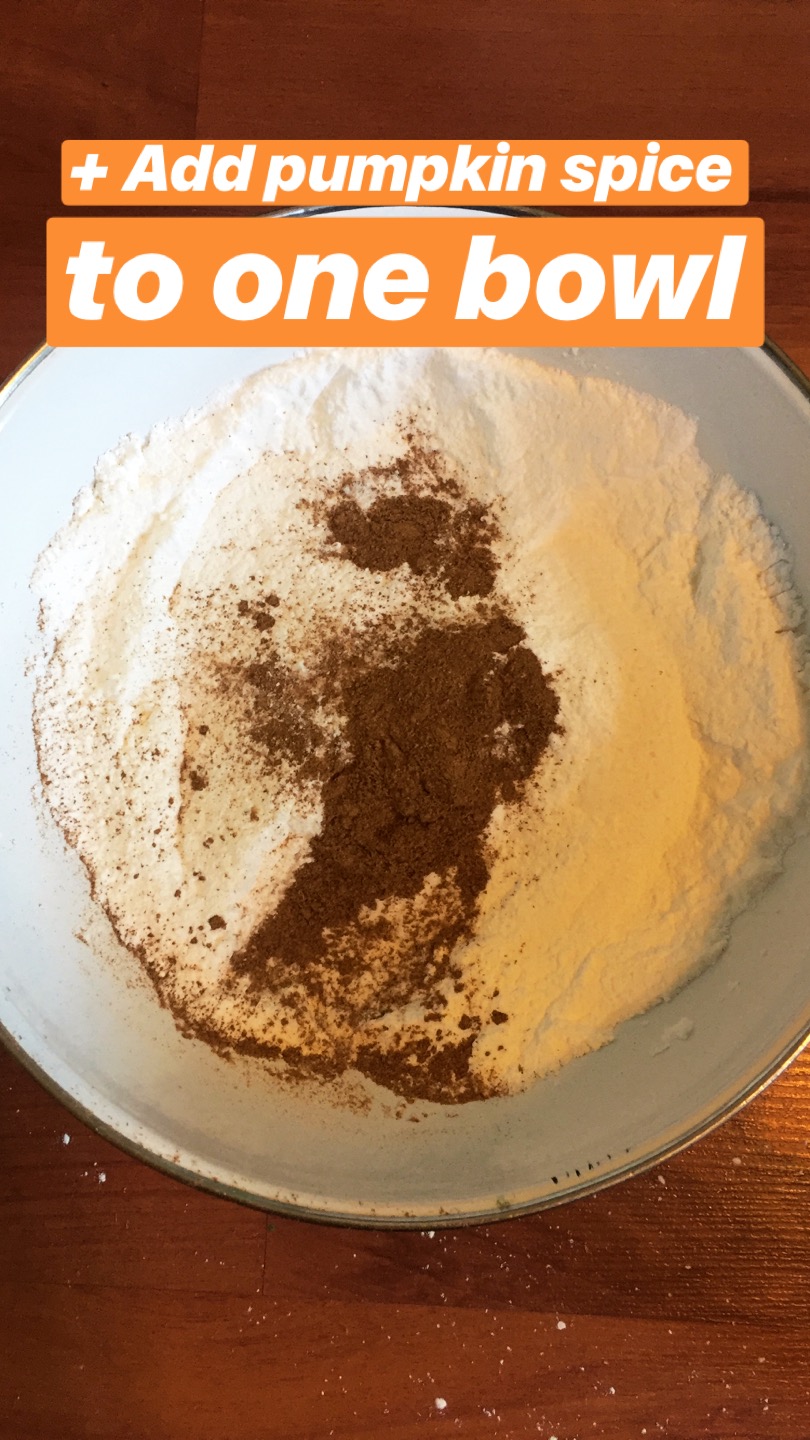
I whisked the dry ingredients together until they were well mixed, with no lumps.
Next, the wet ingredients! In one small bowl, I assembled the oil for my pumpkin batch — 1 tbsp. sweet almond oil and about 3 drops cinnamon essential oil. I also mixed in my food coloring, but it just globbed together and didn’t mix because it was water-based. Whoops.
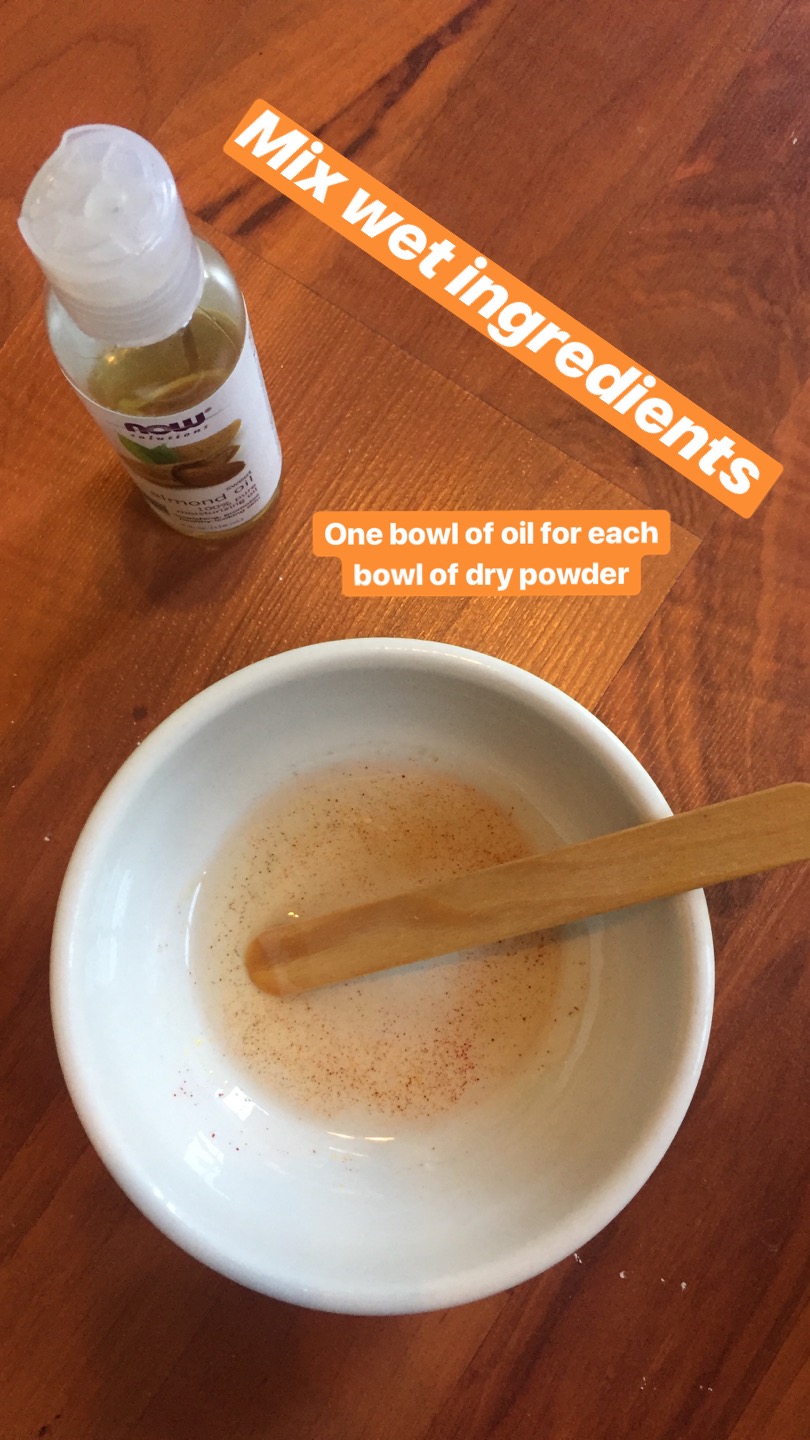
In another small bowl, I assembled a different set of oils: 1 tbsp. sweet almond oil, 1 tsp. cedarwood essential oil, and 1 tsp. vanilla extract. The cedarwood scent turned out to be a little too strong for me, so I’d recommend decreasing it to 1/2 tsp. and maybe adding another yummy fall scent, like spruce or orange, or simply adding more vanilla extract.
Finally, I poured each bowl of wet ingredients into one bowl of dry ingredients. Then I mixed it with my hands.
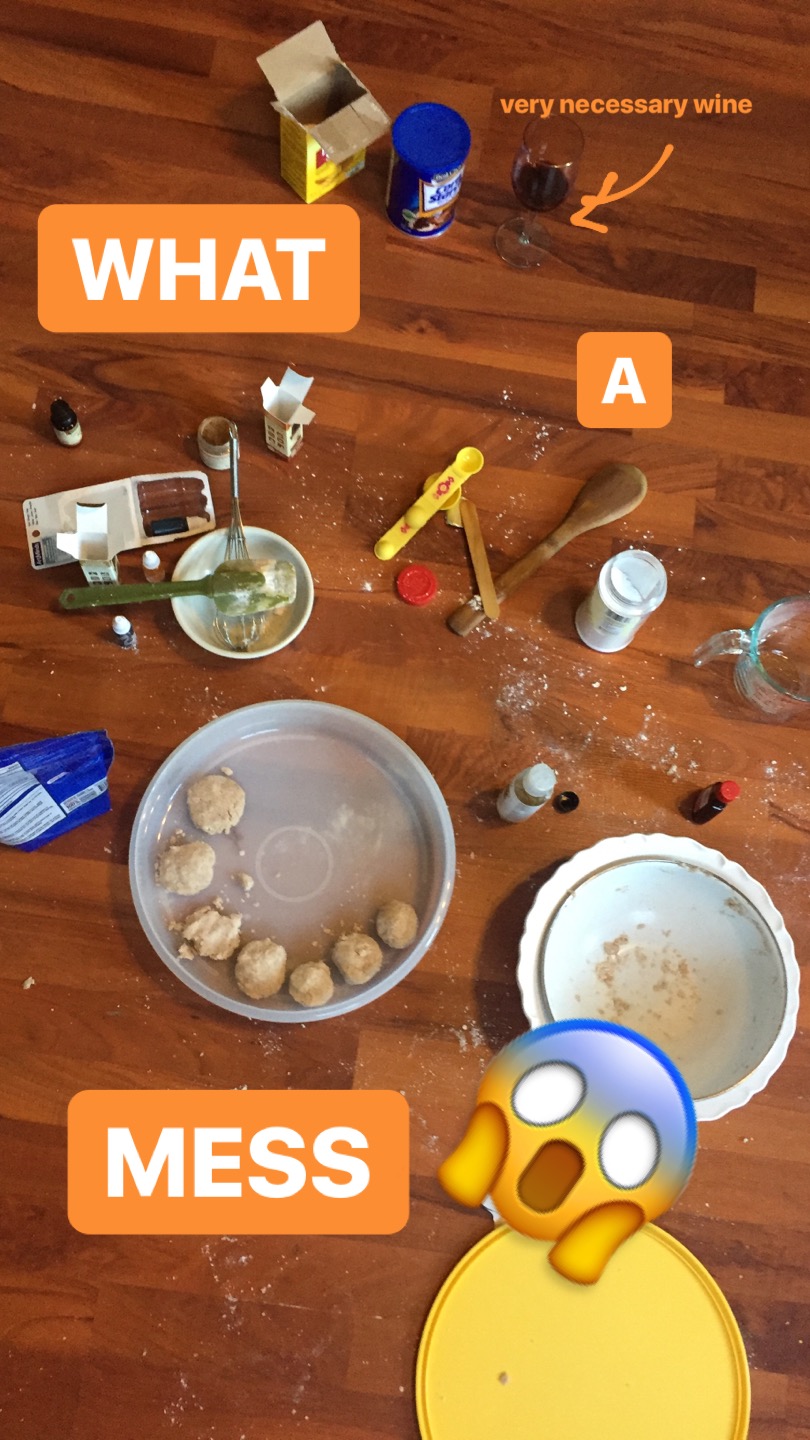
Here’s where I got confused. You have to add a bit of water to make the mix clump together properly. Use a spray bottle or pour a teaspoon of water in at a time until the mixture sticks together without being too wet.
But you have to do this step slowly, because if you add too much water, the mixture reacts to it and begins to foam, which is not what we want until it’s bath time!
Anyhoo, it’s a delicate balance. I think I ended up too far on the dry side, because while my mixture stuck together well enough in my hands, it was really crumbly later. In retrospect, I should have added more oil from the get-go, and perhaps been less shy with the water.
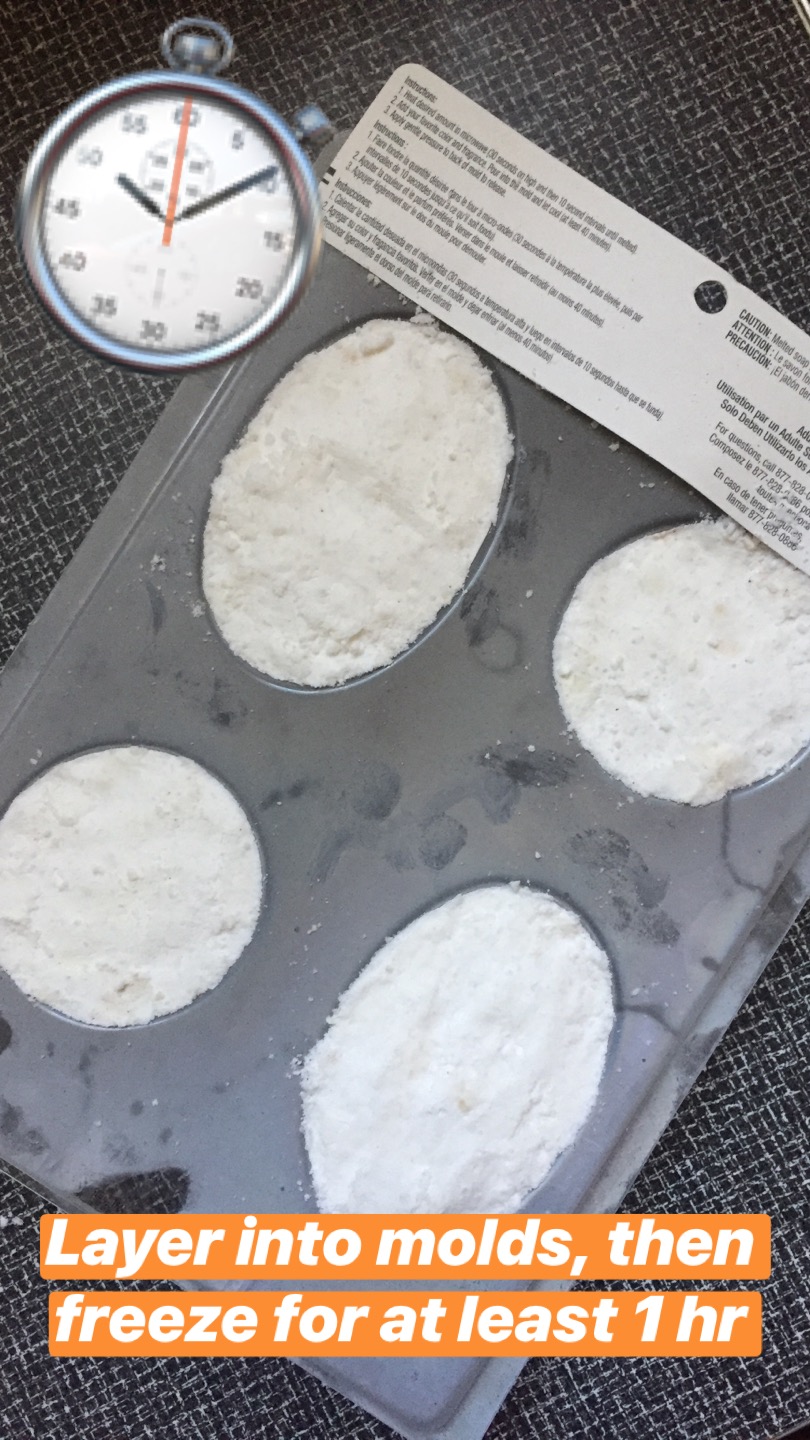
In any case, I layered the mixture into plastic molds, with the pumpkin layer on the bottom and the vanilla layer on top.
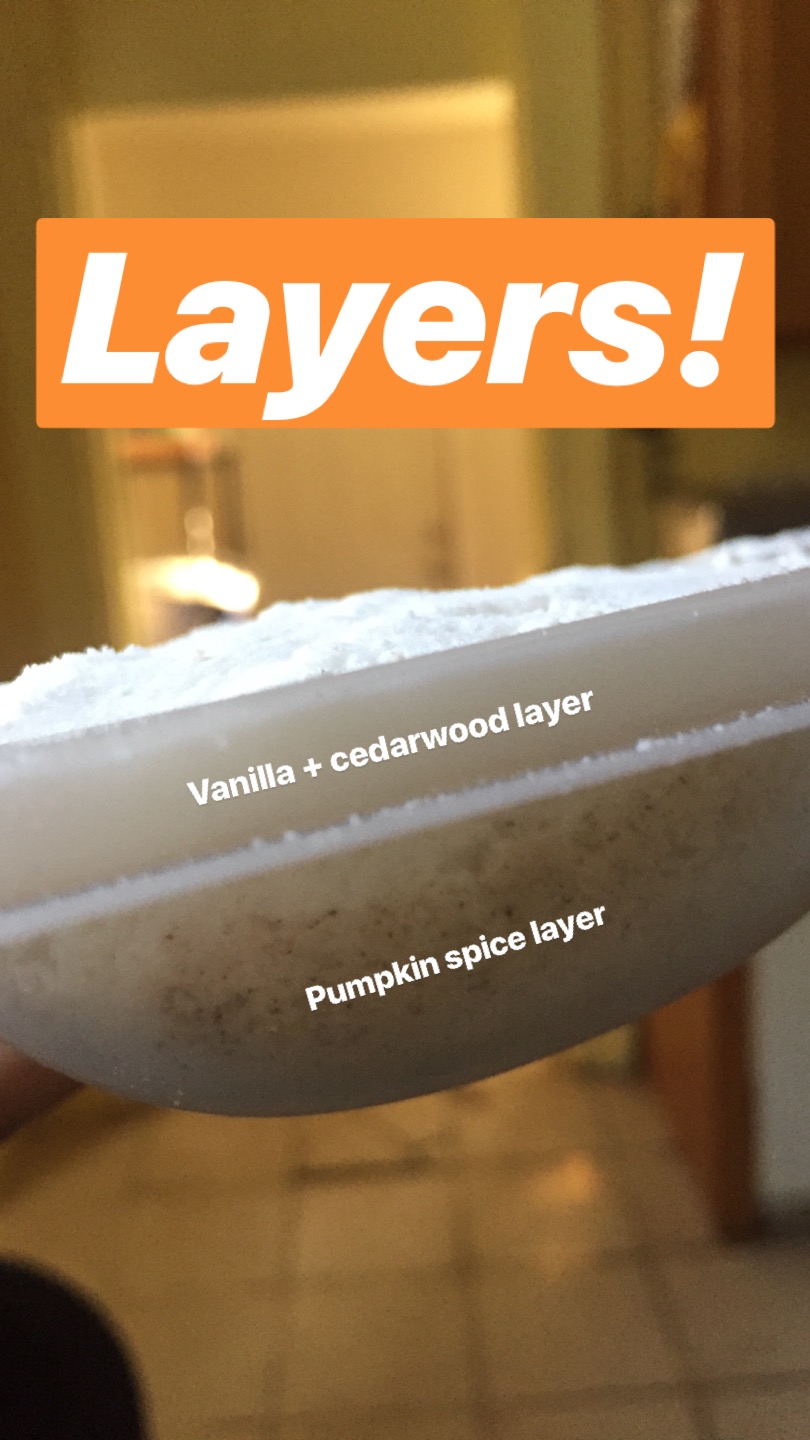
I used regular soap molds that I had on hand. You can also use bath bomb molds, an ice cream scoop, plastic Tupperware, muffin tins, or your hands!
I ended up with about eight bath bombs, which was more than I expected! If you want to make fewer, cut the measurements down accordingly — half or a quarter would be fine.
And then I put the trays into the freezer to harden.
I took them out an hour later, and popped them out of the molds, at which point one of them crumbled.
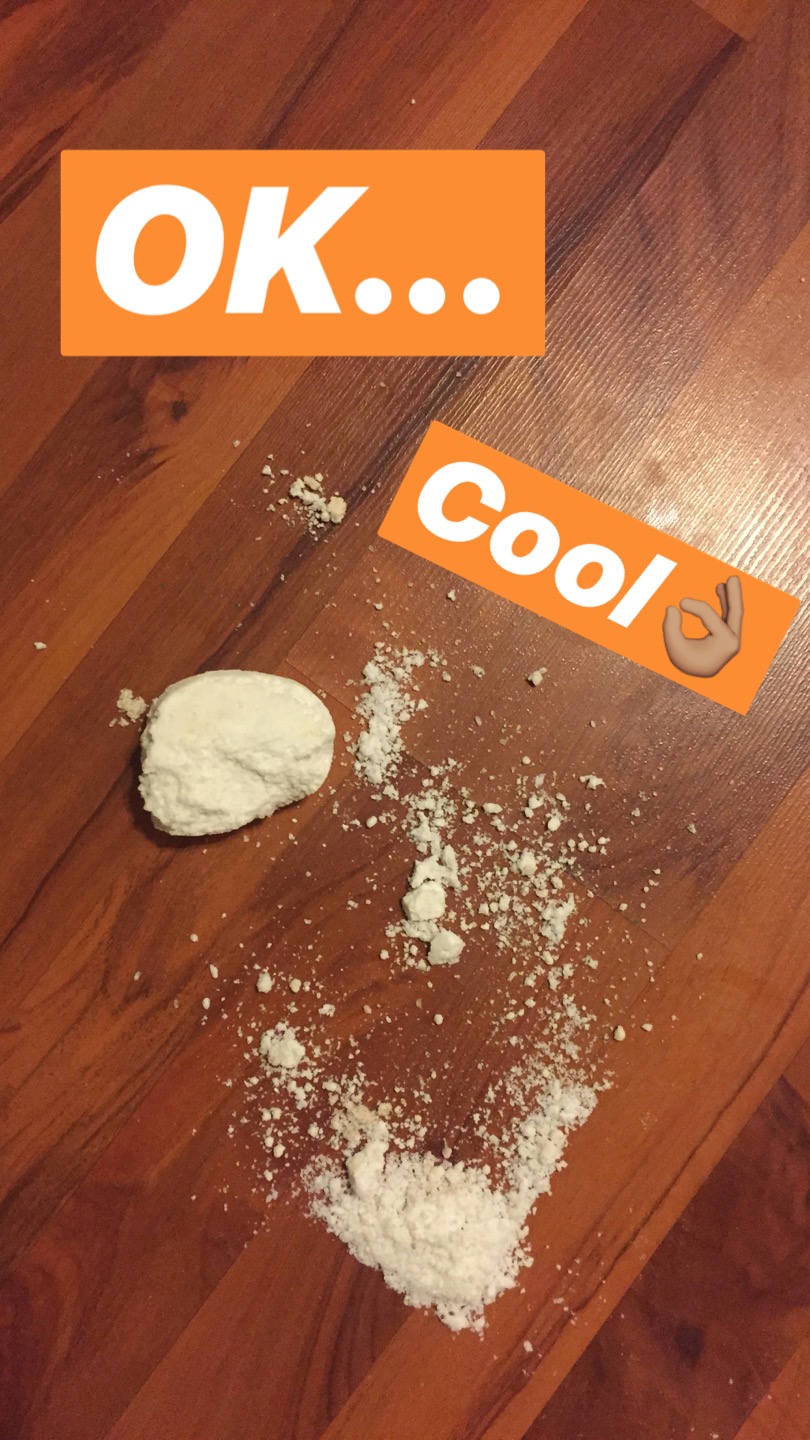
Cool. This is where I realized that my bombs were too dry. But even if your bomb doesn’t hold its shape very well, it will still work as intended when dropped in water.
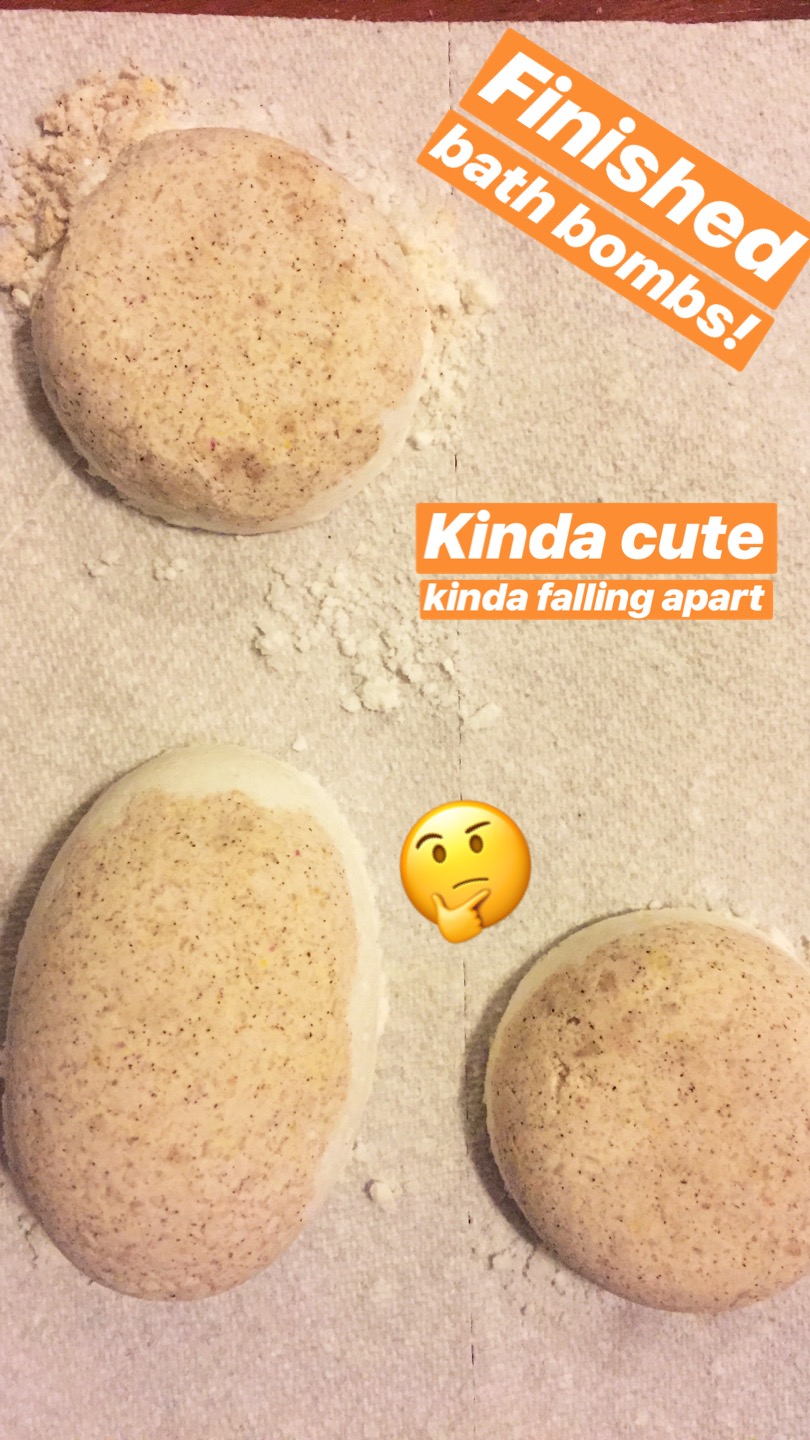
So I used the one that fell apart to test my bath bomb experiment in a bowl of water.
The Test
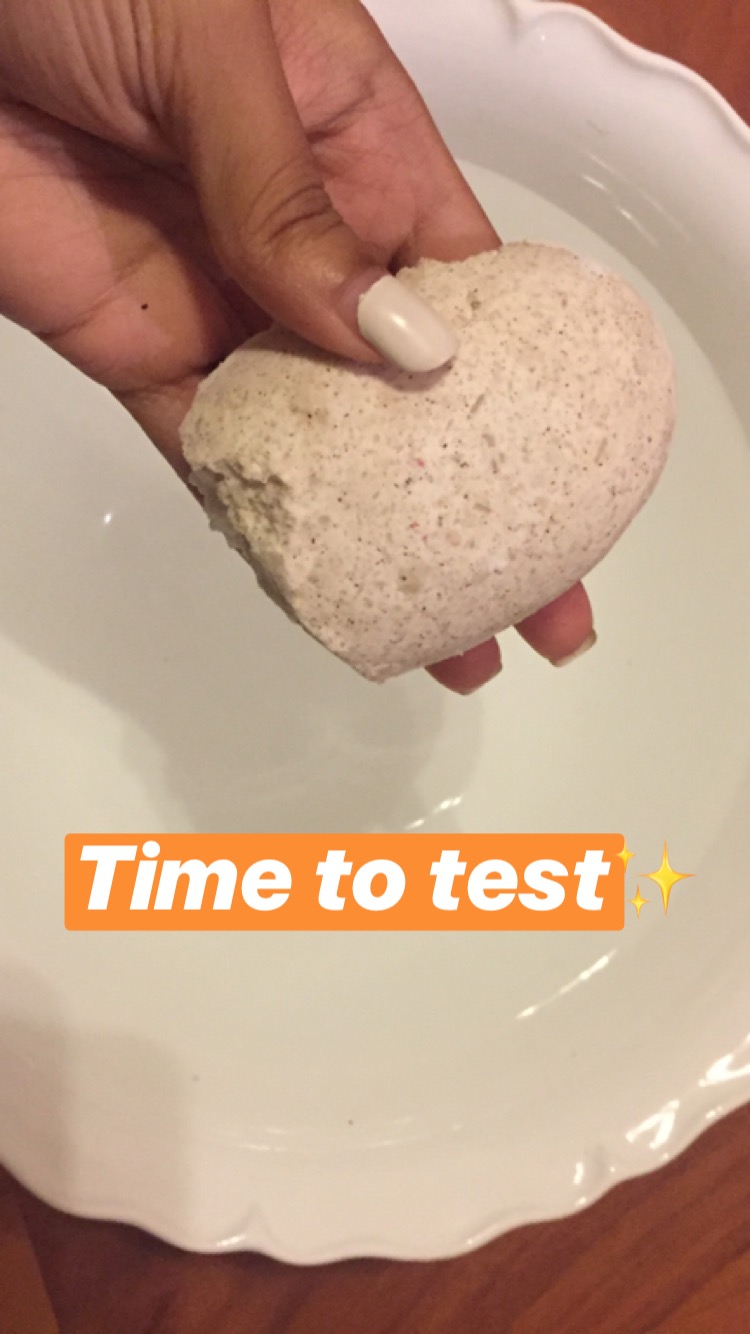
The bath bomb fizzed a fair amount when I dropped it in. It turned the water a bit orange, with pumpkin spice flecks in it.

It smelled like fall, and after I essentially gave my hands a bath in the test bowl, it made my hands really soft!
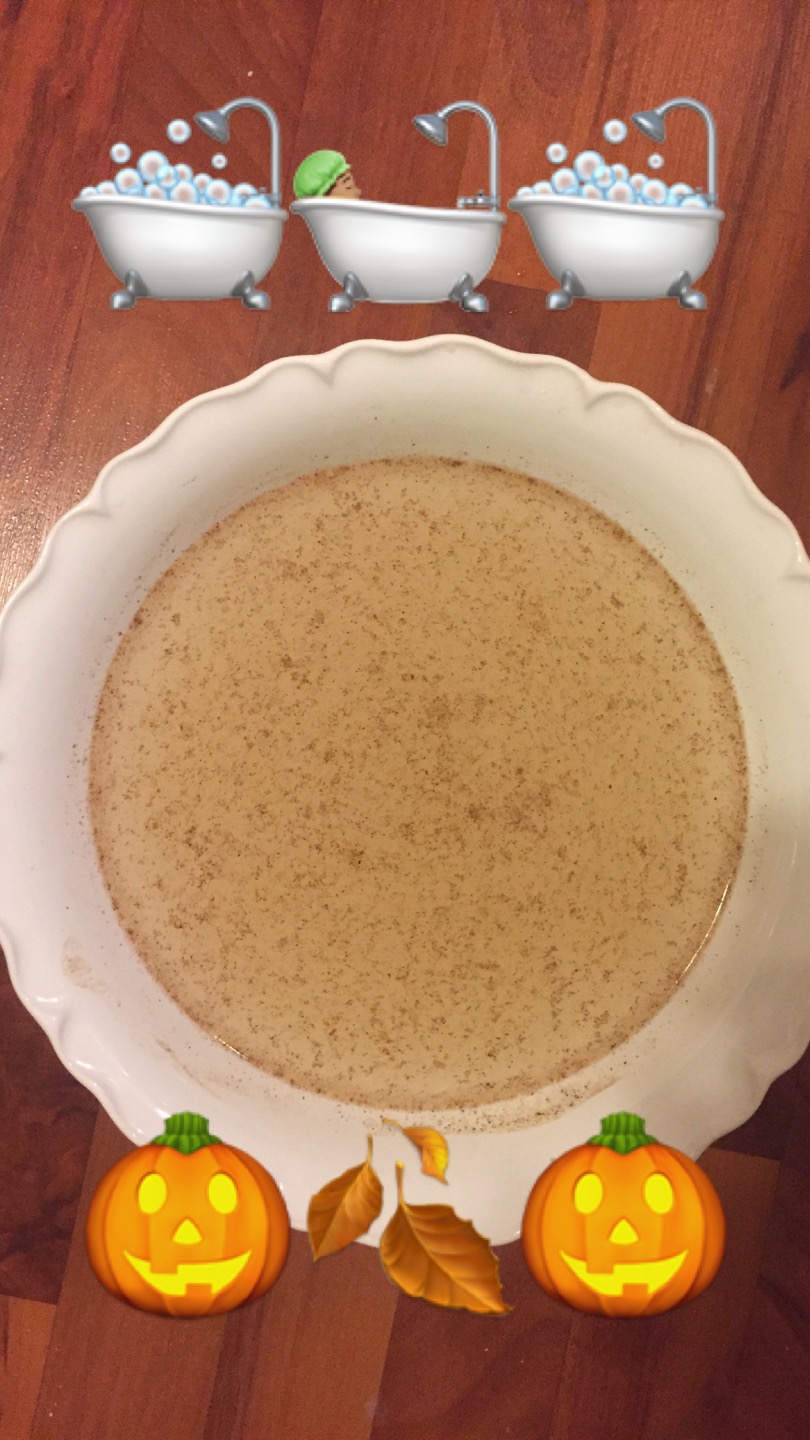
But the cedarwood scent was kind of overwhelming. It smelled like a campfire, which is one of my favorite scents, but there was just too much of it. Do I really want to fully immerse my body in campfire smell? Not really. Also, it overpowered the pumpkin scent.
Later, I tested a bath bomb in a full bath of water. This time, it barely fizzed at all.
And it didn’t look like much.

The orange color and pumpkin flecks were barely noticeable in the full bath.
Again, the scent wasn’t my favorite, and I would definitely adjust it next time. But trust that it made my skin really soft.
With some experimentation, I think I could definitely make a bath bomb that rivals one from Lush — and I only spent around $20 on ingredients to make a whole bunch of these, which is much more cost-effective than $8 per bomb!


