Making mistakes and recognizing the lessons those missteps have to offer can be one of the most fruitful ways to grow and mature as a DIY-er.
Many years ago, Instructables DIY-er theoblackadder built a hexagonally shaped garden shed. He built this initial shed primarily out of wood, and over the years, the elements began slowly eating away at its base.
Recently, when this DIY-er decided to reposition his shed in a new location within his garden, he realized how extensively its base had deteriorated due to his previous design oversight.
In response to discovering these rotted floors, this DIY-er decided to, instead of moving the existing structure, build his yard an entirely new, updated shed.
This time around, he'd implement all sorts of different structural and aesthetic updates, capitalizing on new talents he'd acquired since his initial shed-building project.
Thanks to one misstep, this DIY-er pushed himself to revisit and reinvigorate his old design into a stunning garden creation.
Keep scrolling to learn more about how this DIY-er built his new hexagonal garden shed.
Years ago, in 1998, Instructables user theoblackadder constructed a garden shed in his backyard.
At the time, he'd thought nothing of building the entire shed primarily out of waterproof plywood.
However, he recently decided to rearrange his backyard's layout. When he started dismantling the garden shed for its move, he realized that, over time, the Earth had completely eaten away at the old shed's base.
In an effort to learn and grow from this misstep, this DIY-er decided to build an entirely new shed — one that would, this time, withstand the elements.
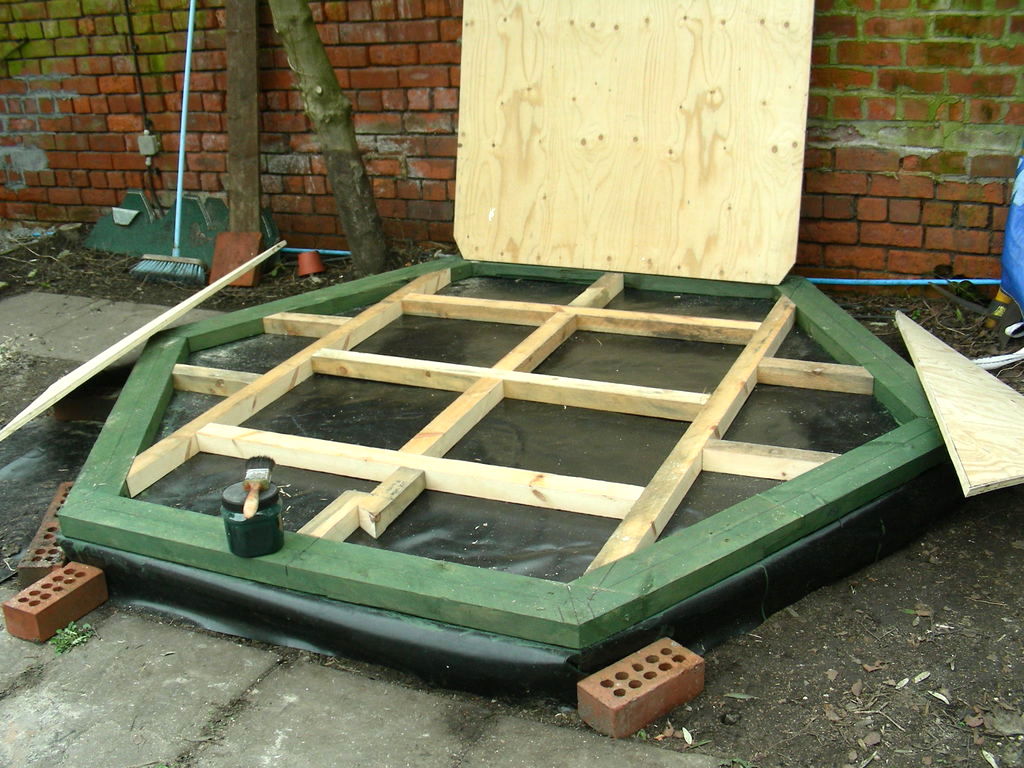
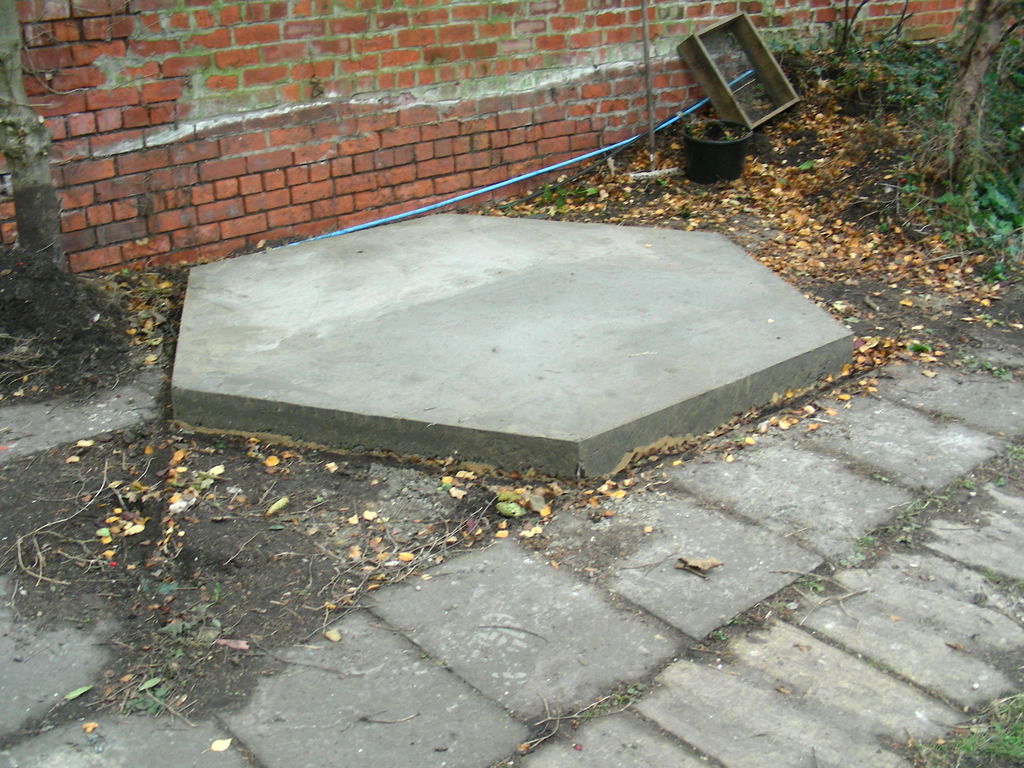
During this new construction process, this DIY-er swapped in cement as the structure's base, to dissuade rapid rotting.
On top of the concrete, he laid heavy-duty damp-proof membrane to keep this new base as dry as possible.
He then built a wood floor on top of this secure base.
For added protection, he sprayed all the new wood with anti-fungal and anti-pest protective products.
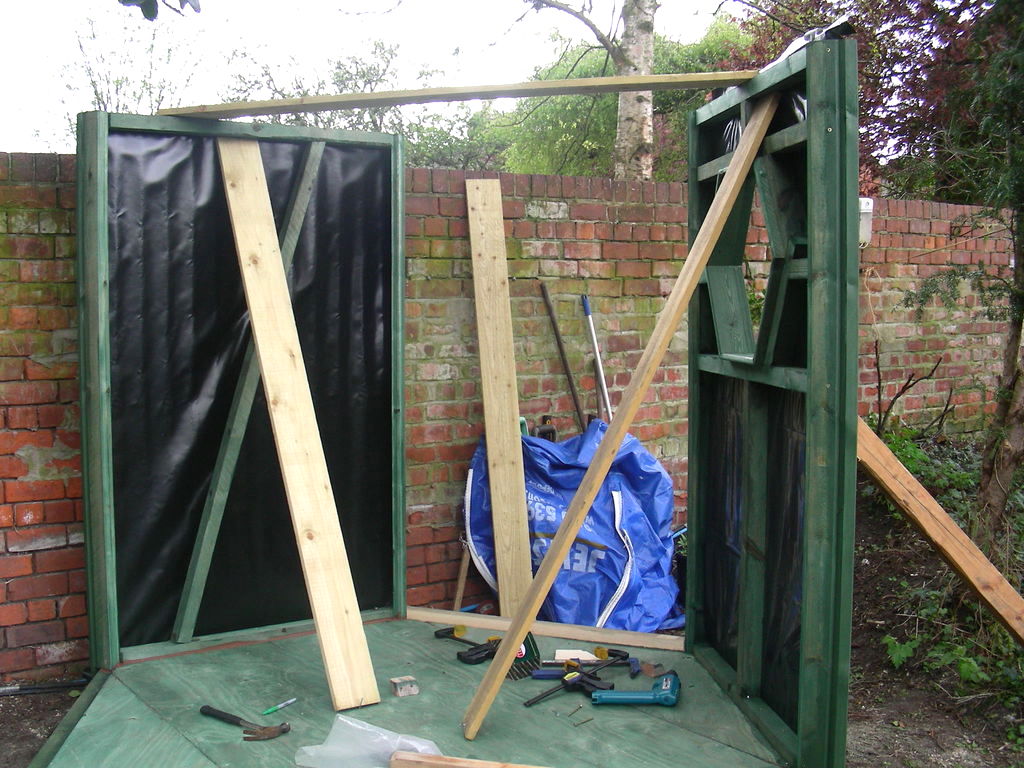
Once this DIY-er set his new shed's base in place, he began adding the structure's modular walls.
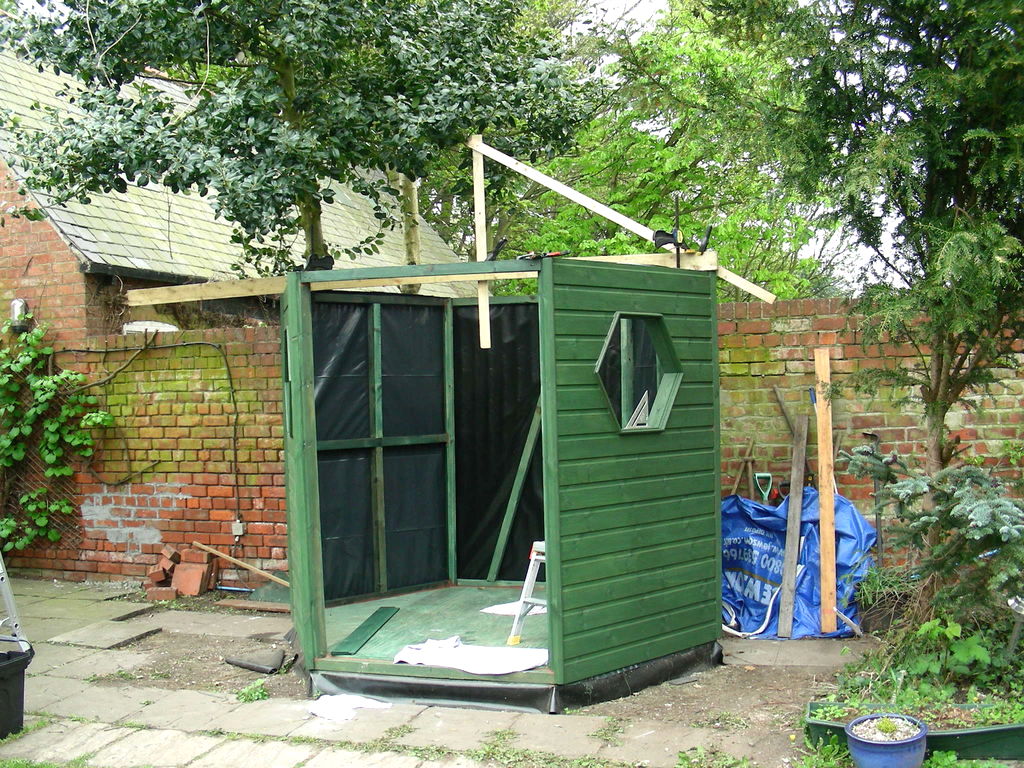
He built three sides of the shed's exterior walls in his shop.
Once those were complete, he attached them to the base, and began filling in the rest of the walls accordingly.
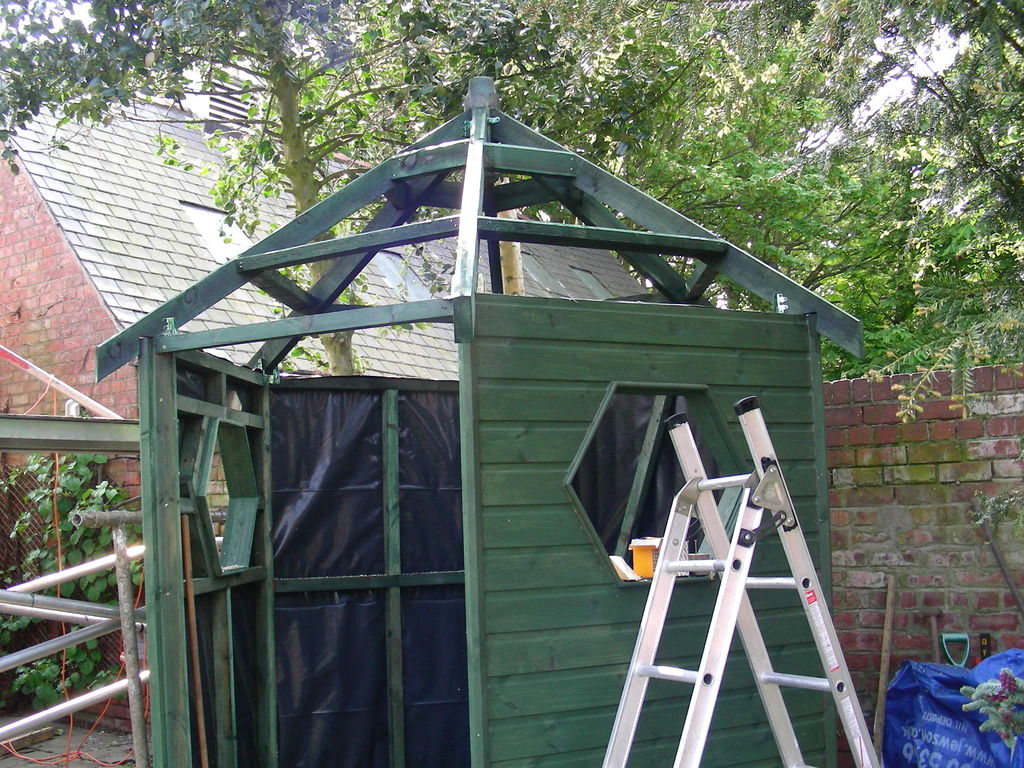
This DIY-er played around with the shed's roof angle quite a bit before solidifying the exact look and feel.
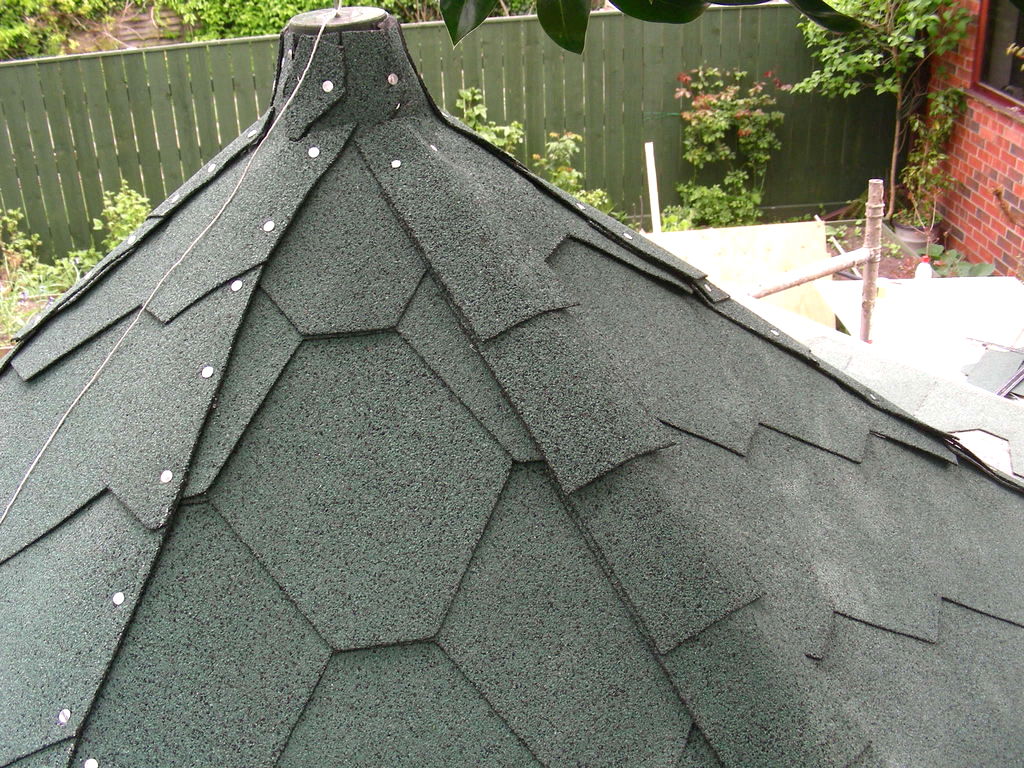
One he solidified his roof's shape, this DIY-er adorned the plywood roof pieces with DPC, plywood, some roofing felt, and finally, asphalt shingles.
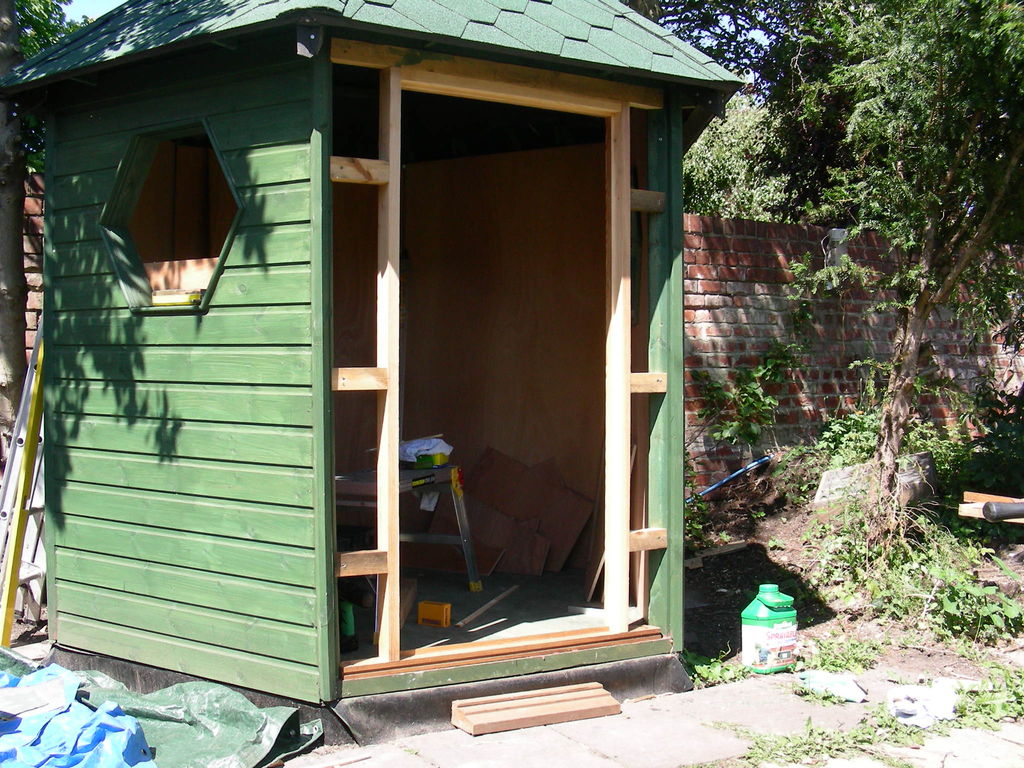
Next, this DIY-er turned his attention to the shed's door.
He used a frame and skin construction technique to piece this doorway together.
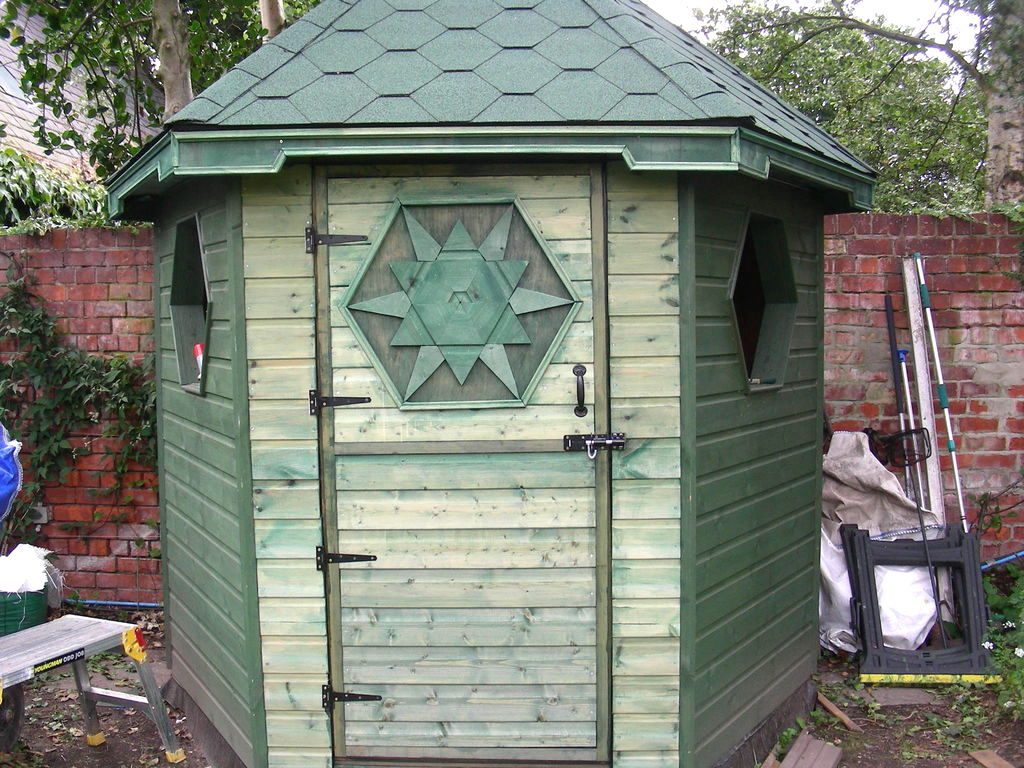
He finished the garden shed door off with a decorative star design, and a few Art Deco–feeling corbels.
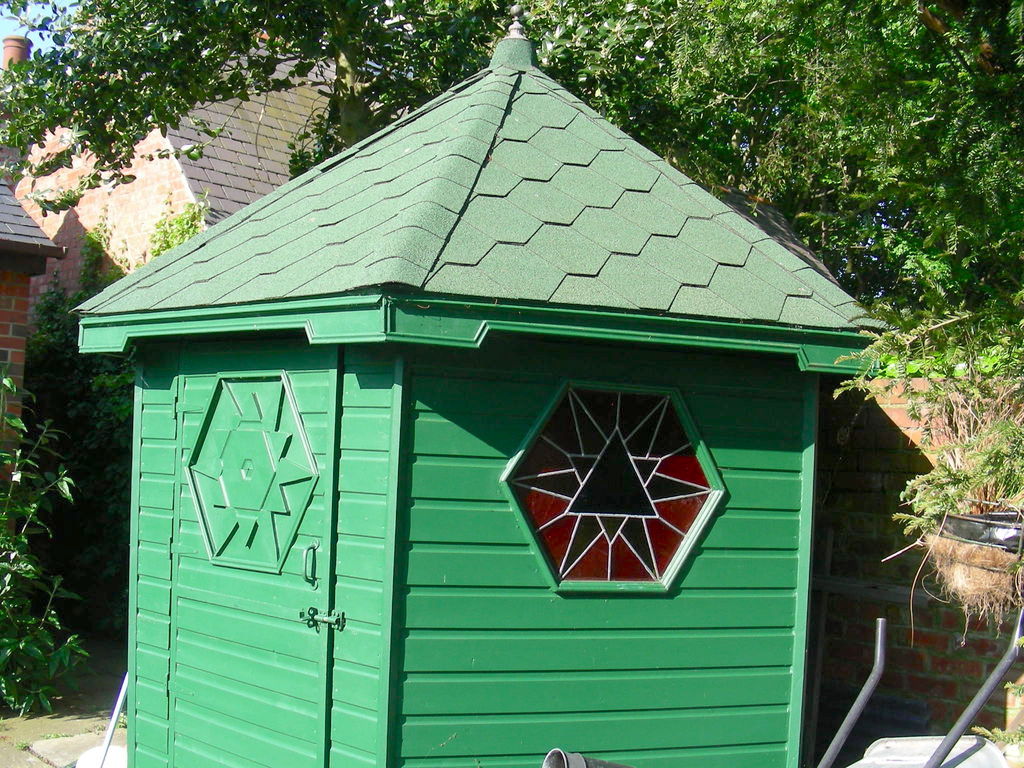
Over the years since making his first garden shed, this DIY-er had developed all sorts of new skills — one of which was stained glass artistry.
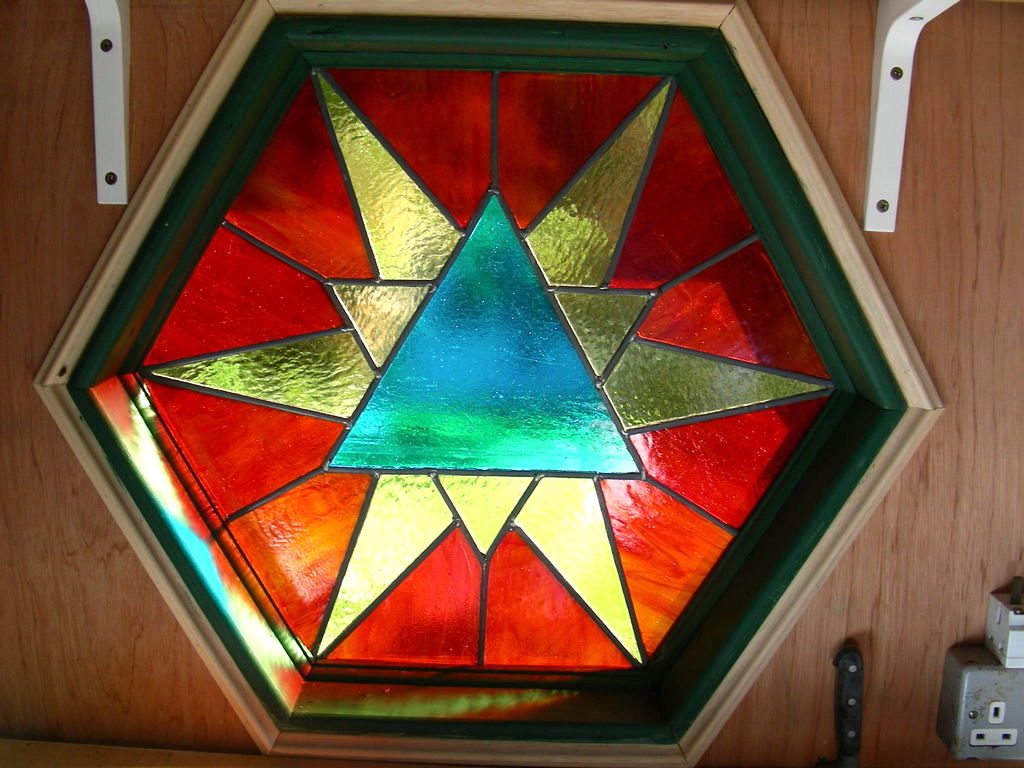
He made and installed this beautiful stained glass window into one of his new shed's exterior walls, continuing his star motif.
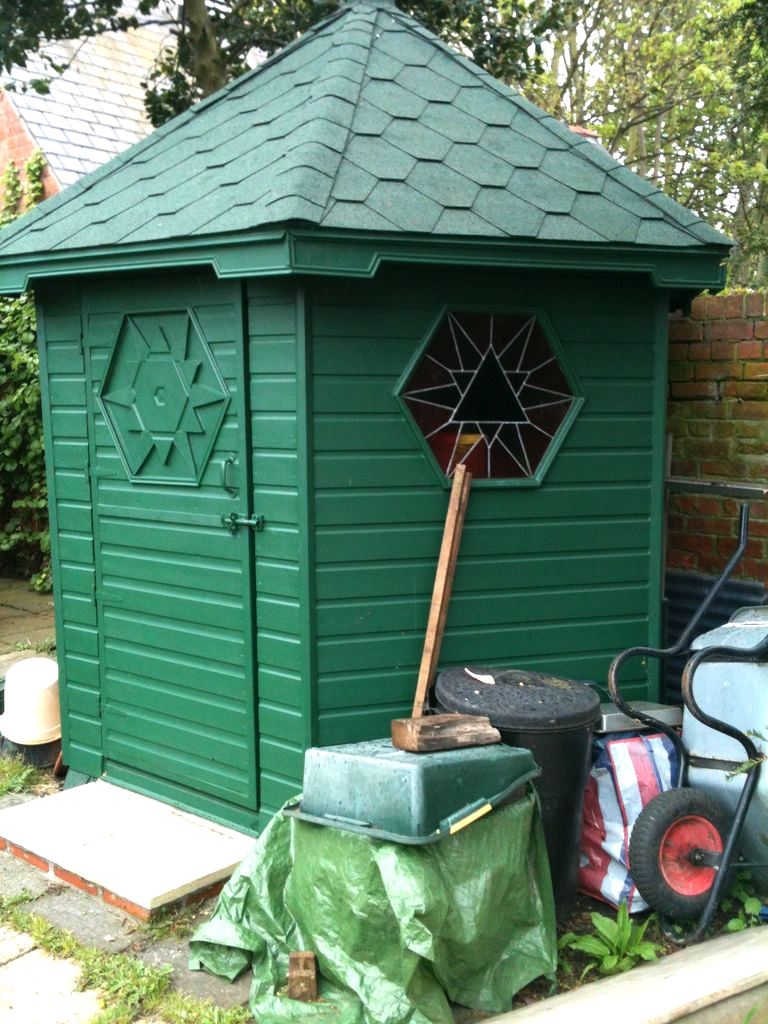
The end result was incredible!
When this DIY-er discovered one of his older projects had fallen into disrepair due to a design flaw, he accepted the error as a catalyst, propelling him toward an entirely new garden shed design.
What do you think of this hexagonal garden shed? Have you ever built a garden shed? Let us know in the comments.
Please SHARE this DIY project with other makers in your community!


