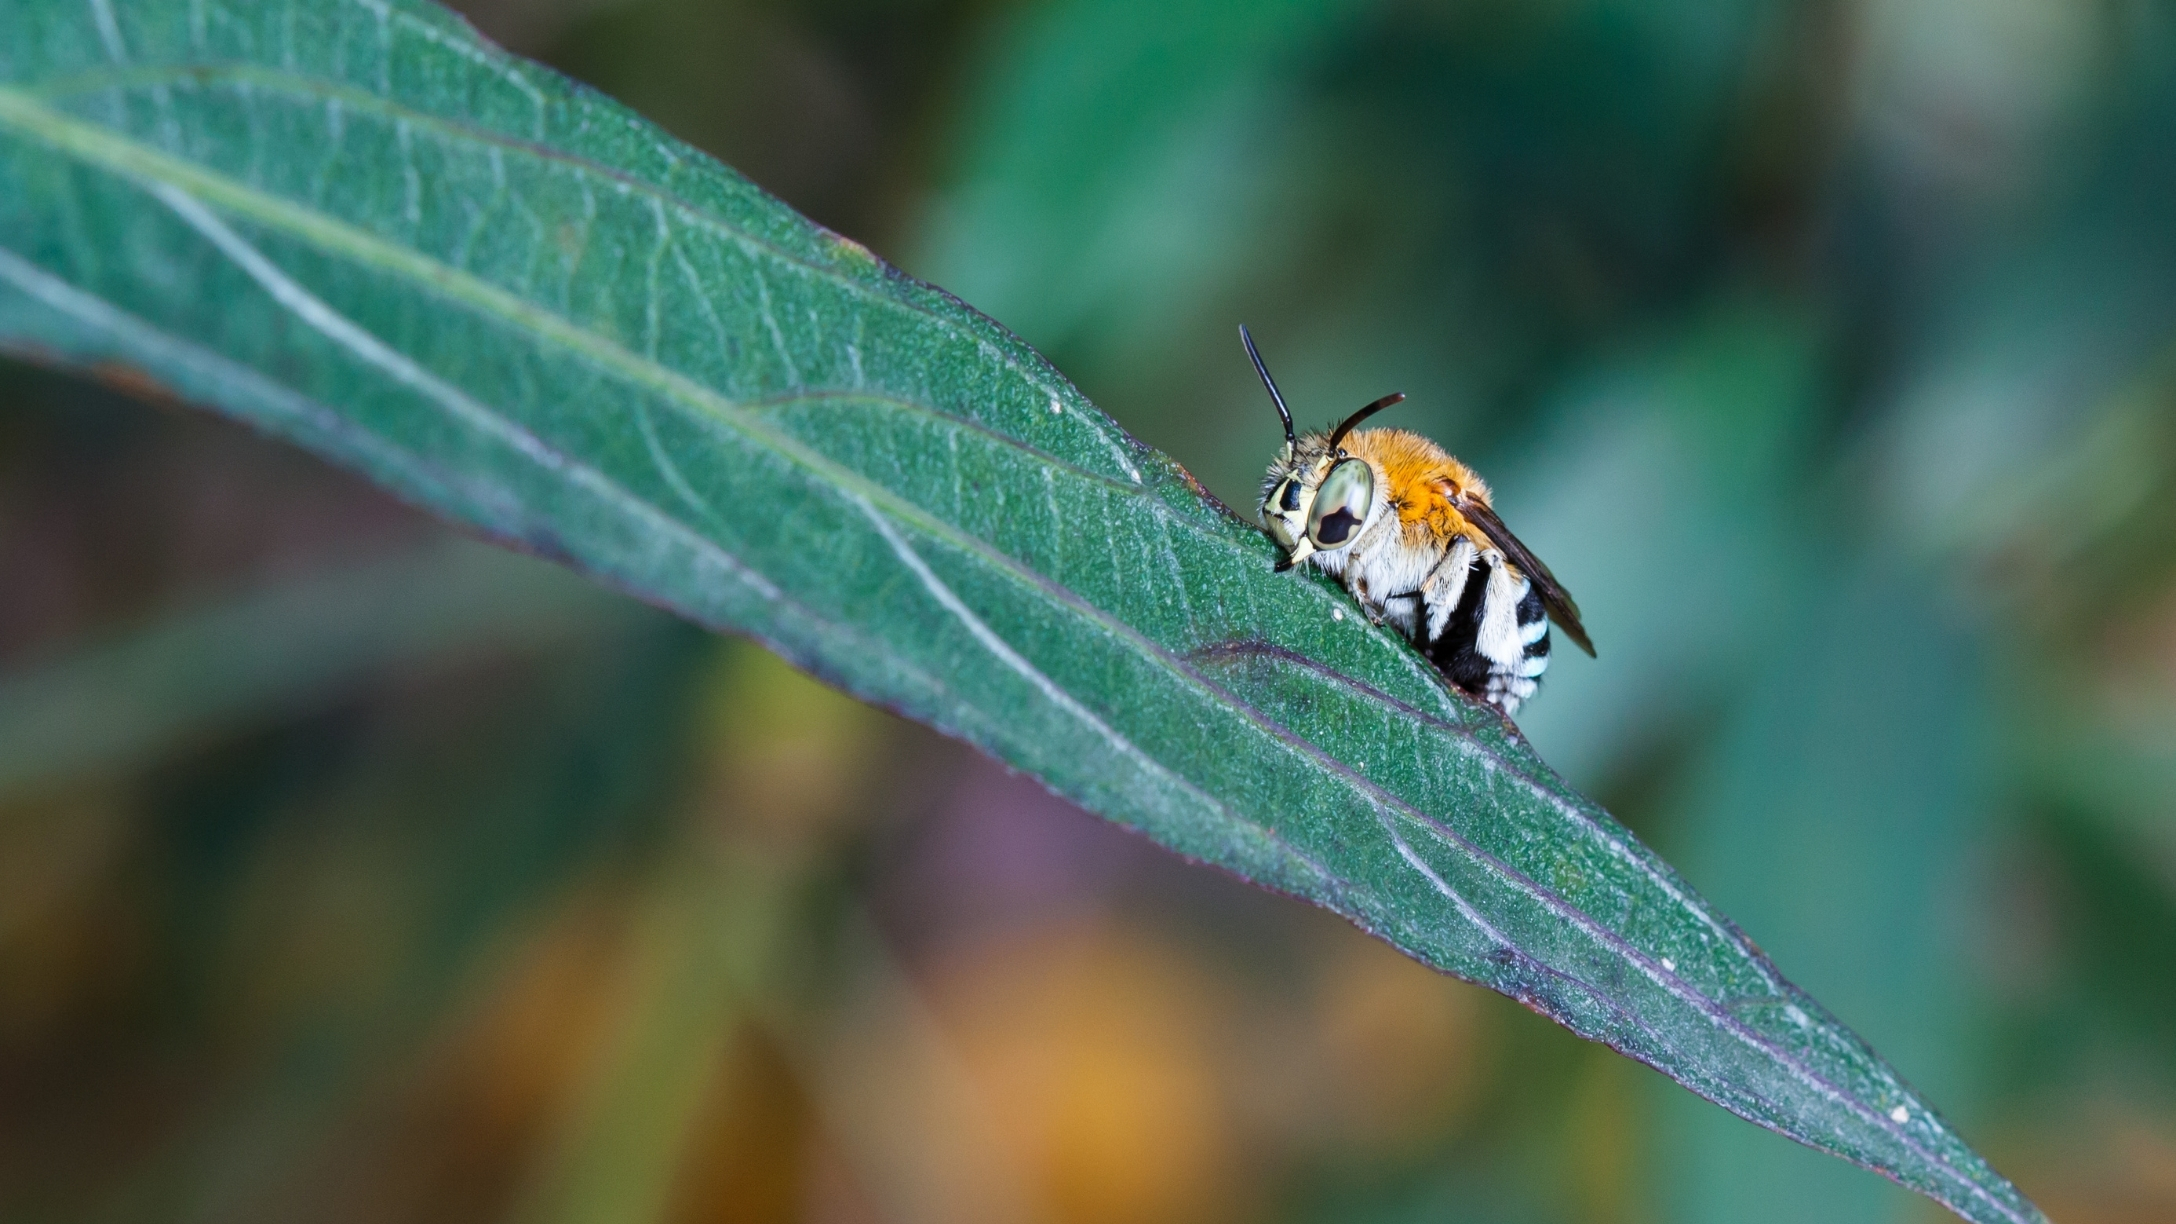
For a long time, I've been thinking about making a bee habitat. I have a special fondness for bees. There's a quote about them by A.S. Waldrop that I remember reading a long time ago.
"According to laws of aerodynamics the bumble bee cannot fly; its body is too heavy for its wings and that's the simple reason why," it reads. "But the bumble bee doesn't know this fact, and so it flies anyway for all to see."
Now, that might not be the most scientific logic explaining how bumblebees do their thing, but it did get me interested in bees. I've seen a lot of people plant flowers and make habitats for bees in their yard.
I wanted to be among them, but there are a few people with bee allergies in the family, so I had to look at alternative options. That's how I came to making a mason bee habitat.
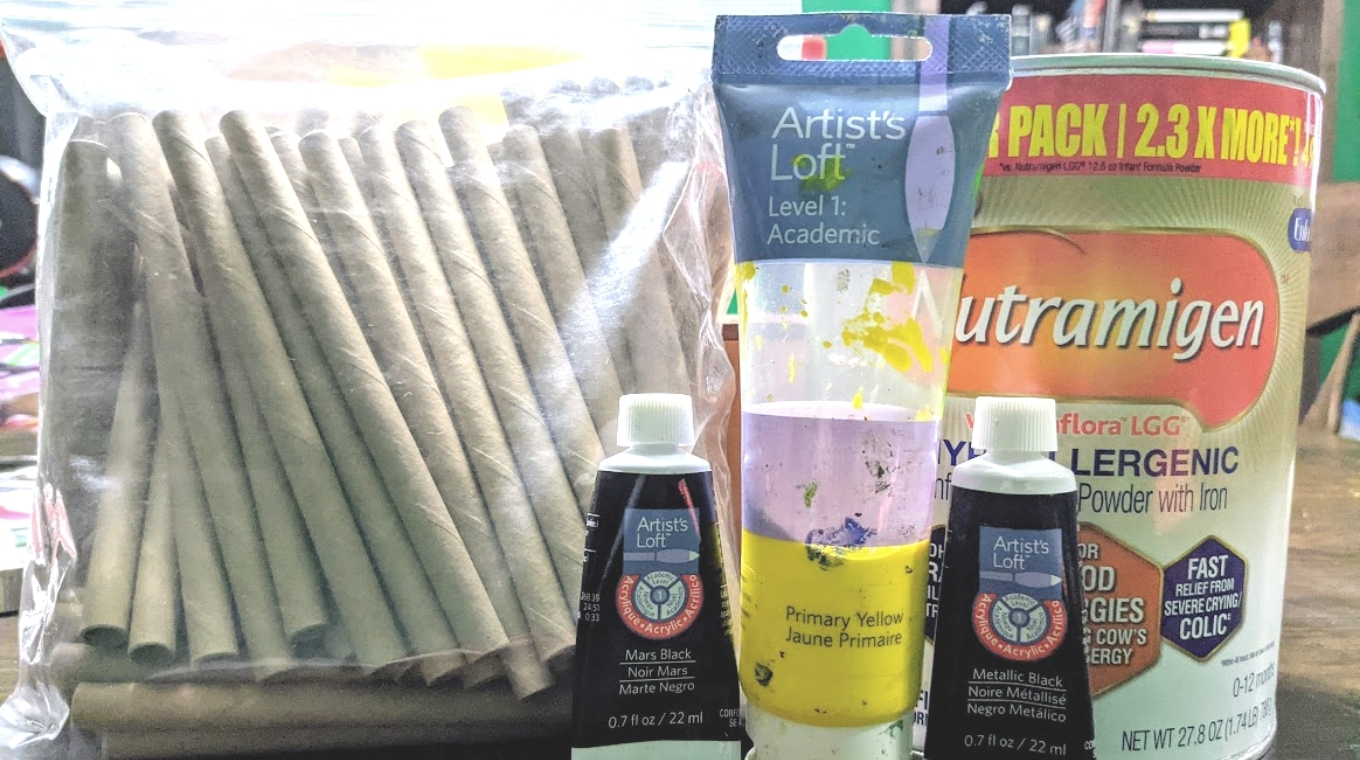
Mason bee hives are really easy to make. It's a fun activity you can do with your kids, or a fun DIY project to pursue on your own on a rainy day. You'll likely have most of the supplies you need in your home already.
- Tin can
- Bamboo pieces of various lengths and thicknesses. You'll need enough to fit snuggly in your can.
- Yellow and black paint
- Paintbrush
- Hammer
- Nail
- Twine
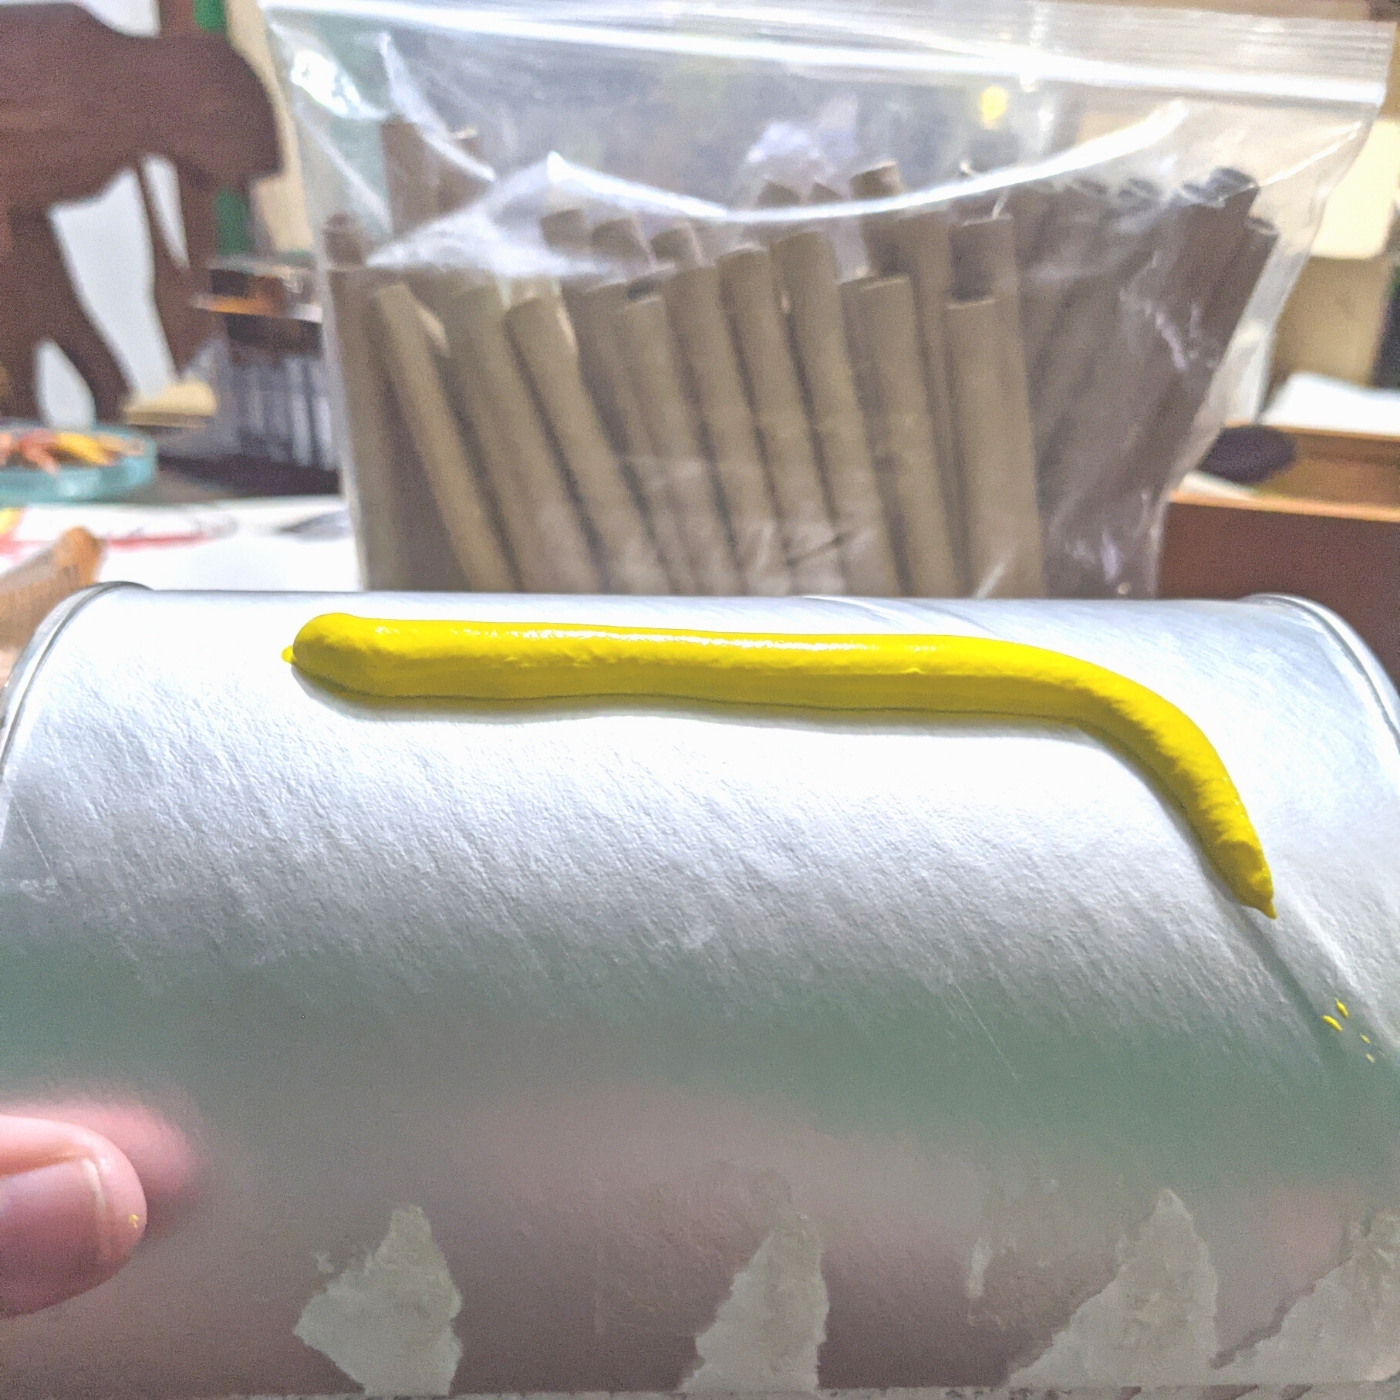
Get started by cleaning off your can and painting it. You'll want to paint the whole thing yellow to get started. With the can I used, one coat still left some slightly silvery spots, so it took two coats to completely cover it.
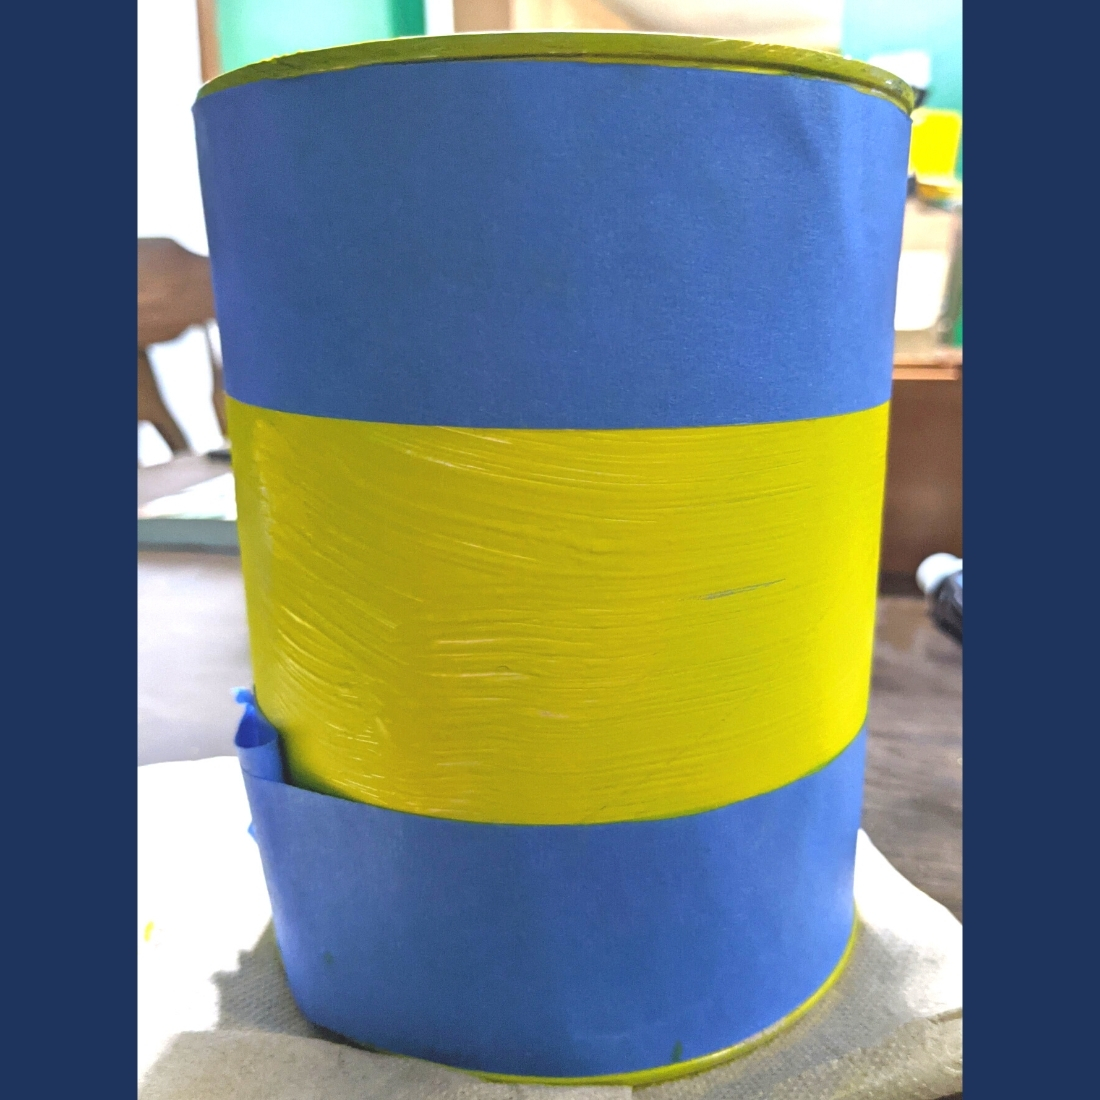
Once the yellow paint is dry, it's time to give your can some black stripes. I tried to use painter's tape to make them neat but … it didn't exactly work out. If you are using tape, make sure to give the paint plenty of time to dry before peeling!
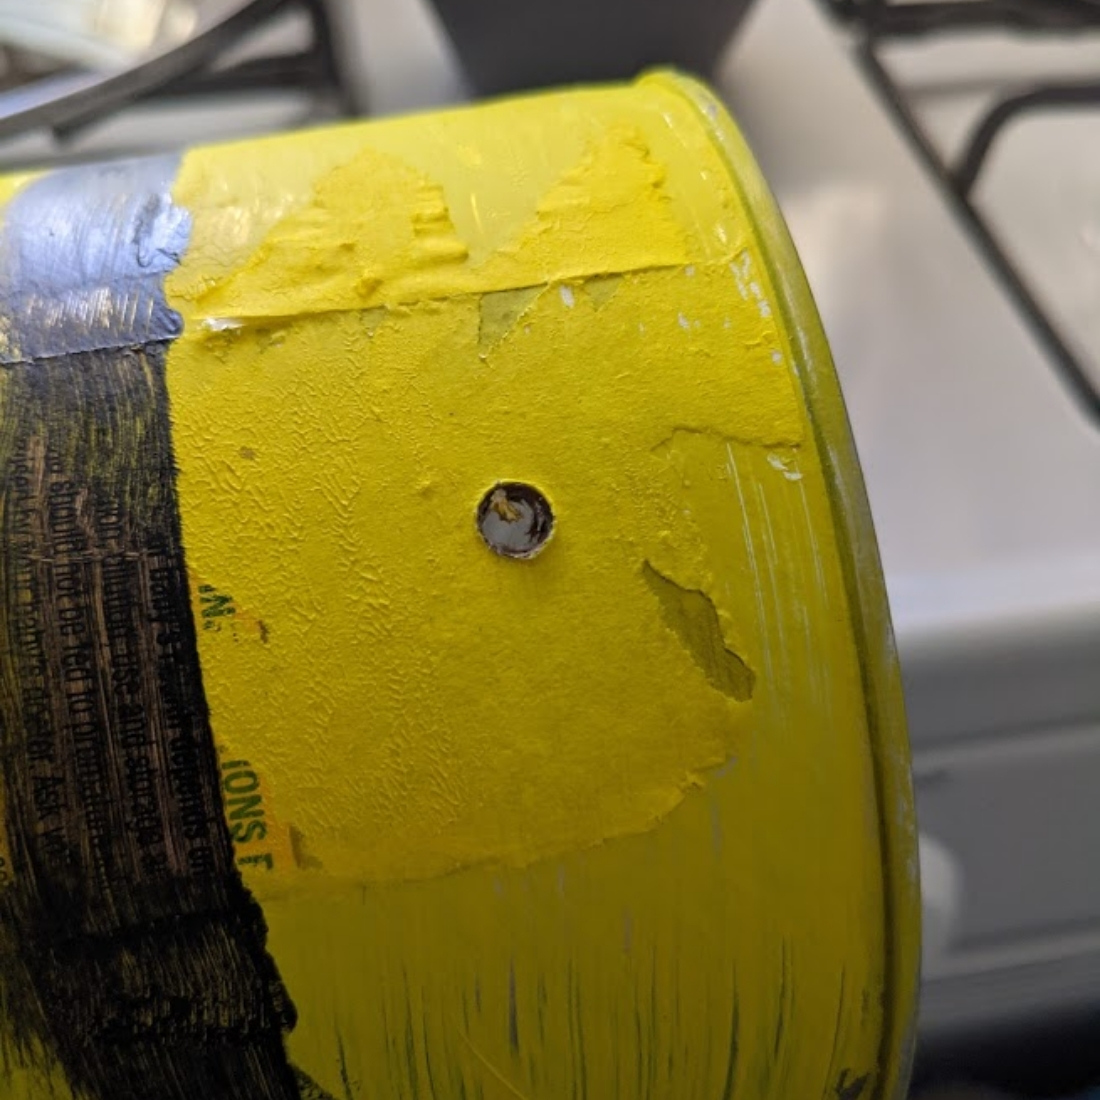
Once all your paint is dry, you'll have to put two holes in the can to hang it. One hole goes at the opened end of the can and the other at the closed end. Thread some twine through the holes so it's ready for hanging.
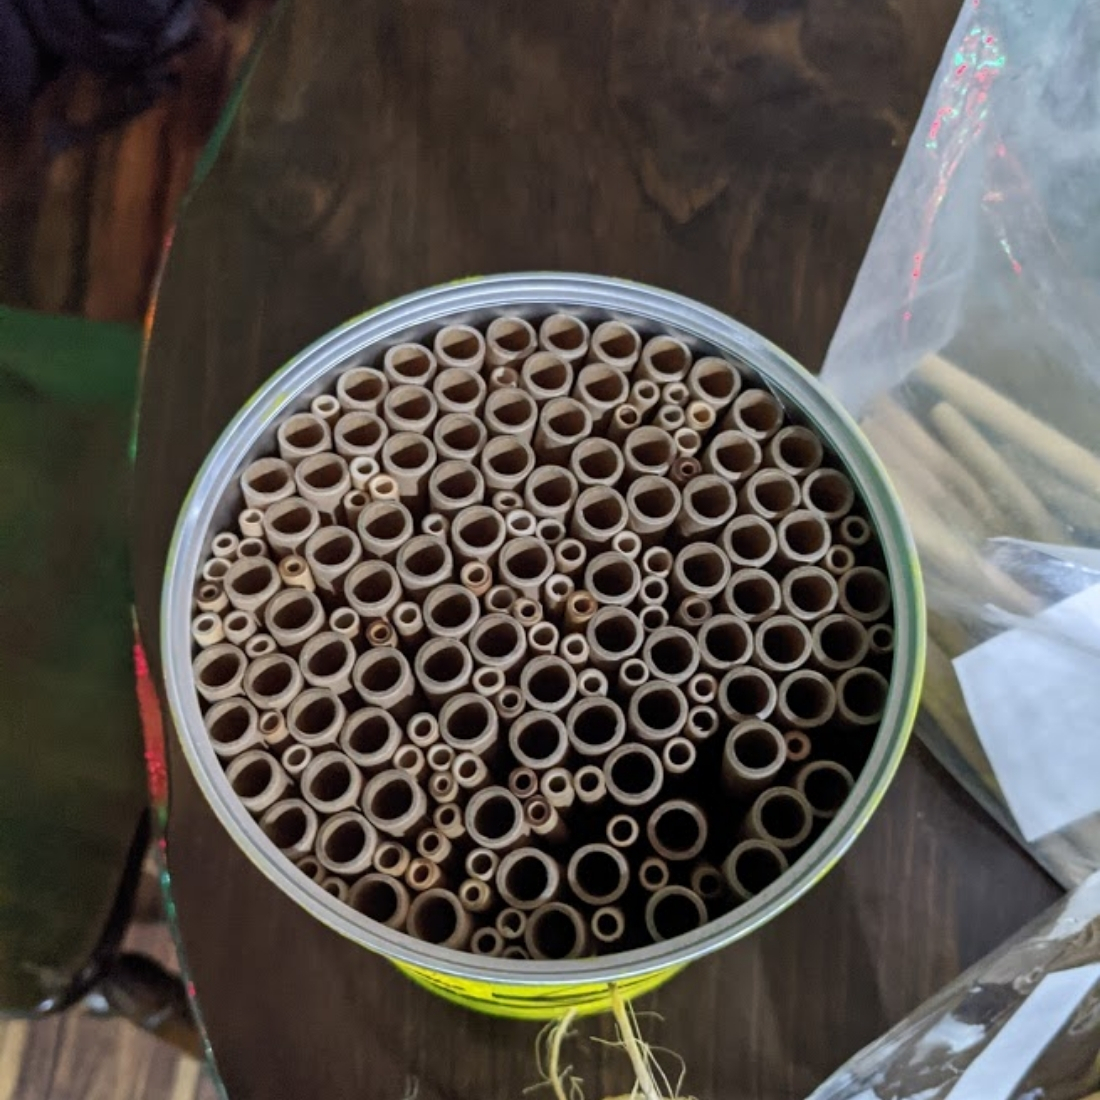
Next, fill the can! I used pieces of bamboo that varied in size to give it a varied look and (in my mind) to accommodate bees of all different sizes. This kind of habitat is perfect for mason bees, who pollinate but do not sting. Mason bees will nest in these teeny crevices.
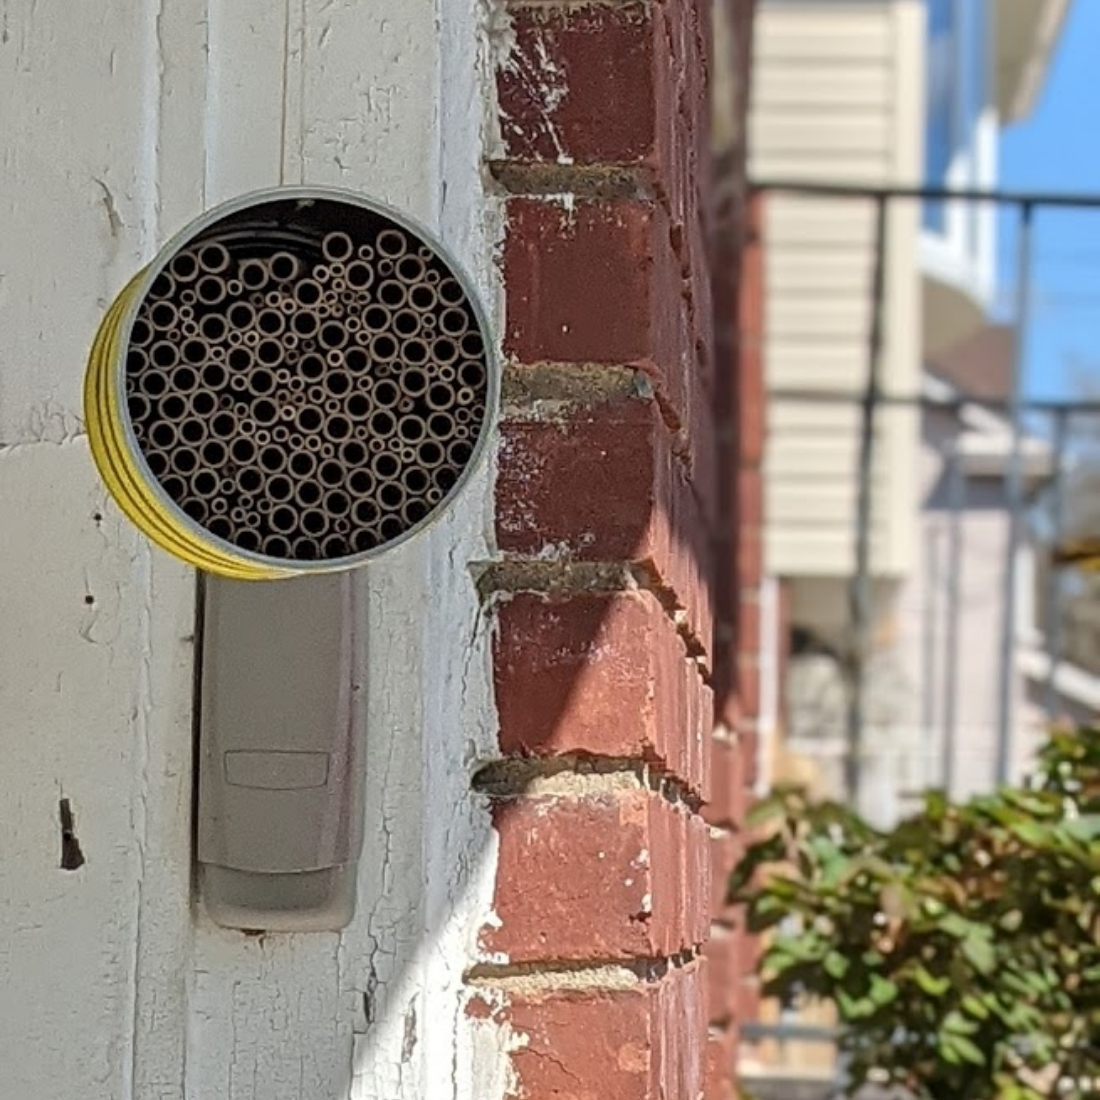
Ideally, you're supposed to put your bee habitat somewhere near a tree. But since I don't have a tree on my property, my next best location was somewhere near greenery. My front-yard rosebushes seemed like a good spot.
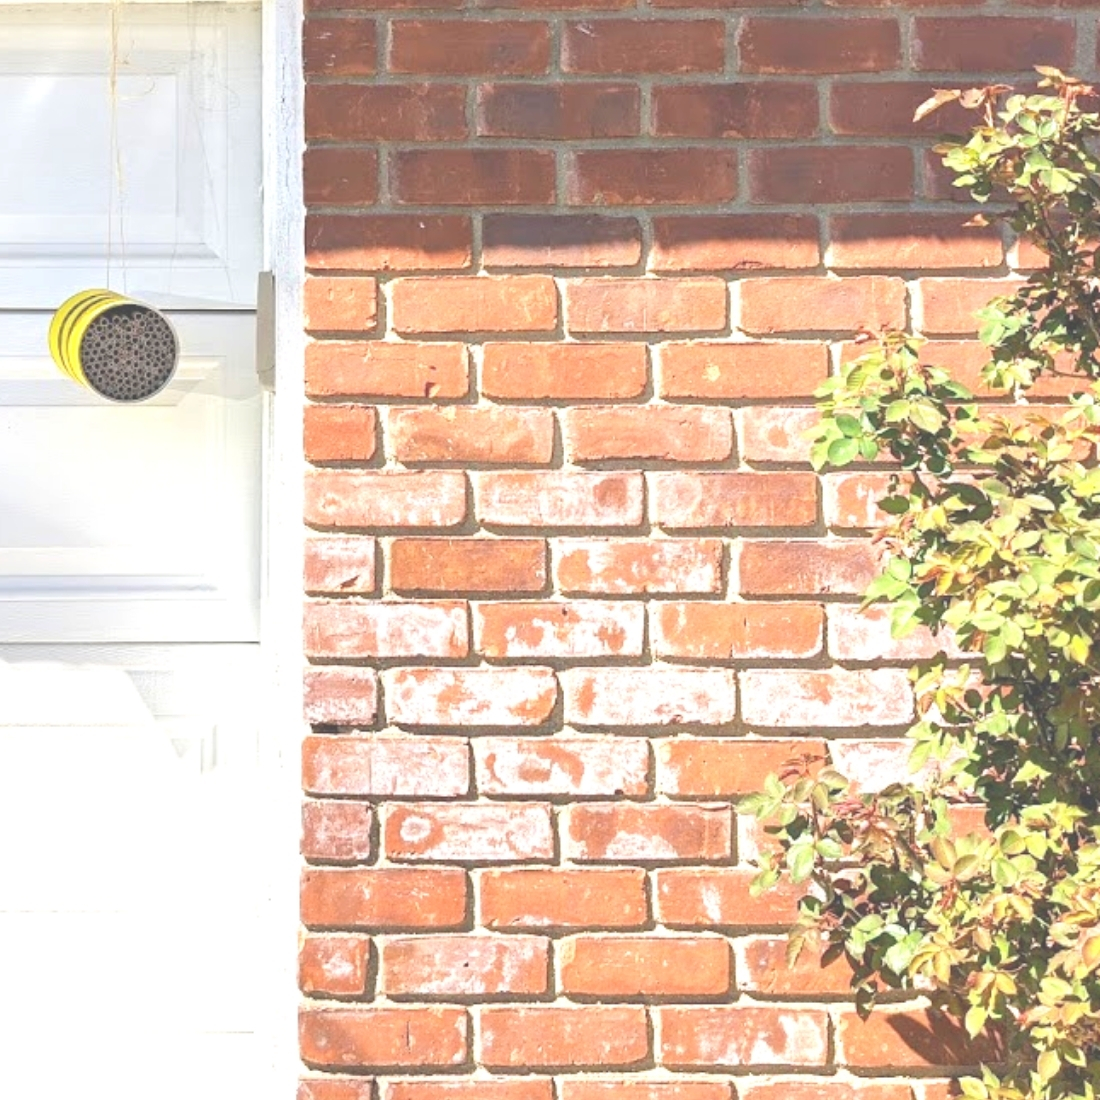
I put this out on the first sunny day after some early April showers. Now I just have to wait for the bees to move in.


