Gardening has become my favorite kind of therapy this year. After a long and difficult year, it feels nice to get outside and do something. It's also my first year with my own yard to garden in, so it's been a fun and rewarding experience getting it all underway.
Now that we're midway through summer, I'm enjoying the fruits of my spring work and looking ahead to fall. Of course, there's not room for everything I want to plant in my garden quite yet. Thankfully, I've found some nooks of my house that haven't been overrun by my houseplants.
I was, however, sorely lacking on pots to plant my newly acquired seeds. I looked for some DIY solutions and came across newspaper pots. They're adorable and good for the environment, and they can easily be transported to your garden if that's your seedlings' final destination.
You've probably already got these supplies around the house.

The supplies to make these newspaper pots are super common and probably already in your home. You'll need some old newspapers (think circulars, pennysavers, etc.), tape, scissors, yarn or twine, and a cup or container with straight sides to use as your mold. This isn't a particularly messy craft, so it's an easy one to get the whole family in on (selfishly leaving you with more pots to use).
Start by prepping your newspaper.

Cut your newspaper sheets into squares. Depending on the size of the cup or container you're using as a mold, you may need more newspaper, so be sure to cut up a good amount so you have it on hand.
Fold newspaper squares into some triangles.

If you're using a smaller container like a water bottle or drinking glass, you'll need two triangles to make a whole pot. Containers with larger bases will require more newspaper to cover them.
Begin wrapping the container.

Position your newspaper triangle with the point down. Place your container on top of it, then wrap the other two sides around, like arms giving a hug. Secure it with a piece of tape.
Next, fold up the bottom.

Fold up the bottom to create the bottom to your pot. Note that if your tape sticks to your container (like mine does in the photo), you can slip a piece of tape behind it with the sticky sides facing together, so it doesn't do that when you remove the container in a later step.
Turn your container over so the side with the gap is on the bottom.

Next, take your second newspaper triangle and repeat the same folding-and-taping process. Depending on the size of your container and newspaper squares, you may have full coverage on the bottom at the end of this step.
If you don't, take some additional squares or scraps and tape where necessary.

Some of your gaps may even be solved by simply taping down loose corners. When you're done, you want a complete bottom.
Next, tie your twine.

Twine or yarn will work for this step. This also gives you a chance to do some personalizing with colors, so don't be afraid to have fun! Loop it around your container twice and tie a knot (or bow) in front.
Now you're ready to reveal.

Once your knot is tied, pick your container up from the top and slowly shake your pot loose. Double-check to make sure there are no holes in the bottom of your pot. The newspaper is porous enough to allow water to pass through.
Fill your pot.

Now is the fun part — the planting! I decided to plant peppers and sunflowers, two batches of seeds I had leftovers of after they didn't take earlier in the year. Use a narrow garden spade to carefully add the recommended potting mix for whatever you're planting.
Add your seeds.

You may want to measure your pot before adding seeds so that you know how many you can reasonably plant. I scattered three sunflower seeds in my little container. Now to keep my fingers crossed that one actually sprouts!
Top off your soil if necessary.

I added a little more soil over my seeds to make sure they were planted deeply enough. Then I watered each container carefully, setting them to rest on a tray where water could pool as it drained out.
Keep up with care!
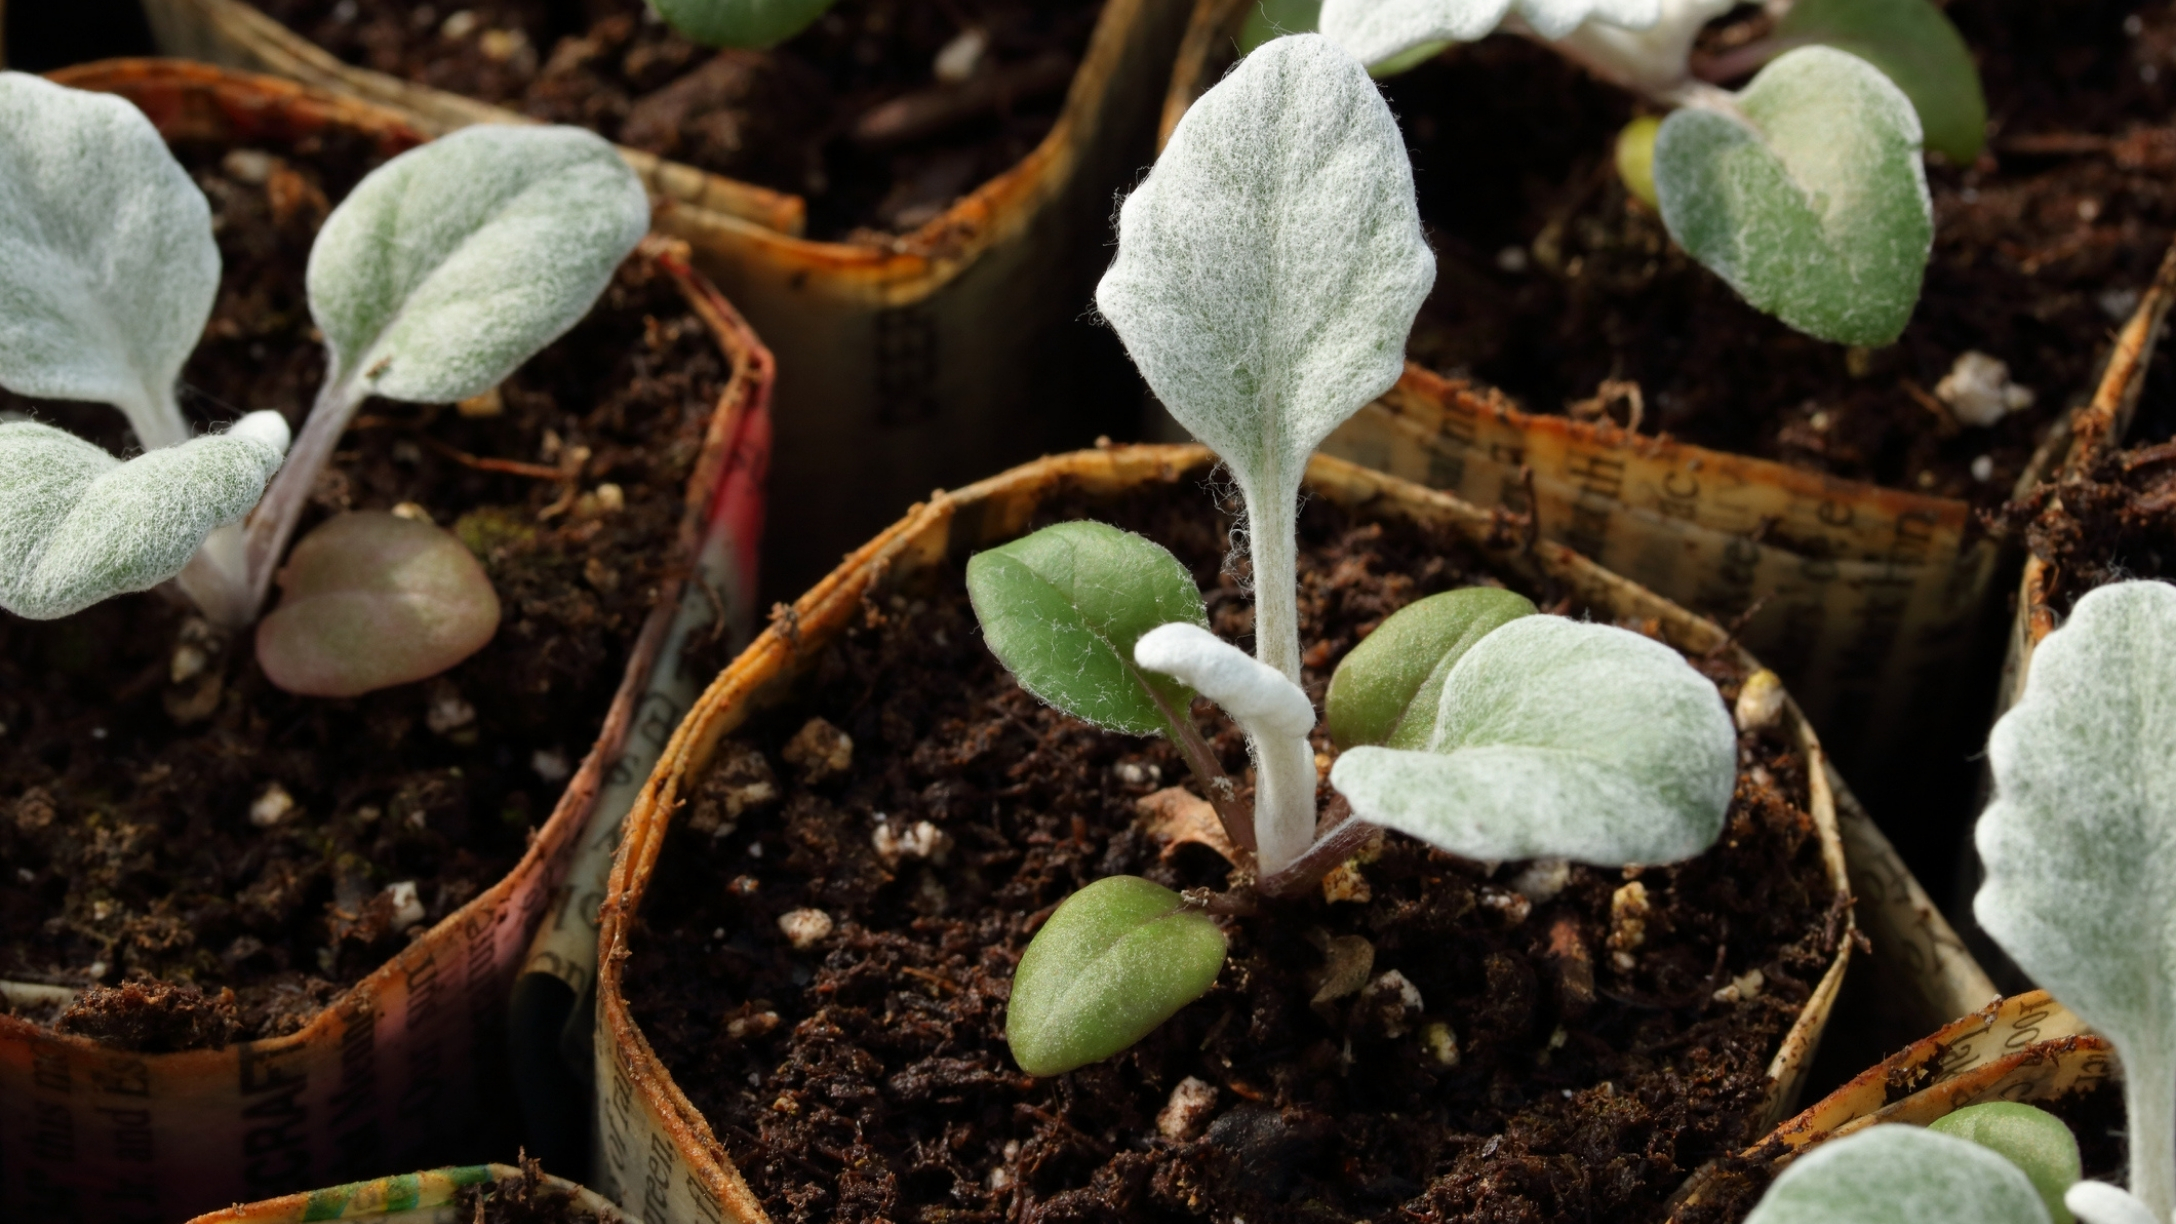
This is the hardest but most rewarding part! Keep your seeds well-lit and well-watered as you wait for them to sprout. When your plant grows and is ready for your garden, you can simply cut away the paper bottom.
The container is even good for your garden!
The reason you don't have to cut away your whole container is because the newspaper will eventually break down! Having paper in the soil helps keep it moist and makes worms happy, and worms make your garden happy. Winning all around!