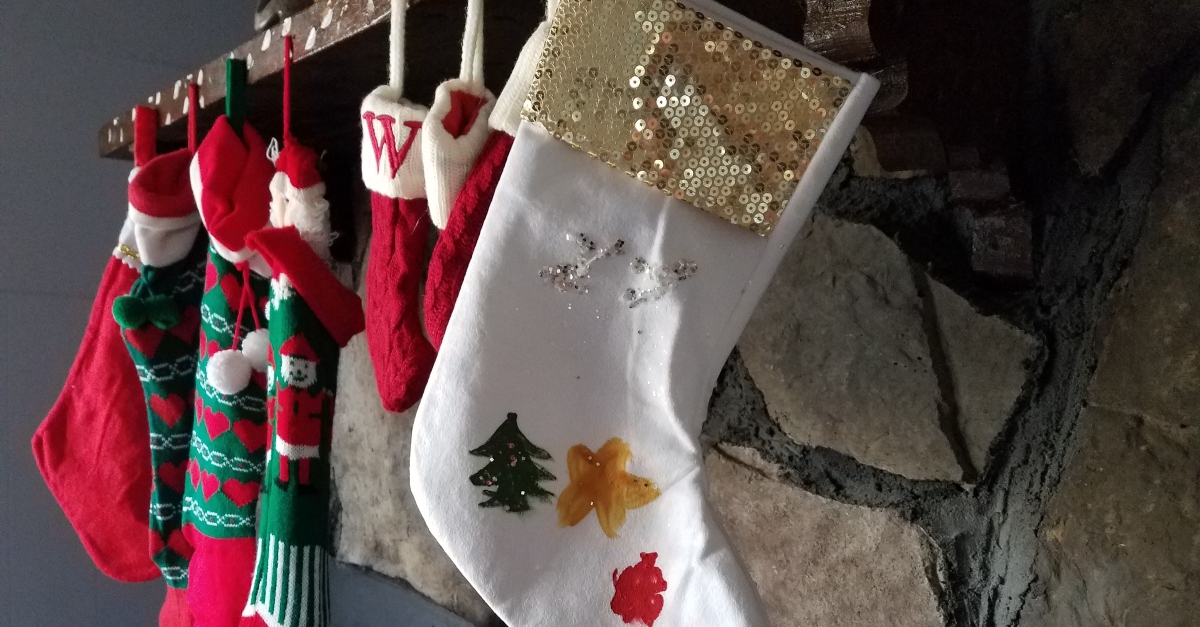
Holiday decor is one of my favorite things. No matter what the holiday is, I can get fully into decorating my home for it. This year we welcomed a new dog, JJ, into our home, and while hanging up stockings we quickly realized we didn't have one for him. The rest of our pets (two other dogs, Kali and Ron Weasley, and our cat, Mishka) have matching stockings with their initials on them. I couldn't remember where I bought them but knew that it probably happened three or four years ago. Who knows?
Since we couldn't find a match for JJ's stocking, we knew what we had to do. Enter the DIY pet stocking!
This is probably a good time to let you in on a secret: I am notoriously … not great at DIY, especially pet DIY. I have a lot of DIY enthusiasm, but I either lose steam halfway through (my house is covered in a million knitting projects that could all be sweaters, one day) or find out that I'm in over my head and create something that doesn't live up to expectations. My 10-year-old son is similar: loves the idea of a DIY life, but doesn't always actually follow through.
Despite this, we decided to combine our DIY powers and create a pet stocking for JJ. After all, he deserves it.
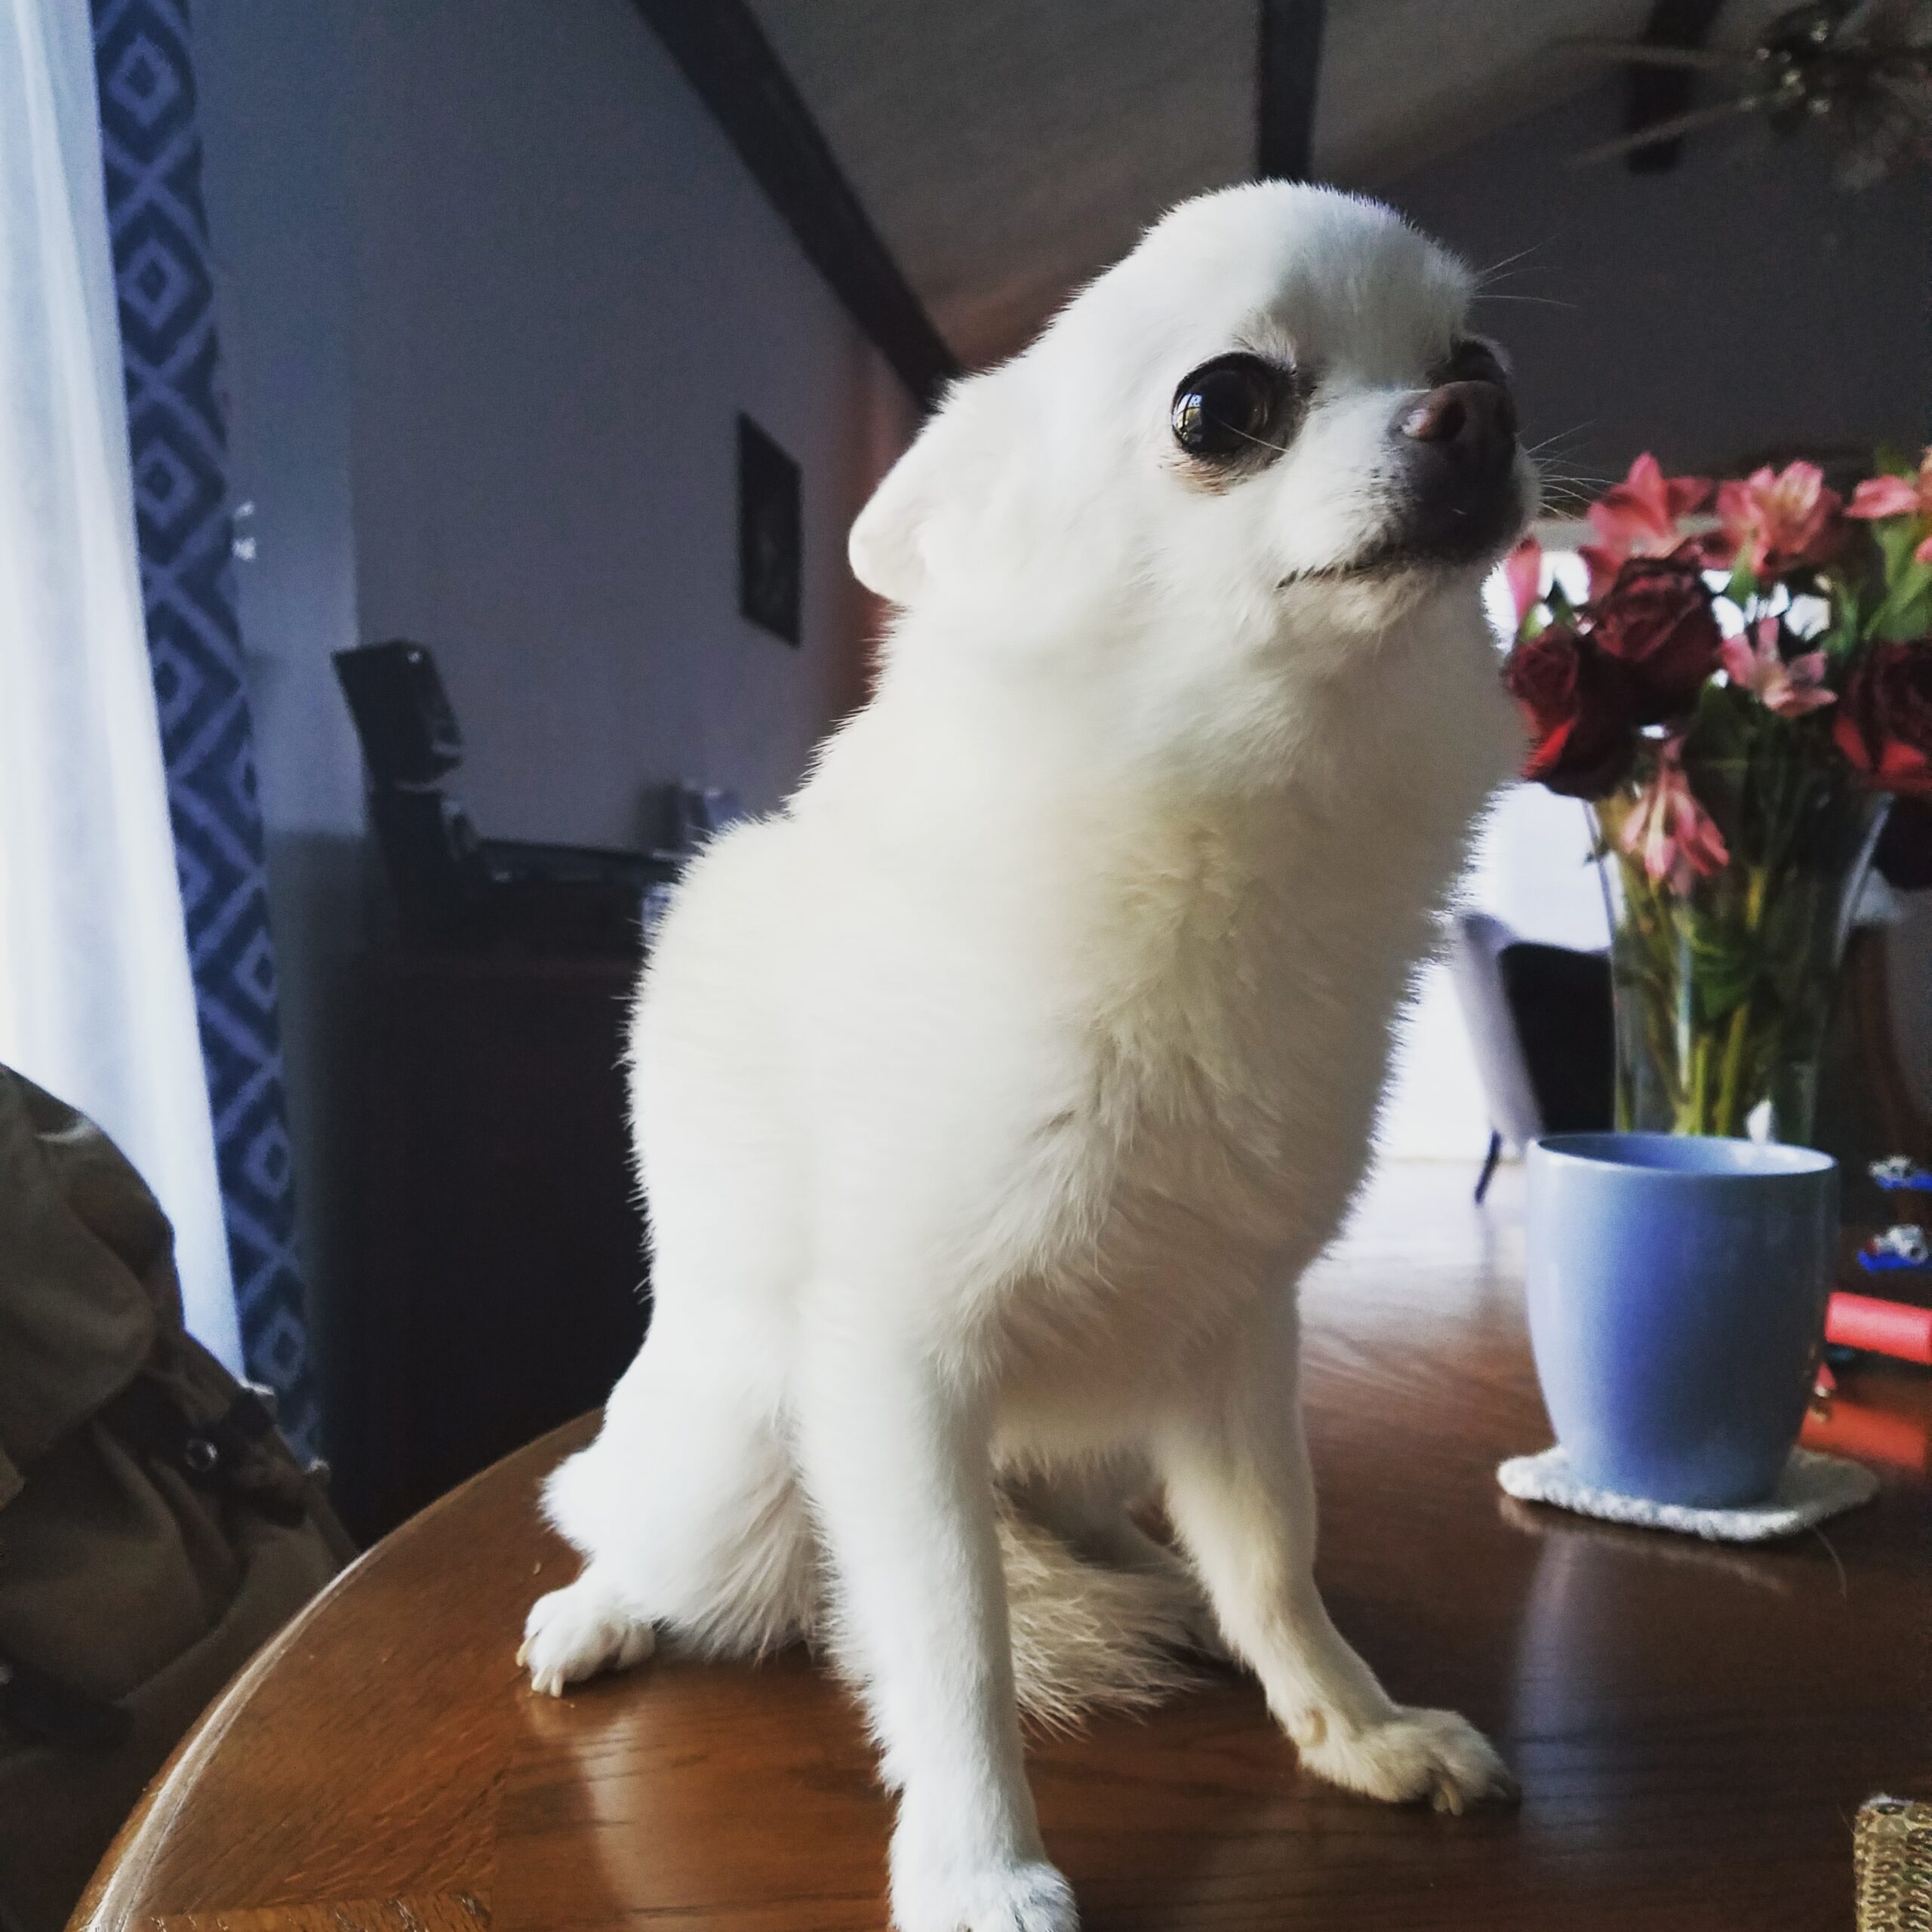
Meet JJ! He is a Pomeranian-Chihuahua who is actually the brother of our other Pom-Chi, Ron Weasley. They are both from the same litter and everything! My sister had JJ, but we ended up bringing him home with us earlier this year after visiting her in Florida.
PS: This is about as bubbly and confident as he gets!
Step 1: Figure out what kind of stocking you want to make and gather supplies.
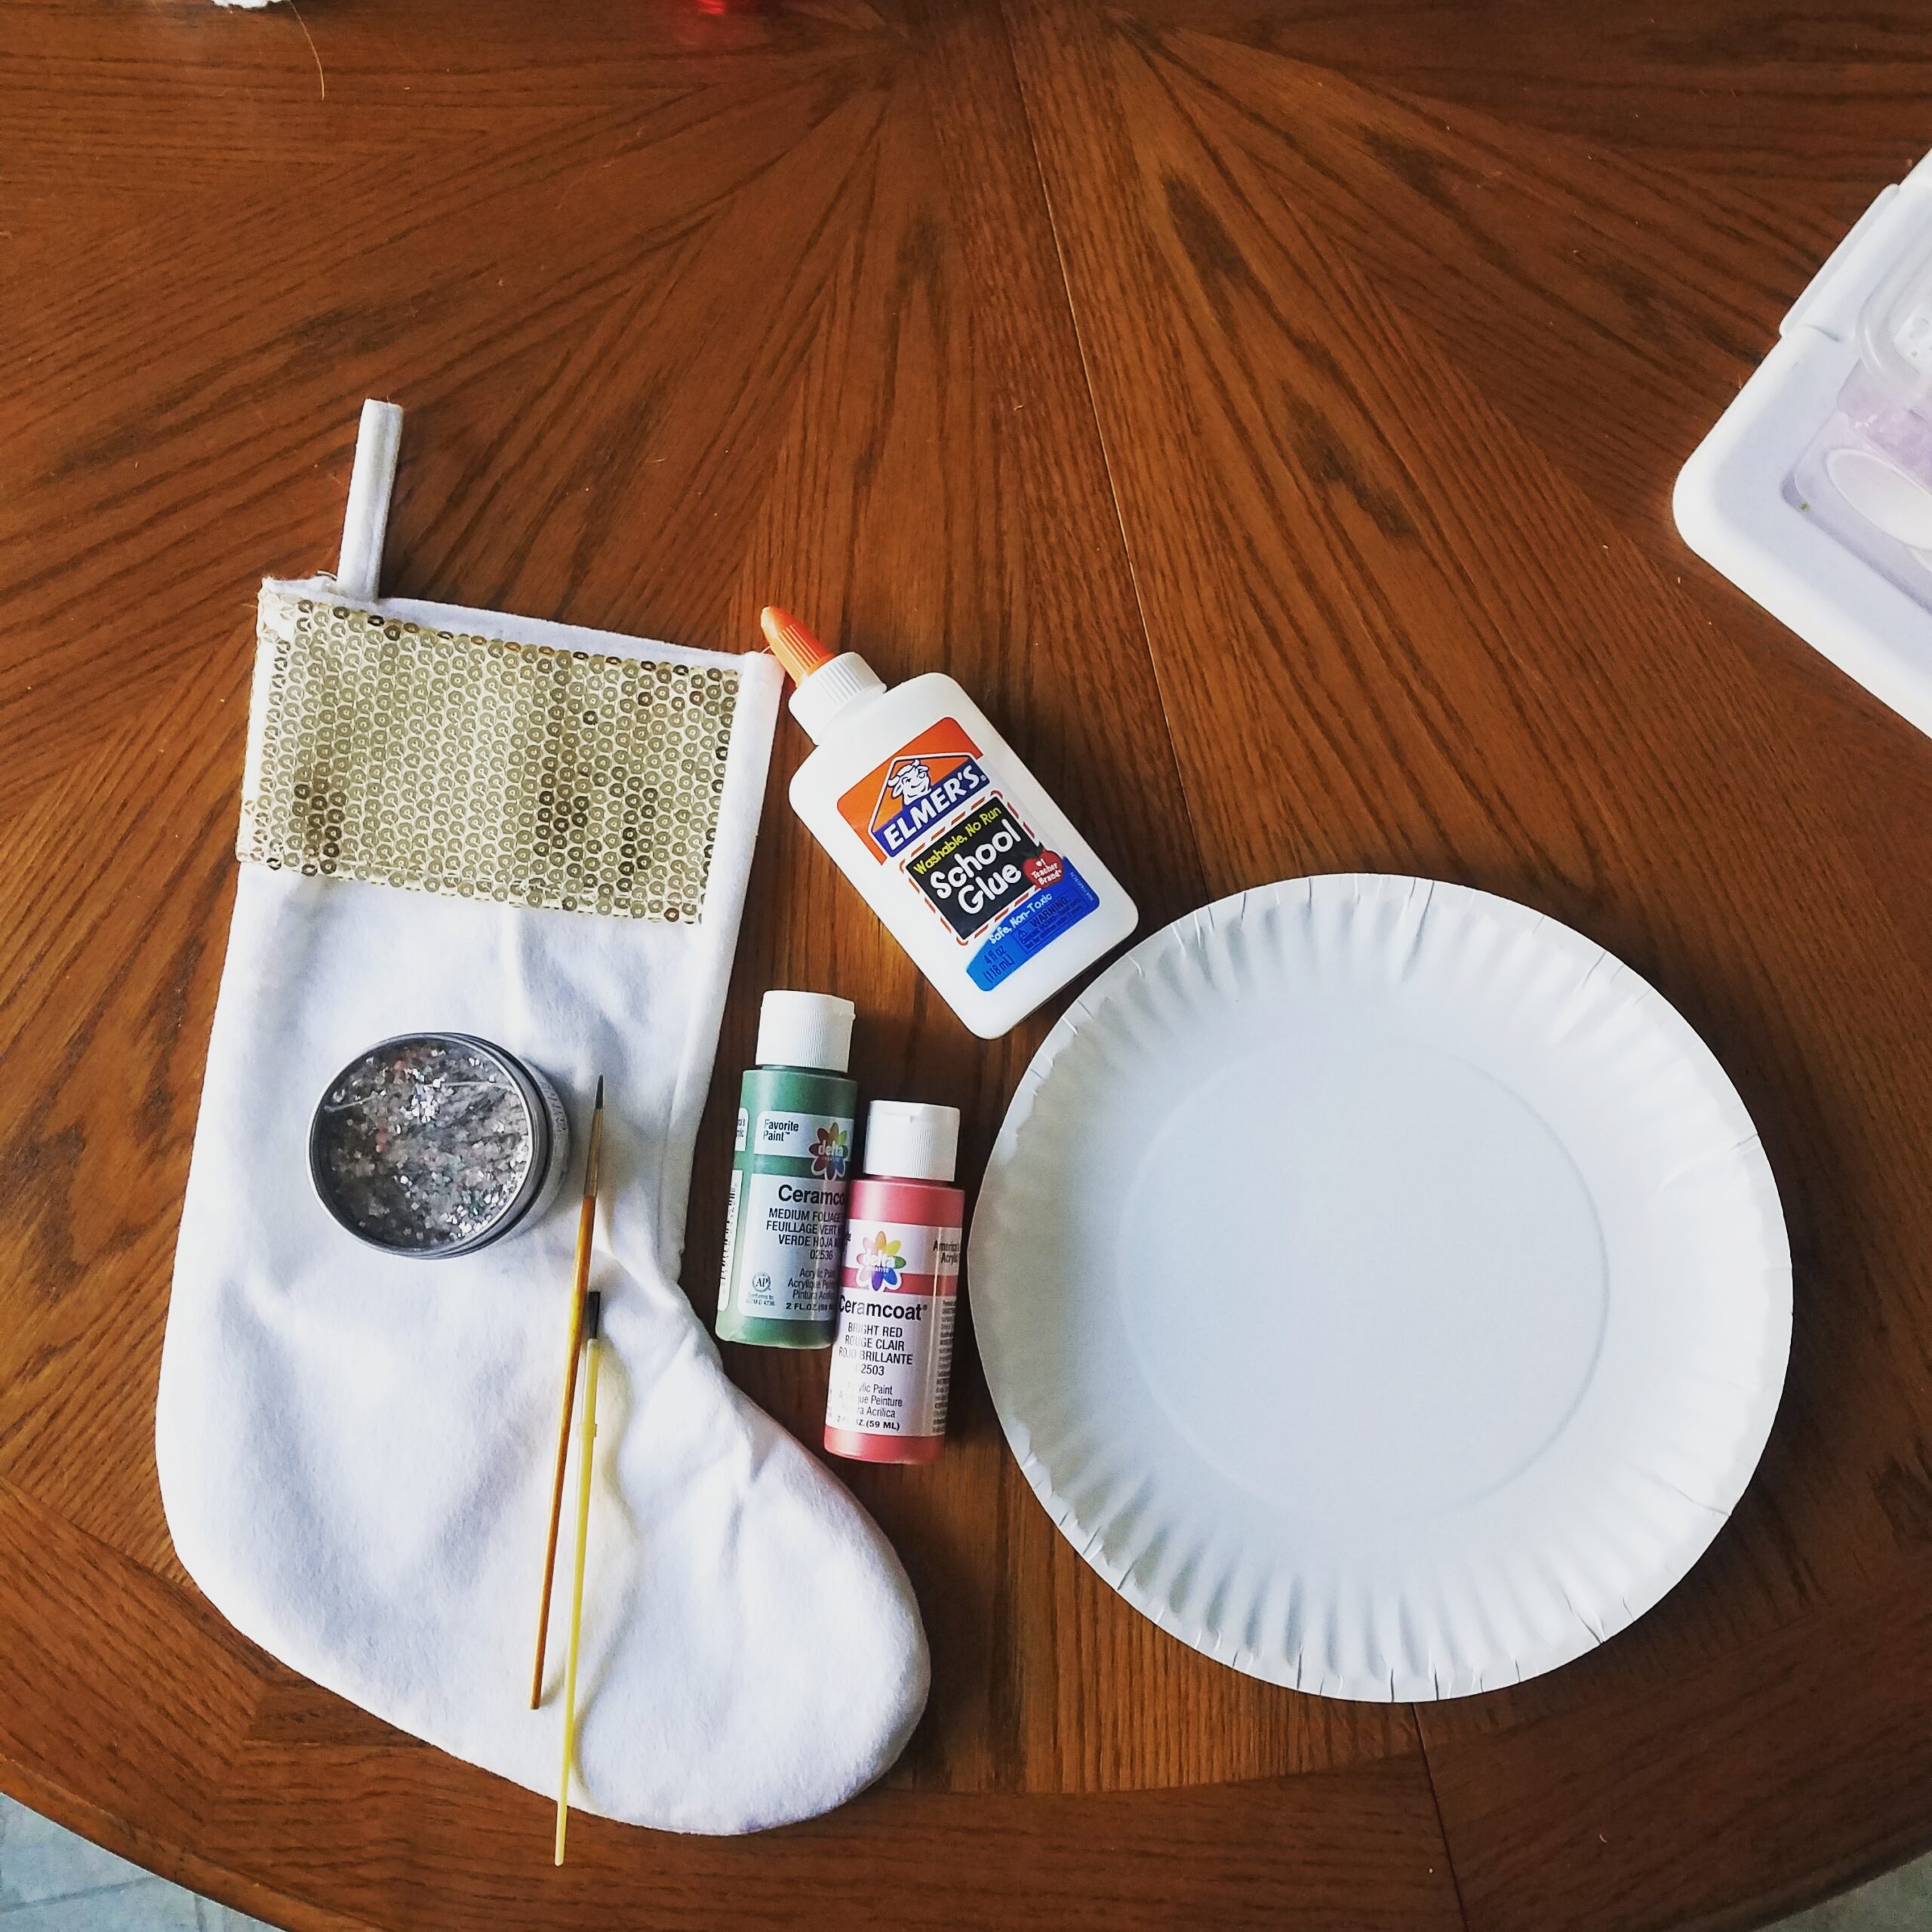
I knew that for the two of us to succeed, this needed to be pretty straightforward. So when I found this DIY pet stocking on Chewy, I felt emboldened. Surely we could pull that off! Then we headed to Target for our supplies.
Note: I found our stocking in the $5 section at the front of the store right when we walked in, but the one I listed below would be a great substitute if your store doesn't have this one:
- Plain stocking (Shop now: Traditional Solid White Velvet Hanging Christmas Stocking — Target, $9.49)
- Craft paint (Shop now: Acrylic Craft Paint — Target, $0.99)
- Glitter (Shop now: Jumbo Glitter — Target, $3.99)
- Paintbrushes (Shop now: 7-Count Small Paintbrush Set — Target, $5.99)
- Paper plates
- Glue (Shop now: Elmer’s School Glue — Target, $1.49)
Step 2: Decide what you want to use your glitter for and go for it.
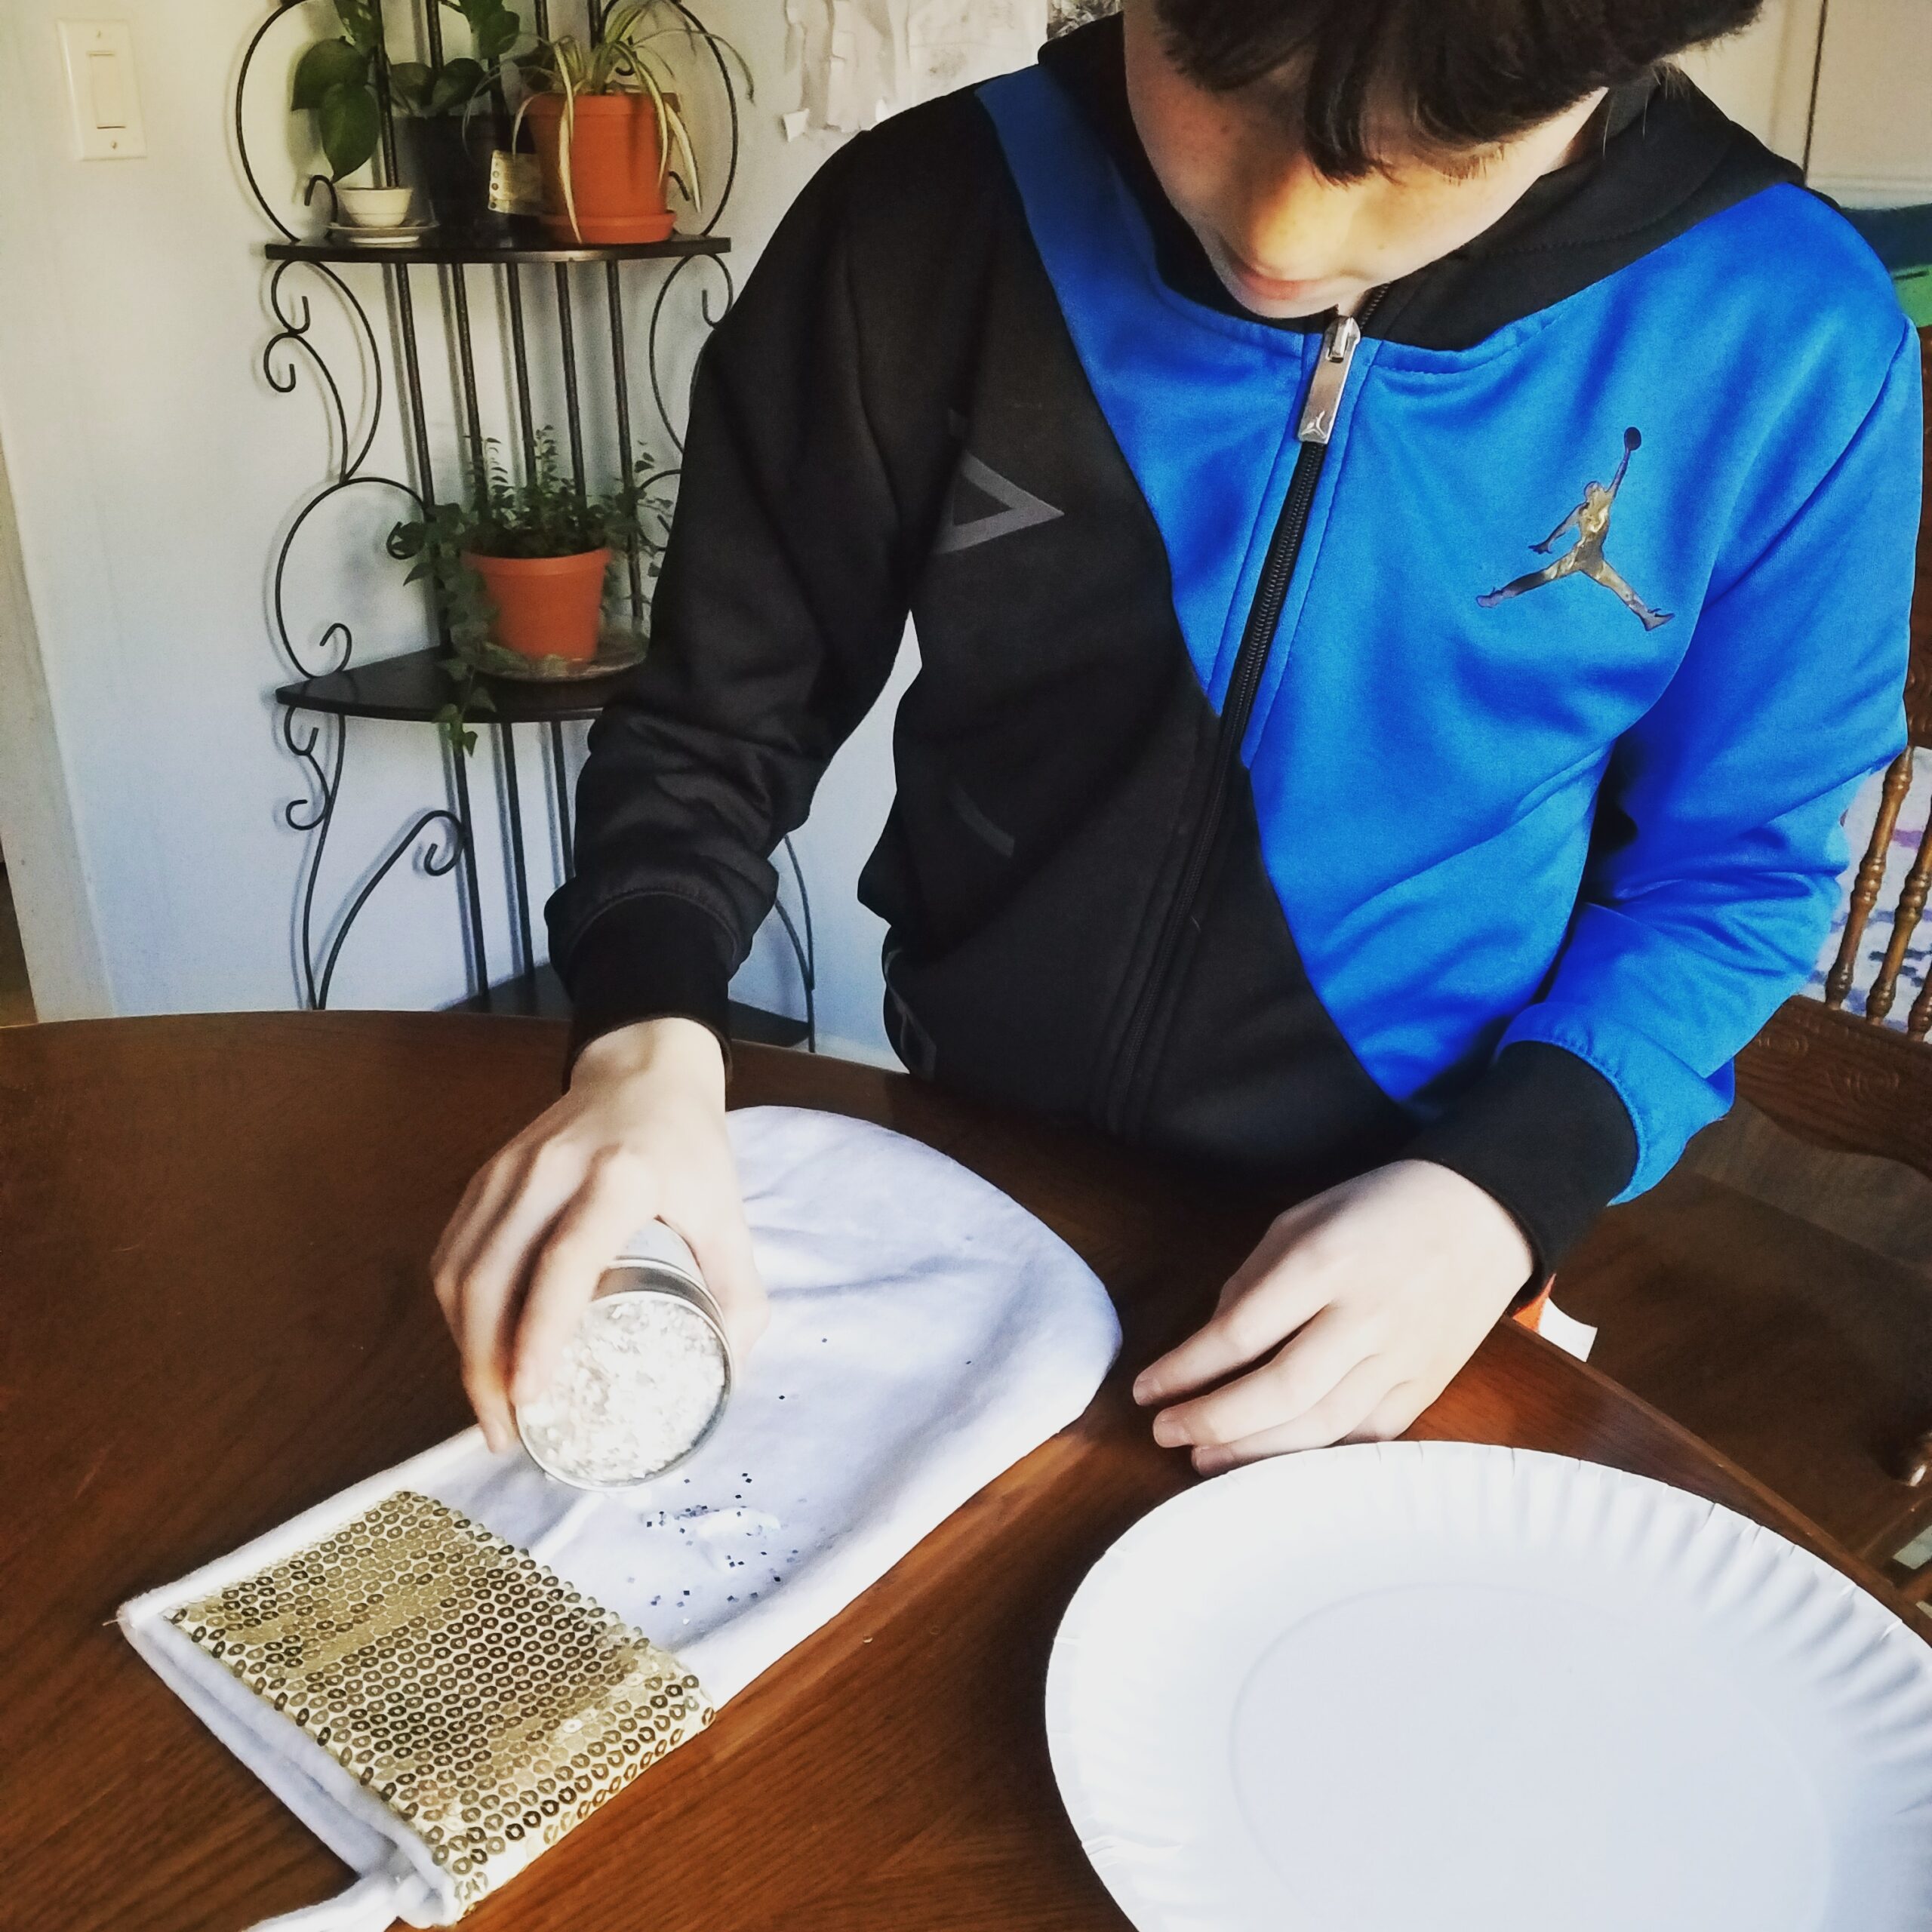
We decided to go ahead and do the glitter first, partly to get it over with (why does glitter go everywhere?) and partly so the glitter could sit on the glue while my son worked on the rest of the stocking. Since JJ has a pretty basic name, it was easy enough: My son used the glue to write "JJ" and then poured a ton of glitter on top.
Step 3: Prepare your paint and dip your dog's paw in.
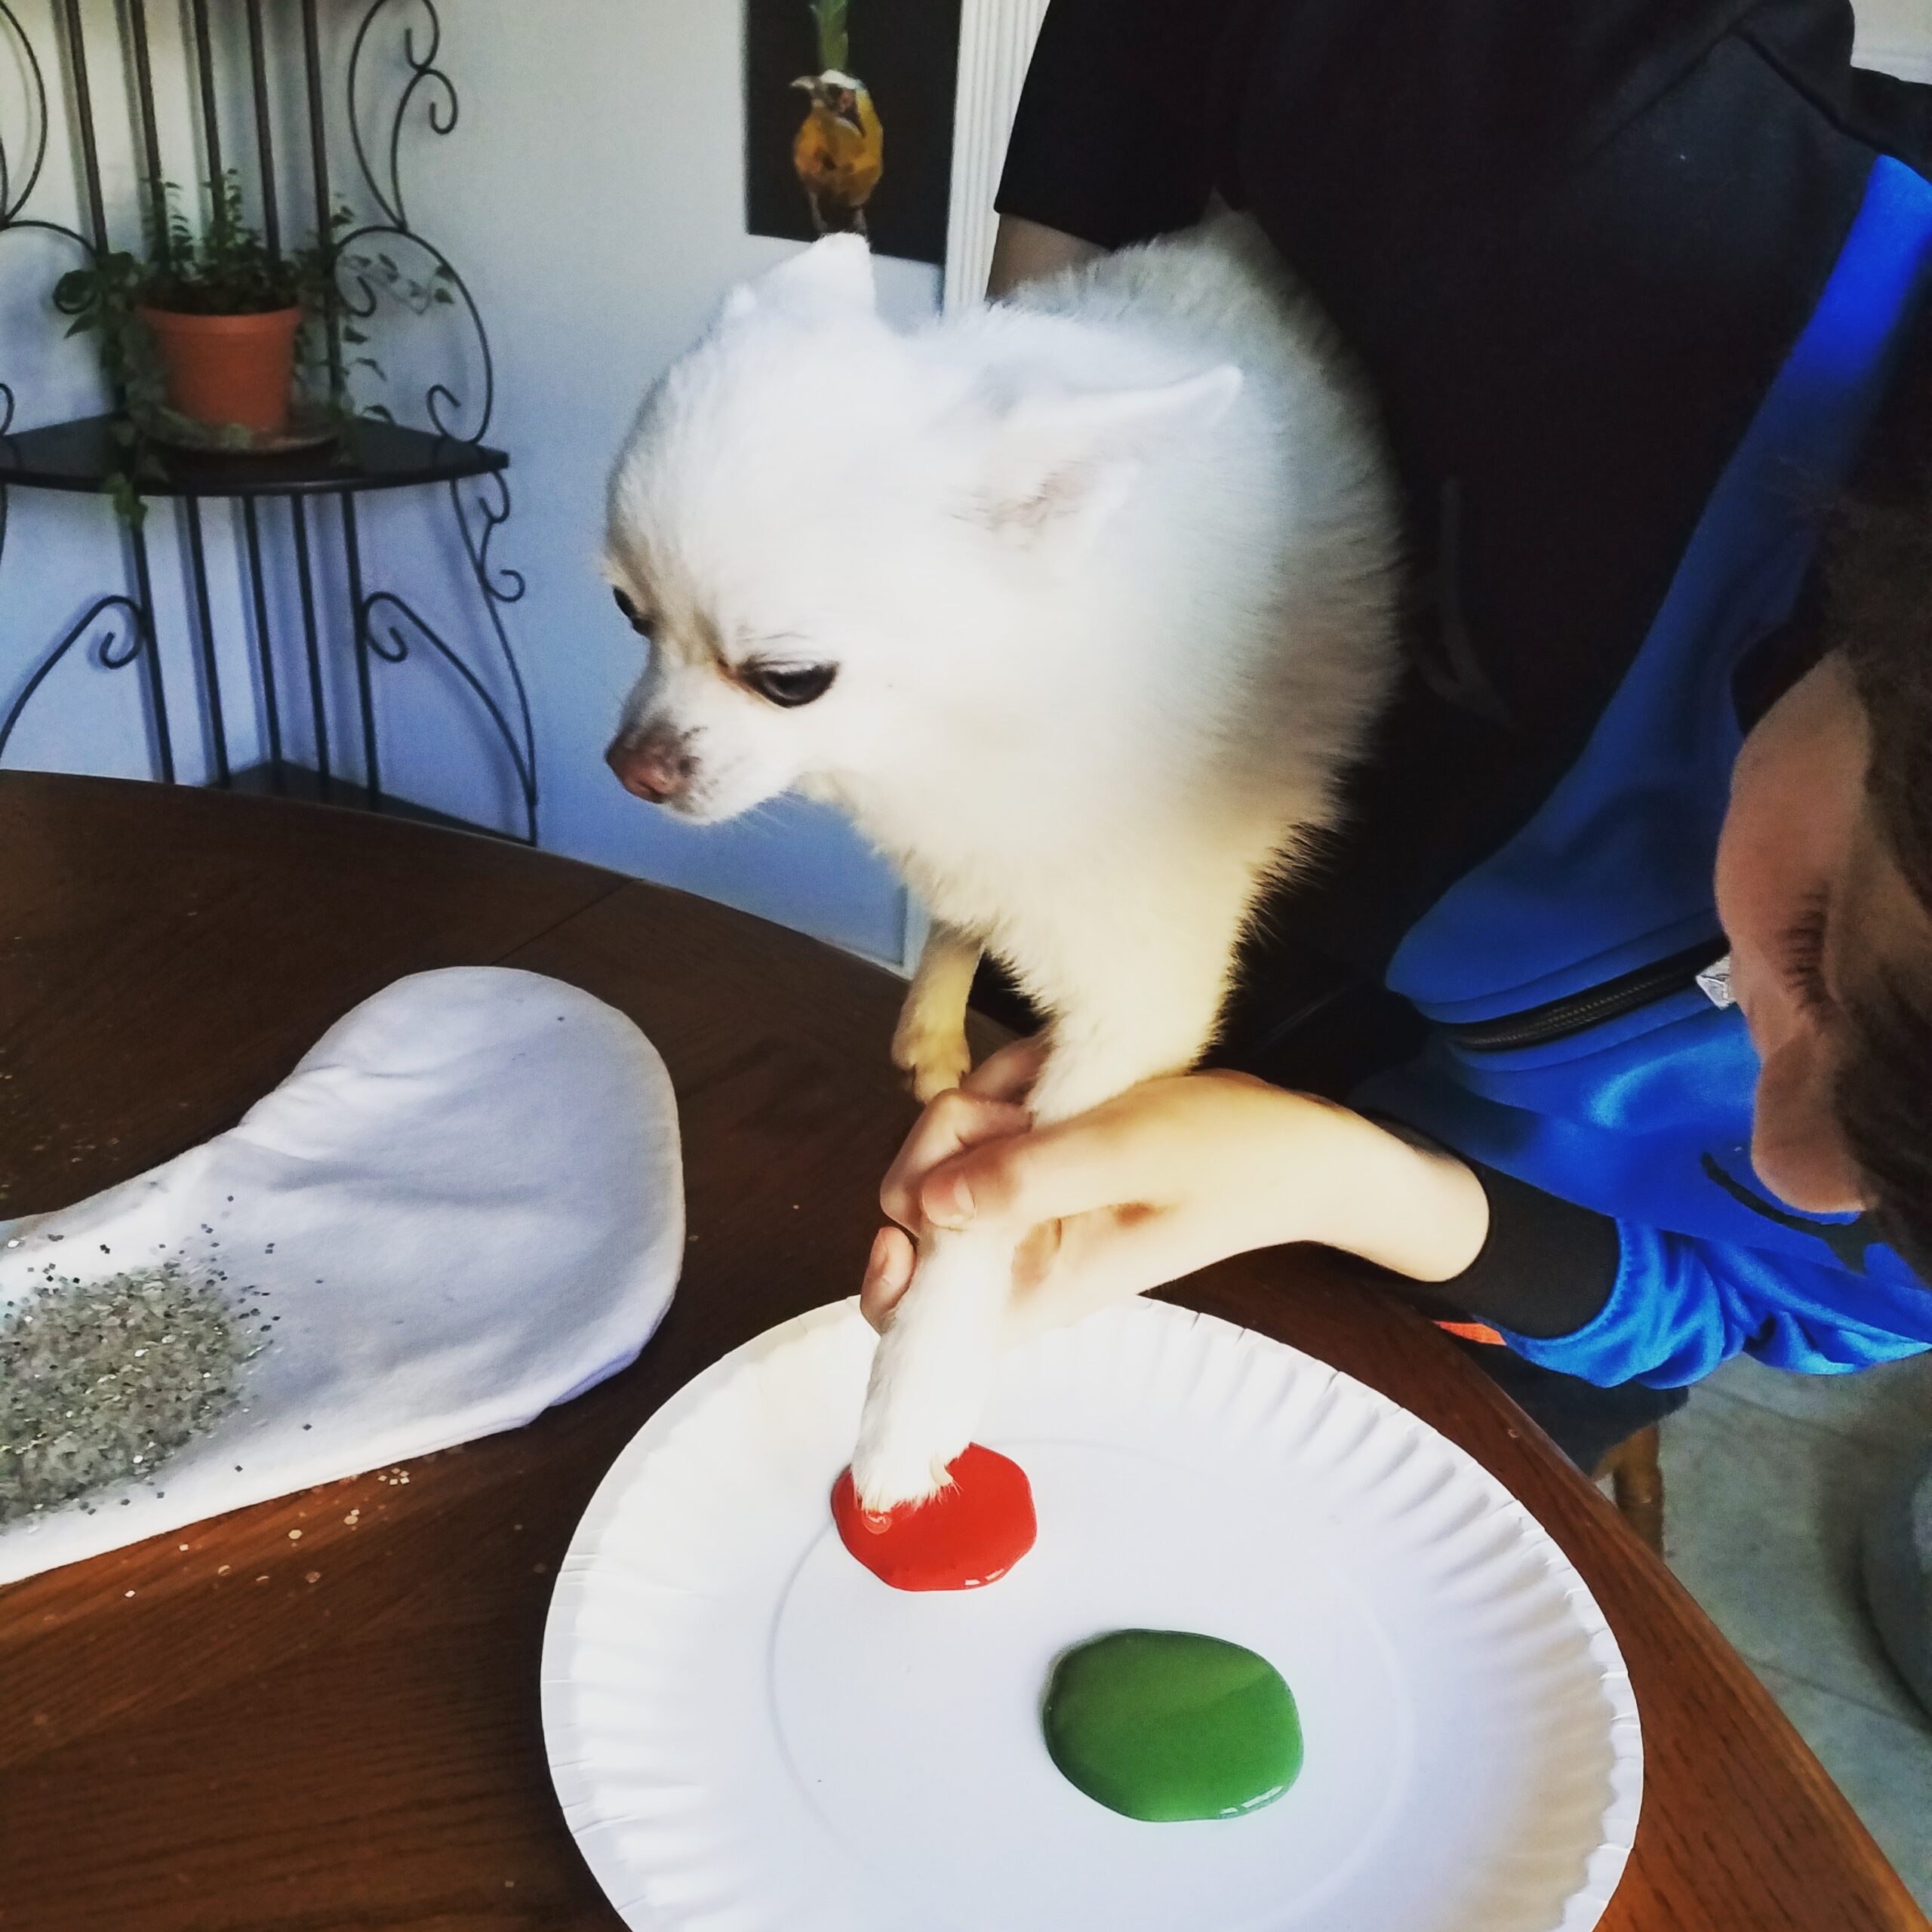
We decided to keep the color scheme pretty Christmas-focused, but you could really use whatever colors you want here. Since JJ is tiny, it was easy enough to scoop him up and dip his paw into the paint. I don't know how he felt about it since he approached the experience like he approaches nearly all experiences — warily.
Step 4: Place the paw on the stocking.
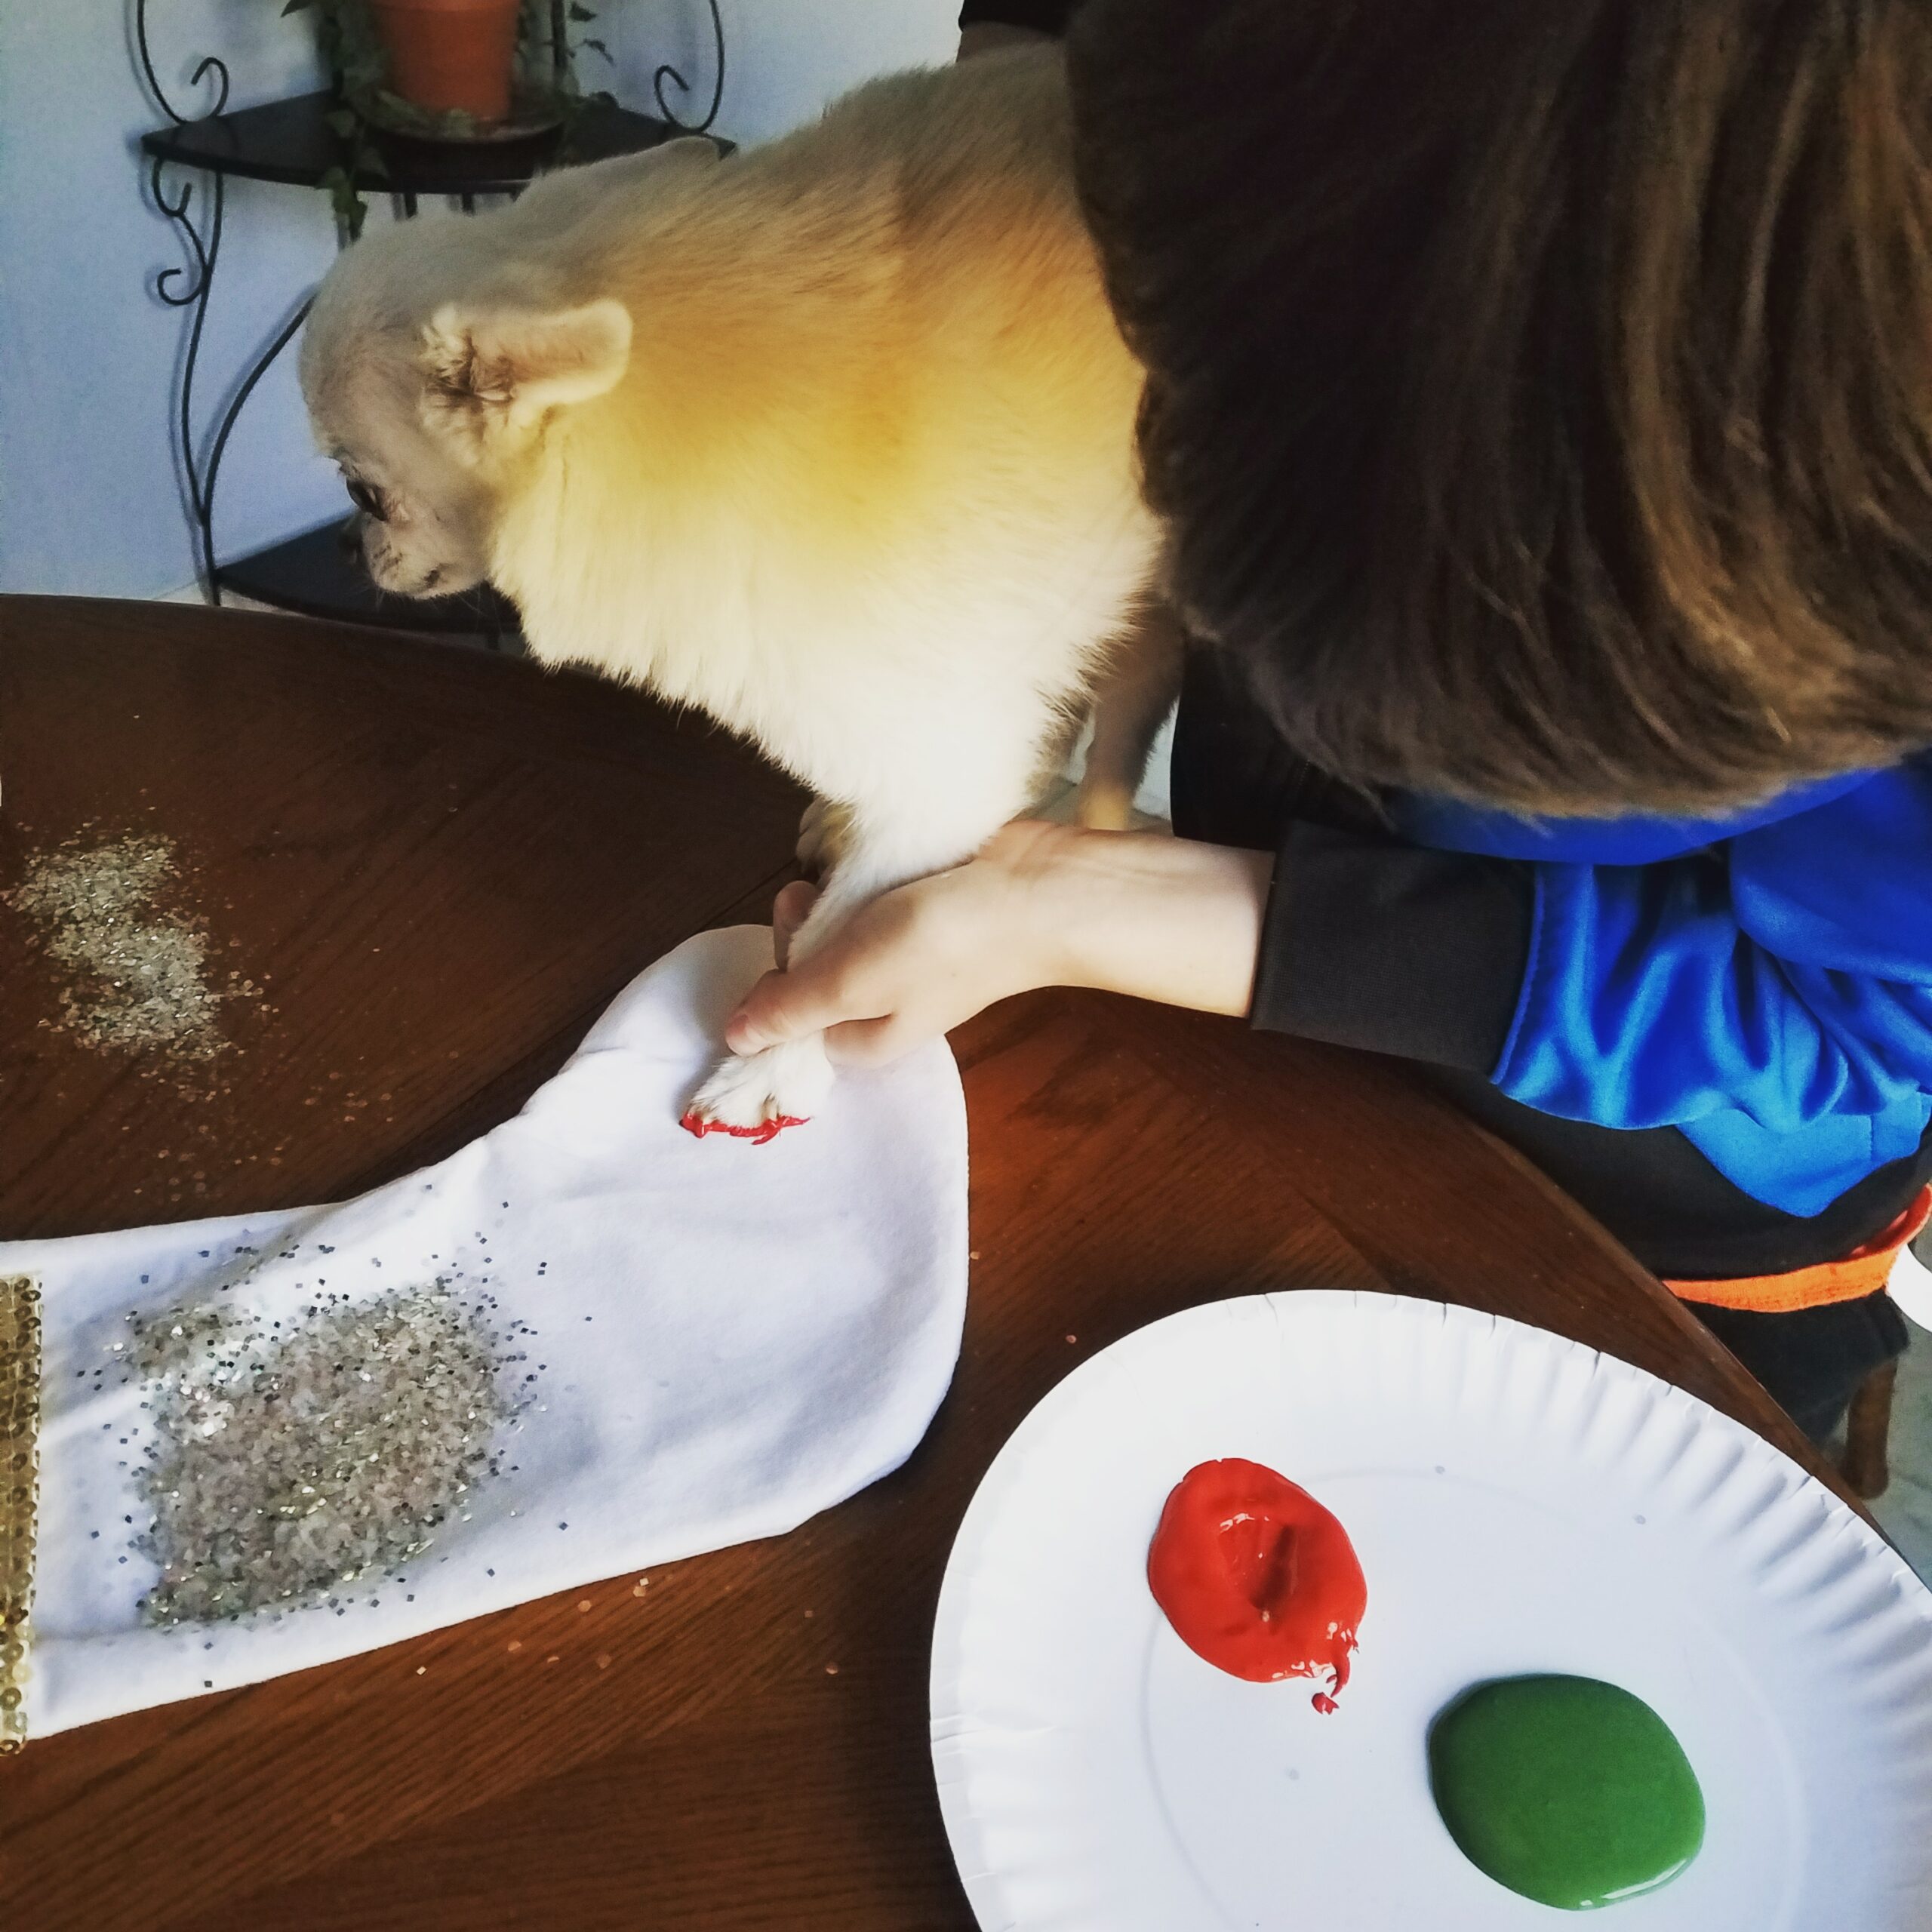
This was probably JJ's least favorite part, but he still did a great job! We were super gentle with him and used our best coaxing voices. He's genuinely nervous about everything besides cuddling with my kid at night, but this seemed to be pretty easy for him in the end.
Step 5: Decorate! And be prepared to clean your dog.
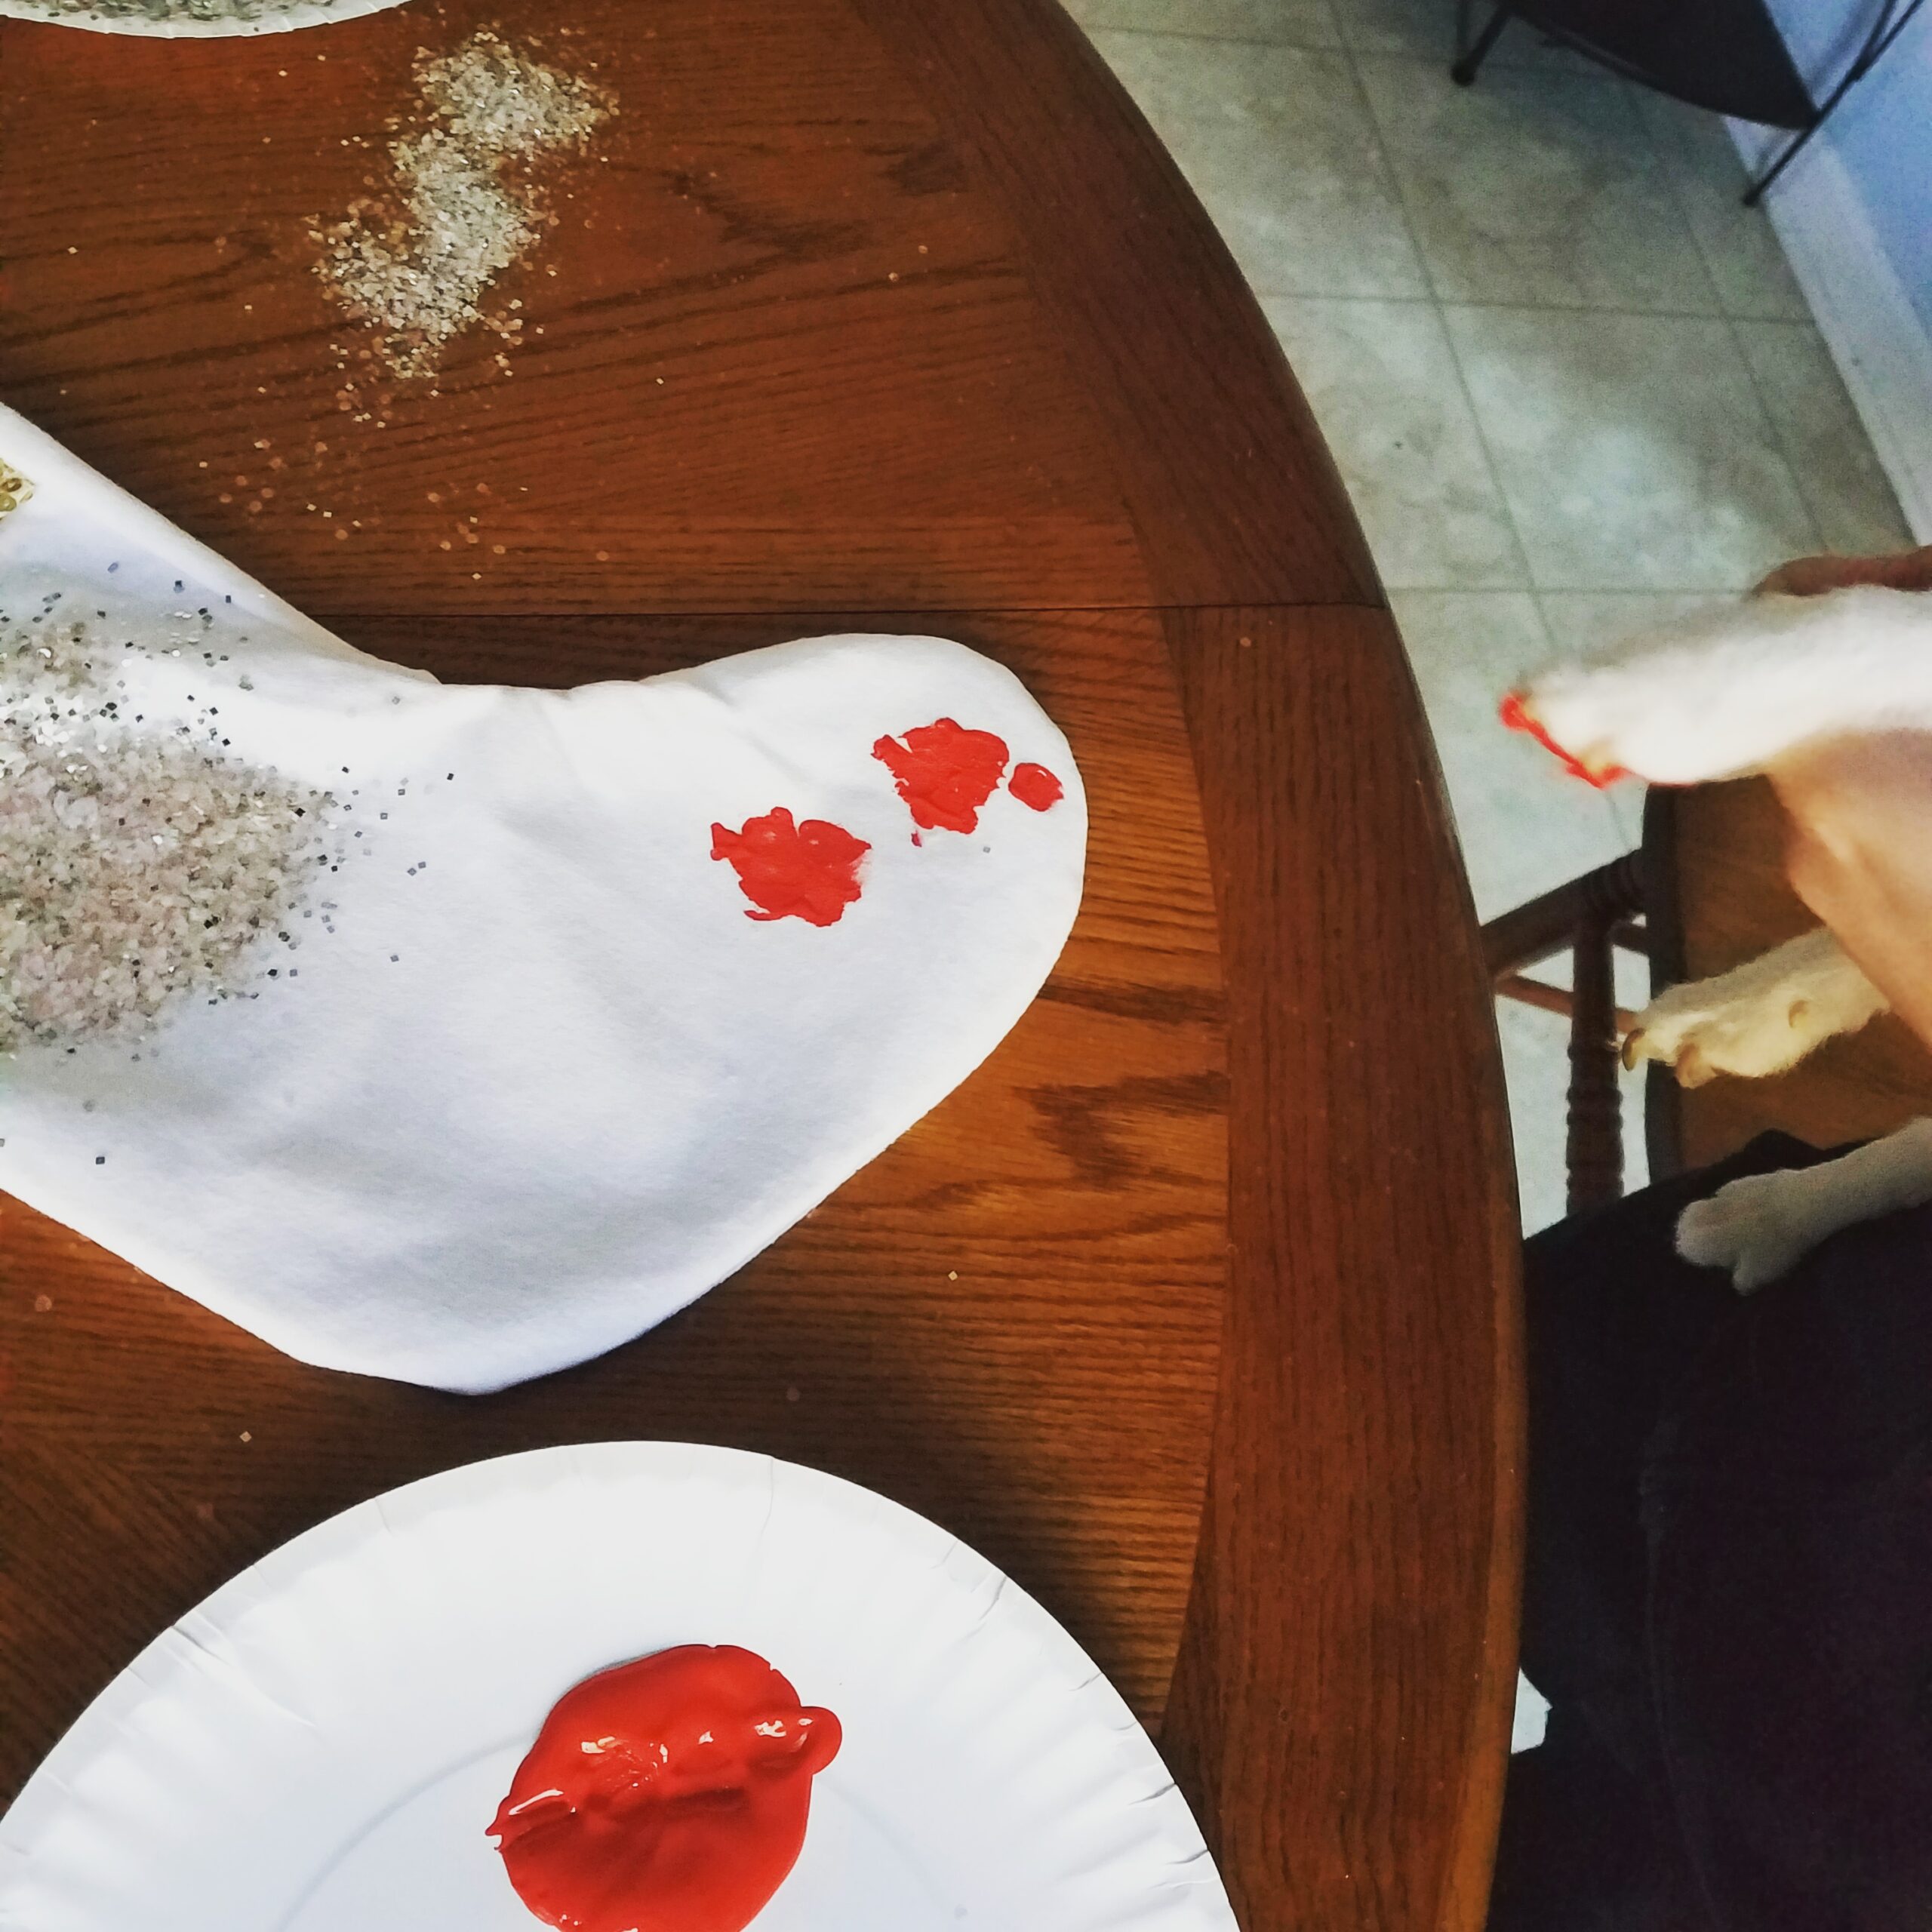
It took a bit of teamwork to get JJ's paw on the stocking twice, but eventually, we succeeded. Neither of us are sure that the marks actually look like paws, but they're cute, right?
We did find that we had to immediately give JJ a full bath after he was finished painting. When we took him to the sink to wash off his paw, the paint went e-v-e-r-y-w-h-e-r-e. Luckily, he was overdue for a bath anyway, so my son took him to the tub and washed him.
Step 6: Keep decorating, possibly change your plans.
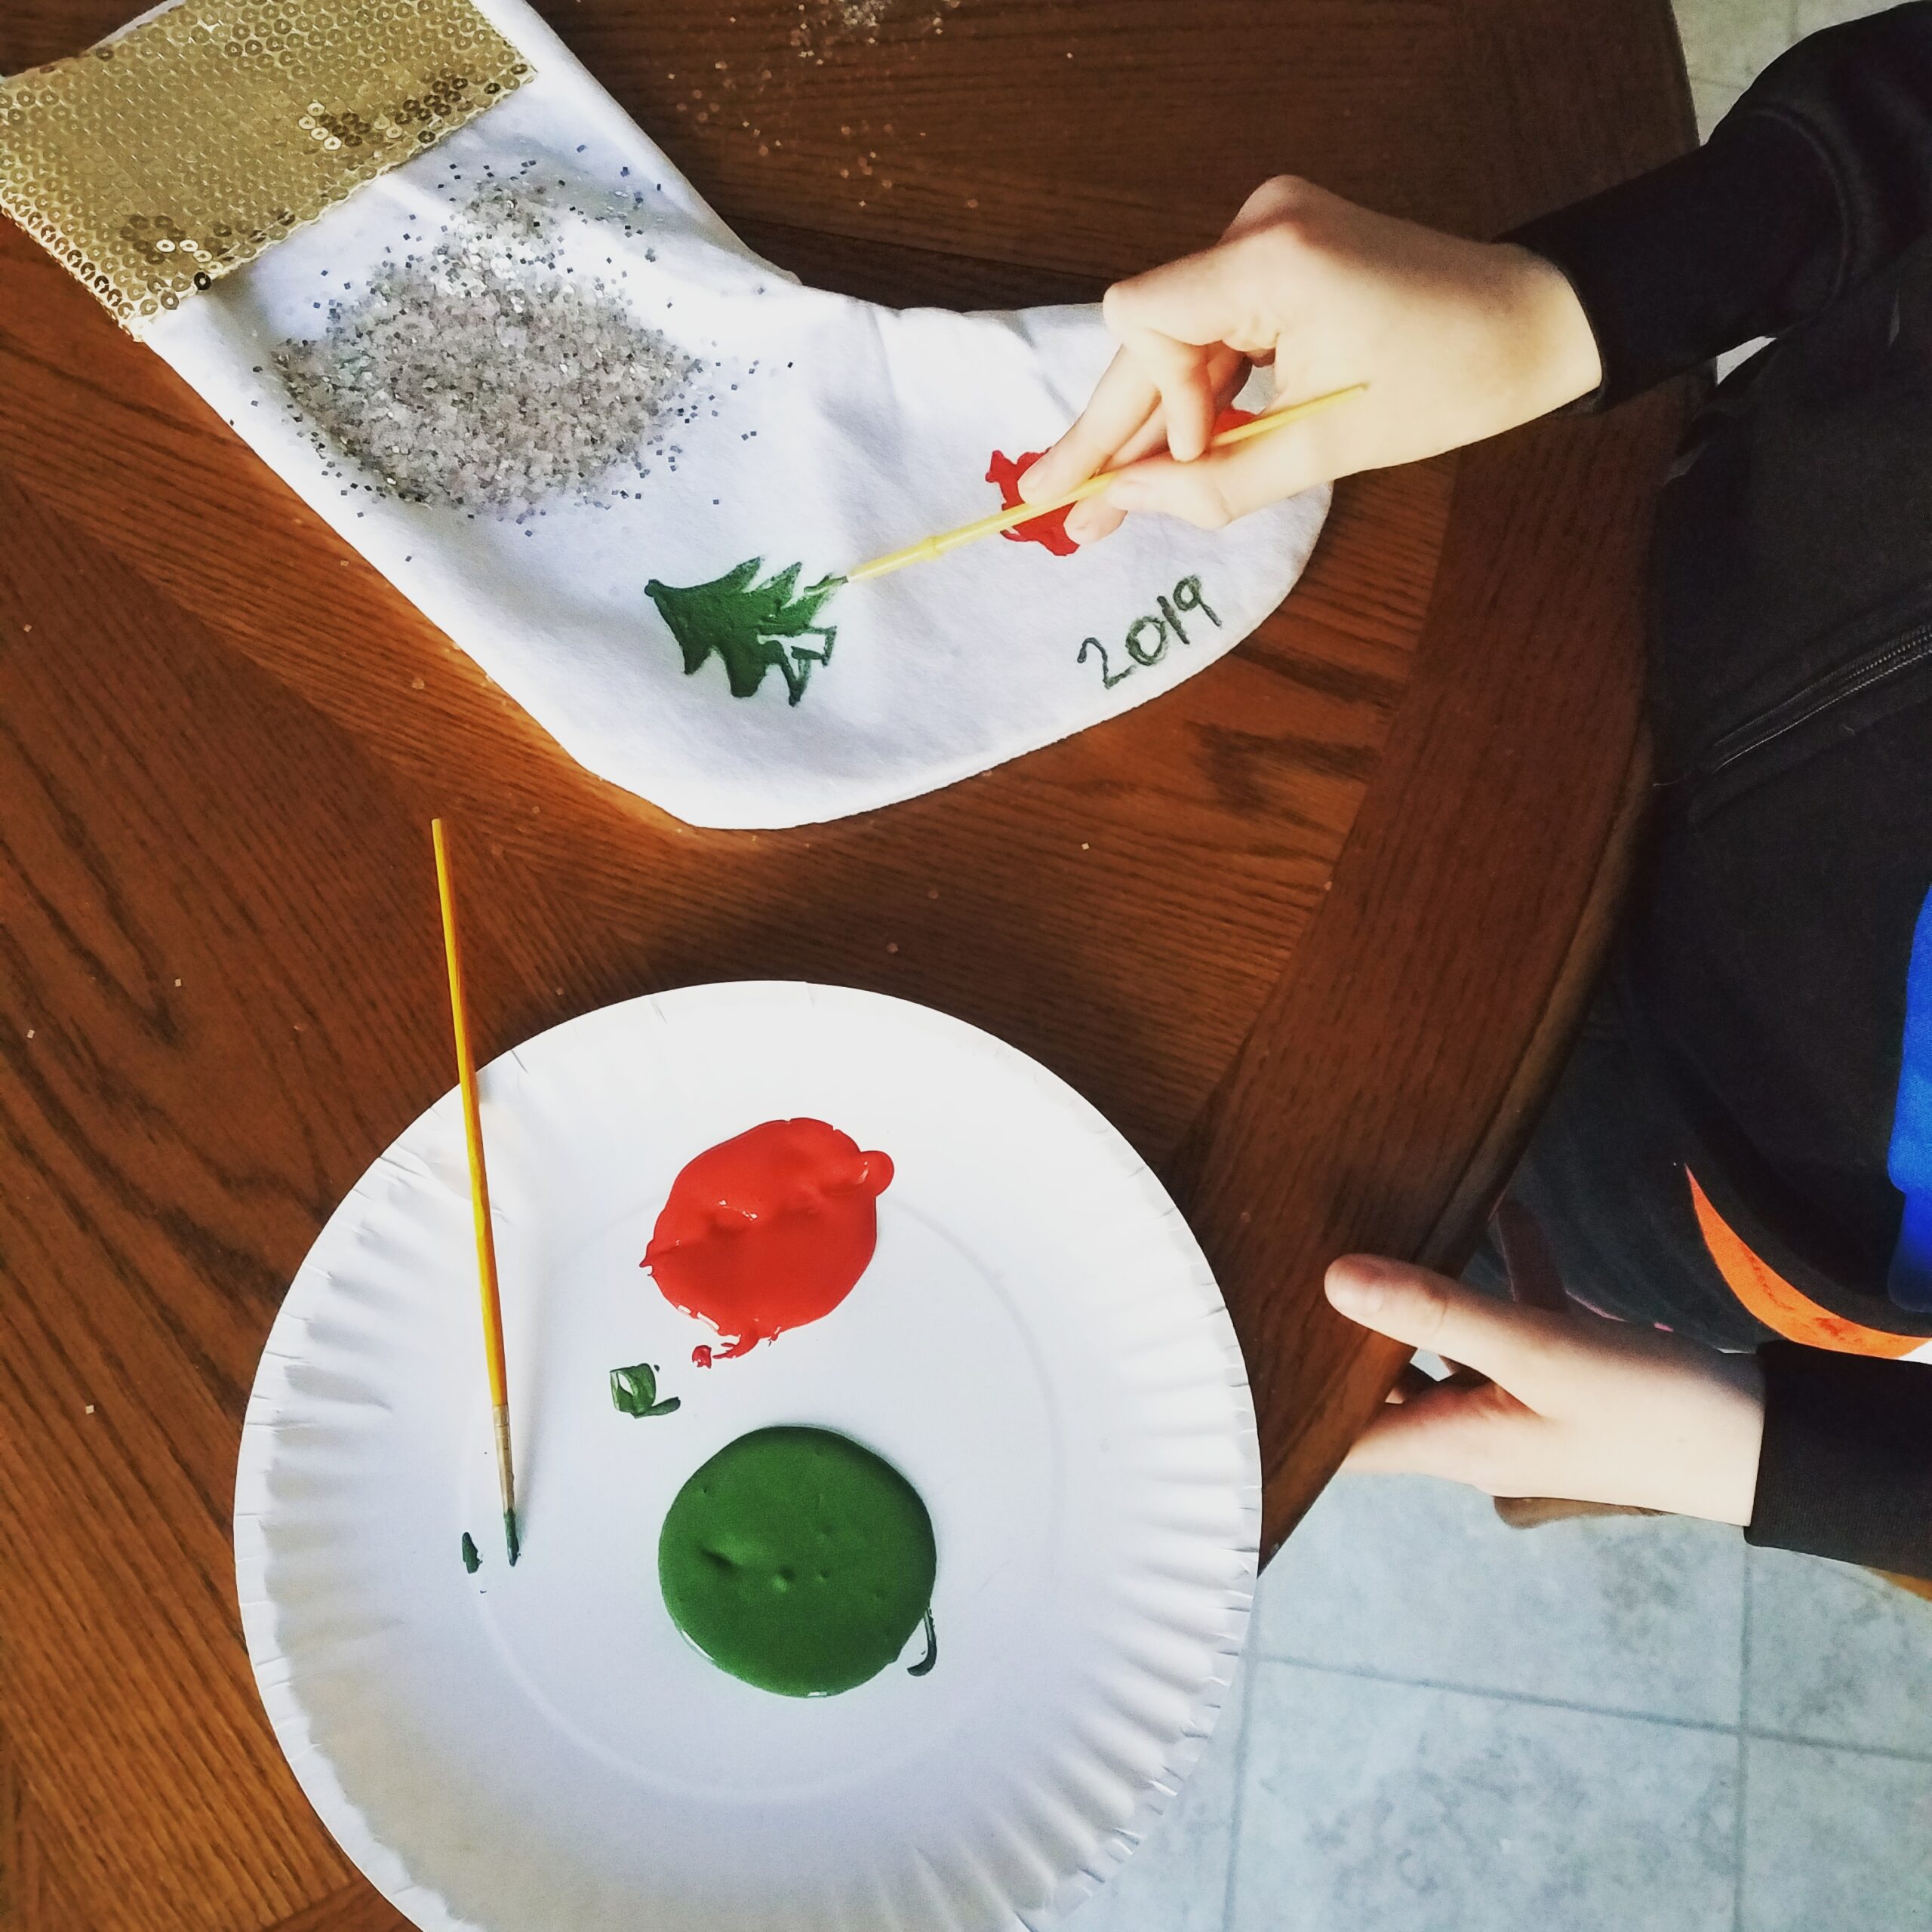
Depending on how paint-friendly your own dog is, you may find that he or she is no longer interested in participating in this project. That's fine! My son decided to keep going and simply changed the plan to include a tree and a star instead of more paw prints.
Step 7: Admire your work!
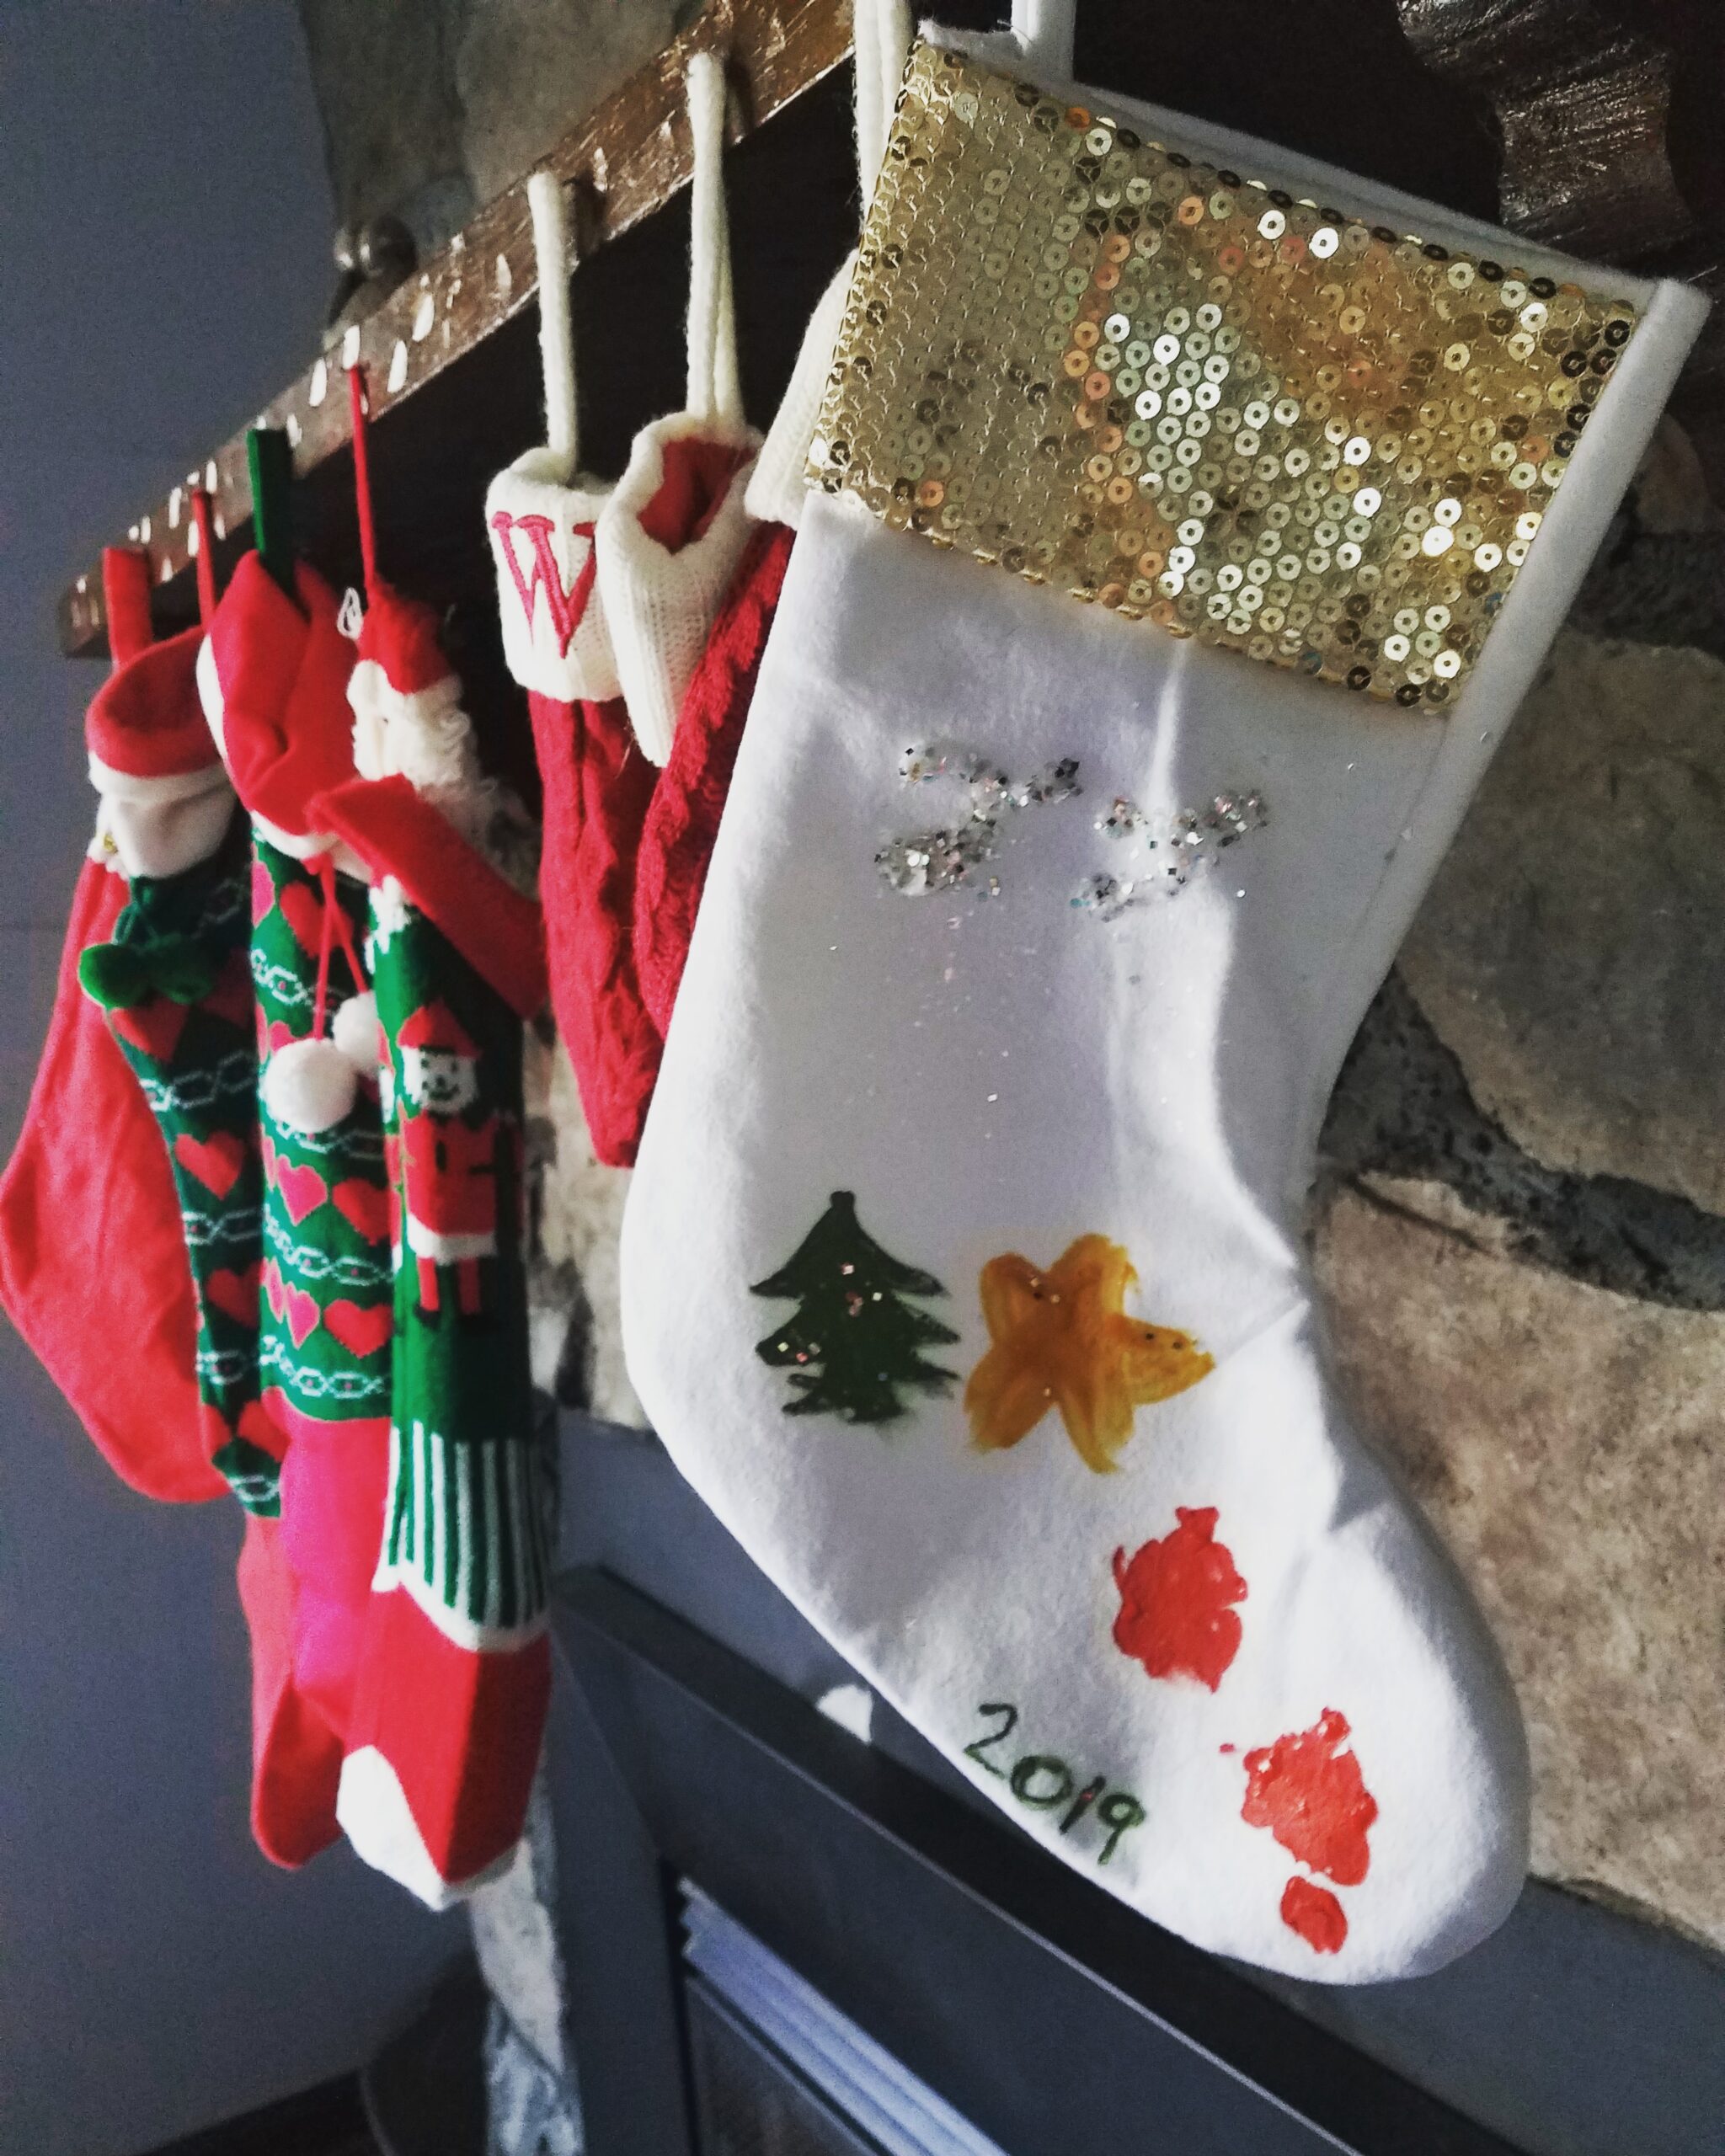
The stocking is super cute! We were both really happy with it, and I'm sure JJ will have a greater appreciation for it once it's filled with dog treats and chew toys that he can fight with his brother over. My son thought about adding more glitter, but one look at the kitchen floor convinced us both that we had probably already used enough.


