There's something so satisfying about transforming useless belongings, like old pieces of furniture, into something brand-new. Upcycling is a fun and frugal way to use items you might be attached to but no longer have much use for.
With the weather being so nice, plenty of people are taking their upcycling projects to their gardens. Although that sounds fun, what if you have a green thumb, and limited space to work with? We found the perfect DIY project that brings the beauty of the outside indoors for you to enjoy!
This project from Instructables is also mostly comprised of items that the DIY-er had lying around her house mixed in with a few new things, like the plants.
Scroll down to find out how you can use common materials to create your own unique indoor planter, and let us know what you think of this project in the comments below!
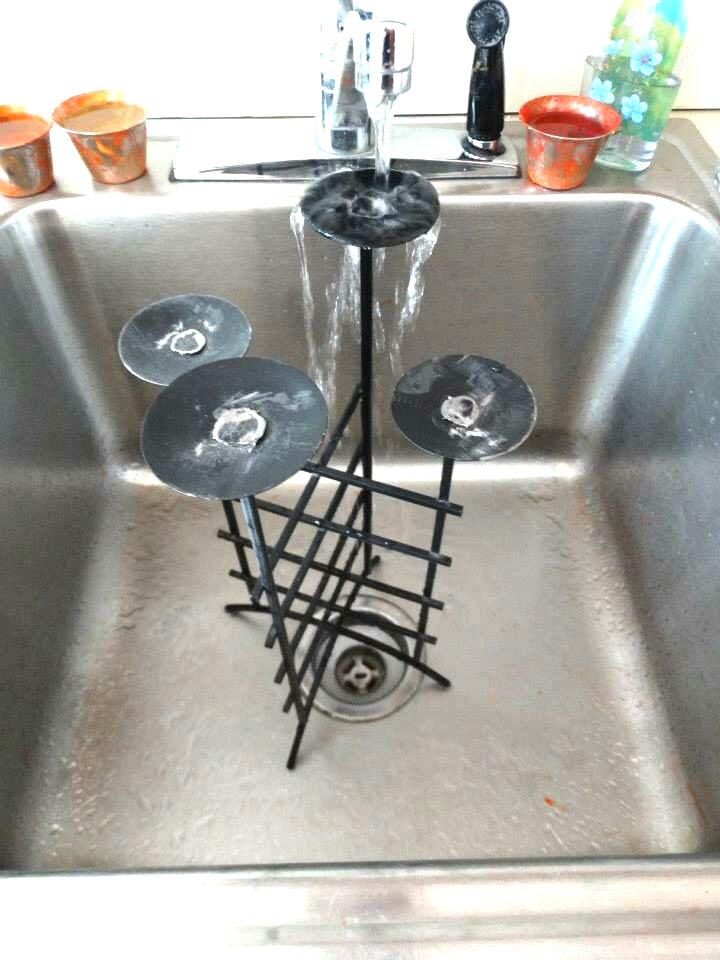
The DIY-er began by gathering her materials and giving them a good deep clean.
Her vision for her indoor planter included this used candelabra.
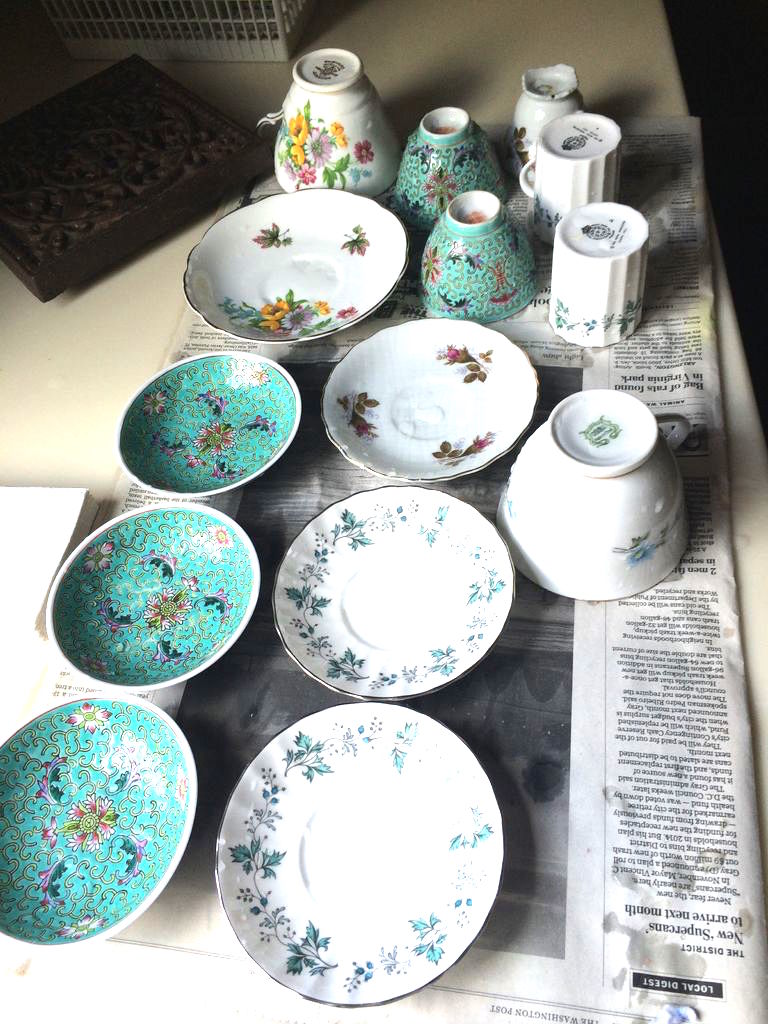
She also washed off an old, beautiful tea set that wasn't getting the attention it deserved!
Then, she let all of the materials dry.
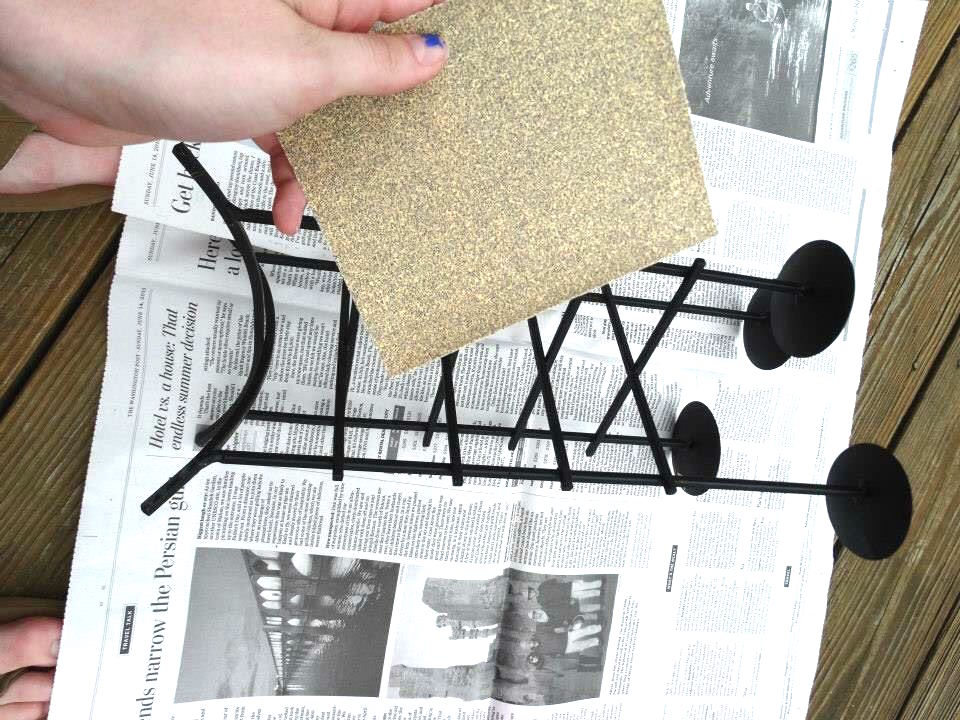
After the candelabra dried off, she sanded it down to provide an even surface for the new paint color.
As a side note, the DIY-er recommends using a coarser sandpaper if you plan on putting your "planterabra" outdoors, so moisture can't get in and mess up your paint job.
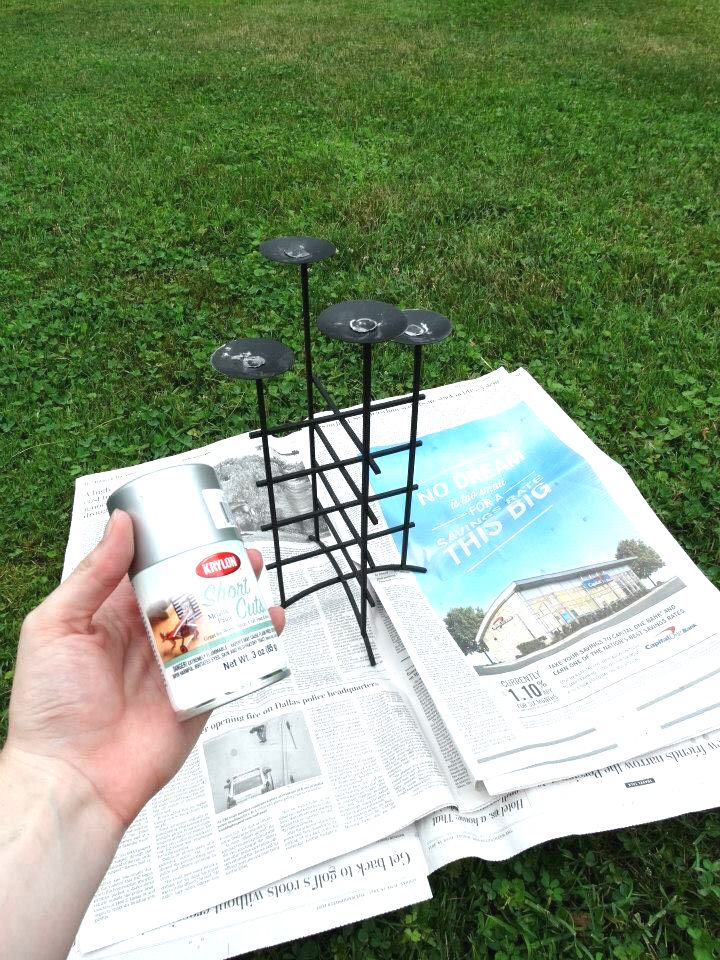
Next, it was time to paint!
She held the can about 10 inches away from the candelabra and lightly sprayed each surface.
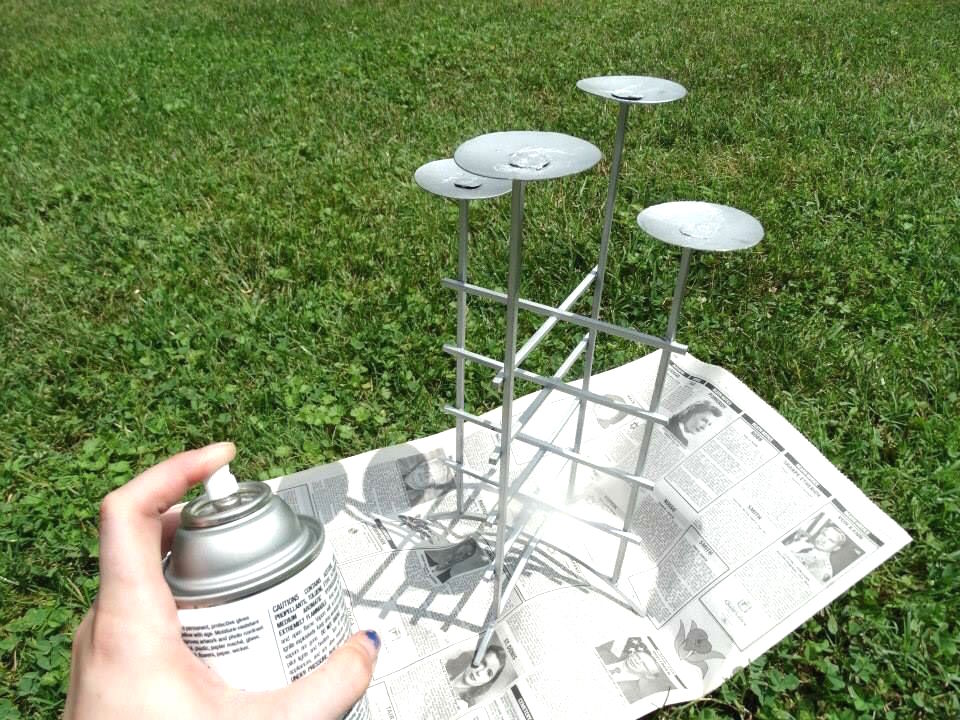
After allowing the paint to dry completely, she applied an acrylic coating spray.
This spray will help to protect the paint indoors and out.
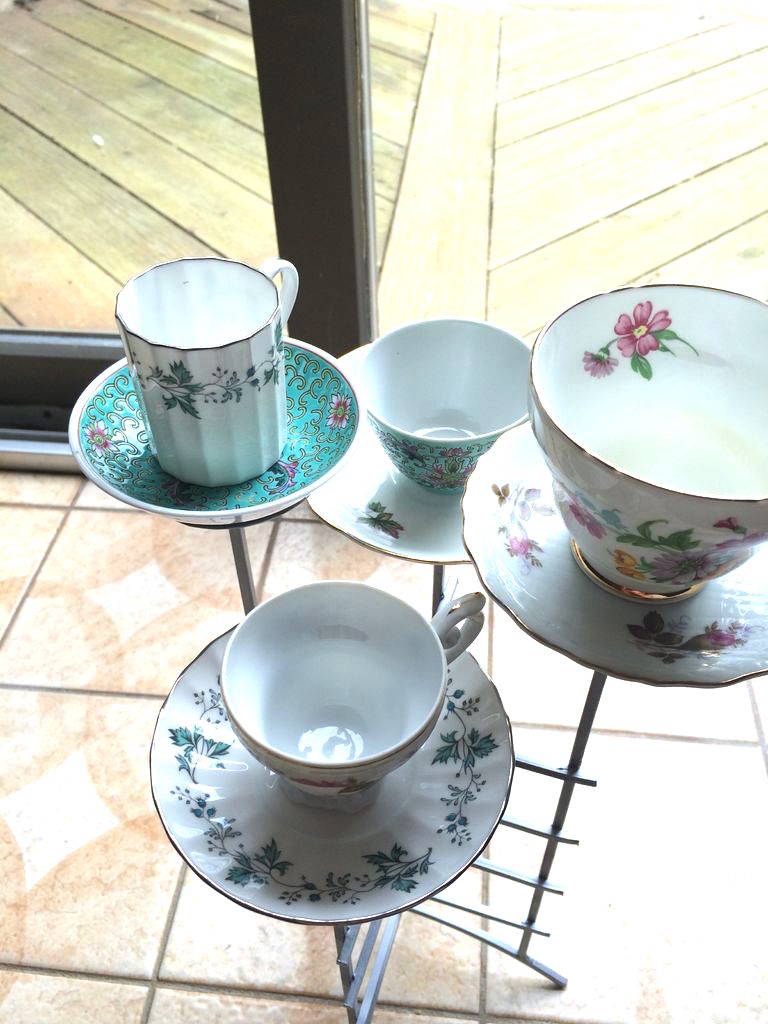
After the candelabra portion completely dried, she decided on a teacup and saucer placement.
Very carefully, she spaced out each saucer perfectly and decided on a nice variety.
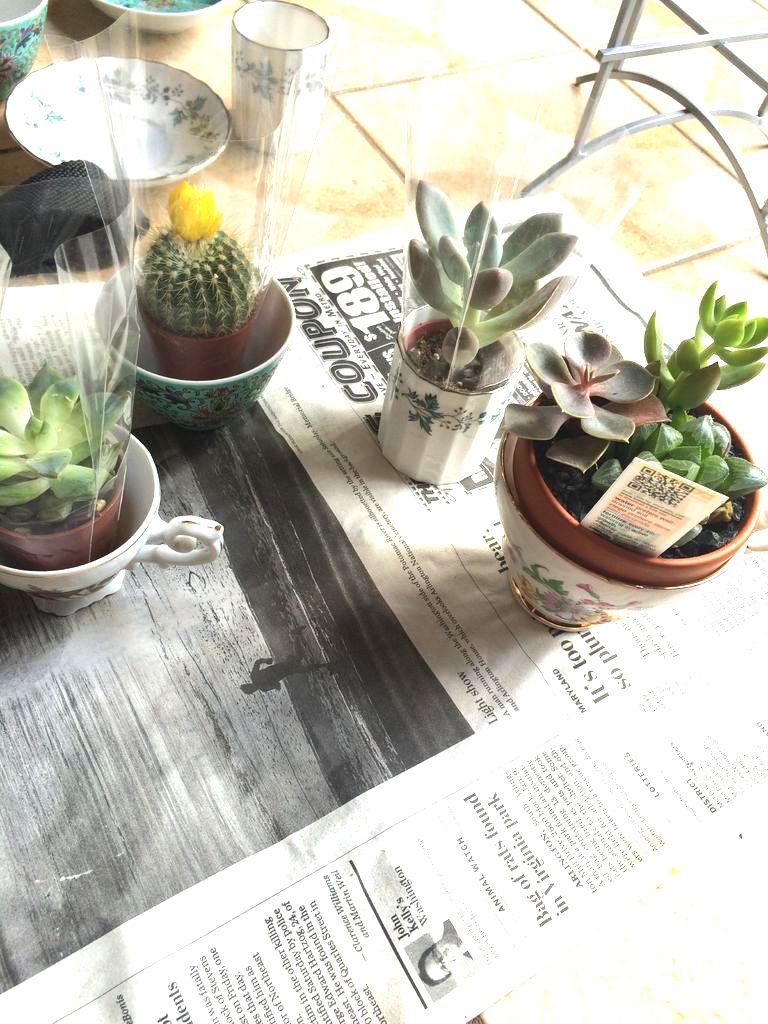
At this point, she also decided which plant she wanted to place into each teacup. Notice the plants she used are cacti and succulents.
She did this because they don't require a drainage space. They simply hold on to water for long periods of time and don't require much upkeep.
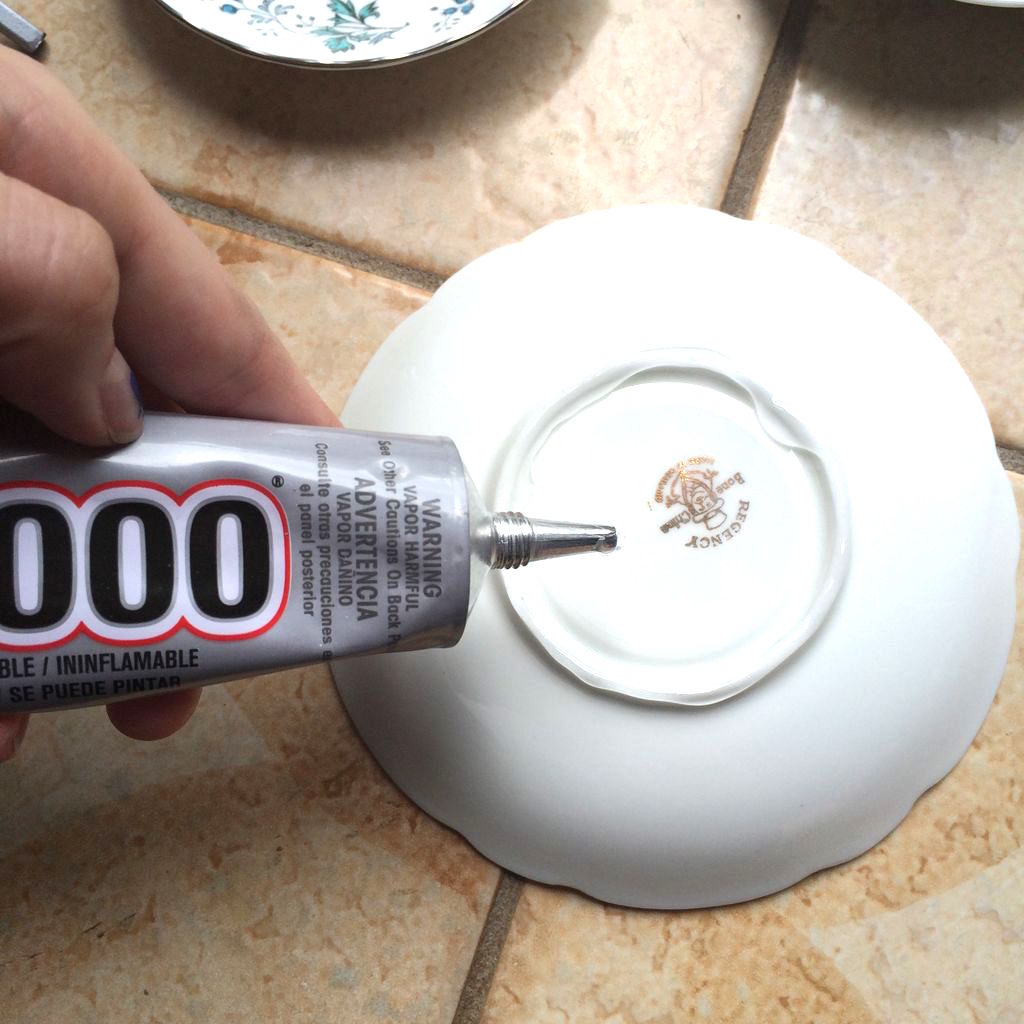
After deciding exactly which cups and saucers were going where, she glued them into place.
Using a strong adhesive on the underside of each saucer, she carefully placed them on the candelabra.
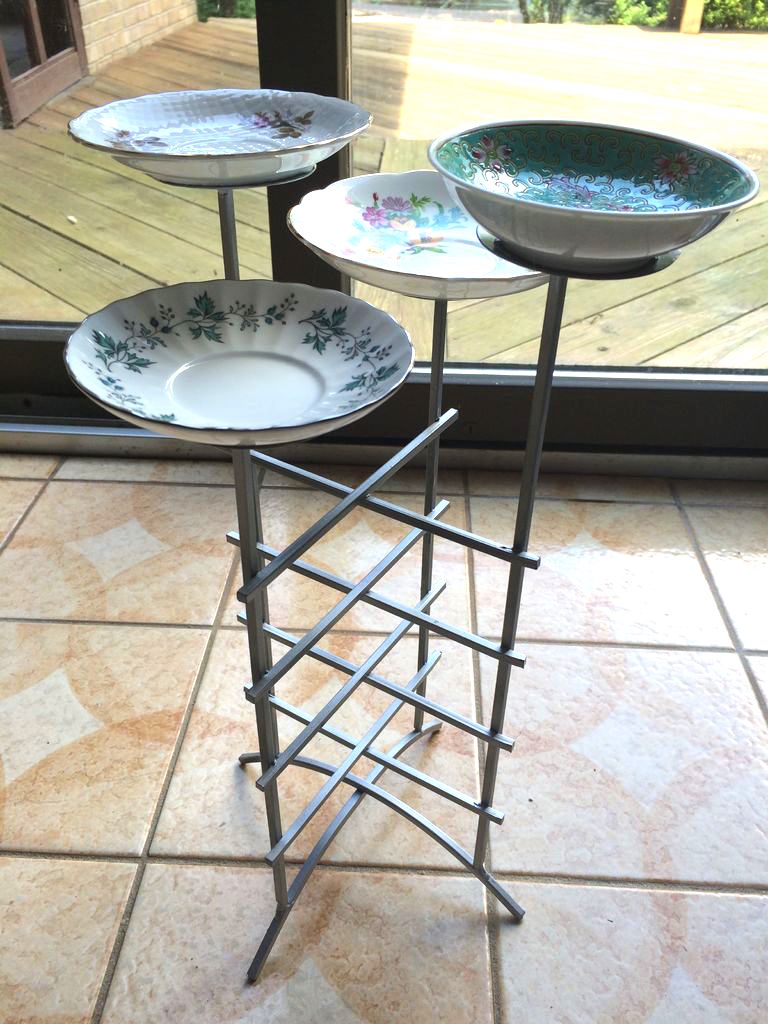
Watching out for glue drips, she allowed the saucers to dry completely before moving on to gluing the teacups.
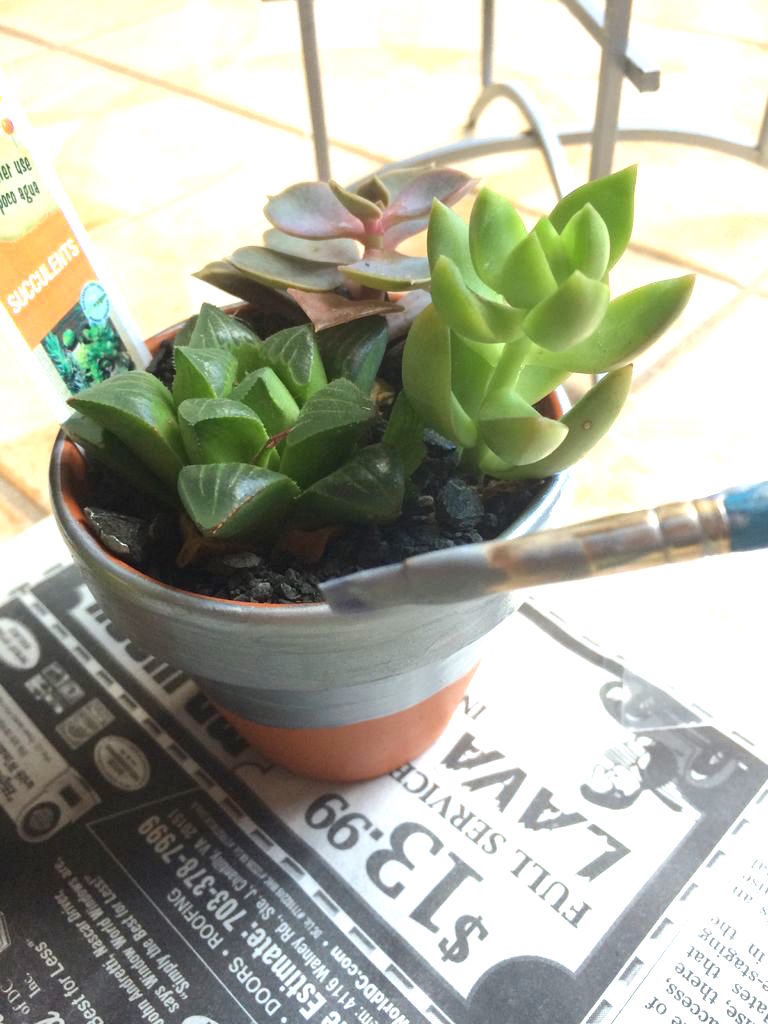
This part is optional, but the DIY-er wanted her planter pots to blend in nicely with the teacups, so she put a few coats of paint on them.
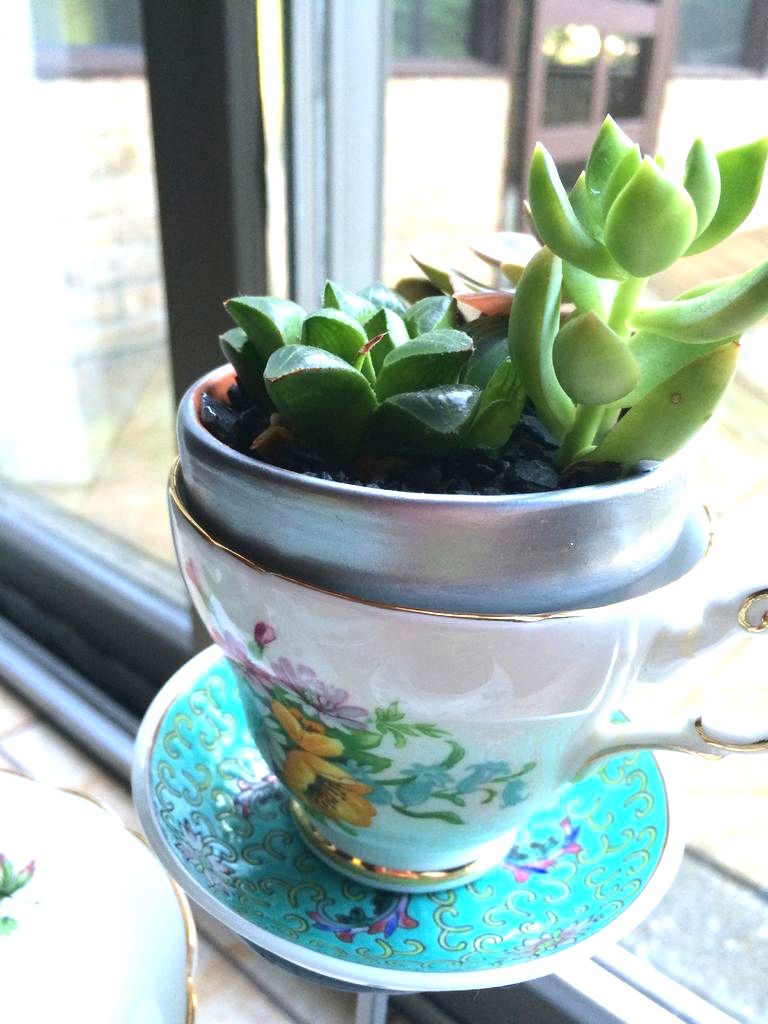
After each piece was nice and dry, she transferred the plants into the pretty little teacups.
Another optional step for this project is filling the space between the pot and the teacup with decorative pebbles for a nice, seamless touch.
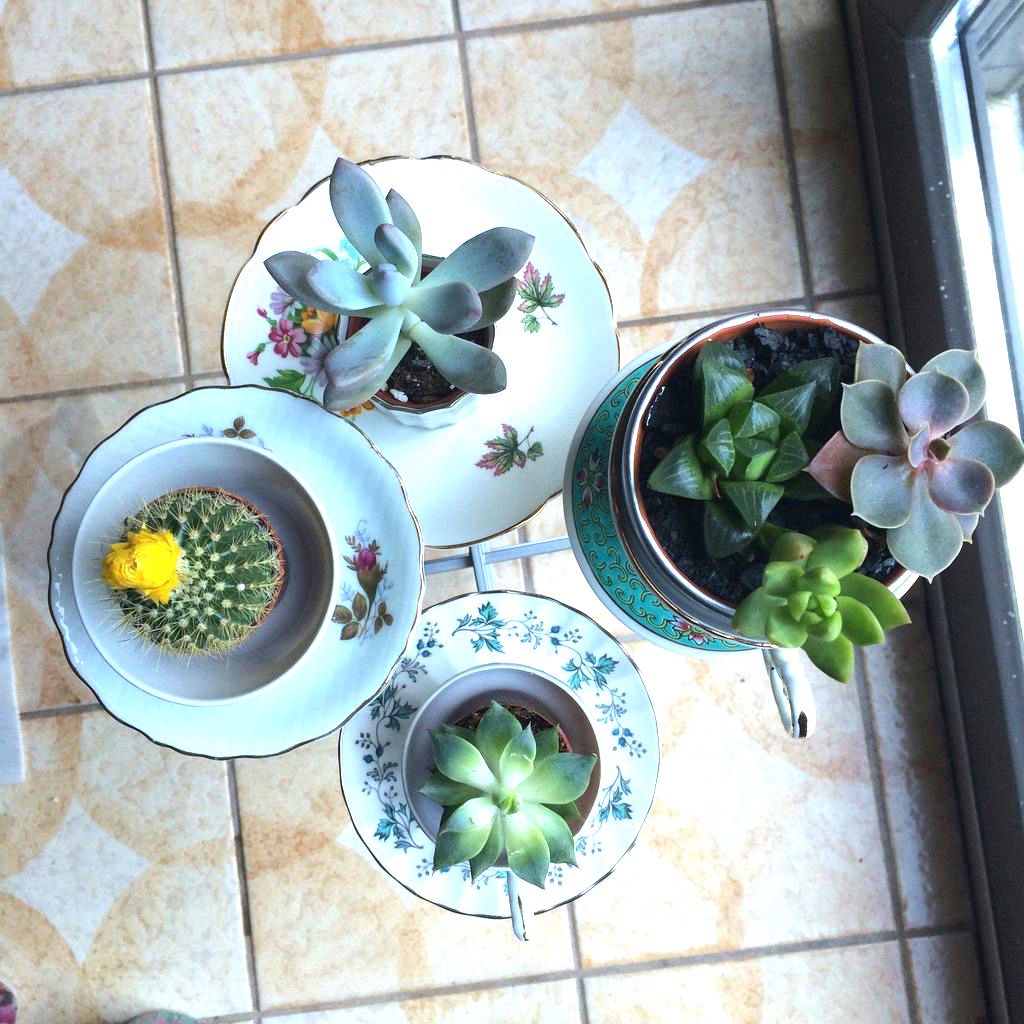
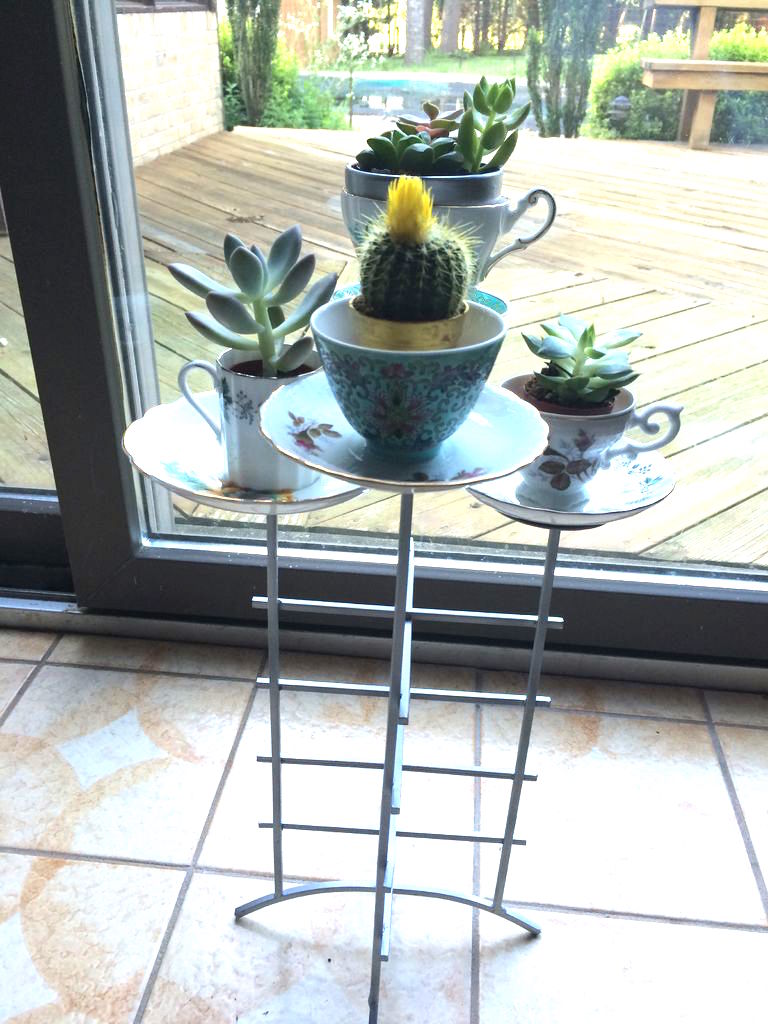
This project is beautiful, unique, and very seasonally appropriate.
The best part is, it doesn't take up a lot of space, and it can be left in or outdoors.
Did you make any upcycling projects this spring? We'd love to hear about them in the comments!
Don't forget to let us know what you think of this project, and SHARE with anyone you know who has a knack for creativity!


