One of the most frustrating things for me when I'm out shopping at my favorite stores is the constant struggle to shop for the current season. It always seems like when I'm ready to pick up a bathing suit for summer, the "first day of school" clothes are out on display!
Summer is the perfect time to step out of your comfort zone and go bold when it comes to accessorizing. It's time to swap out the blue winter hues for warm tones and eye-catching pieces.
Unfortunately, a lot of the time, my favorite stores are already onto fall accessories by the time I'm ready to bust out hues fit for the summer!
One way to make sure you don't miss the boat on summertime accessorizing? Create some yourself!
There are countless ideas online that can help anyone, even novice DIY-ers like me.
Nothing says "it's summertime" like adding a pop of color to any outfit — and these adorable DIY rainbow earrings we found on Instructables are no exception.
Scroll down to see just how easy it is to make a pair of sparkle rainbow earrings of your own, and let us know what you think of them in the comments!
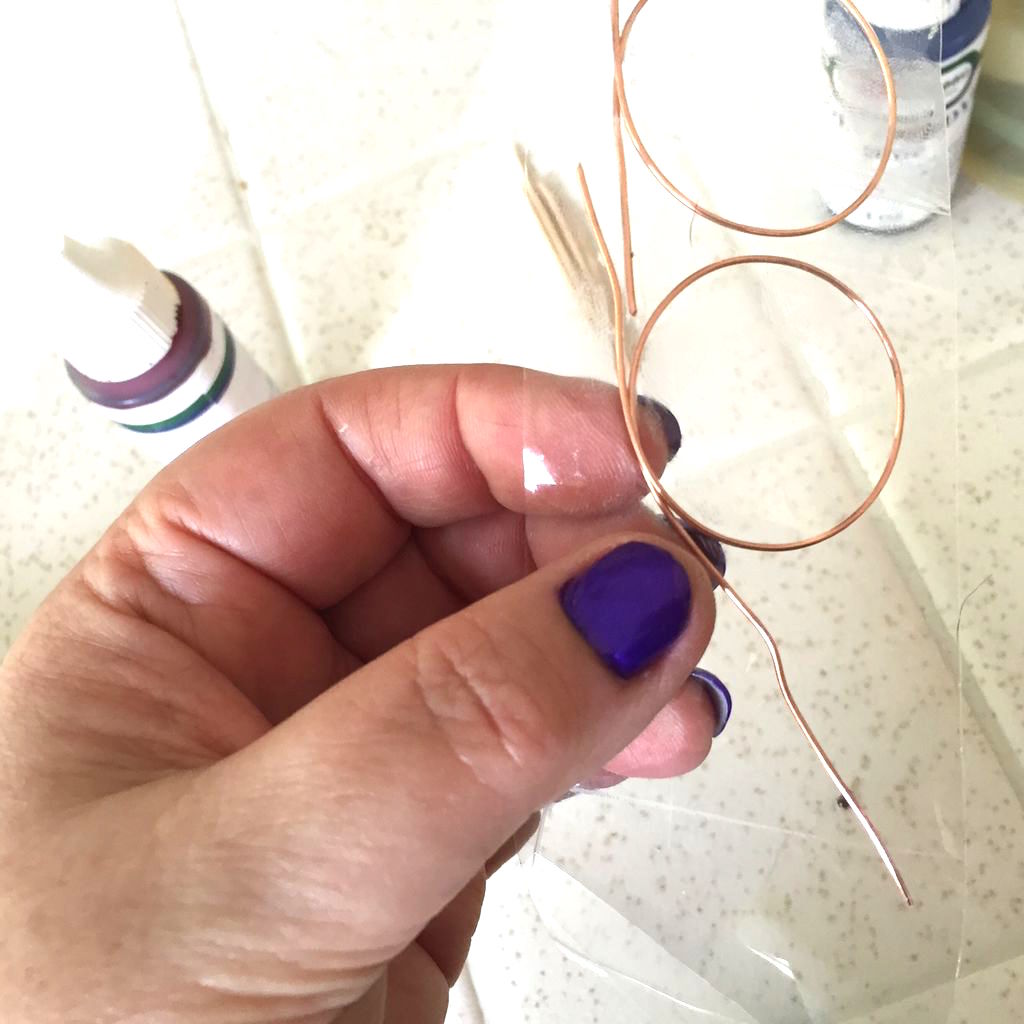
After collecting all the necessary materials, this DIY-er began this colorful project by shaping the wires into place.
Each piece is about 6 inches in length, and she used various objects to wrap the wire around to create her desired shape.
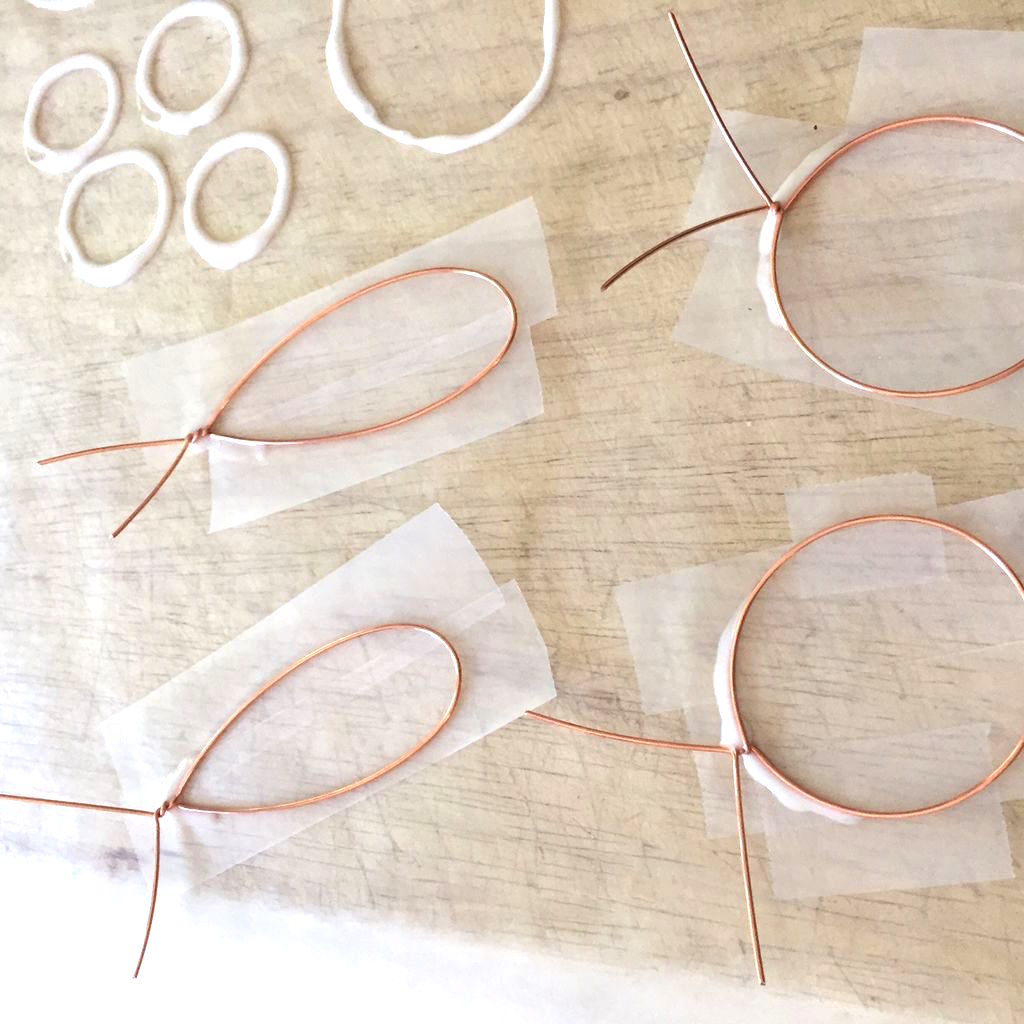
After shaping the wire base, she stuck tape to act as a backing.
She recommends taping the wire down as firmly as possible!
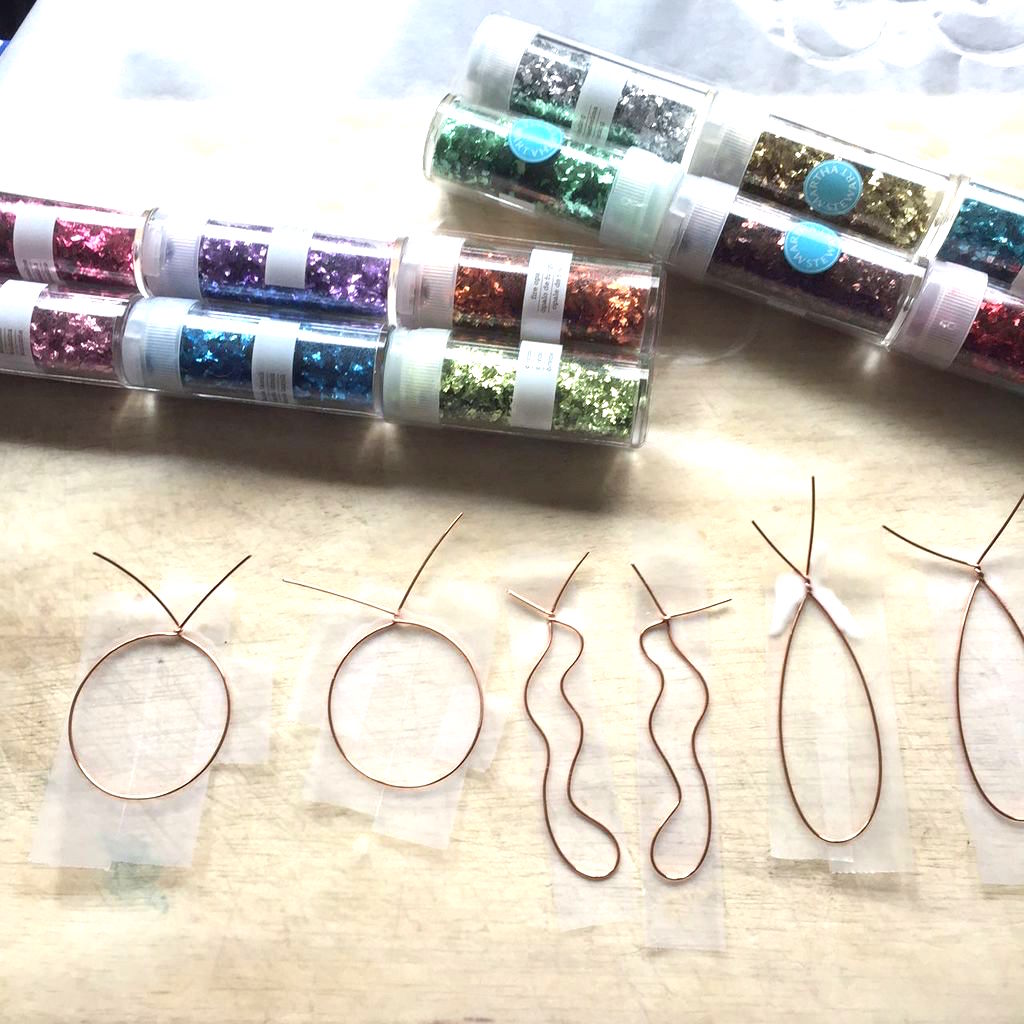
Next, she grabbed plenty of different shades of glitter.
You can really get creative here with any color scheme you'd like!
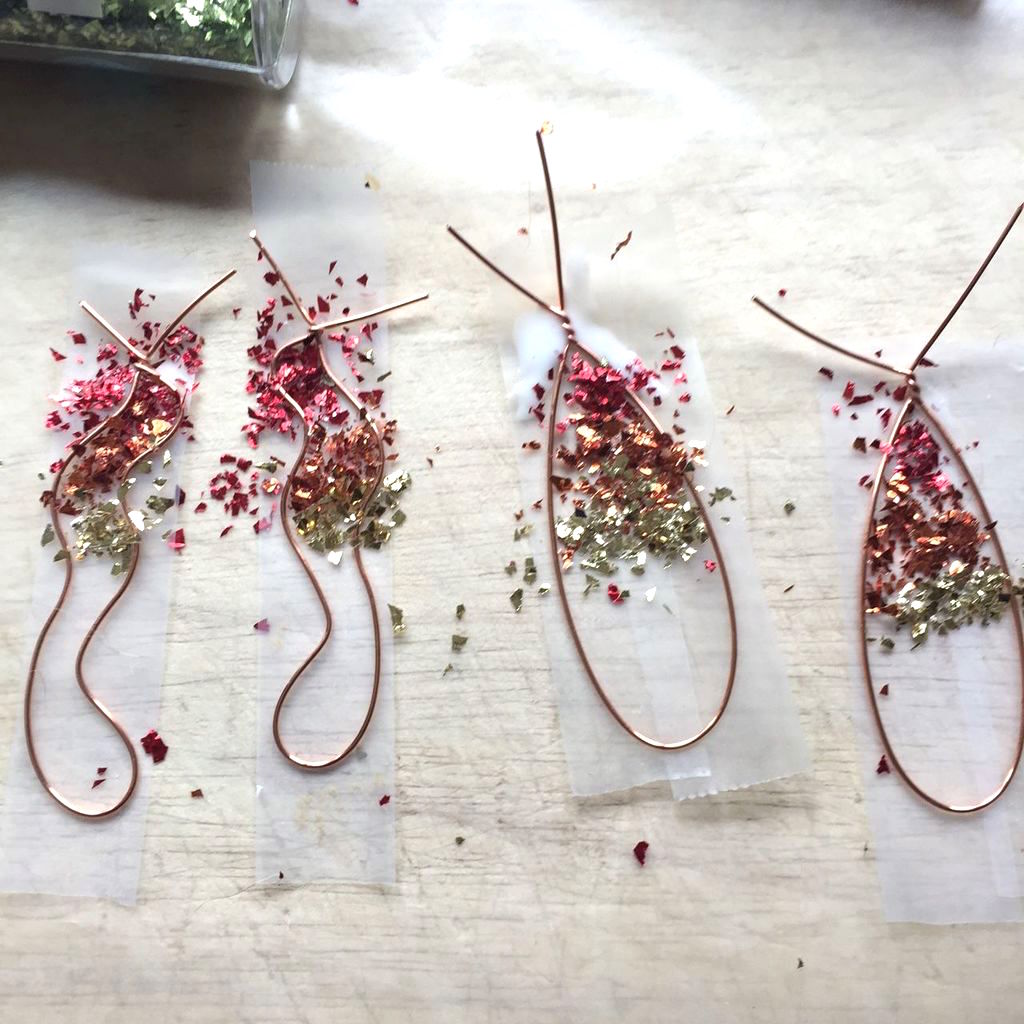
Carefully, she sprinkled every color of the rainbow onto the inside of the shaped wire.
The taped backing helped keep the sparkles in place.
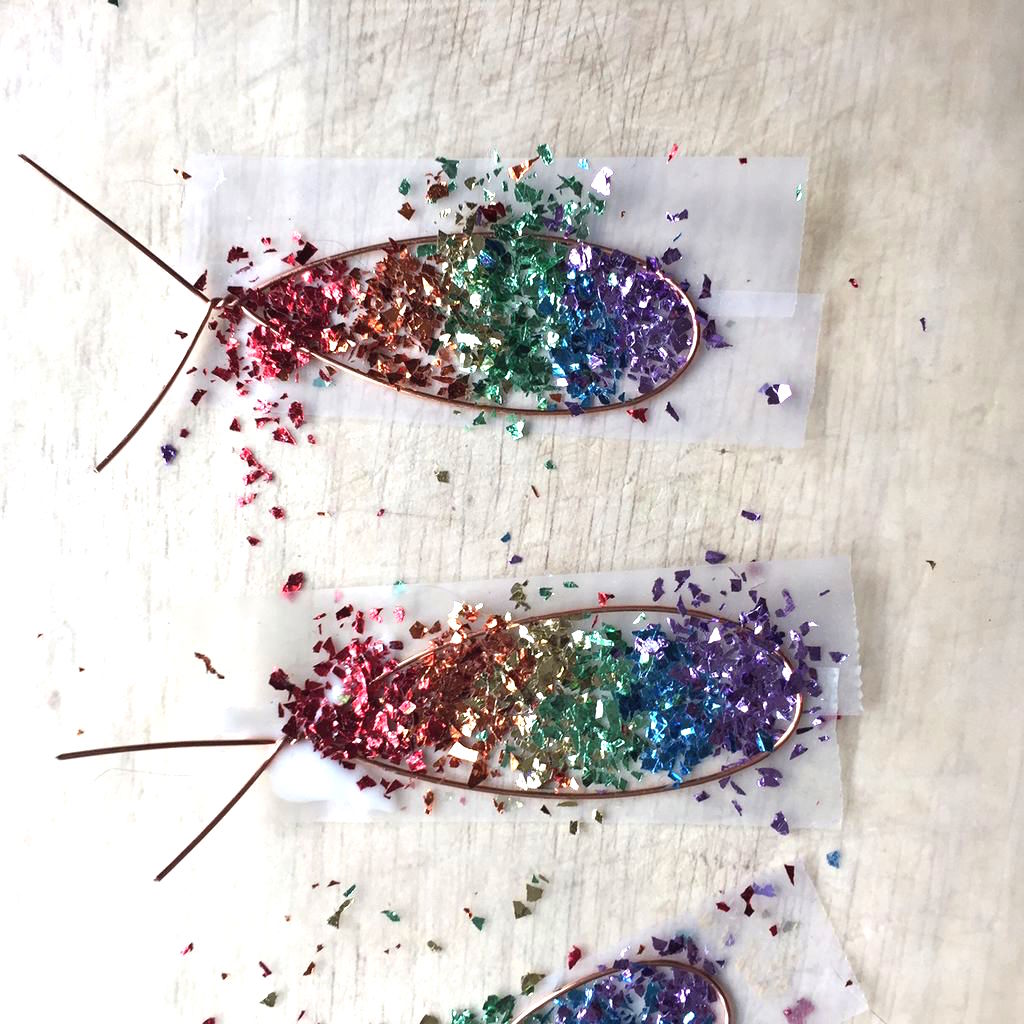
The DIY-er went with the ROYGBIV color scheme we all learned about in school, and it turned out beautifully!
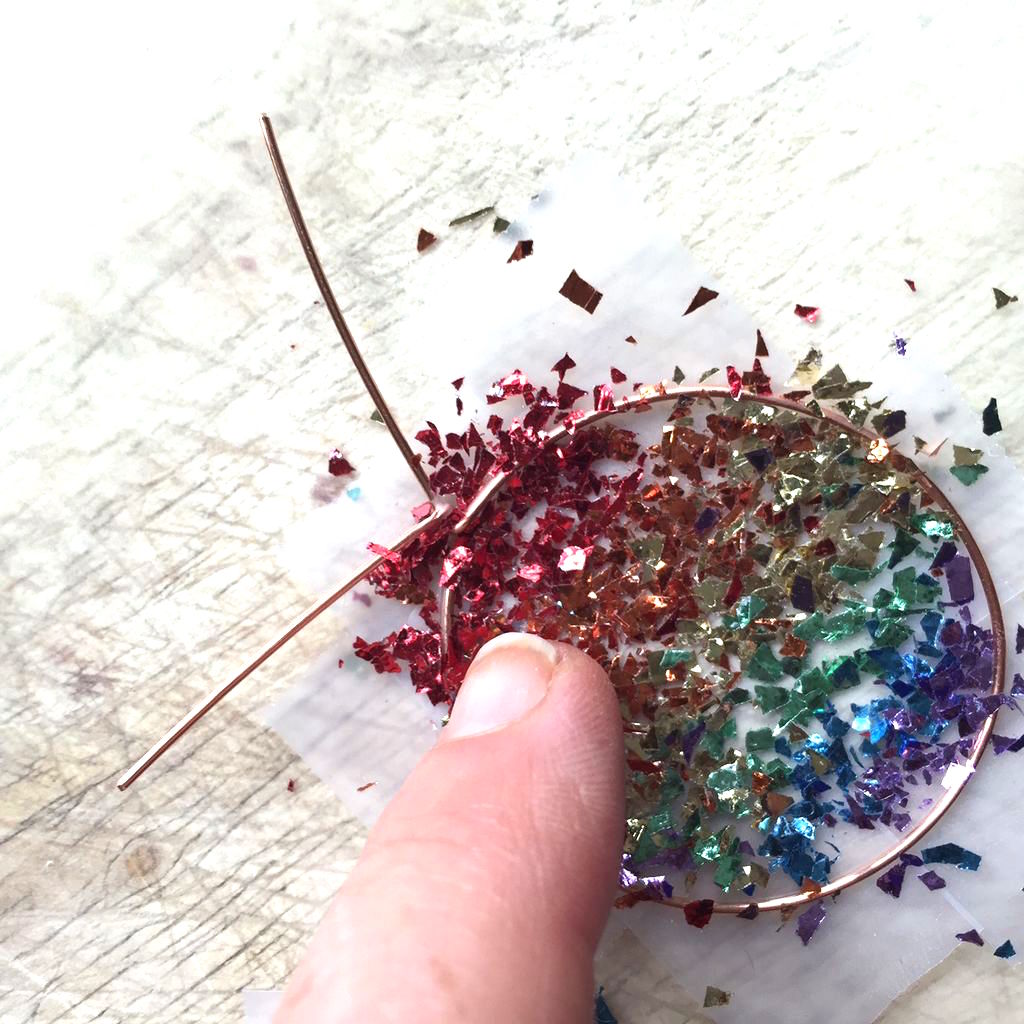
Next, she carefully pressed down on the glitter.
After that, she shook off the excess that was lying around the edges.
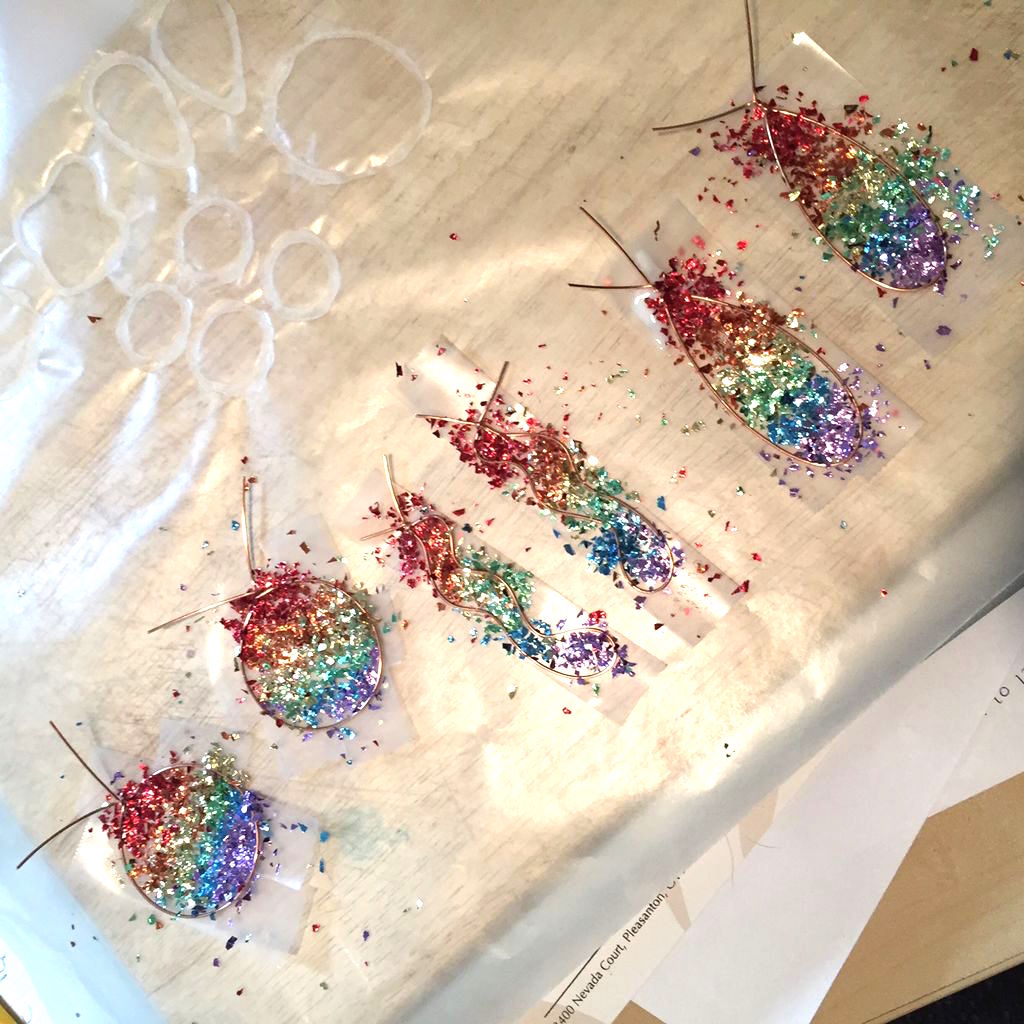
After the glitter was firmly pressed in place, she set each earring on a sheet of wax paper.
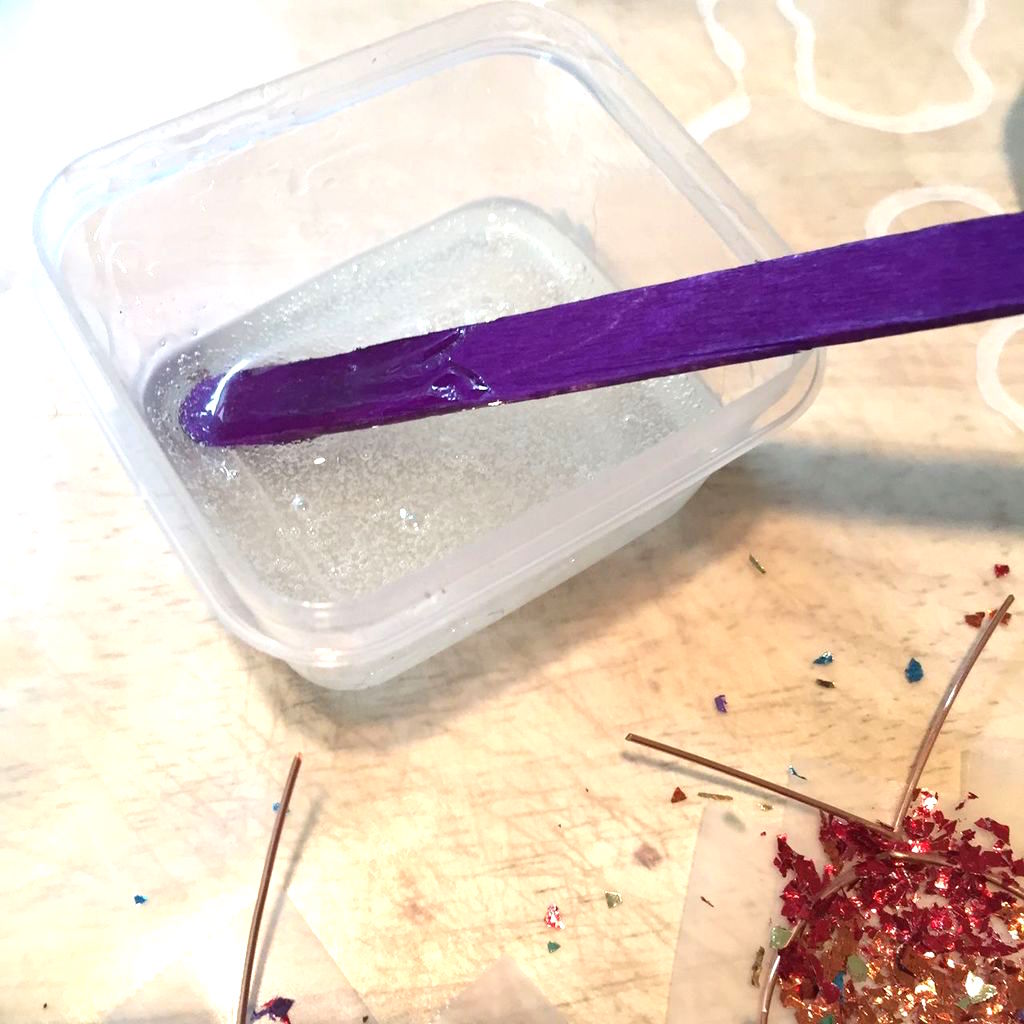
She used a resin mixture and was sure to mix it up according to the package instructions.
Then, she waited for about 20 minutes for the bubbles to rise and pop.
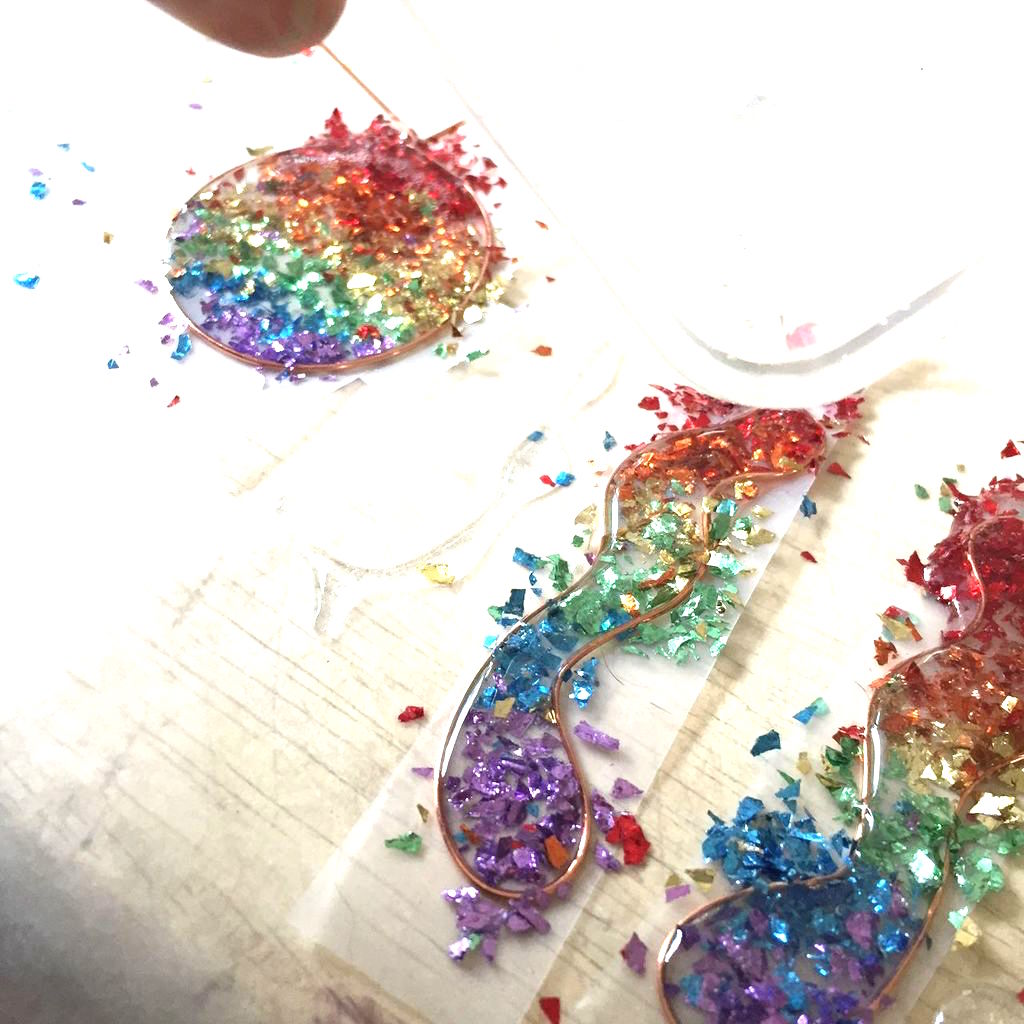
Any bubbles left over may be visible on the earring, so she scooped any remaining bubbles out of the resin mixture.
Next, she spread the resin over top of the glitter, carefully minding the edges.
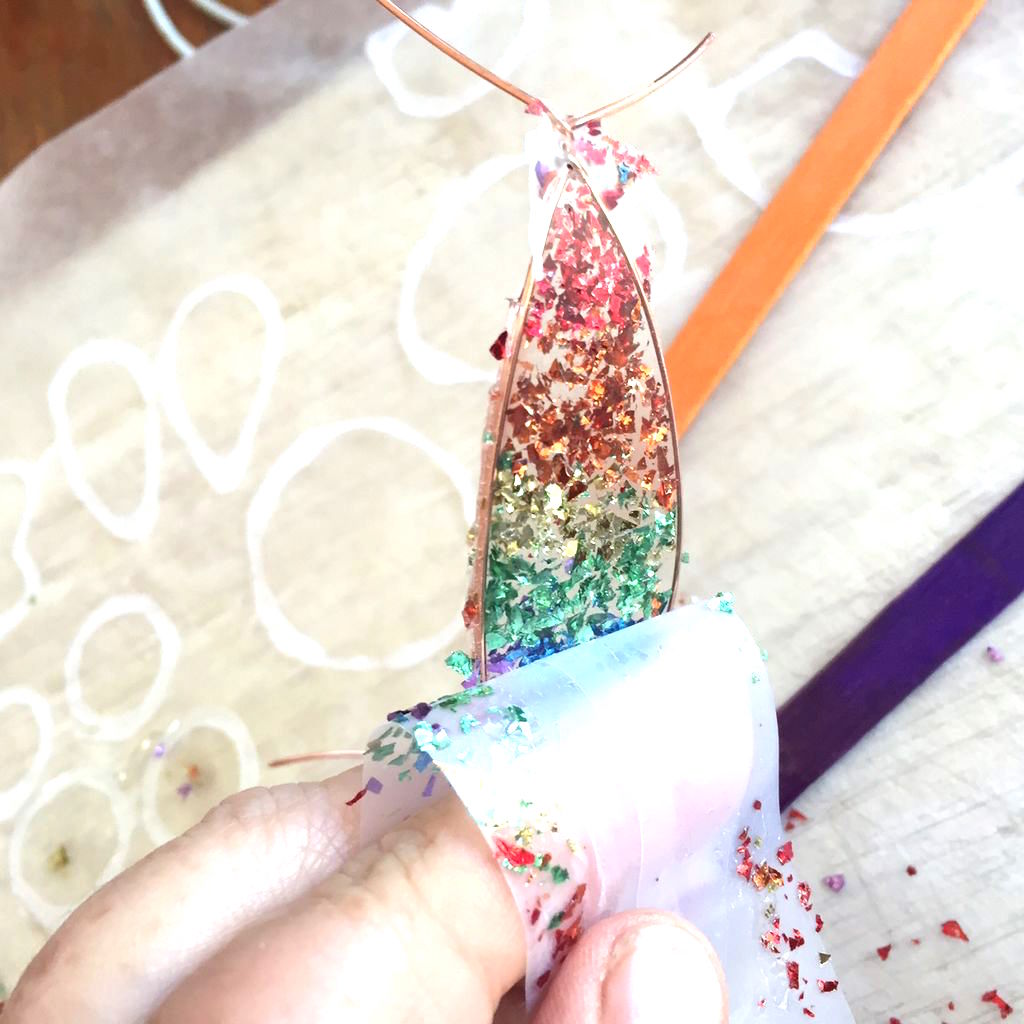
After allowing the mixture to set overnight, she picked up the earring and slowly peeled the tape away.
As you can in this photo, the tape pulled away, but the glitter stayed in place thanks to the dried resin!
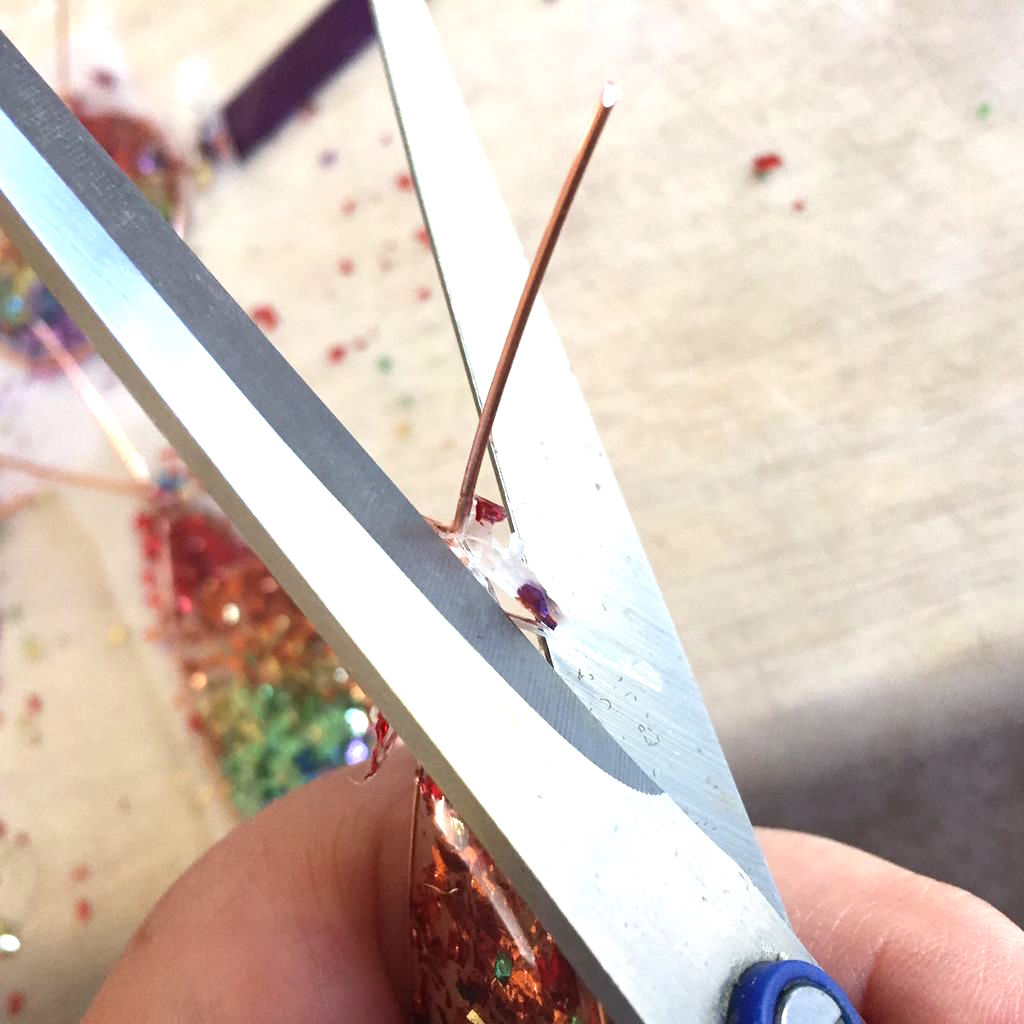
Next, she trimmed away any excess resin that managed to creep over the edge of the bended wire.
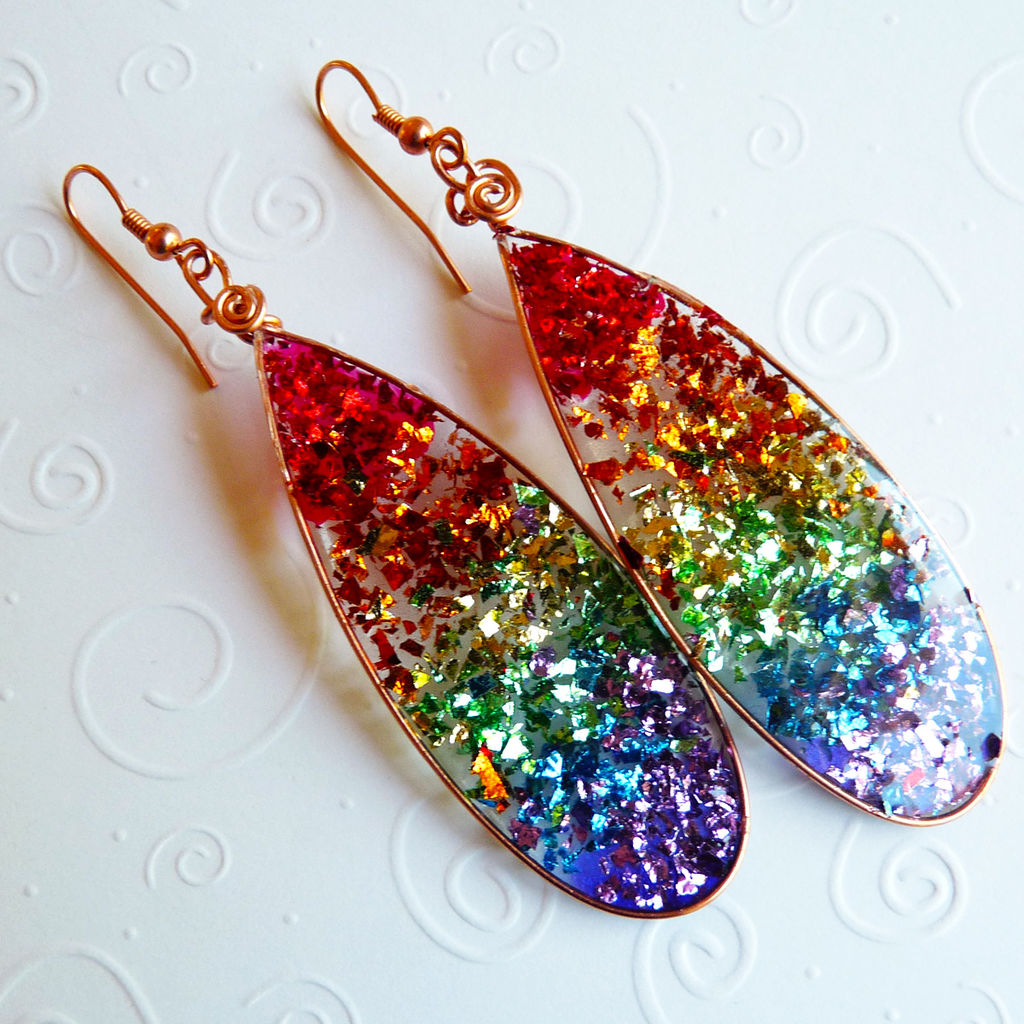
The last step was extremely simple.
By making loops with the wire at the end of each earring, she was able to attach ear wires and posts to each piece of jewelry.
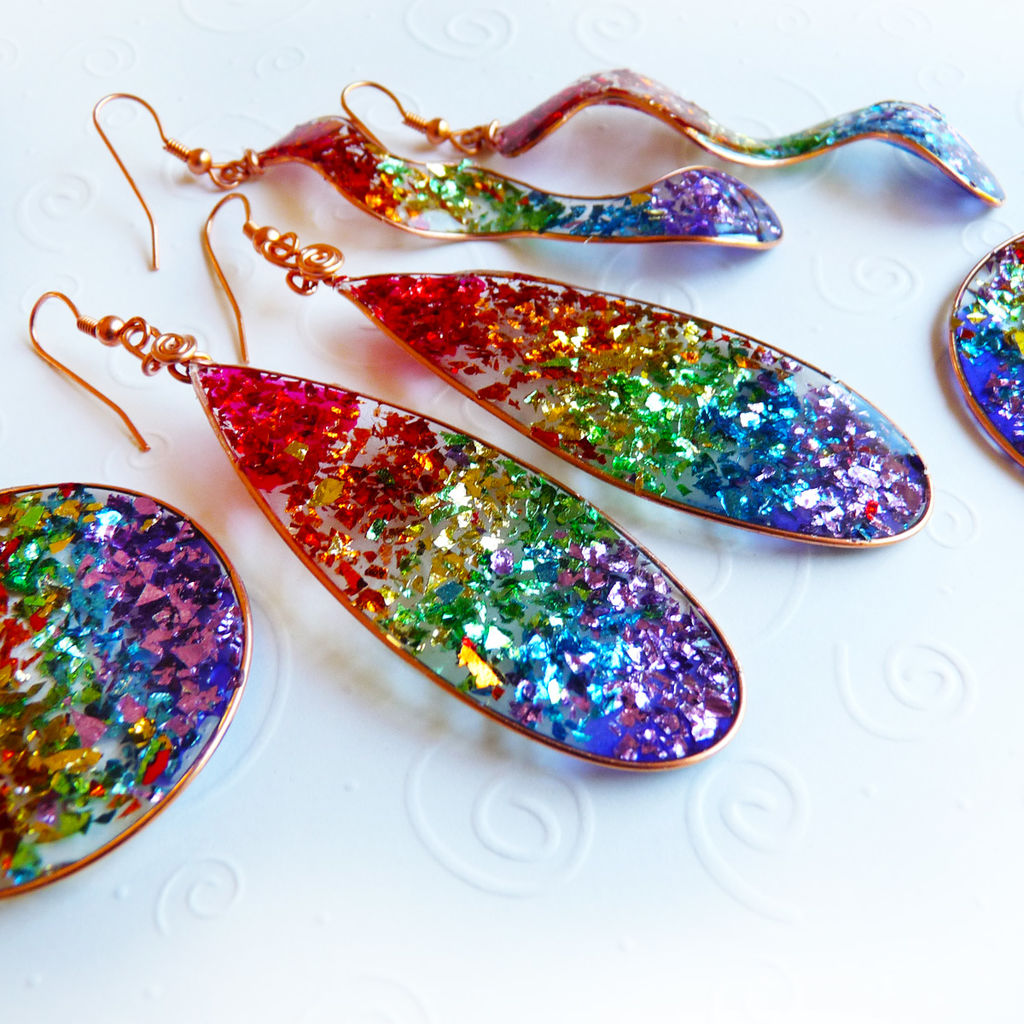
As you can see, she decided to bend a few of the earrings for some added dimension.
After that, the beautiful and very colorful earrings were finished and ready to wear!
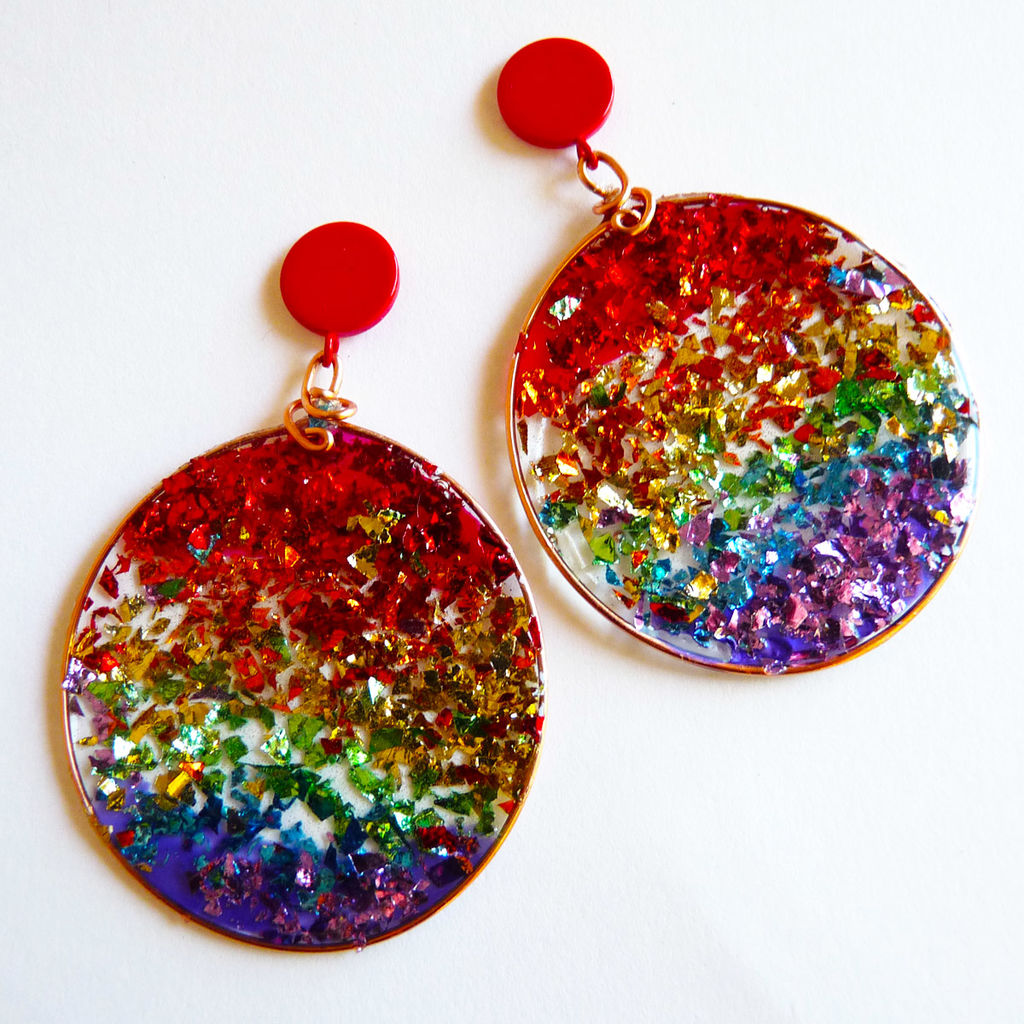
Would you pop in a pair of earrings like this to match your summer wardrobe?
Let us know in the comments, and don't forget to SHARE with anyone who loves to accessorize with a pop of color!


