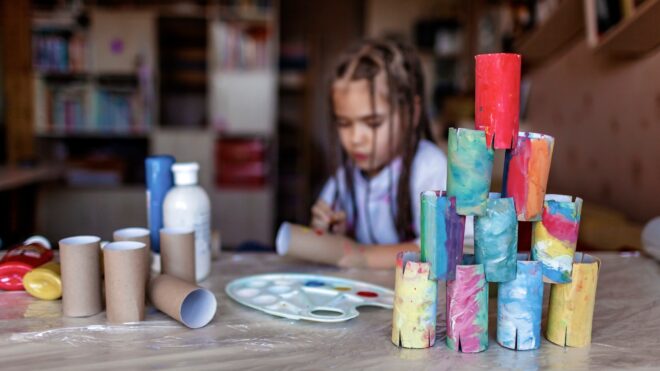
The fair-weather months are a great time for STEAM experiments because you can take your learning and creativity outside. Many parents are wary of how messy some experiments can be indoors and would much prefer they go down in the yard.
Some awesome experiments are even made for the outside. I was in search of one for the long weeks of summer when camp has ended but school is not quite here yet. That's when I stumbled upon Desert Chica's DIY Solar Oven S'mores project.
S'mores are a win in just about any context as far as kids are concerned. But being able to cook your own in a DIY contraption with no fire required? It sounded amazing, and I was probably more excited than the kids when it was time to give it a try.
Get Your Supplies Together

Here's what you'll need in order to make your own little solar oven:
- Cardboard pizza box (this is a great opportunity to recycle one, but you can also buy a pack for a few bucks online)
- Aluminum foil
- Plastic wrap or bag
- Black construction paper
- Tape
- Glue stick
- Pencil or wooden skewer
- Scissors or utility knife
- S'mores supplies: chocolate, graham crackers, marshmallows
Turn the Box Into a Stove

Some simple cuts will turn your pizza box into a solar oven. Using a craft knife or other appropriate tool, you'll want to cut a flap that opens in the same direction that the lid of the box opens.

When you're done, your flap should be able to be opened while the rest of the lid is still shut. Next, you're ready to decorate your oven.
Decorate With Markers, Crayons, Stickers, and More

When I made my first solar oven, I had no children around, so I got to decorate my way. My way almost always involves copious numbers of stickers on every surface. I found some almost used-up Lisa Frank sheets and got to work making an adorable rainbow stove.
Time To Really Make It a Stove

Next, it's time to add the three elements that will make your stove work. First is a dark cooking surface. Trace your pizza box on a piece of black construction paper. Cut out a square that's slightly smaller than what you outlined.

Apply a generous amount of glue to both the bottom of the box and the construction paper using a glue stick. Apply the construction paper to the bottom of the inside of the oven.

Next, measure a piece of aluminum foil to line your oven flap. The easiest way to measure it is to hold the foil against the cover and press your finger along the edges for an outline.

Apply glue to both the cardboard flap and the aluminum foil. Glue it down. Open the flap so that you can see the black bottom of the oven and aim the foil in relation to it.

Measure out a good piece of plastic wrap. Measure against the oven flap opening and trim down to size.

Tape in place. When you're done, you should be able to see the black bottom of the oven through the plastic.

Your oven is all ready, and now it's time for s'mores. Grab your graham cracker, your piece of chocolate, and your marshmallow, and put them in your oven. They should be between the construction paper and the plastic wrap. Aim the foil so that it's hitting the plastic, using a pencil or skewer to prop it open if necessary.
At first, it seemed like there wasn't much going on.

In the beginning, I was skeptical. In the first 45 minutes, it didn't look like much had changed. I also had to move the chair as the sun started shifting. But by an hour in, there was some noticeable melting going on.
It took a little longer than expected.

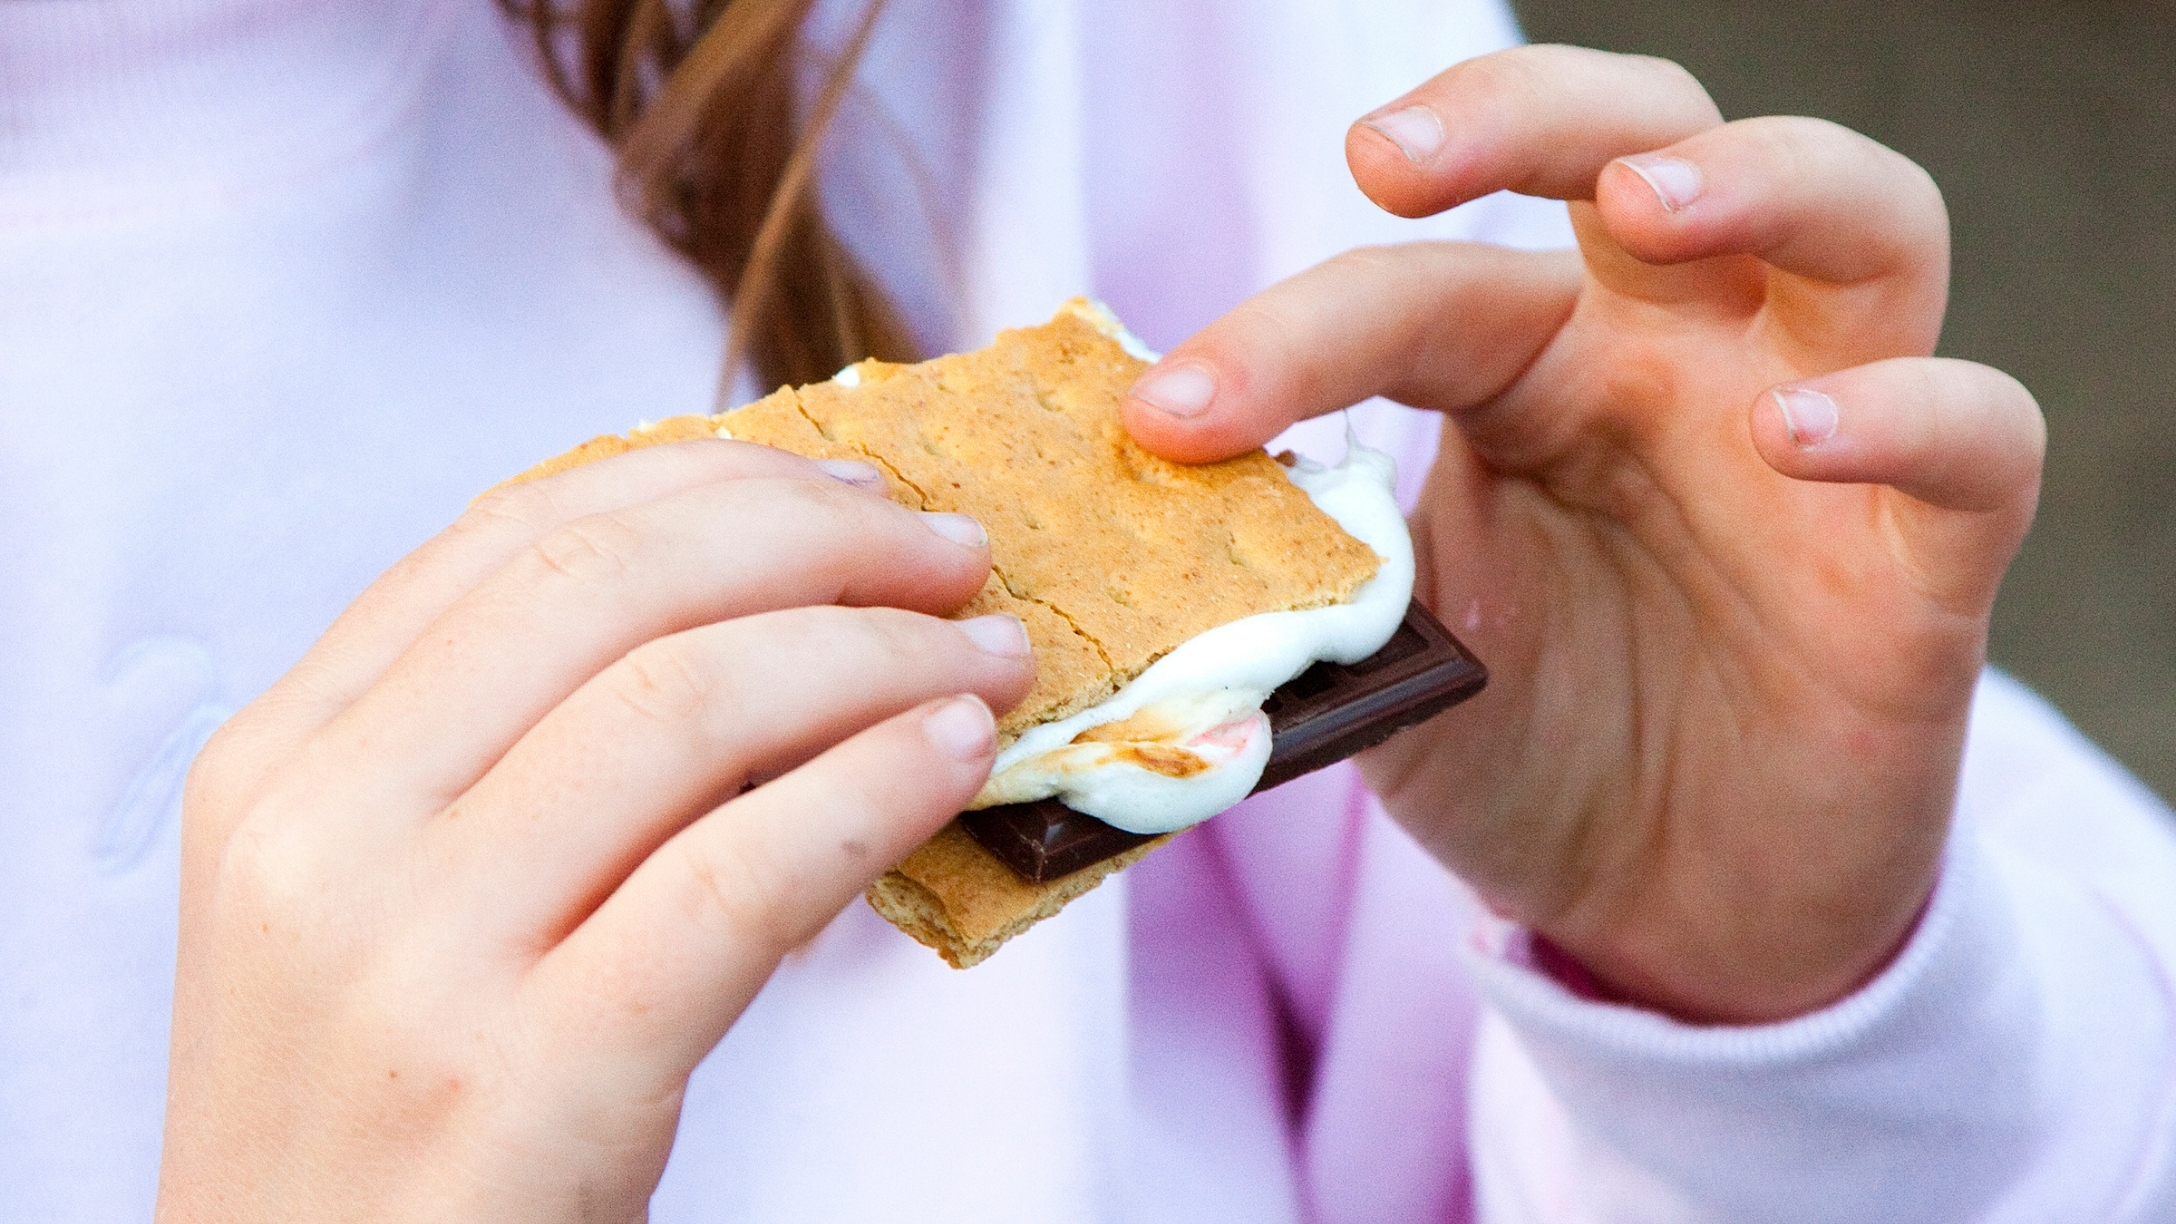
Some people have been able to get these ovens melting a s'more down in a matter of two hours. Mine took closer to four, but it was well worth the wait. The smoosh was pretty satisfying.
Delicious and Scientific!

The resulting s'more was everything you want in a s'more: warm, messy, and totally delicious. I could see how this experiment would be an even bigger success on an even hotter day in a spot with more direct sunlight.
It's great because once you build your solar oven, you can set it up just about any day where the weather cooperates. I can't wait to get these going early on a backyard pool day and see if they're a gooey, yummy mess come lunchtime.