Gather 'round the hypothetical fireplace, y'all, because I have a Thanksgiving miracle to tell you about.
I mean, it all depends on your definition of the word "miracle," but hey, to each their own, right? Anyway, Thanksgiving is one of my favorite holidays for a few reasons. I love any holiday that brings people together, and Thanksgiving is one of those special days where there are no gimmicks. There's no push to dress up in ugly holiday sweaters (although, if you know me, I'm a huge fan of wearing them throughout the Christmas season!). There's no gift-giving or expectations of getting something in return merely for your presence at a family gathering. There's usually a plethora of wine and appetizers, and at my parents' house, we always have a pool and darts tournament because nothing says "family" like drunken competitive bar sports, am I right?
Every year for Thanksgiving, my mom usually does most of the prep work. I've taken on appetizers and sides (because LOL at the thought of me properly cleaning and cooking a turkey that's probably a quarter of my body weight), and this year, I've decided to take control of the holiday place cards. Usually, my mom makes these adorable turkeys out of Oreos, candy corn, and some other colorful, weird-looking candy as our "place cards"; however, I thought this year would be the year to try something new.
My mom and I headed over to Hobby Lobby to pick up some craft supplies, and although I've heard everyone I know rave about the store, I was totally not prepared for the amount of craft supplies and cute decor that Hobby Lobby has to offer. The place itself is quite overwhelming, and I almost had to pop an Ativan once or twice, but eventually, I found the paper supplies and started to get to work.
The Supplies

I got everything (except the glue gun; my mom has one) from Hobby Lobby, but any craft store will do.
- Calligraphy pens, $8.99
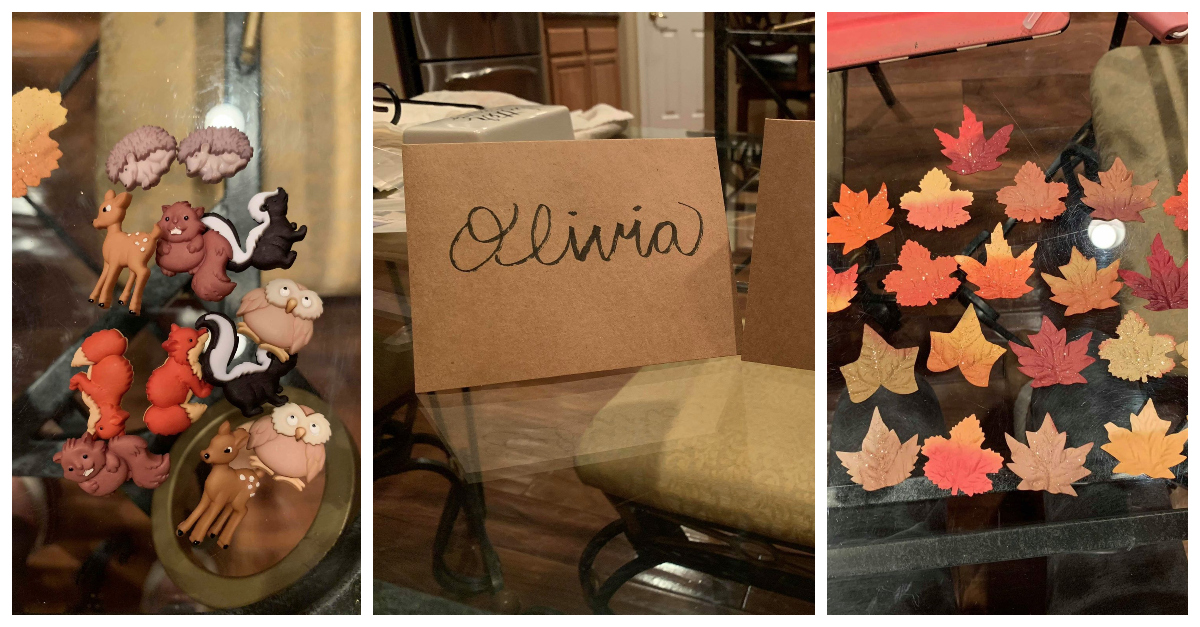
- Woodland creature decals (2 packs), $2.99
- Decorative glittery leaves, $4.99
- Place cards (1 pack), $2.99
The total before tax came to $22.95; however, everything was 50% off, so the total for all my supplies after that nifty little discount was a little less than $12!
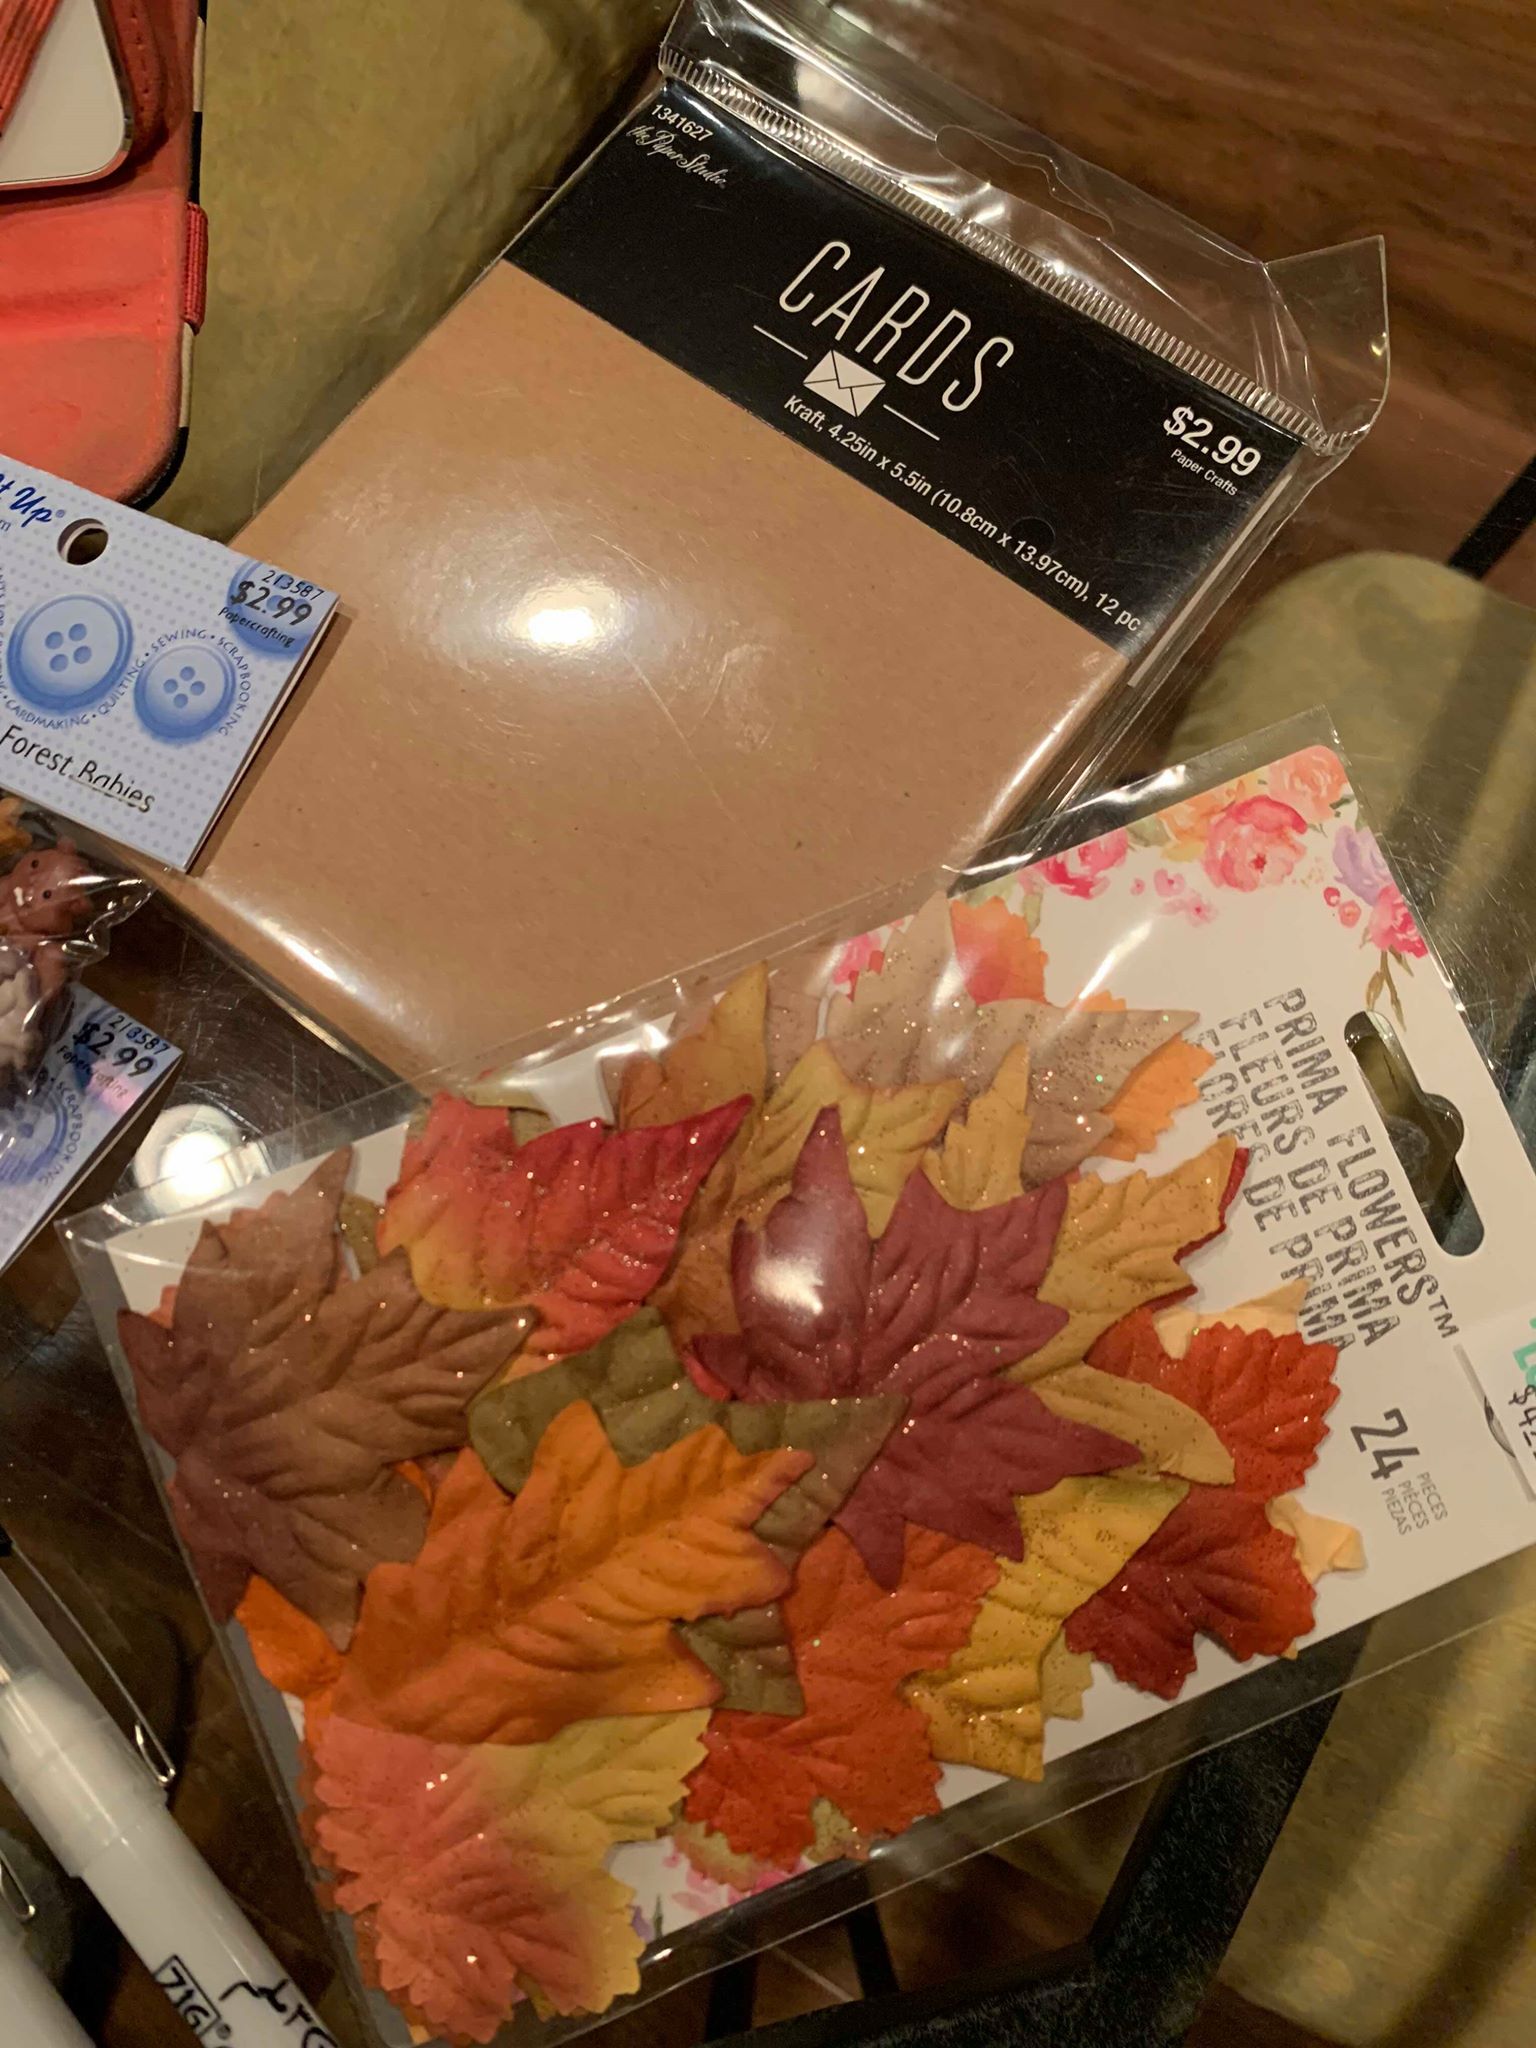
I had to show a close-up of these leaves! They actually feel like real leaves, so if you want to save a few bucks and utilize your resources from the great outdoors, you can probably use real leaves. Just make sure to be very gentle with them!
Practice Makes Perfect?
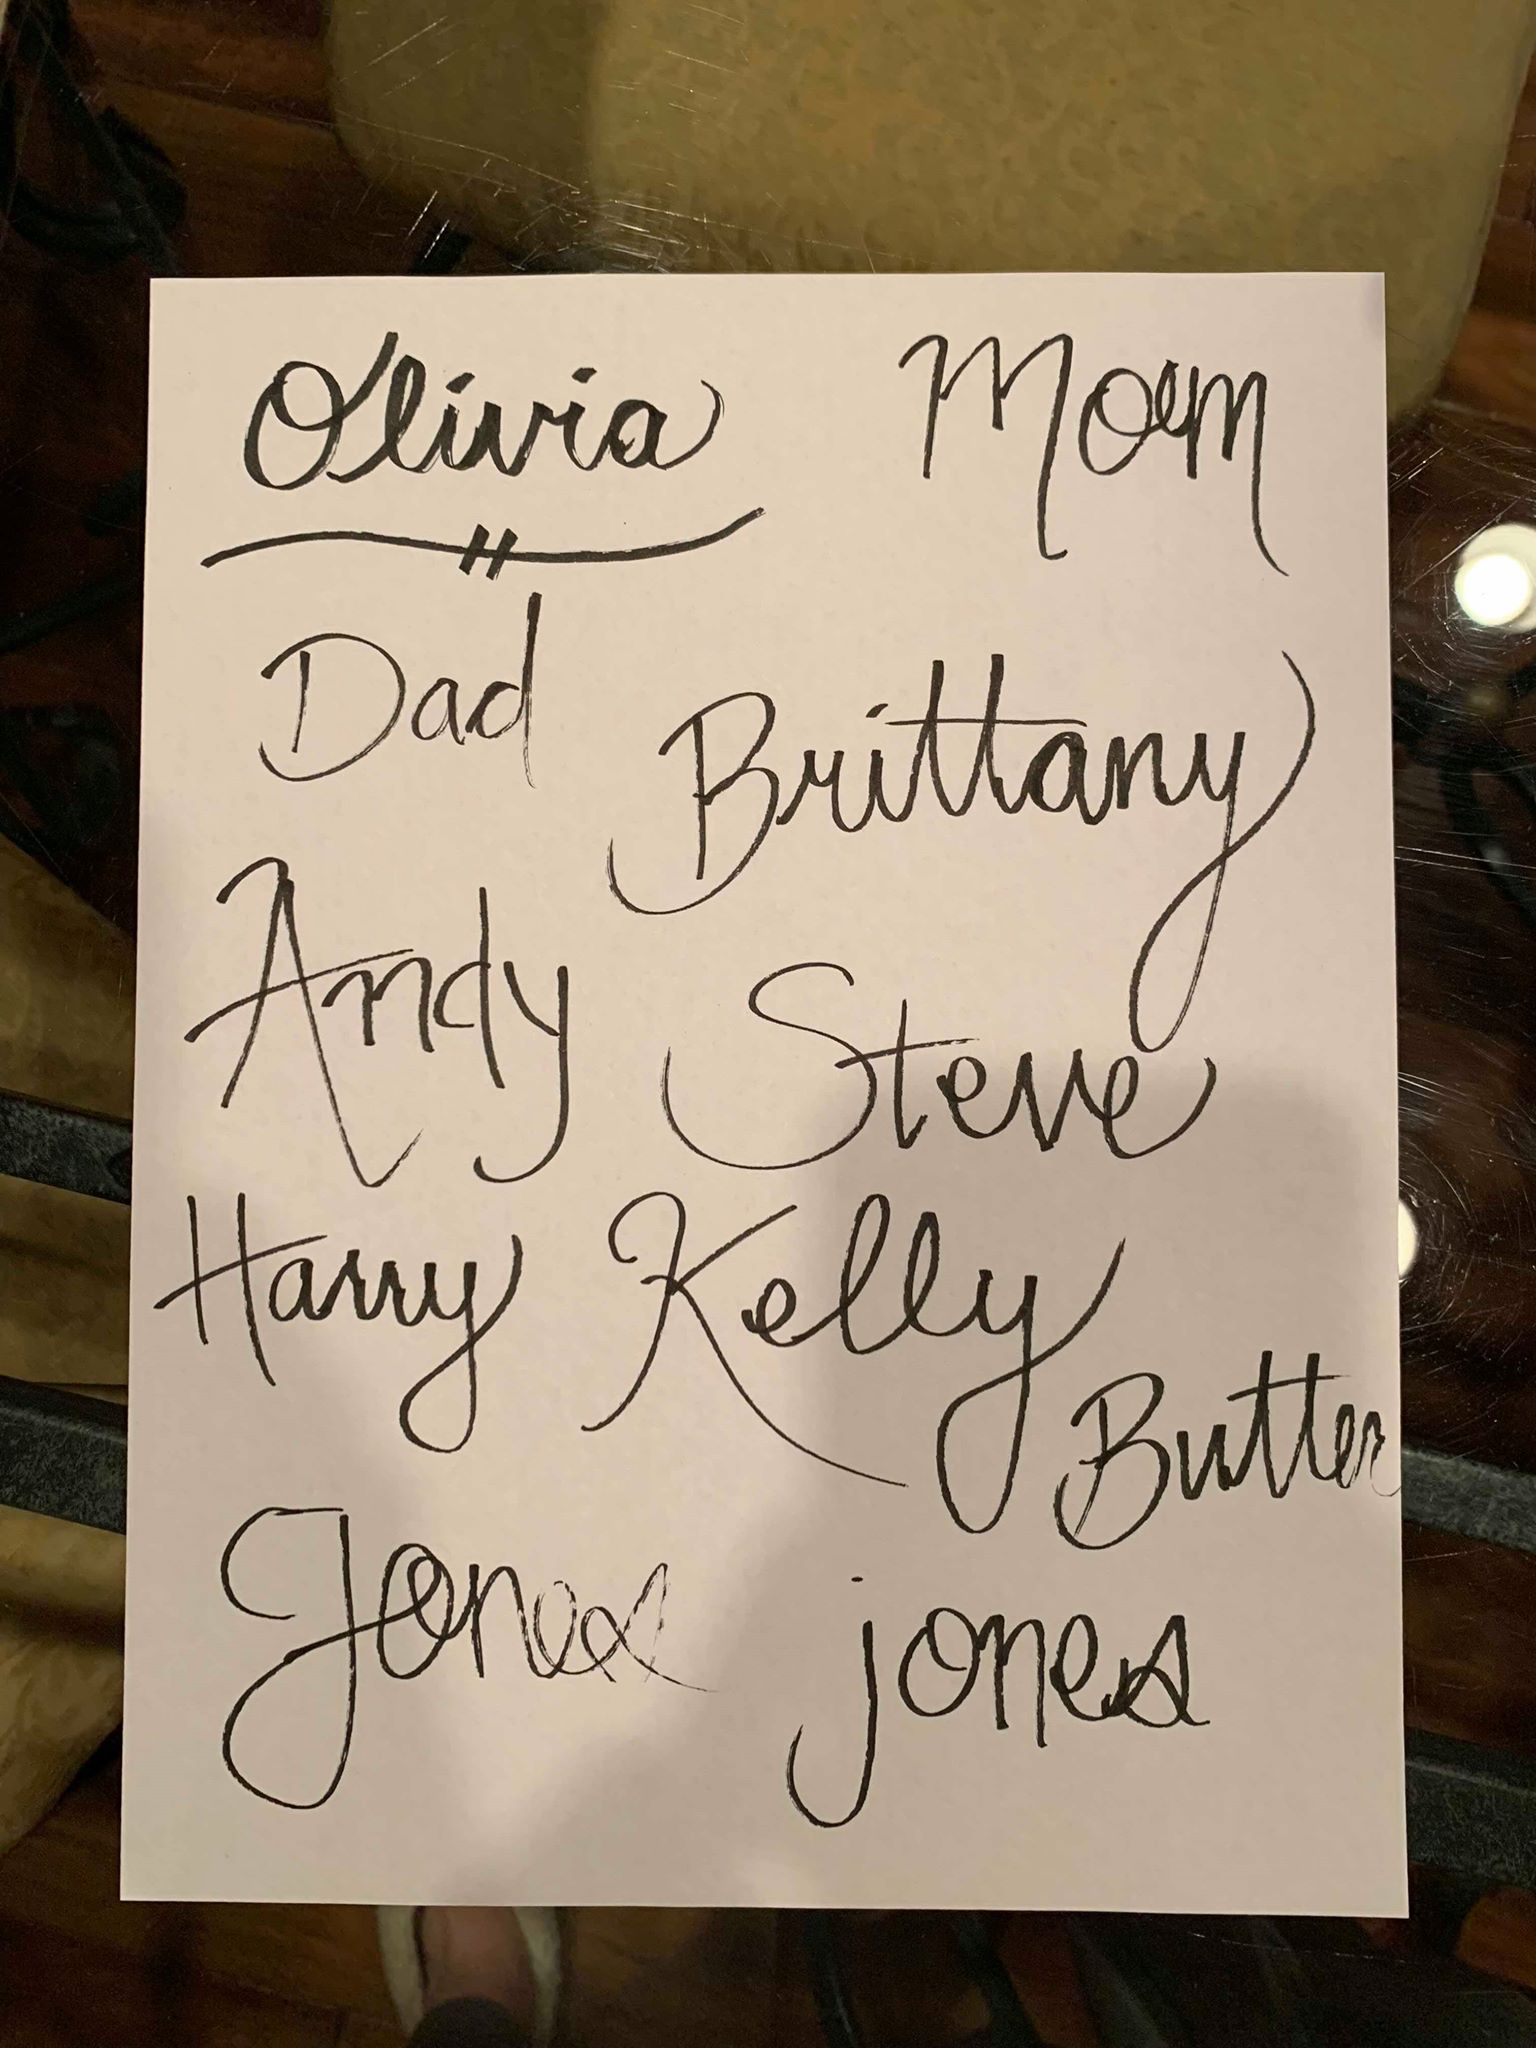
Listen, there are 10 of us attending Thanksgiving, and while three of those attendees might have four legs and fur, I couldn't take the chance of messing up anyone's names. After all, there were only 12 cards in the pack, and I bought only one pack. I work better under pressure, OK?
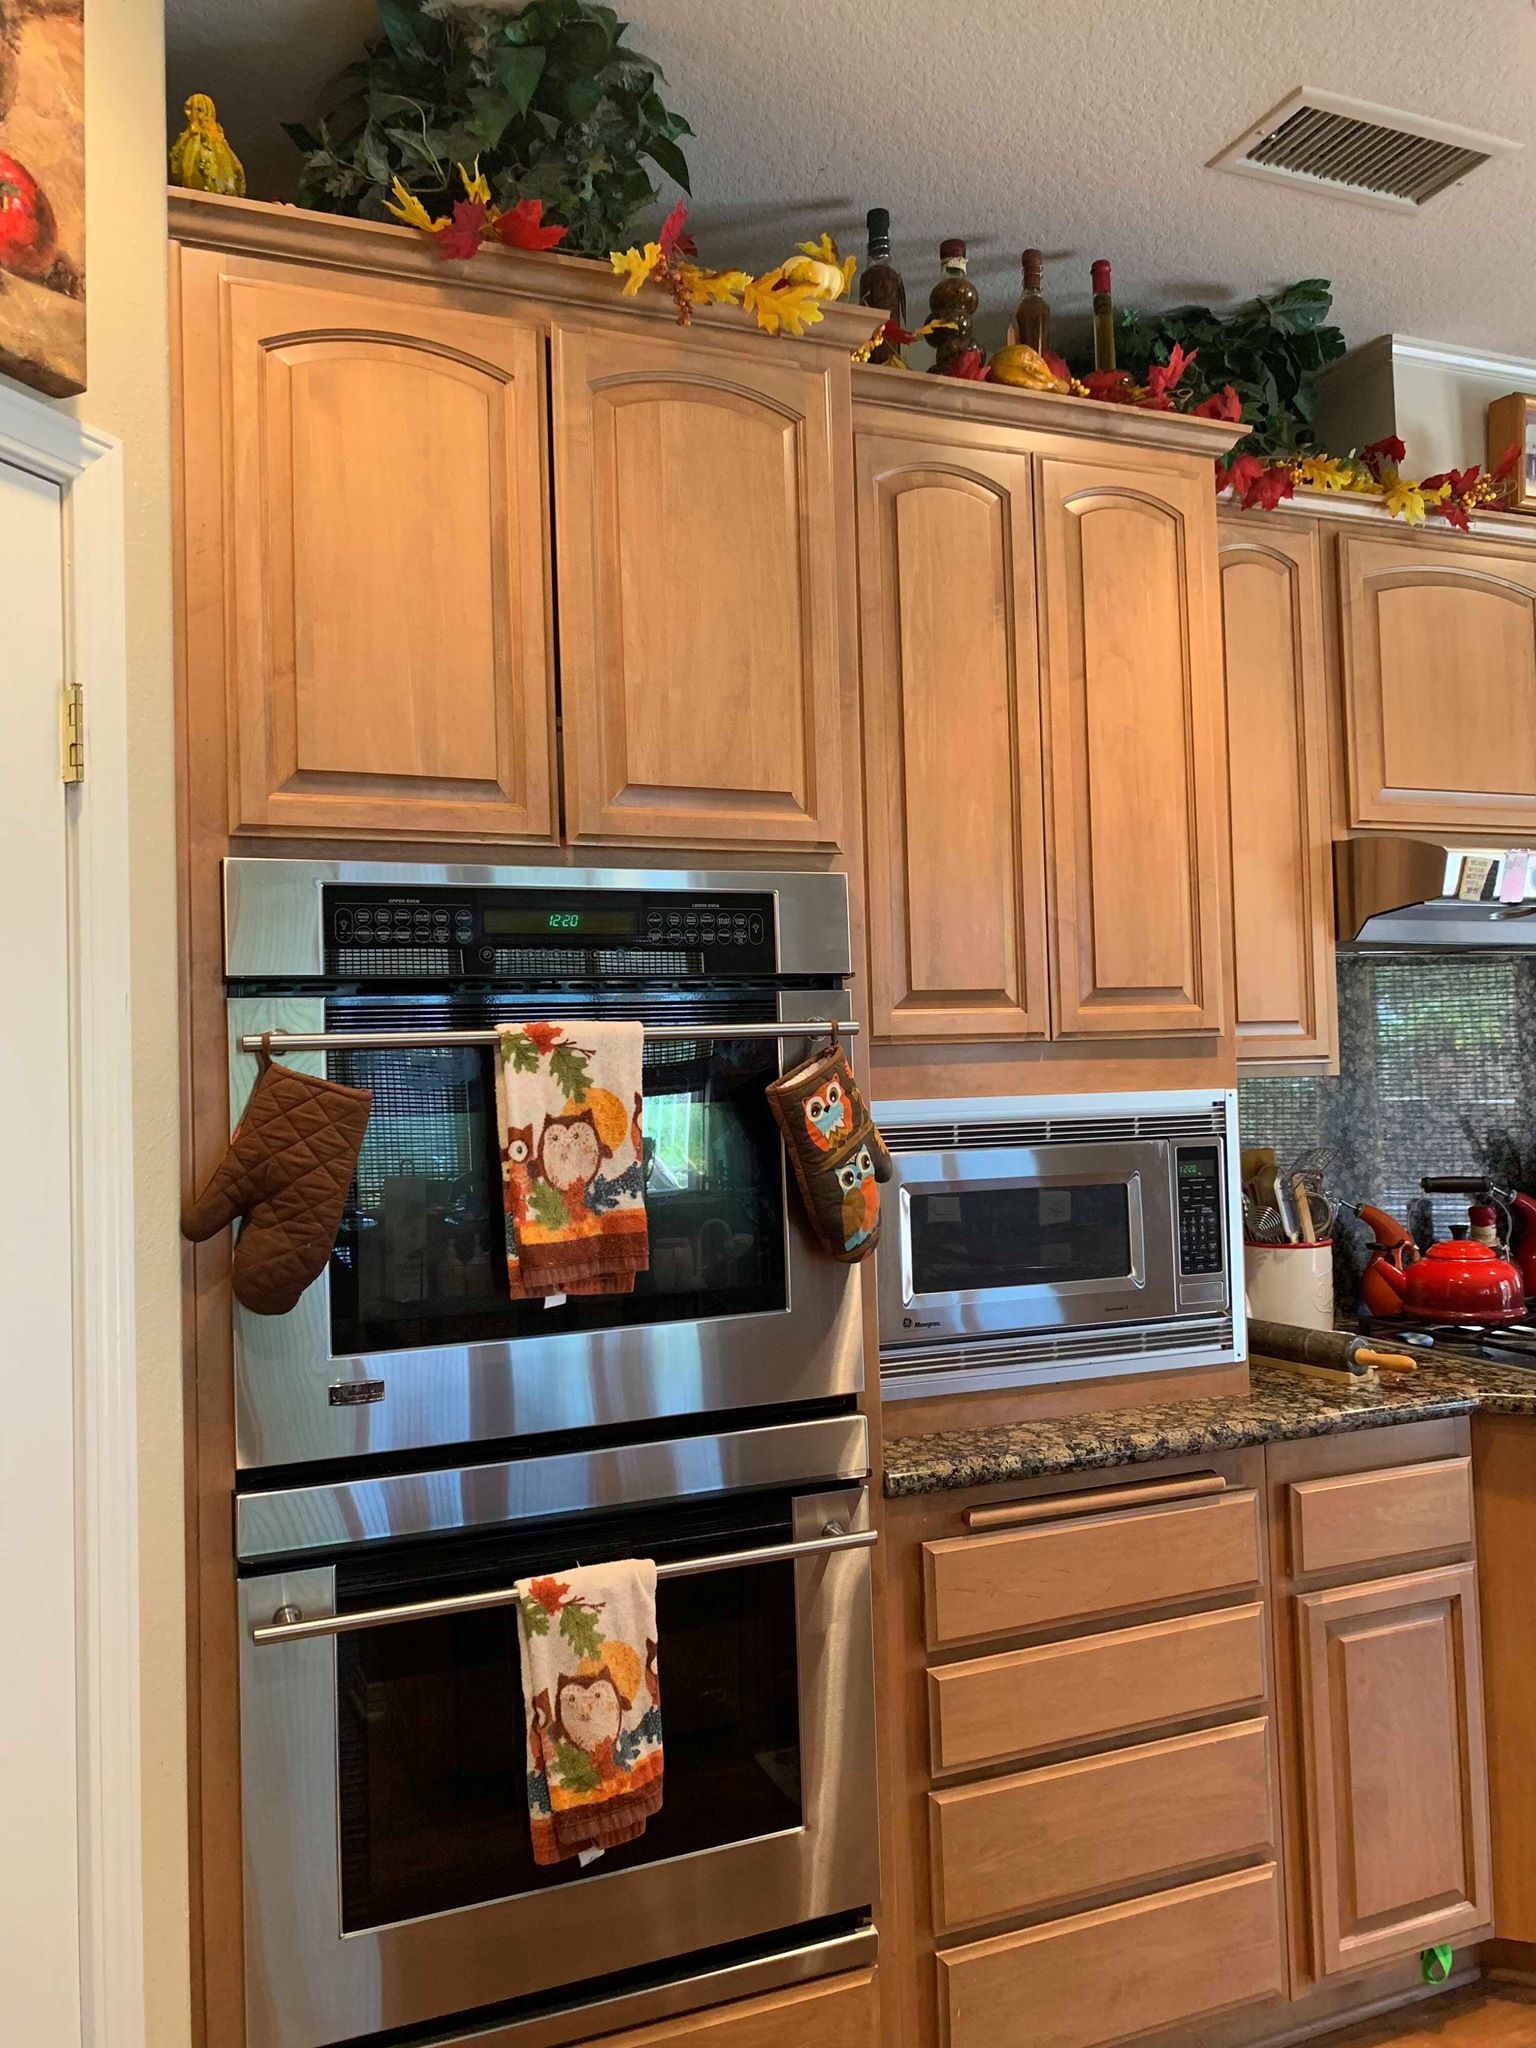
Before I dive into the actual steps of making the place cards, I have to take a detour and show y'all the fall decor at my parents' house. It's literally in every room. Every towel. Every hand soap. Every everything.
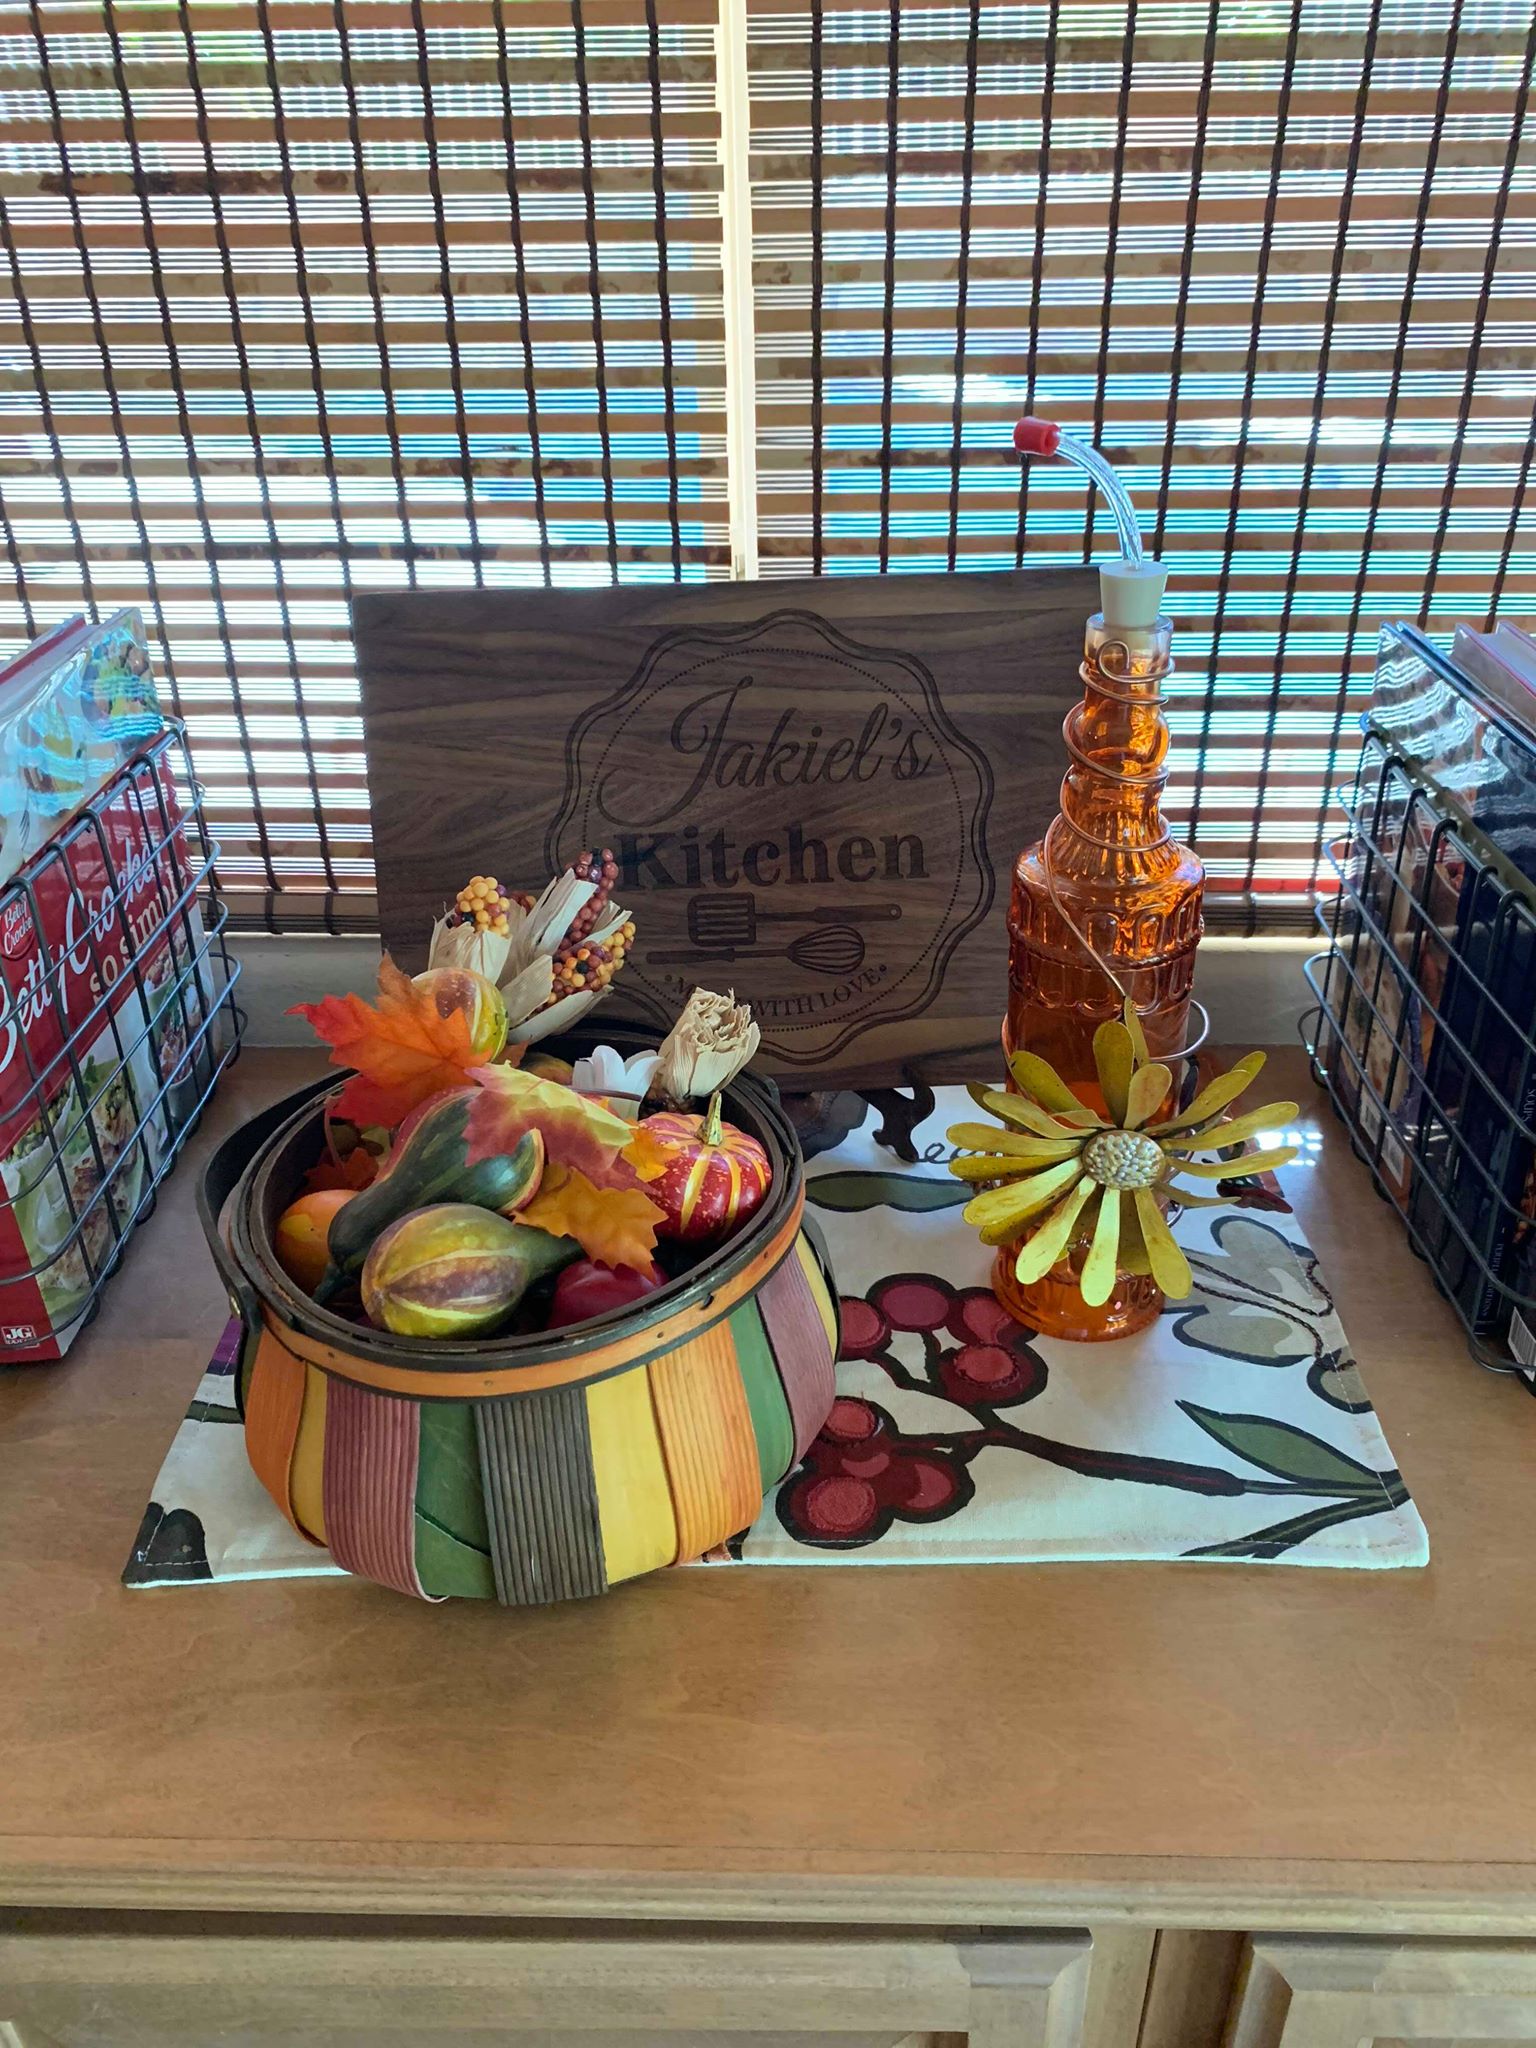
So when I was shopping for craft supplies, I kept this in mind, since we have Thanksgiving dinner at my parents' house every year. If you have specific fall decor you put up every year, feel free to buy supplies based on whatever that might be!
Step 1: Fold Cards, Maybe
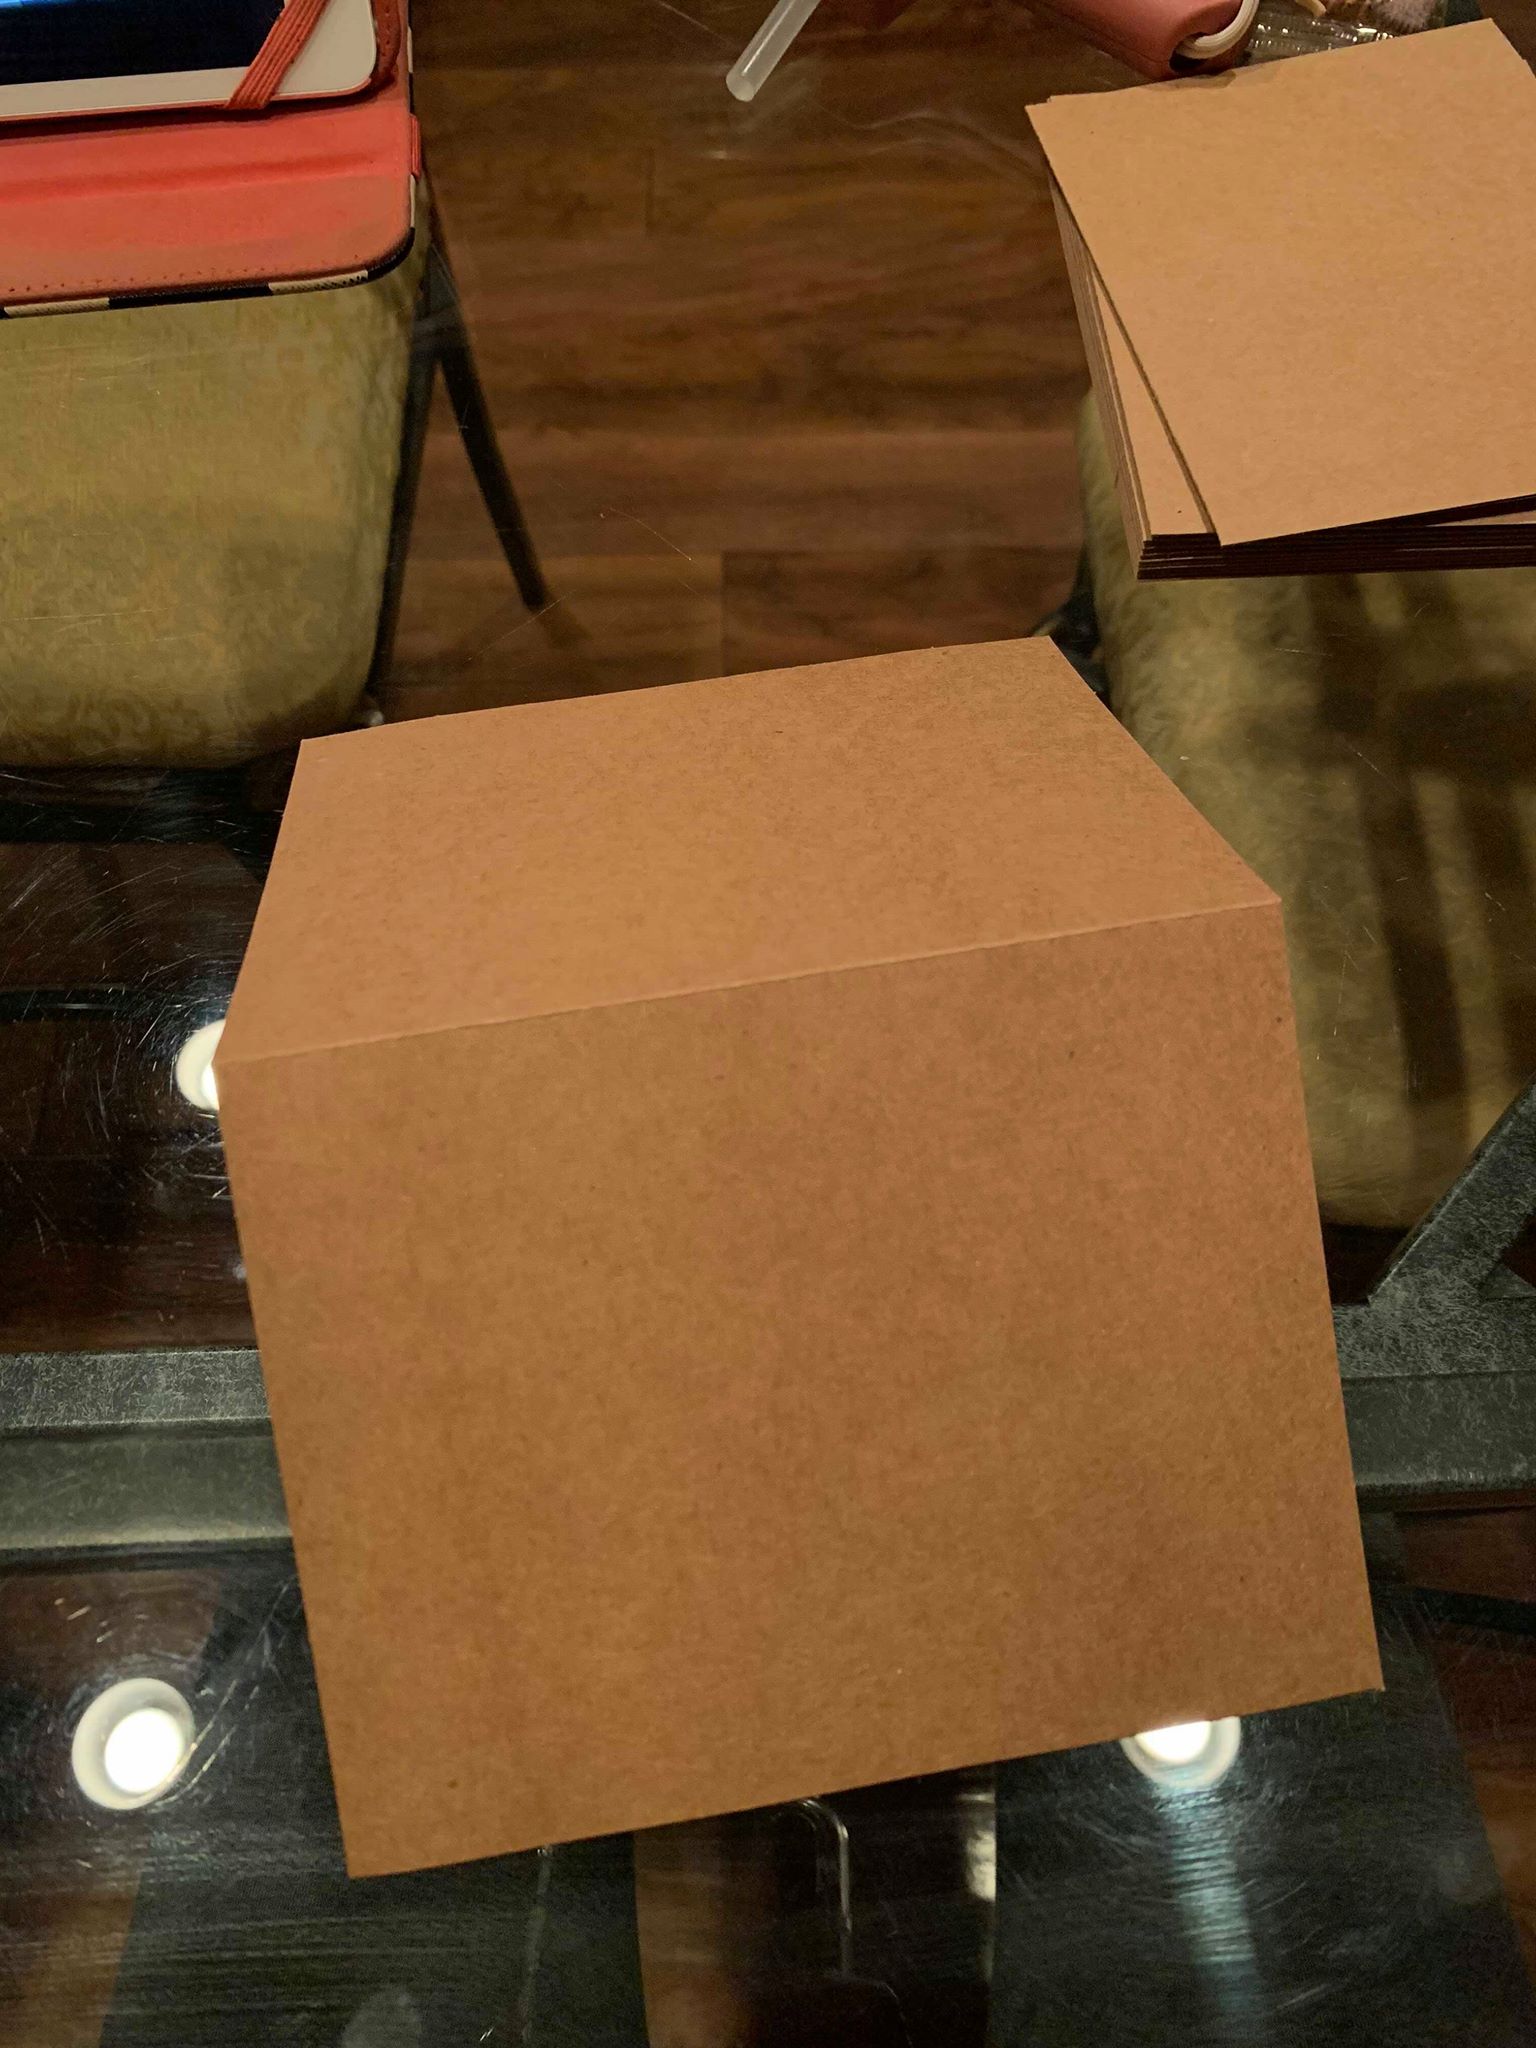
I'll be honest. I was under the impression that I'd have to fold these cards myself, which is why I bought the bigger ones.
Narrator: She did not have to fold the cards herself.
Be sure to check if the cards are prefolded; otherwise, you might be in for a real surprise.
Step 2: Write Names in Exquisite Calligraphy
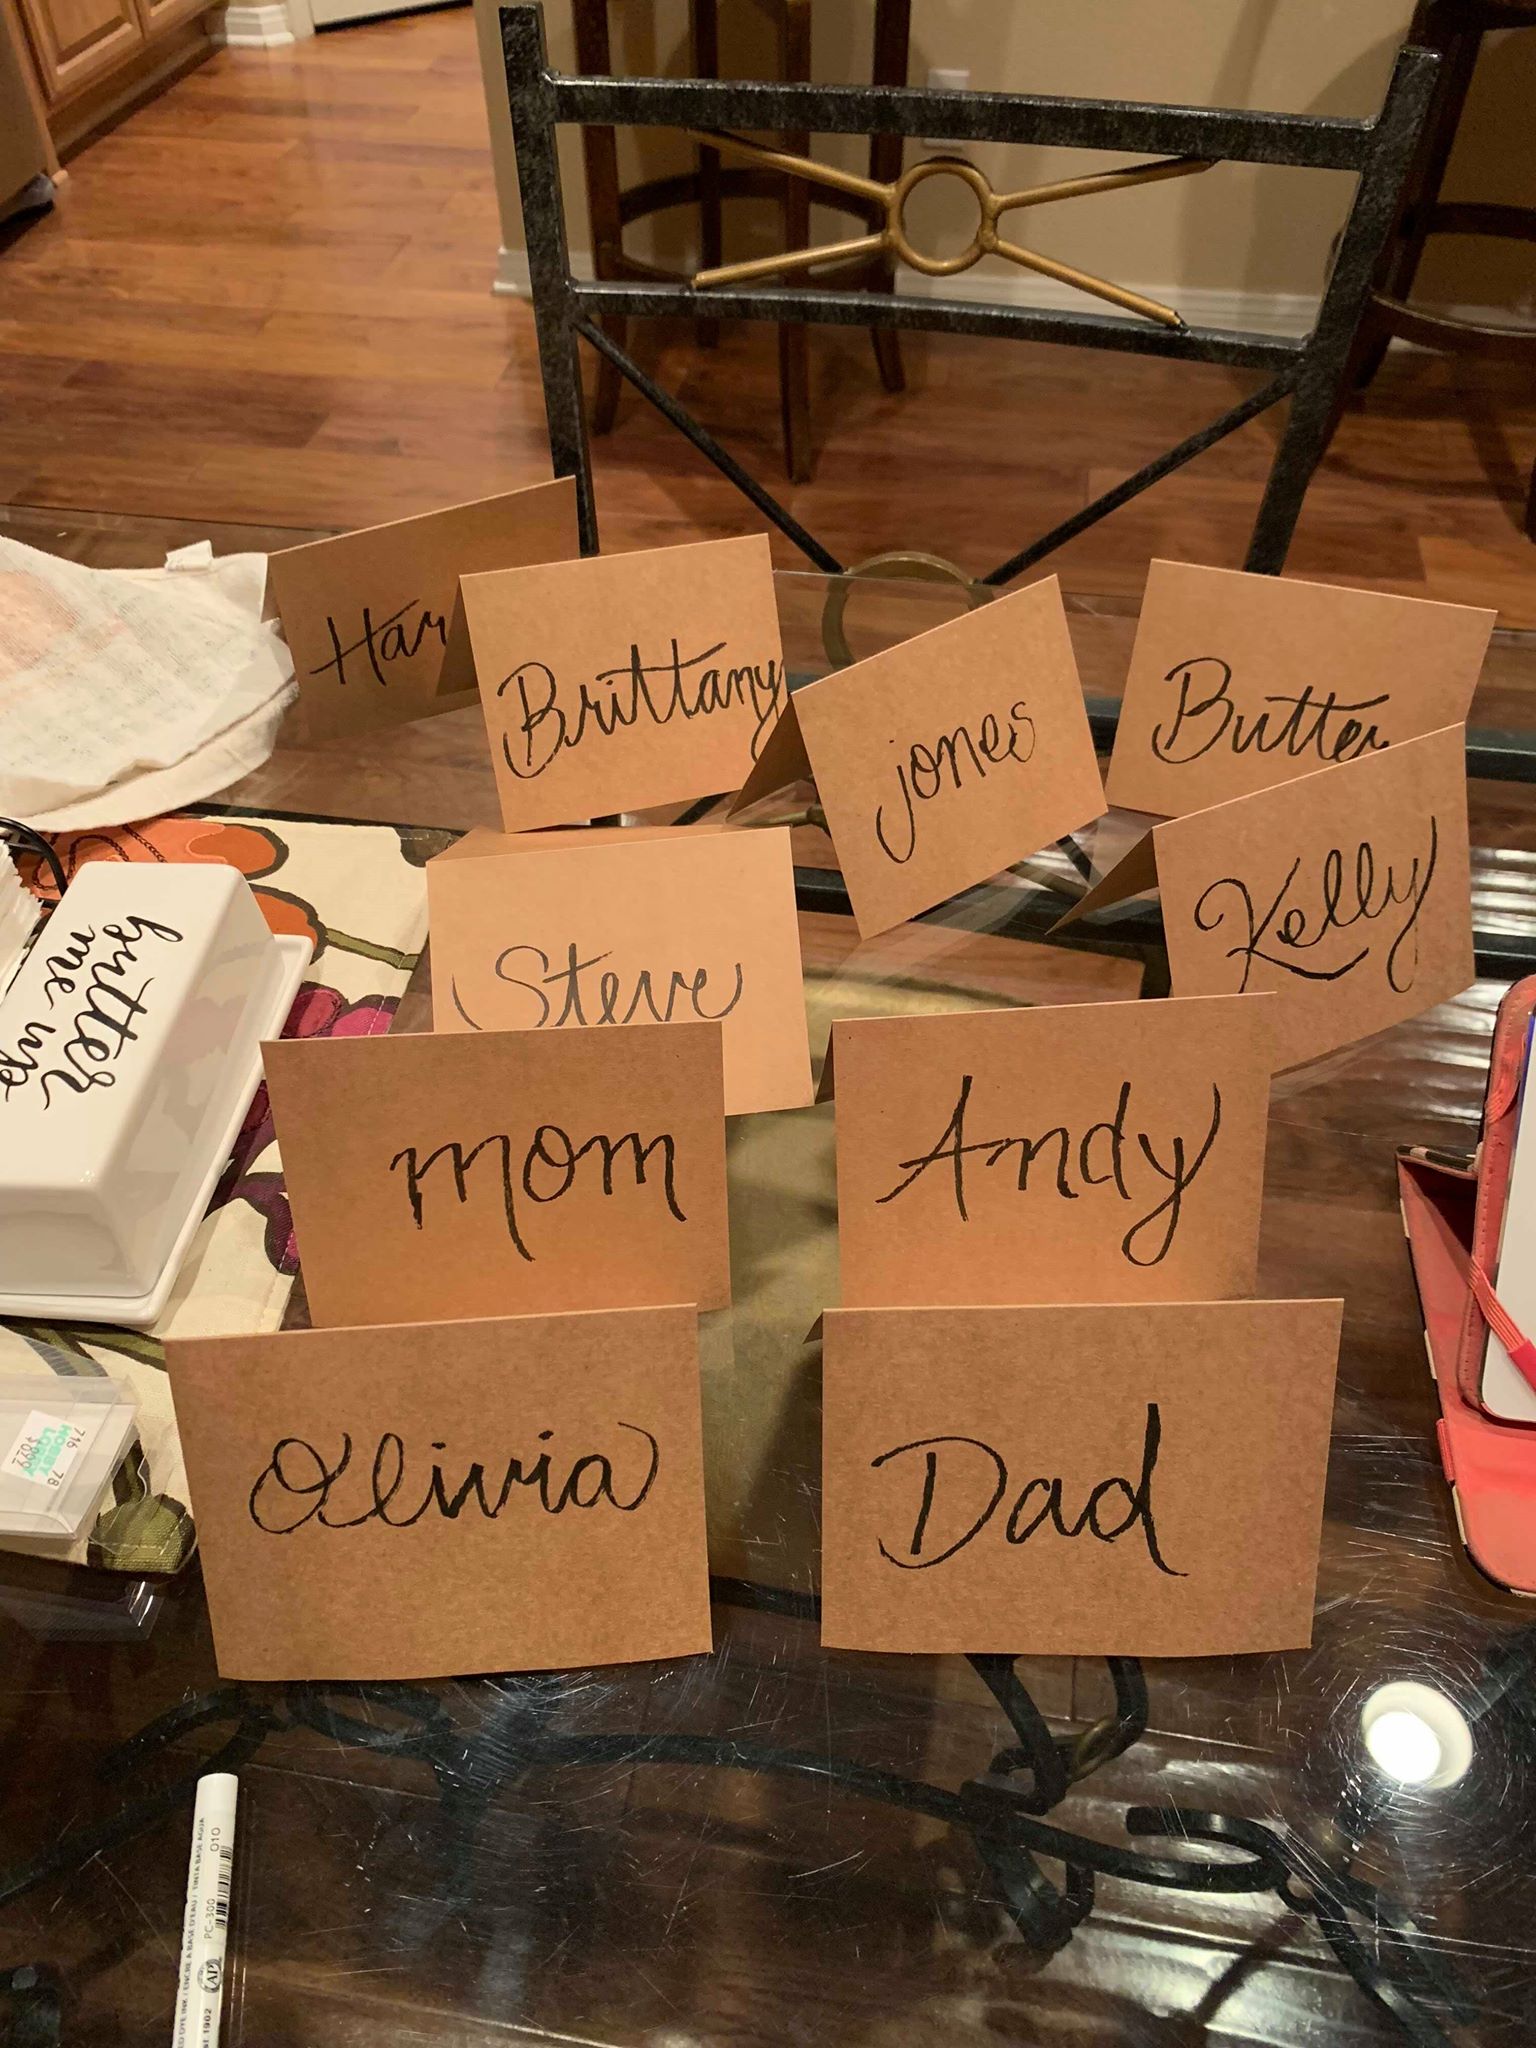
YEAH, I already know, these don't look like a Pinterest masterpiece — yet. I wrote the name of everyone coming to dinner on each individual card, then set them aside.
Step 3: Sort Leaves

I took out all the leaves from the package and spread them out to see which colors were included. I'm happy there was such a variety!
Step 4: Decision Time
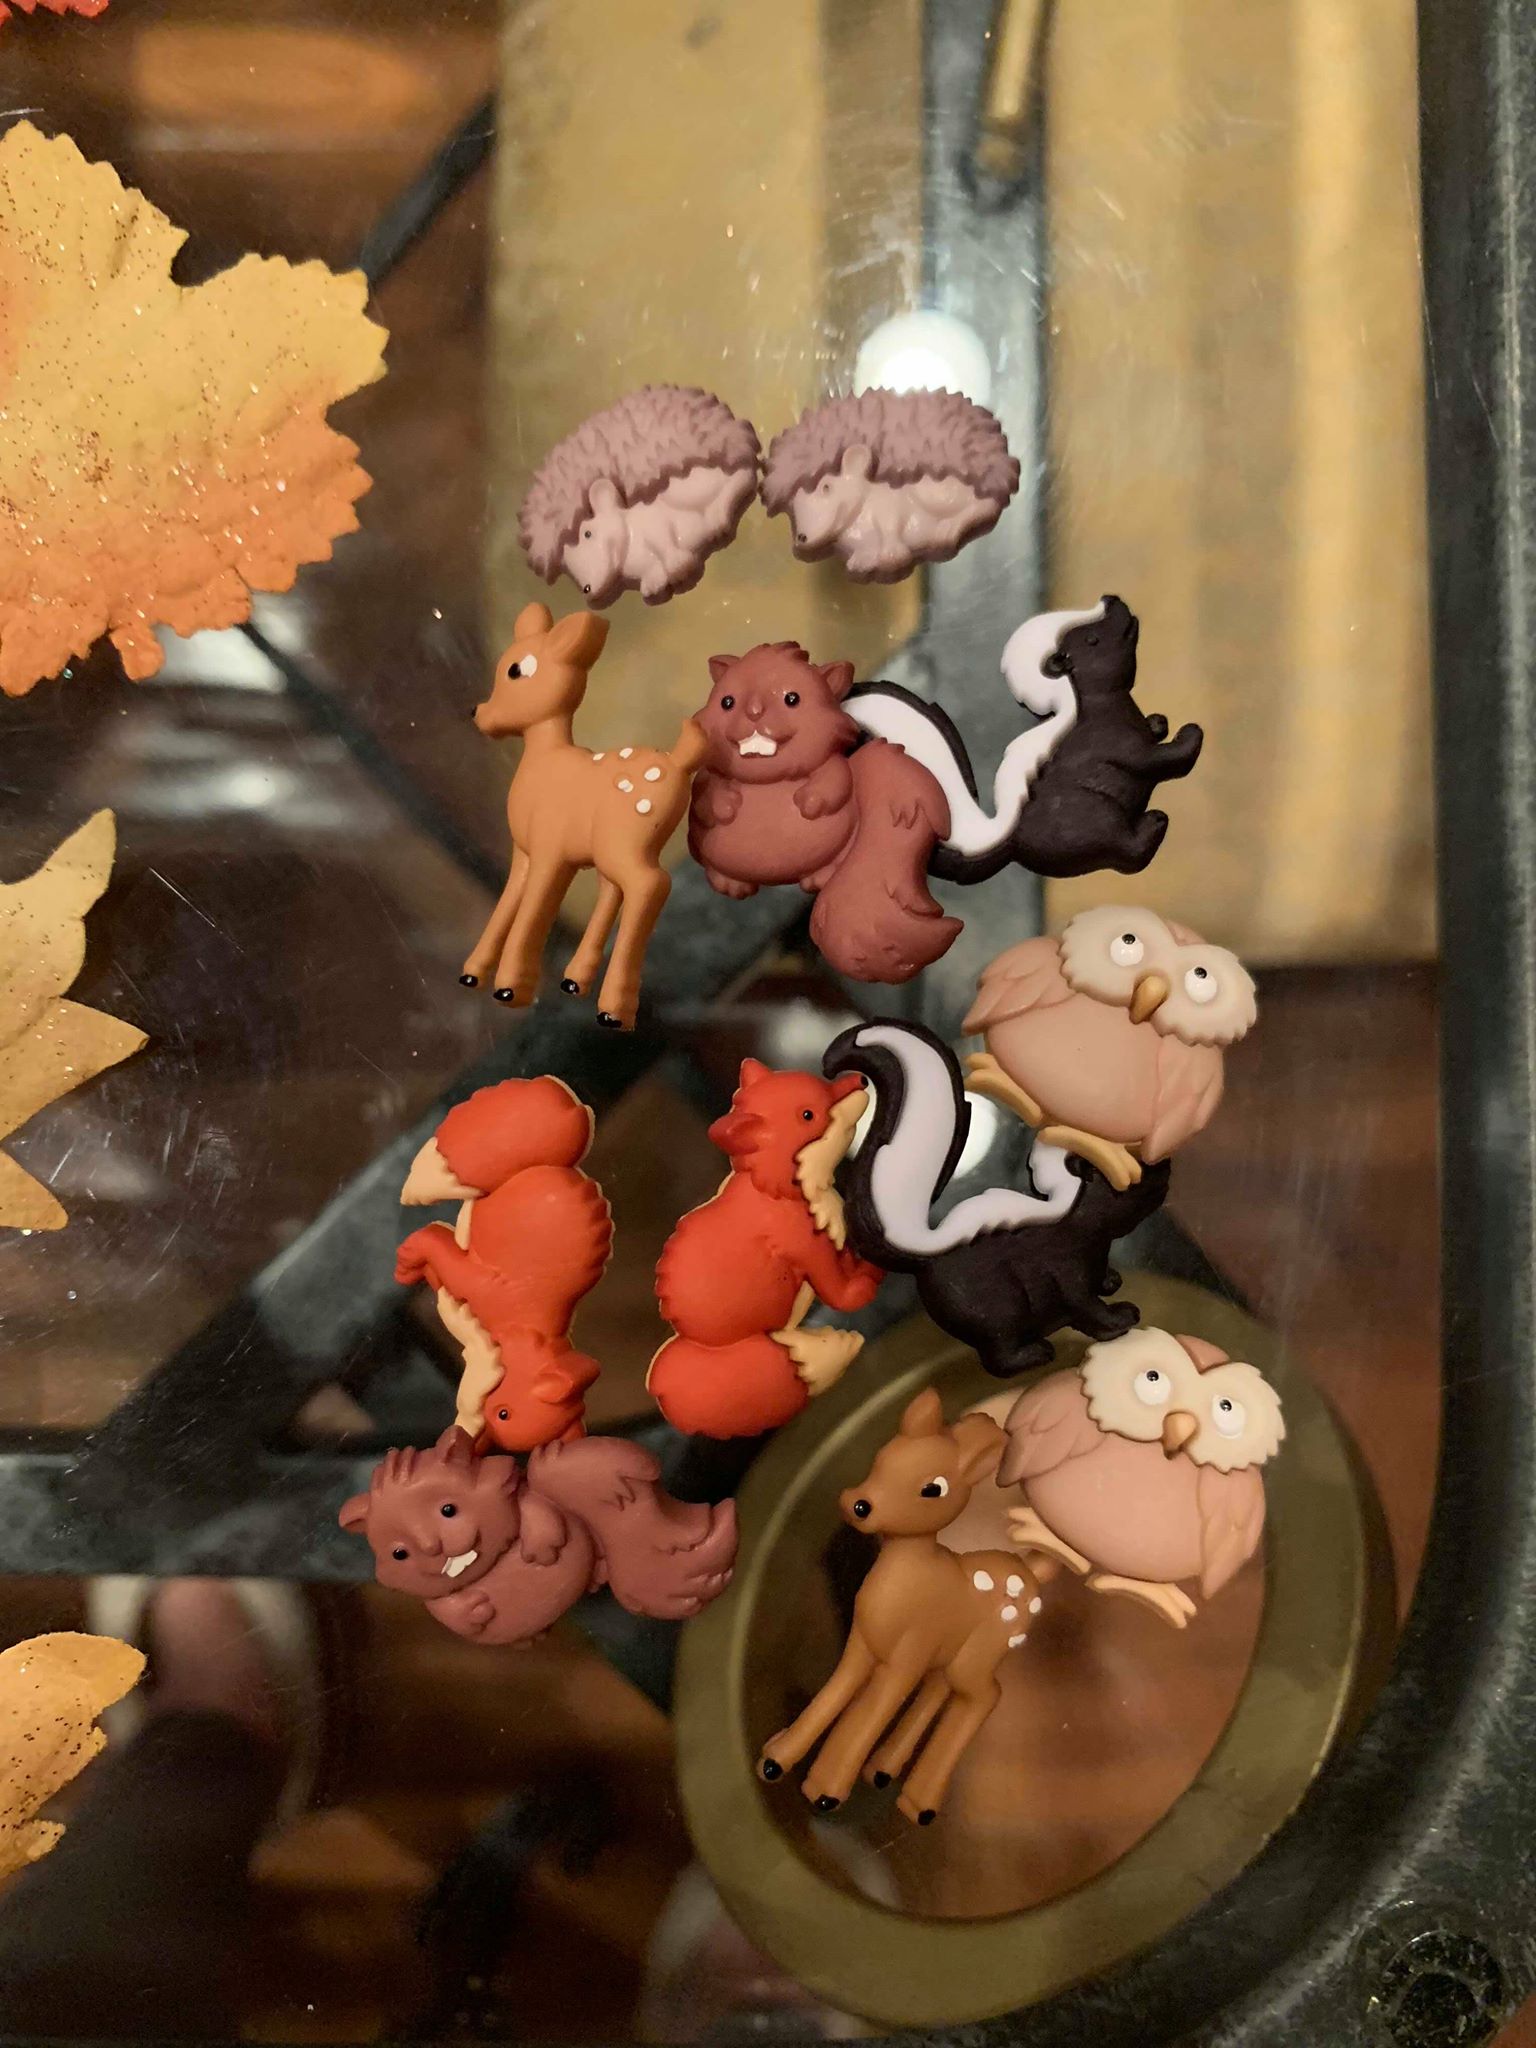
After I spread out all the leaves, I took out the little woodland creatures to get a closer look at them. So cute!
Then I started to play around with the placement of specific colored leaves and assigned a woodland creature to each name.
While I did this, I plugged in the hot-glue gun and let it warm up for about 10 minutes.
Step 5: Attach Leaves
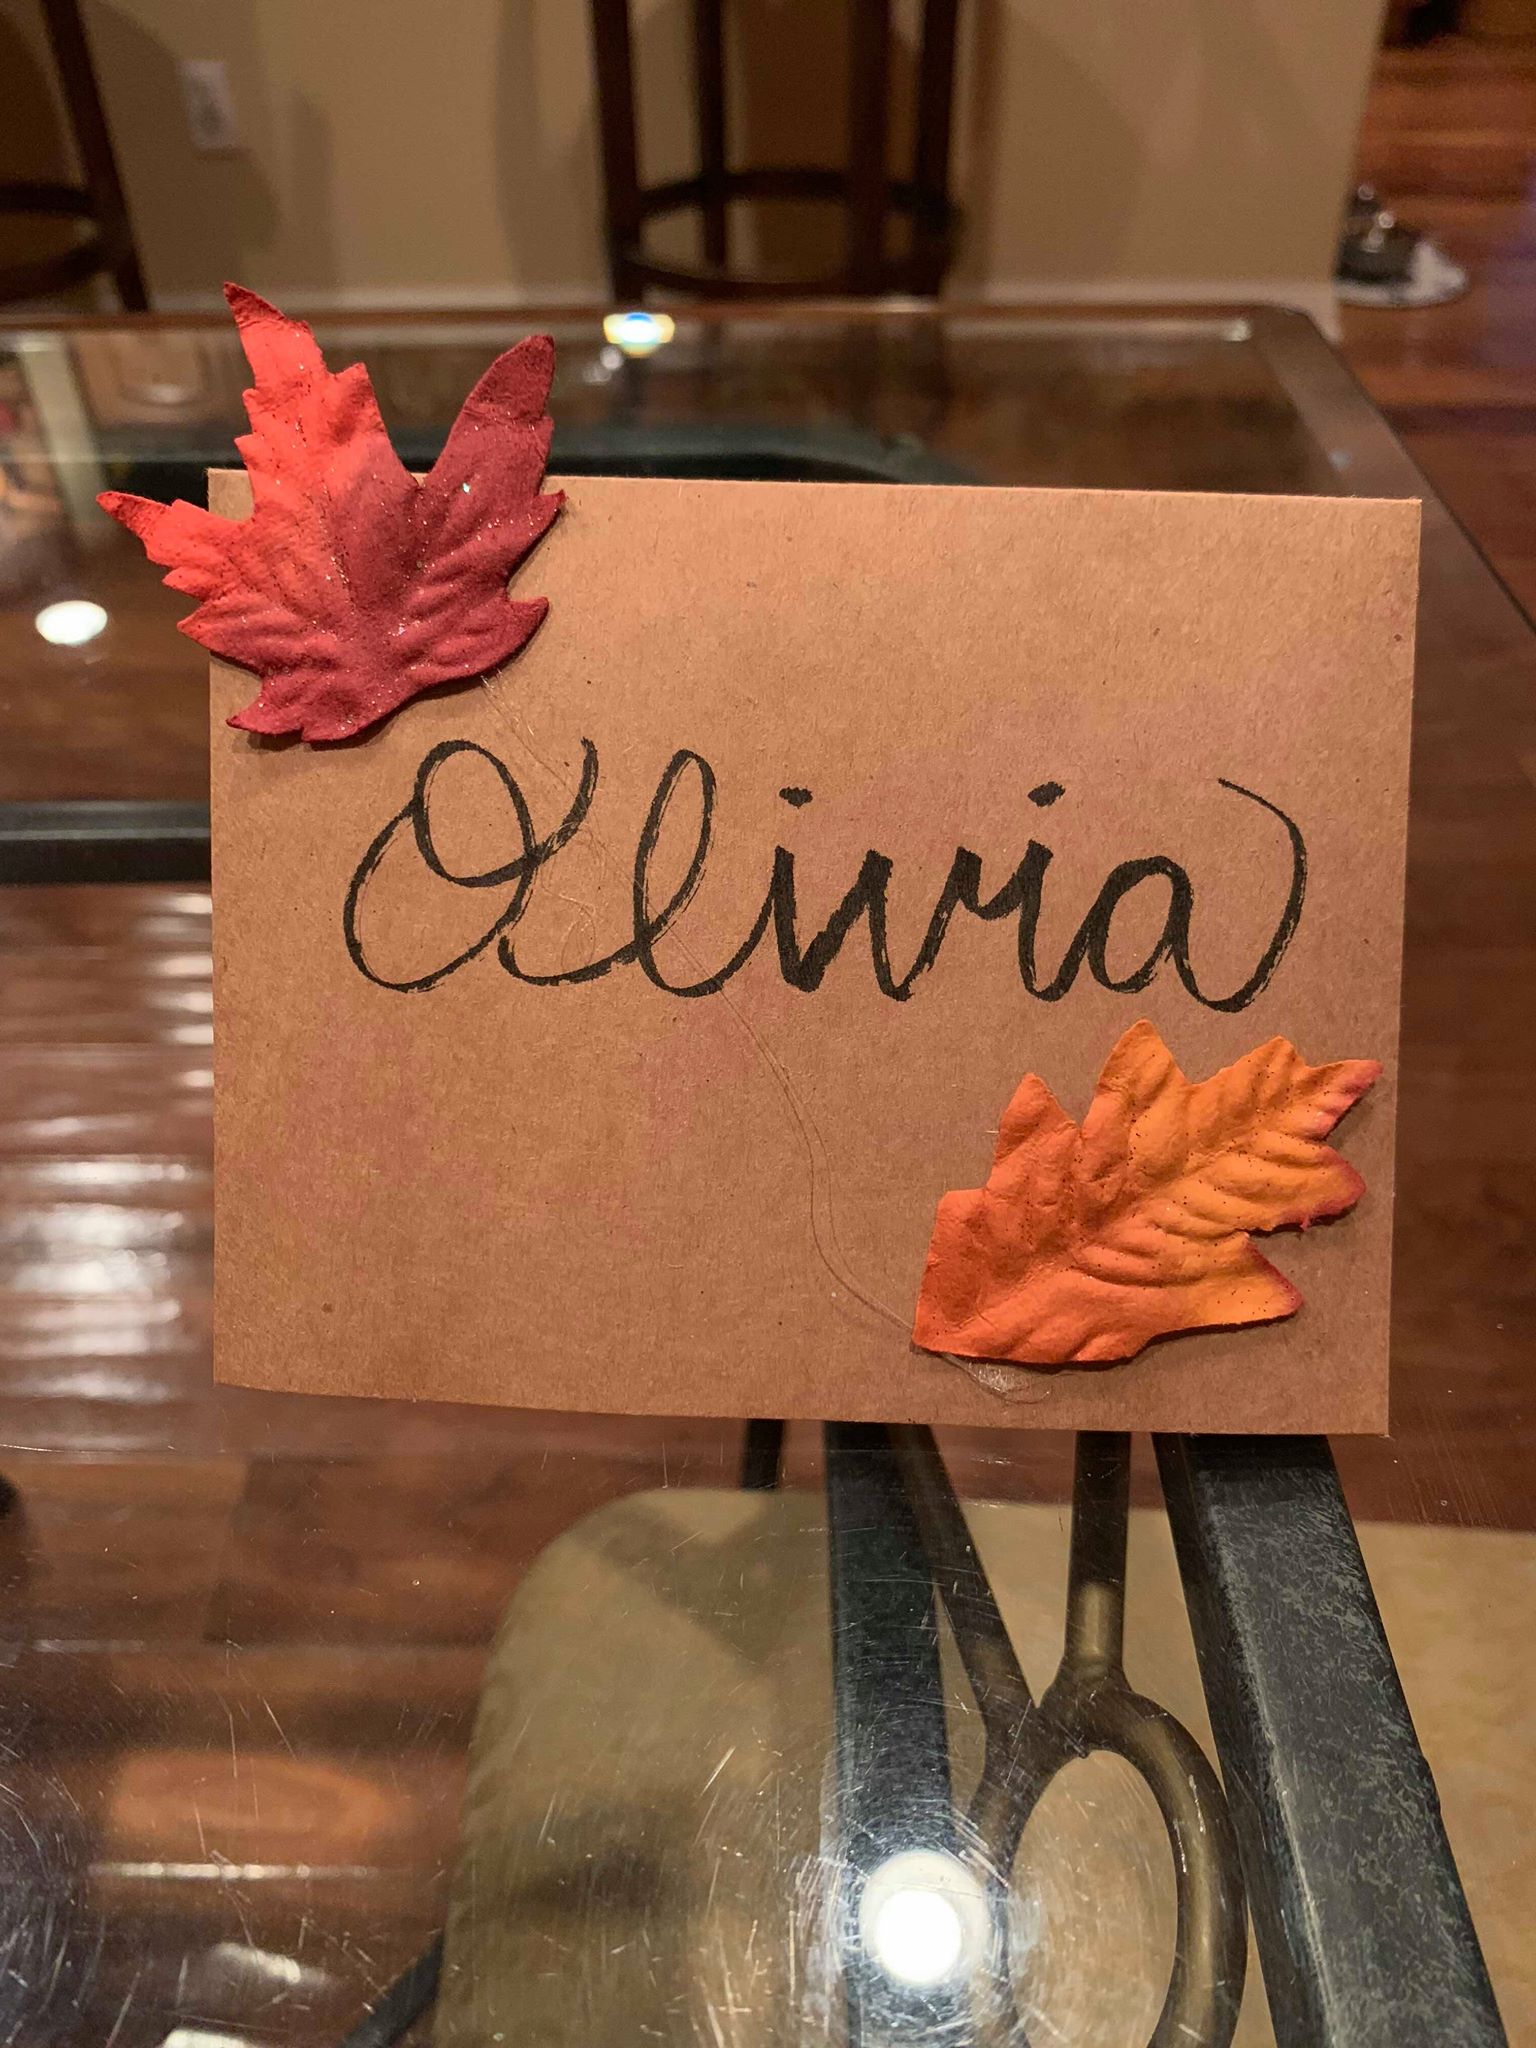
I added a little hot glue to the back of each leaf, then placed them on each card where I thought they would look best.
Step 6: Attach Woodland Creature
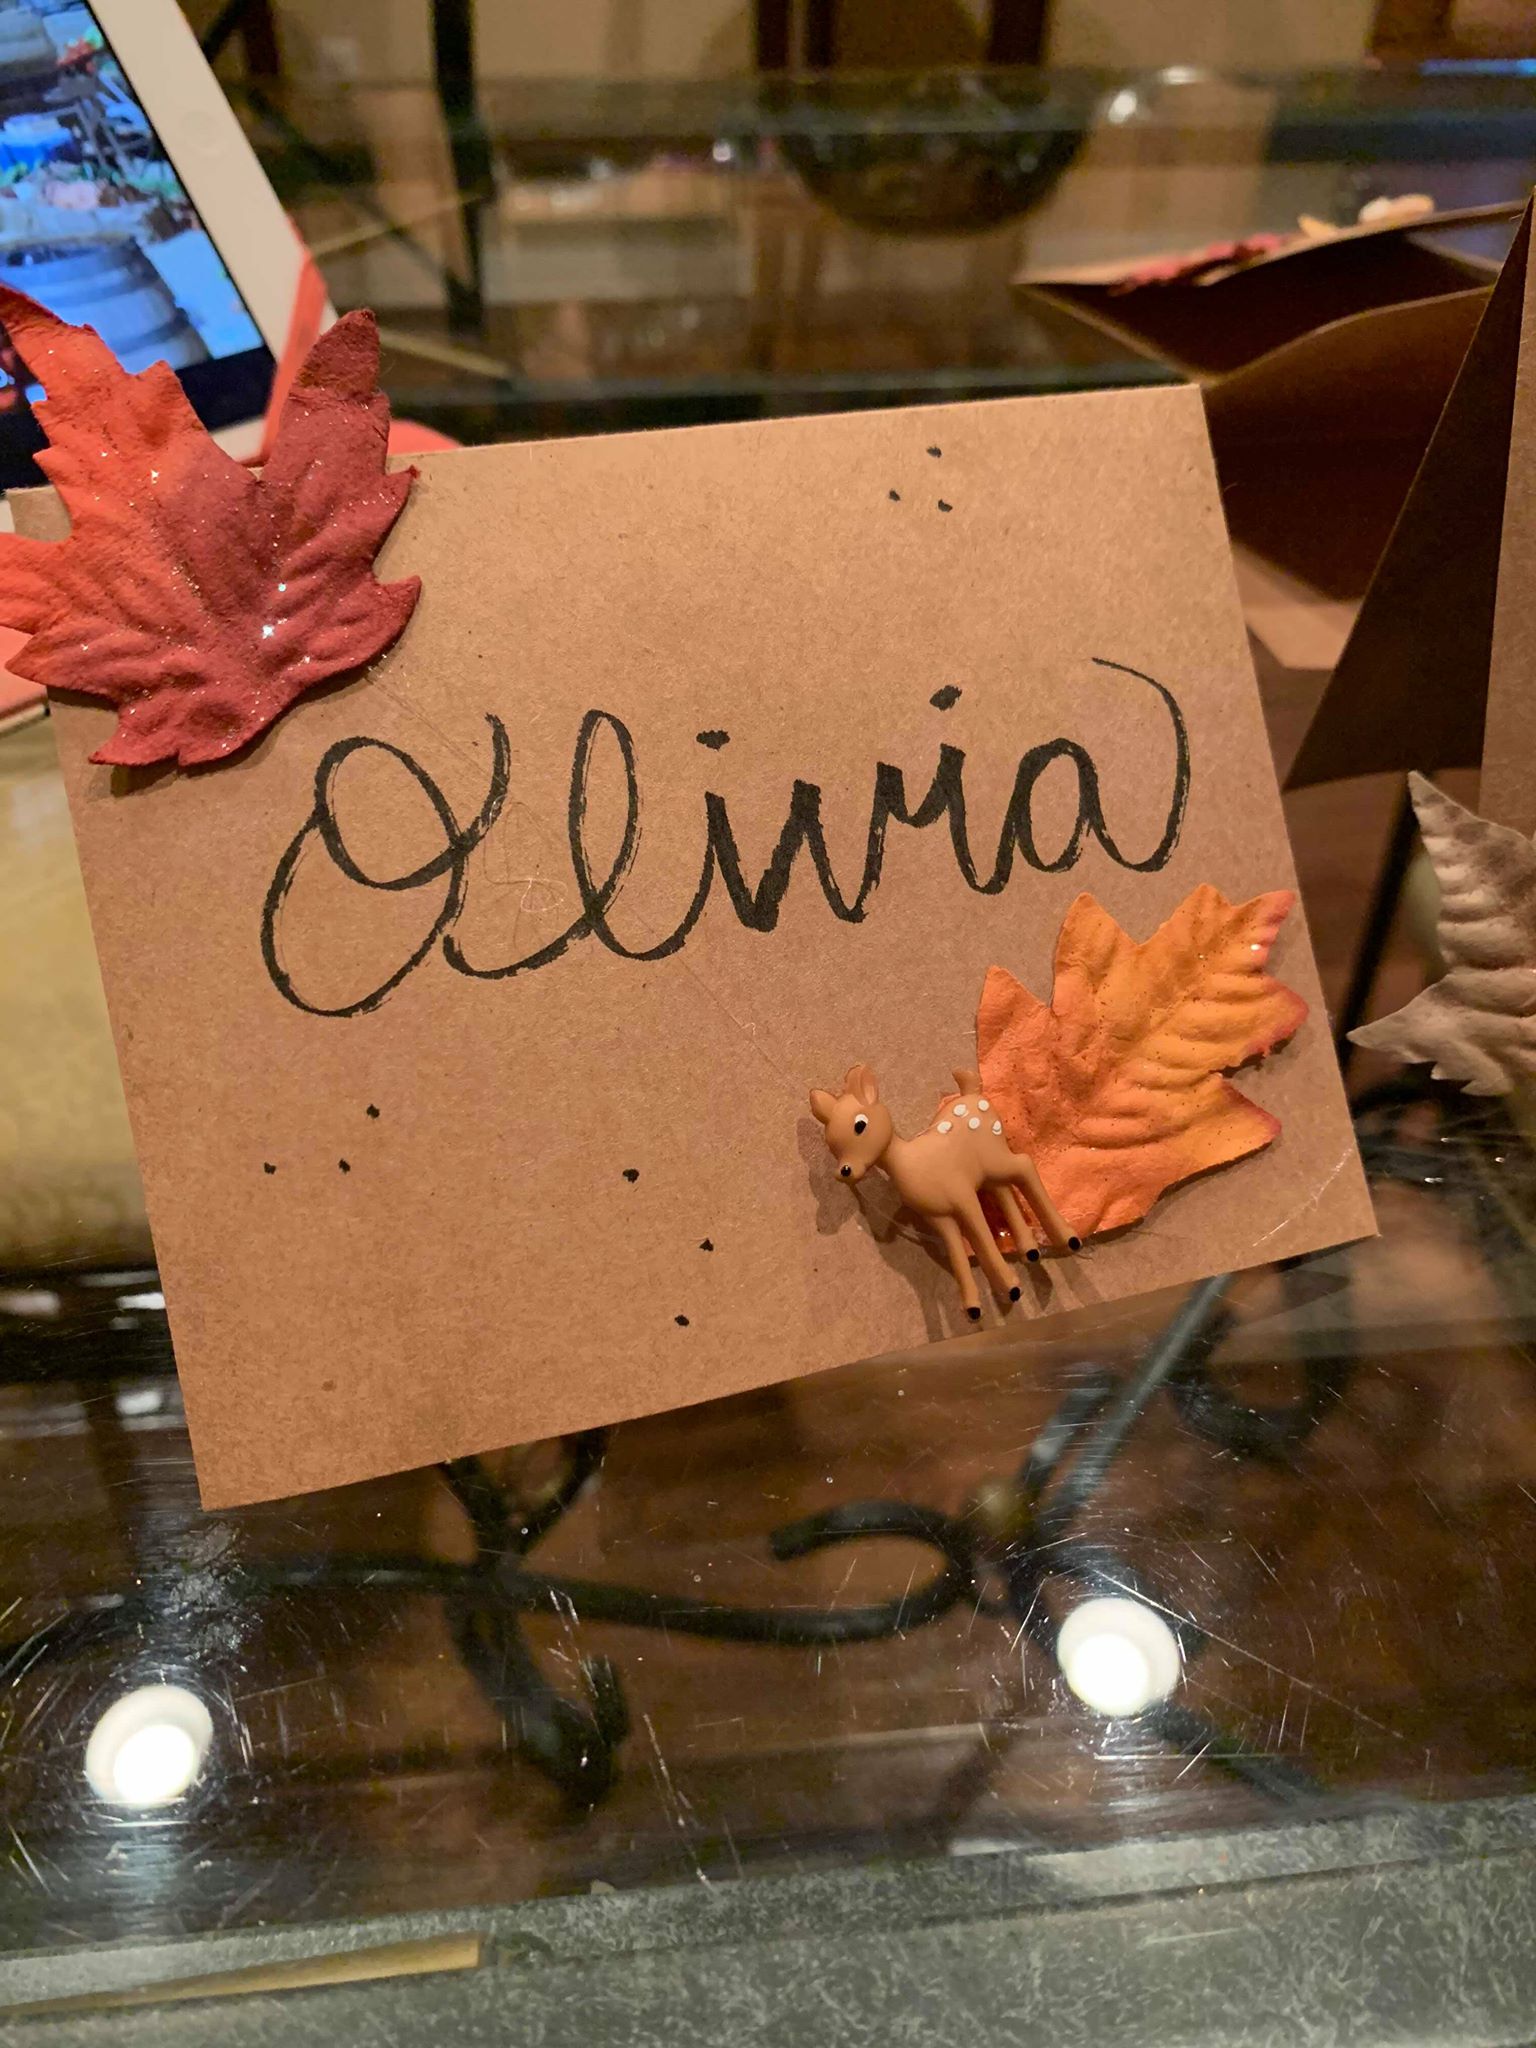
I put a generous helping of hot glue onto the plastic little woodland creature of my choice (a deer for me, because I've got chicken legs like Bambi). With a pen, I added a few little clusters of three dots to fill up the empty space.
Step 7: Repeat and Admire
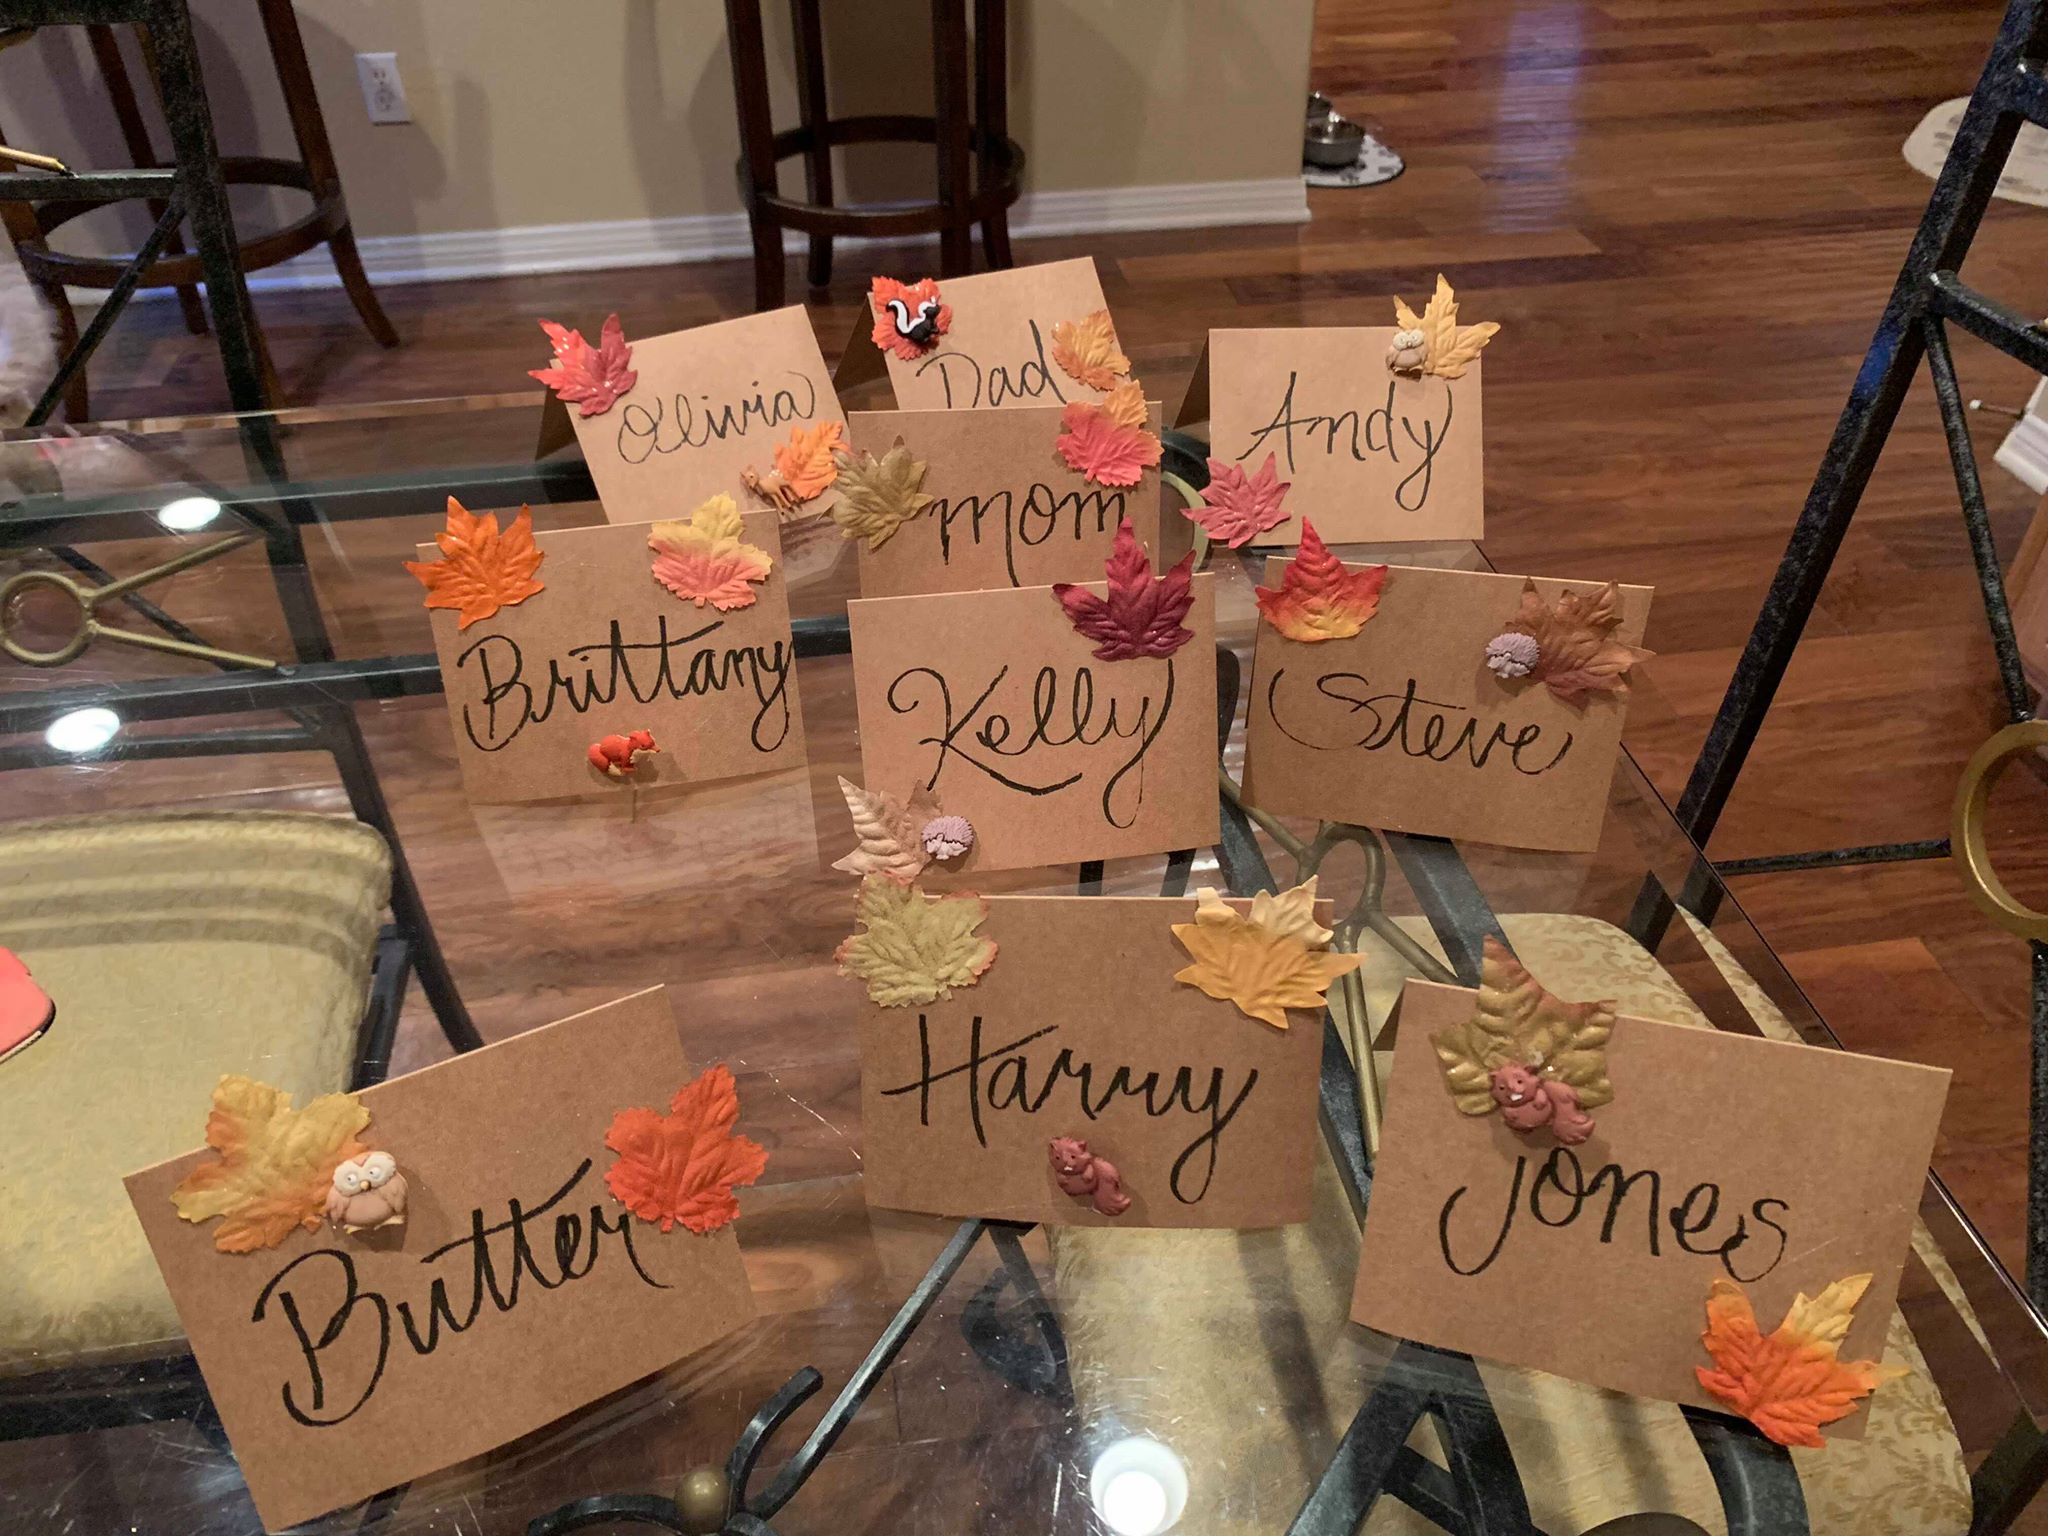
And then I repeated the process nine more times!
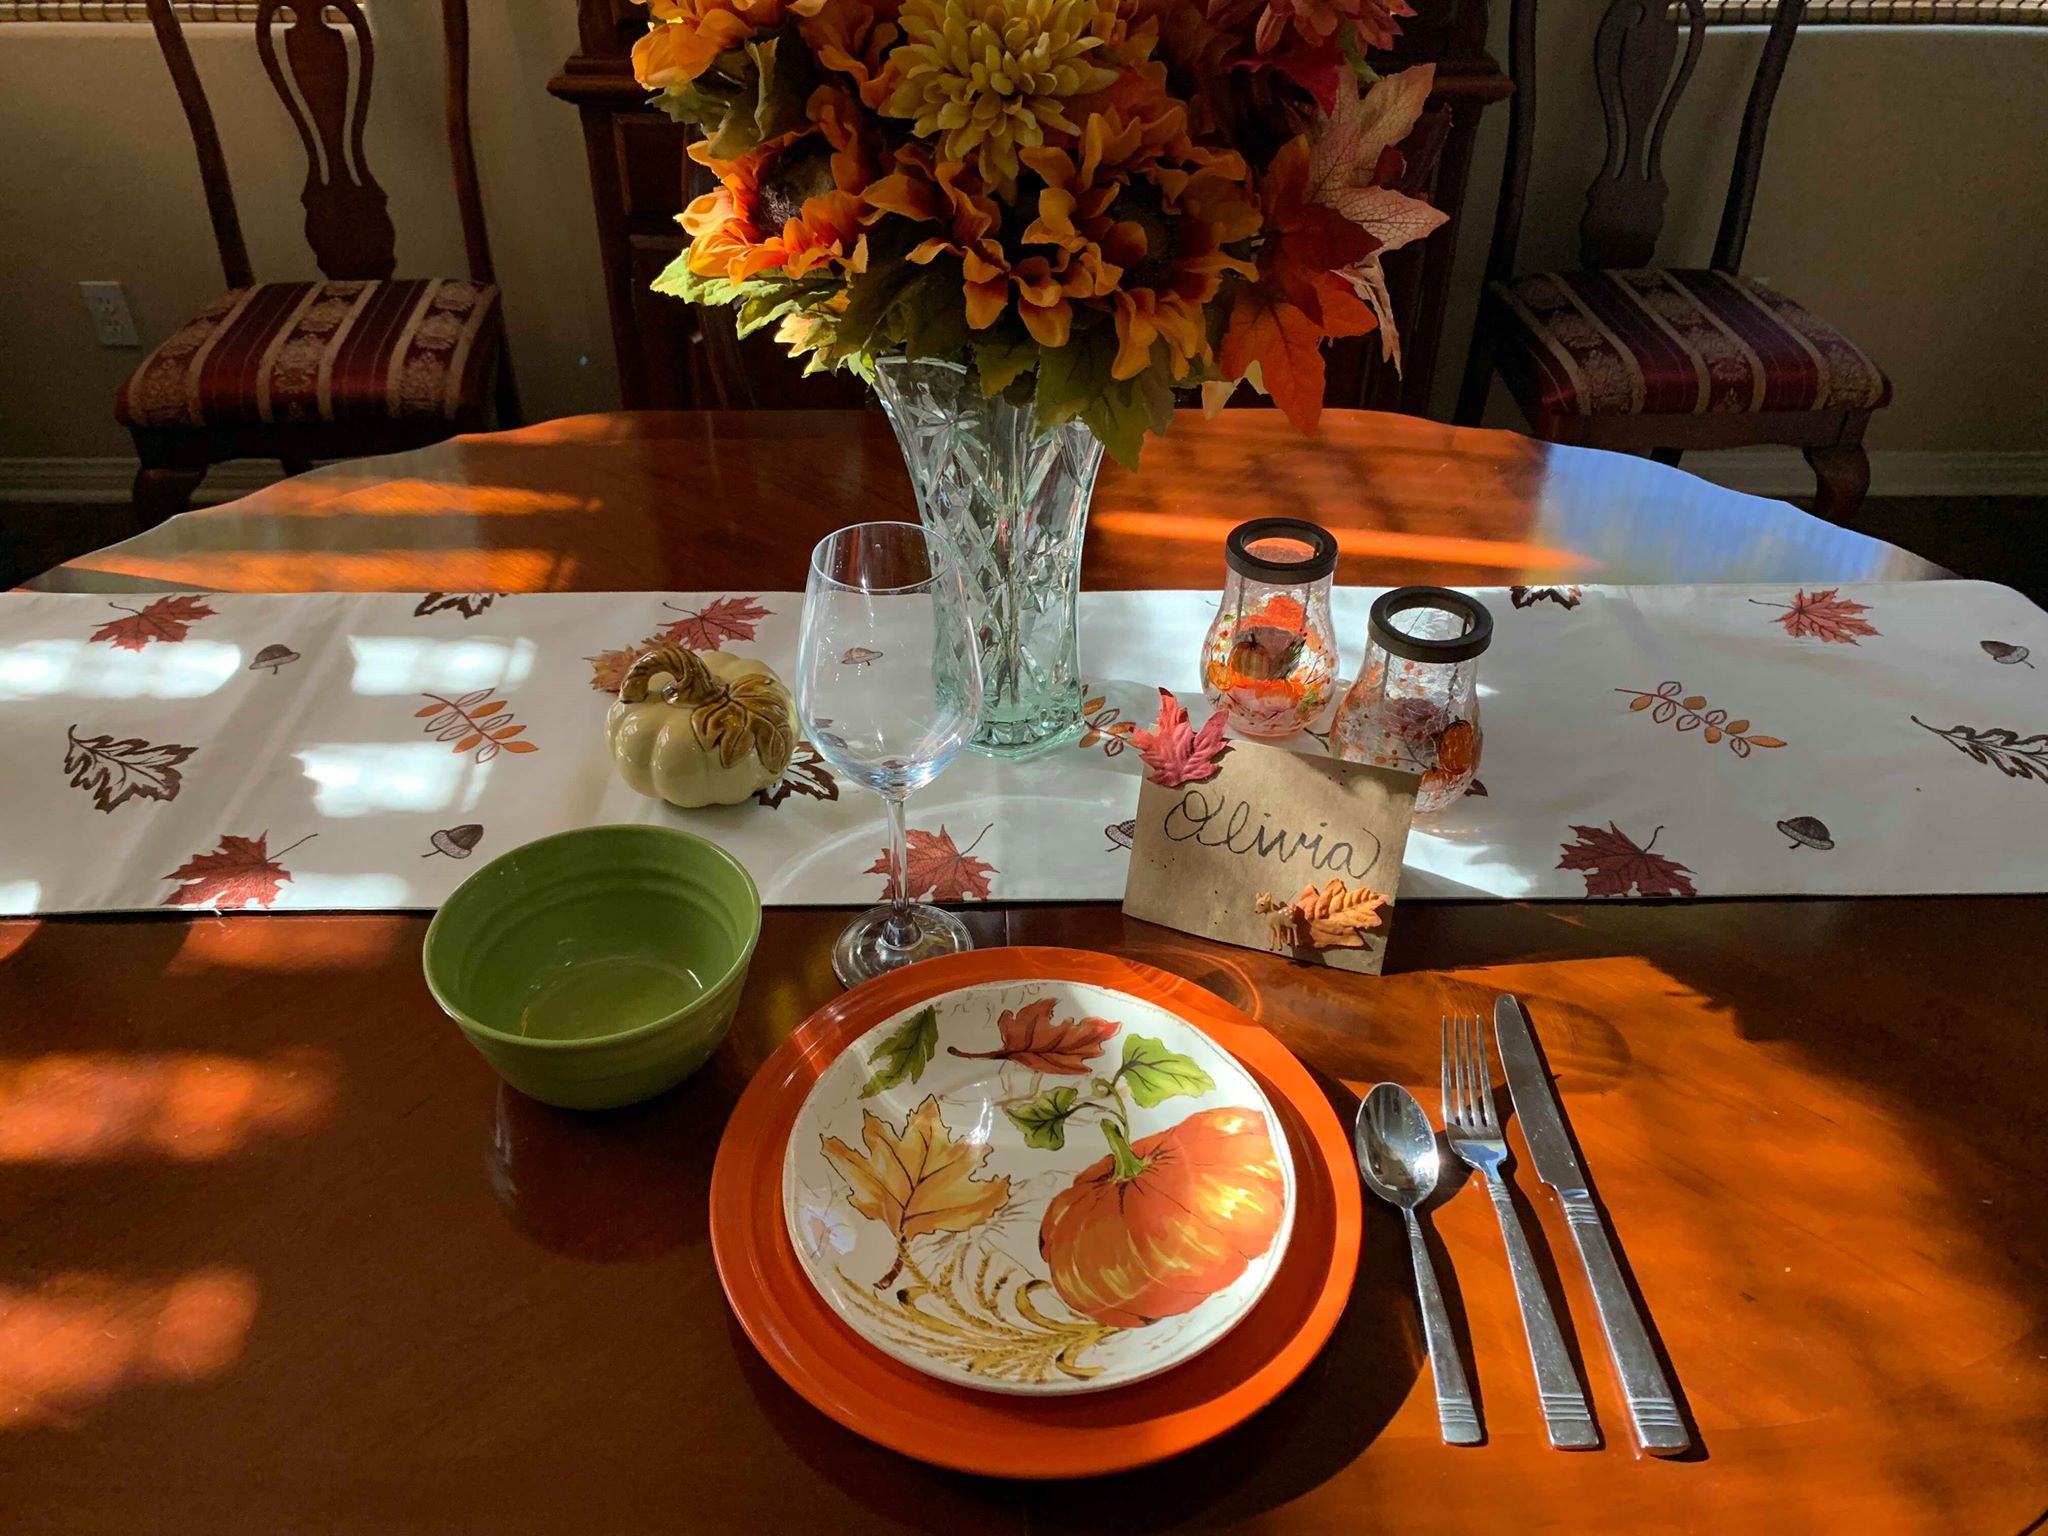
And because I needed to see how these place cards would look on a table, I made a makeshift Thanksgiving place setting and tried it out.
I couldn't find my mom's cloth napkins, and also, I know that all the silverware shouldn't be on one side, but I'm not an etiquette master, so bear with me, OK?
This whole project, though, was easy as — dare I say? — pie.


