There's nothing like getting away from it all for a few days and reconnecting with nature. There's something so relaxing about leaving your cell phone and your laptop behind and spending the weekend totally unplugged.
If you're one of those campers who really likes to rough it, we are sure you've scoured the internet for all sorts of tips, tricks, and hacks to keep your backpacks light.
One thing every camper needs is a way to heat up food. The problem is, if you're backpacking, it's not exactly easy to carry a full stove around with you.
Another problem? Many stoves that are meant for packing that you find online can be up to $200! Luckily, we have found a great DIY project that's easy, cheap, and, most importantly, lightweight.
Scroll down to find out how one Instructables DIY-er was able to use materials that he found lying around the house to make the perfect little stove.
And don't forget to let us know what you think of the project in the comments!
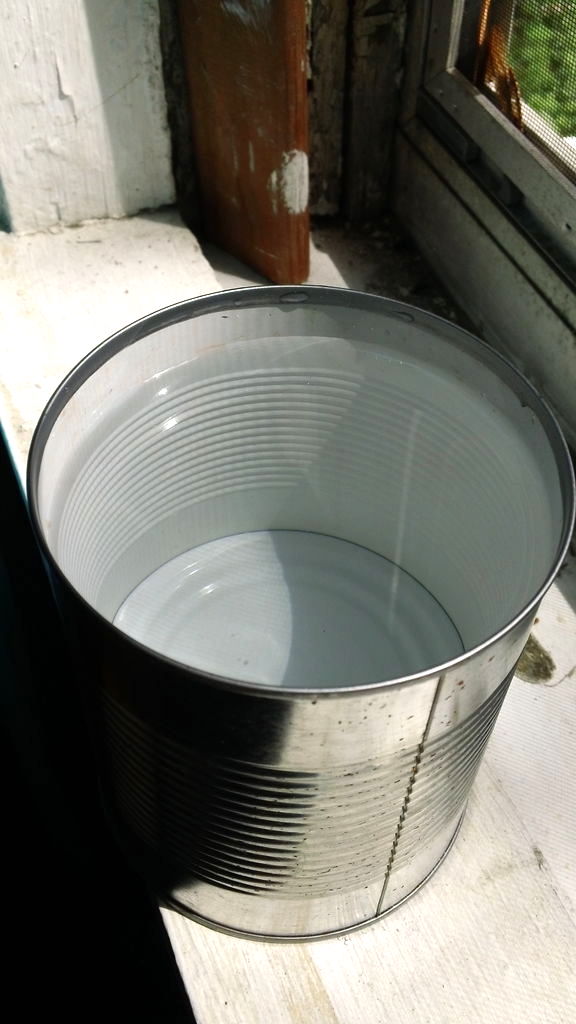
Using only the materials he had available in his apartment, this DIY-er began by washing out an old can of stewed tomatoes.
He filled the clean can with water and set it in the freezer.
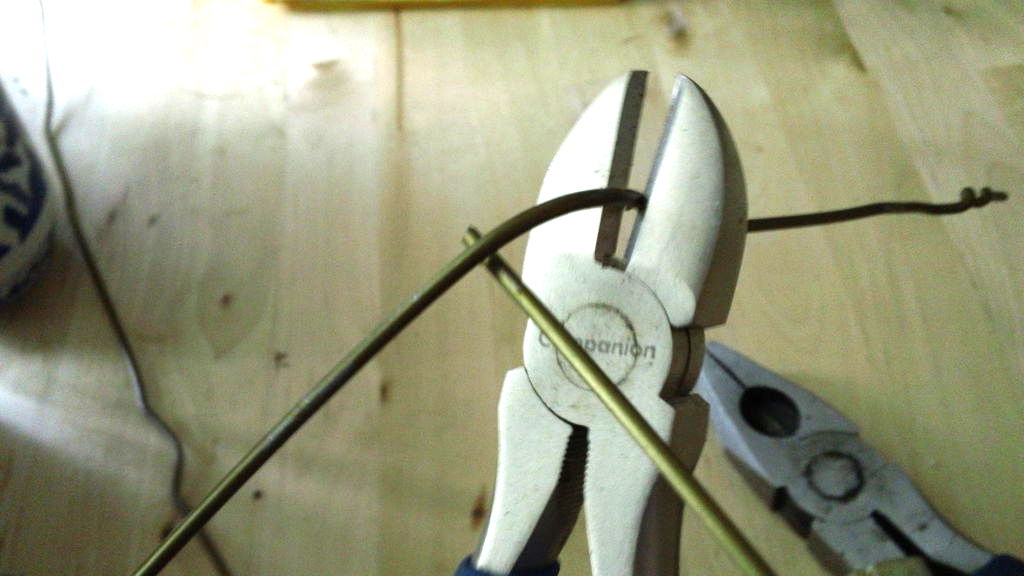
Next up was the trickiest part.
While the water froze, the DIY-er began making the handles that would eventually attach to the can.
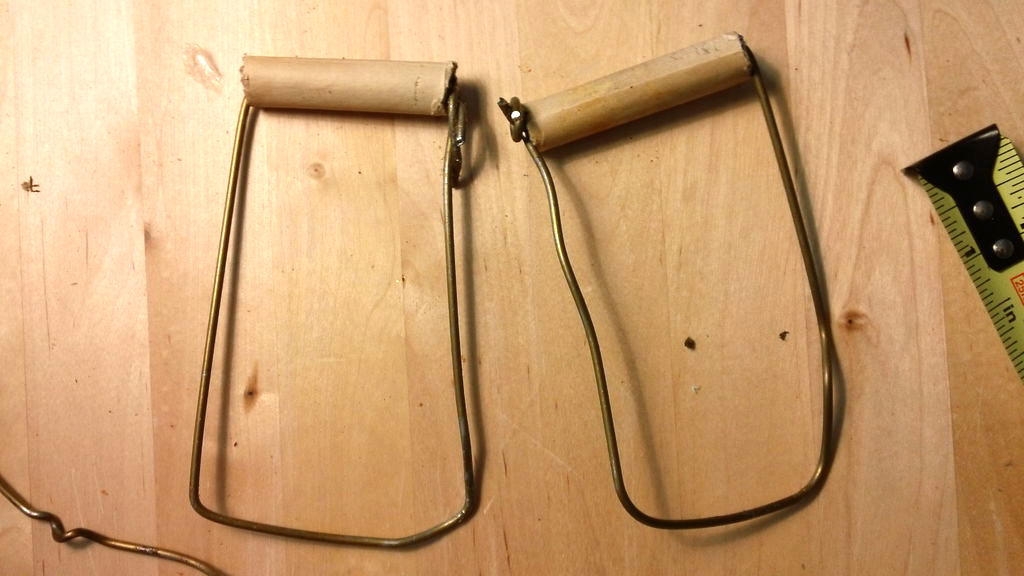
Using wire hangers and snipe nose pliers, he bent the handles into the shape he wanted.
After that, he added two cardboard grips for handling the makeshift stove.
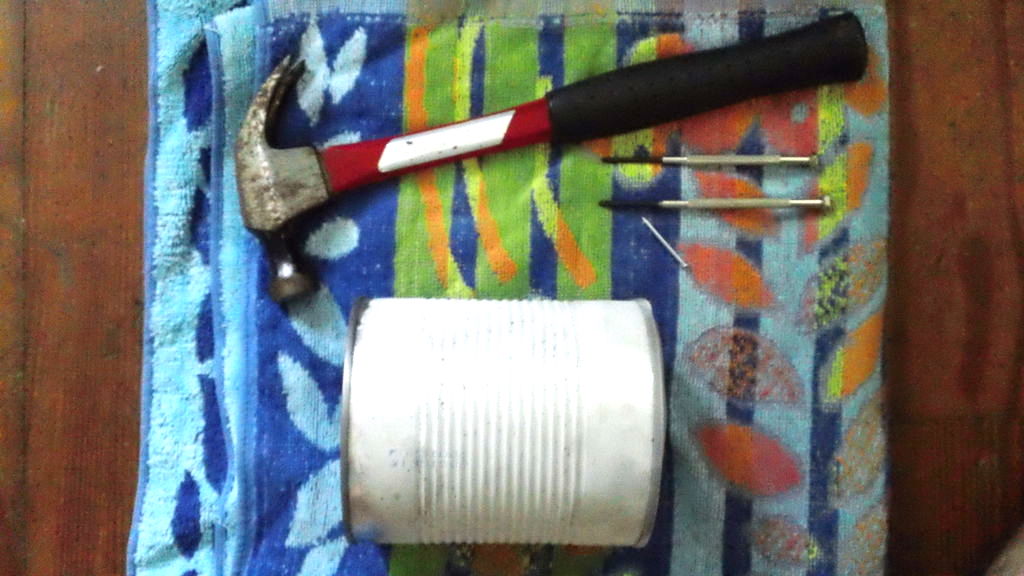
Next, he grabbed his frozen can.
You may be wondering at this point why he needed the can to be so cold.
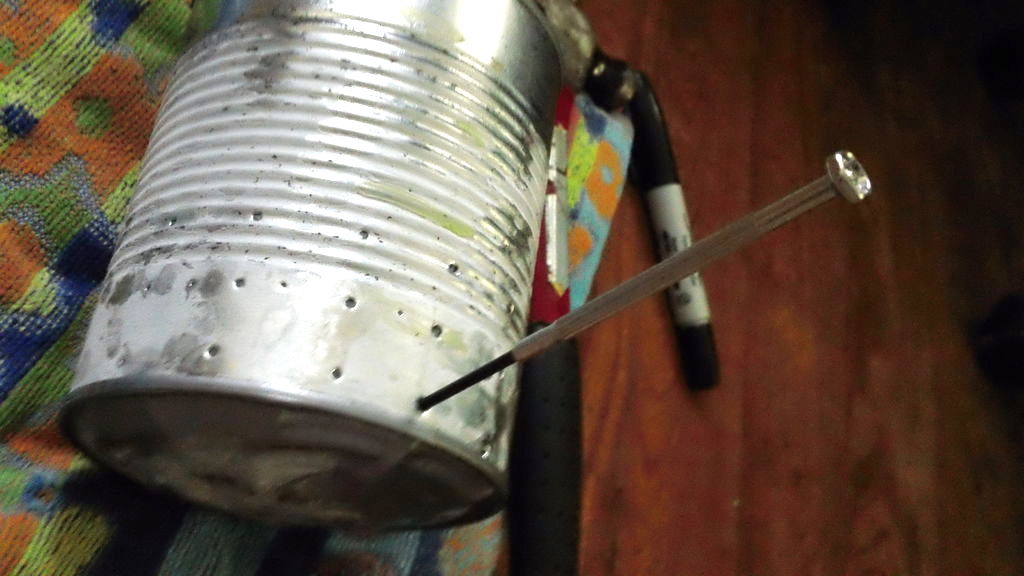
The frozen ice was there to maintain the shape of the can while he punctured ventilation holes throughout to allow oxygen in to feed the flames.
He punched out the holes using a hammer and nails in a simple pattern.
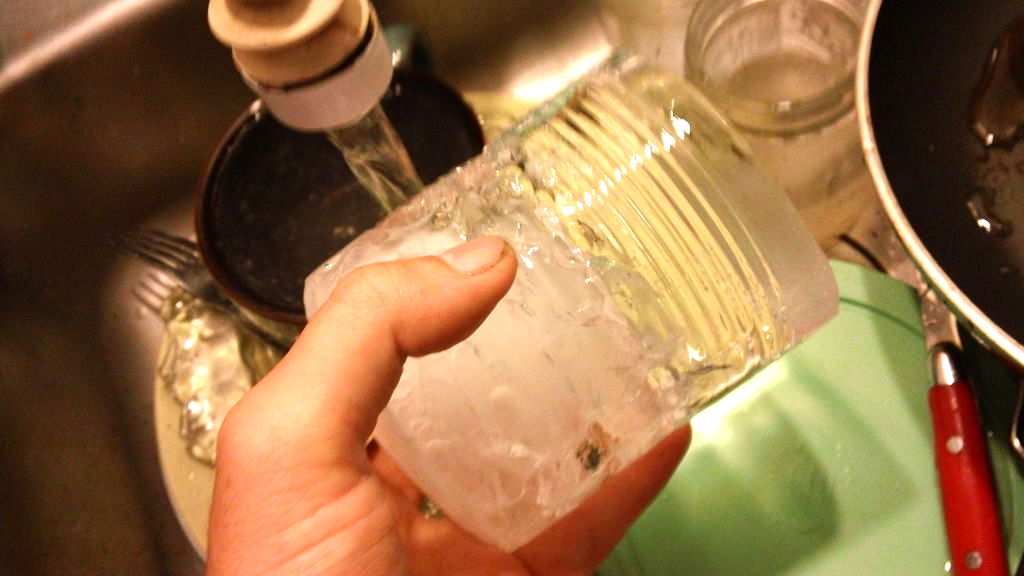
He ran some warm water over the can allowing the ice to slide out easily.
The DIY-er does mention as a side note if the bottom of the can appears to be pushed out from the freezing process, you can easily knock it back into place with a hammer after removing the ice.
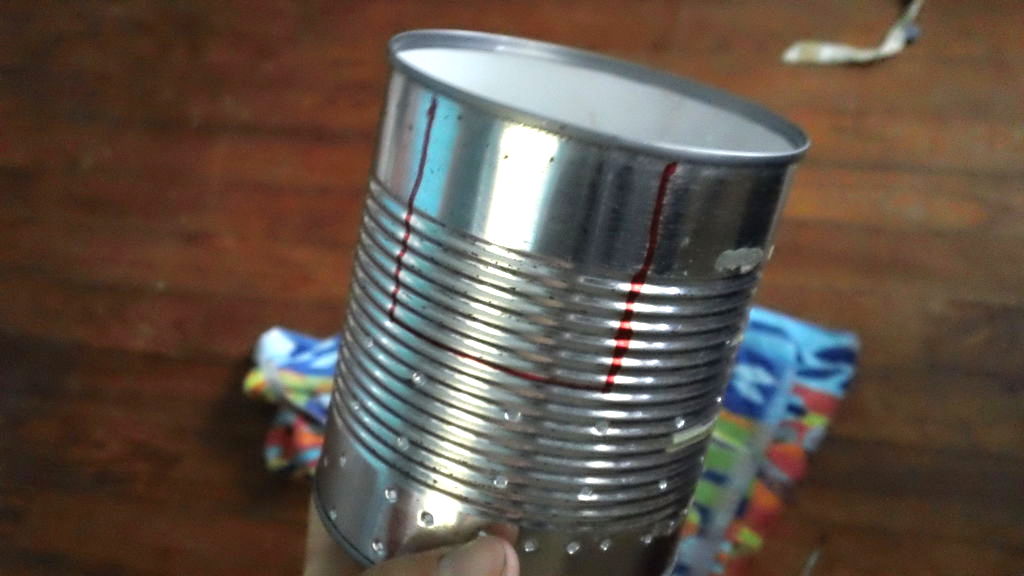
Once the ice was removed and the can was nice and dry, the DIY-er began to mark off where he would create cuts in the can to make room for the handles.
Using the snipe nose pliers and a pair of scissors, he cut two vertical lines on opposite sides of the can.
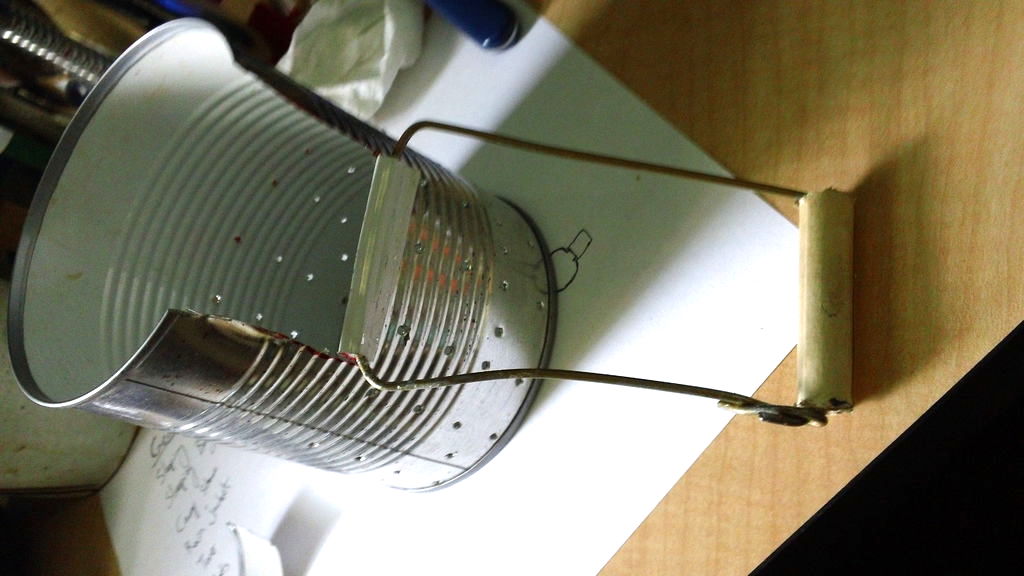
Carefully, he rolled the metal flap around the side of the handle that does not have the cardboard attached.
The DIY-er was sure to bend the metal around the handle tightly enough that it was not able to slip out.
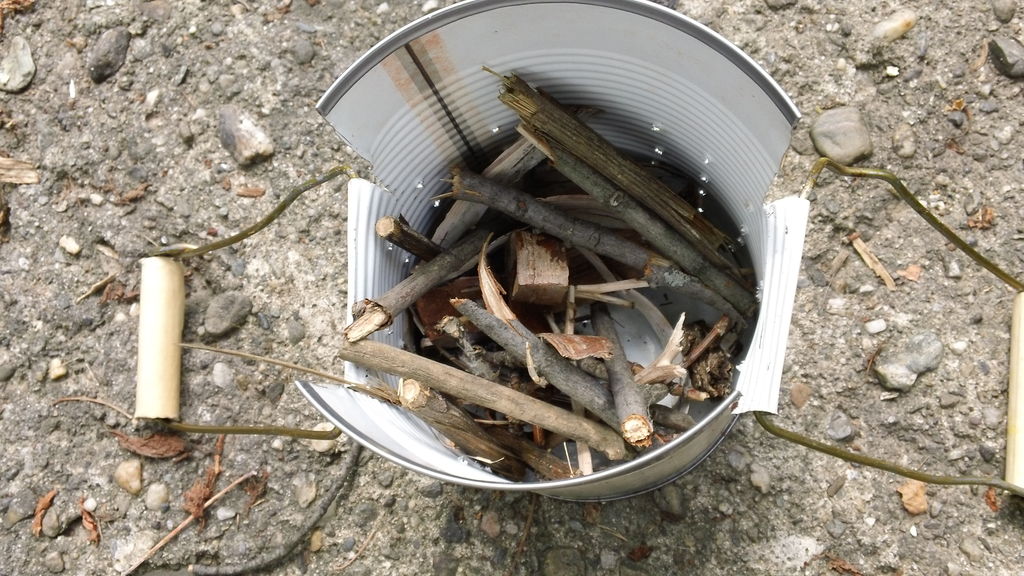
Next, it was time for a test run!
He filled the bottom of his new stove with some kindling.
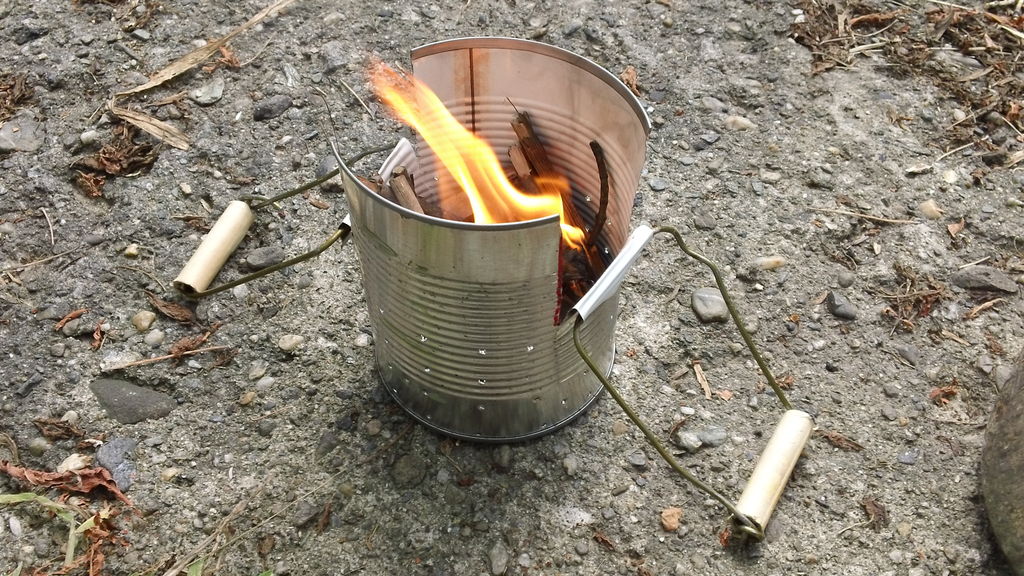
He allowed the can to heat up before adding the final touch: a pot full of water.
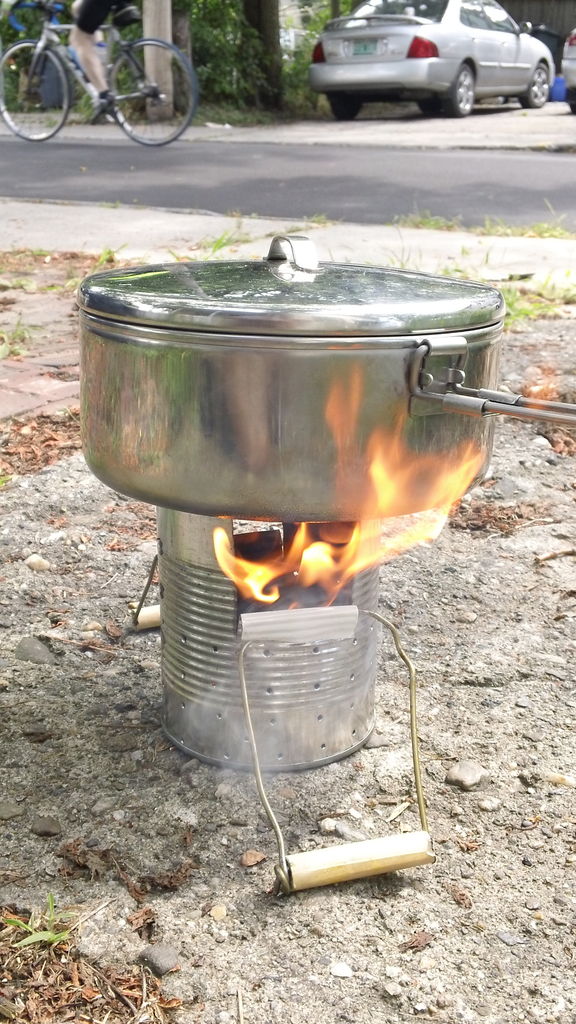
The tin can easily boiled a few cups of water in no time.
The project was a success and easy to bring on future camping trips.
Do you have any easy camping tips and tricks like this one? Let us know in the comments, and don't forget to SHARE with anybody you know who has a camping trip planned this summer!


