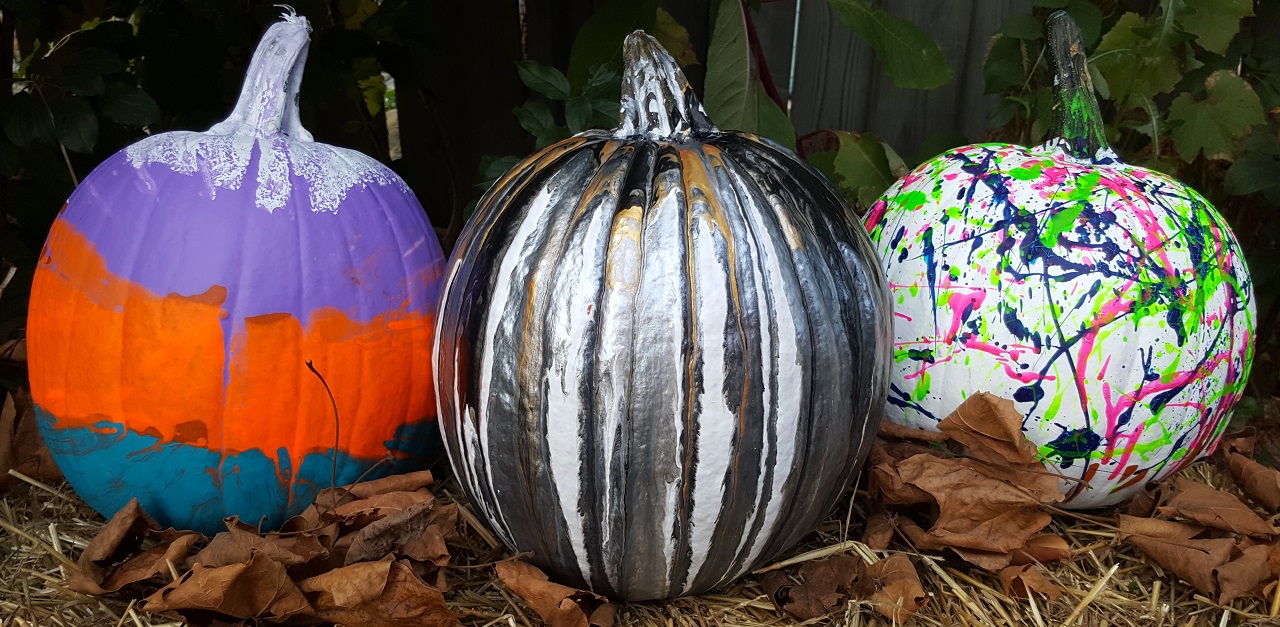
October is time for our favorite spooky traditions, but if you're looking for something other than the standard ol’ jack-o-lantern this Halloween, then try making some fabulously fun drip painting pumpkins.
I found this activity on Pinterest, and a couple of clicks led me to MomDot, where crafter Stephanie explains: “The deeper into fall we get, the messier the crafts and cooking get around here. There is something about October that gives my household permission to get ultra gooey, sticky, paint filled, and glittery and Drip Painting Pumpkins is no exception. In fact, [it’s] probably one of the messiest, and fun, crafts we do all season. In the past, I have brought you other no-carve ideas like Marbleized pumpkins and simple finger paints for the kids, but this year we wanted our pumpkins to stand out and be a ton of fun while we get our craft on.” That sounded pretty darn perfect!
On top of the promise that this activity would be both messy and fun, I also liked the fact that there were plenty of ways to drip paint onto the pumpkins that would create different patterns and effects. The post on MomDot described three methods. The first involved starting from the bottom and pouring the paint in stripes. In the second method, Stephanie’s daughter sat a pumpkin straight up and poured paint around it so the colors dripped down. For the third pumpkin, she swirled the paint after pouring it so the colors could drip all over.
I loved the look of all three of her pumpkins and decided to try two of them while testing out a third method that I couldn’t resist (more on that below). I was also aware of the fact that paint can be unpredictable. Since I would be making minor adjustments to both the kind of pumpkins and the kind of paint I would be using, I knew I could end up with something totally unexpected.
With that in mind, if things didn’t quite work out according to plan, I figured I would just go with the flow. I also hoped that as long as I ended up with some pumpkins covered in funky colors, I’d have something attractive no matter how the paint dripped.
Check out my attempts at making drip painting pumpkins below!
Pumpkin Choices
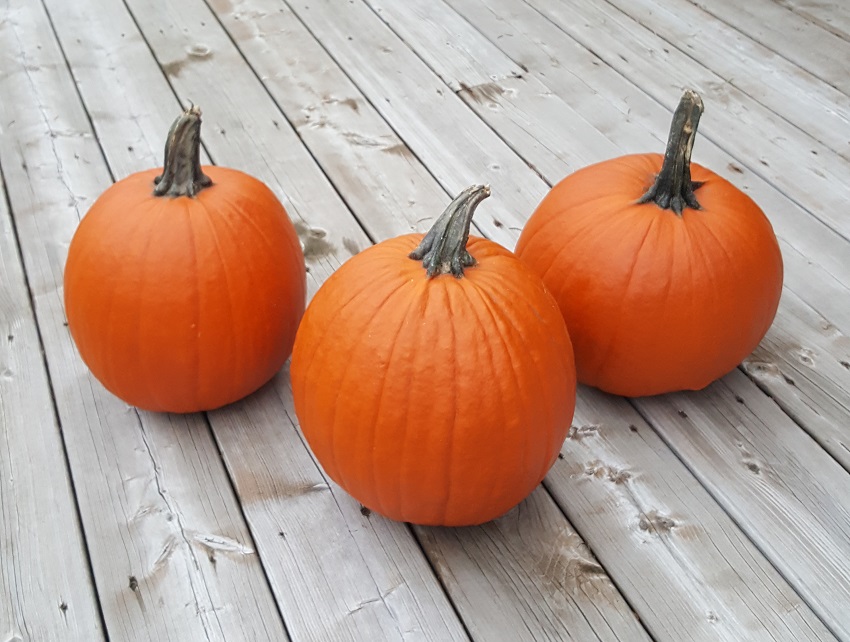
Although the instructions suggest using white pumpkins so that the paint really stands out, the only white ones I could find were either HUGE pumpkins or tiny gourds. So I instead opted for some medium-sized orange pumpkins. I tried to choose three slightly different shapes and wanted to make sure that the pumpkins weren’t damaged on any sides, could stand up on their own, and had their stems intact.
Other Supplies
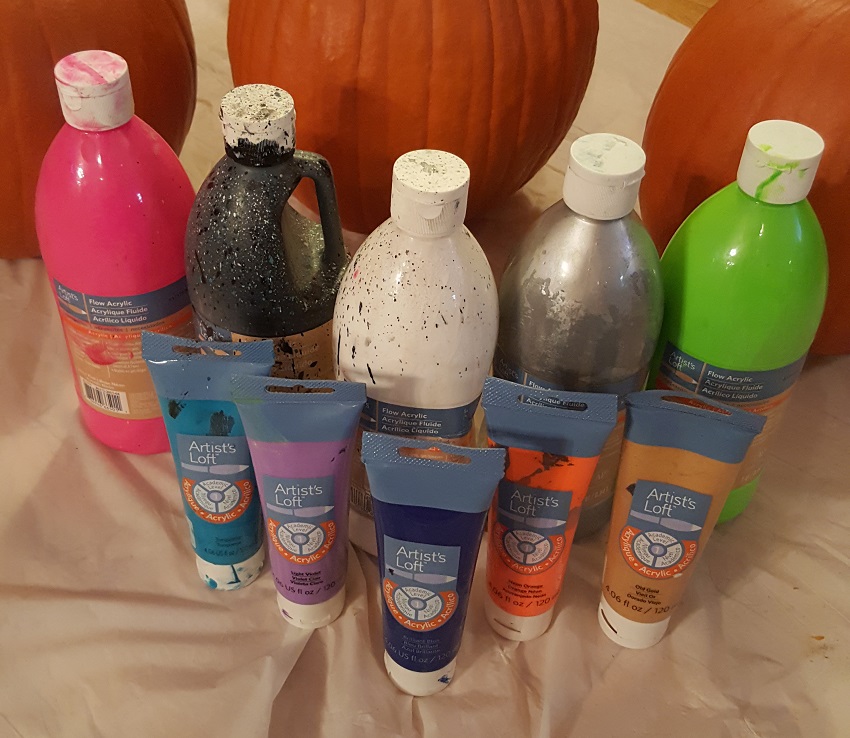
After choosing your pumpkins, gather these supplies:
- Paint — Milk paint was suggested, but I had plenty of craft-worthy acrylic on hand, so I opted for that instead, although I watered down the paint so that it wasn’t too thick.
- Paper plates, newspaper, or a tarp to help with the mess — I opted for a large tarp-like thing that I had leftover from when I made fall floral pumpkins.
Prepping the Pumpkins
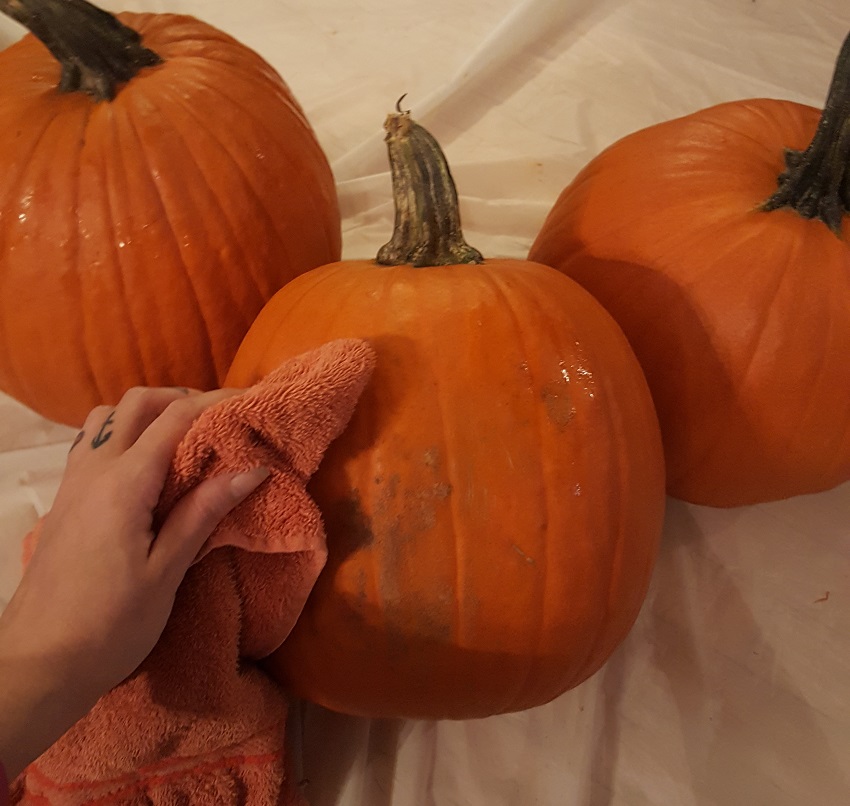
The pumpkins still had a bit of dirt on them from their days spent growing on the ground. All it took to clear that away was a little water, a dab of dish soap, and an old towel to scrub the pumpkins clean. I then thoroughly dried them so that the pumpkins were ready for the paint.
Pumpkin No. 1: Vertical Drip
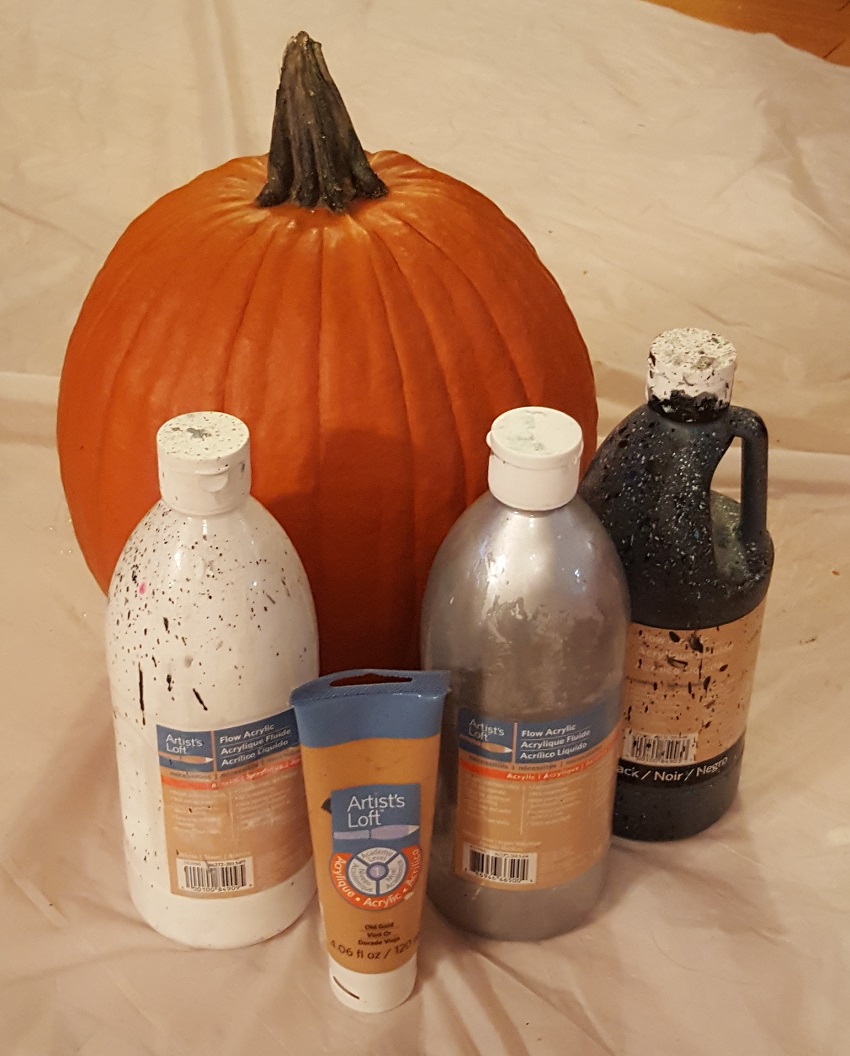
For the first attempt, I wanted to try dripping the paint directly down onto the pumpkin. For this, I thought the tall pumpkin with plenty of grooves would be a good choice as it would allow the paint to flow down in different sections.
As for paint, I opted for a white base so that the other colors would show up better. I then chose black, silver, and gold to go on top.
Pumpkin No. 1: Dripping the Paint Vertically

When I poured the white paint onto the pumpkin, I was thrilled with how the paint fell. I kept adding more paint until the pumpkin was mostly covered. I then dripped the black on top, and it looked so good, I was tempted to stop and leave it with a distinct Beetlejuice vibe. But since I’d already watered down the gold and silver paints, I figured I should just keep going — and that’s when I messed up!
Since the black paint was still wet when I poured on the silver paint, the silver quickly mixed with the black and fell in the exact same spots. Before I could fix it, the silver had almost completely covered the black. Oops!
I tried to prevent this from happening again when I poured the gold paint by dripping it in slightly different spots. That seemed to work a bit better, and I was pretty pleased.
However, since the black couldn’t really be seen, I added a little more on top and let it meld with the metallic paints in a semi-psychedelic way.
Pumpkin No. 1: Wet Result
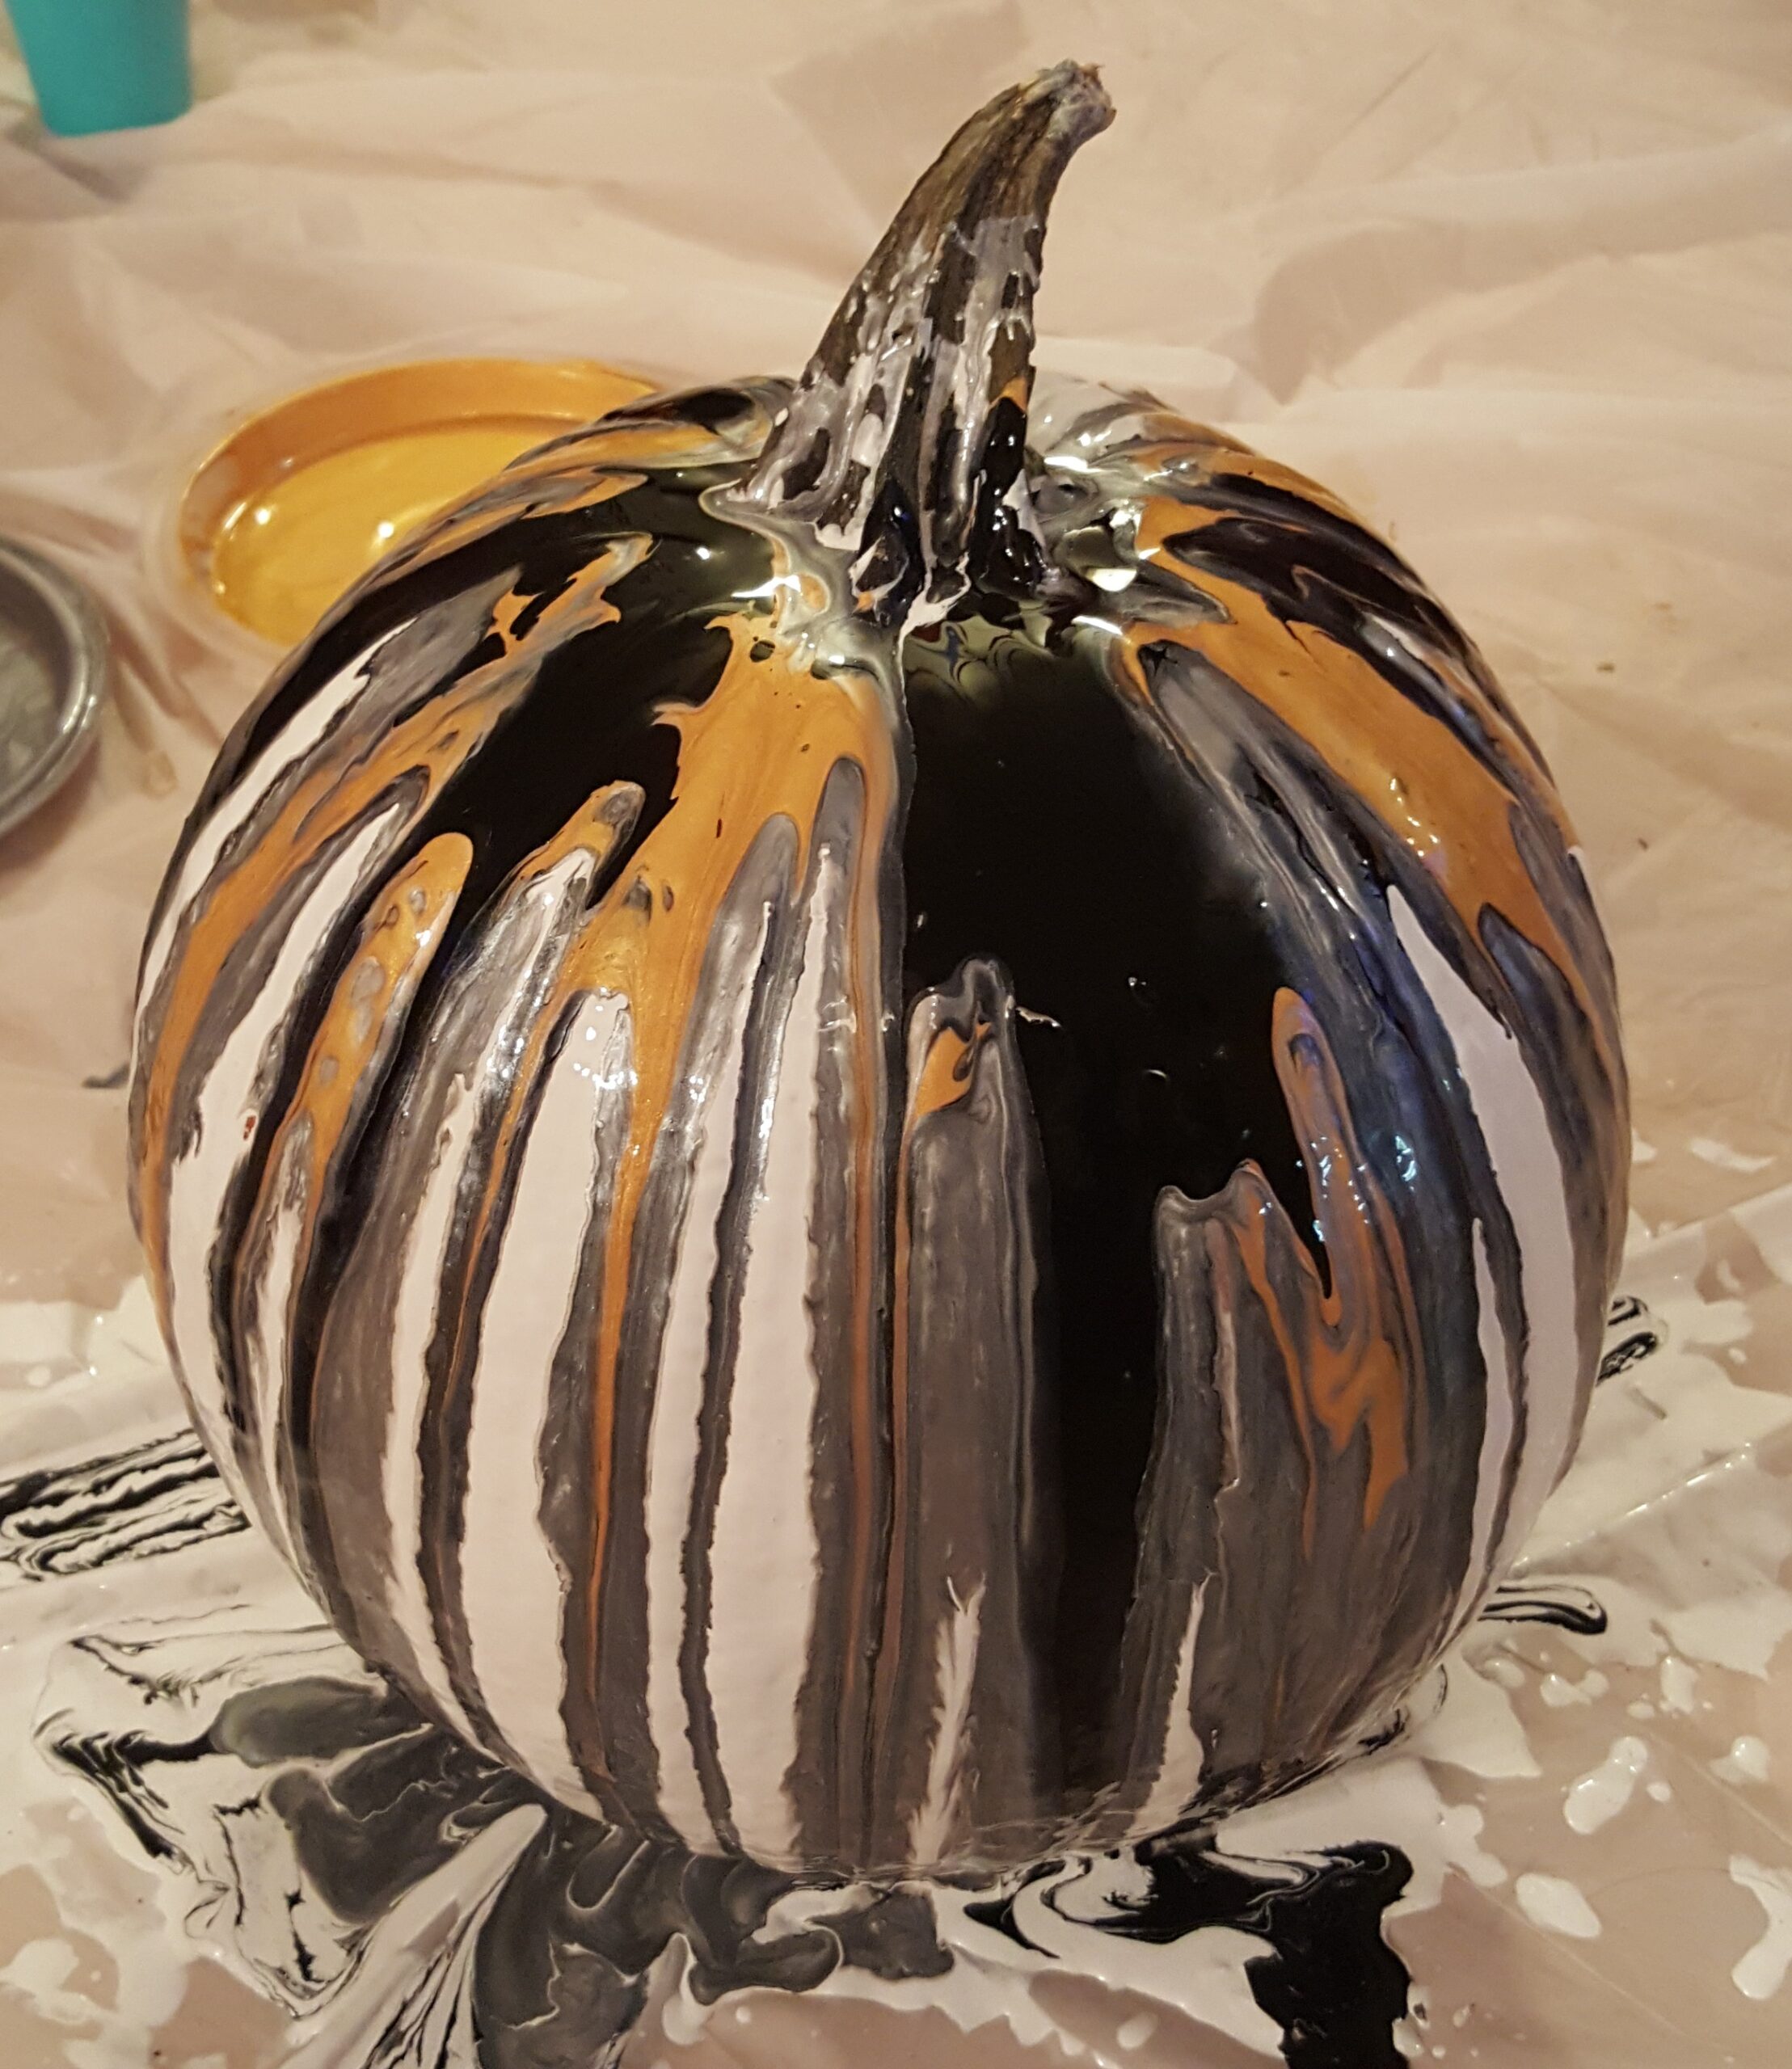
I loved how the three top paints ended up blending together and feel like this would be a successful method with various combinations of colors.
But if you try this out yourself, I suggest you go a little easy on the paint. I poured way more than necessary, and not only did it make quite a pool at the bottom of my pumpkin, it also soaked through my tarp and ended up all over my floor. Thankfully, I discovered this mishap before any permanent damage was done. Next time, I’ll definitely use something thicker under my pumpkin.
Pumpkin No. 2: Horizontal Drip
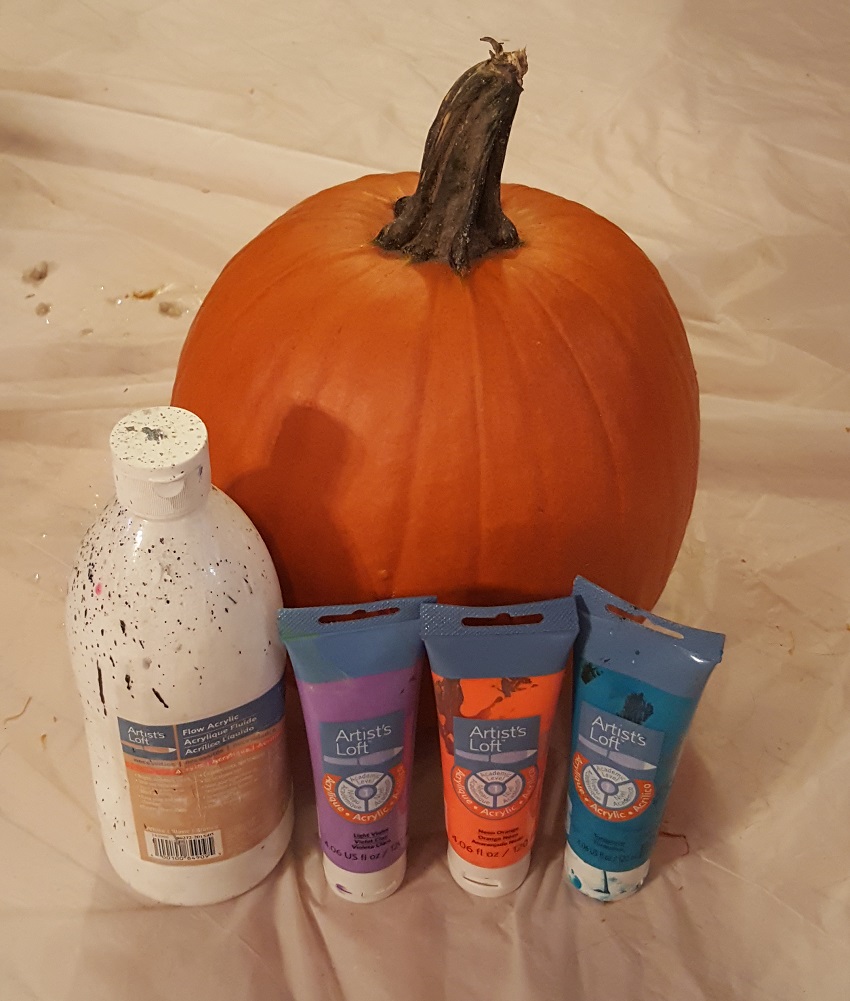
For the second pumpkin, I wanted to try dripping the paint on horizontally. I chose a pumpkin that I could lay down flat so that it wouldn’t roll around while I was working. When it came to paint, I went with white, purple, neon orange, and blue.
(I didn’t notice those icky spots on the tarp until after I had finished taking the pics!)
Pumpkin No. 2: Dripping the Paint Horizontally

I started by pouring the white paint on the top end of the pumpkin and was again pleased with how it fell. But then AGAIN, in the same way the wet black paint got completely covered on the vertical-drip pumpkin, the white paint was also completely covered when I added the second paint color onto this pumpkin. sigh
At this point, my little guy wanted in on the messy fun, so I let him pour on the blue and neon orange paint. And because the white had disappeared, we added more on the top.
Pumpkin No. 2: Wet Result
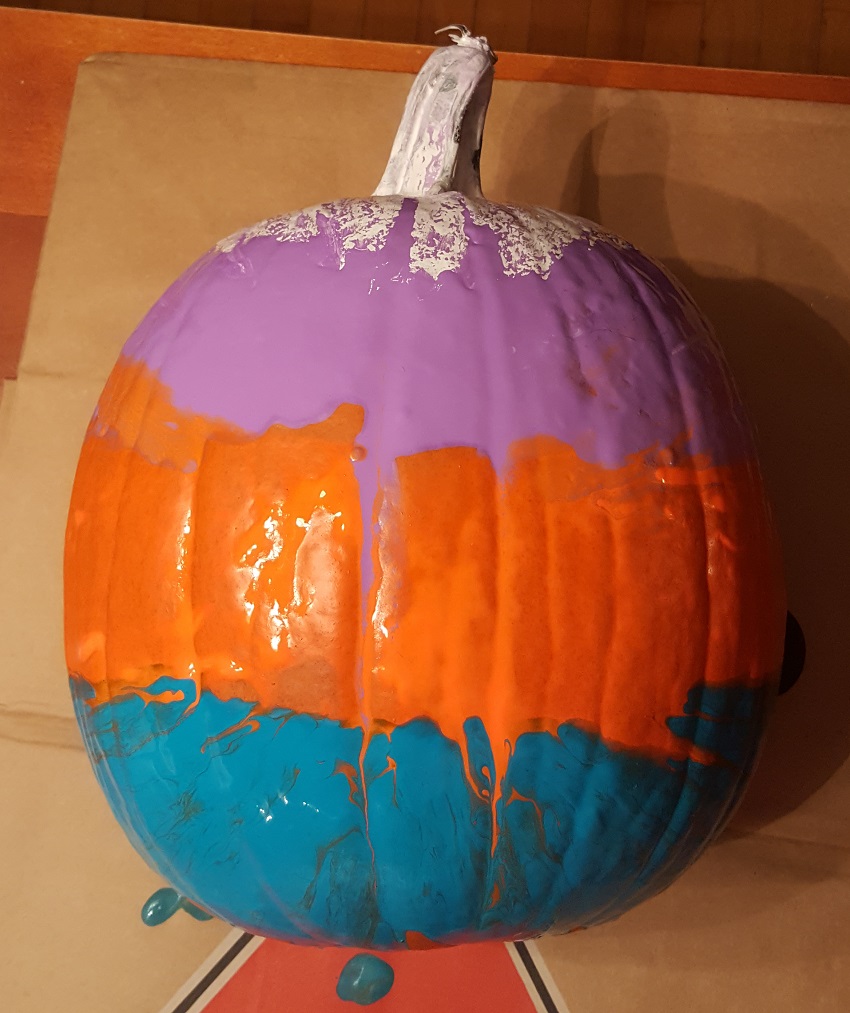
This was another pumpkin that ended up with a pool of paint beneath it (see final pic above because whoa!). Due to the paint bleeding through the tarp onto my floor, I quickly moved the pumpkin onto my table to dry.
At this point, I was already a little skeptical about this result. It wasn’t terribly exciting, and the paint wasn’t doing anything fabulous. However, my kiddo had made it with me, so of course for that incredibly biased reason alone, I LOVED IT!
Pumpkin No. 3: Dripping and Flicking
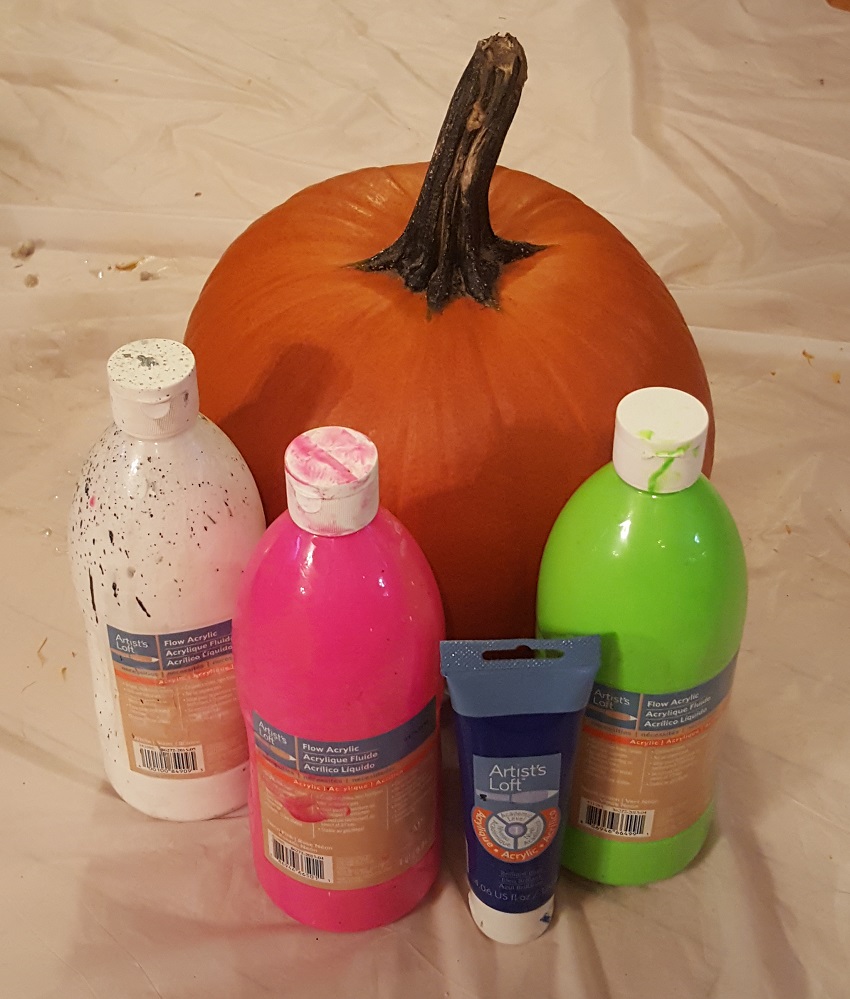
I wanted something really bright and vibrant for the third pumpkin. Because of that, I again opted for a white base and chose neon pink, neon green, and a rich blue for the pops of color.
Pumpkin No. 3: Dripping and Splattering the Paint

I decided to deviate from the previous methods for drip painting pumpkins to try my own little twist on the seasonal activity. I happen to love making art by dripping and flicking paint, and I thought this might be fun to attempt on a pumpkin.
First, I applied a base of white paint. I really didn’t want the colorful paints to mix into the white paint, so I tried to blow-dry the pumpkin. It was still pretty tacky, however, so I set this pumpkin aside overnight to fully dry. This added an extra day to my activity, but if you prepped your pumpkins beforehand or used a white pumpkin, then you wouldn’t have to be super patient like I had to be.
By the time morning rolled around, it was time to get messy again! This meant moving down to my studio, aka the space in my basement where I’m free to get paint EVERYWHERE. I set my pumpkin on a tall (already splatter-covered) chair and thinned my paints slightly with water. Then the kiddo (who had once again joined me) and I went wild.
We started with the blue paint, alternating dripping and flicking it every which way. Things were going great until I tipped the pumpkin back to reach the underside and OMG I BROKE THE STEM! I was initially bummed, but then decided that I would just glue it back on after the paint had fully dried.
We then started splattering on pink paint, making sure that we had long lines and tiny dots on all sides of the pumpkin.
At that point, the pink and blue paint started to mix together in some spots, and while that wasn’t a problem, I worried that if we added the green paint, the three colors might combine to create a big ol’ mess. So I paused once again to blow-dry the pumpkin. A little time-consuming, but worth it in the end.
When the blue and pink paints were dry, it was time to flick on the neon green to top it all off.
Pumpkin No. 3: Wet Result
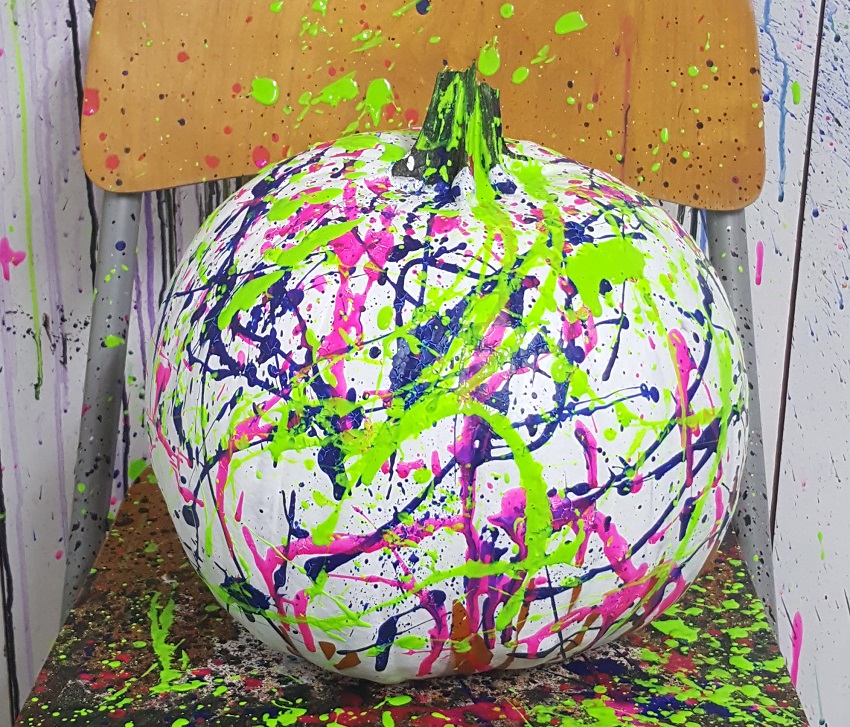
Although I was eager to glue the stump back on, I was thrilled with the way the pumpkin was already turning out. The result was just as bright and vibrant as I had hoped, and while my kid and I were both absolutely covered in paint, this could not have been more fun!
Final Result: Dried Drip Paint Pumpkins
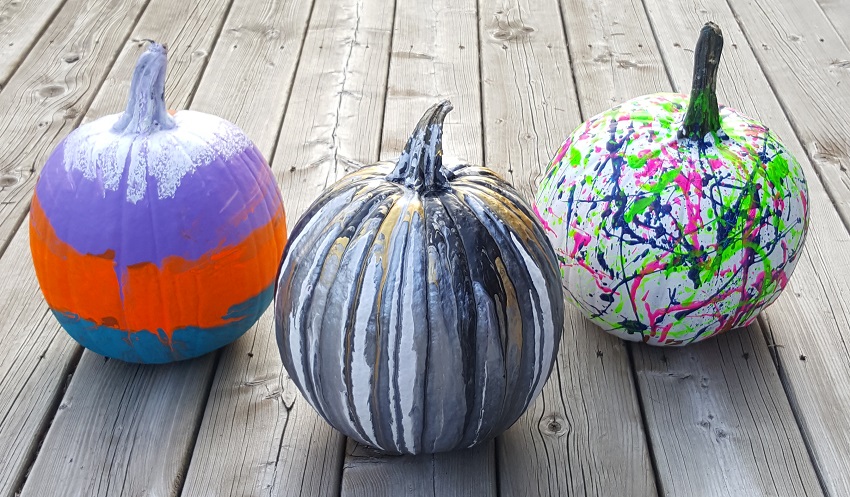
If I were to be a little critical, I’d have to say that I felt like the splatter pumpkin came out the best (notice the reattached stem?). If I were to try the other two methods again, I would definitely make tiny adjustments.
For the first (gold, silver, black, and white) vertical-drip pumpkin, I would wait for each color to dry before I added the next. I would also make sure that the different paint colors didn’t fall in the exact same spots so that each color could be seen clearly.
For the second (white, purple, orange, and blue) horizontal-drip pumpkin, I would pour the inner colors first and then the outer colors afterward to make sure that nothing was covered up.
But because I enjoyed making all three pumpkins and they all came out with a funky effect that I had never attempted before, I was happy with my results.
Final Thoughts
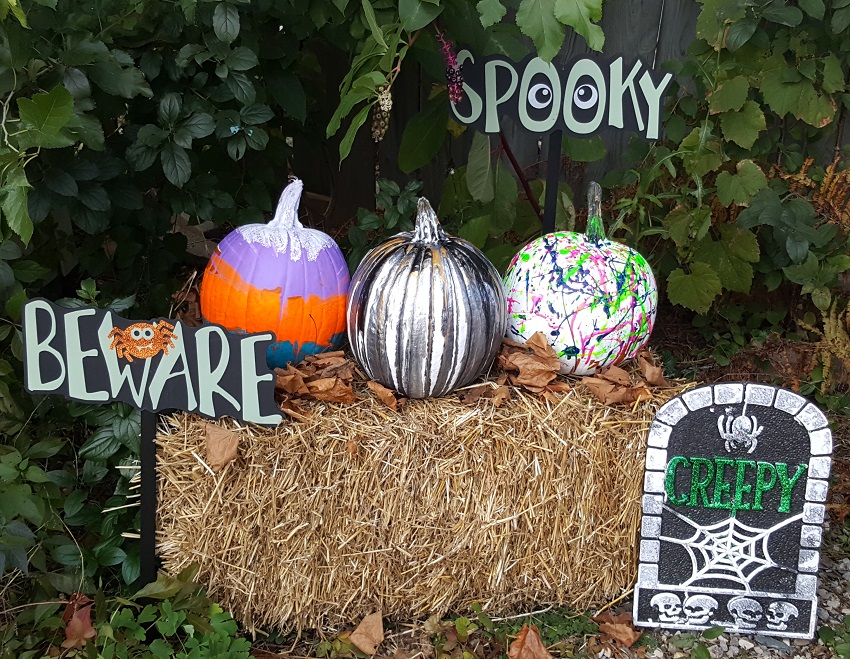
This was as messy and as fun as I had expected it to be. Actually, no, that’s not quite right. This was even messier and even more fun than I had anticipated! This activity is simple and affordable, and it can be changed up in plenty of ways to suit your preferences when it comes to colors and overall effect.
But the bottom line is this: As long as you drip paint on a pumpkin, you’ll likely end up with an outcome that is artistic, adorable, and a marvelous mess.


