I absolutely love taking photographs.
I happen to think that black-and-white photos are particularly beautiful. Luckily, modern technology makes it extremely easy to turn any photo you take into a classic-looking black-and-white one. So when I saw this amazingly easy DIY project for making a unique black-and-white photo holder, I knew I had to try it.
This mason jar oil photo holder is just the type of DIY rustic addition I want for my house, so we decided to give this simple project a try right here in the LittleThings office. Everyone crowded around to see what exactly we were making. And when they saw? Something tells me my co-workers will be making even more of these very soon.
Supplies:
- 2 quart-sized Mason jars
- 2 quarts vegetable oil
- Dried flowers or leaves
- 2 4×6-inch black-and-white photos
Now that we’ve tried this in the office, I plan to spruce up my home with several of these beautiful mason jar photo holders!
Please SHARE if you think this simple rustic DIY project is perfect for your home.
To make these gorgeous photo holders, start with Mason jars, vegetable oil, dried flowers, and black-and-white photos.
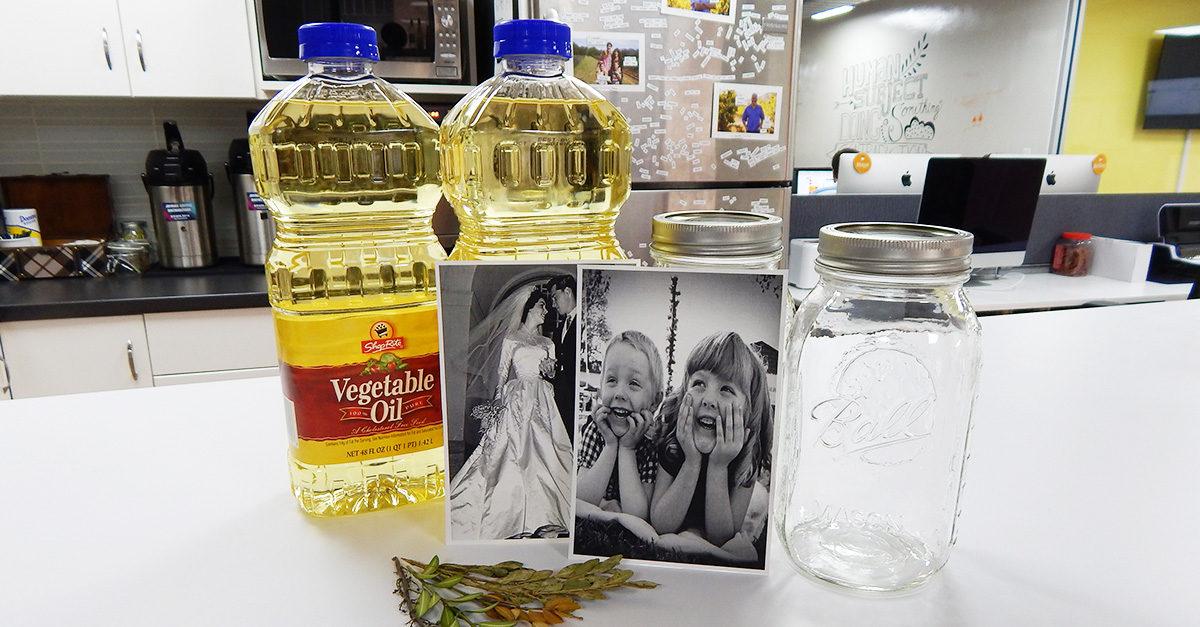
You probably only need half a bottle of vegetable oil per Mason jar, so we definitely had plenty leftover for future office recipes or DIY projects!
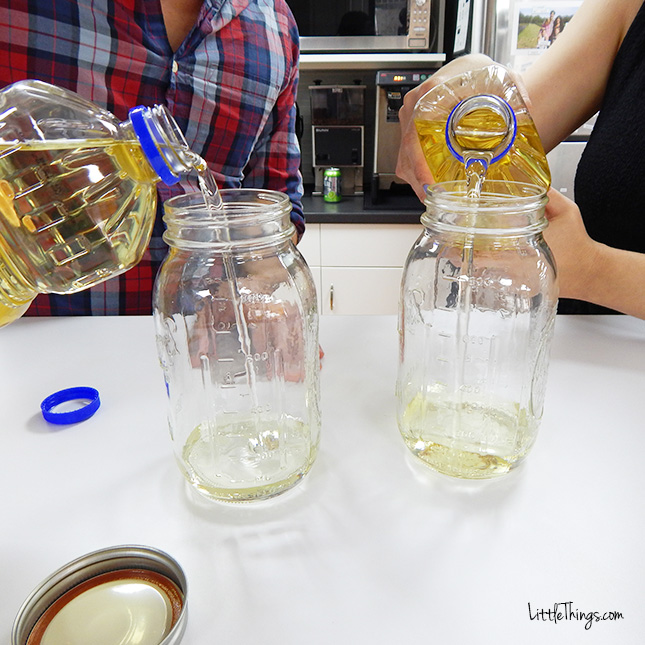
Fill each jar, but don't fill above the bottom lip where the cap screws on. Filling it too high could cause leaking later on!
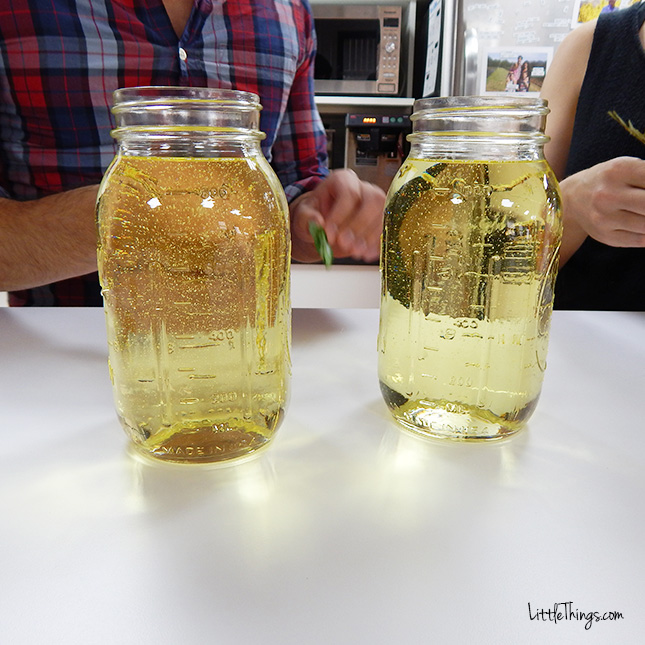
Place the dried flowers or leaves into the jar. This is definitely where you can be creative! You can try a sprig of mint or basil, or you can even use a small piece of pine tree to decorate the jar.
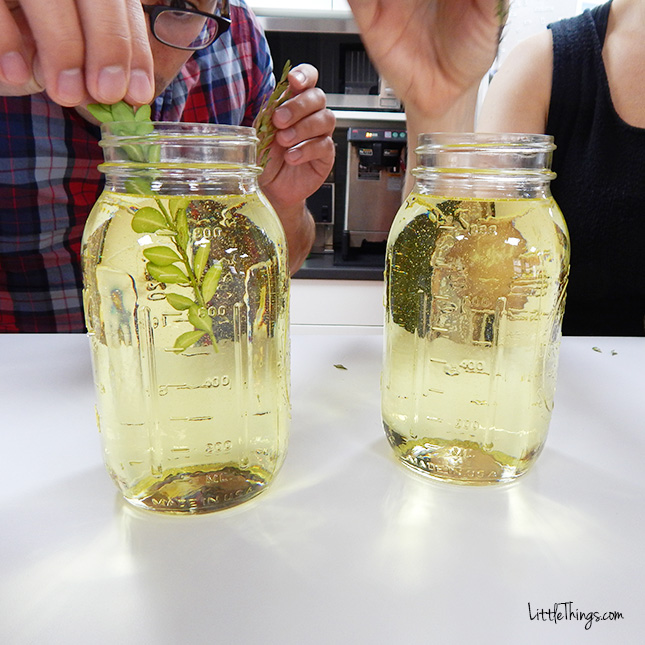
Submerge the dried greenery completely and arrange it on the outer sides of the jar. Two or three pieces per jar should look nice, but feel free to add as much as you like!
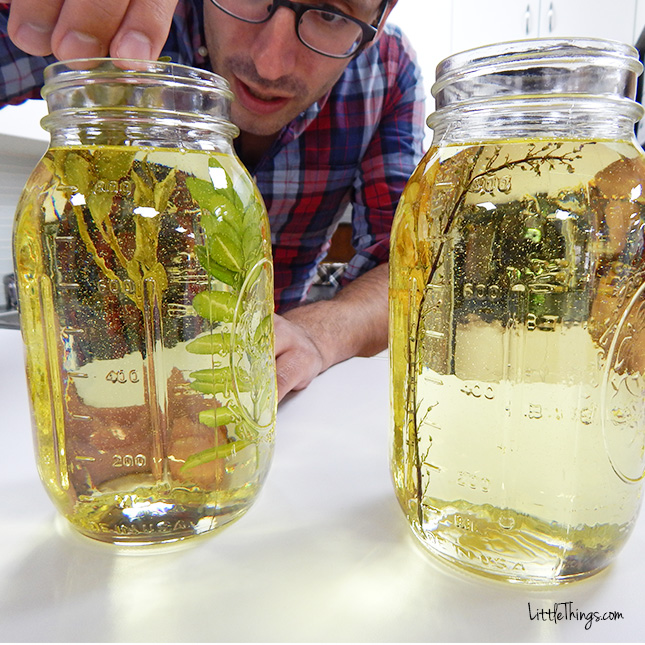
Curve the black-and-white photo and slowly insert it into the jar. If you're like me, you'll be nervous that the oil will ruin the photo, but my fears were very quickly alleviated.
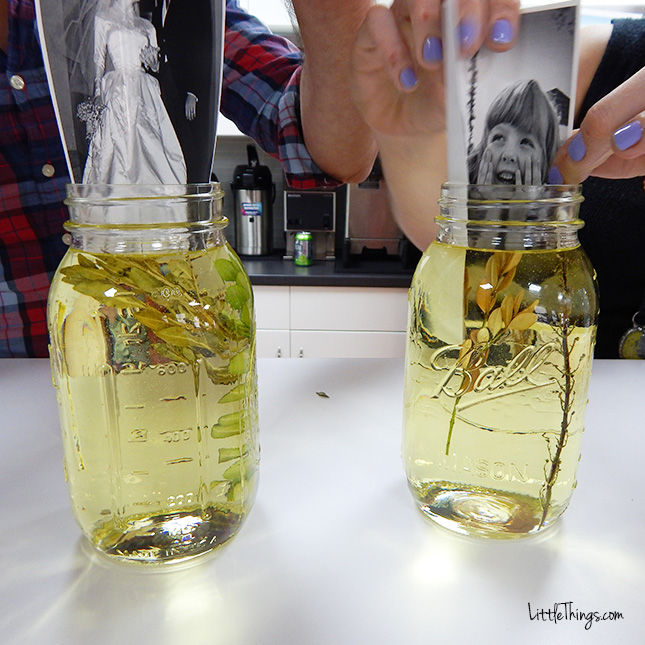
The oil didn't affect the actual photo paper at all. In fact, it only seemed to enhance the image with its beautiful golden glow.
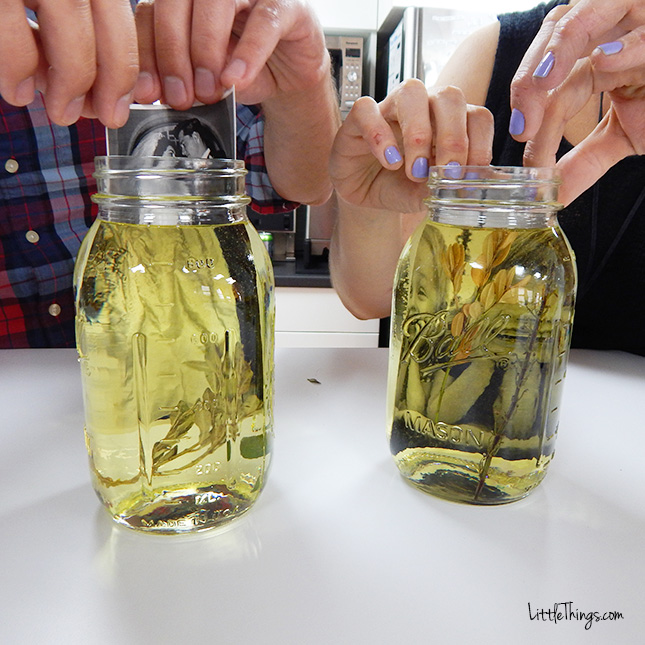
Arrange the photo wherever looks best. We placed ours against the back wall of the jar, but feel free to use a smaller photo and stick it right in the middle of the jar.
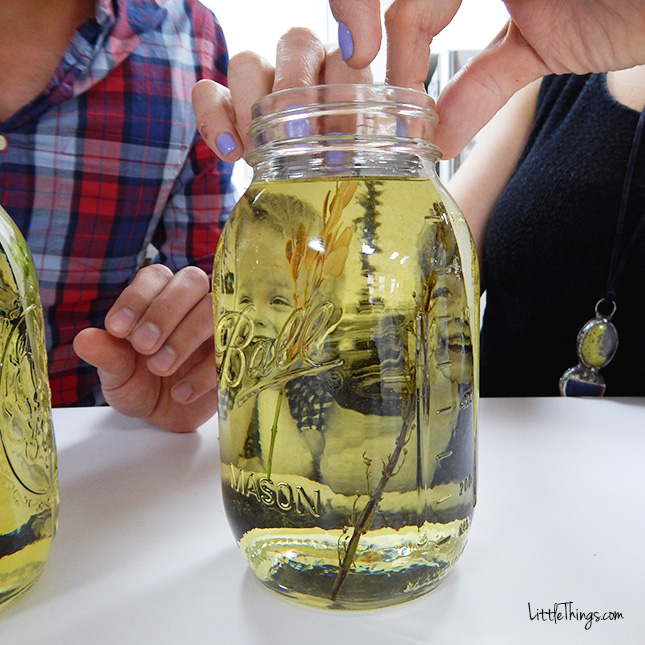
We found that one of our photos was too big and that the faces in the photo were being blocked by the cap. We simply removed the photo, cut an inch off of the bottom, and put it right back in.
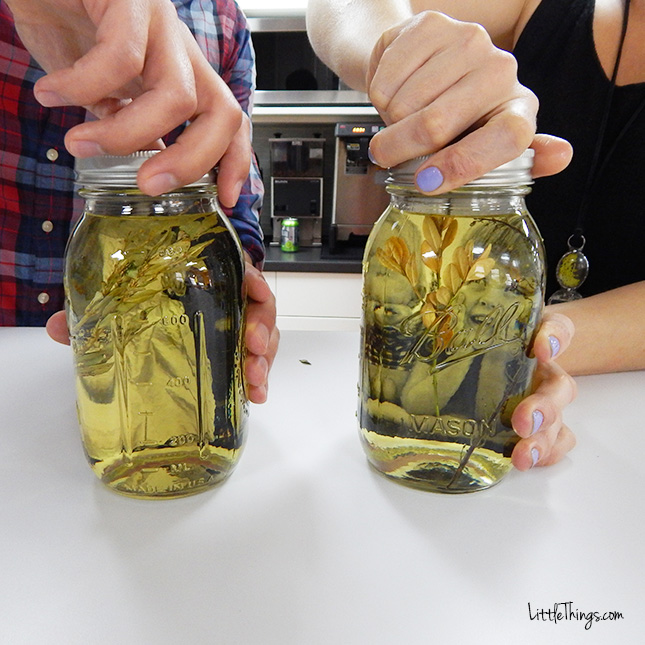
With the caps in place, these gorgeous Mason jar photo holders were ready for display!
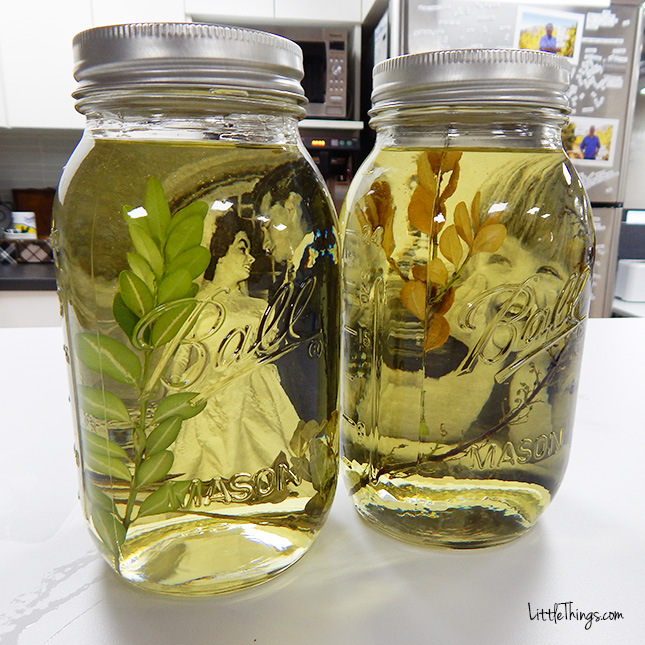
This fun and easy project was extremely inexpensive and took less than five minutes to make. We cannot wait to show off our rustic photo holders at home!

Please SHARE if you think this simple rustic DIY project is perfect for your home.


