For a craftsman or grill master who regularly works with fire, finding an easy way to generate cost-effective fuel is key.
When Instructables user sixsmith noodled around with the idea of building himself a forge, he decided that before he set any construction plans in motion, he wanted to first prove to himself that he'd be able to cost-effectively fuel such a contraption.
He needed a fast, easy, and cheap way to keep his forge burning long enough to finish future projects. After searching all over for different solutions, he decided to try his hand at making his own charcoal.
This inventive maker built himself a fire, split a few red oak logs, and packed them tightly into a tinfoil-covered coffee can.
After properly ventilating the tinfoil can lid, he positioned the can over his fire. He then waited for steam and fire to rise from its seal, slowly transforming his wood into charcoal.
Amazingly, his project worked, proving that he would indeed be well-equipped to fuel his future forge.
Scroll through our gallery to learn all about how this DIY-er created his own supply of charcoal and how you can make charcoal for your own summer barbecues.
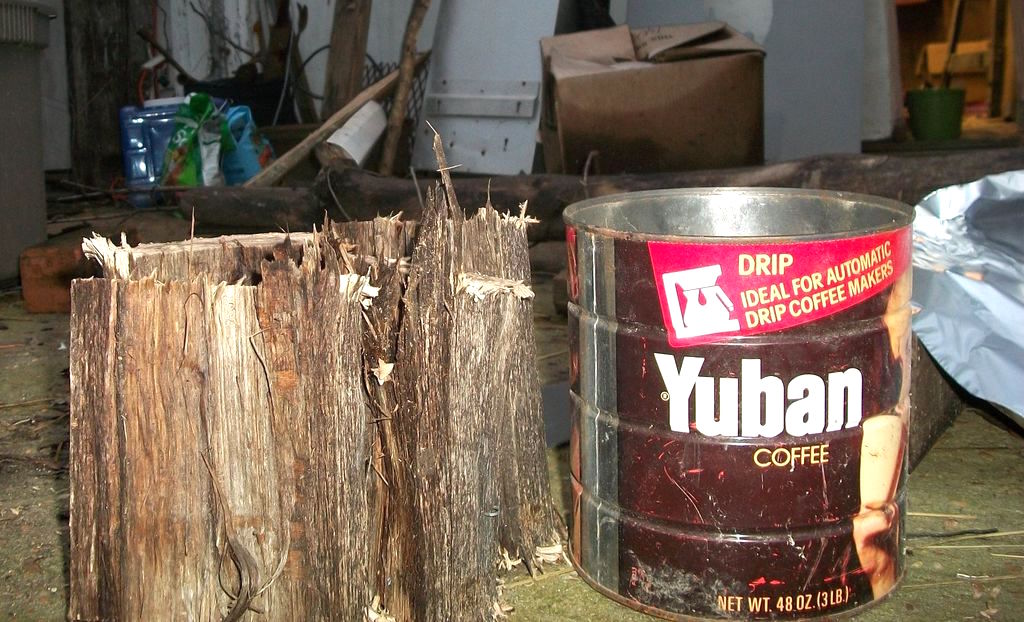
When Instructables user sixsmith needed a bunch of charcoal at a low cost, he decided to simply burn up his own supply.
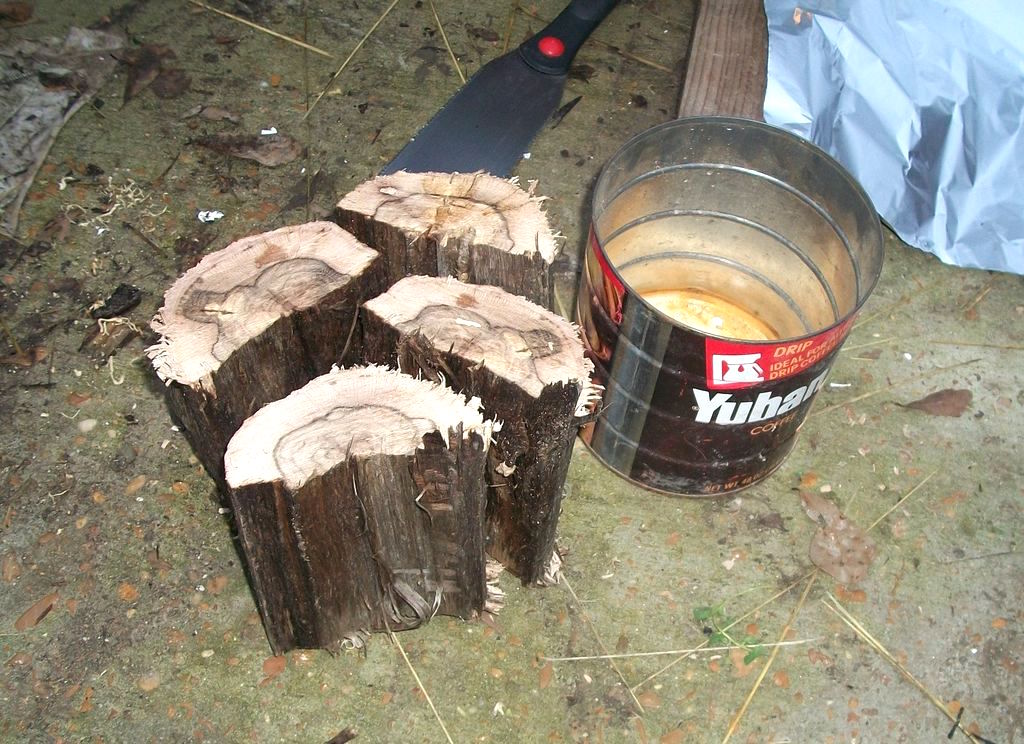
He split a few logs of red oak, striving to create pieces with as much surface area as possible.
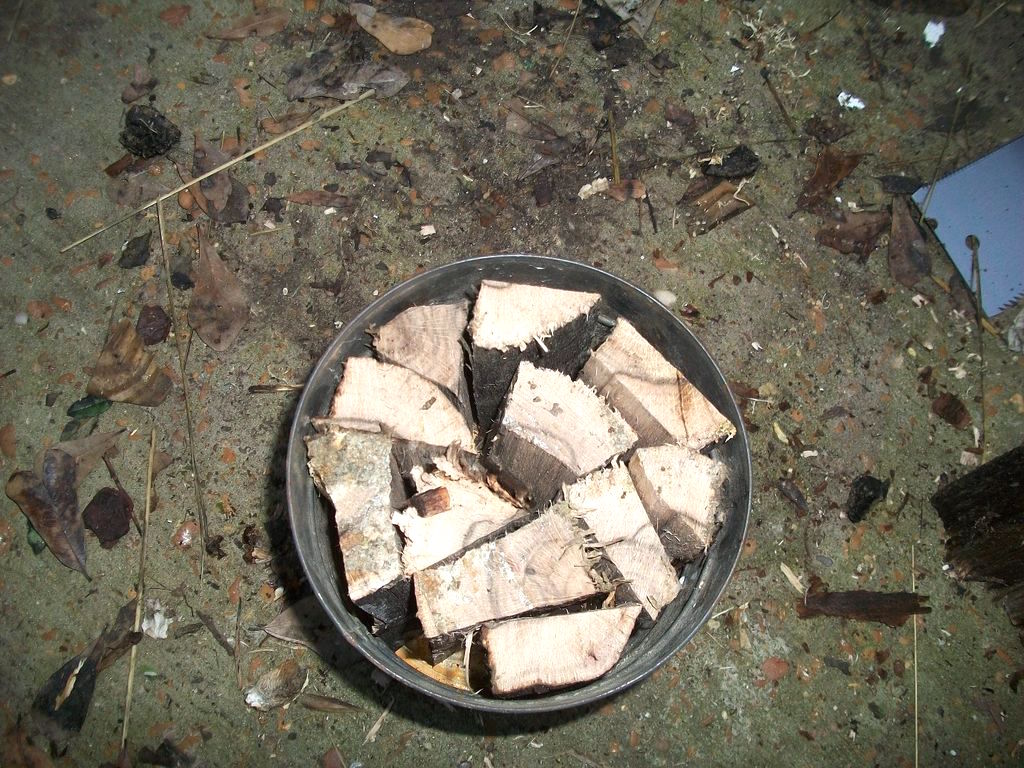
He fit his wooden pieces into a metal coffee can.
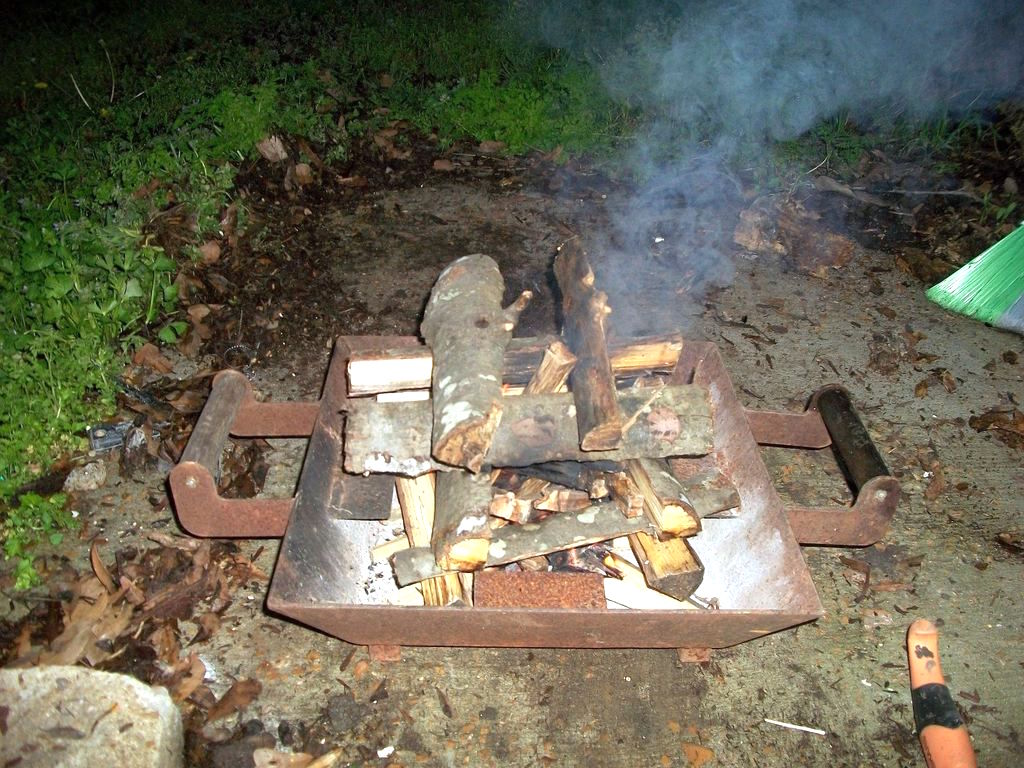
Then, this maker built himself a hearty fire.
This fire would be burning for quite some time, so this DIY-er made sure to keep a bucket of water close by in case of emergency.
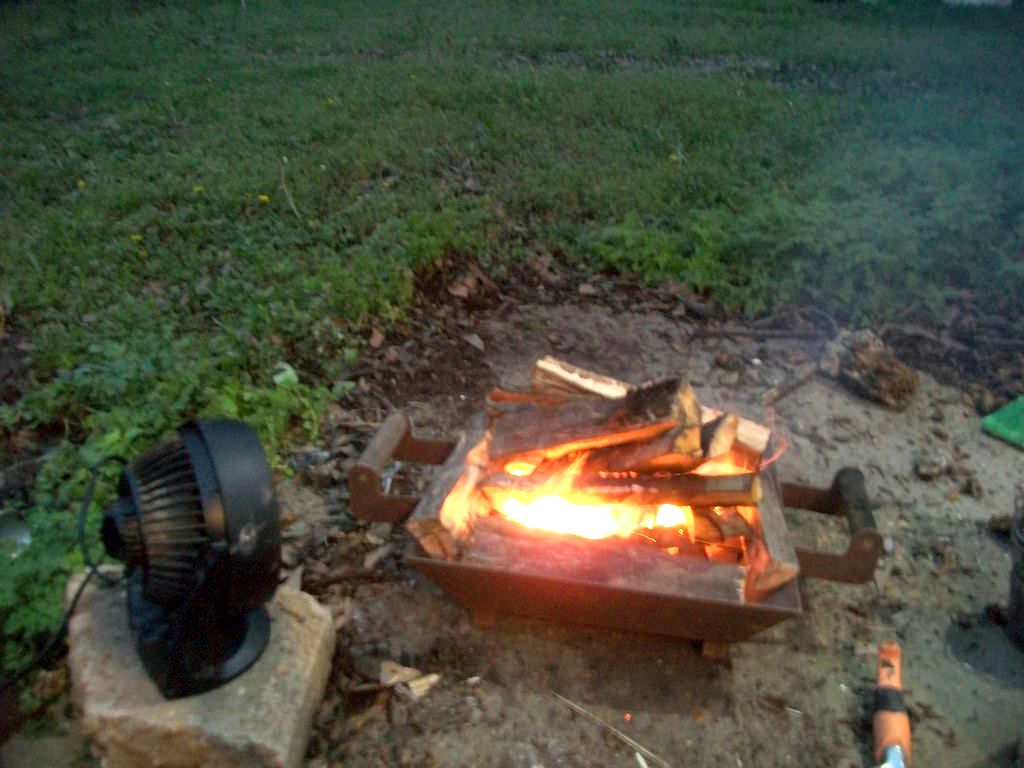
He also positioned a fan near the fire to keep it burning for its extended duration.
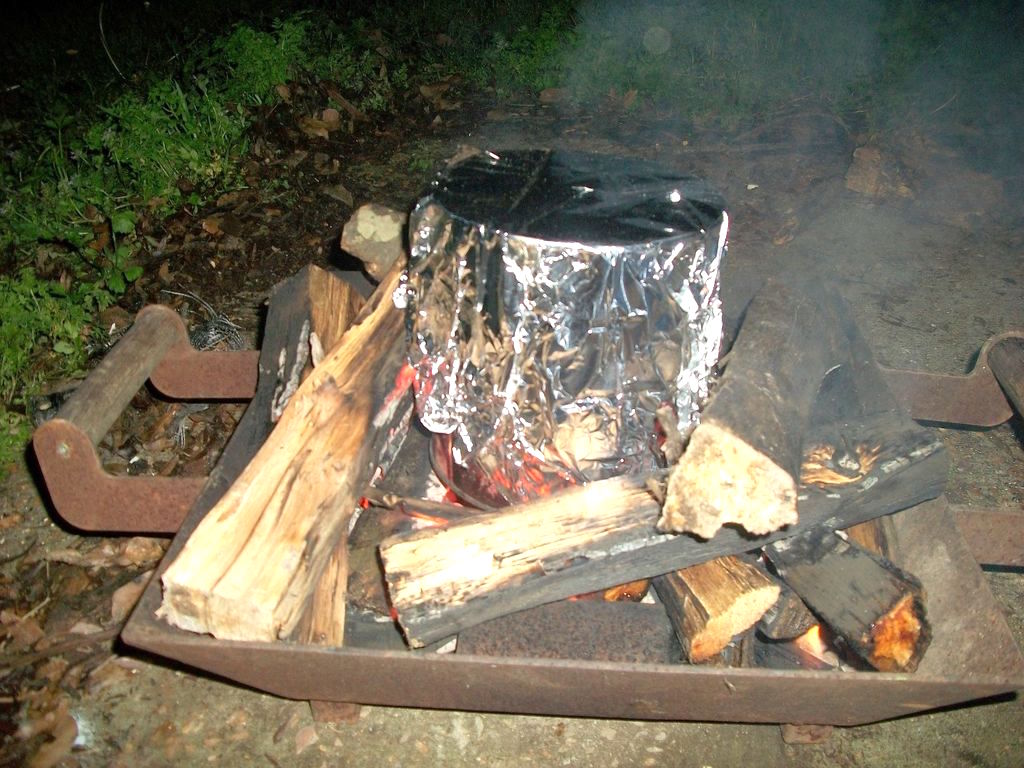
With the fire roaring, this maker covered his wood-filled coffee can with aluminum foil.
He made sure to slice a hole in its top, through which moisture and, eventually, wood gas would safely escape.
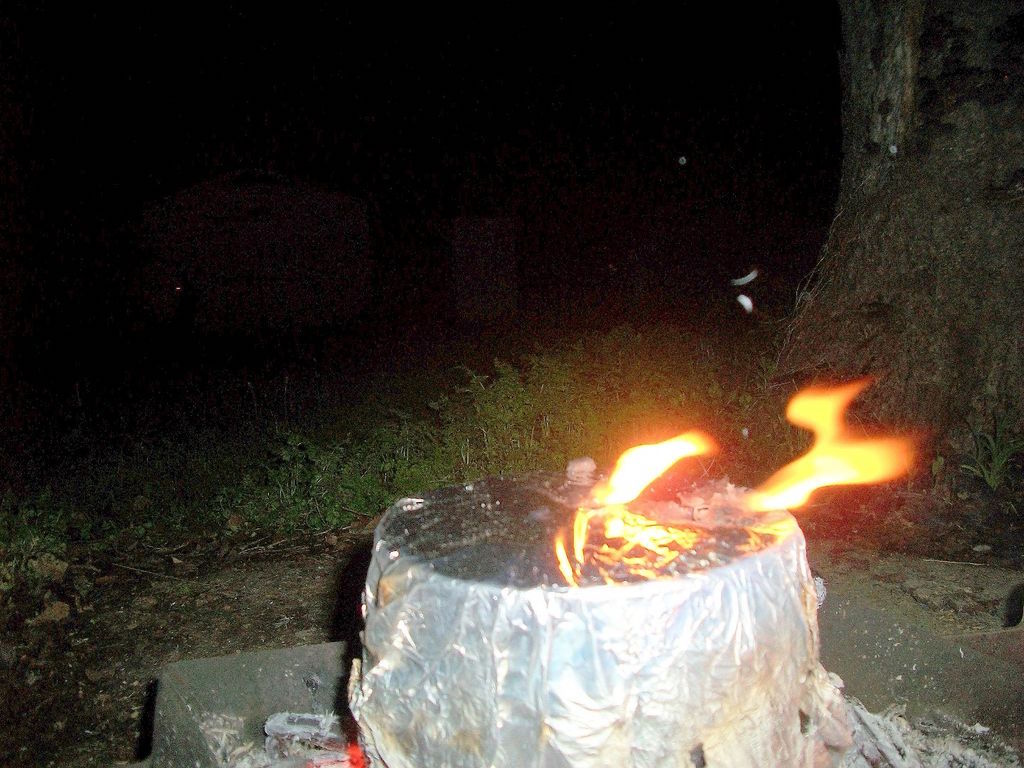
As time passed, the wood turning to charcoal inside the metal can began emitting its wood gas — a clear signal that the wood was carbonizing.
The gas lit aflame, and this Instructables user waited patiently for that new flame to die out.
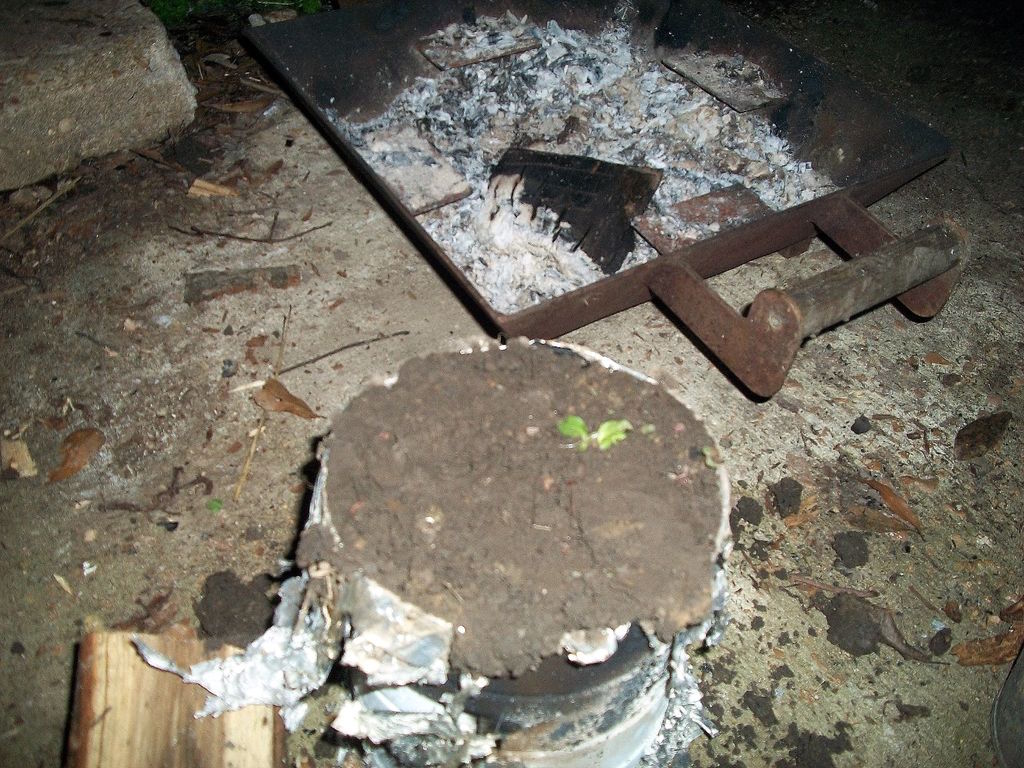
Once the wood gas flame stopped burning, this DIY-er held fire near the tinfoil opening just to double check that the wood inside had given off all of its flammable wood gasses.
With the coast clear, he put the main fire out and shoveled a dirt seal atop his tinfoil-covered can.
This seal would ensure that no new air seeped in, causing the charcoal to burn.
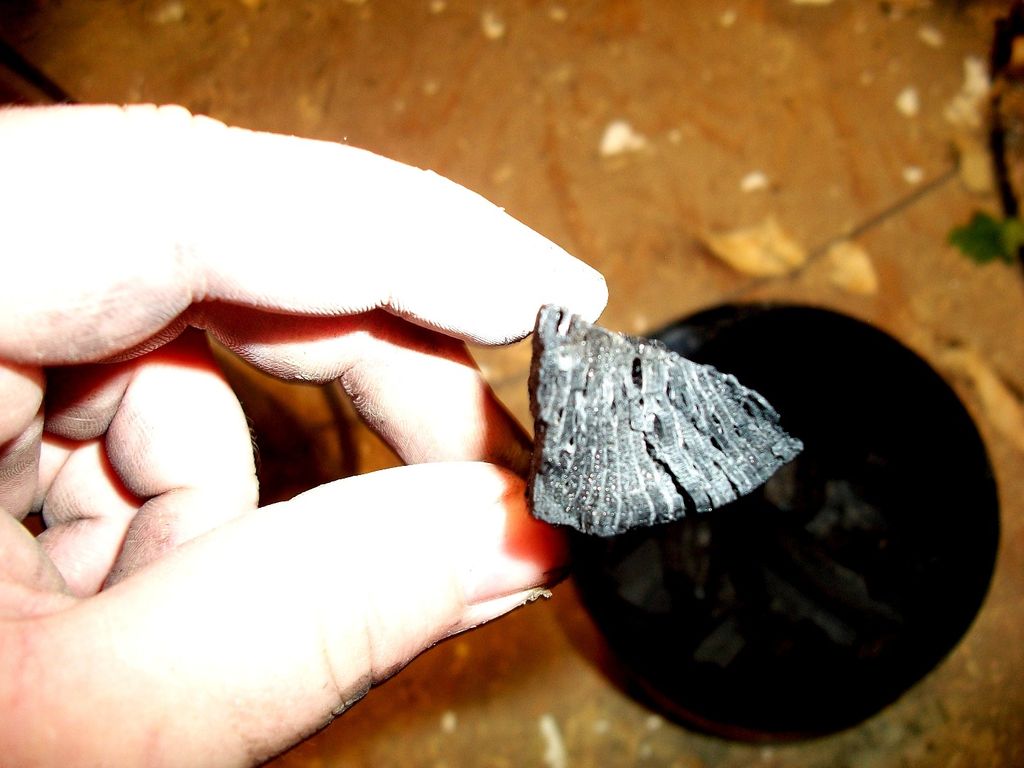
Once this DIY-er's canister cooled down, he lifted its foil cover to find his homemade charcoal!
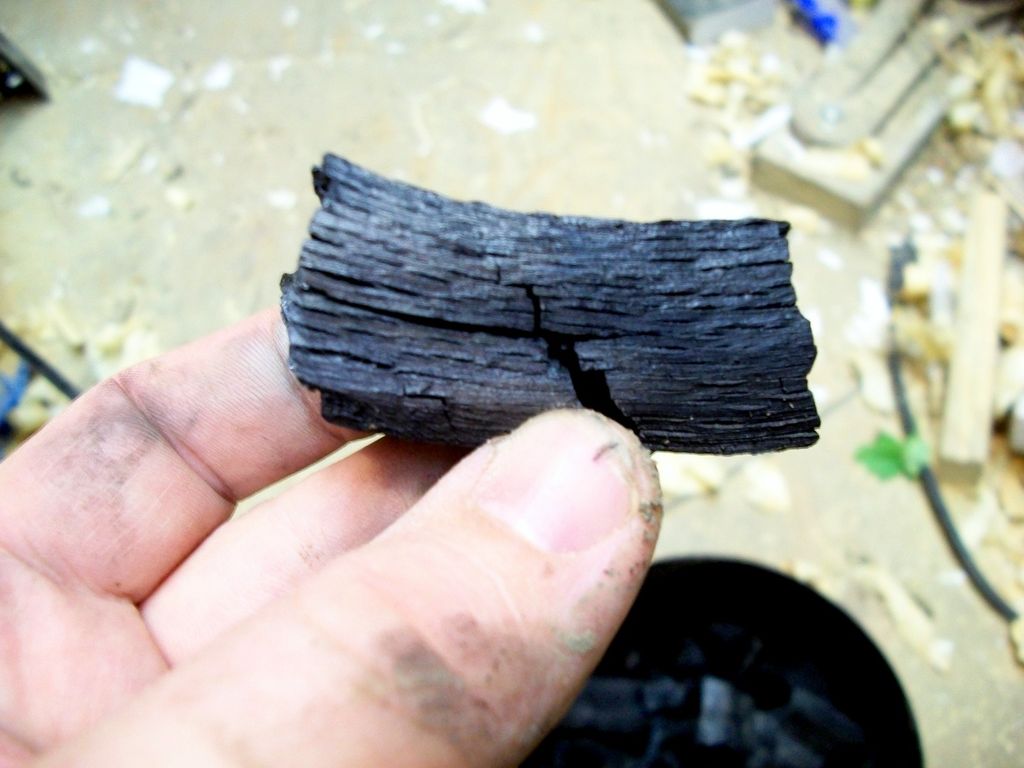
He snapped each piece into a few smaller chunks, double checking that each was fully carbonized.
Next time, he'll likely use a paint can rather than a coffee can so that he can make more charcoal per round.
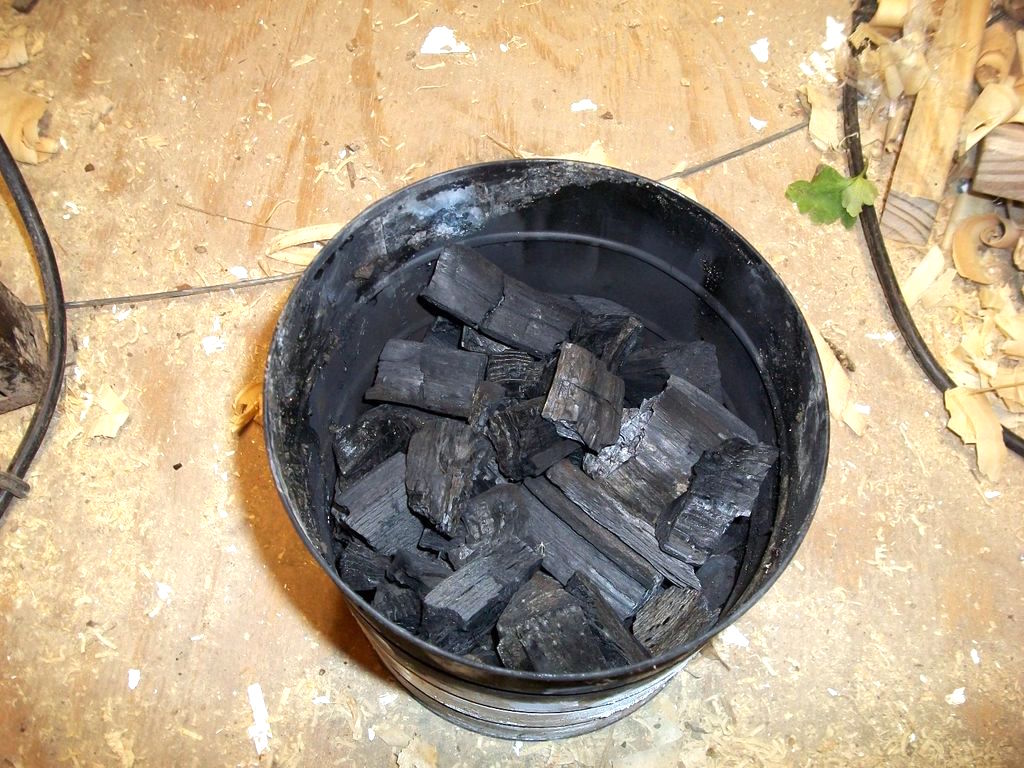
This DIY-er figured out how to supply himself with homemade charcoal, great for fueling a forge or backyard grill.
What do you think of this homemade charcoal? Have you ever made your own charcoal? Tell us about your project in the comments below.
Please SHARE this amazing summer project with other DIY-ers in your community.


