If you want to learn how to make a diaper cake, you've come to the right place!
We all know what it's like: you realize your bestie's baby shower is right around the corner, and you have no clue what to give her. The answer is always the same, more diapers!
Every new mom underestimates just how many diapers she's going to need. Needless to say, it's not a small number. That's why it's always a good idea to help her stock up a big supply well in advance.
Diaper cakes have become an adorable way to give moms a practical gift before the baby arrives. We love the wide range of diaper cake styles and ideas out there!
Meanwhile, if you want to learn how to make a diaper cake that you can adapt to fit any style you want, we have just what you need.
Our simple DIY recipe is the perfect template for building a darling baby shower gift that can be adjusted for a boy or girl, and tweaked to suit Mama's signature look.
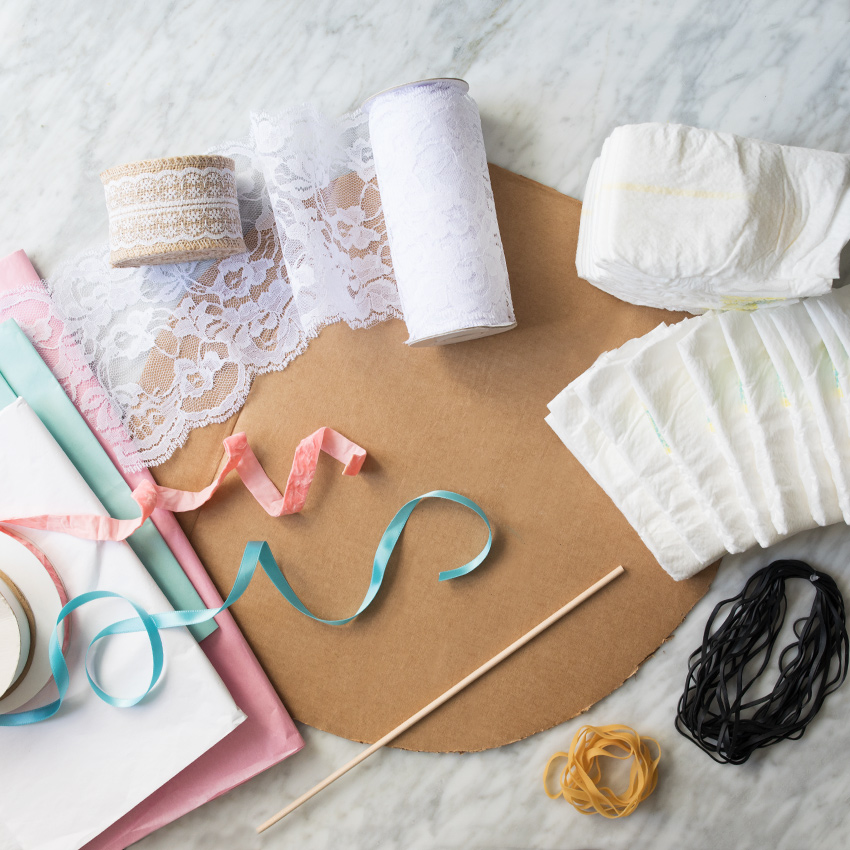
The supplies you'll need for this diaper cake are pretty simple.
- 1 to 2 jumbo packs of diapers (we suggest newborn size). You’ll need roughly 80 diapers for a small diaper cake, and roughly 150 for a large diaper cake.
- 1 piece of cardboard cut into a circle, for the base
- Ordinary rubber bands and extra-large rubber bands
- Wooden dowels
- Ribbon and tissue paper, to decorate
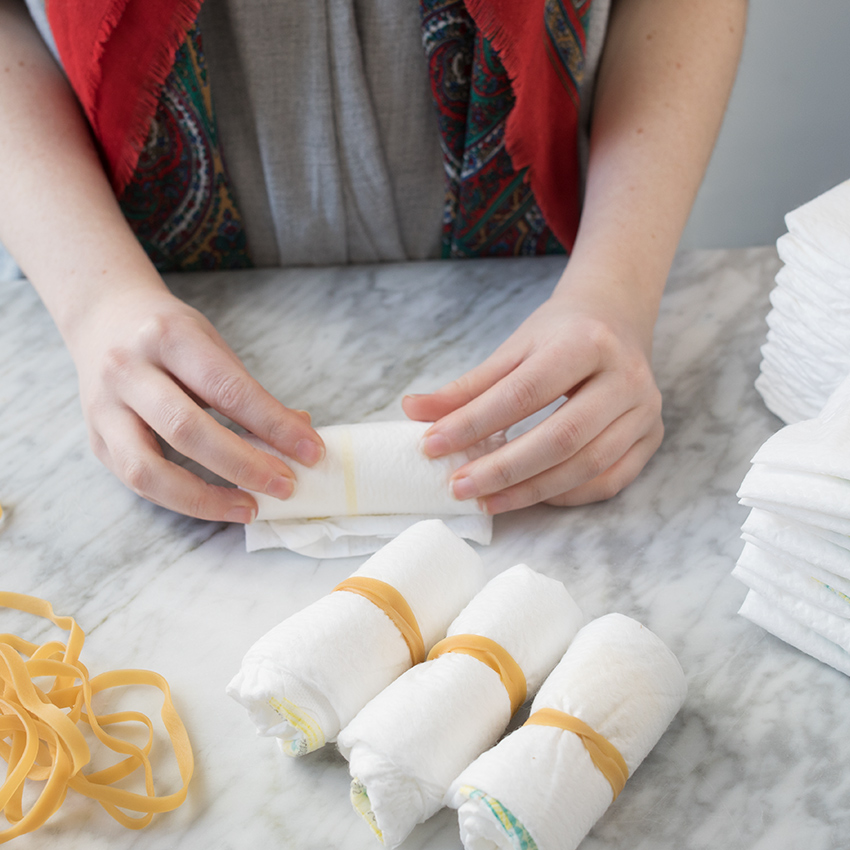
First, roll up all of those teeny-tiny diapers! You'll need around 80 bundles to put this cake together.
Roll them up just like a burrito, with the open top edge tucked into the inside.
Wrap securely with rubber bands, but not so tightly that the pressure of the band damages the diaper.
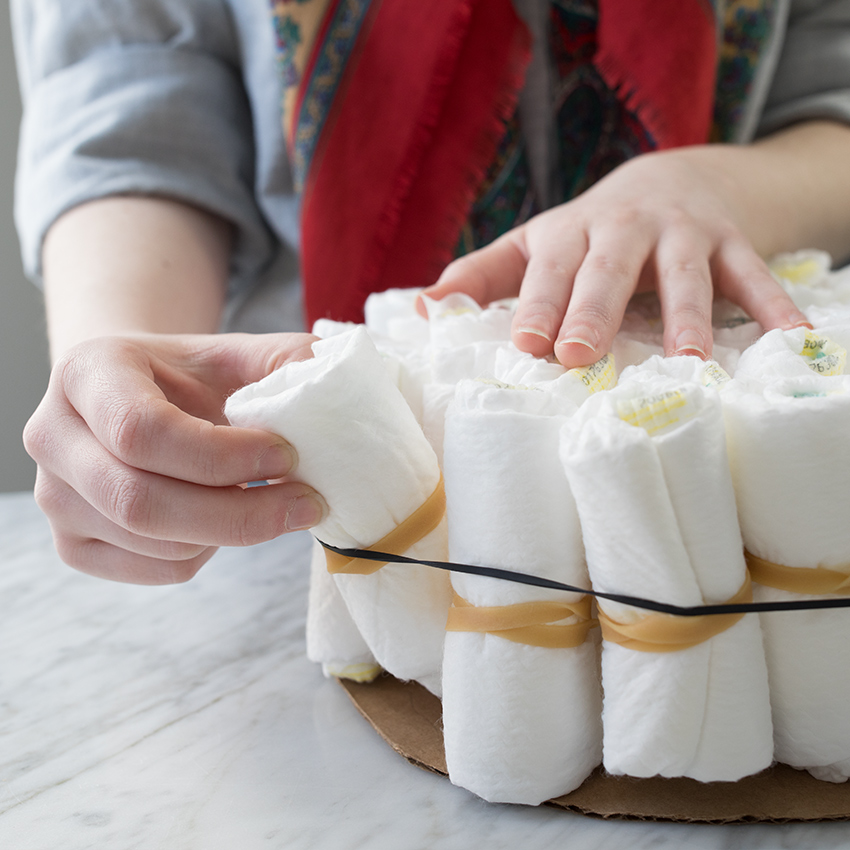
Once you have all your diapers rolled, you're ready to create the first tier. Count out about 40 diapers.
Now, corral them together into one rounded layer on top of your cardboard base. You may need a helper to hold them for you!
Take on of your larger rubber bands and wrap it around the whole group, adjusting as needed.
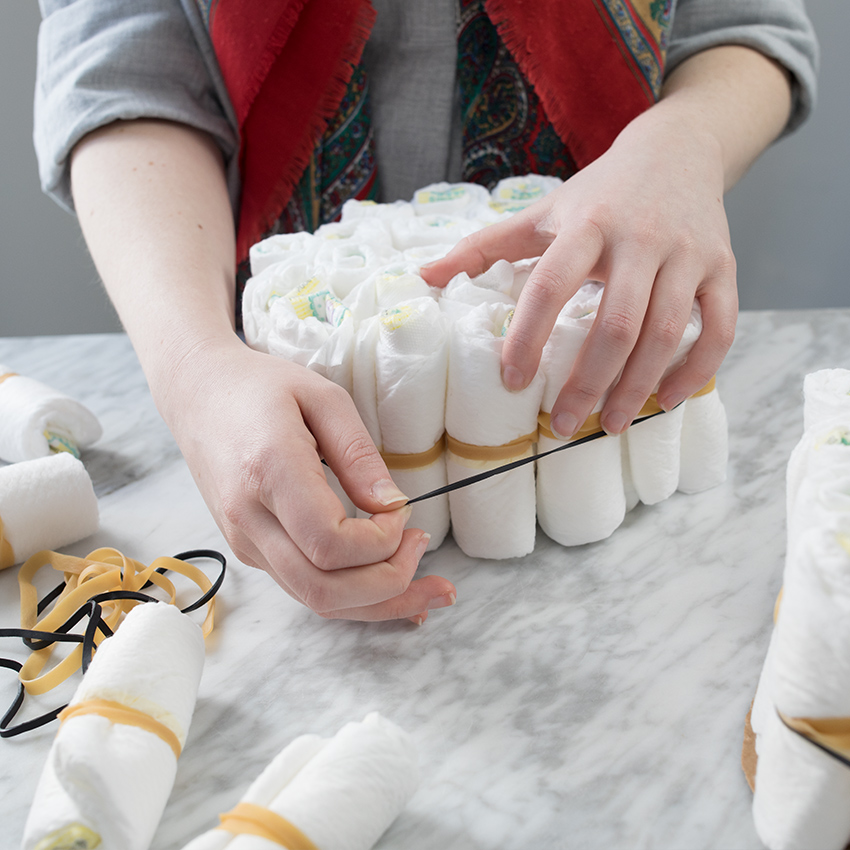
For the middle tier, count out about 25 diapers and wrap them in another larger rubber band.
You may need to add more diapers or subtract a few depending on how many you have, and how large you want your cake to be.
Stack your middle tier on top of the larger bottom tier to check the proportions and make sure it's shaping up like you want it to.
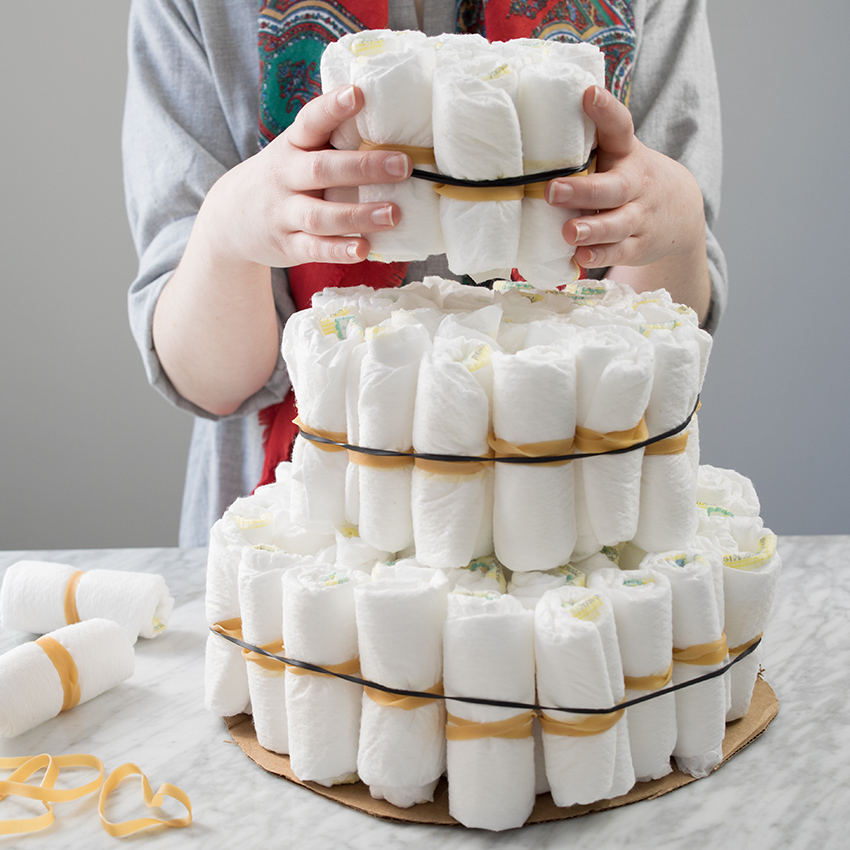
Next, make the smallest tier on top from about 10 diapers, and wrap securely with a rubber band.
Stack on top to check your proportions again and make sure your layer "cake" looks just right.
Keep in mind, you can make your cake as big as you want and add more tiers! You just need to start with a larger base and use more diapers.
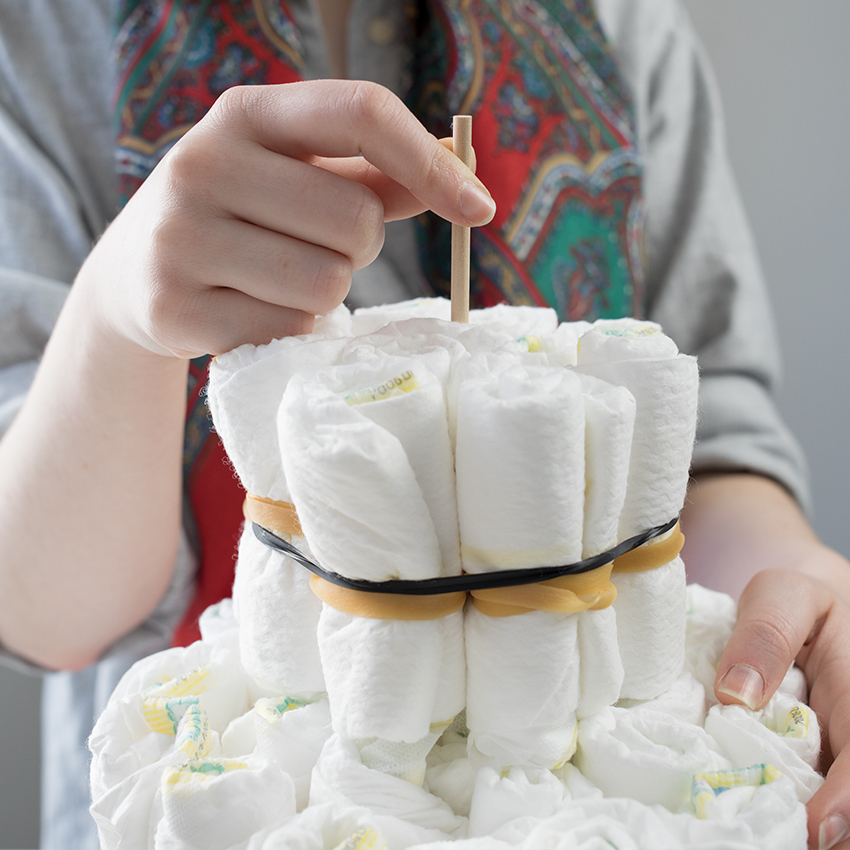
Use wooden dowels to hold the tiers together. Stick the dowels down through the top of the cake into the base to give the cake stability and keep the layers together.
For a fairly small cake, you may only need one or two dowels, but for a larger cake you may need more.
If your dowels are taller than the cake, you might need to remove them and trim them down slightly.
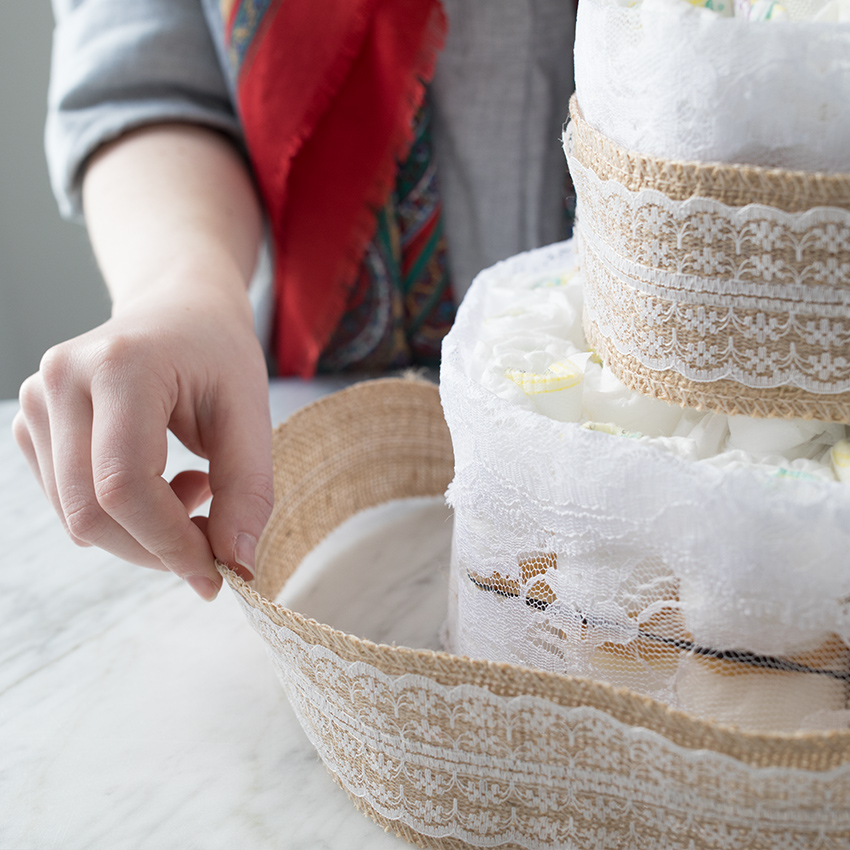
Once your whole cake is constructed, it's time for the fun part — decorating!
We started by decorating our cake with gender-neutral ribbons and decor in shades of white and cream!
Wrap each tier in as much ribbon as you want, just make sure to pick something solid for the middles of the tiers to cover up the rubber bands.
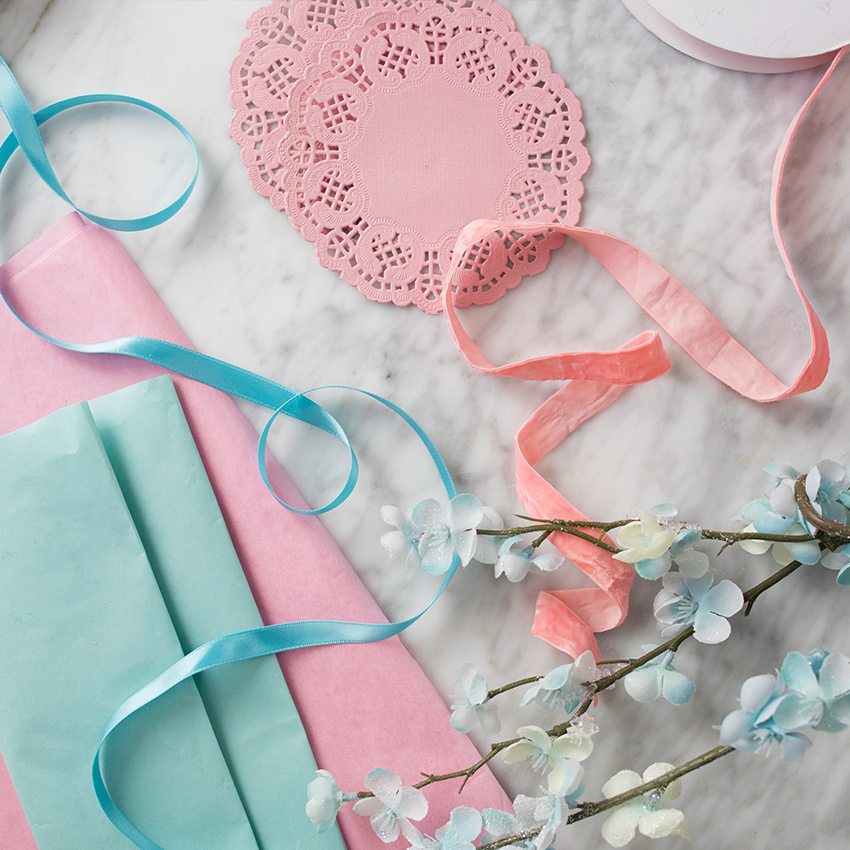
If you know the gender of the baby, this is the perfect moment to start decorating with a more specific color in mind!
You can doll your cake up for a boy or a girl, using pink and blue ribbons and tissue paper flowers. This is also a great time to add more unconventional touches.
Is mom a rocker chick? Maybe throw on a guitar cake topper! If she's a true earth mama, try adding some succulents or other greenery to your design. There are tons of ideas out there for turning your diaper cake into a stylish personalized affair!
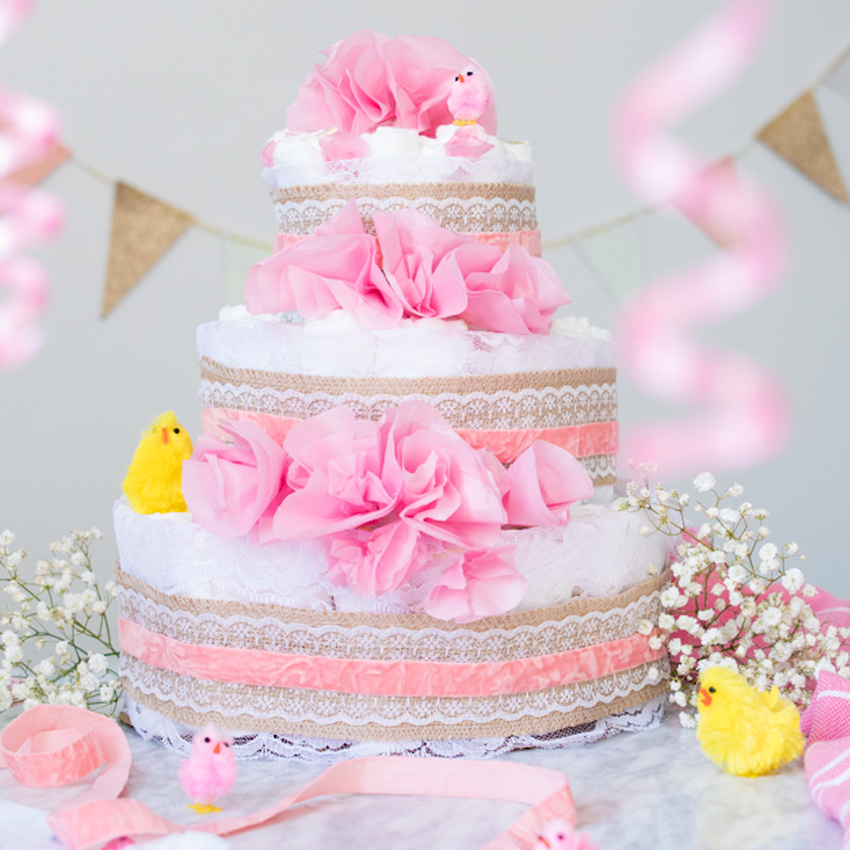
No matter how you decide to personalize your cake, it's bound to turn out perfectly!
We personalized our cake to suit a little girl arriving in the spring, so we added pink ribbons, pretty tissue-paper flowers, and a few little chicks!
However, with our original beige and white ribbon, it would be just as easy to add blue ribbon to celebrate a little boy's arrival.
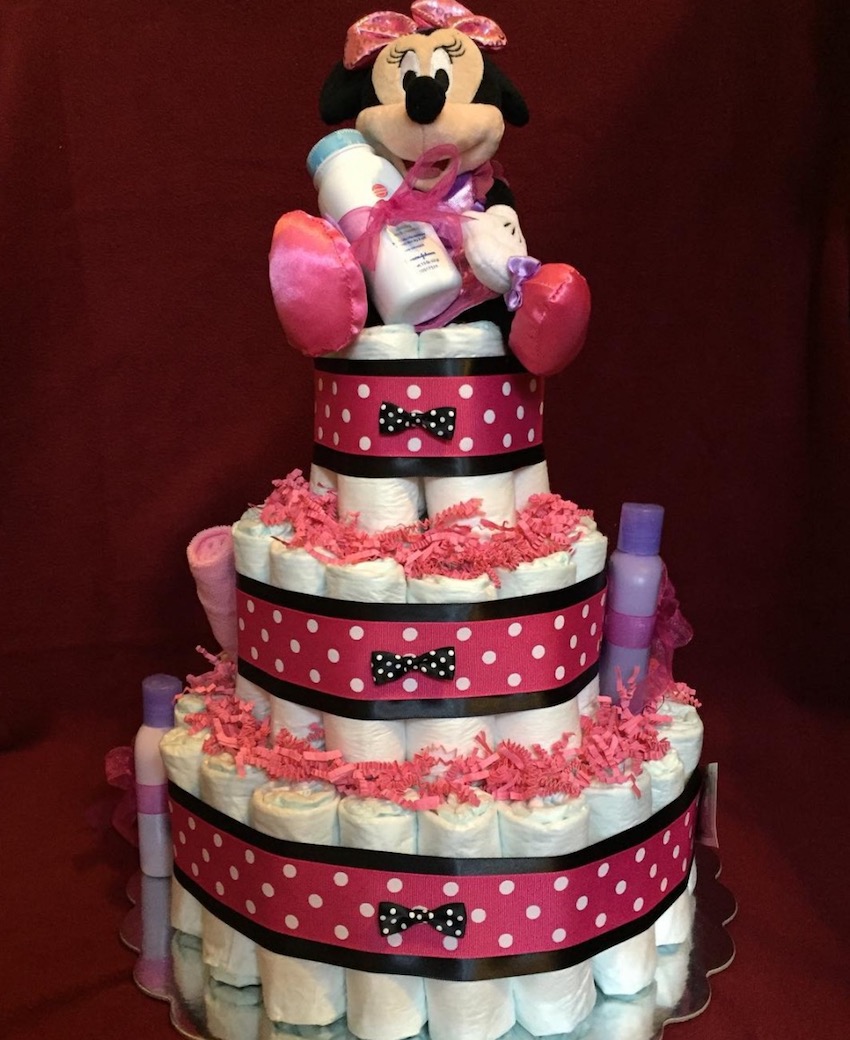
It's pretty easy to tweak your diaper cake to suit any theme.
For instance, lots of moms want a Mickey Mouse diaper cake for a boy, and a Minnie Mouse version for a girl!
To accomplish this, just doll up your cake with red, black, and white ribbons and tissue paper — bonus points for polka dot ribbon.
You can also find mouse ears and specialized cake toppers that help call to mind everyone's favorite cartoon mice.
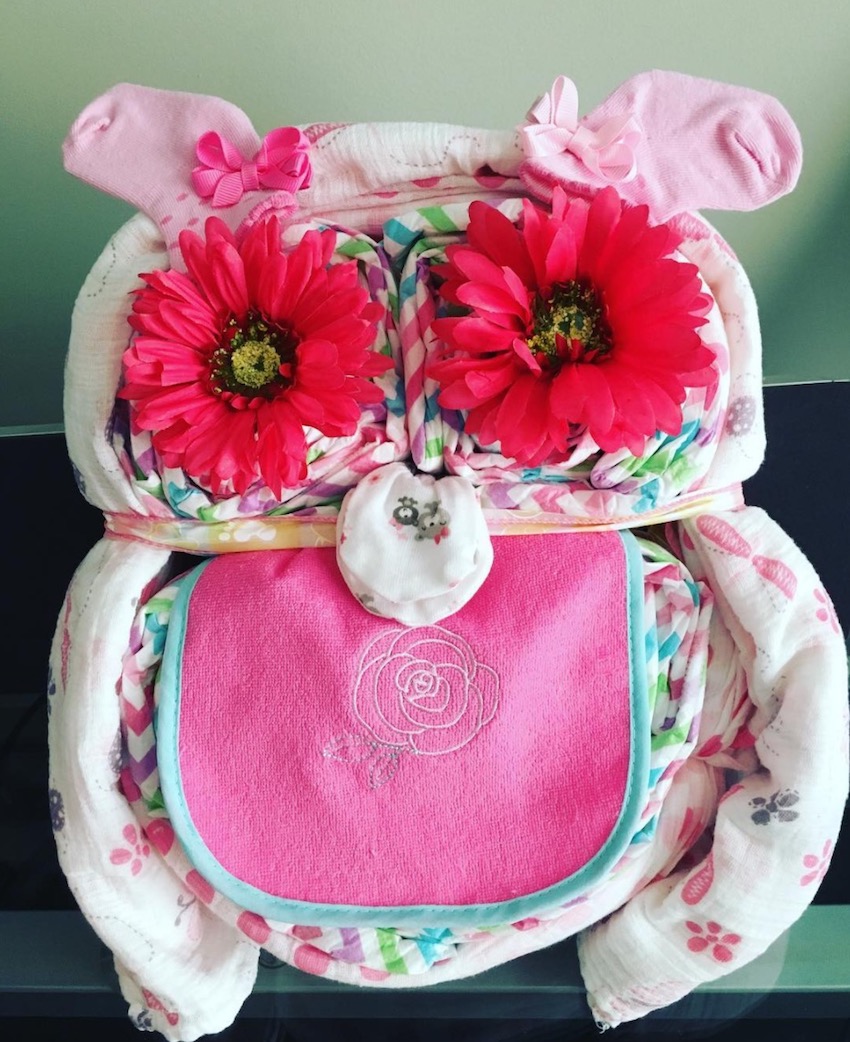
An owl diaper cake is another cute idea. You can create one big roll of diapers, and two smaller ones for the eyes, then swaddle them in onesies or other baby gear!
Add a bib for a touch of extra cuteness and some decorative flowers for eyes (and don't forget a pair of baby socks as the ears), and you're good to go. Too sweet!
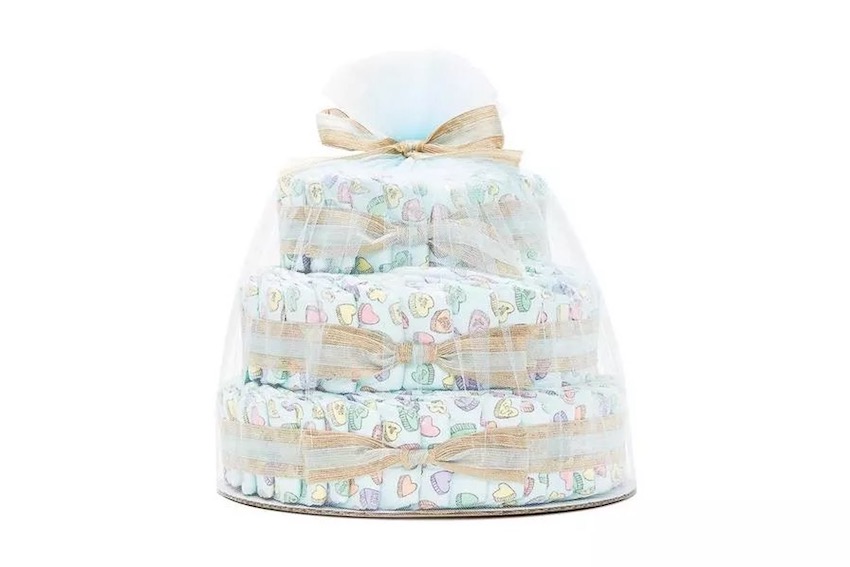
One last alternative? Make things easy on yourself! There's no need to learn how to make a diaper cake if you don't have the time.
You can easily buy an adorable diaper cake online from a company like The Honest Company. They make one adorable cake that will impress any mom-to-be!
If you can't wait to trade diaper cake ideas with your friends and family, be sure to SHARE this easy how-to inspiration guide!


