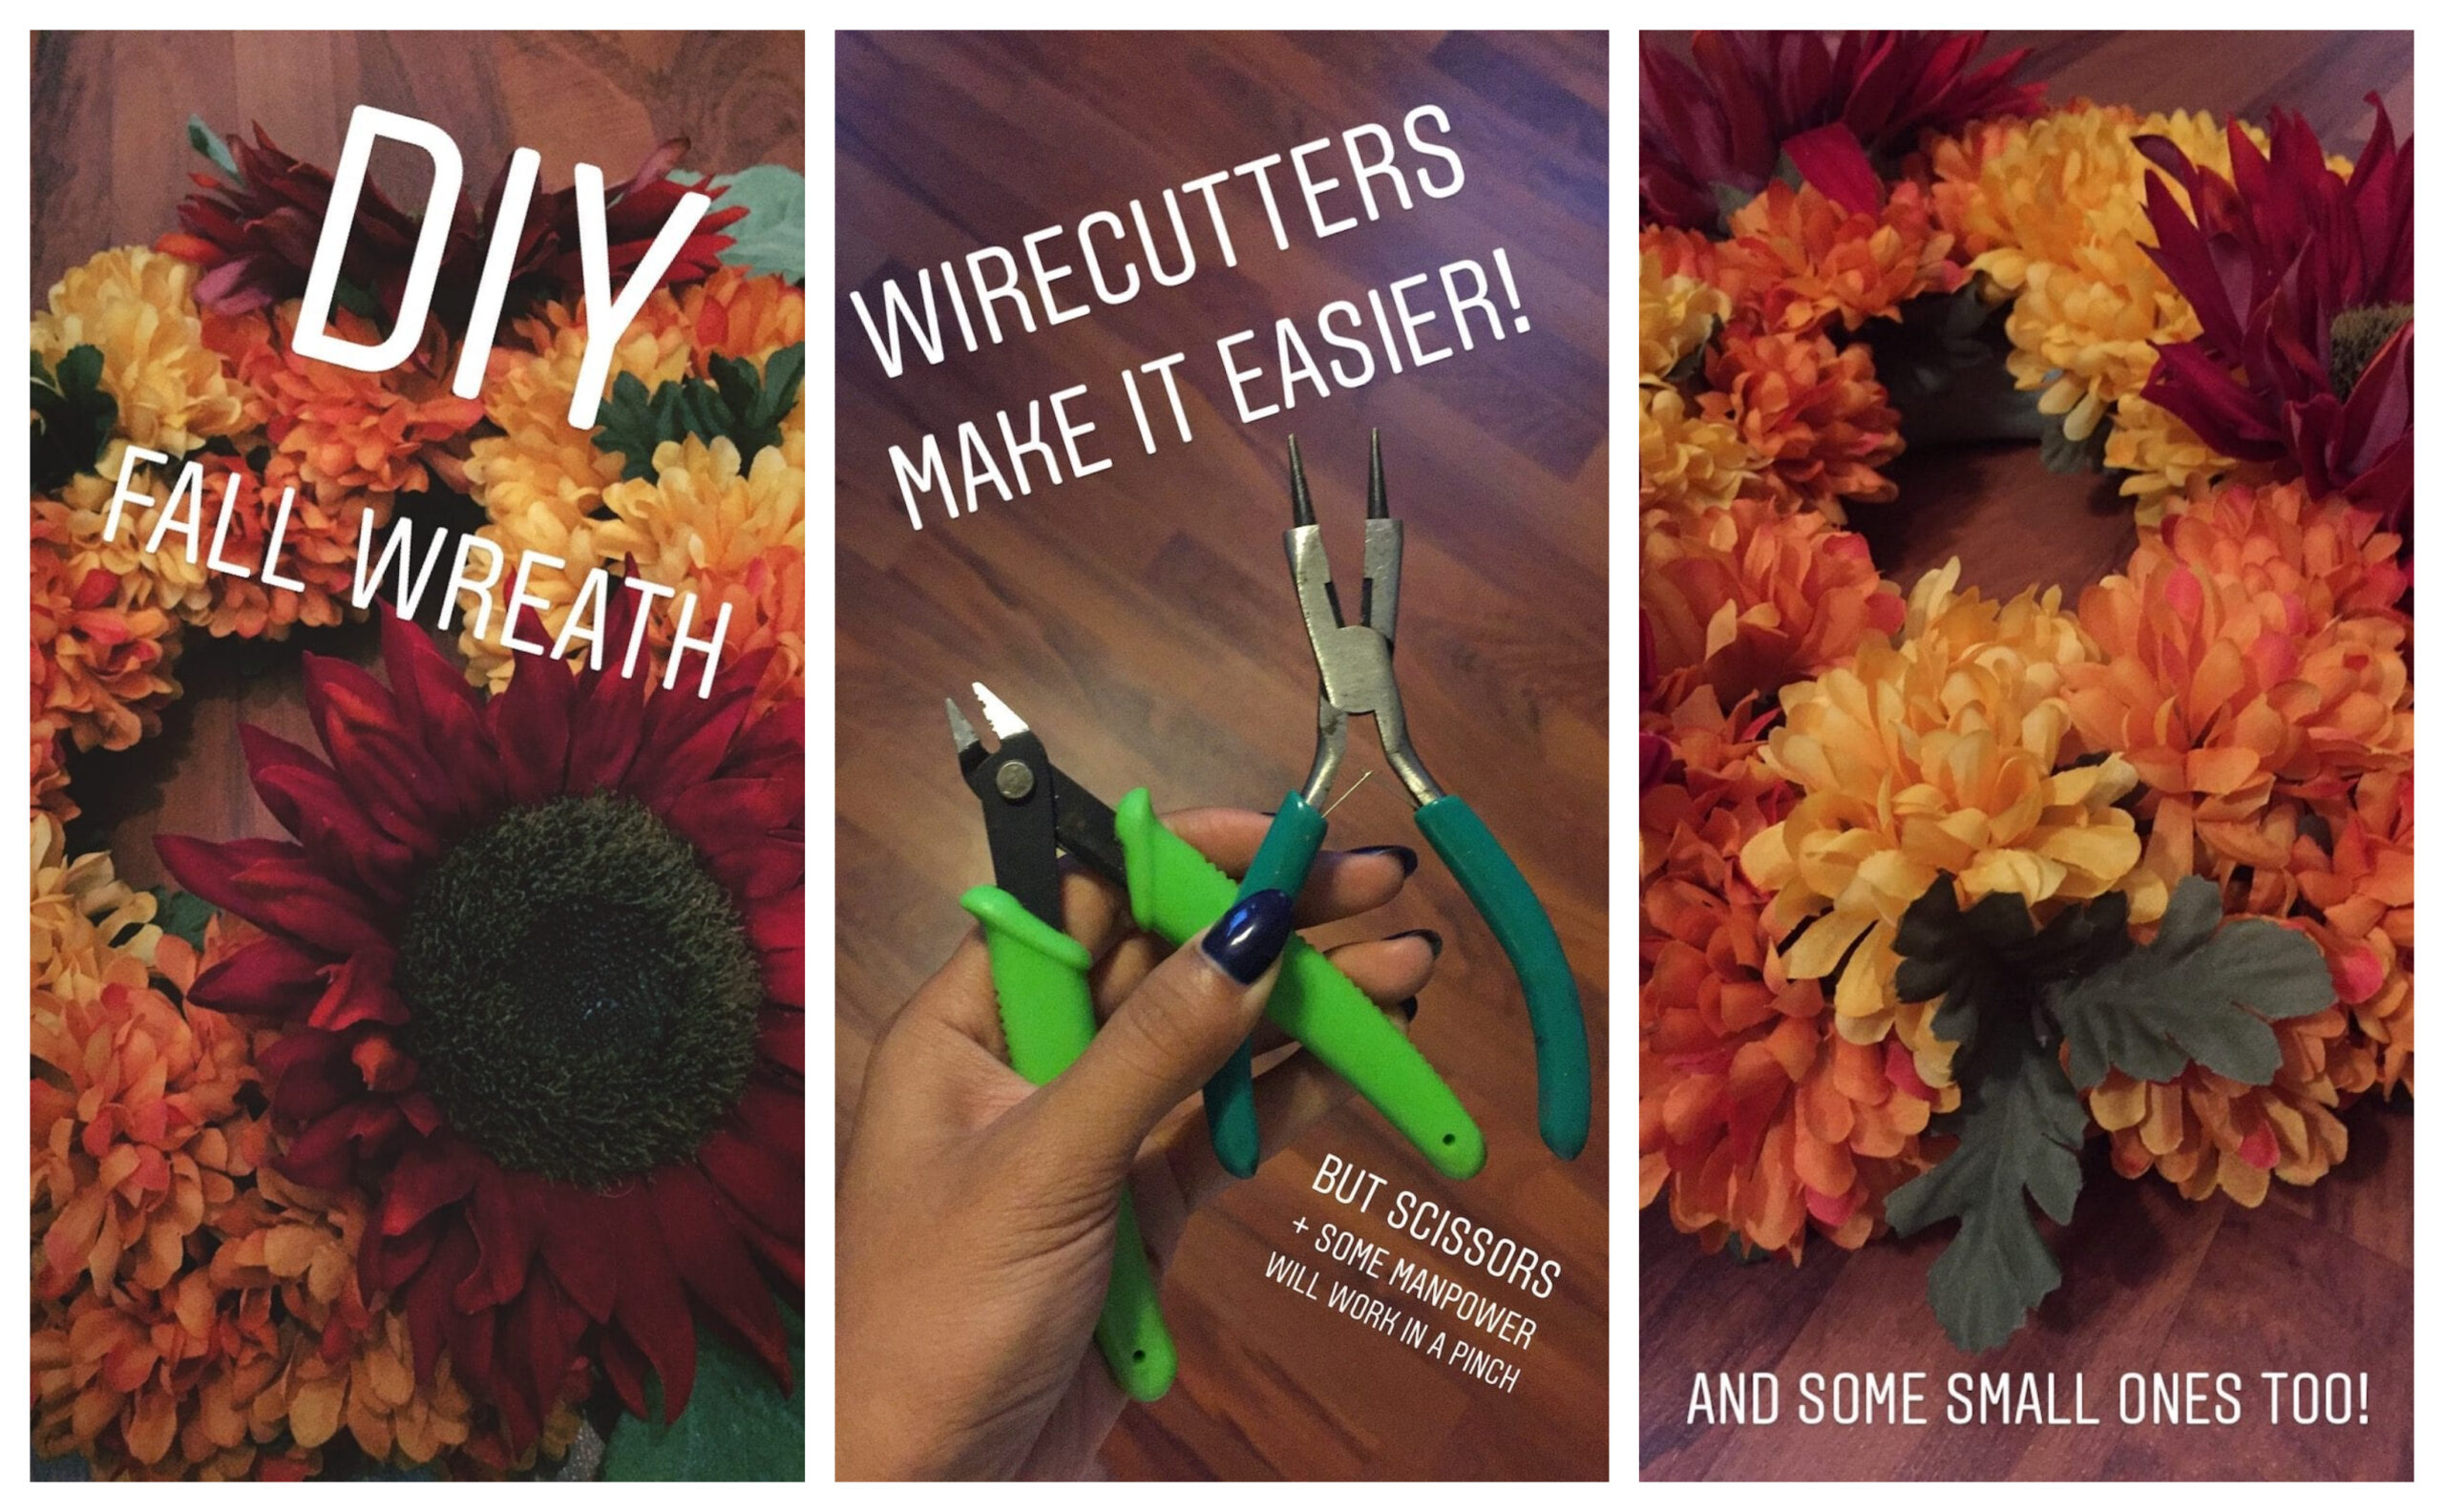
It’s fall, y’all! That means it’s time for gorgeous fall colors and spooky decorations, aka my favorite time of year by far. This year, before I do my annual pumpkin shopping and decorating, I’m starting with a more simple autumn decoration first: a DIY fall wreath.
If you’ve ever searched for a fall wreath on Etsy, you know that these items can come with a ridiculous price tag. But after a bit of research, I discovered that fall wreaths are actually really simple to make yourself. Most craft stores sell everything you need! Did you know that there are foam rings just for making DIY wreaths?! Game changer.
Browsing the fake flower aisle at Michaels was pretty exciting. Before this, I’d never attempted to make my own wreath before. But I really wanted something to decorate my home and mark the beginning of fall.
This is, after all, the time of year when people start actually decorating their houses again, and I don’t think that’s a coincidence. It’s getting cold outside, and that chill in the air seems to trigger our animal instincts: It’s time to hunker down and get our houses ready for winter. Squirrels stow away their nuts, bears find a nice comfy cave, and humans make fall wreaths.
Wreaths make our homes feel inviting and homey — not only for our guests, but also for ourselves. They tie together the rest of our fall decorations, like gourds and bales of hay. And, as I now know, making your very own fall wreath makes it a million times more satisfying to come home to it every day.
I spent about $30 on materials to make this 12-inch fall wreath, and I only used two materials — a foam ring and fake flowers.
Here’s how you can do it, too!
Believe it or not, everything that you need to make a fall wreath is available at Michaels or similar craft stores.
You'll need:
- A foam floral wreath
- Fake flower stems
- Wire cutters (if you have them)
Wreath-Making Supplies
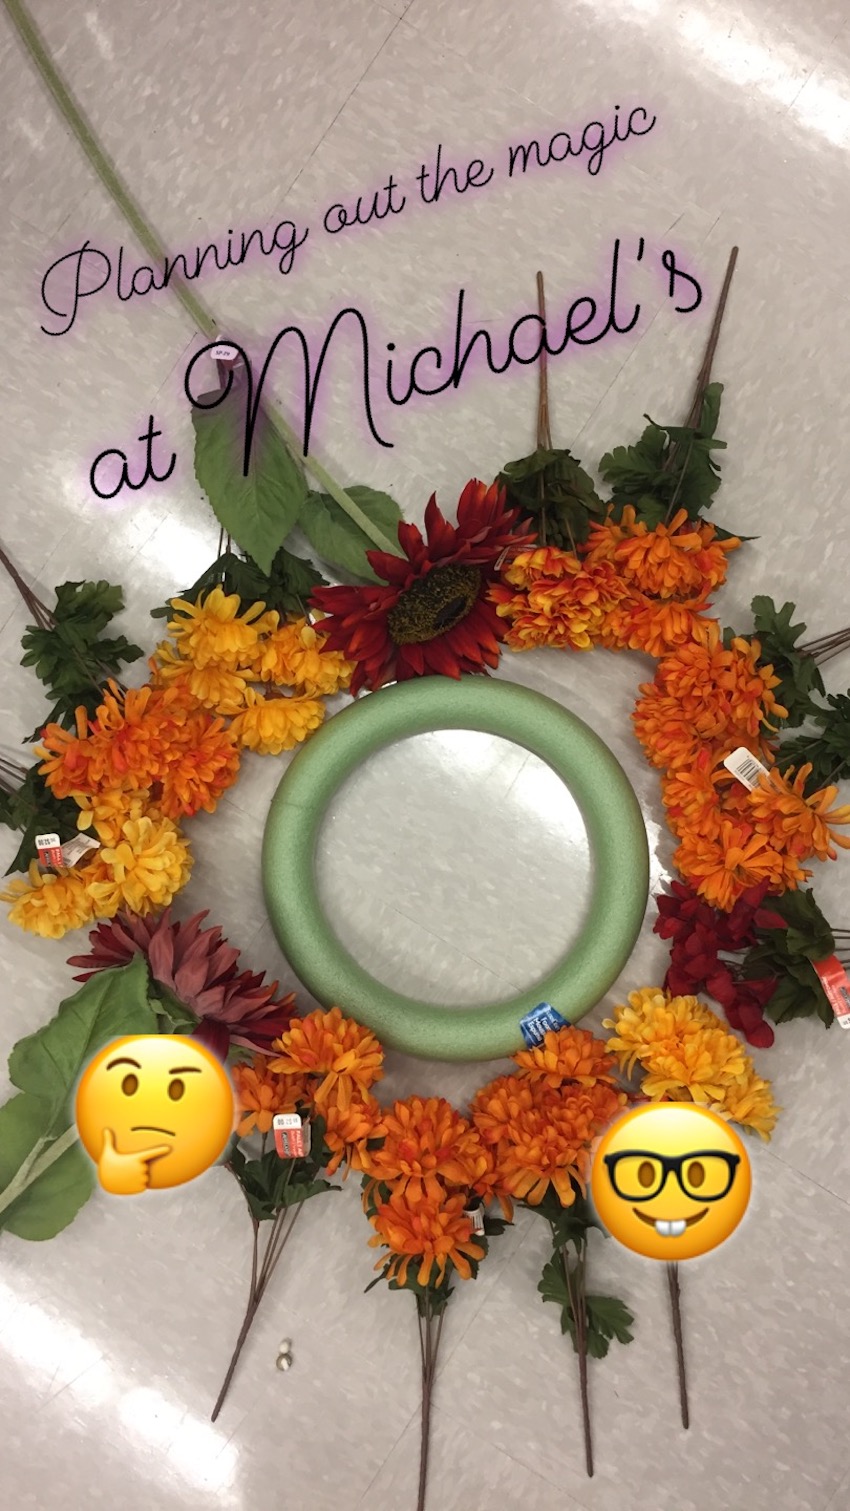
First, I chose a 12-inch foam wreath — the smaller option at Michaels.
Then, to make sure I had enough materials, I planned out my wreath right there on the floor of the craft store.
I figured out that I needed about 10 bunches of flowers. I grabbed a couple extra, just to be safe. Then I headed home to get started.
First things first — my 12-inch floral foam wreath, which I used as a base.
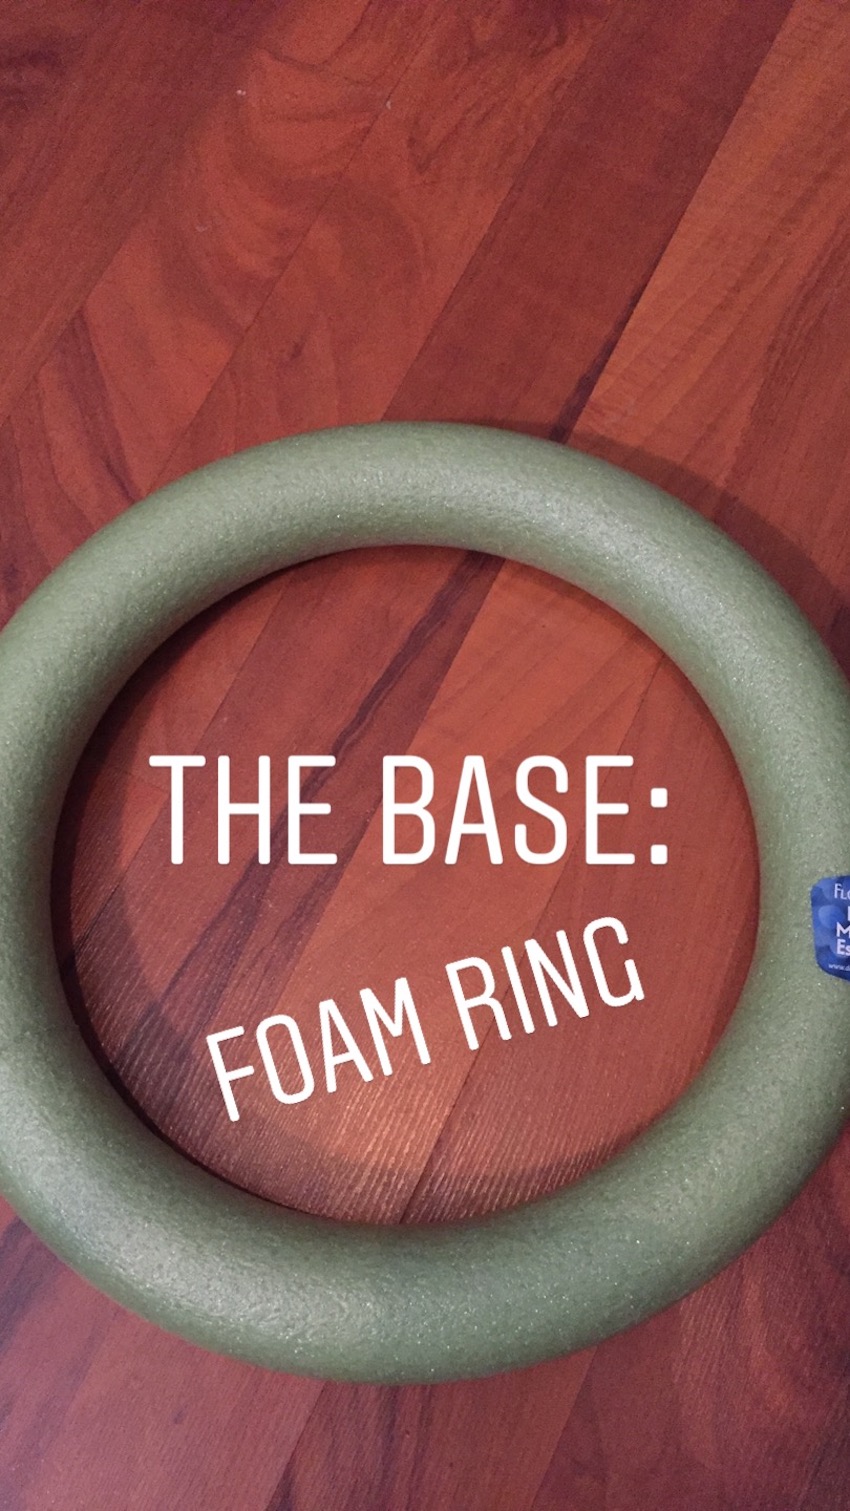
These rings are available in the floral section at Michaels.
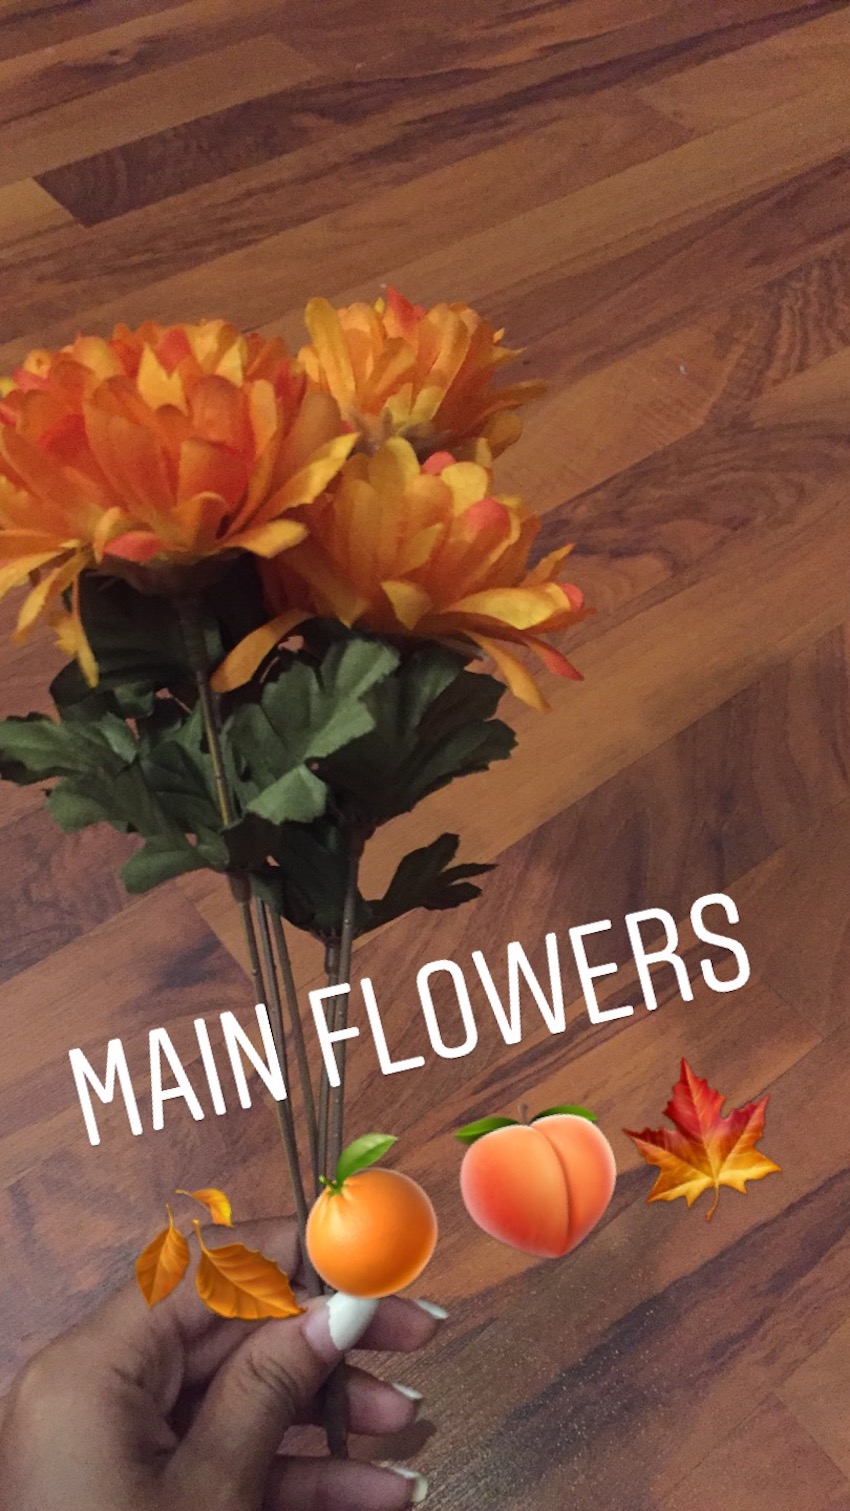
Then I used golden orange flowers as my main color. This color is perfect for fall!
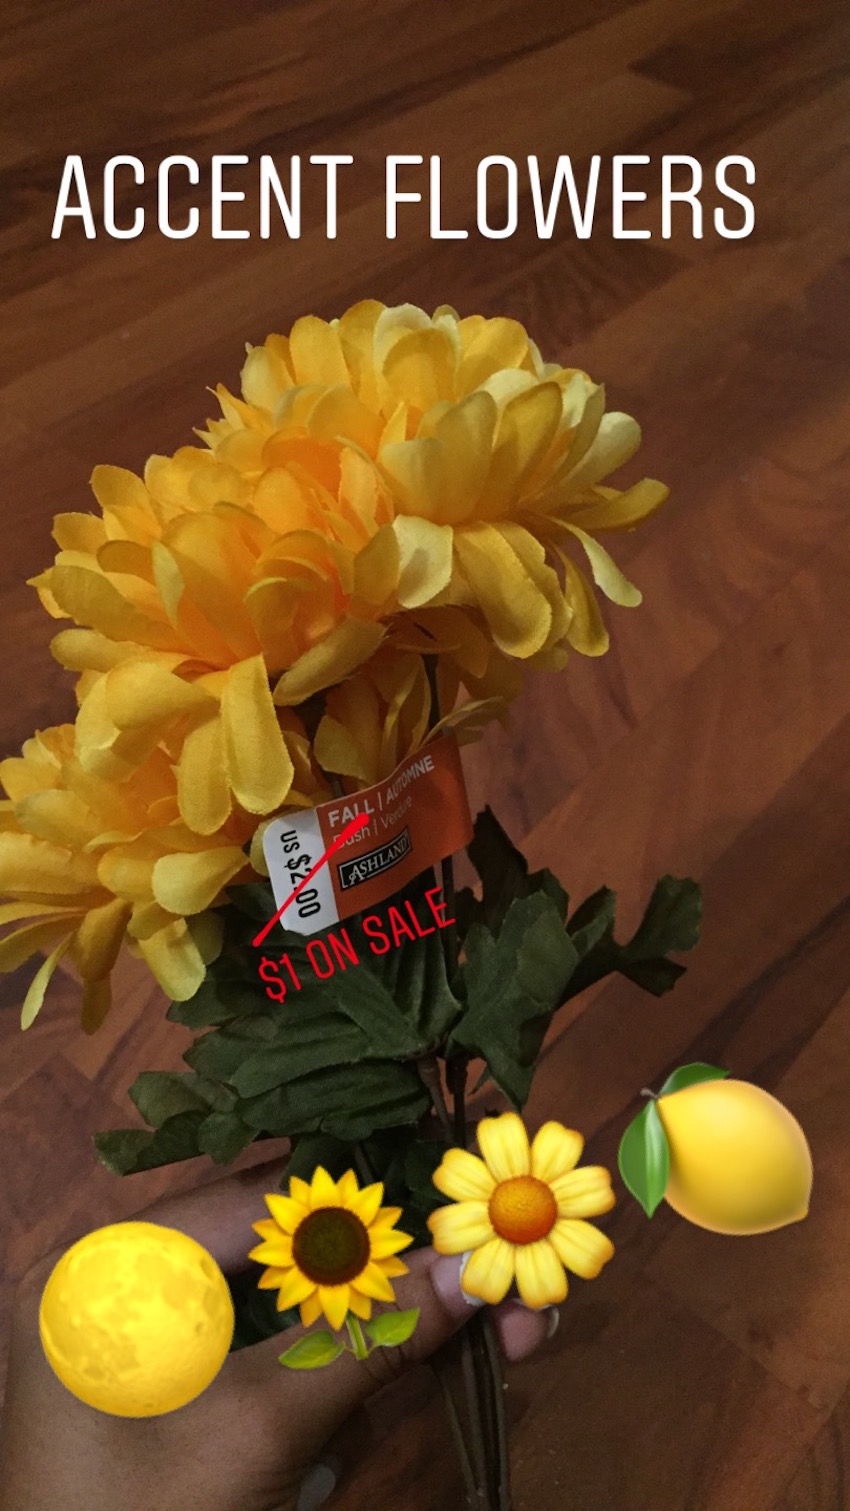
As an accent color, I used plain yellow flowers.
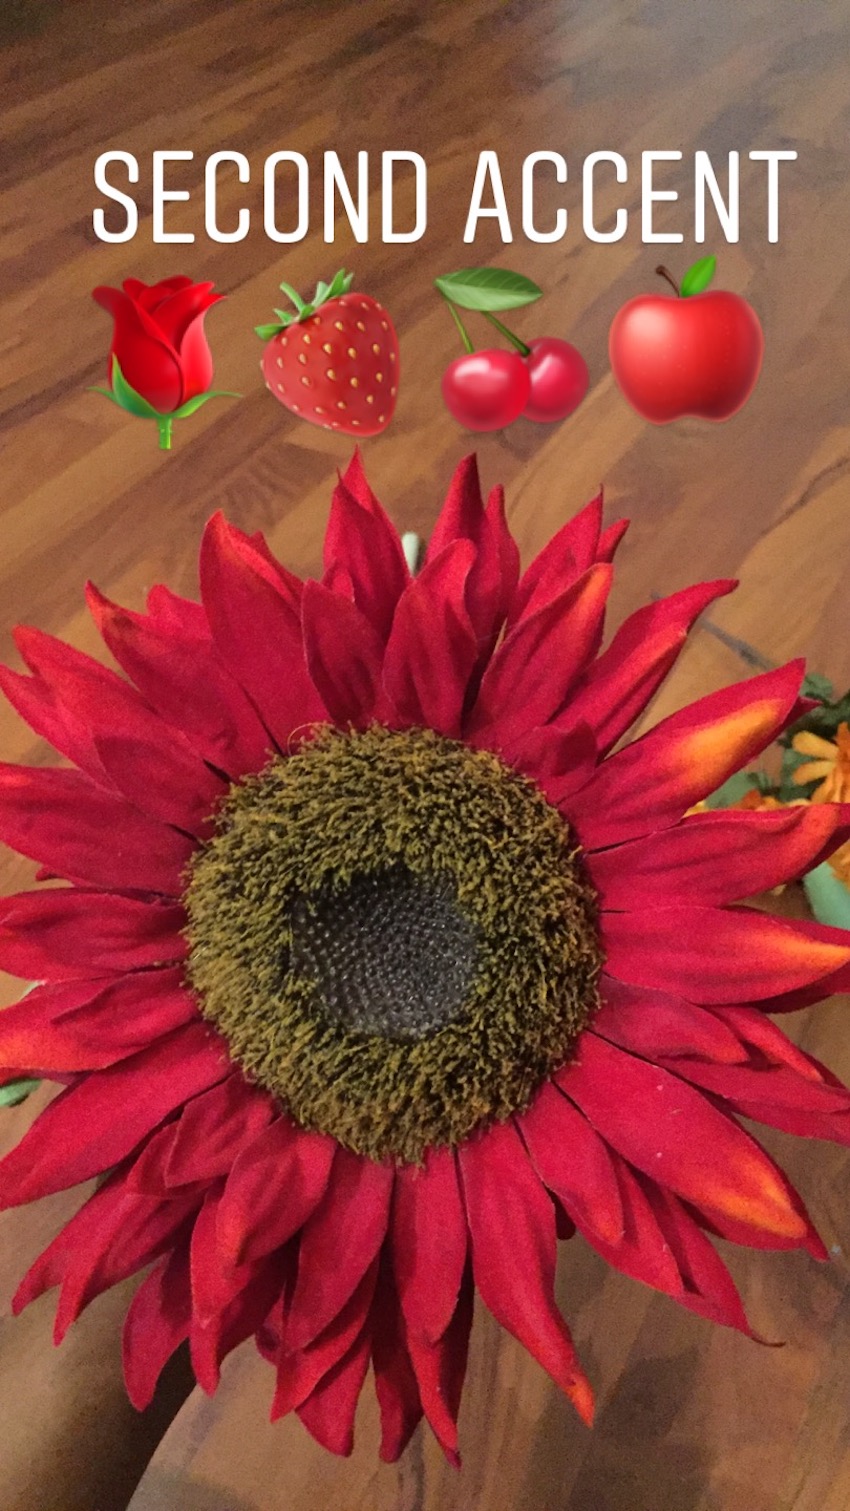
And lastly, I picked some big red sunflowers for a real pop.
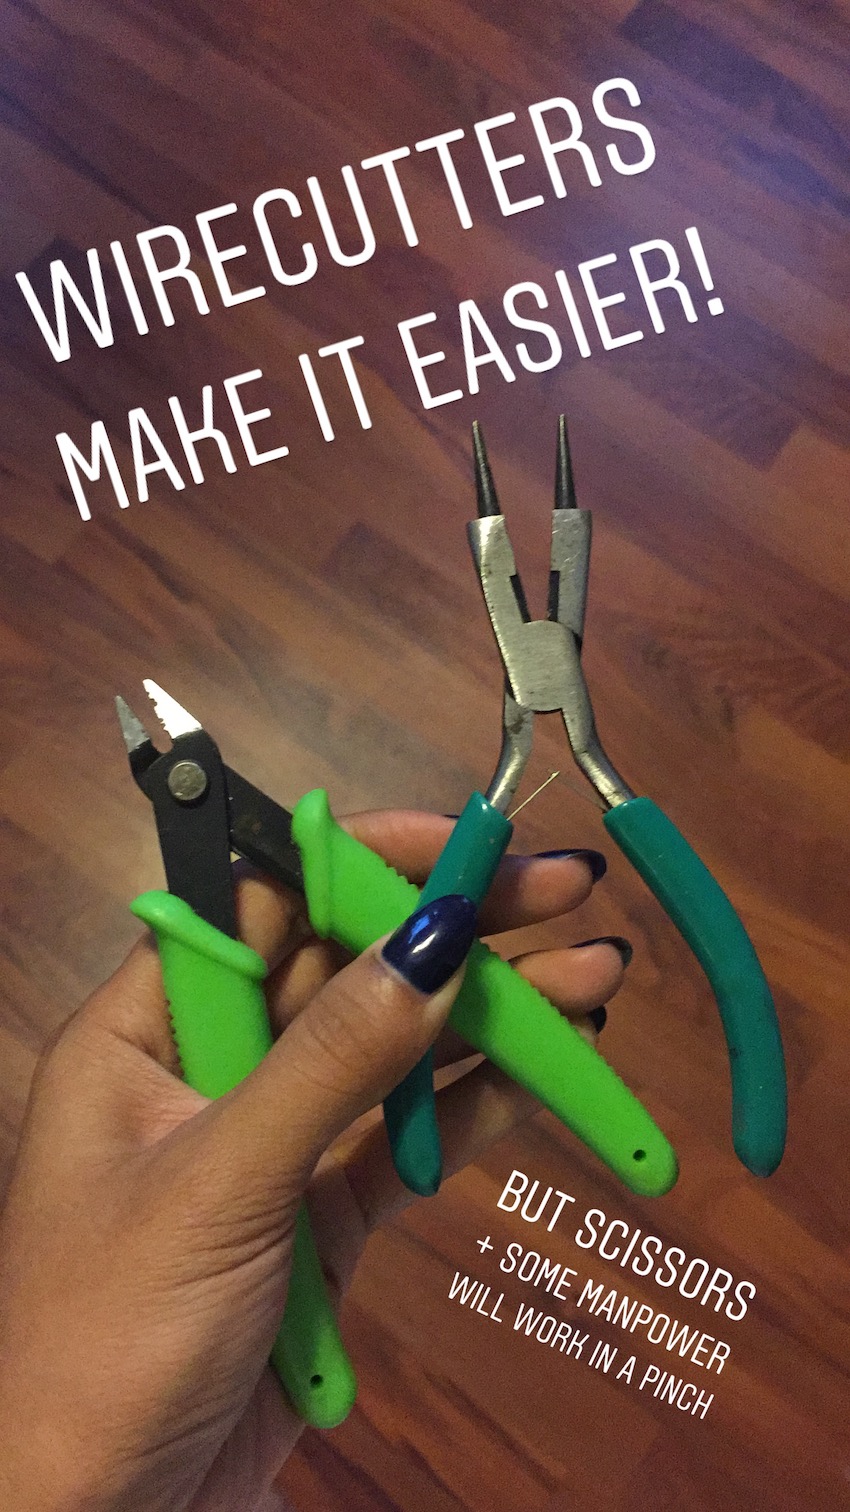
Just after starting my project, I also realized that wire cutters would make everything A LOT easier. Grab some if you have them, but if not, you can make scissors work in a pinch (that's what I did).
OK, let's get started!
The Process

First, I clipped the flowers from their stems. This is where the wire cutters would have come in handy. As it turns out, fake flower stems are made from wire! Who'da thunk.
I recommend cutting the flowers one at a time, so you can experiment with how long the stems need to be to fit into the foam properly.
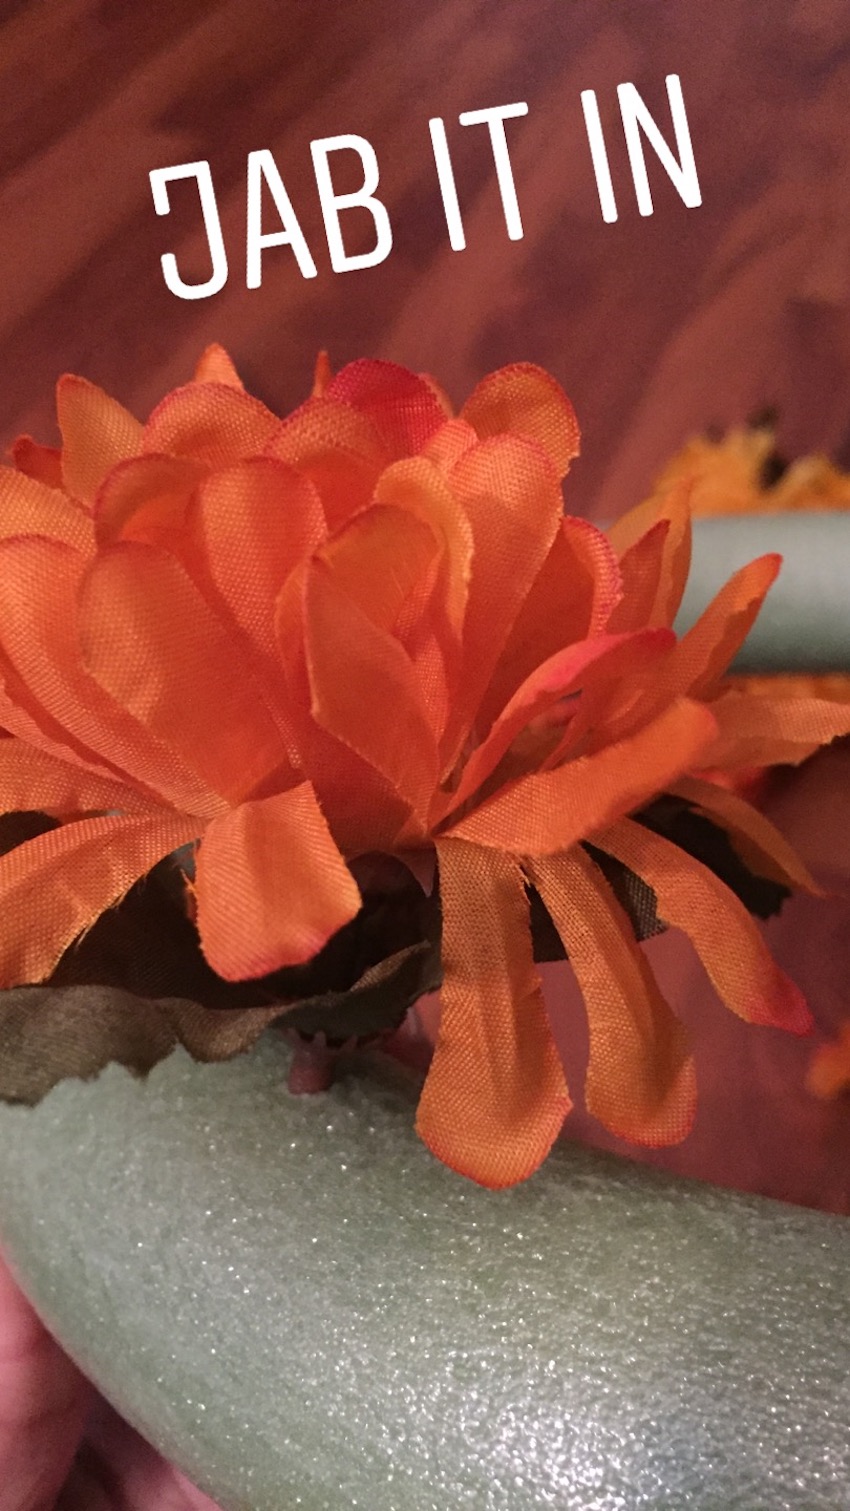
Once they're cut, you can go ahead and stick them right into the foam. Since the stems are made of wire, they're usually stiff enough to puncture the foam on their own.
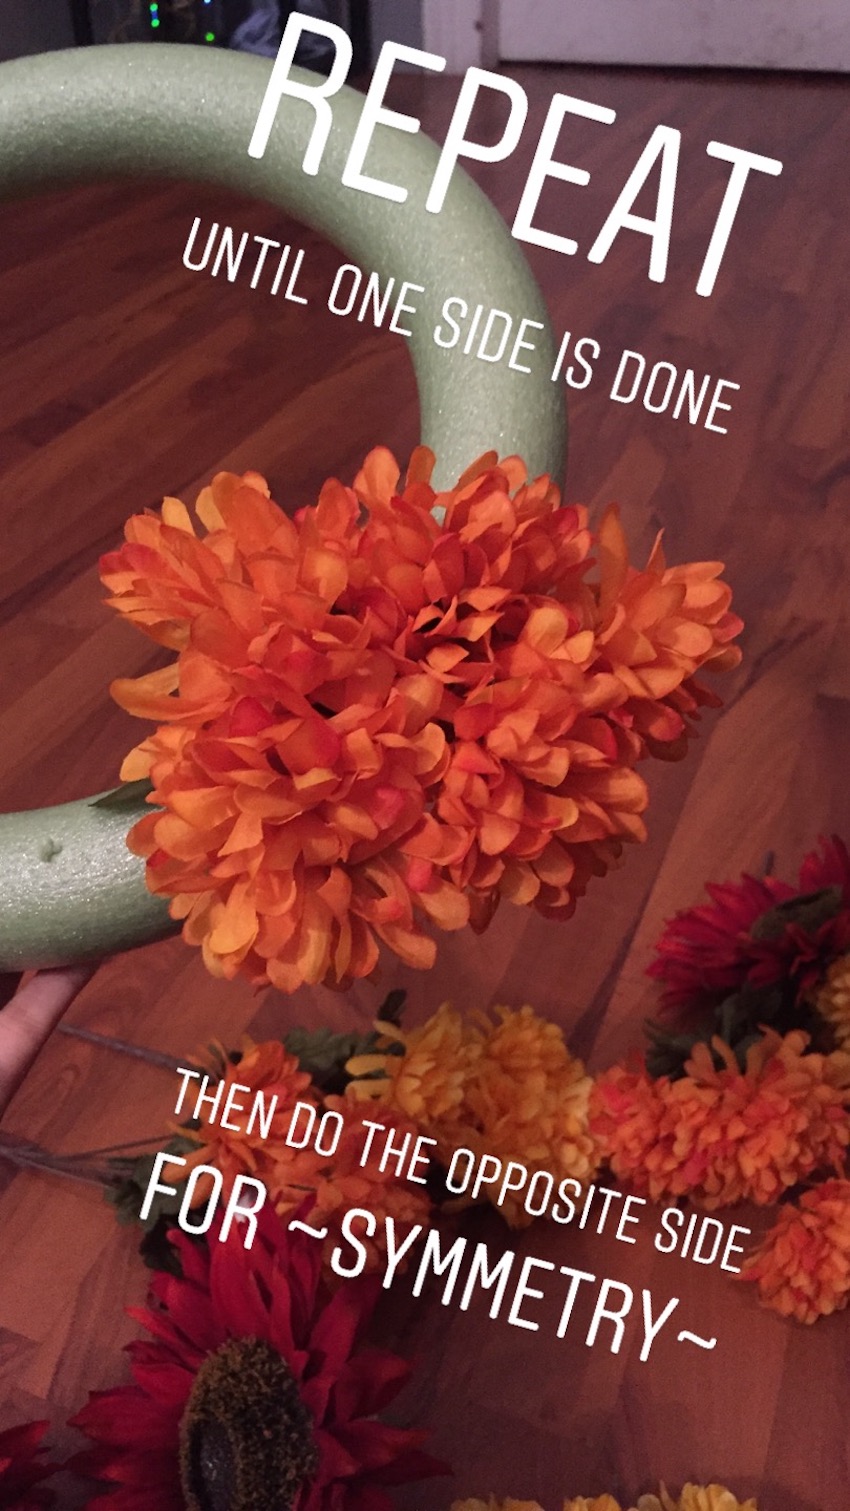
I filled up one side with my main color using one orange flower bunch.
Then I moved to the opposite side to do the same thing, rather than going clockwise in a circle — because symmetry!
After that, I filled in the gaps with yellow. I put yellow on either side of the orange. At the same time, I started to place my red sunflowers.

And then I jammed those into place, too, to see how it all looked together.

At this point, you're really just going with your gut and experimenting to see what you like. And if you're anything like me, you could become a bit paralyzed by those "What if I do it wrong?!" feelings. As I added things onto my wreath, I second-guessed every placement. I thought it looked silly, and I really had to push myself to keep going.
It can often feel like there's a "right" way to make a craft like this. But the more I kept going, the more I let that feeling go. If you're getting stuck, take a break and do something else — maybe pet a cat? — and then come back to it.

After I'd added all of my flowers, my wreath still felt like it needed more variety.
So I cut some leaves from the same flower stems and added those on.
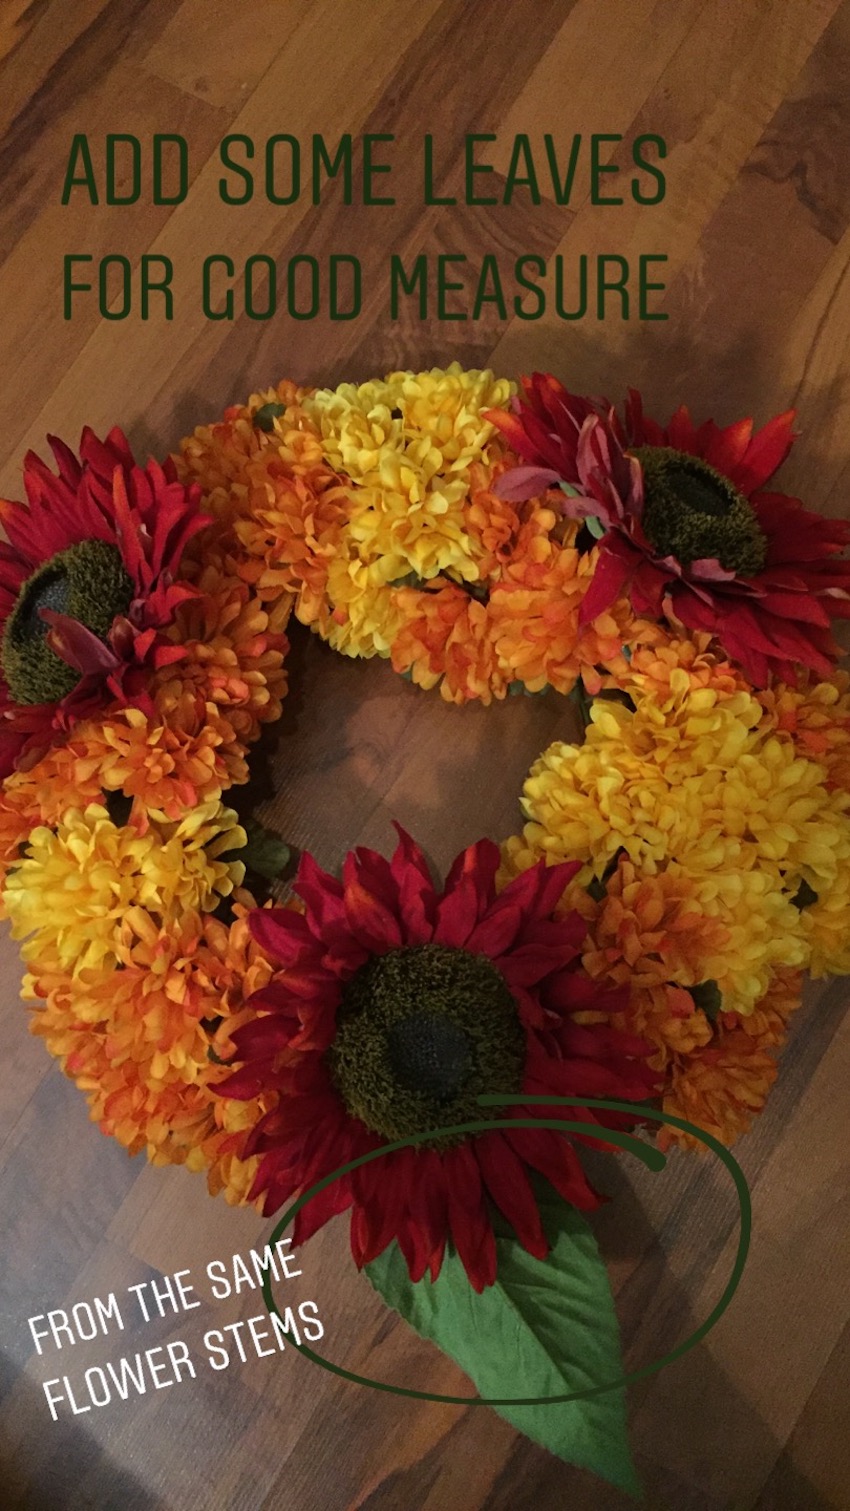
I added big leaves and little leaves, too.
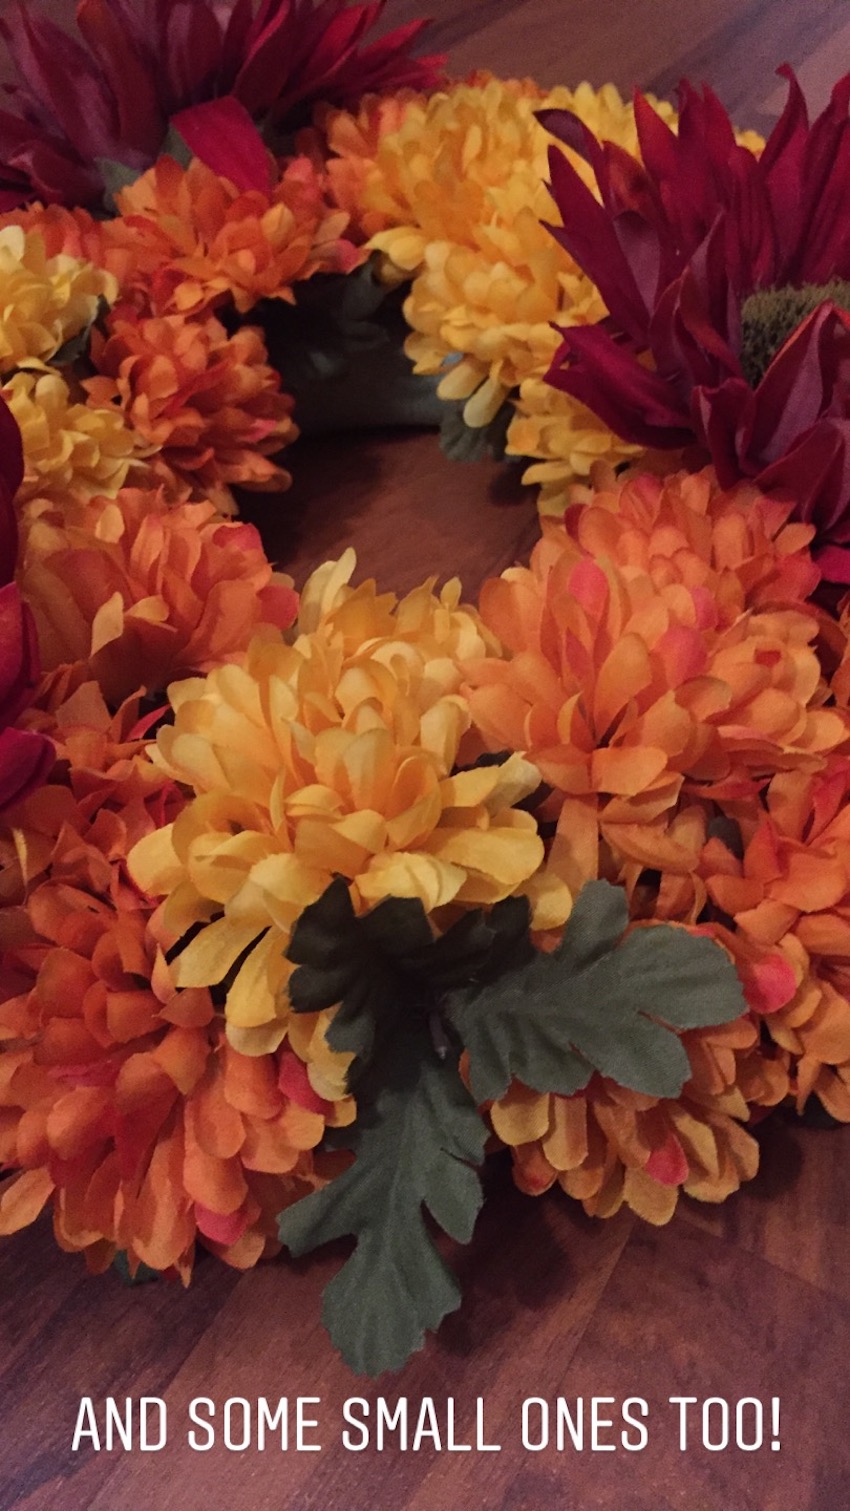
And then I left to pet a cat, and when I came back, I looked at my wreath and felt like there was nothing more I could add, so I didn't.
All done!
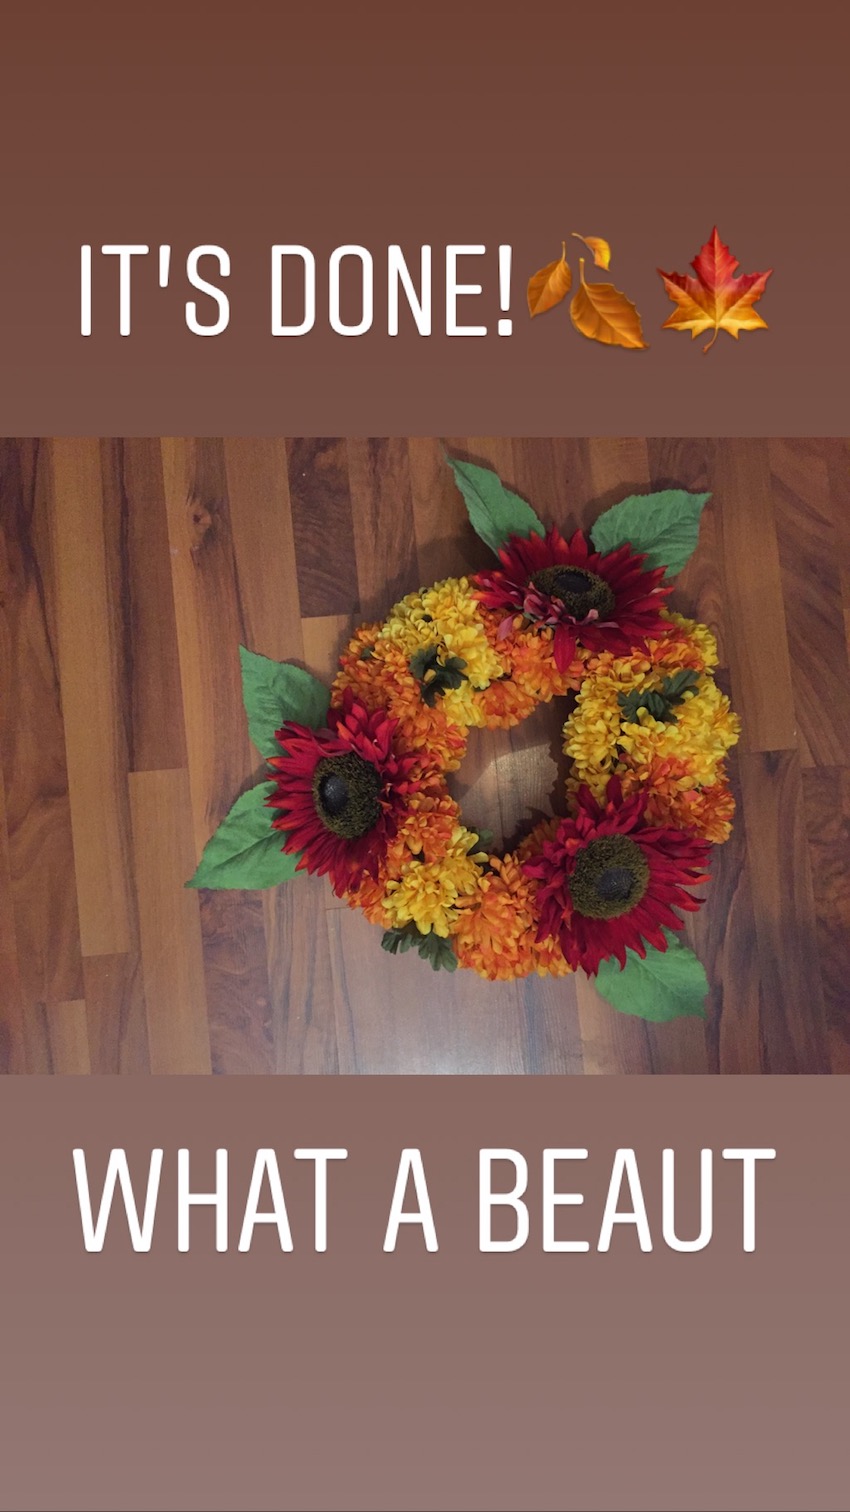
The real test is the "Hang it on your door and see if it makes you happy" test.
So I hung it on my door.
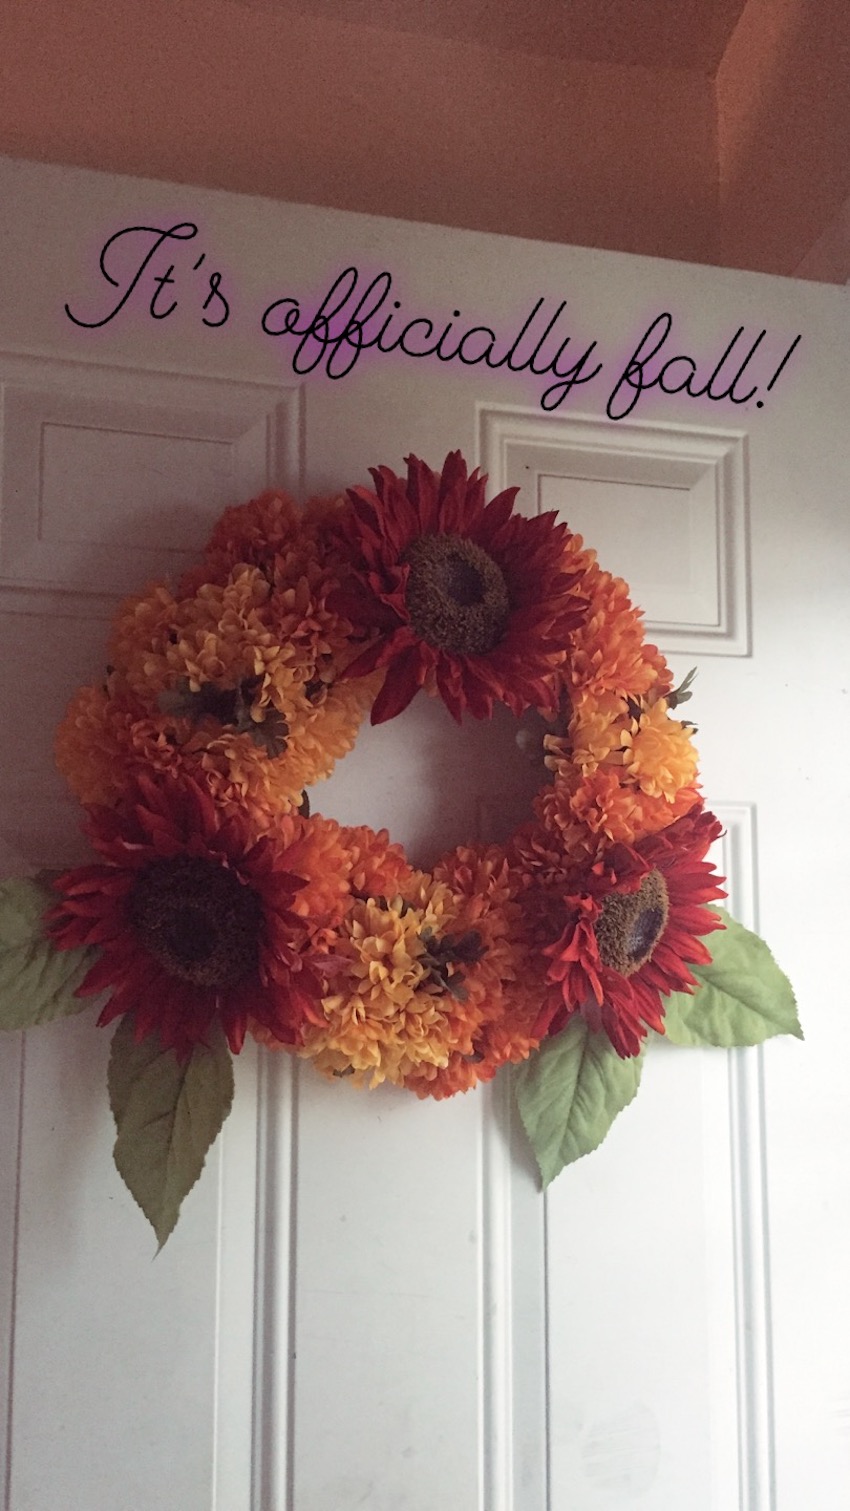
And you know what? It felt like fall had arrived. Success!


