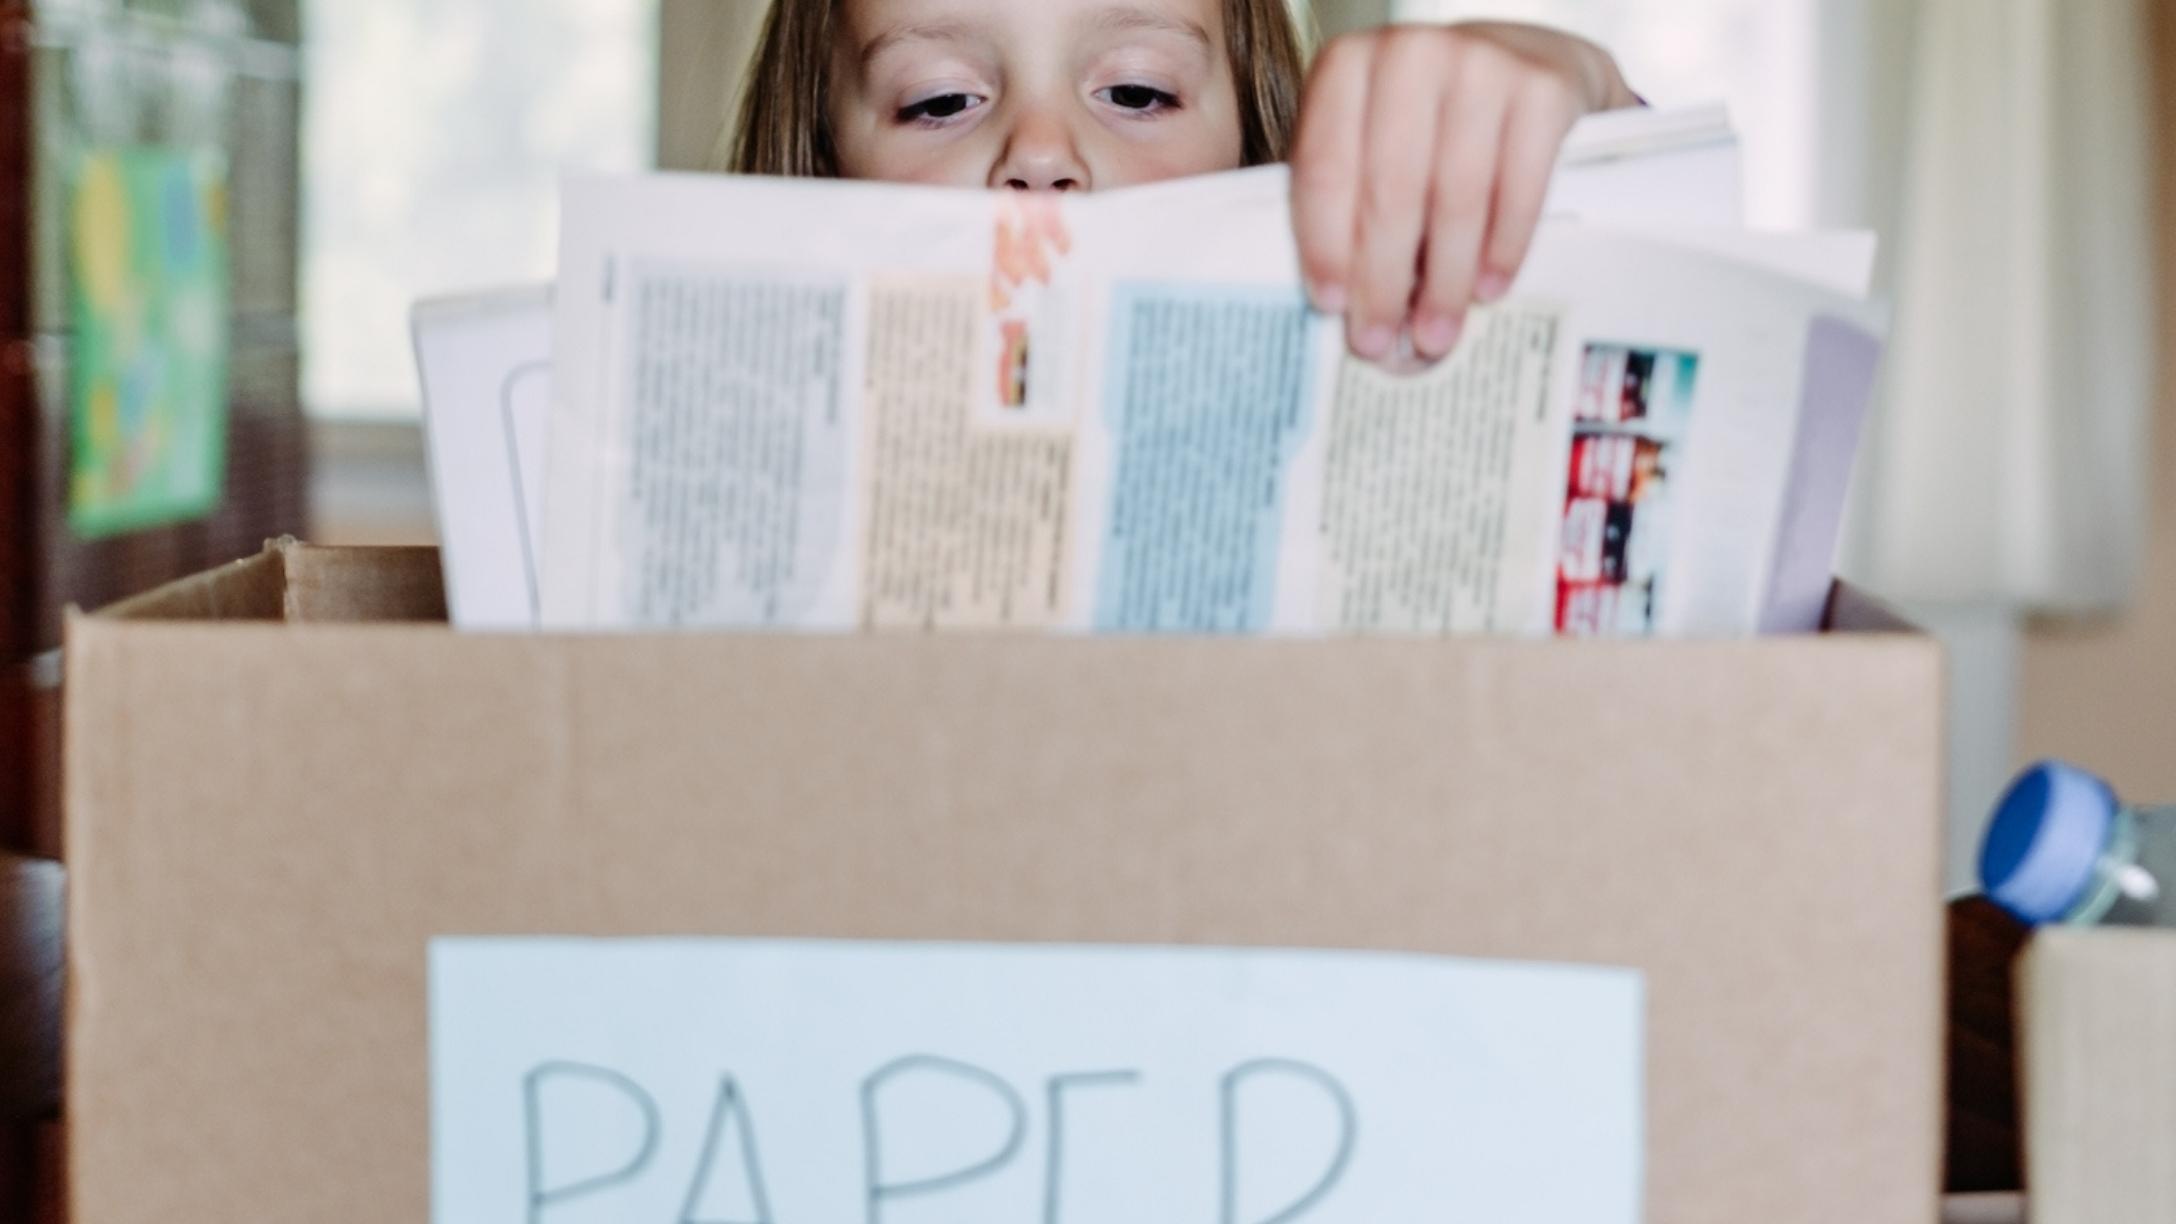
There’s little you can do to stop the influx of junk mail and scrap paper you end up with in one household. That’s doubly so in households with kids in elementary schools who get handouts and worksheets for literally everything.
You can recycle the paper, but throwing it in a bin isn’t the only way how. I decided to give making paper out of paper destined for recycling a shot. If we’re being real, I was pretty sure I couldn’t talk any kiddo volunteers into this one. It wasn’t the most exciting activity on its face.
I was met with questions: “What are you gonna do, slice up a tree?” “It’s already paper, why do you have to make it paper?” I quietly started piling up the junk mail and ordered a cute little kit by Wooden Deckle to guide me along the process.
First thing's first: Gather your supplies.
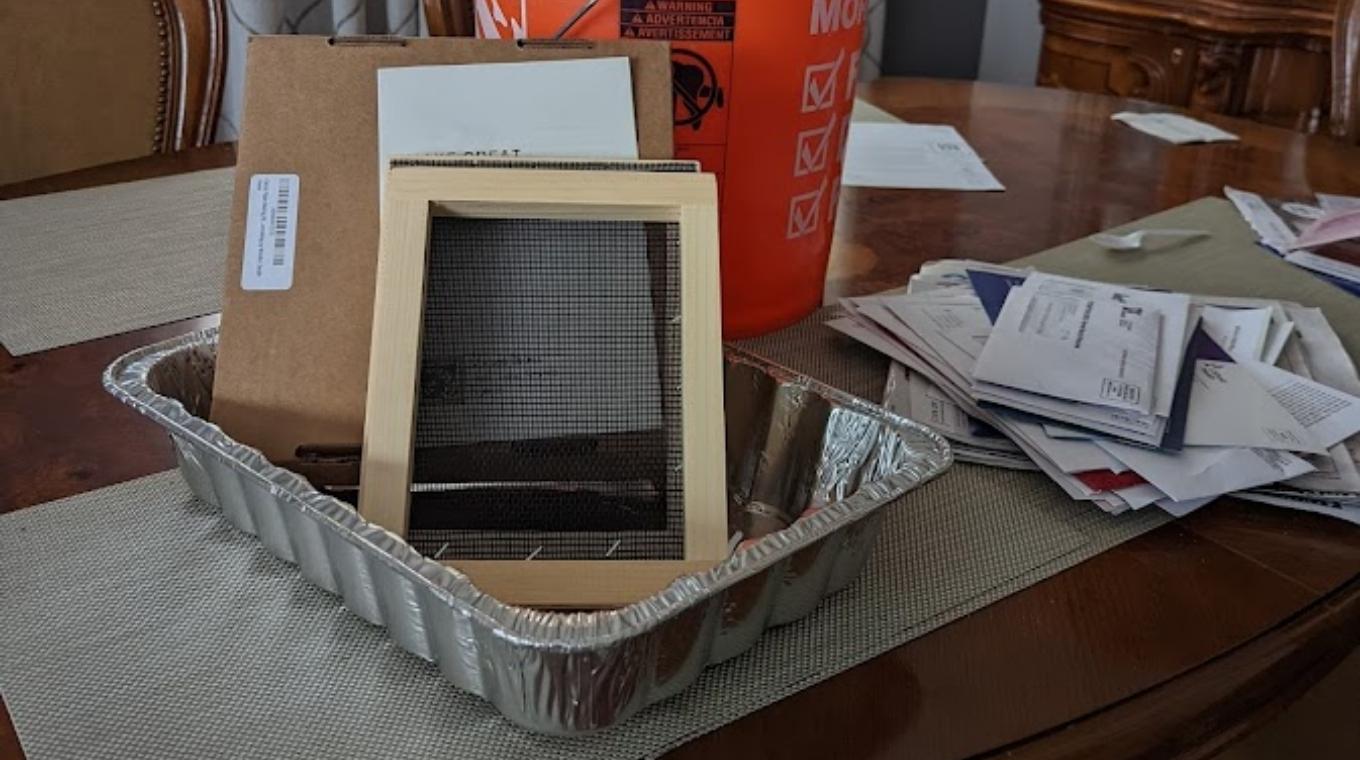
The kit comes with instructions and a variety of different additives you can put in your paper. It also comes with the wooden deckle you use to make your sheets. Deckles themselves come in all shapes and sizes. In addition to the kit’s contents, you’ll need a pan for papermaking, a bowl or bucket big enough for soaking your paper in, and your stash of paper. The paper shouldn’t be glossy or have too much ink on it. If you’re looking for colorful paper, try adding different color papers. Construction paper or colored printer paper is also an option you can add.
Start by ripping up your junk mail.
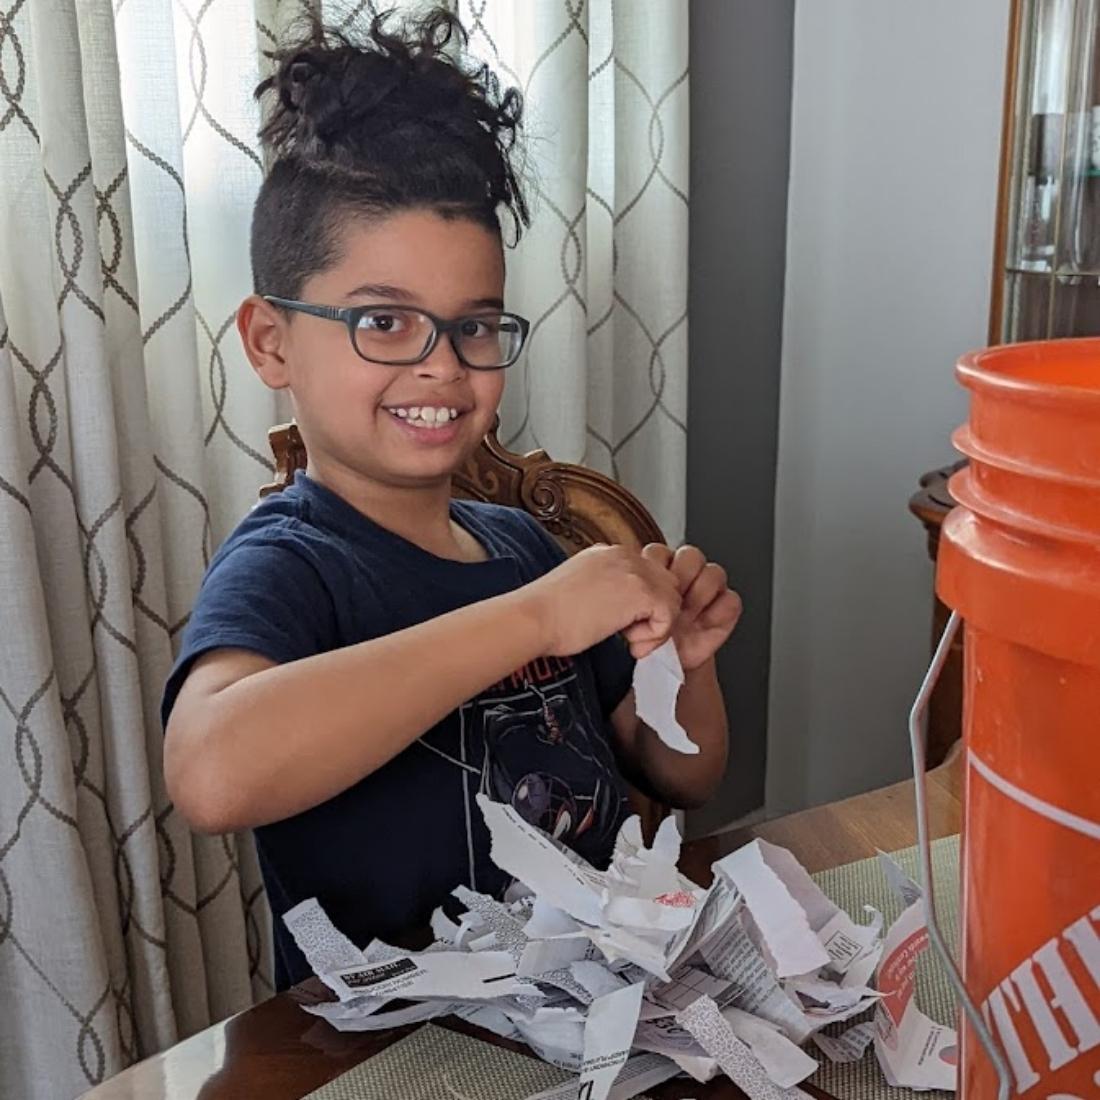
Sort through your junk mail to determine which paper is usable and which isn’t. Also make sure to sort out any envelopes that have plastic windows. Tear your paper up in 1- to 2-inch pieces. You’ll want about 4 cups of torn paper altogether.
Soak the paper.
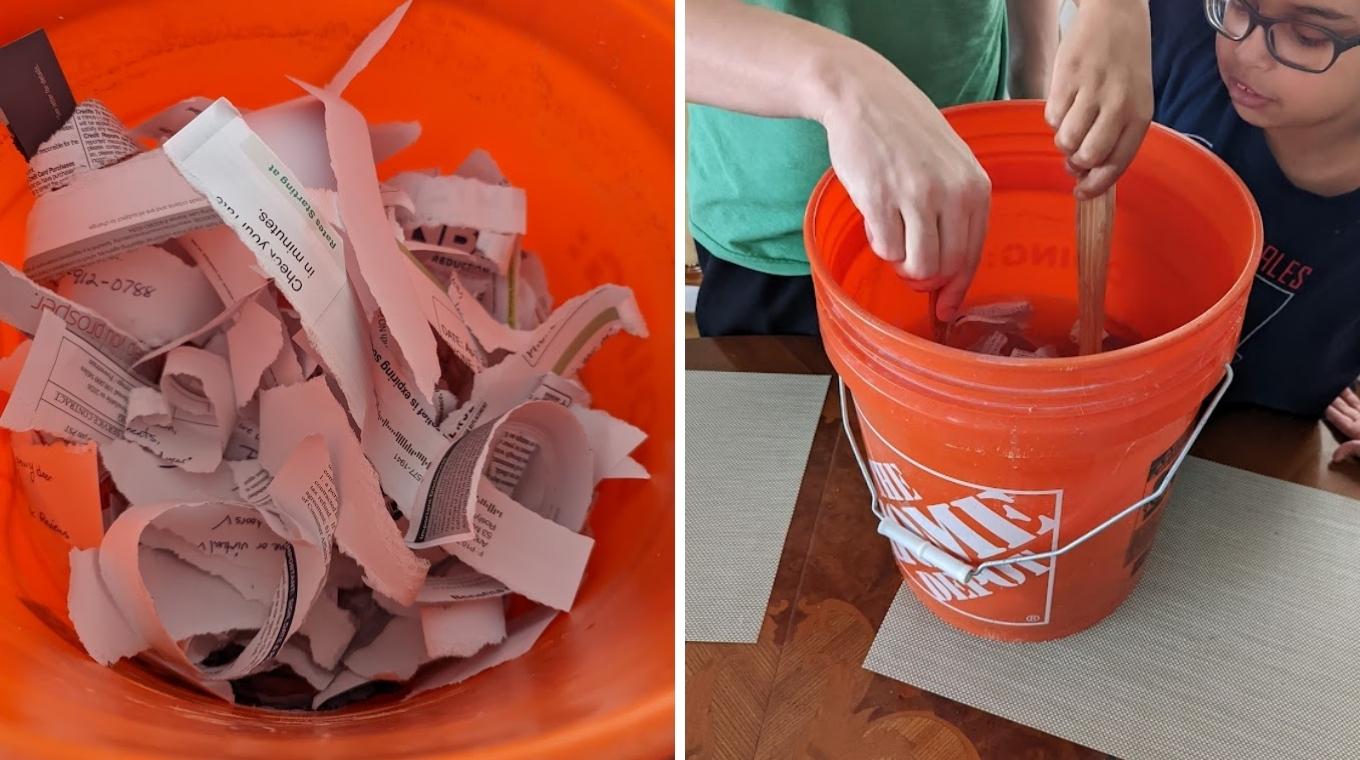
Throw your paper in a bucket or bowl of hot water. Be sure to remind your kids how to safely handle hot water. Use tongs or long-handled utensils to submerge the paper into the water. Allow it to soak for 10 to 15 minutes before checking back.
In my case, we needed more time to soak.
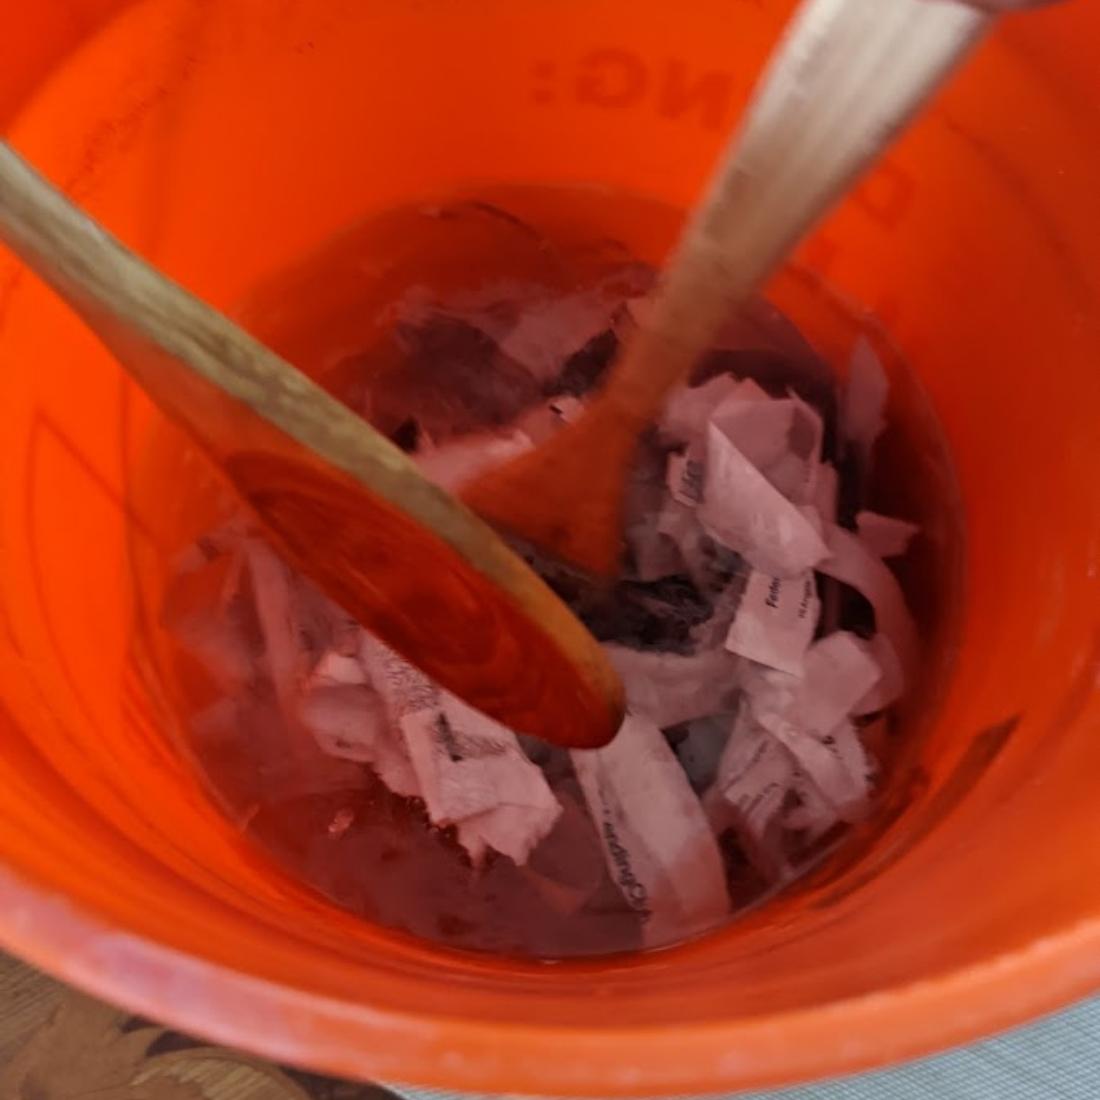
In total, we ended soaking our paper for about 30 minutes. I went over and stirred it up once or twice to make sure everything was thoroughly saturated.
Next, it's time for a blender.
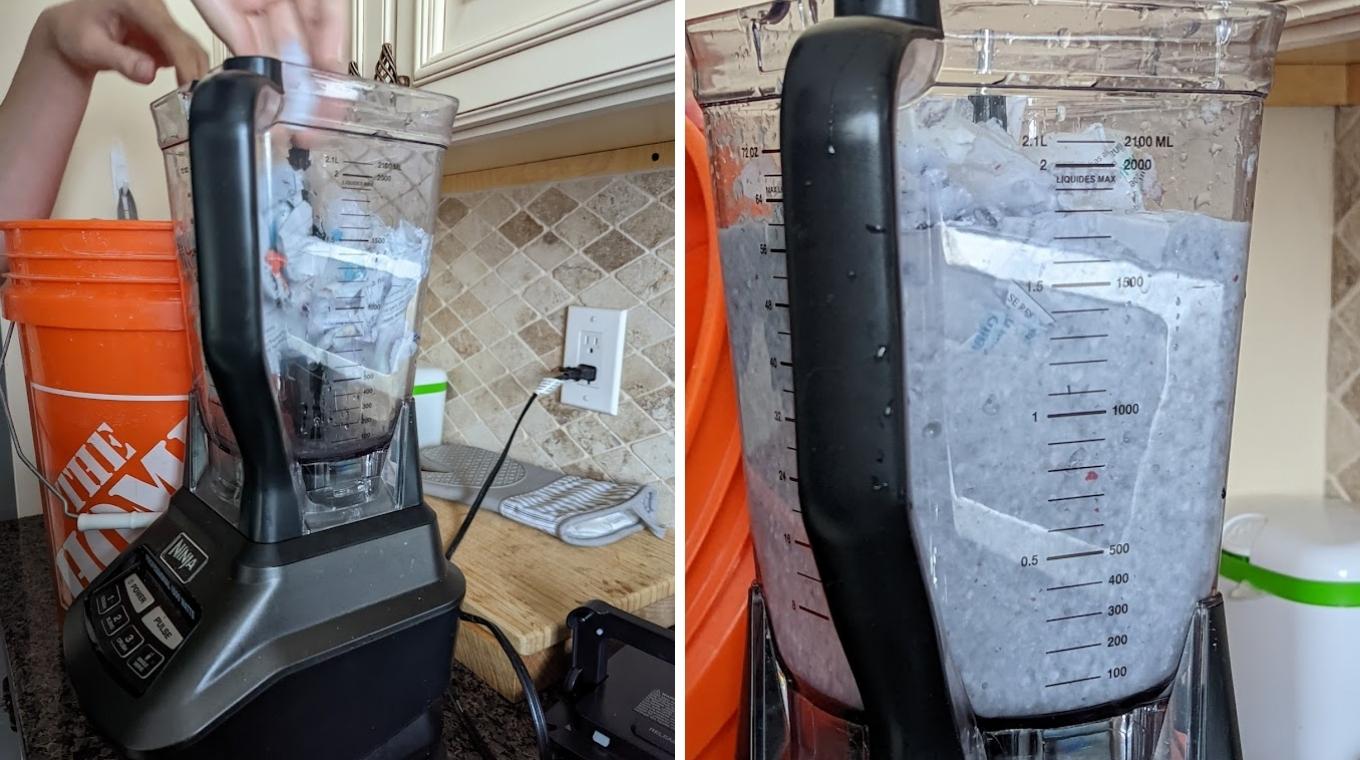
You’ll need a blender or food processor for the next step. Take a handful of paper and put it in the blender. Add water until it’s about three-fourths of the way full. Then blend until well blended, about 30 seconds. Pour that batch into a strainer and repeat until you’ve turned all your wet paper into pulp.
Get ready to make your slurry.
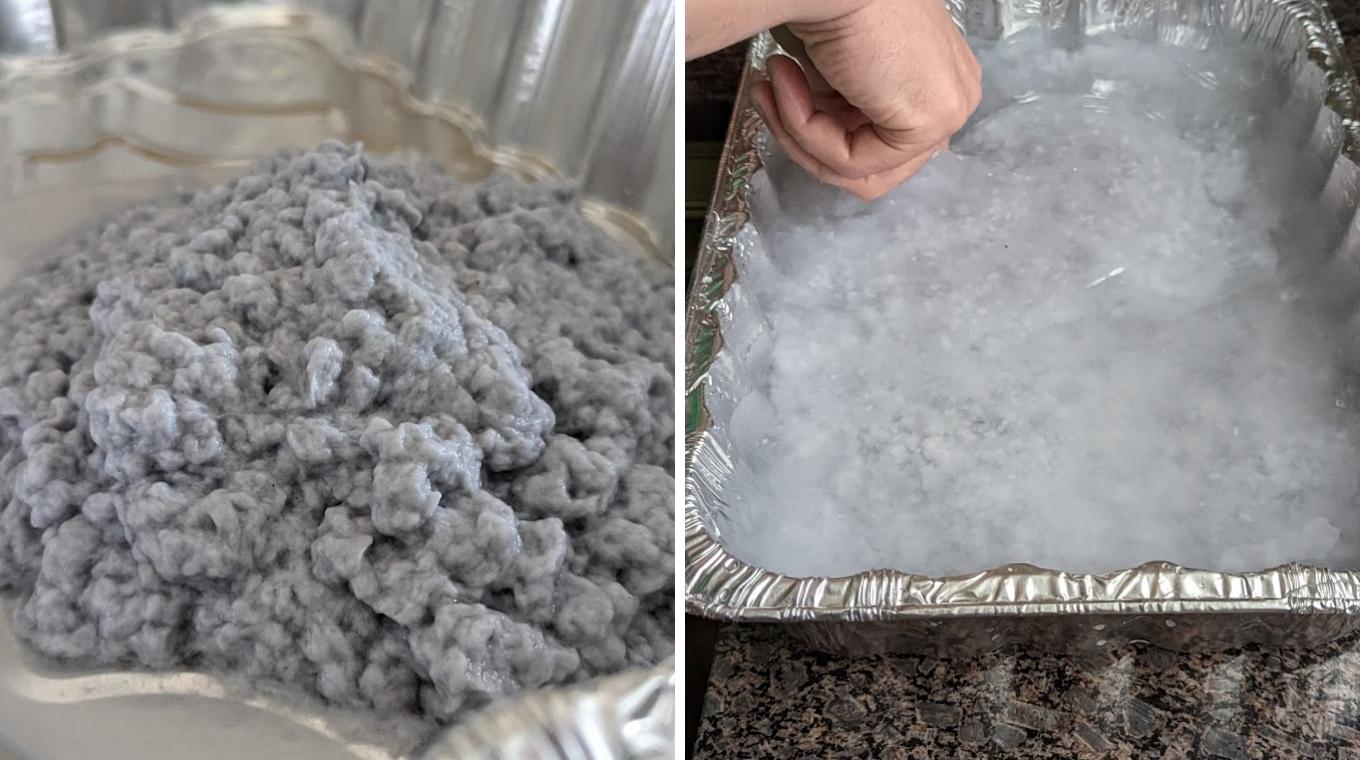
Add water to the pan you’ll use to dip your deckle in. Fill it halfway full, then add 1 to 2 cups of pulp. The more pulp you add, the thicker your paper will be. Swirl the slurry in the pan to make sure the pulp is evenly distributed throughout. If you’re going to add anything to your paper, this is the time. Natural fibers, flower petals, herbs and spices, potpourri, lichen, and more are suggested. The kit even comes with some inclusions, including lavender bits, fibers, and glitter.
Prepare your couching sheets.
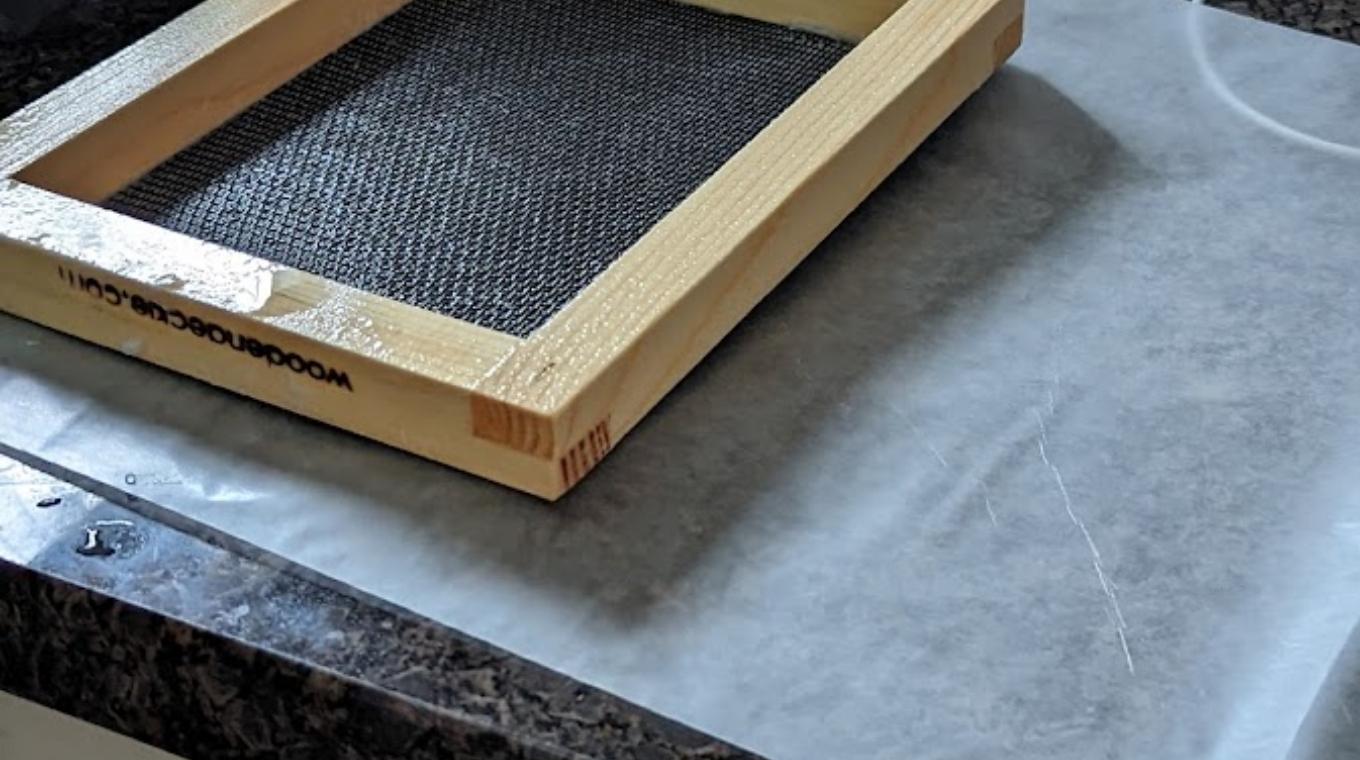
Reusable couching sheets will be where your paper will rest. The kit provides some reusable paper towels, so make sure to think green when making your choice. Admittedly, I missed the absorbent part and used wax paper — it was a little messier, but nothing too unmanageable.
Now it's time to dip your deckle in the slurry.
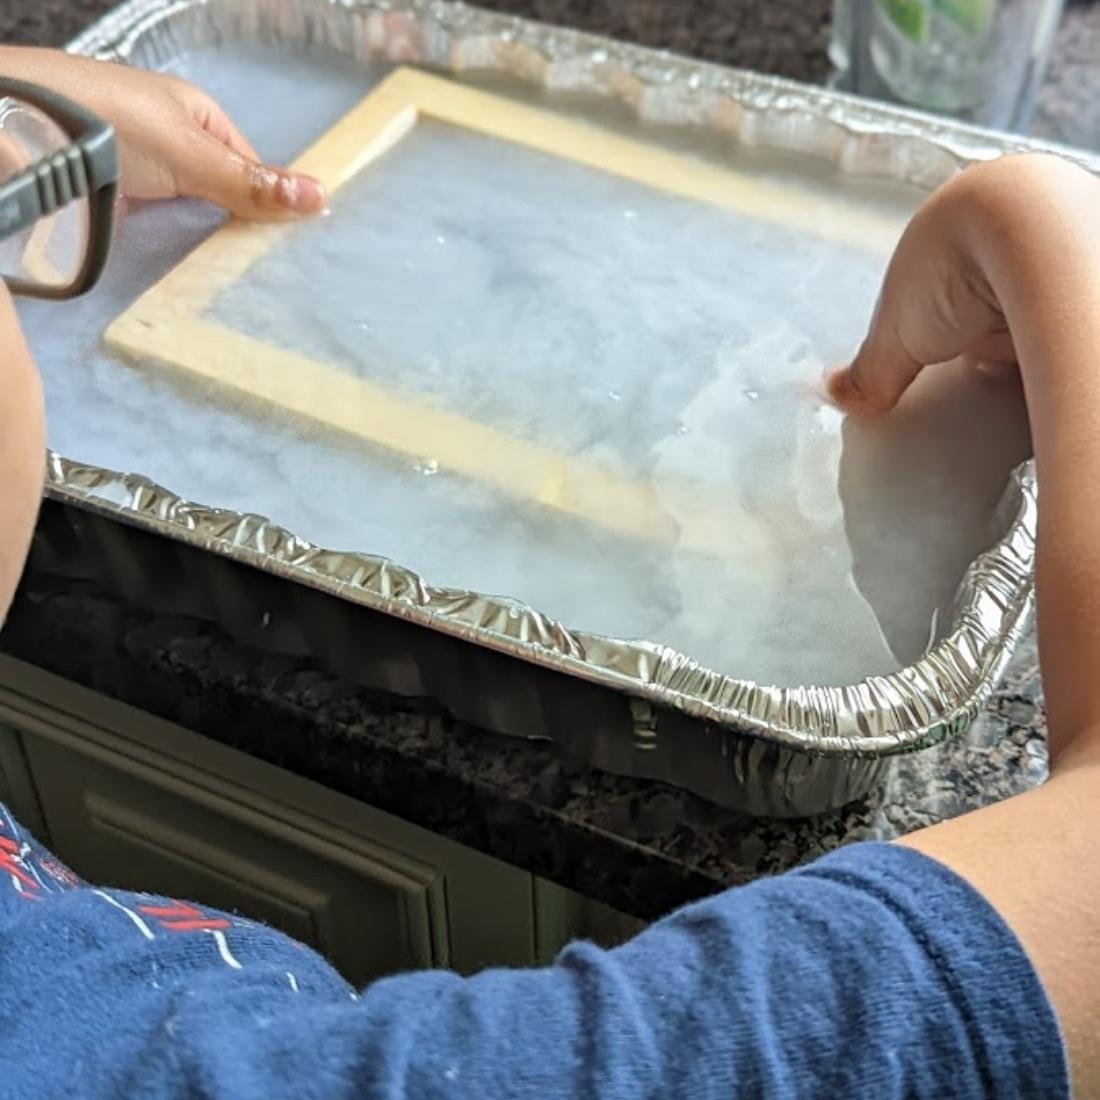
Hold the mold piece (the one with the screen) so that the screen side is facing up. Then place the wooden deckle (the screenless part) on top and grip them tightly together. Dip the deckle and mold so that you’re scooping slurry onto it as you go.
Continue tightly holding the mold and deckle together.
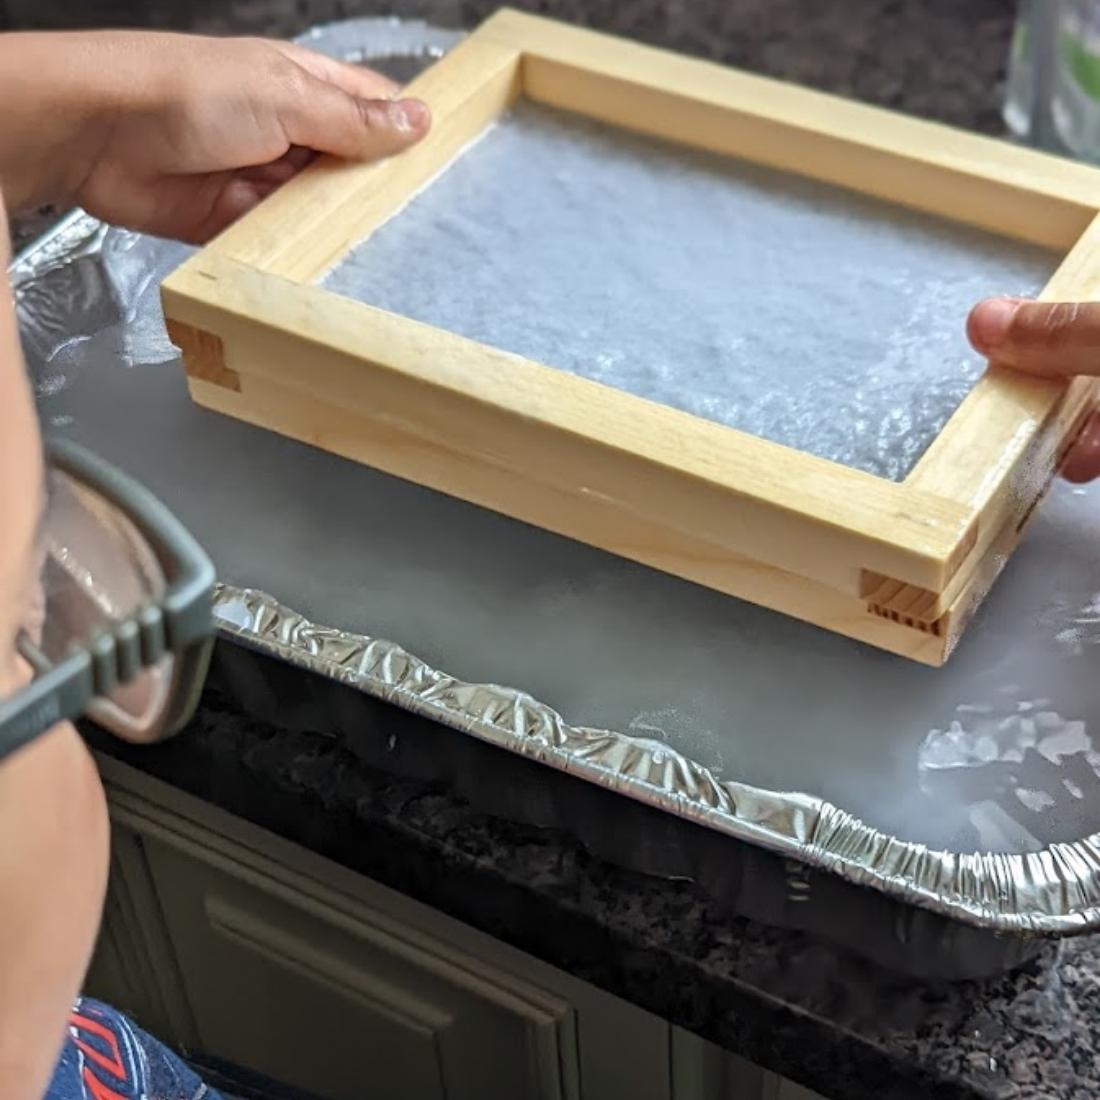
When you’re ready, you’re going to lift the two straight up out of the water. Tilt the mold slightly to drain water. Once water is drained, carefully life the deckle from the mold. Put one end on the couching sheet and gently move it back and forth until the screen face is flat on the sheet, pressing your paper between the screen and couching paper.
Use a sponge to blot out the excess water.
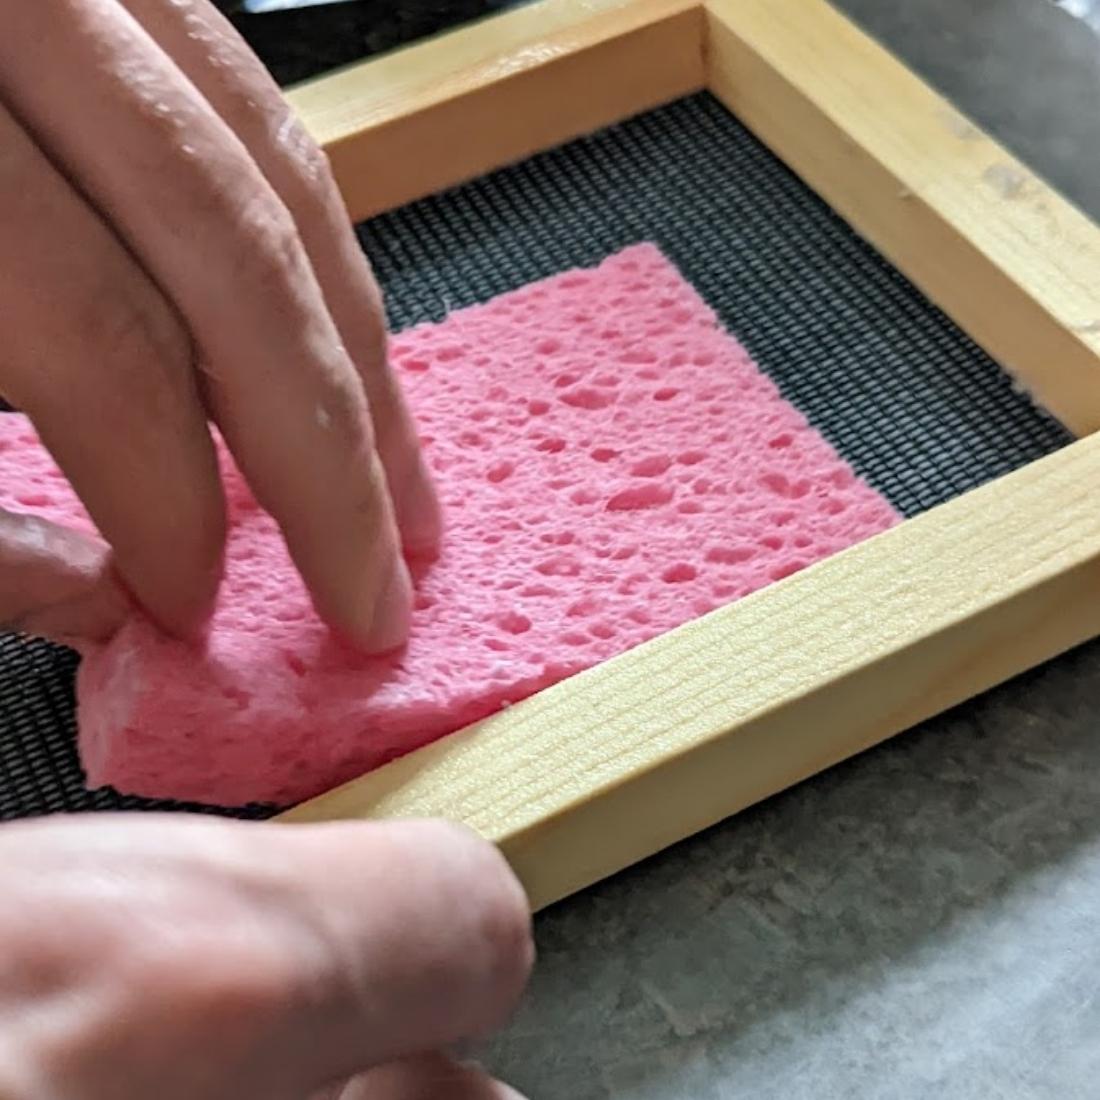
Use a sponge against the screen to absorb extra moisture. Then get ready to lift the screen off. Gently lift from one end first. If the paper is sticking, you’ll need to blot more moisture off before trying to lift again.
You can add a second couching sheet.
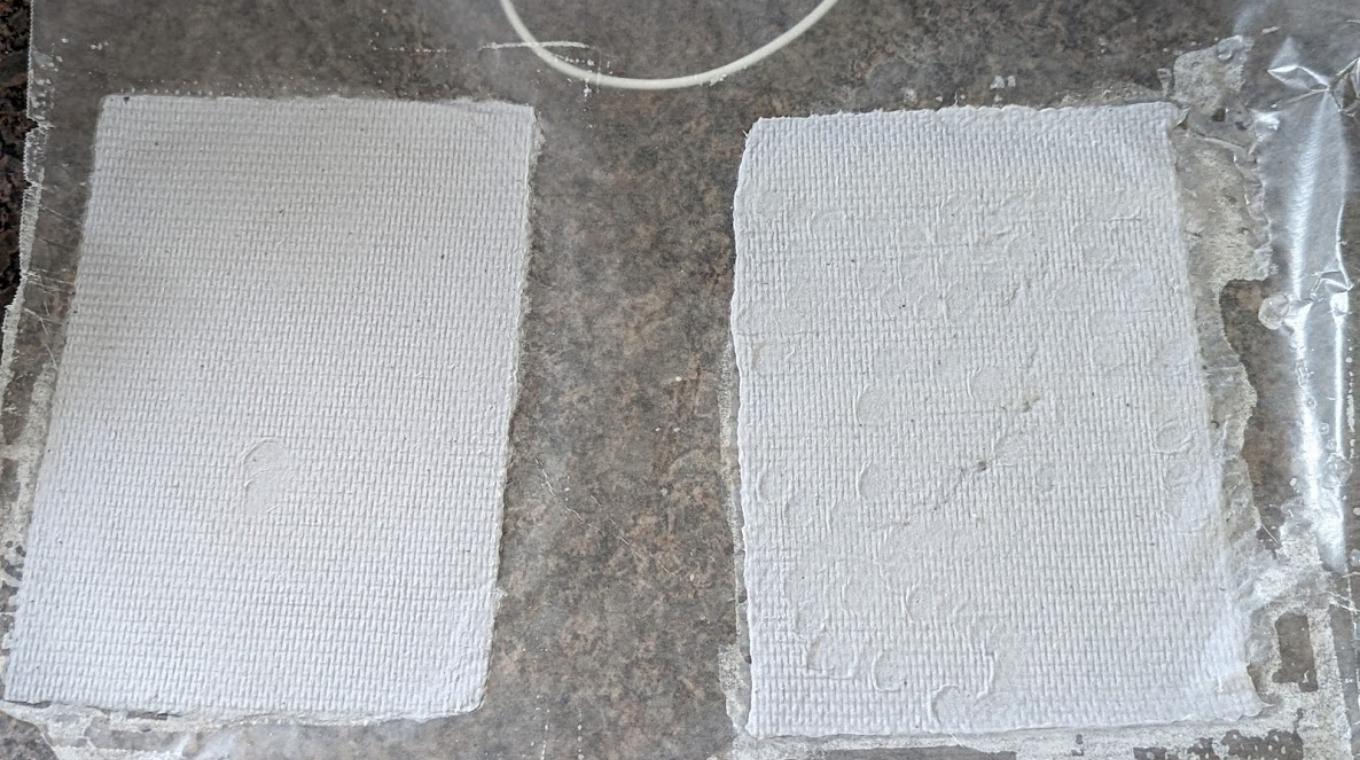
If you like the idea of textured paper, one couching sheet is fine. Add another on top if you want both sides to be smooth, or if you want to stack sheets to dry. You can even put a large book on top of a pile of them drying to ring out excess moisture and ensure they dry flat.
We also had to try throwing some inclusions in for extra-special sheets.
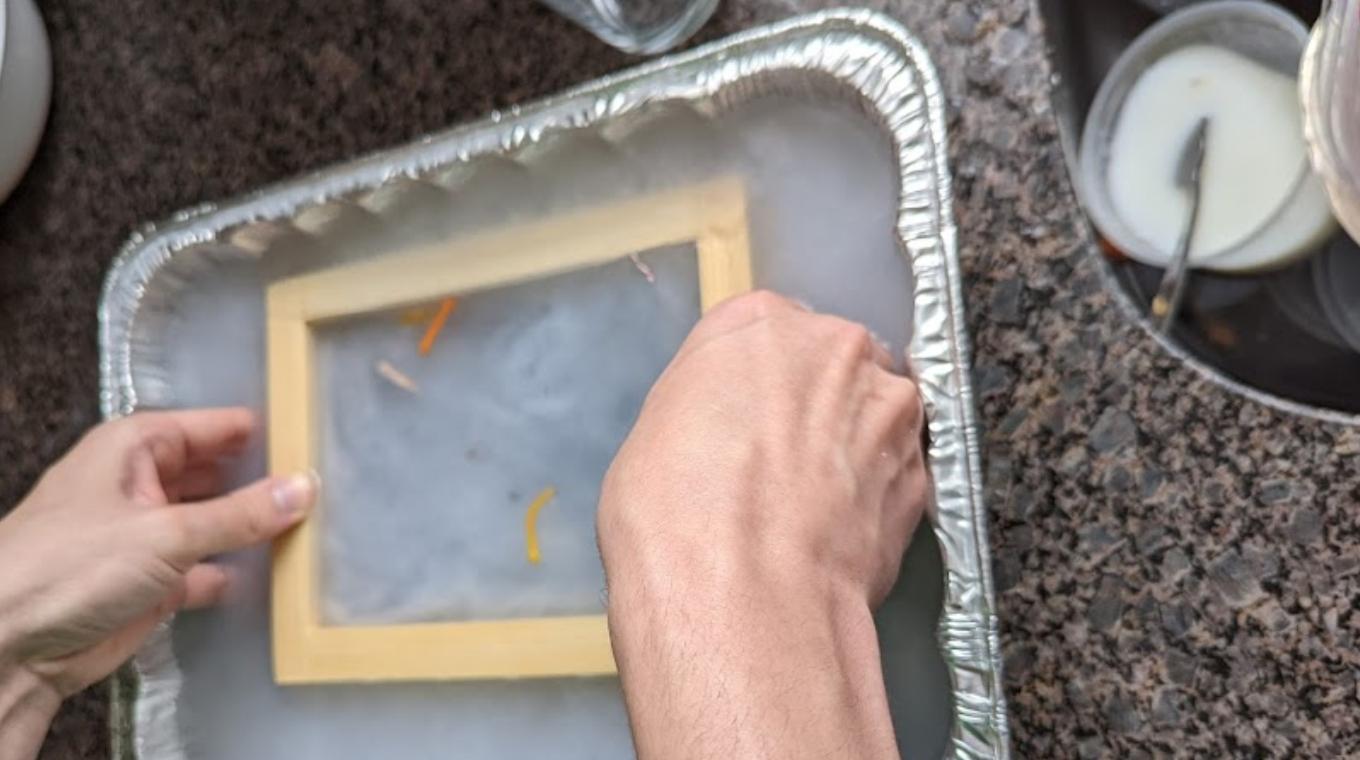
We added some of the fibers, which included bits of rope and yarn, into the slurry and mixed. We had to help direct some of the bigger pieces toward the deckle as the sheet was pulled, but we managed to make it work somewhat.
The sheets looked cool with the bits in them.
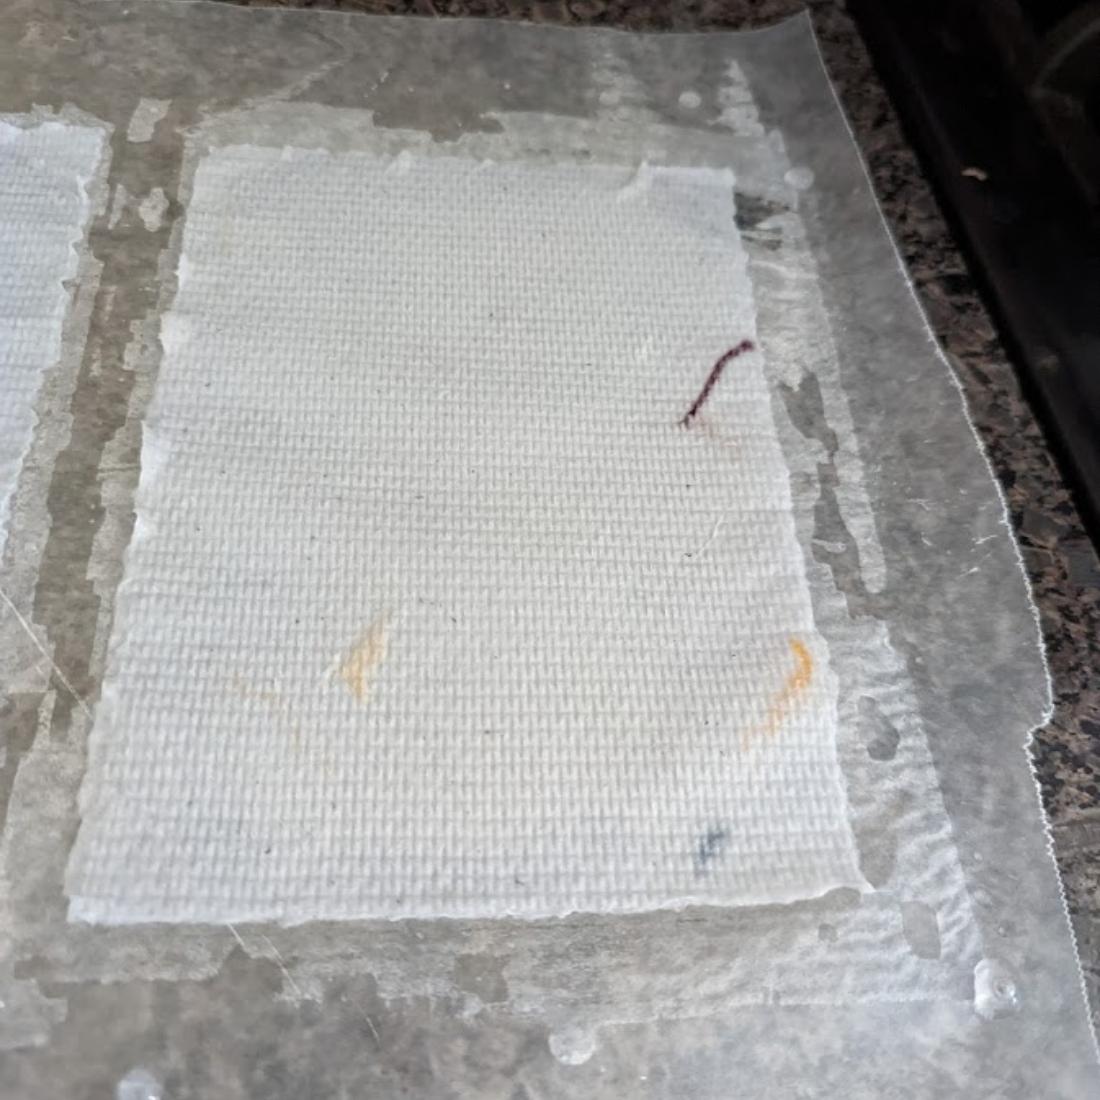
As the paper laid out and dried, there was a lot more brainstorming. No longer was the paper idea boring but an opportunity to make more things. “I can make a Mother’s Day card on it!” “I’m going to make mine into a fortune teller.” I’d be lying if I said there wasn’t a bit of a smug smile on my face.
Our finished products were pretty cool.
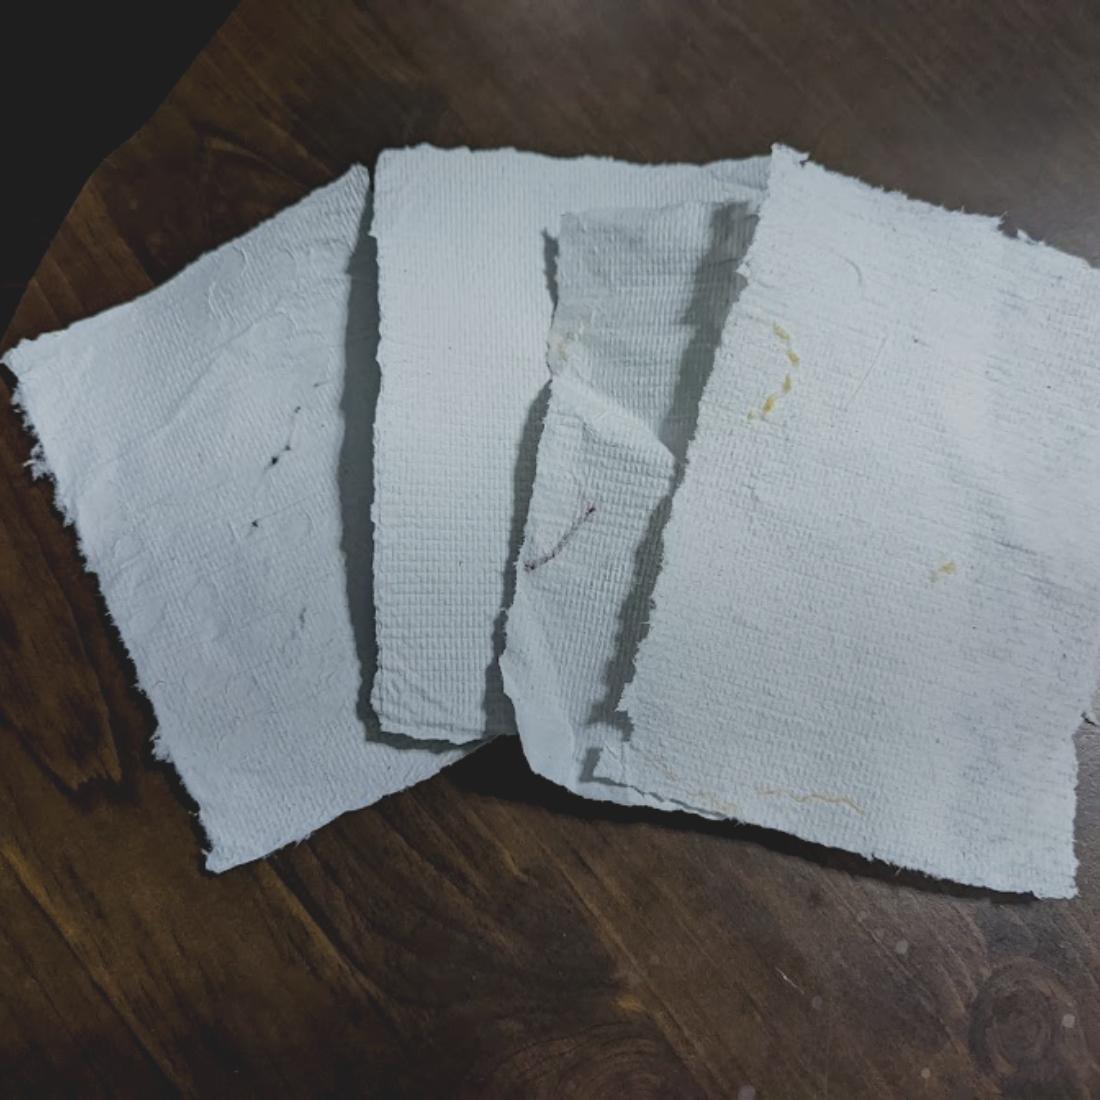
The paper was a little stiff and a little wrinkled, but still really cool. It was evident that the sheets from our first pulls were much thicker than the ones with the inclusions at the end. Now we’re inspired to make more paper, and we’ve got a whole new use for all that junk mail.


