During the summer time, one of the best ways to enjoy the warm weather is watching the local wildlife.
Of course, if you're like me and are far too impatient for bird-watching, there is one surefire way to turn the tables and make all the birds come to you.
Hanging up a bird feeder in your yard is an easy way to attract a whole flock of feathered friends.
It's also a good way to attract some other animals like bears, but as long as you hang it out of climbing reach, you should be fine.
Of course, the prettiest bird-feeder of all is one you make yourself. That's why this mason jar bird feeder should be the next project on your to-do list.
Like all the best crafts, our bird-feeder DIY is easy, and doesn't require too much fancy equipment.
Other than being easy to make, it's functional, and will look cute as can be hanging from the tree in your yard.
Read on to learn how to make this adorable outdoor addition:
What You'll Need
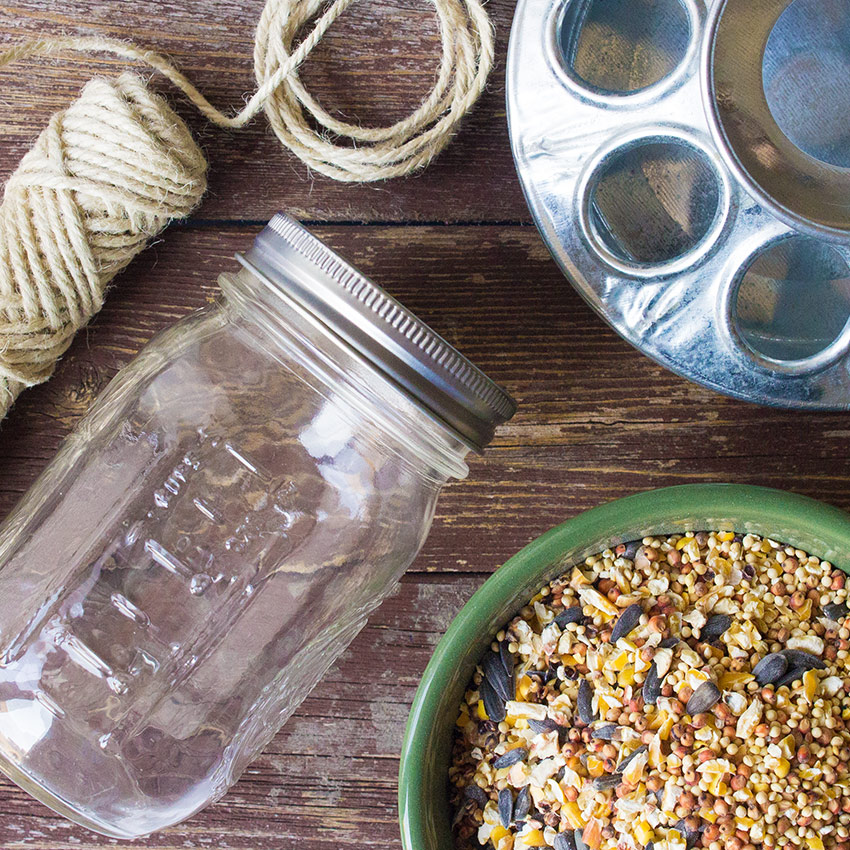
For this project you will need:
- Regular mouth mason jar
- Small round chicken feeder
- Bird seed
- Twine
- Hot glue gun
Step 1: Remove The Lid And Rim From Mason Jar
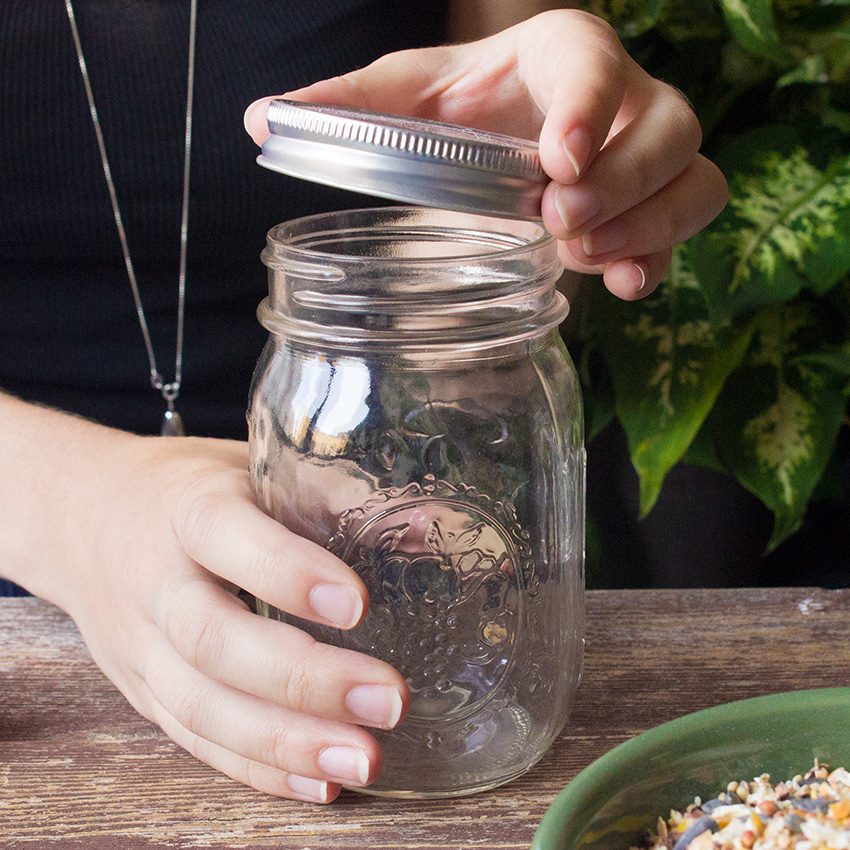
Once you've gathered your materials, the first step is to screw off the lid of your mason jar and remove the rim.
You won't need either to make your bird feeder, so save these parts for later or for another craft.
Step 2: Secure Twine Underneath Jar Lid
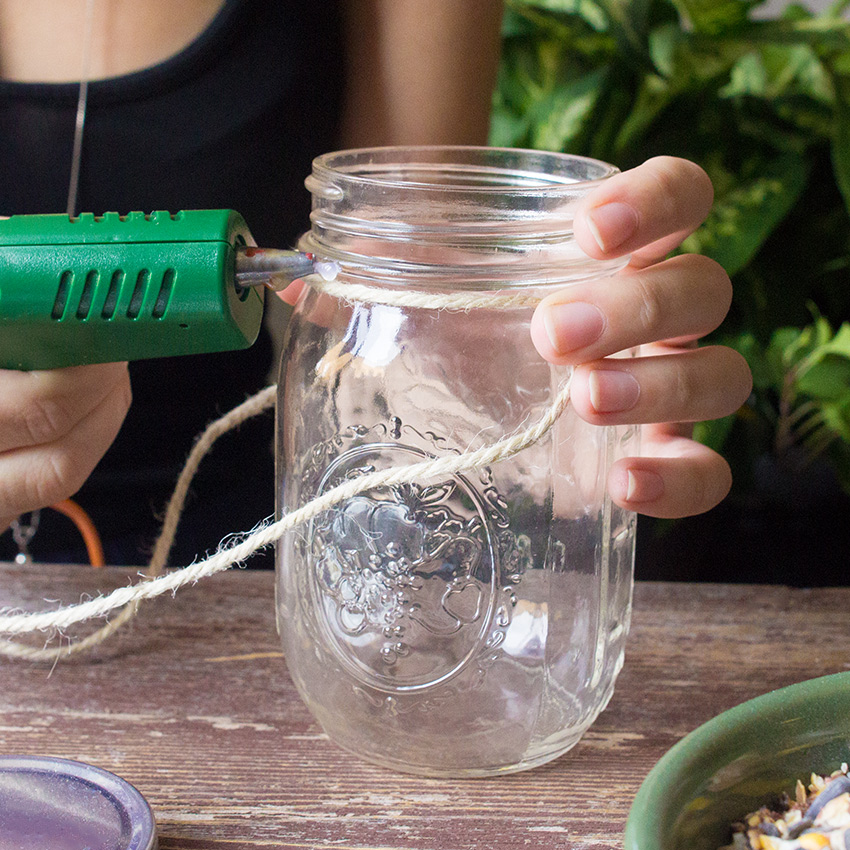
Cut off about 6 feet of twine for this step to be safe, you can always cut more off if need be.
Wrap one layer worth of string under the rim and tie it off. Then line the layer with hot glue for extra security.
You might want to do this directly under the lip and slide the twine up into the glue. Just make sure to avoid burning yourself!
Step 3: Tie Twine To Jar
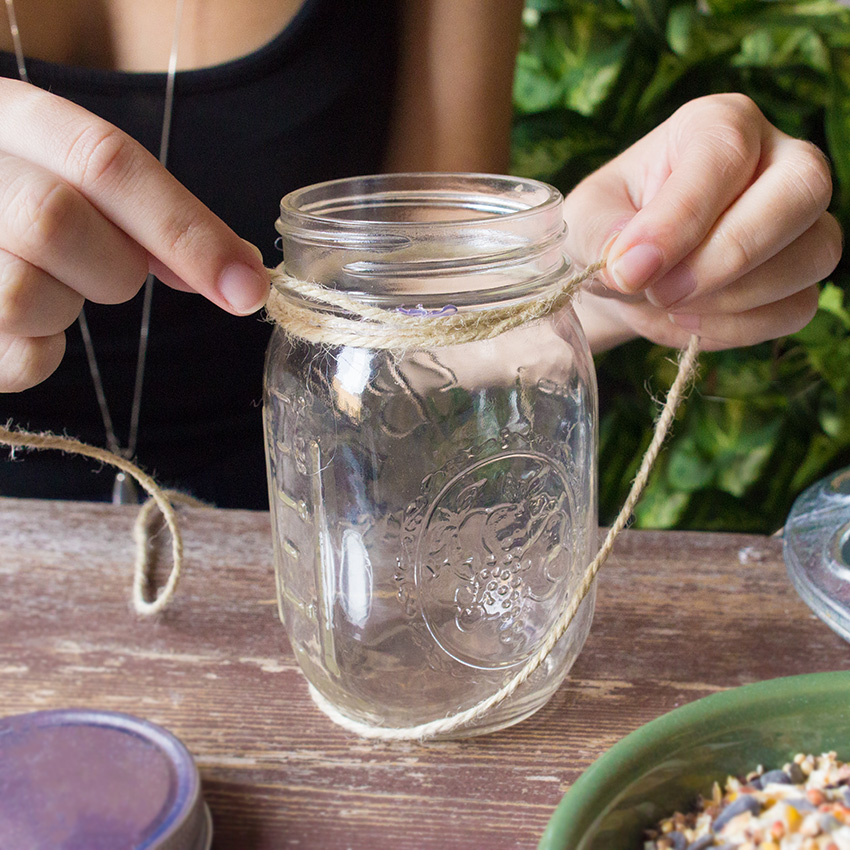
Next, wrap the twine around the jar in a few layers and tie it off.
Then run the twine about halfway down the jar and repeat step 2.
Doing this will secure the string to the jar properly and make sure that the seed dispenser is straight and will be in working order.
Step 4: Tie Excess Rope In A Bow
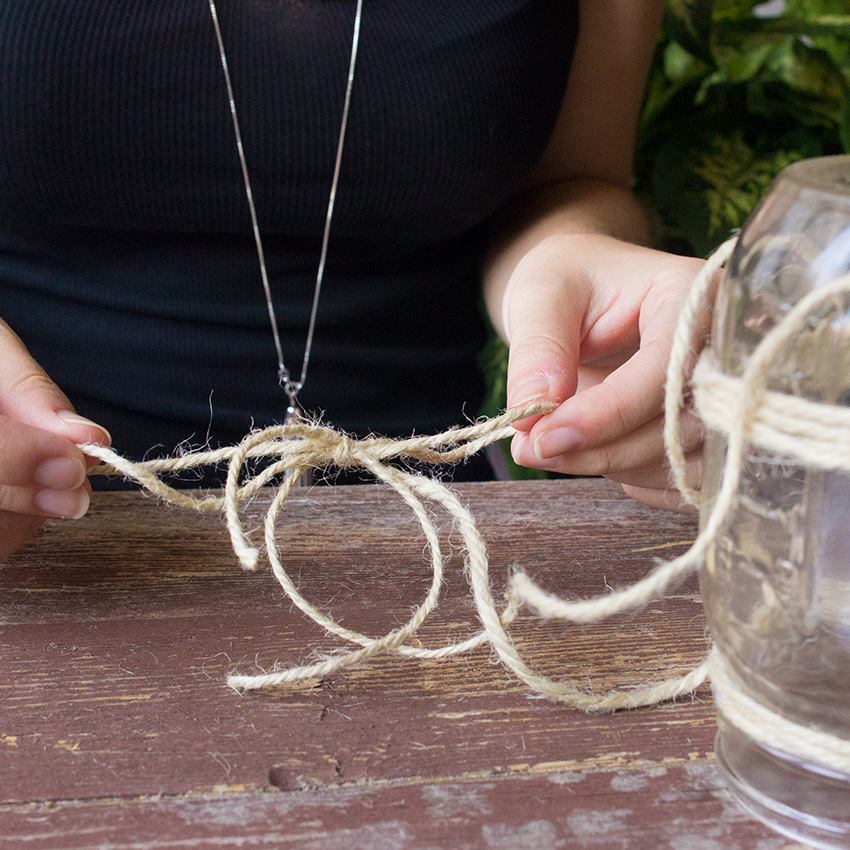
Tie off your extra string into a bow that will be suitable to hang on a tree.
This probably means double, or even tripe knotting it.
If you have extra twine during this step, just snip it off with a pair of scissors.
Step 5: Fill Jar With Bird Seed
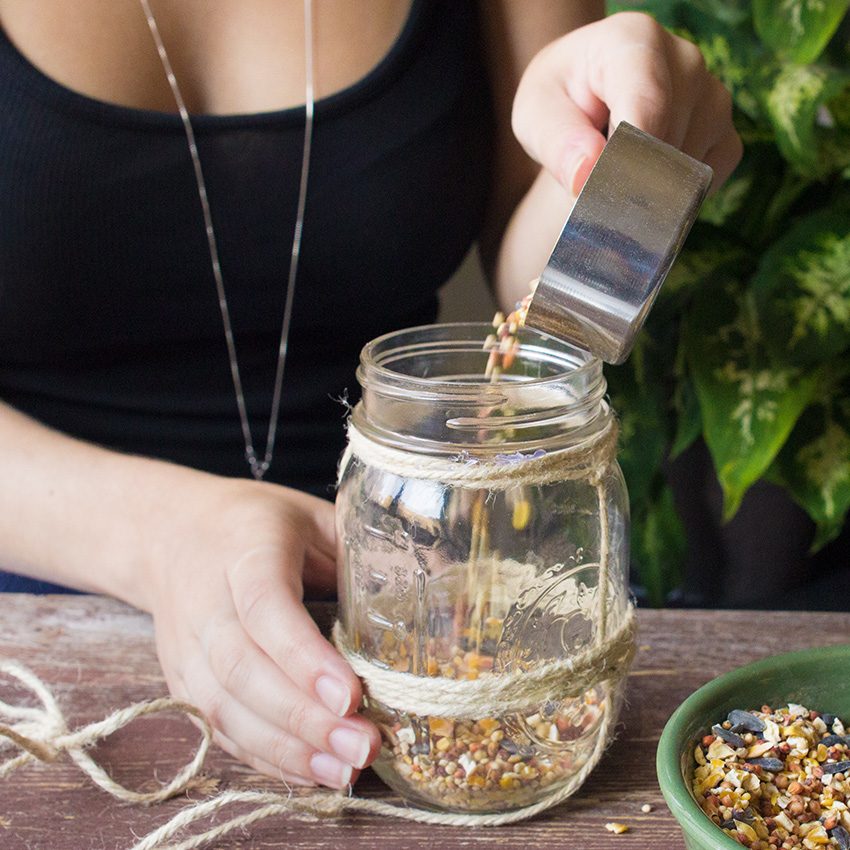
Next is the second most fun part.
Dump your bird seed into the jar until it's full.
You're going to want to fill it all the way to prepare for the next steps.
Step 6: Screw On Chicken Feeder
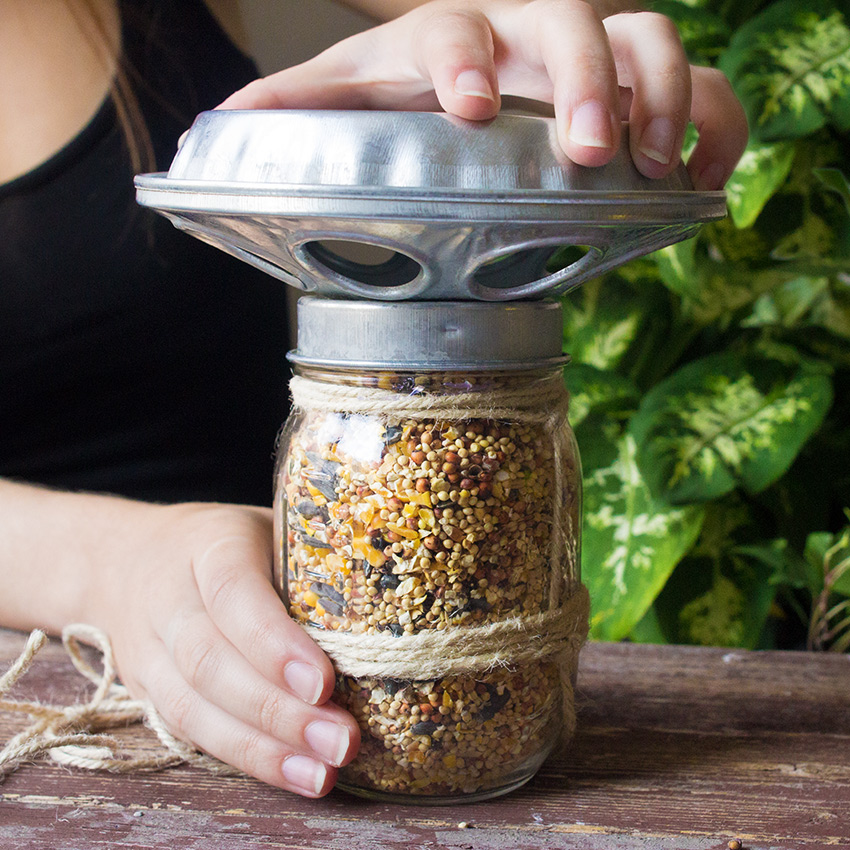
Reach for the small aluminum chicken feeder and turn it upside down.
The opening in the chicken feeder will screw perfectly onto the regular mouth mason jar lid.
Twist on until it's secured tightly. Again, this is necessary to avoid a mess during the next step.
Step 7: Flip Feeder Over
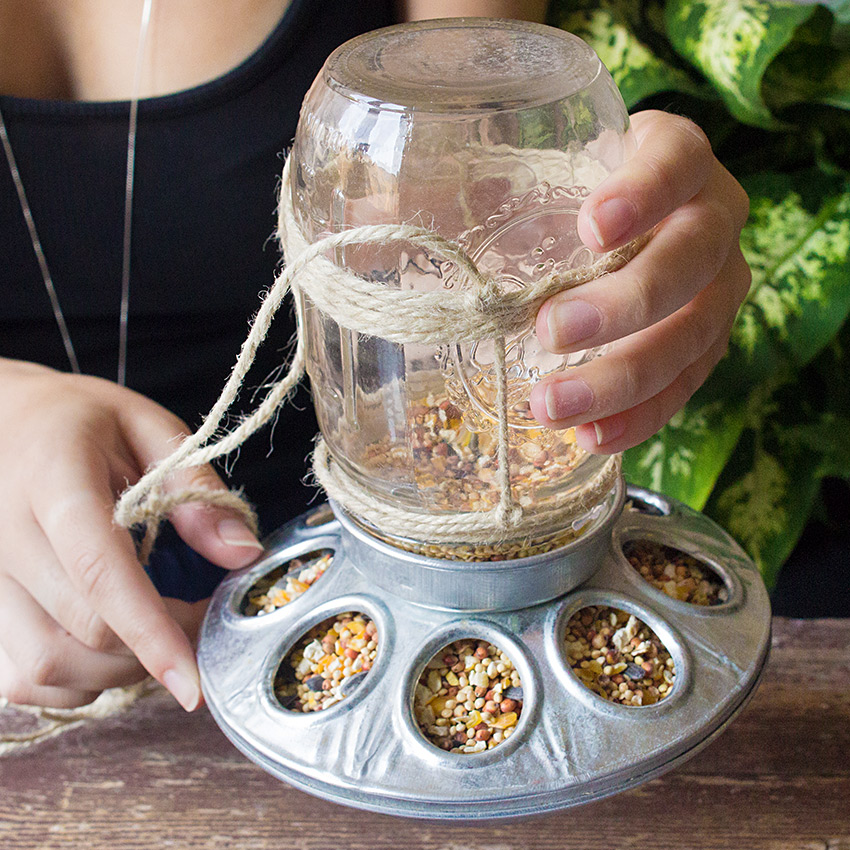
Flip the feeder over and watch as the bird seed fills in the chicken feeder holes.
I have to admit that there is something oddly satisfying about this step.
Step 8: Hang Up And Enjoy!
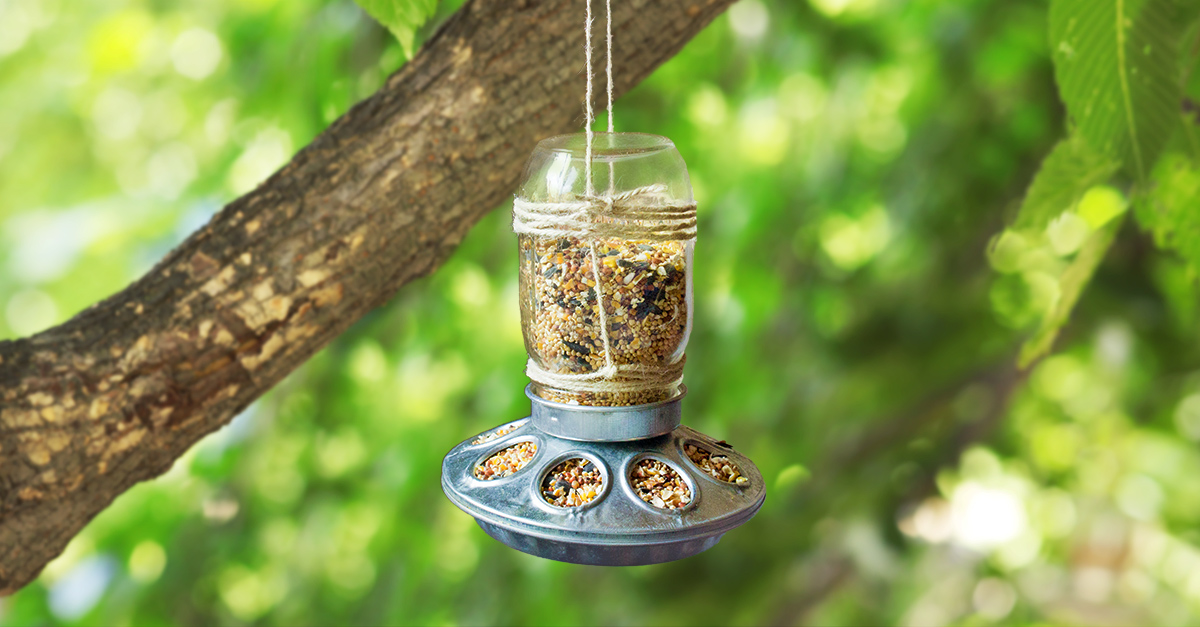
Find an appropriately leveled branch or any hanging mechanism in your yard.
Hang up your new handmade bird feeder and watch as you delight your avian neighbors!
Please SHARE this craft with your crafty friends on Facebook!


