Every single year, we start getting excited for Christmas the second we run out of Thanksgiving leftovers. And every single year, without fail, we find ourselves just a teeny bit frantic in the final sprint toward December 25.
No matter how prepared we are or how much we plan things out, there are always last-minute gifts to buy, decorations to buy, and seasonal bake sale commitments that we forgot about! (Thank goodness for these easy-breezy stained-glass Christmas cookies!)
Let's face it, we're not Superwoman, and there are always going to be one or two things that slip through our fingers despite our best efforts.
Take, for instance, the tree. If the cat (or the toddler) takes a flying leap and destroys a whole quadrant of ornaments, you're left with an unsightly bald spot to deal with.
Well, never fear, because we have the perfect solution: an adorable, easy-to-make Mason jar wreath ornament that you can pull together from odds and ends around the house! In fact, it's so easy that Santa can do it, so that's who we called to get the job done!
Scroll through to see Santa's process!
Thumbnail Photo: Wikimedia Commons
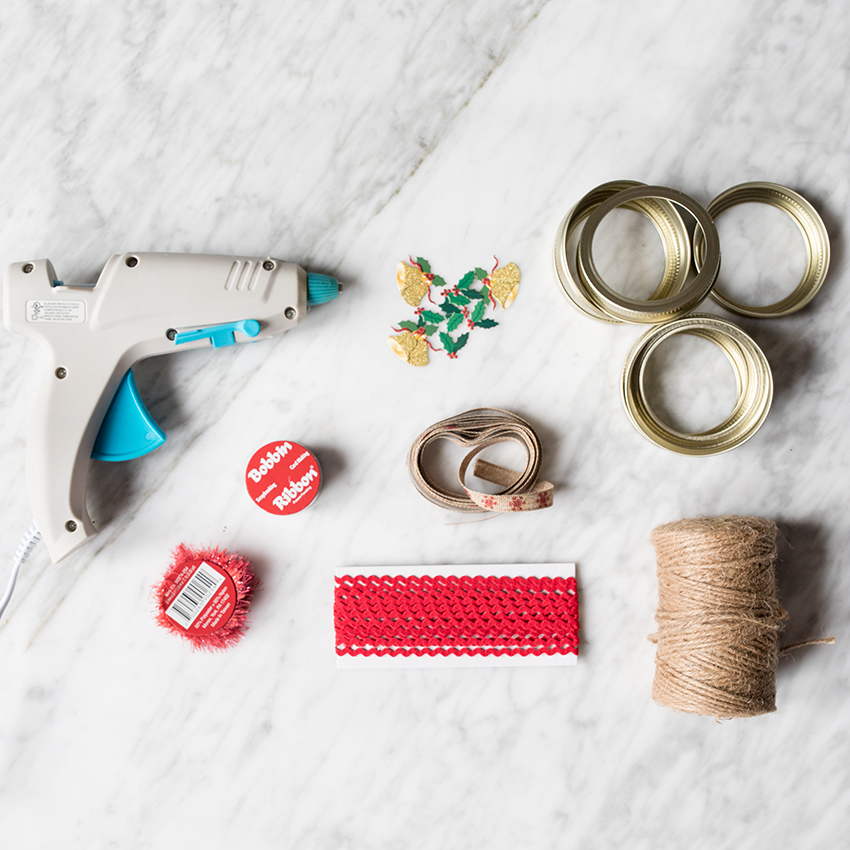
First of all, you're going to need your materials:
- Canning rings or Mason jar rings
- Twine, yarn, or thin rope
- Rickrack or other decorative string
- Scrapbook embellishments or other decorations
- Ribbon
- Hot-glue gun
Feel free to mix and match these materials based on what you have in your sewing box or craft drawer.
For our version, Santa used twine, rickrack, ribbon, and Christmas-themed scrapbook embellishments.
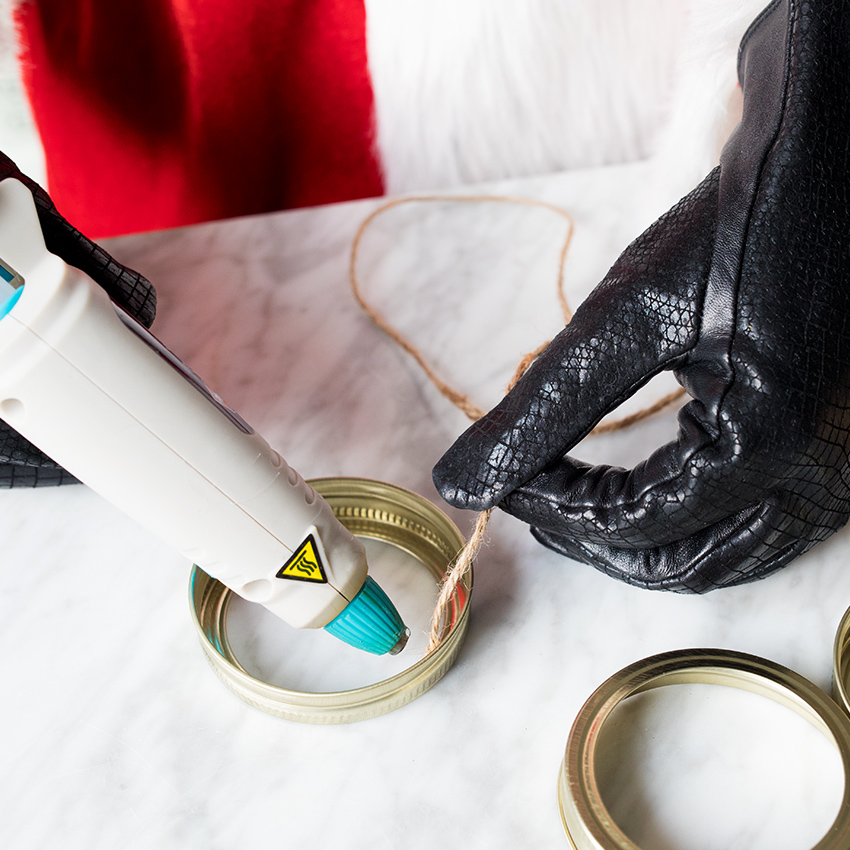
First things first, you need to anchor your twine or rope.
Santa carefully hot-glued the end of a long strand of twine to the inside of the canning ring, where the raw end won't be visible.
If you have elves (or other small hands) helping you, this is a good step for adults to take care of.
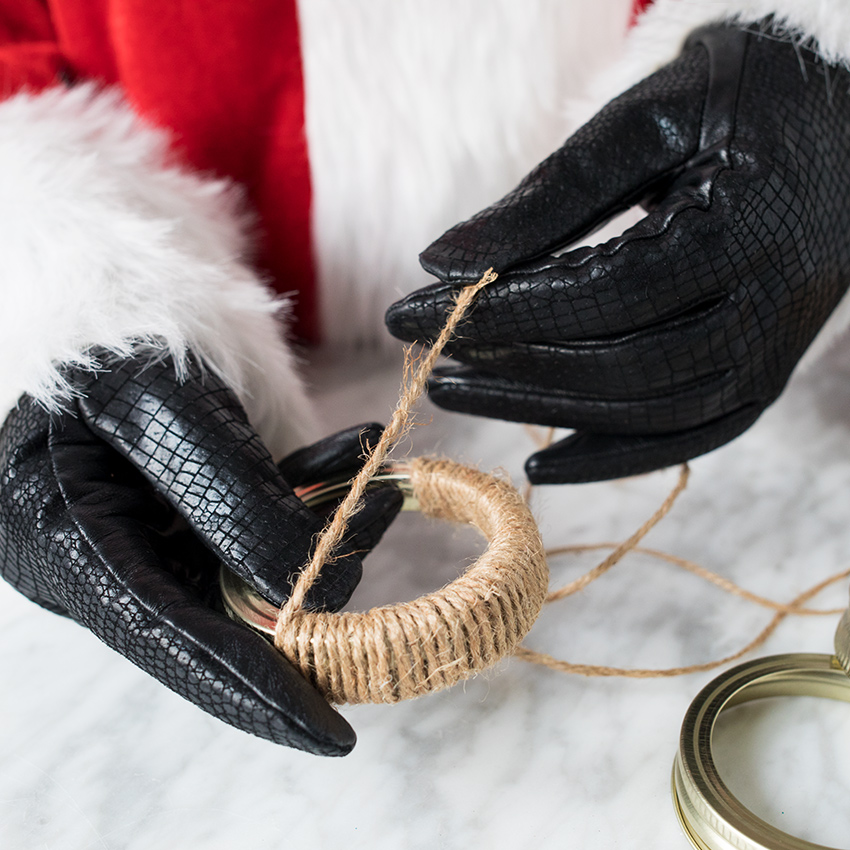
Next, Santa wraps the twine tightly all the way around the ring.
You may also knot the twine into place as you go for a more secure fit that uses less glue, but you will probably use up your twine more quickly.
If you run out of twine before you make it all the way around, simply glue the end down and continue with a fresh strand.
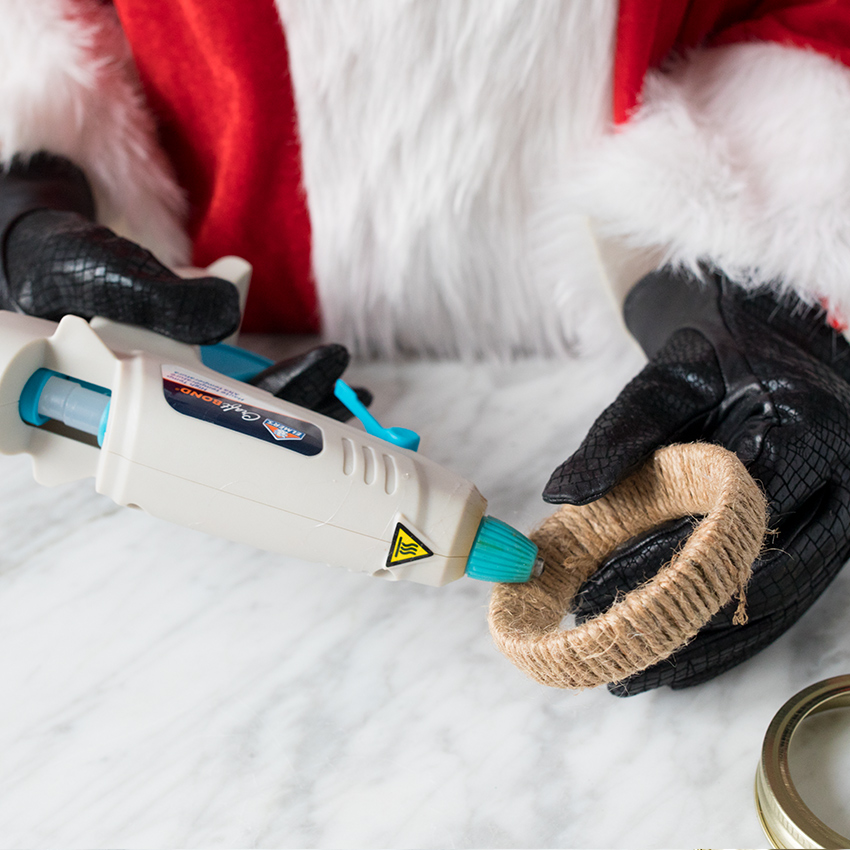
Once the entire canning ring is completely cocooned in twine, Santa simply hot-glues it into place.
You'll want to hold the glue at least 25 seconds to make sure it's dry.
Once it's dry, you can also trim any other stray ends or frayed pieces from the twine.
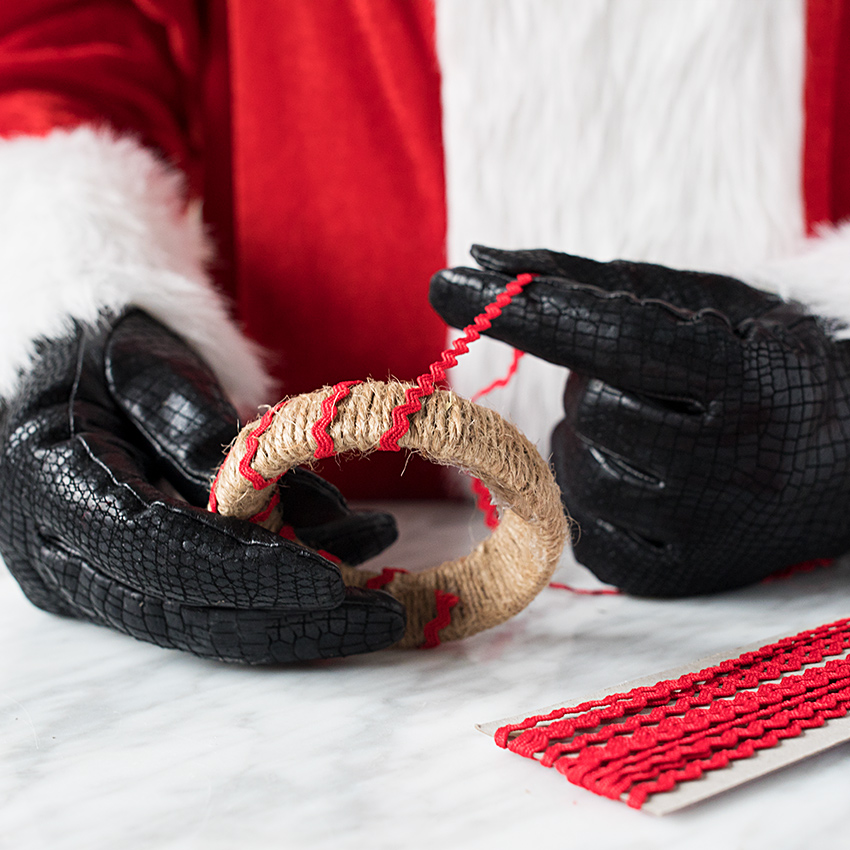
Now, take your rickrack and repeat what you did with the twine, as Santa does above.
Instead of wrapping the rickrack tightly together to cover the whole ring, wrap it securely, but with the strands slightly farther apart.
You want your rickrack to form a diagonal, striped pattern against the twine.
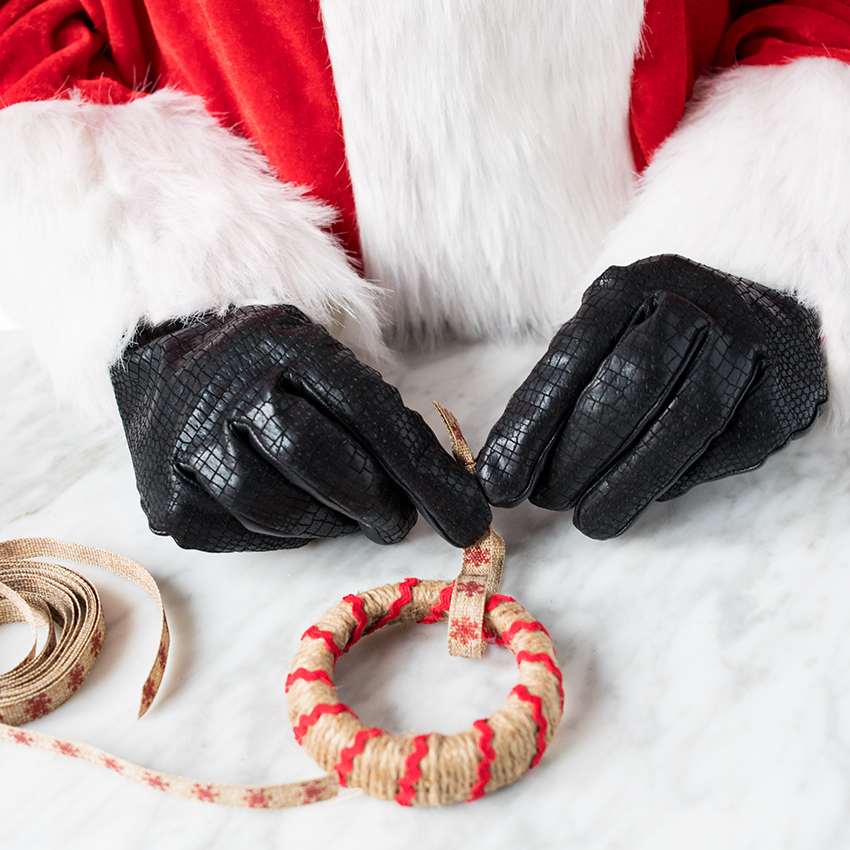
Next, tie a small piece of ribbon around the ring, and knot tightly at the end.
You may also tie it at the bottom or knot another piece of ribbon closer to the ring to hold it in place.
In our case, Santa attached the ribbon to one spot with a dab of hot glue.
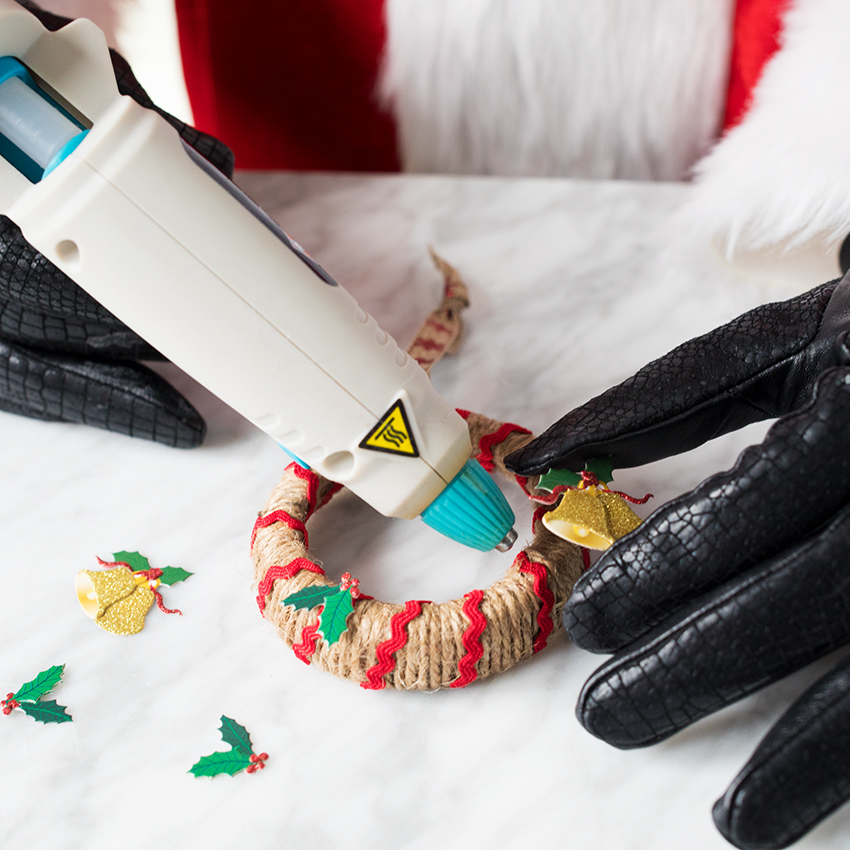
Now it's time to put the finishing touches on your ornament!
You can use any decorative elements you like to decorate your wreath: beads, pipe cleaners, or little jingle bells are all fair game.
For this, Santa uses a few embellishments with a Christmas theme.
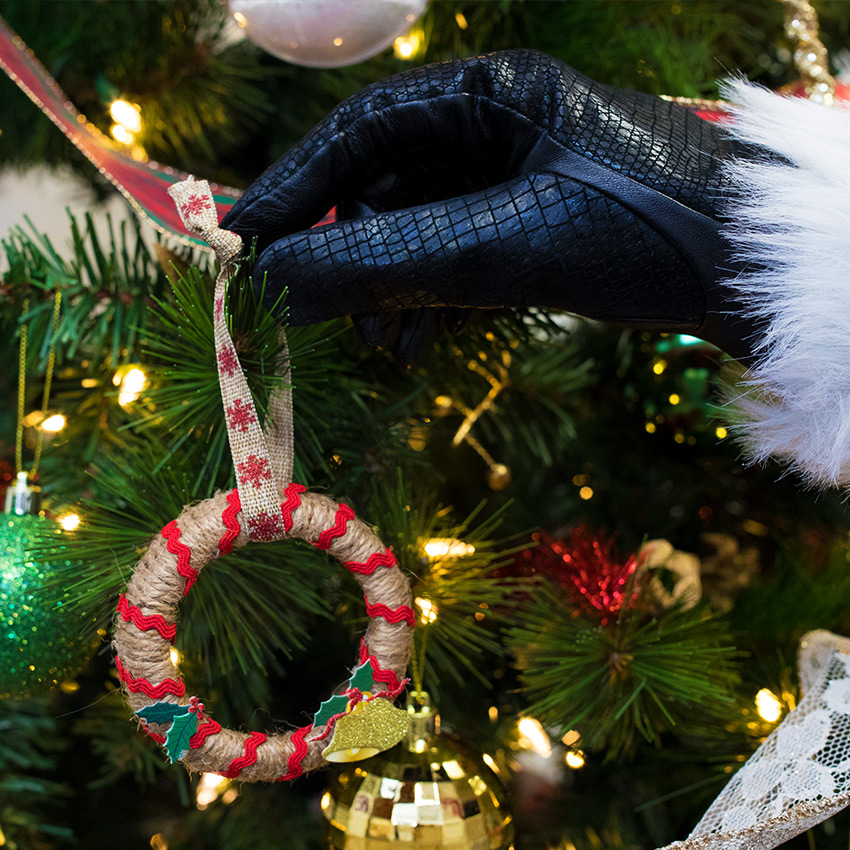
Once your ornament is complete, put your final finishing touches in place and polish up as desired!
Then hang it on the tree to enjoy!
Repeat the project as many times as you like to get different patterns and effects.
Don't forget to SHARE this cute and whimsical Christmas idea with friends and family!


